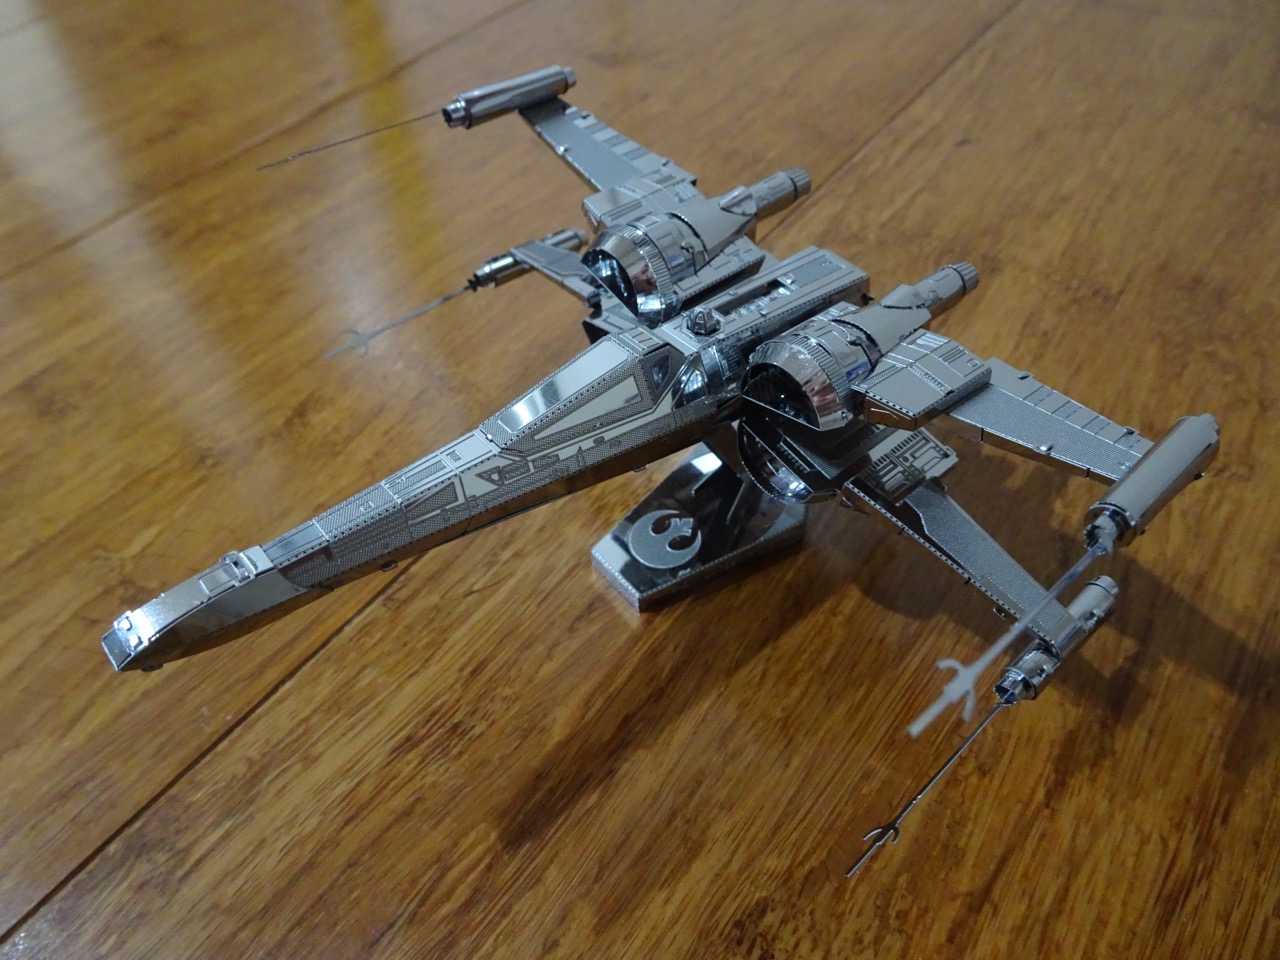
The end result was well worth it though...
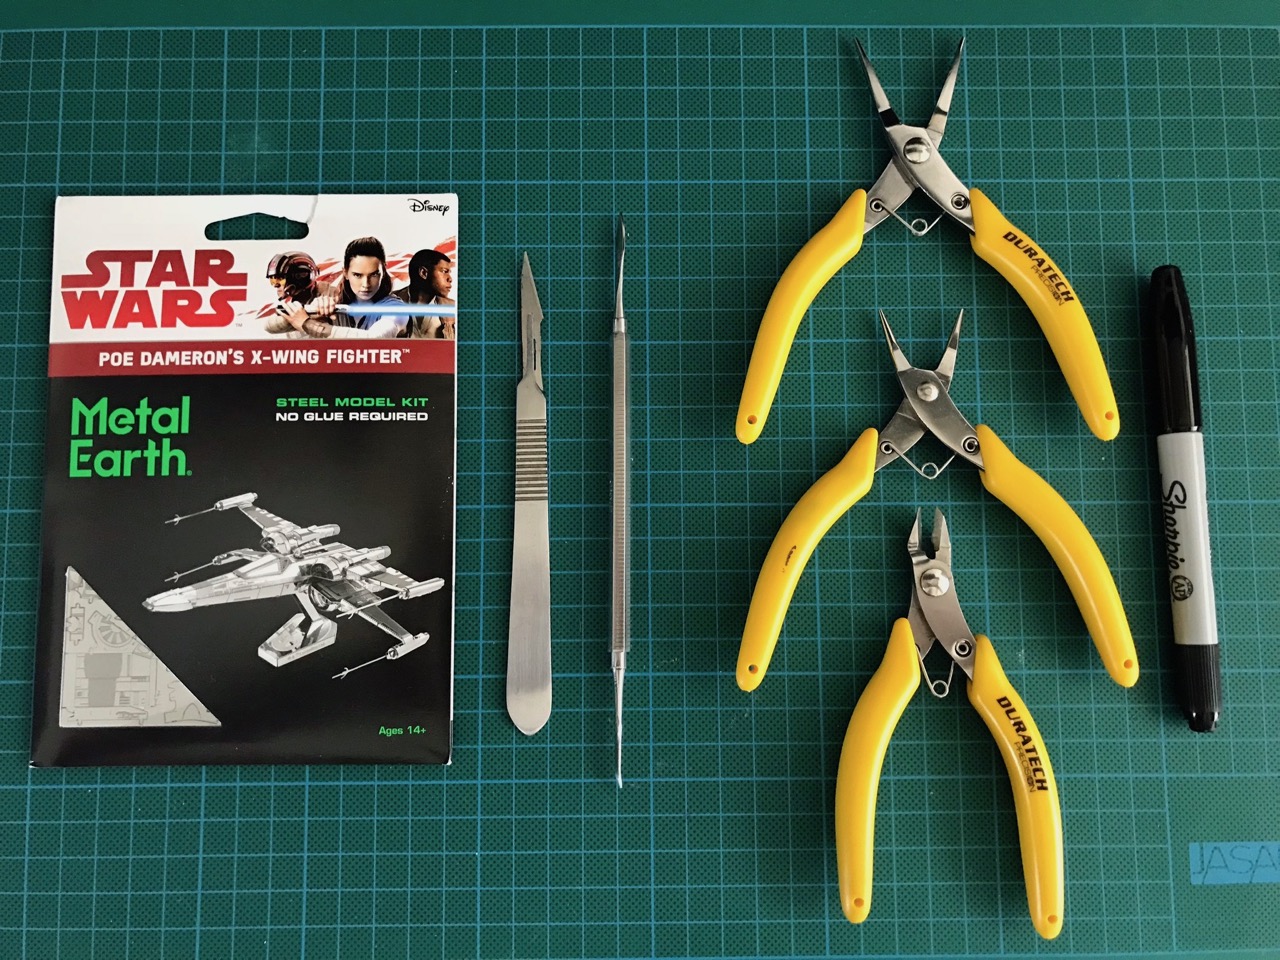
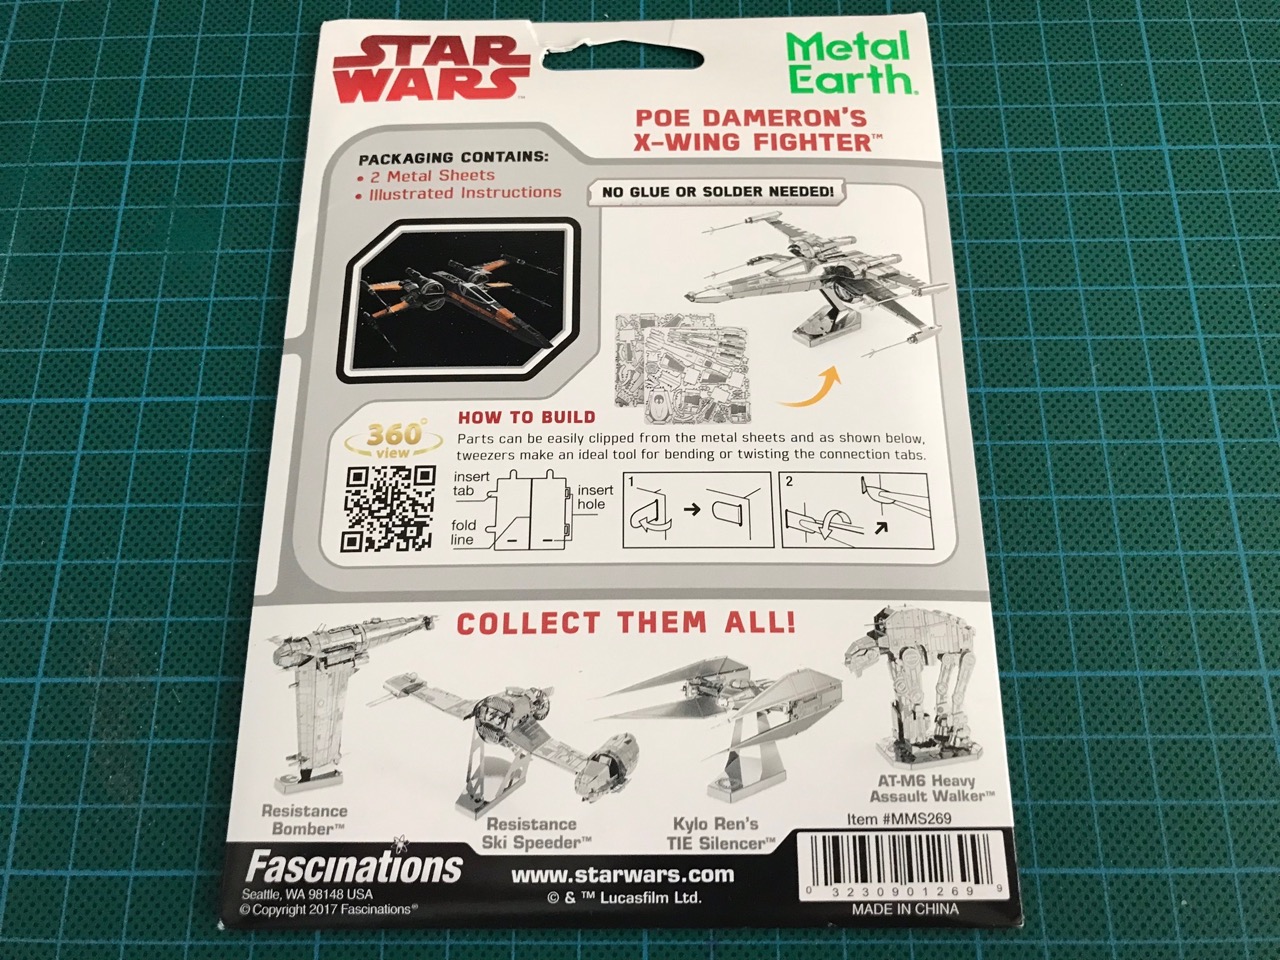
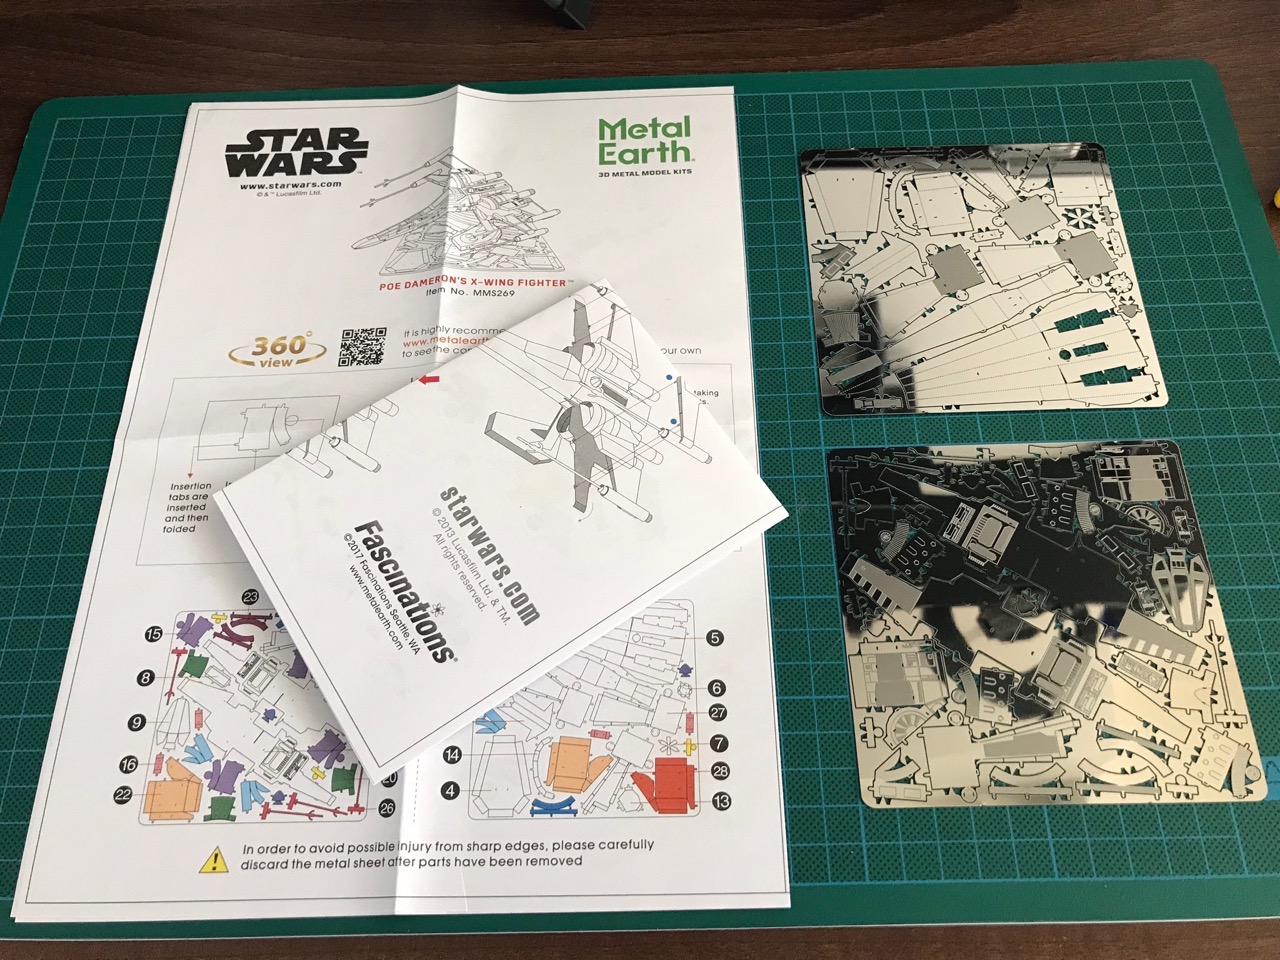
The kit was a two sheet kit and came as a flat pack, the most usual for this size kit from Metal Earth. There were two sheets of instructions too, both double sided. Interestingly this kit had some very large pieces in it, which deceived me into thinking it would be easy. Once the large pieces were put together, there were lots of round pieces and these took forever!
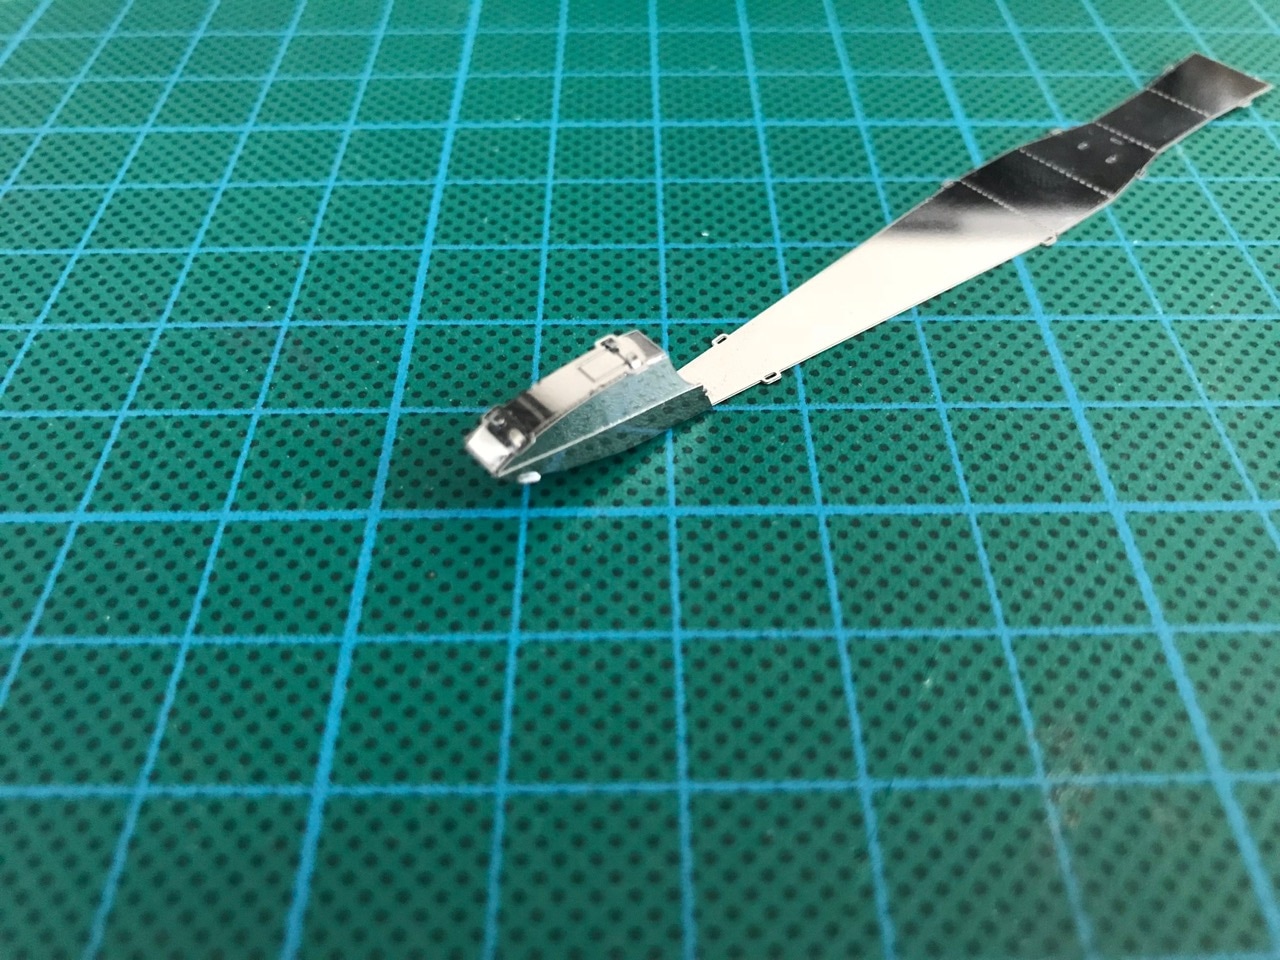
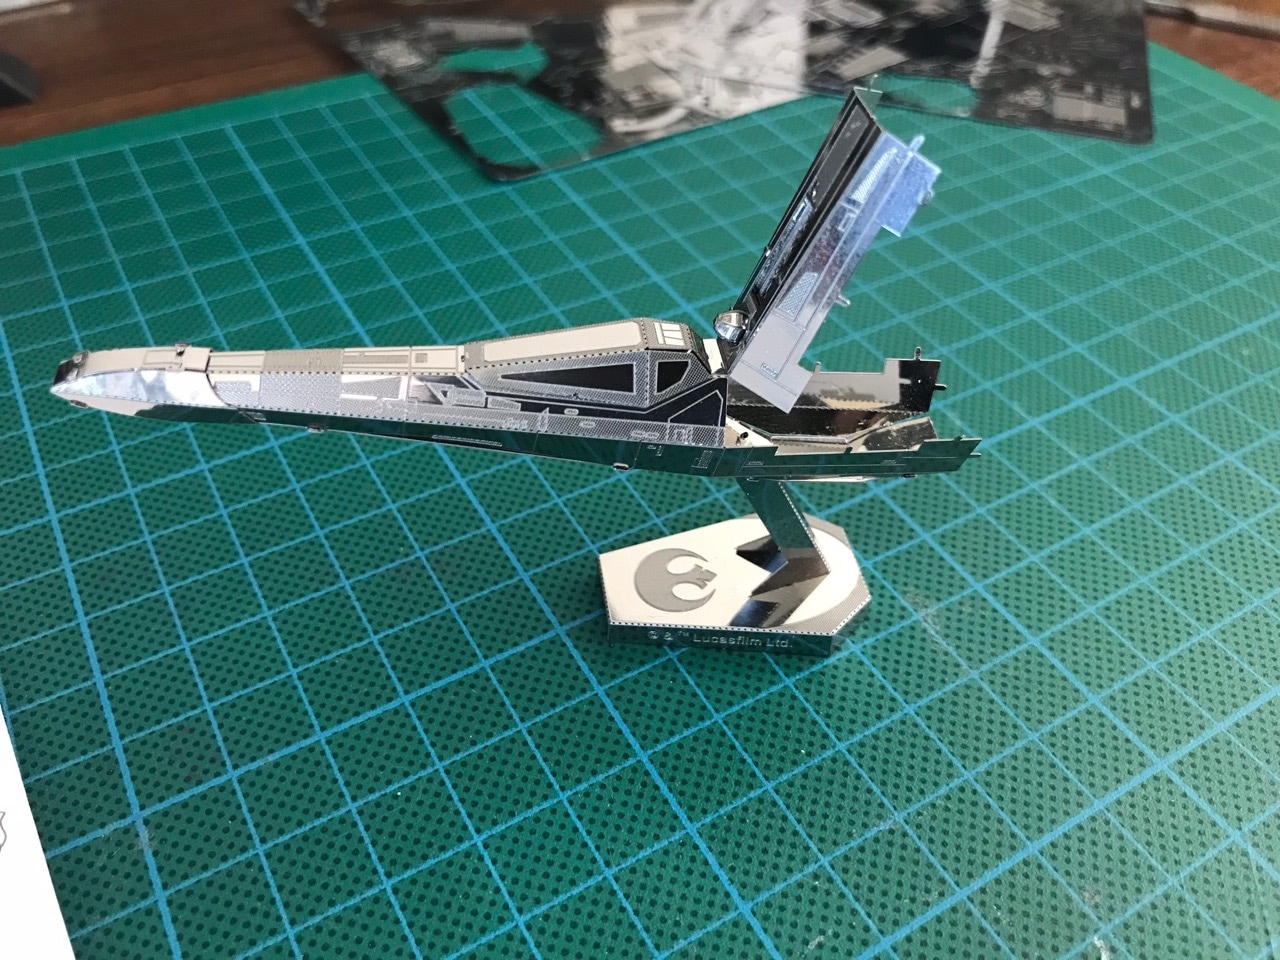
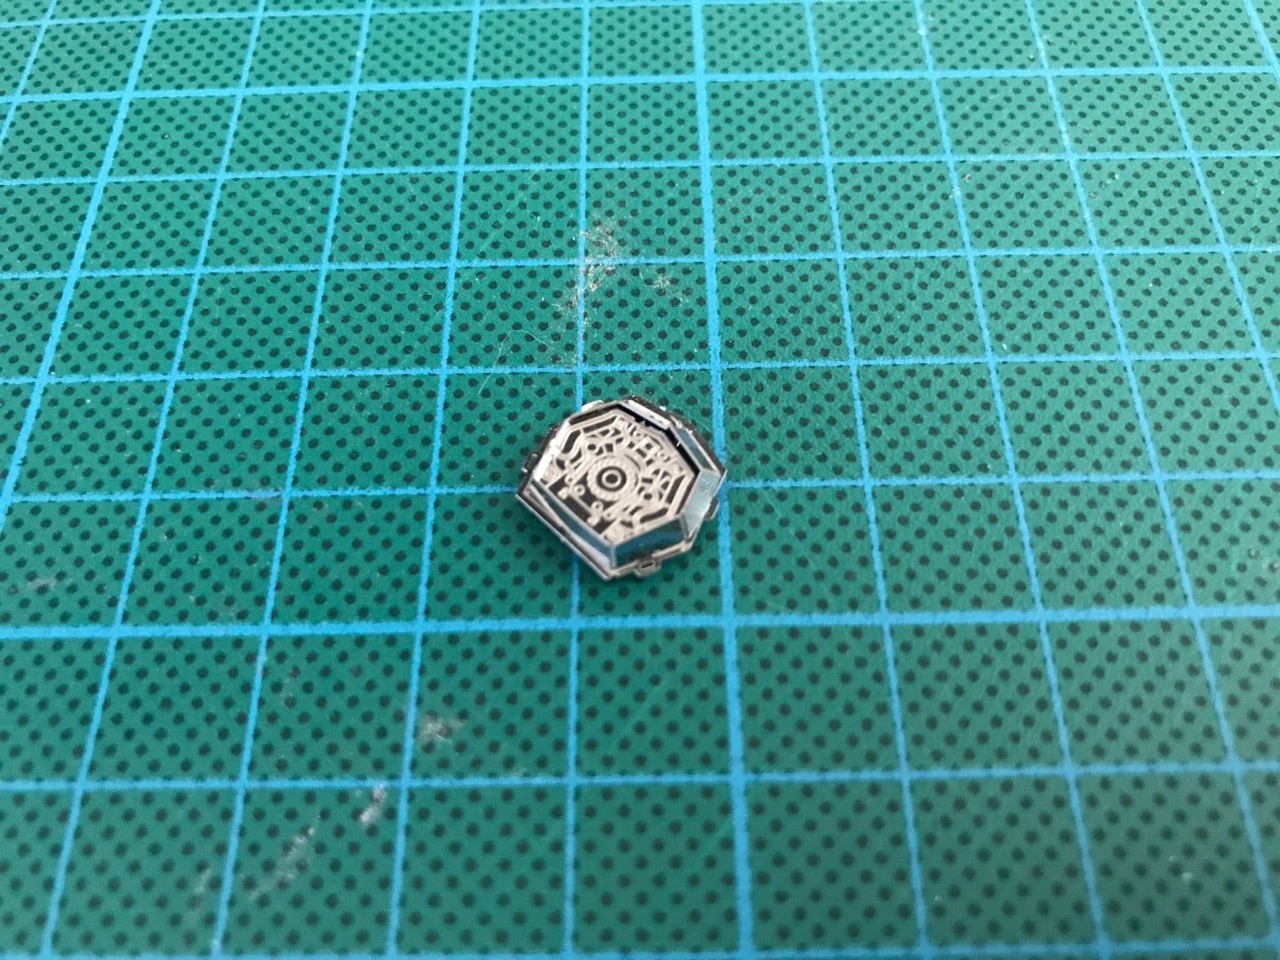
The first part of the assembly was the X-Wing nose piece. I had quite a bit of trouble aligning some of the tabs here so ended up having to bend the side pieces out of shape to get the tabs in. I then bent the sides back into the correct shape. This is where most of the big pieces started come in, with the exception of the navigational droid, which was made of some of the smallest pieces in this kit.
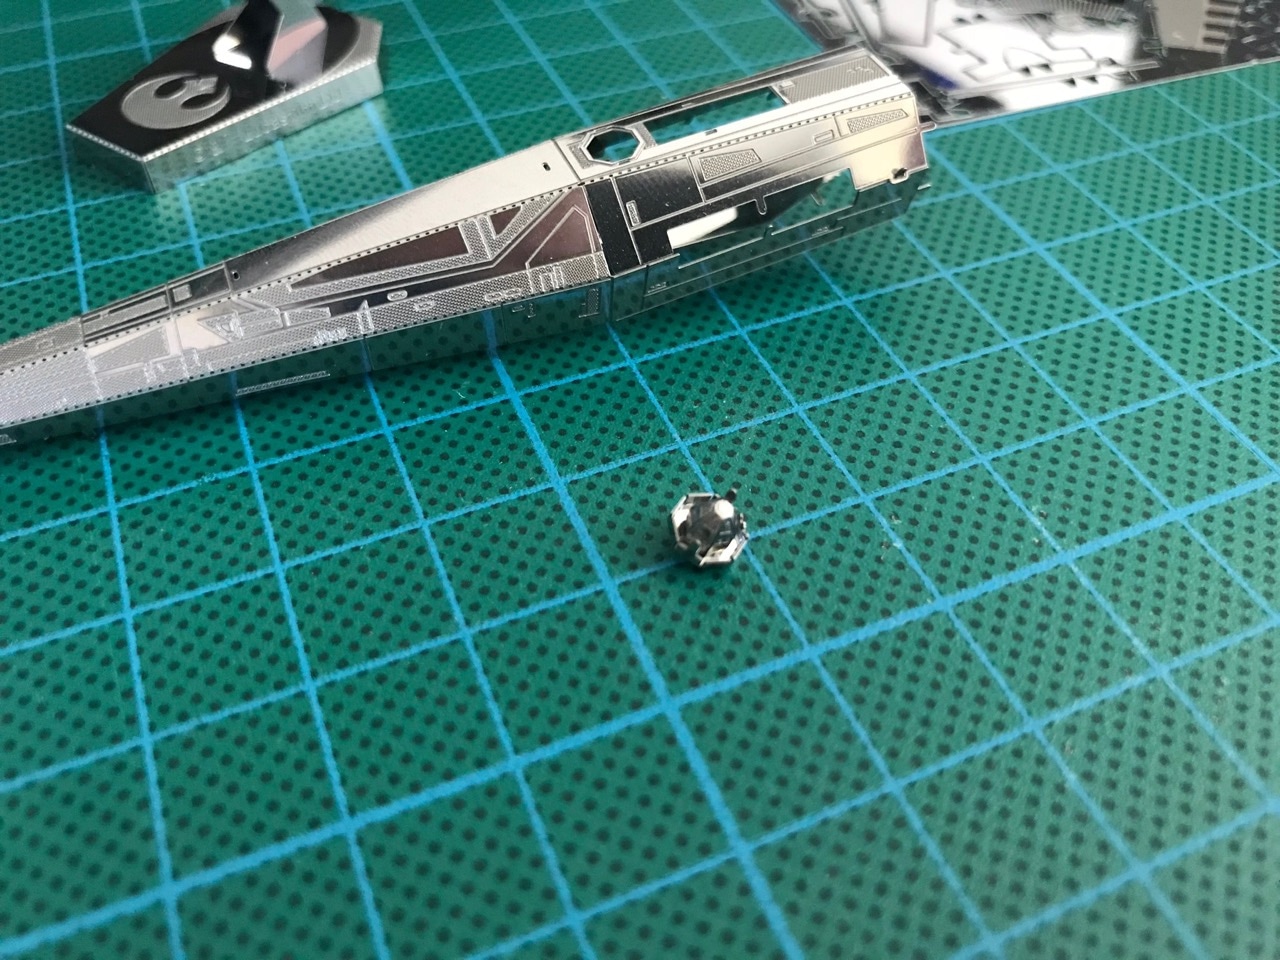
This was the droid I was looking for! The navigational droid had a whole base section with patterns on it but because it was mounted from the inside, none of that was visible. The X-Wing kit had its stand assembled as one of the first steps, unlike other kits I've put together that had stands. This actually made sense and made it easier to work on the model later.
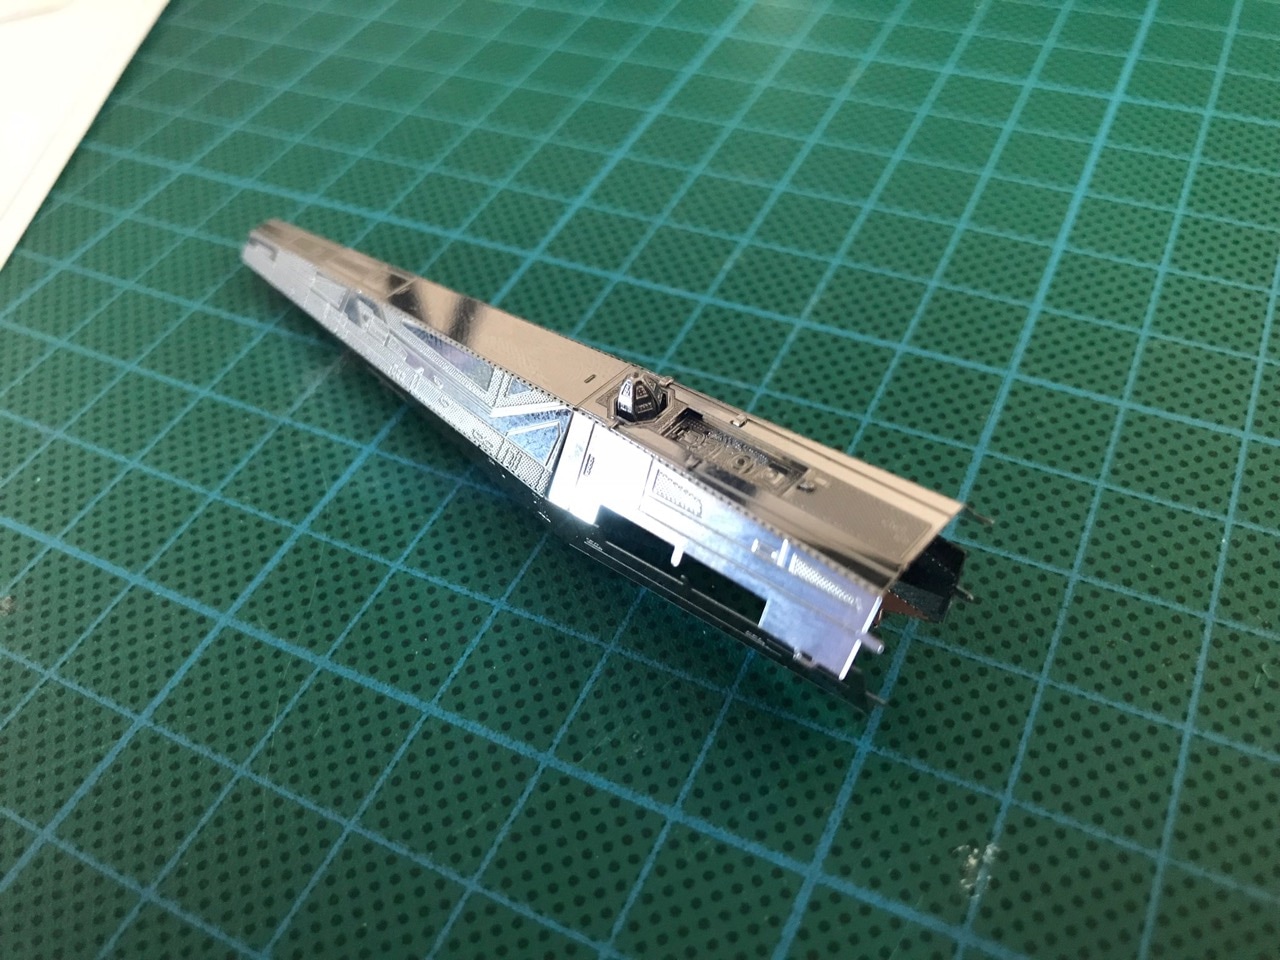
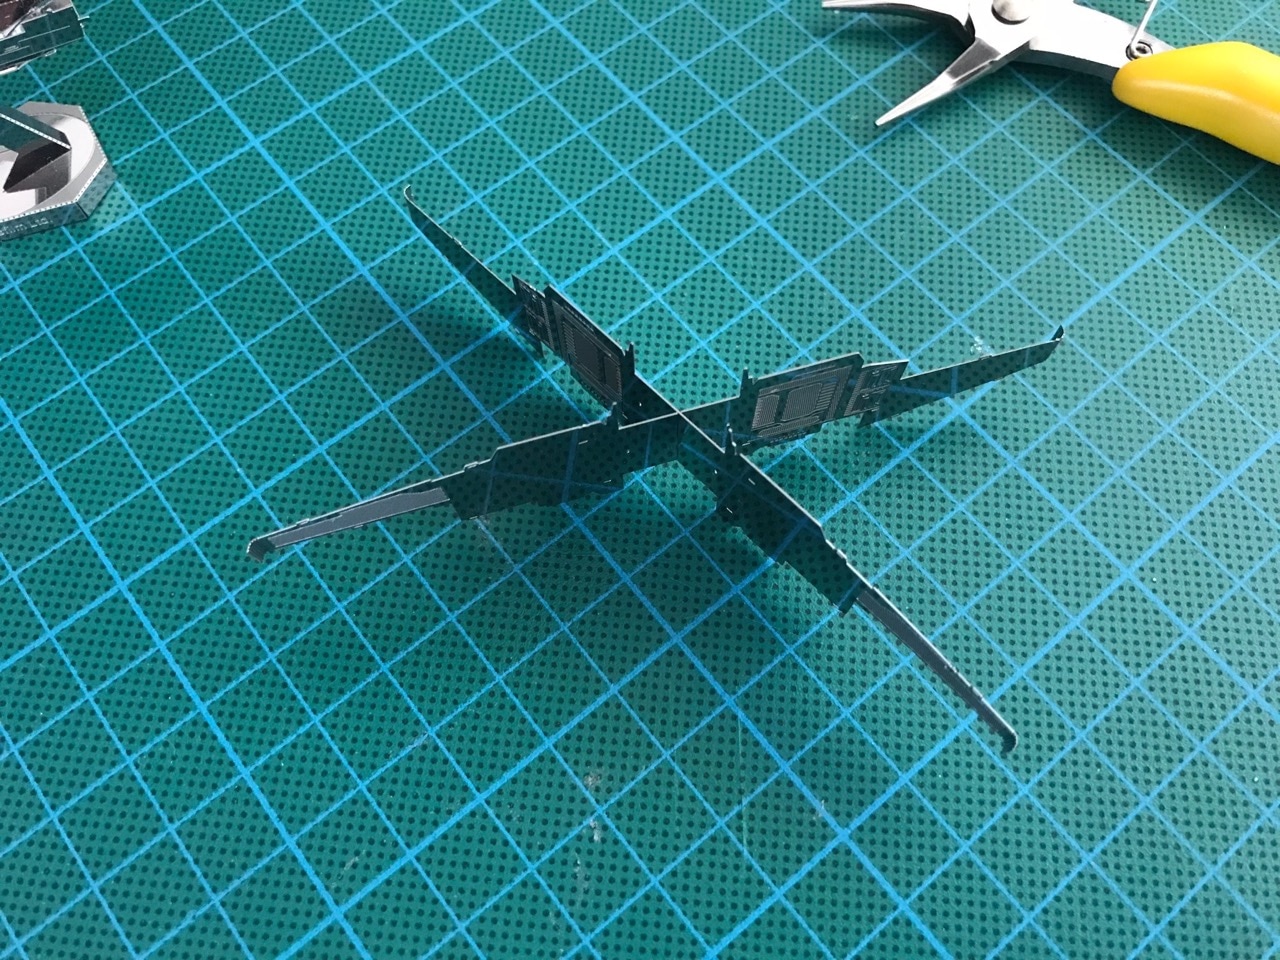
This was a first for me in a Metal Earth kit...the instructions showed that a section of the hull had to be bent up temporarily to make room for the wings!
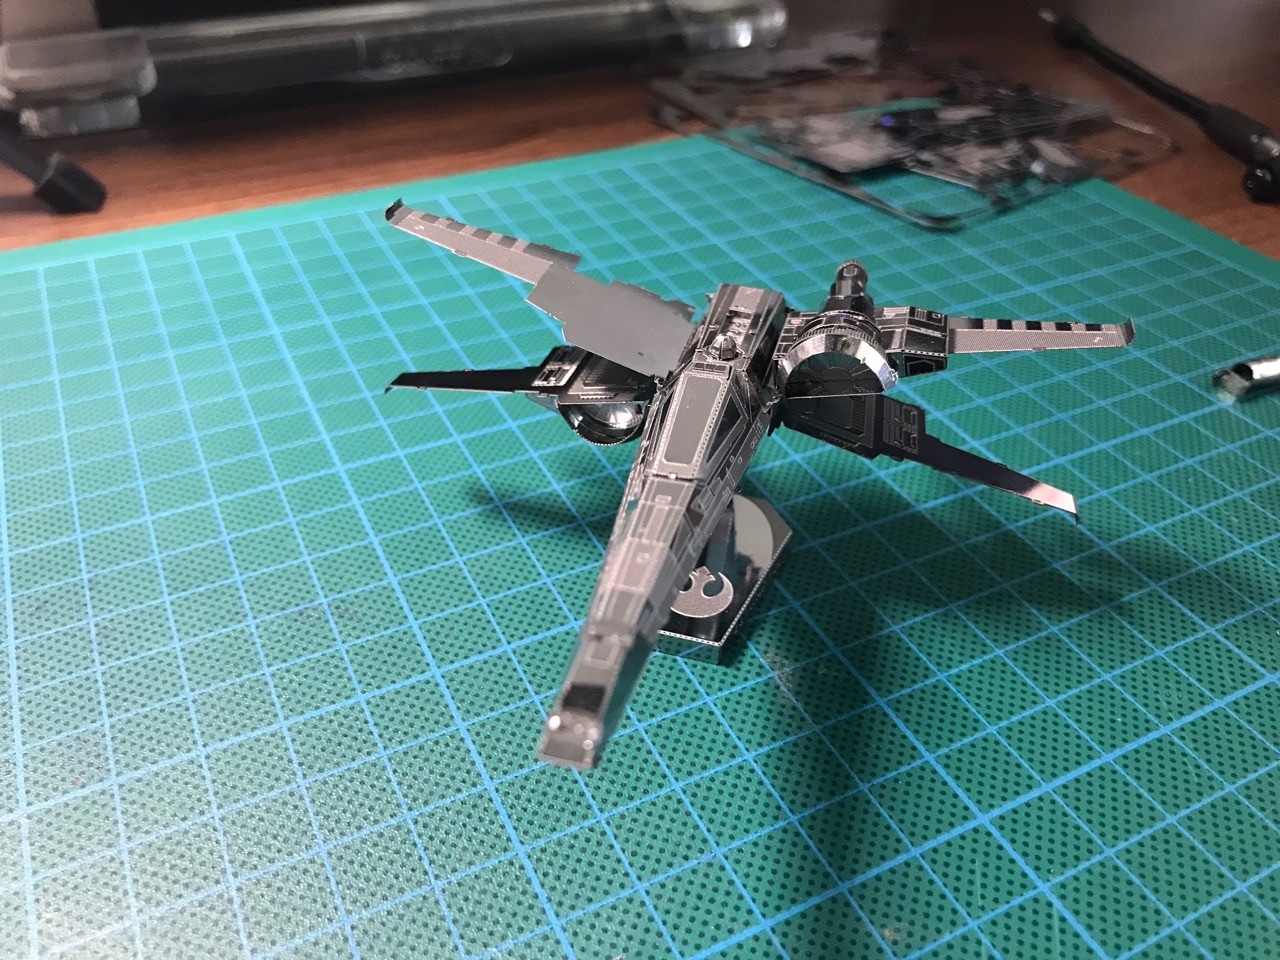
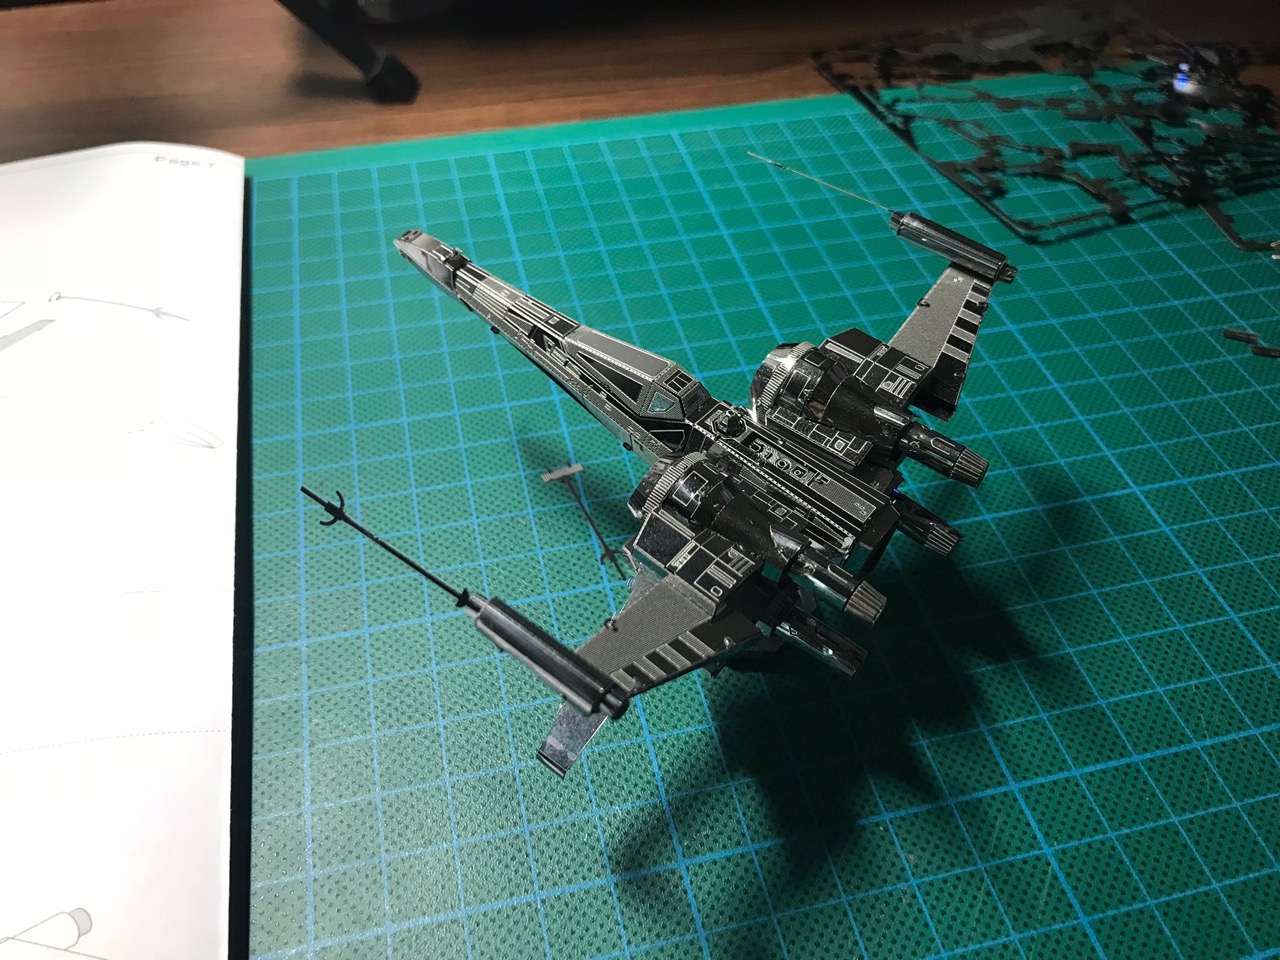
Even with the base wings, the model was looking very cool already.
The rear section of the ship was assembled and put into place. This was another one of those sections that had a pattern on the surface that was covered up by other pieces.
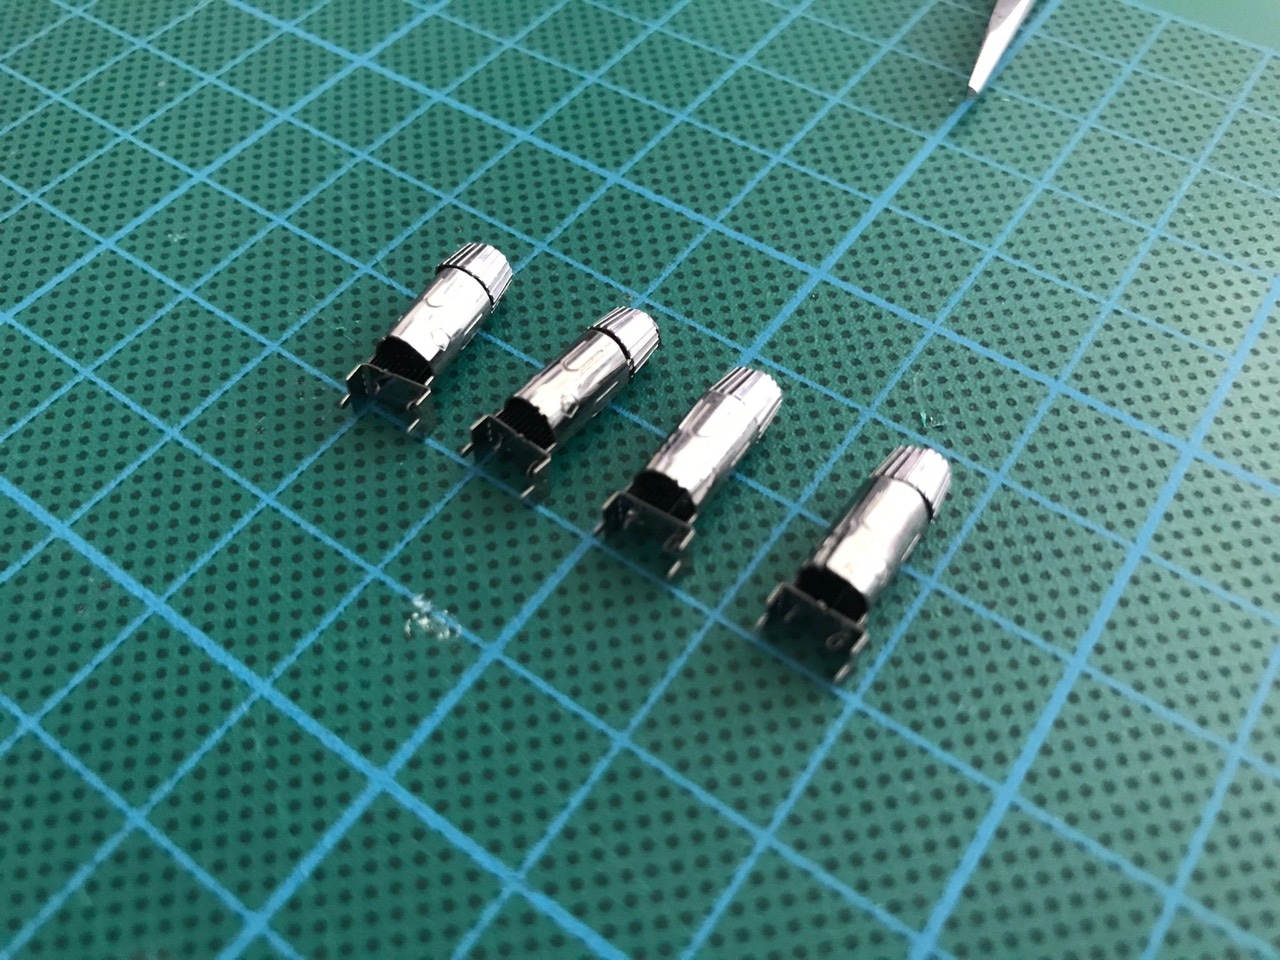
The engines were next. This was the part that took the most time to assemble. There was just so much metal to bend into round shapes. Each of the engines had several round sections and there were four engines in total. I think this is where I spent at least 2 hours.
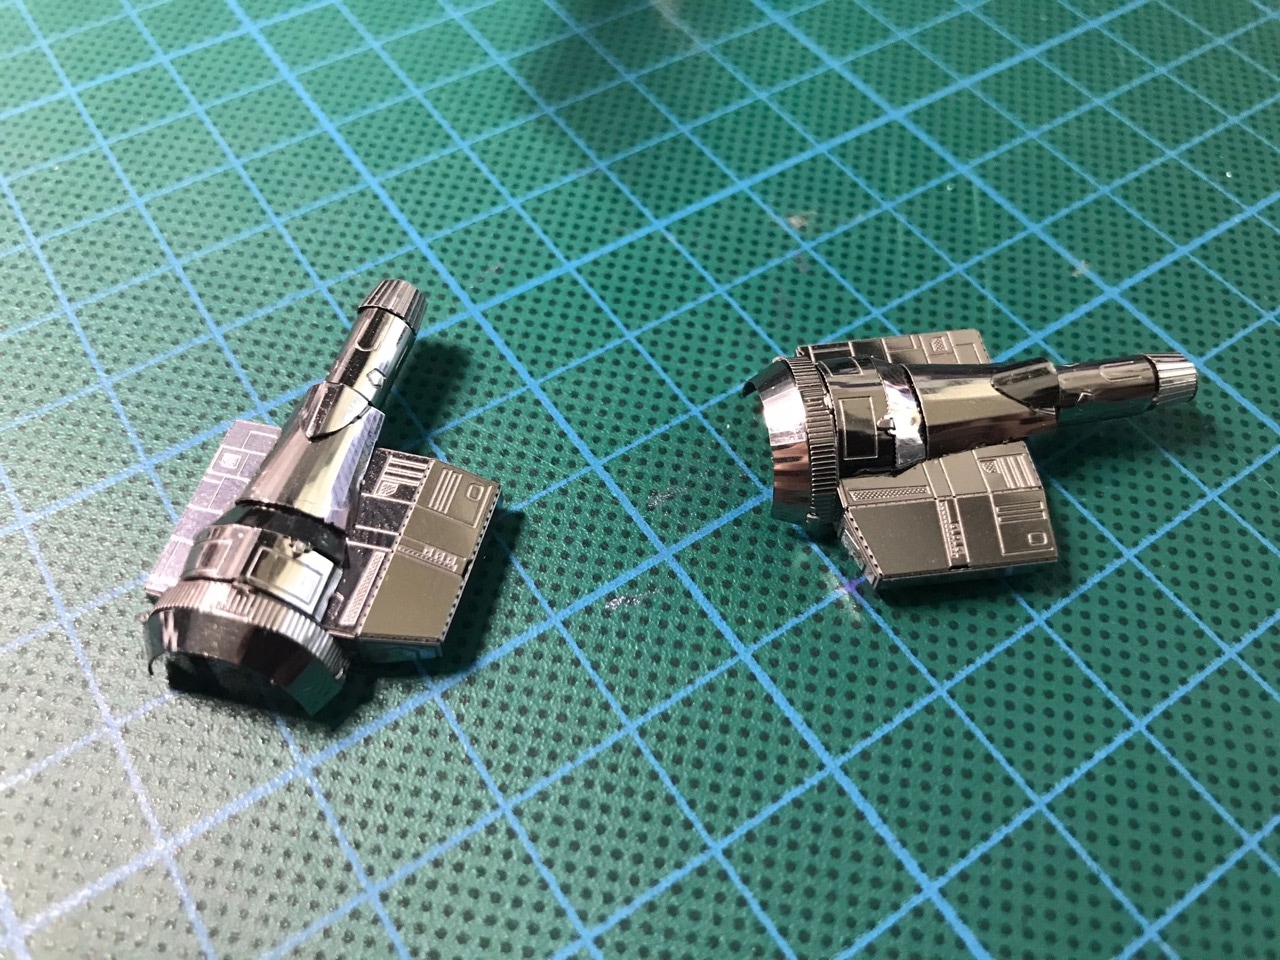
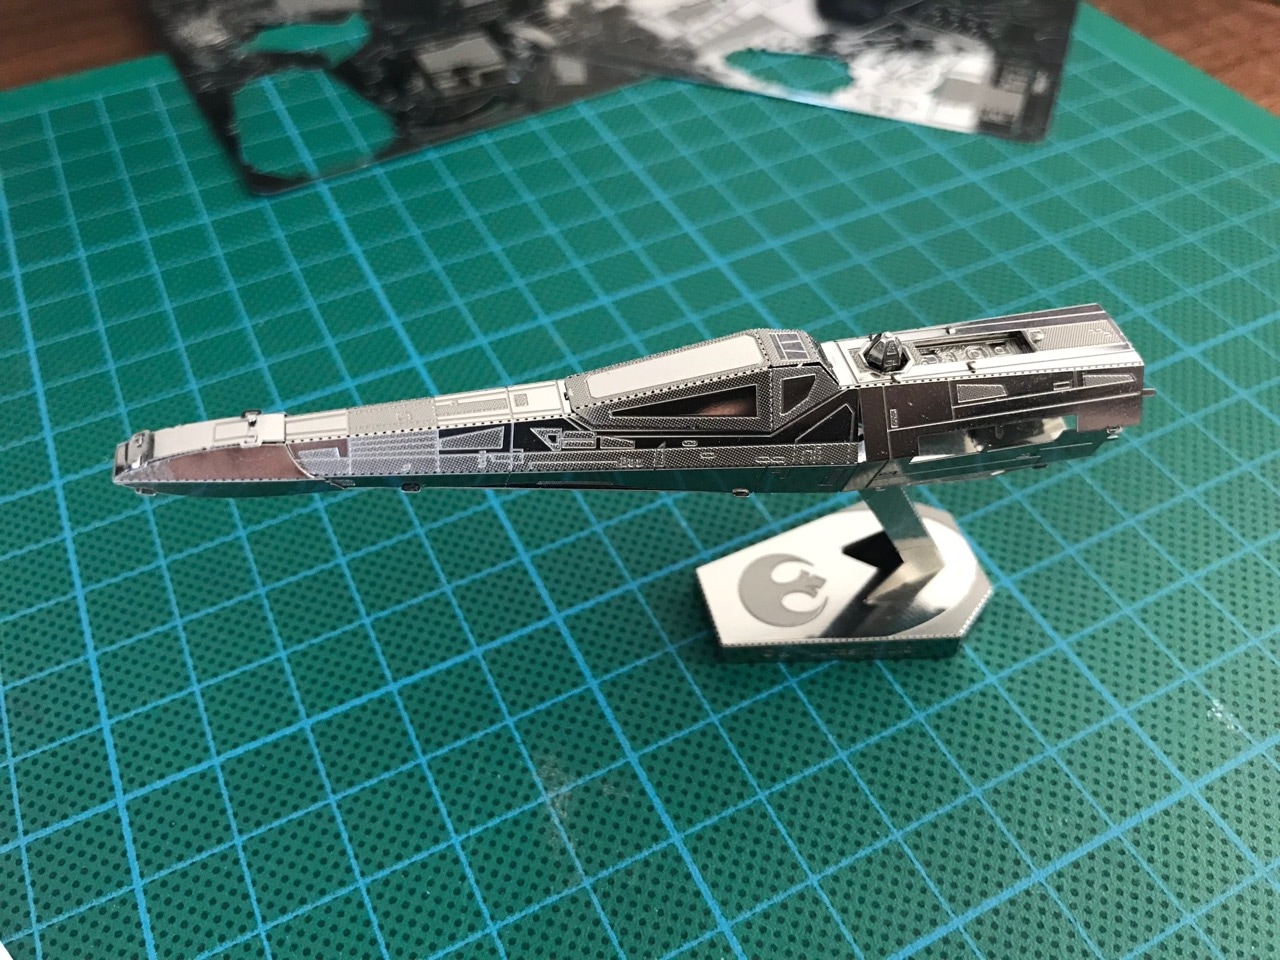
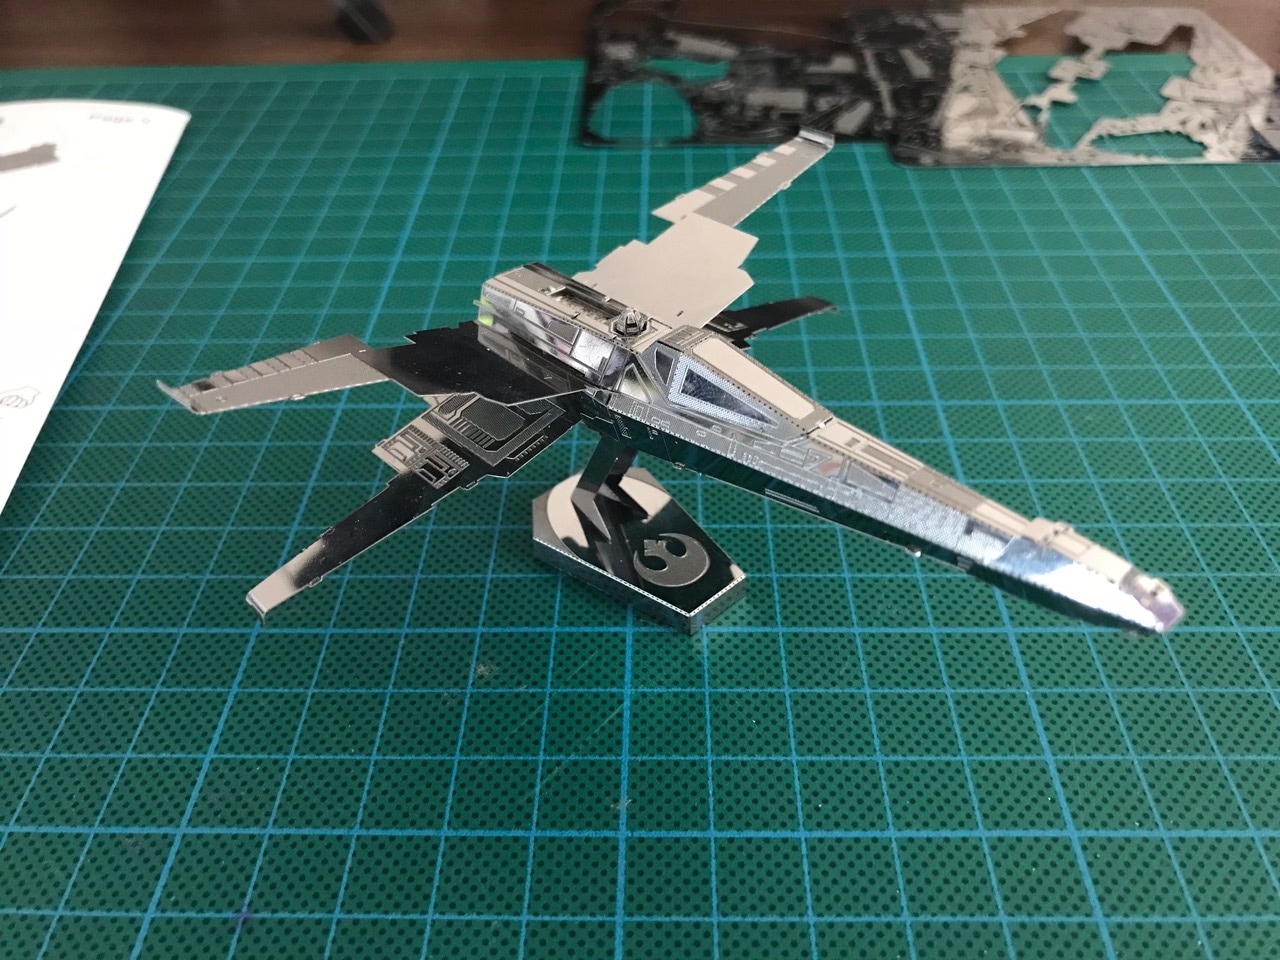
Engines mounted and it's looking even really cool!

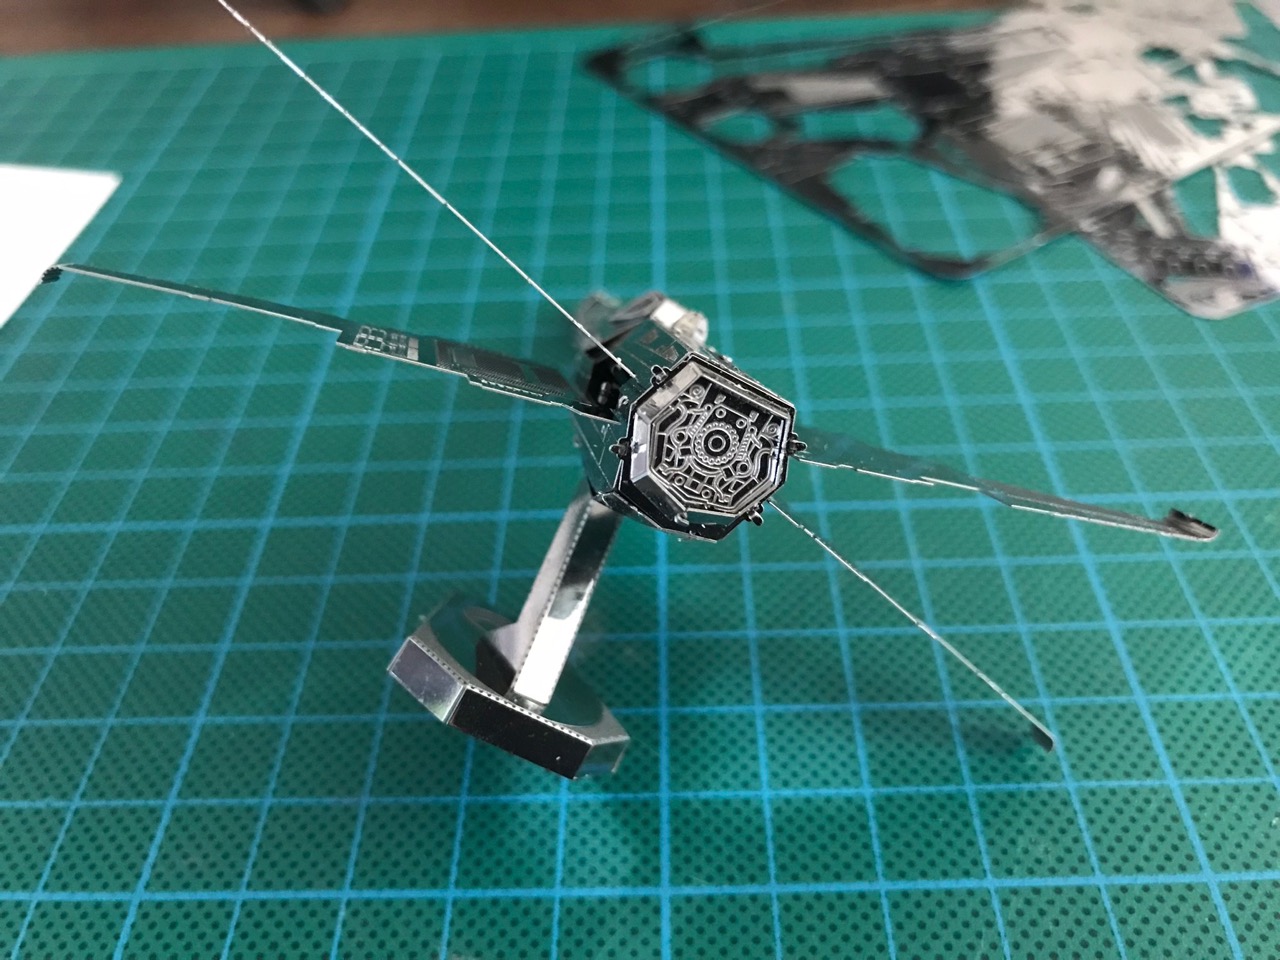
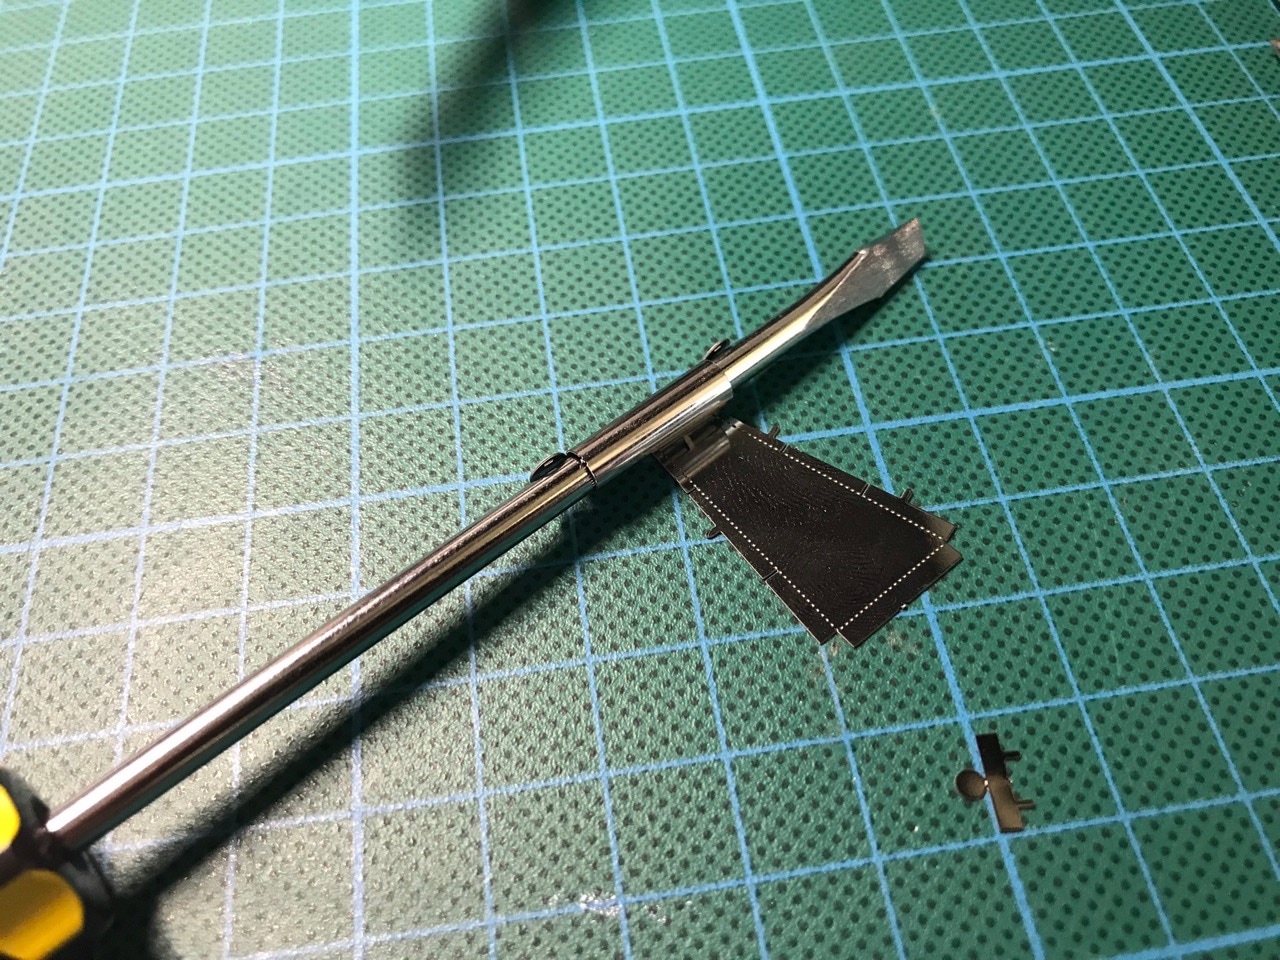
The guns were next. I thought there was a lot of circular sections on the engines...well this was even more...circular! Something else I've not seen in Metal Earth instructions previously, they actually showed showed to use a round rod to bend the main gun body into shape. I used a screwdriver for this purpose. The guns were the last pieces to go on the body and the kit was fully assembled now!
This was a fun but surprisingly long kit to put together. It was completely worth the time though and if you're a Star Wars fan you will appreciate it all the more! Can't wait to see what new Star Wars kits Metal Earth comes up with!
Here's a time lapse video of the assembly.
This was not the first Star Wars kit from Metal Earth I've put together. Check out my other article on Putting together the Metal Earth Star Wars Imperial Star Destroyer kit.
Enjoy!
-i
