retro consoles, which I tend to do. Up to this point I‘ve been using desoldering wick to remove old components. This always did a good job but was always a tedious process and I always ended up with burned fingers when using it. For those reasons I decided to buy myself a cheap Chinese desoldering iron/pump tool.
At around $12 (AUD) my expectations were low, but nothing prepared me for what I found. At first glance the tool looked ok, however the first thing that annoyed me about it was that it came with a EU style plug and an adapter to make it work in Australia. There was also some additional wire with an alligator clip that I didn't know the purpose of at that point.
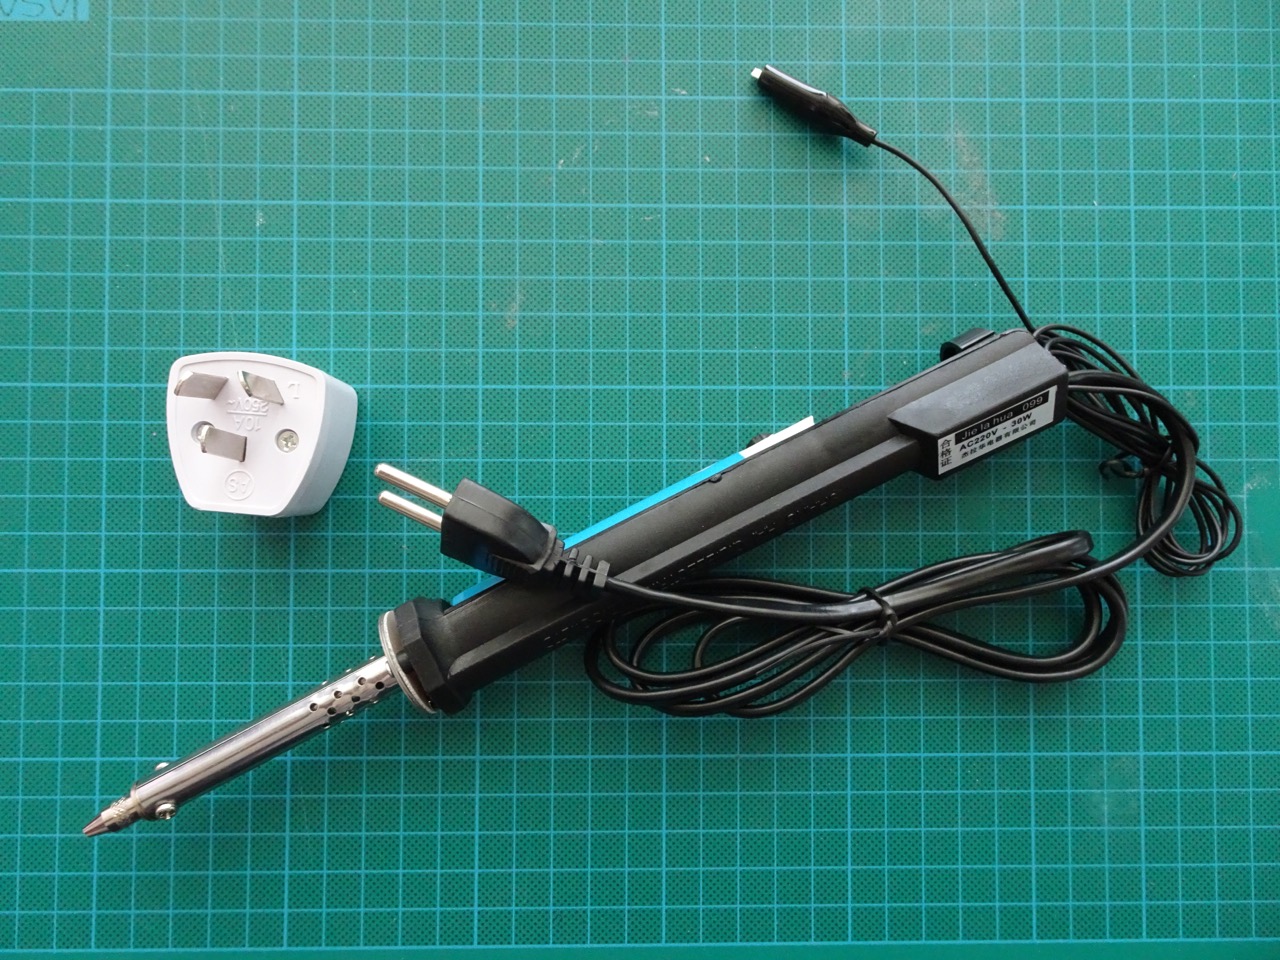
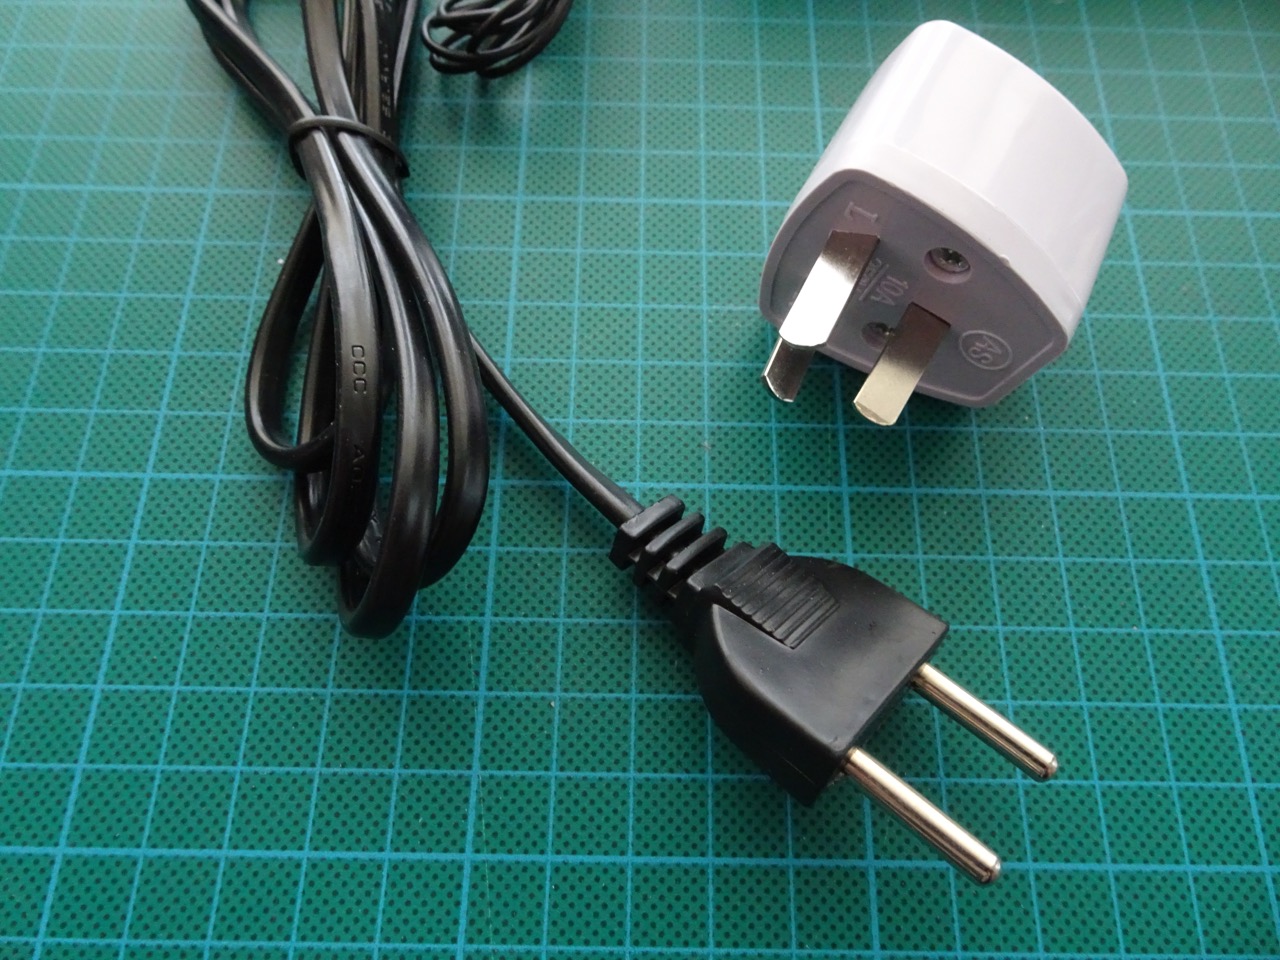
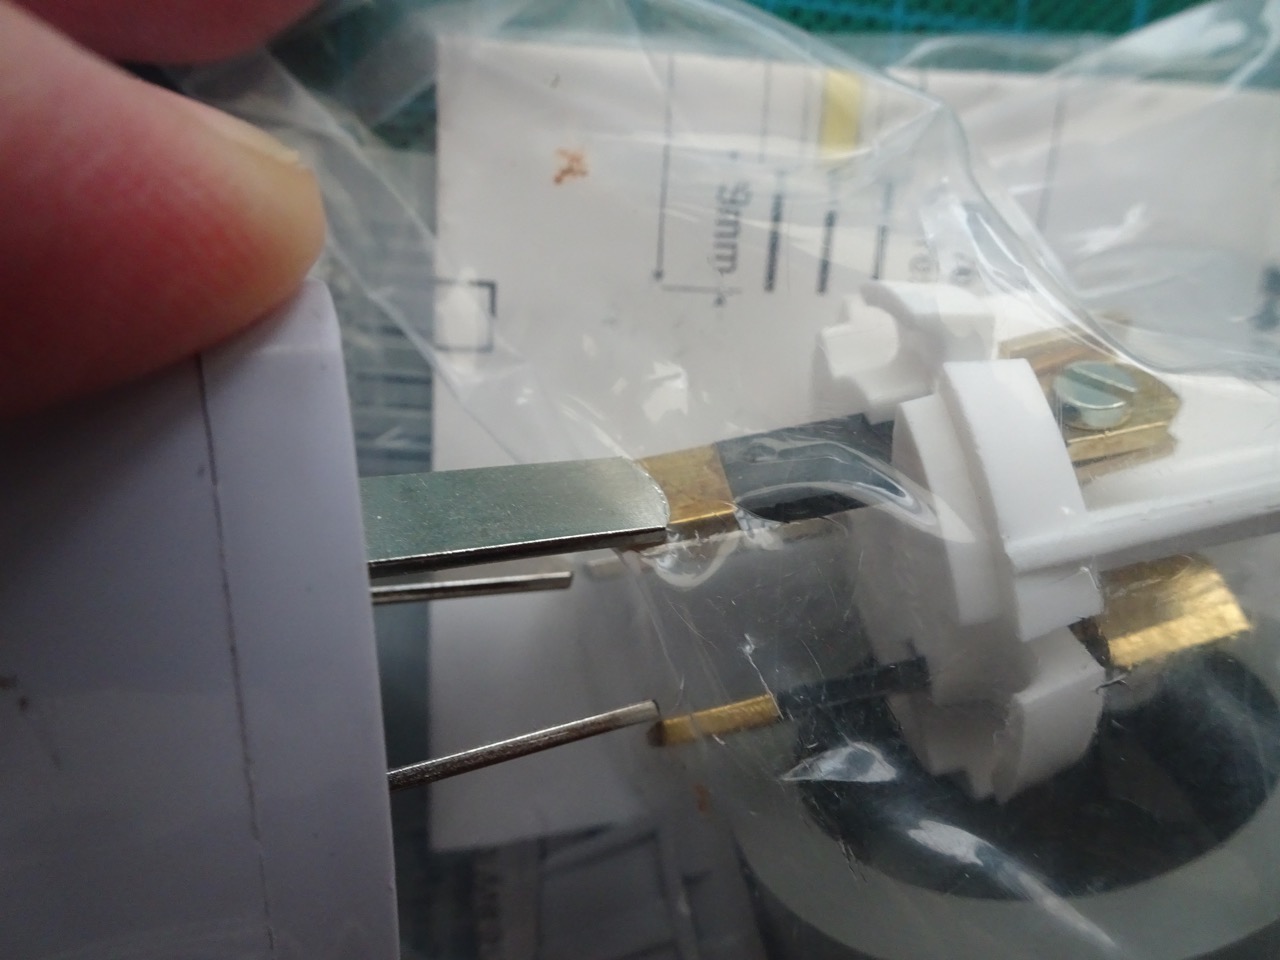
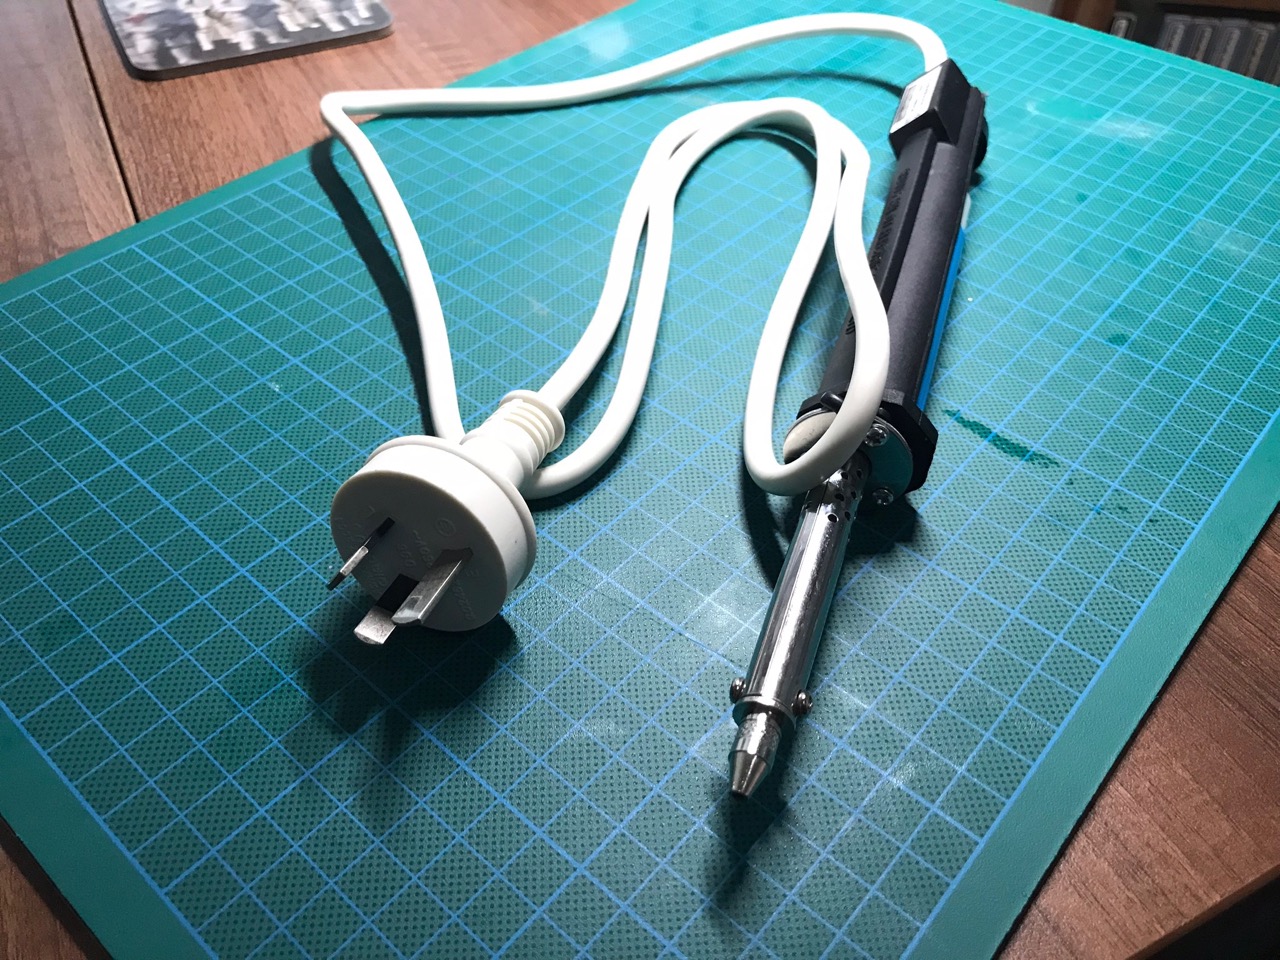
The power cable that was used was extremely thin and presented an electrical hazard in itself, but the power socket adapter was even worse! Its pins were about 1/2 the thickness or what a standard power socket plug should have had. My initial plan was to simply change the power plug over (hence why I had a new plug ready to go) but that plan was quickly abandoned once I saw how thin the power cable was. I decided to use a decent power cable with the correct power plug on it already, it also had the earth pin and wire all included.
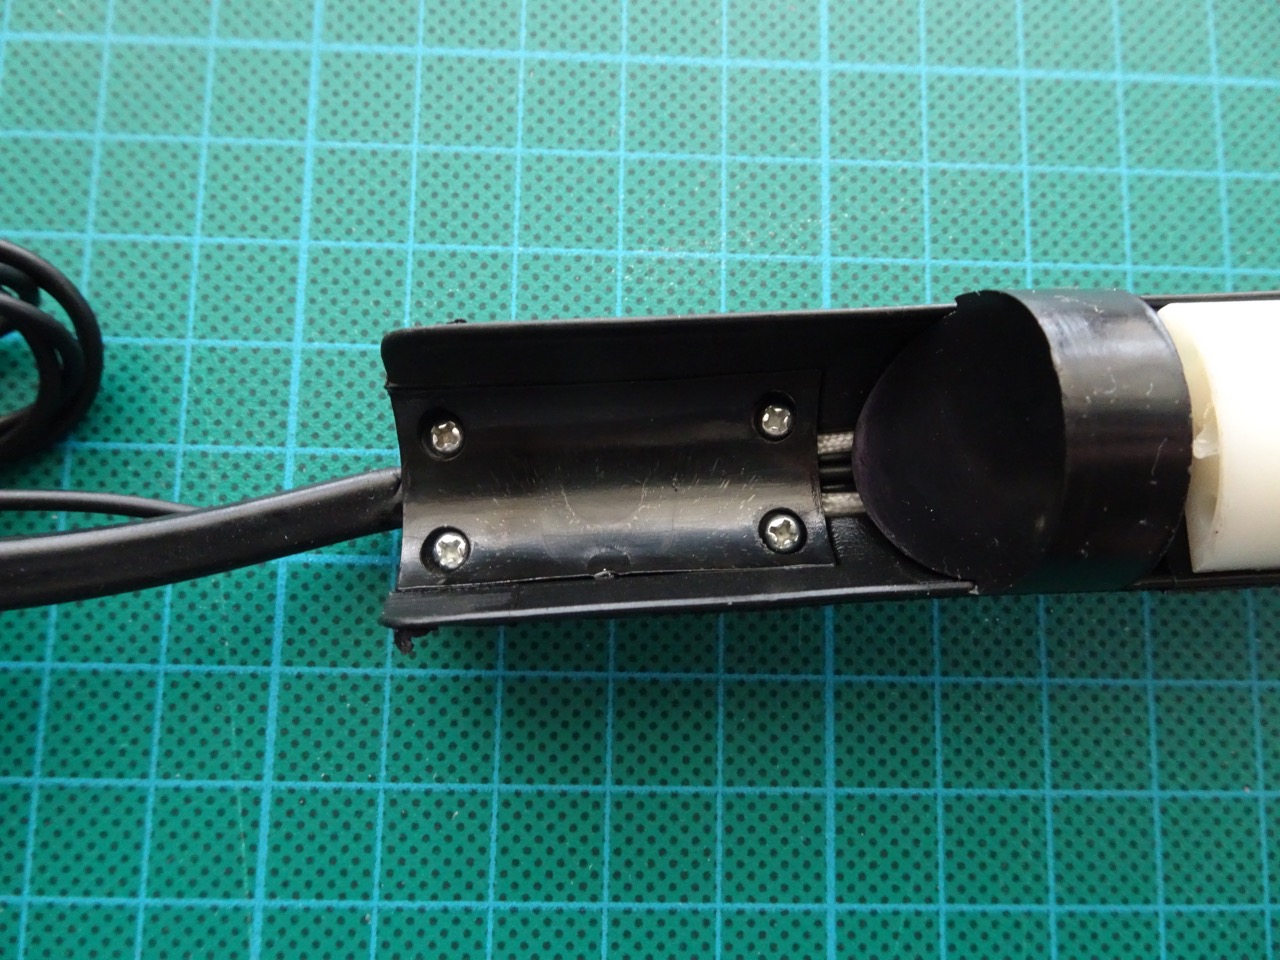
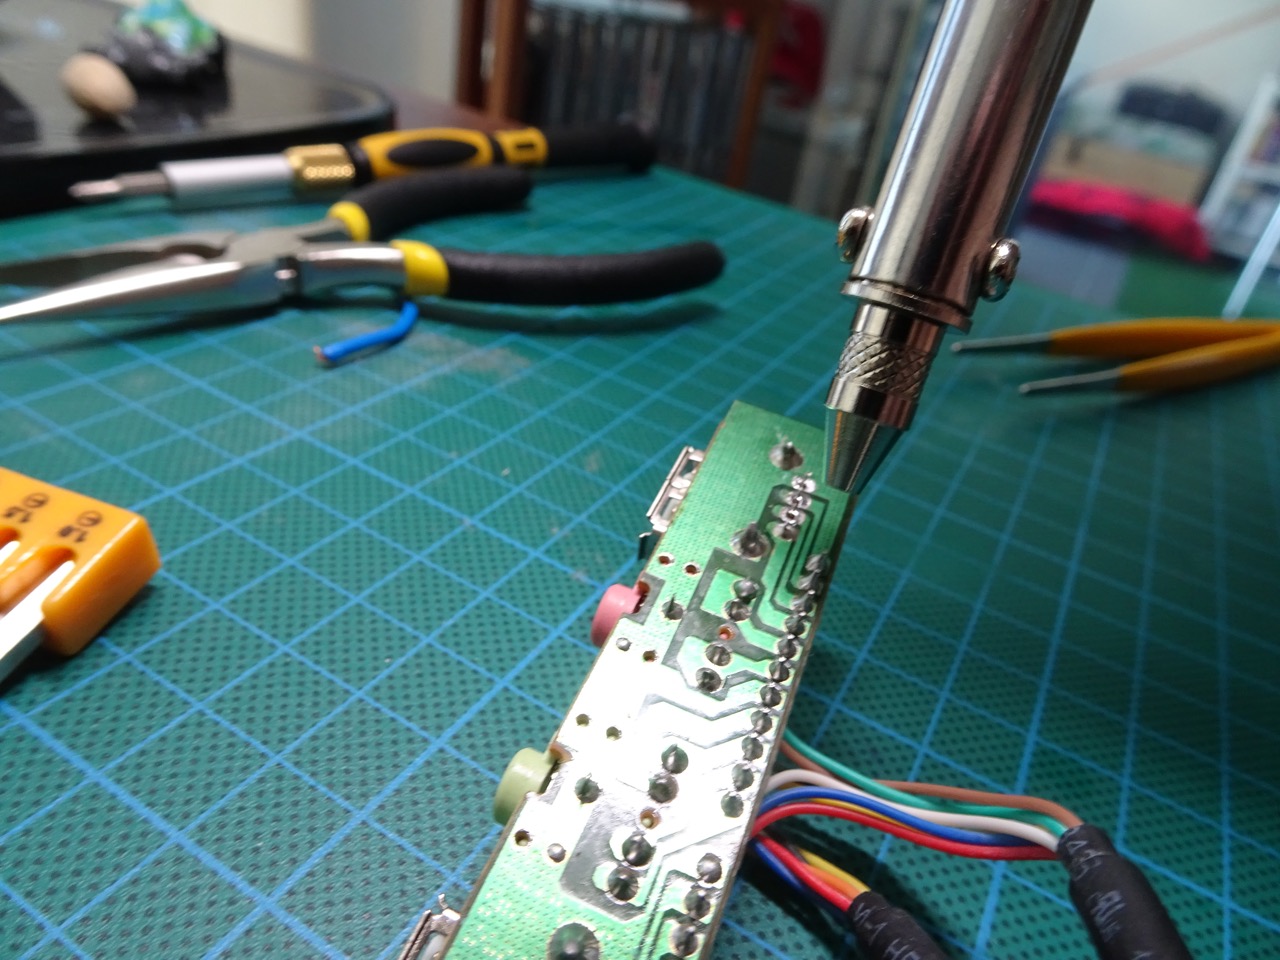
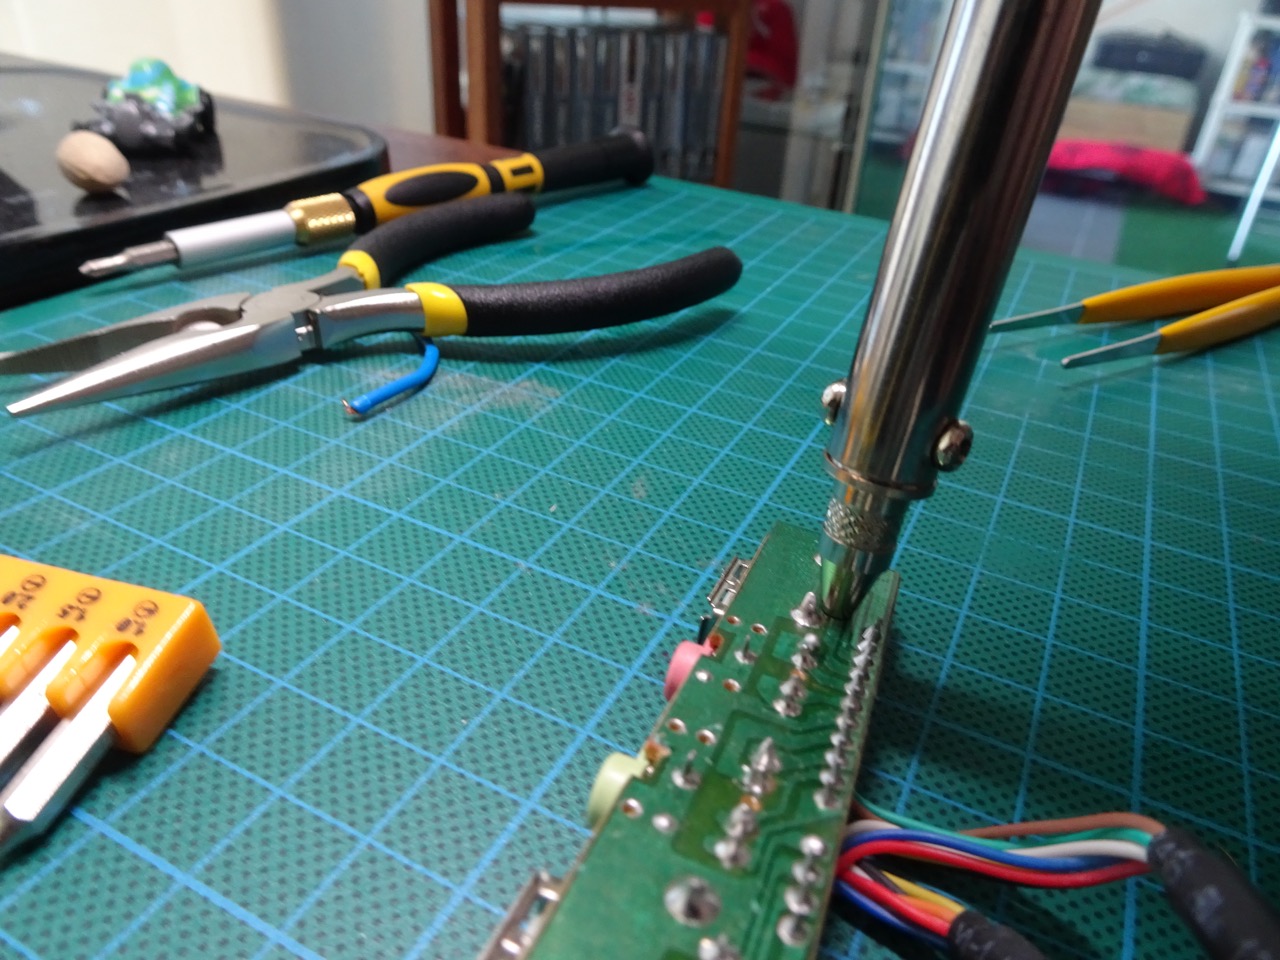
It was time to disassemble the tool so I removed the four screws that held the power cable in place. I was shocked at what I saw (pun intended!) The mains wires were simply connected to the thermoelectric wires inside the tool with a few winds around them! They were a few millimetres apart and had no insulation between them. Wow!
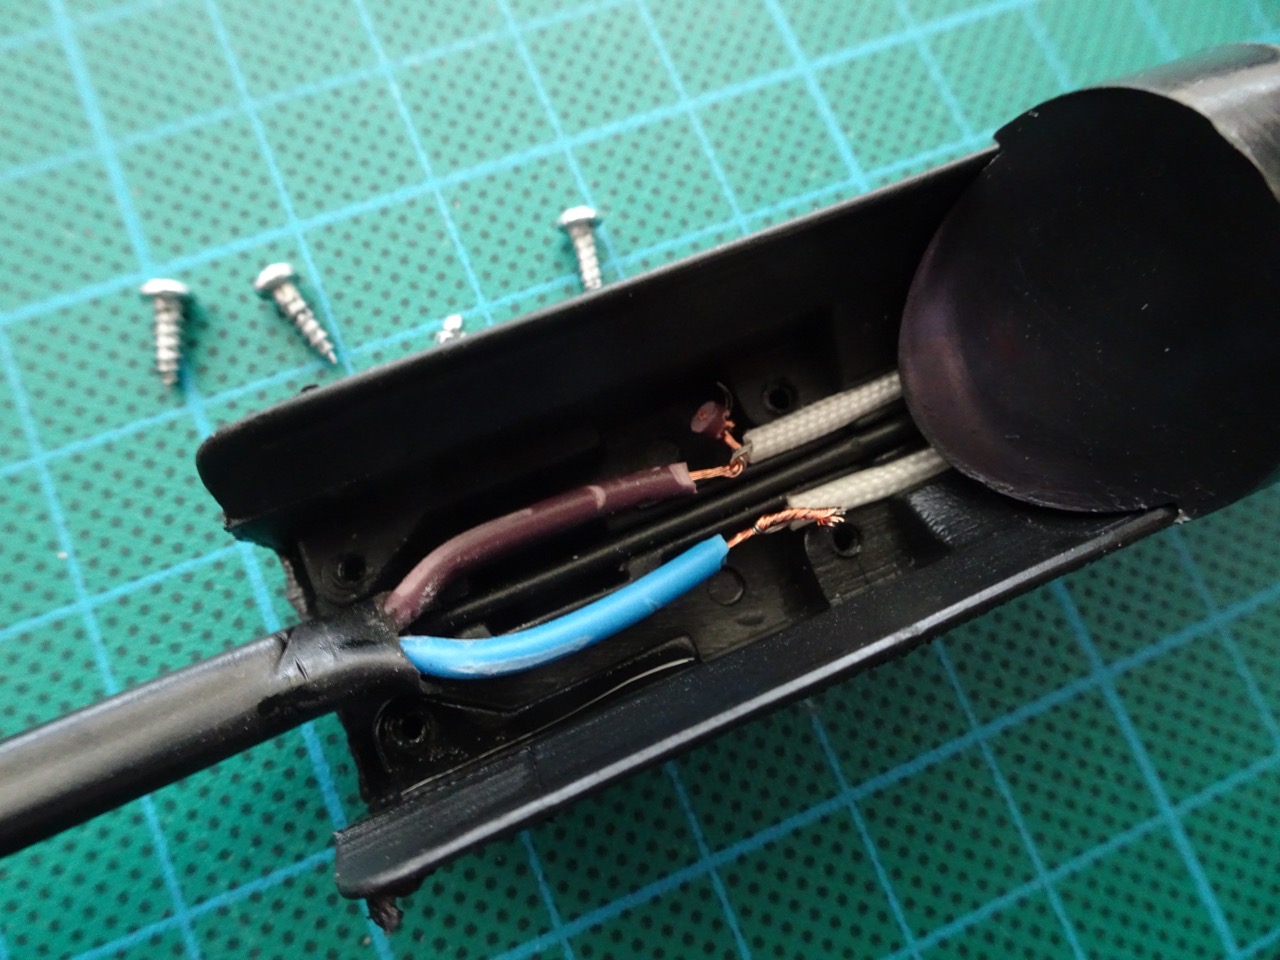
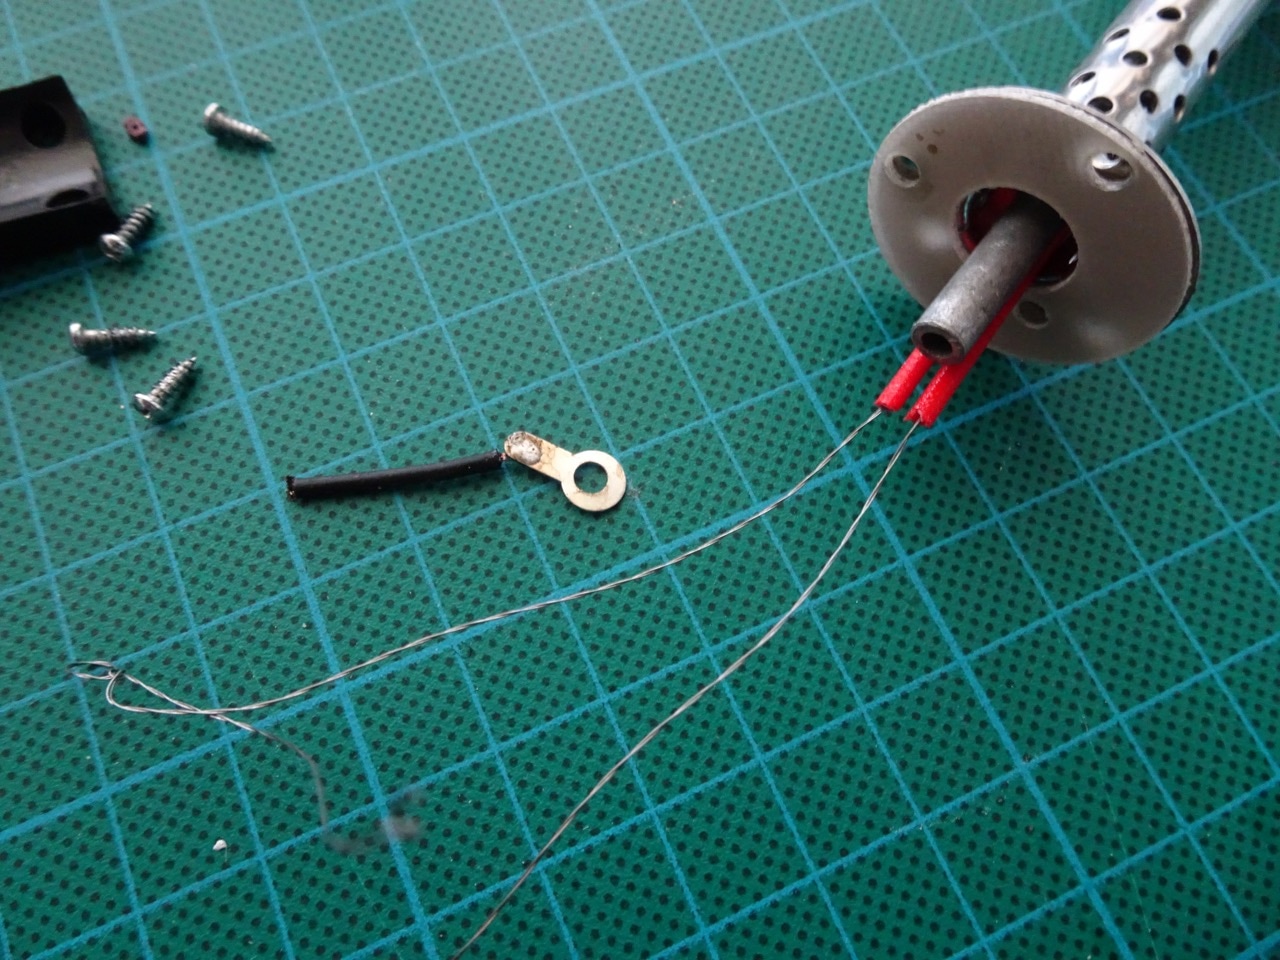
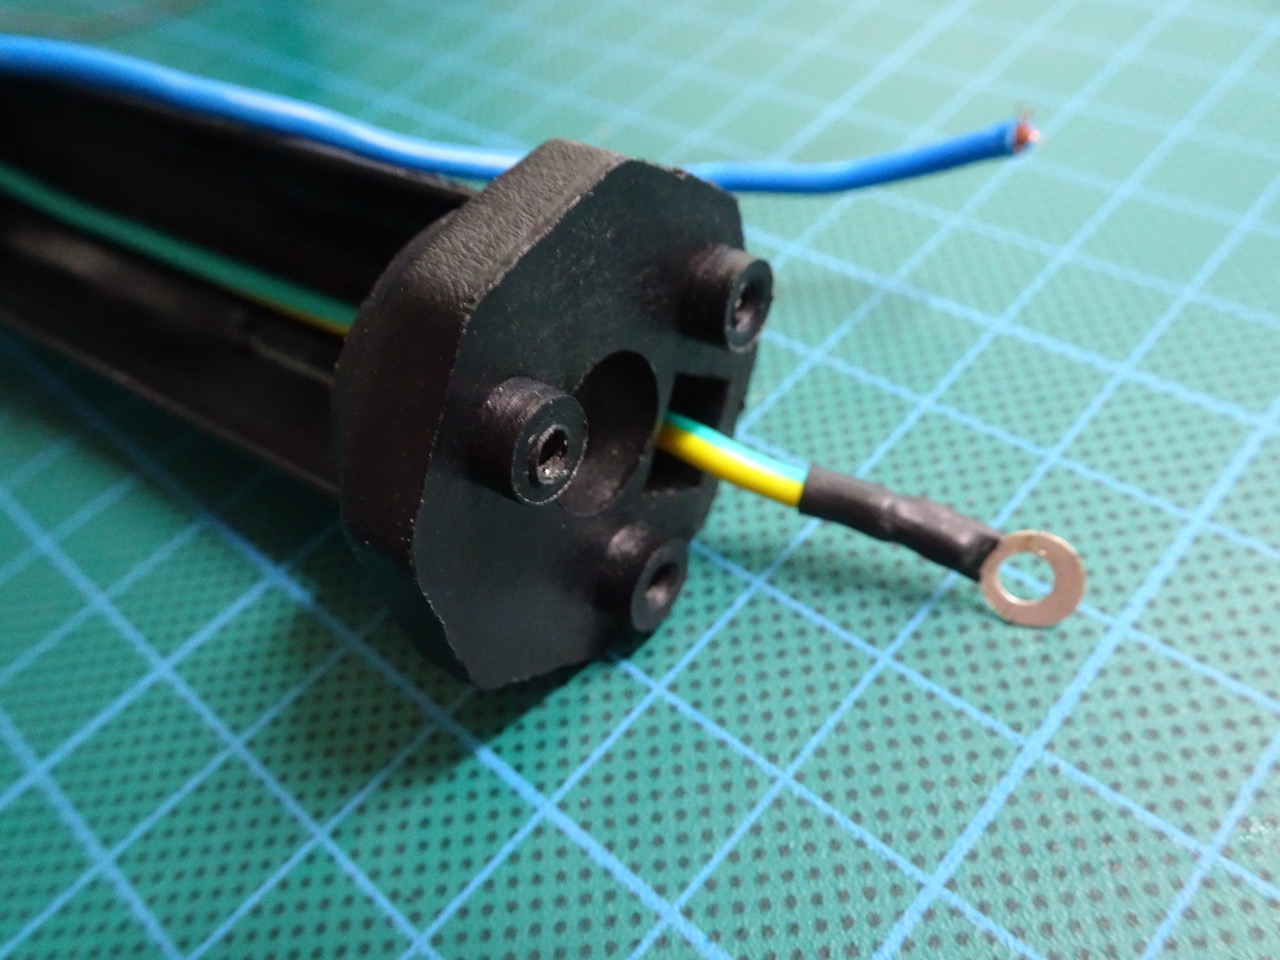
I removed the pump to see what was going on under it and saw that the thermoelectric wire was running directly ender it all the way to the heating element with only the smallest bit of thermal insulation around it. That's when I took the metal part of the tool off, there were only three screws to hold it in place. I discovered that the extra wire with the alligator clip was for earthing the tool! That wire was so thin that any short that may have happened would instantly fry, so it was completely useless!

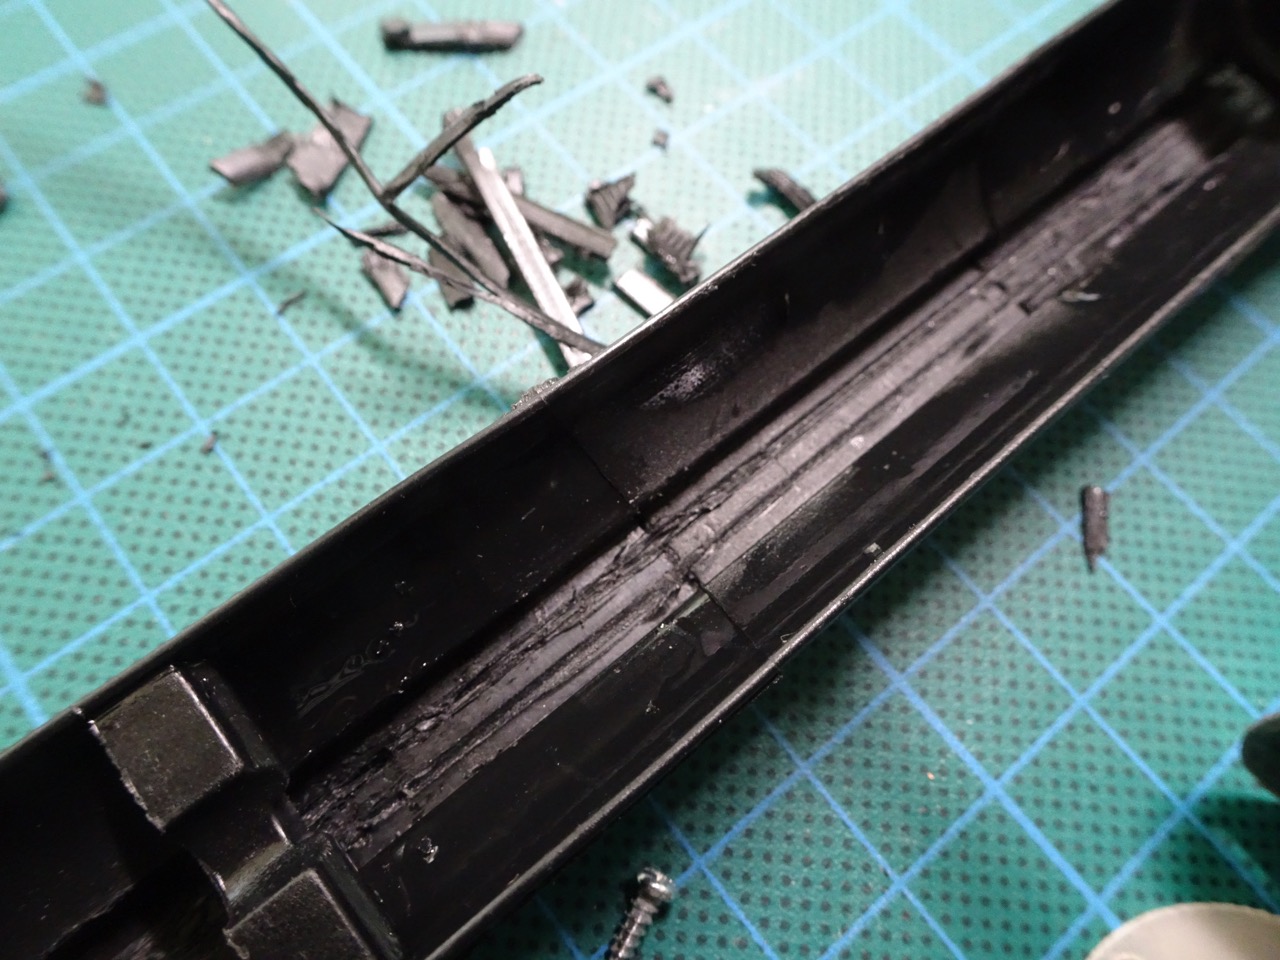
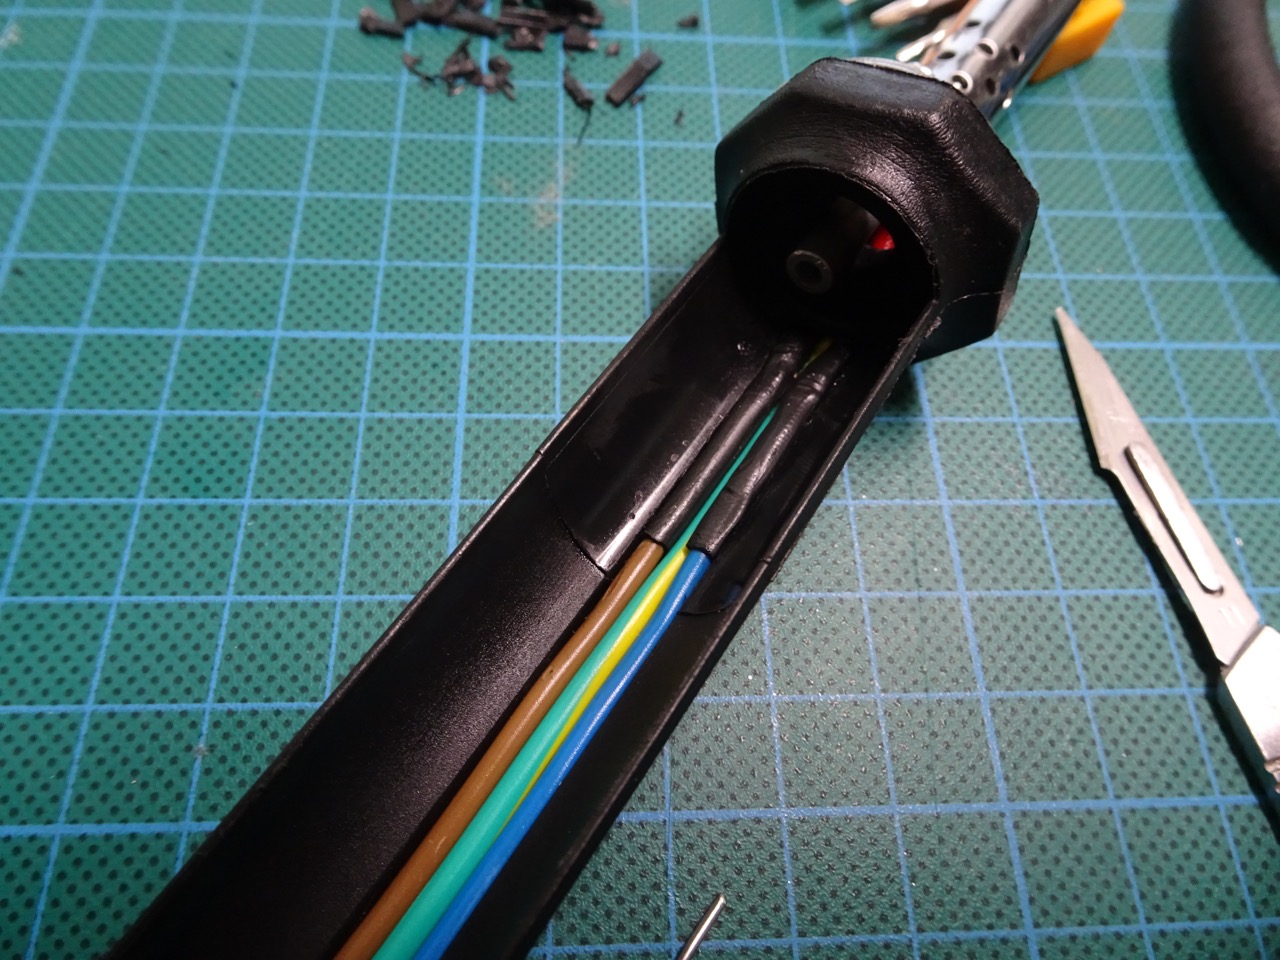
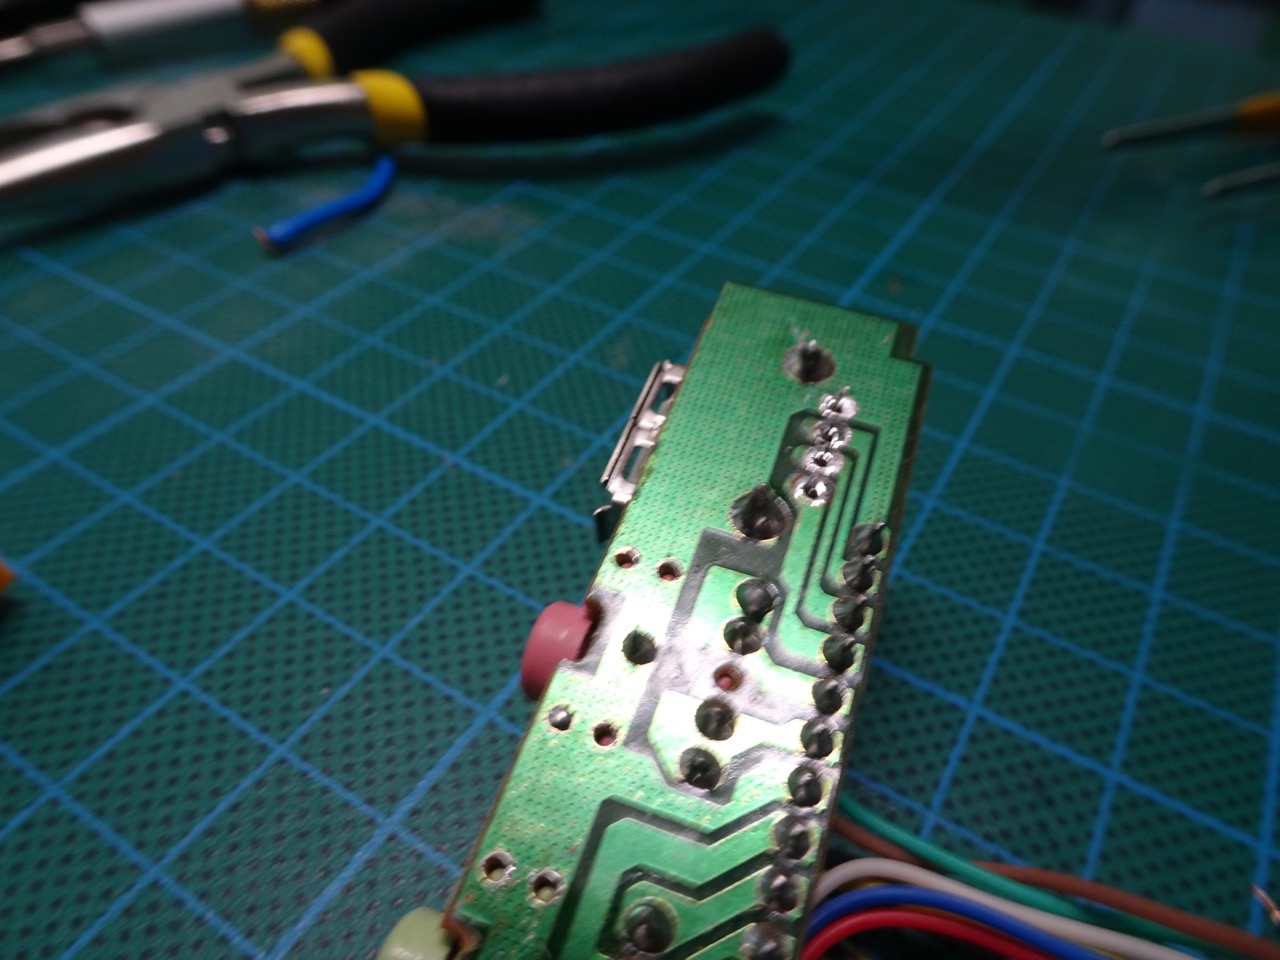
What I needed to do to was run the proper gauge wires the whole length of the tool and connect everything as close to the heating element as possible. There were two plastic ridges that I had to remove to make this happen and all three wires fit in neatly afterwards.
I connected the earth wire to a round termination lug which was then screwed in under one of the screws when reassembling the front section. This made sure it had contact with the body of the tool and would work if any short did happen.
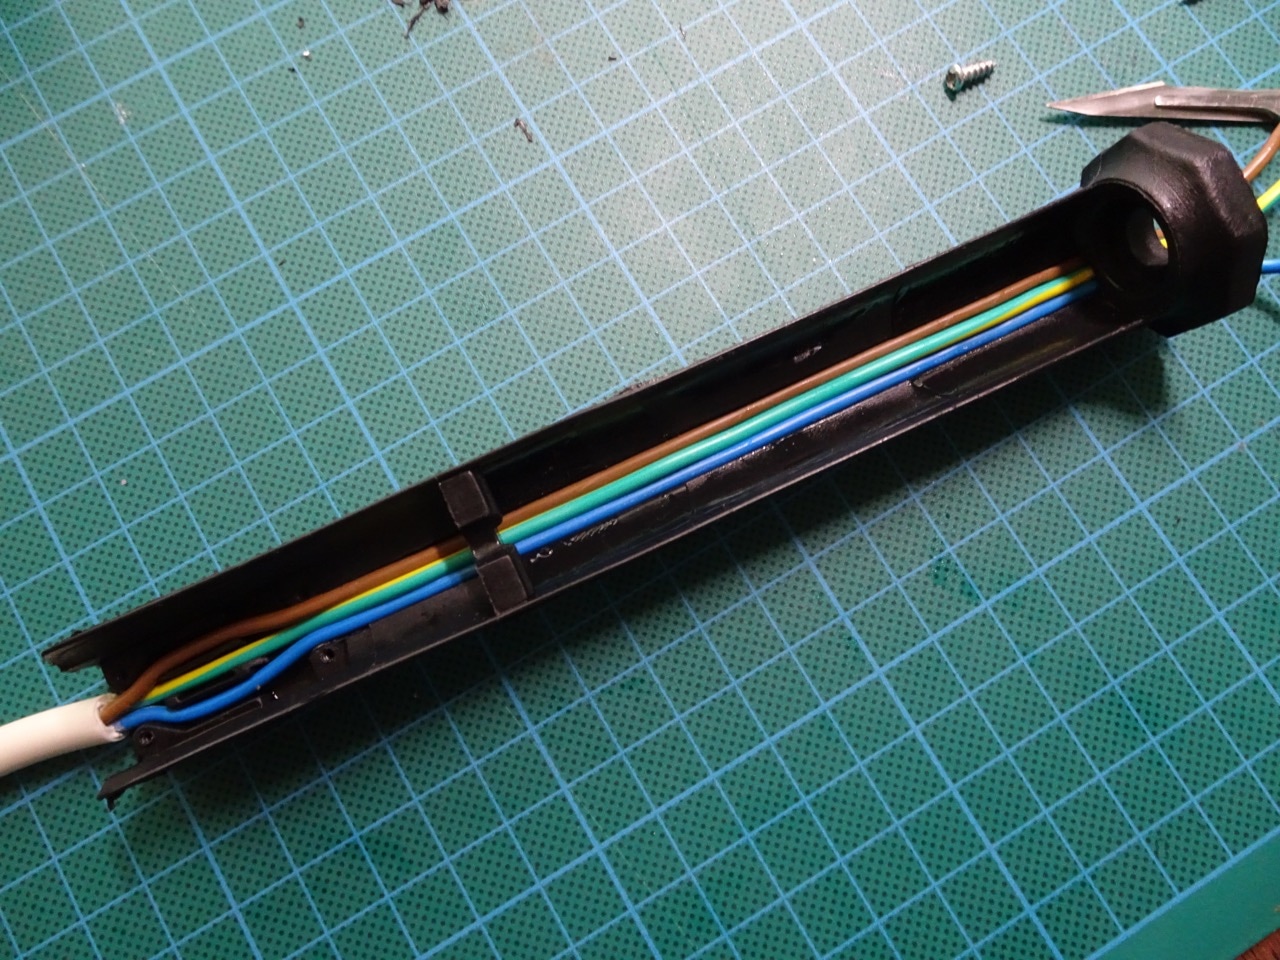
For the other two wires I had to get a little creative. The thermoelectric wire would not tin and would not solder directly to the power wires. To make it work what I ended up doing was stripping the power wires and without tinning them I pushed the TE wire through the middle of the wire bunch and twisted the power cable in on itself. I then tinned the power wire with the TE wire in the middle of it. The solder made its way all through the copper and held the TE wire firmly in place. This was a bit of a hack but it was the best I could do. I made sure to use shrink wrap to cover both the mains wires and I was done!
The end result was a safe to use tool (at least safer than what it started as!)
It was time to test it out. I was cautious just in case I messed something up and used an extension board with a power switch (set to off) to connect the tool. I switched the extension board on, nothing shorted out or sparked so it was off to a good start. I could feel heat building up on the heating element and it started smoking shortly after. The smoke was from oil, not electrical smoke (oh yeah did I mention the pump and all wiring was covered in oil?!)
After letting it heat up for a couple of minutes I thought I'd give it a try and grabbed an old circuit board. It actually worked quite well!
So would I recommend buying a tool like this? I'd have to say no, unless you want to be electrocuted or are willing to do a mod just like I did before you even think of plugging it in. Good luck!
-i
