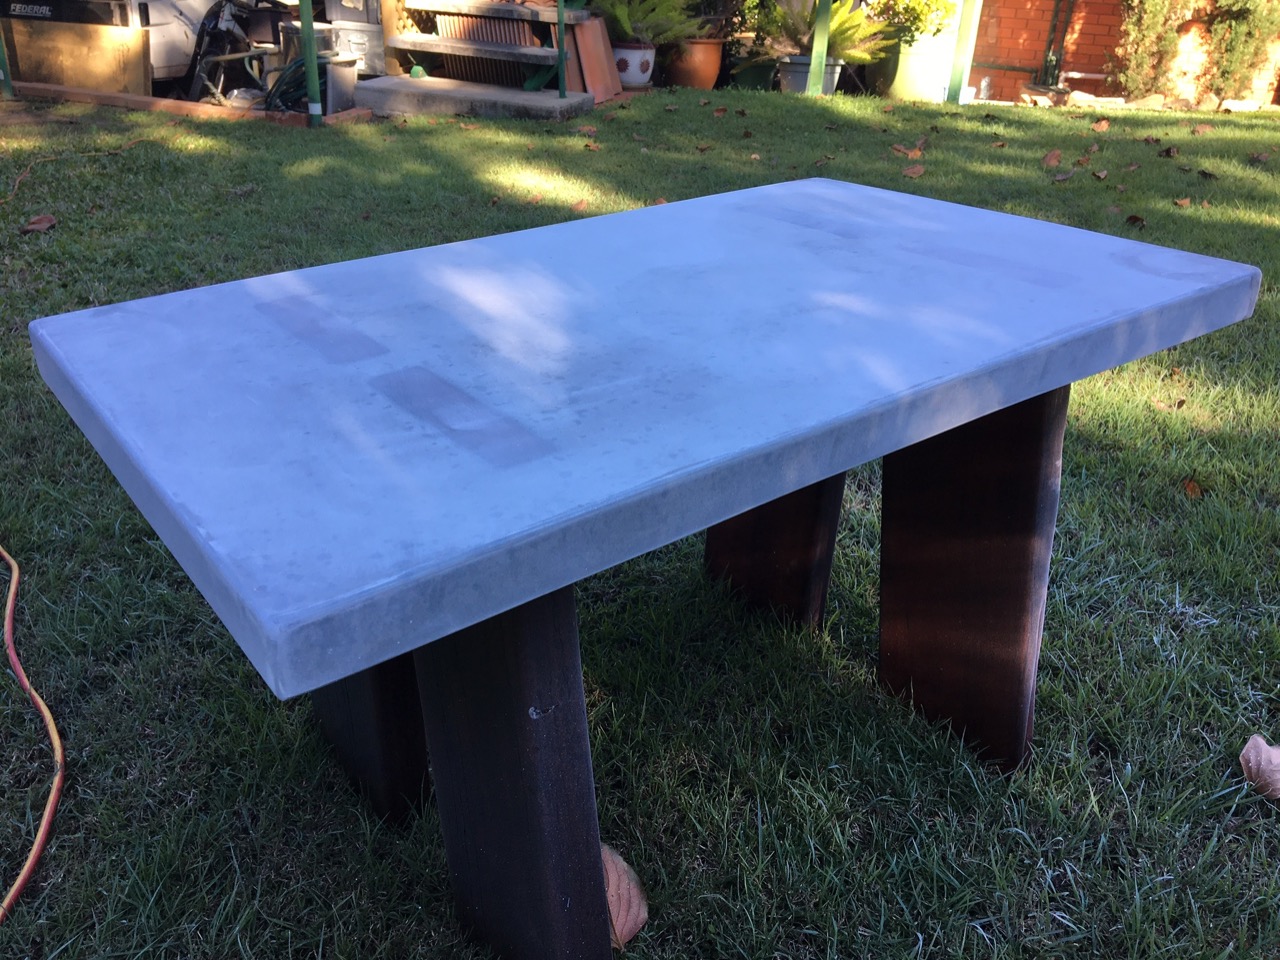
The end result turned out pretty much as I envisioned it, though it took considerably longer to make than I planned on.
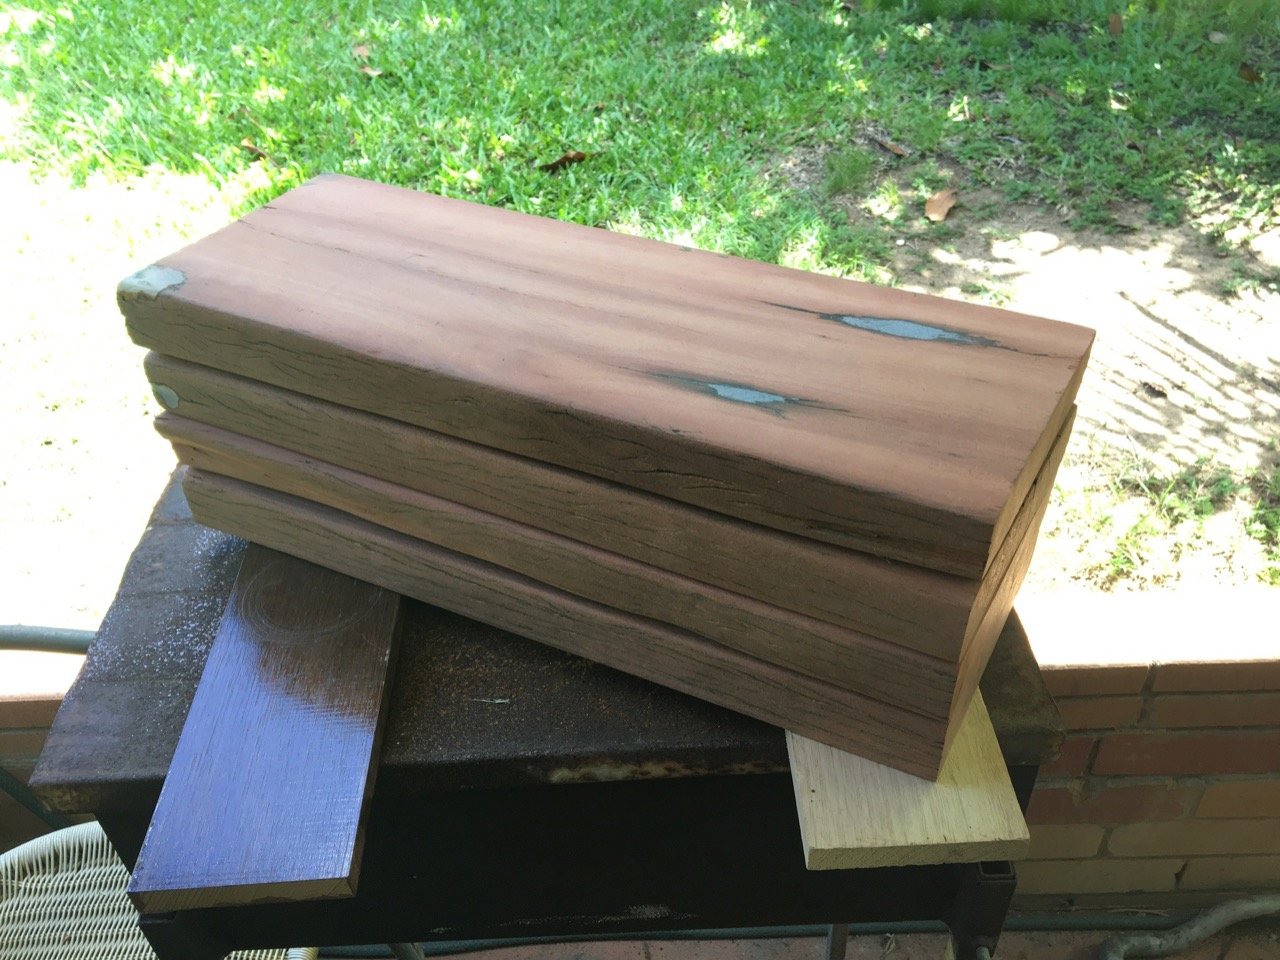
Unlike my previous coffee table project, this one was going to use hardwood just for the legs. The idea was that the tops of the legs would be visible through the surface of the concrete layer. I thought this would require some precise workmanship but we cheated and used resin as well, so it didn't matter that the wood and the concrete surface were not completely aligned.
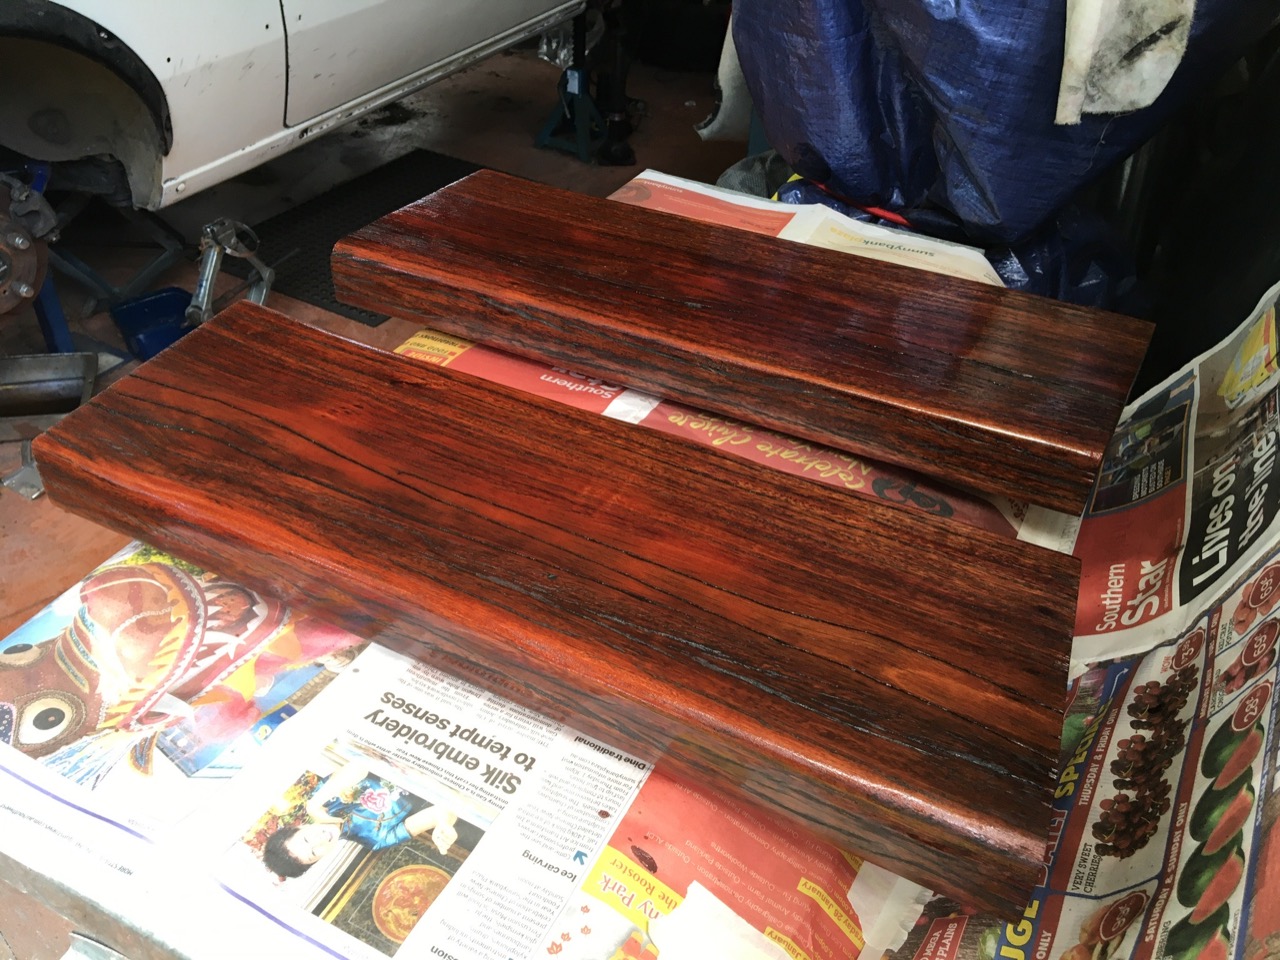
The legs had a bit of work done to them first. As usual they started off as one long piece that was cut down to 4 pieces. I also had to fill in all the holes from where there were bolts using clear resin. To finish the legs off, I used high gloss floor varnish, their red colour really popped out then!
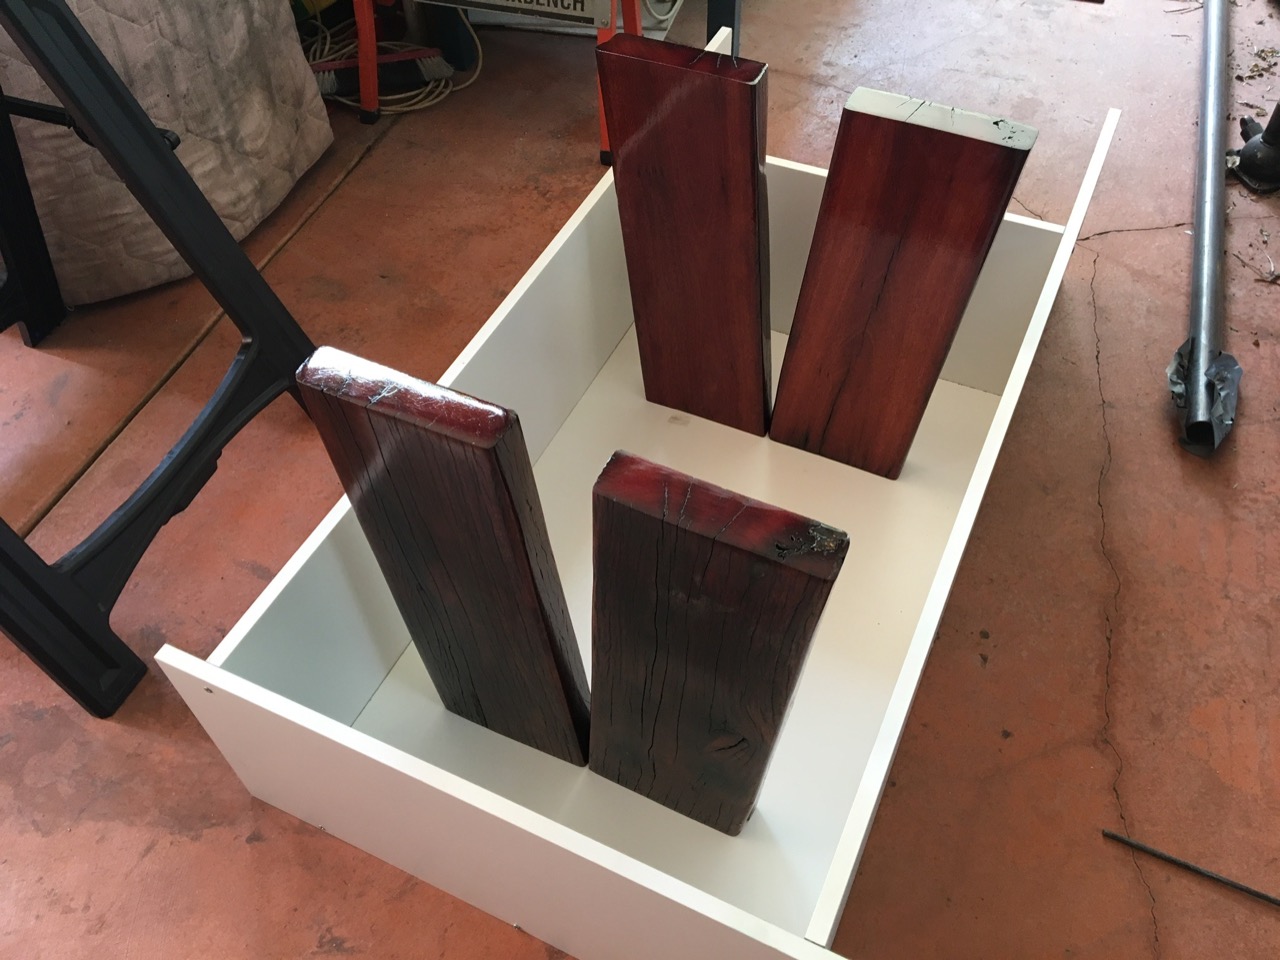
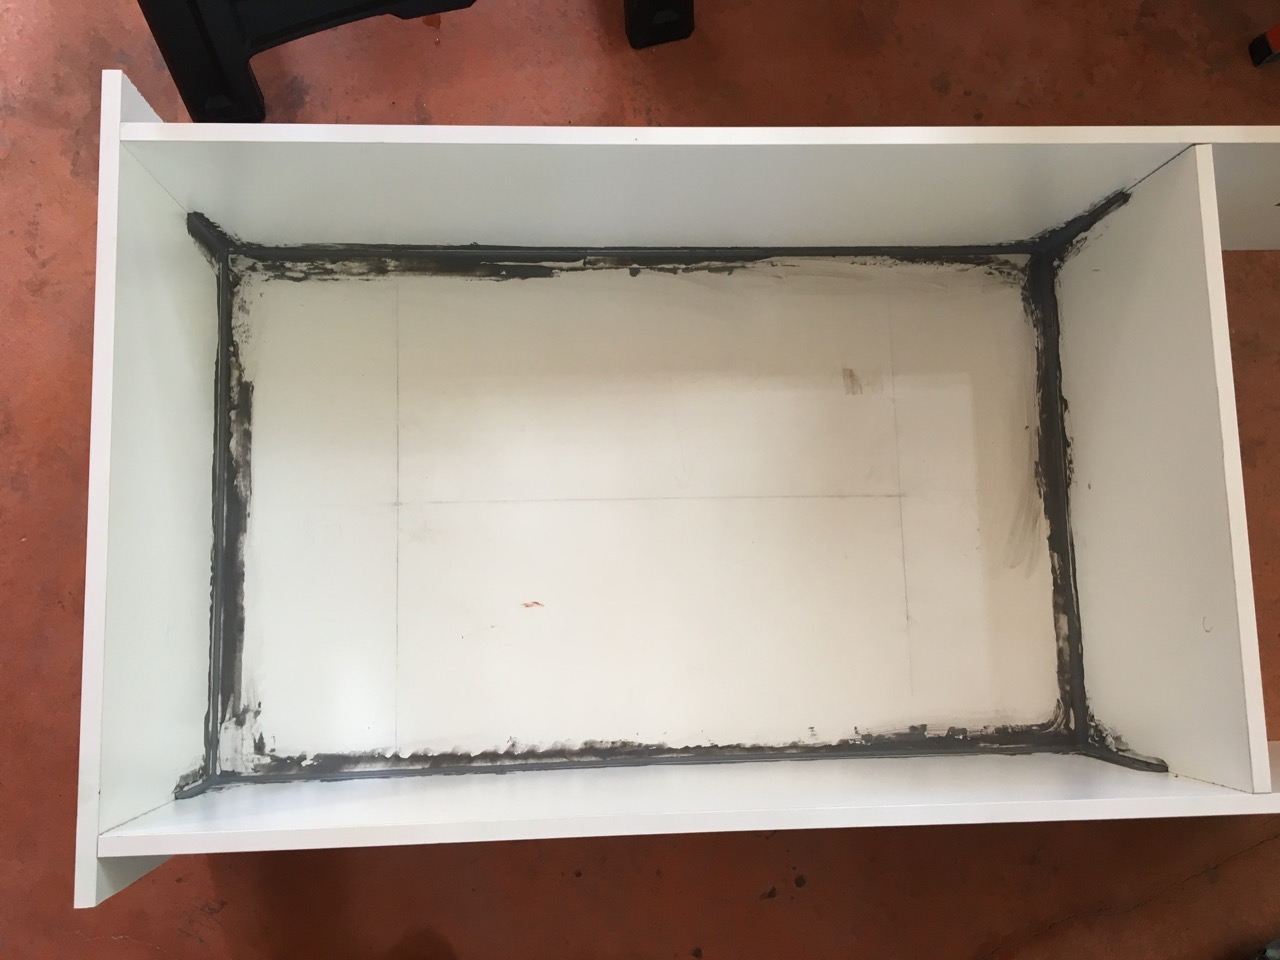
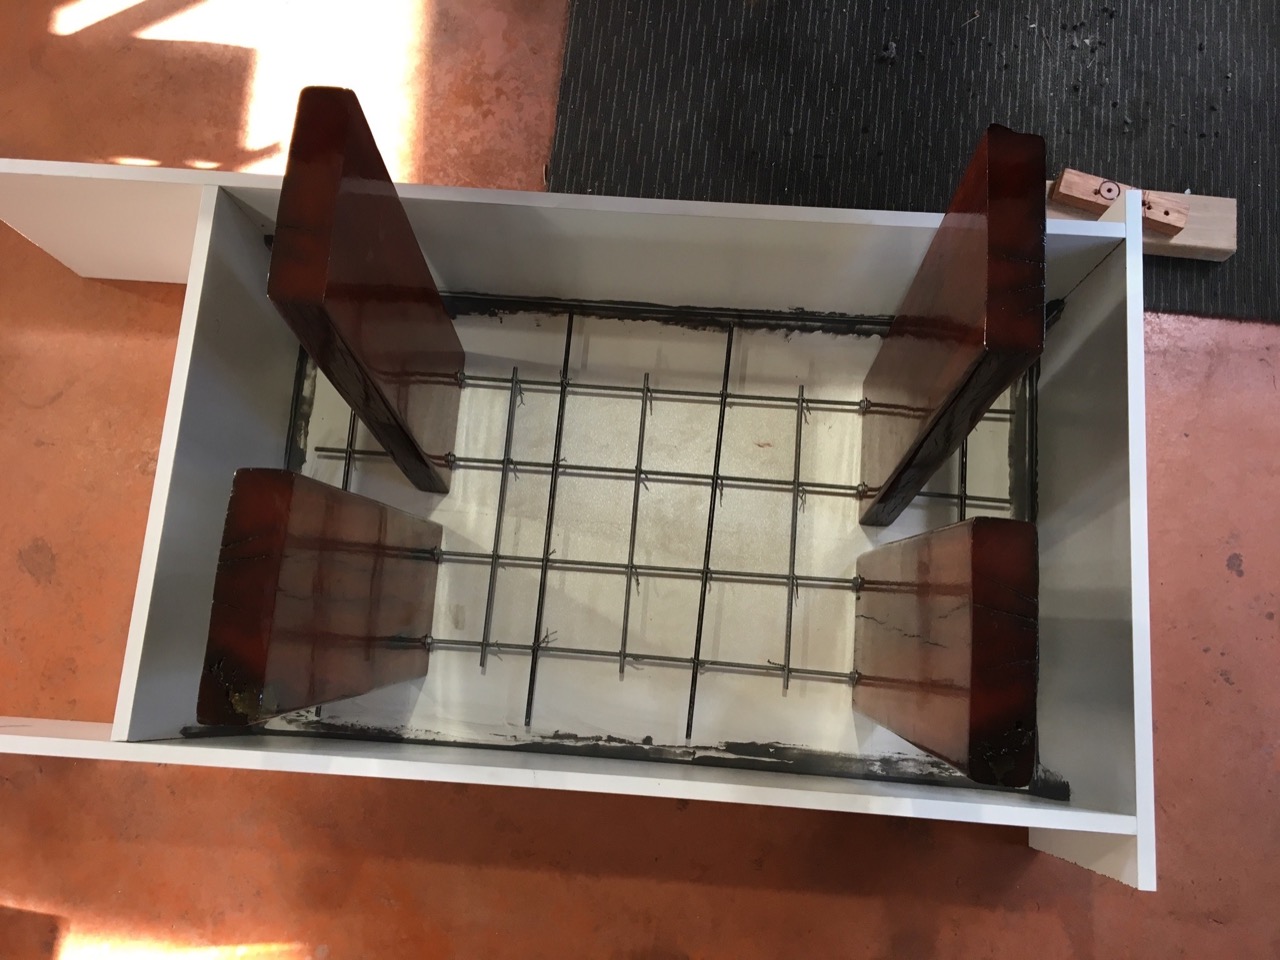
We made a mould for the concrete top using melamine. Here was the first dry fit of the legs and the sealed mould...
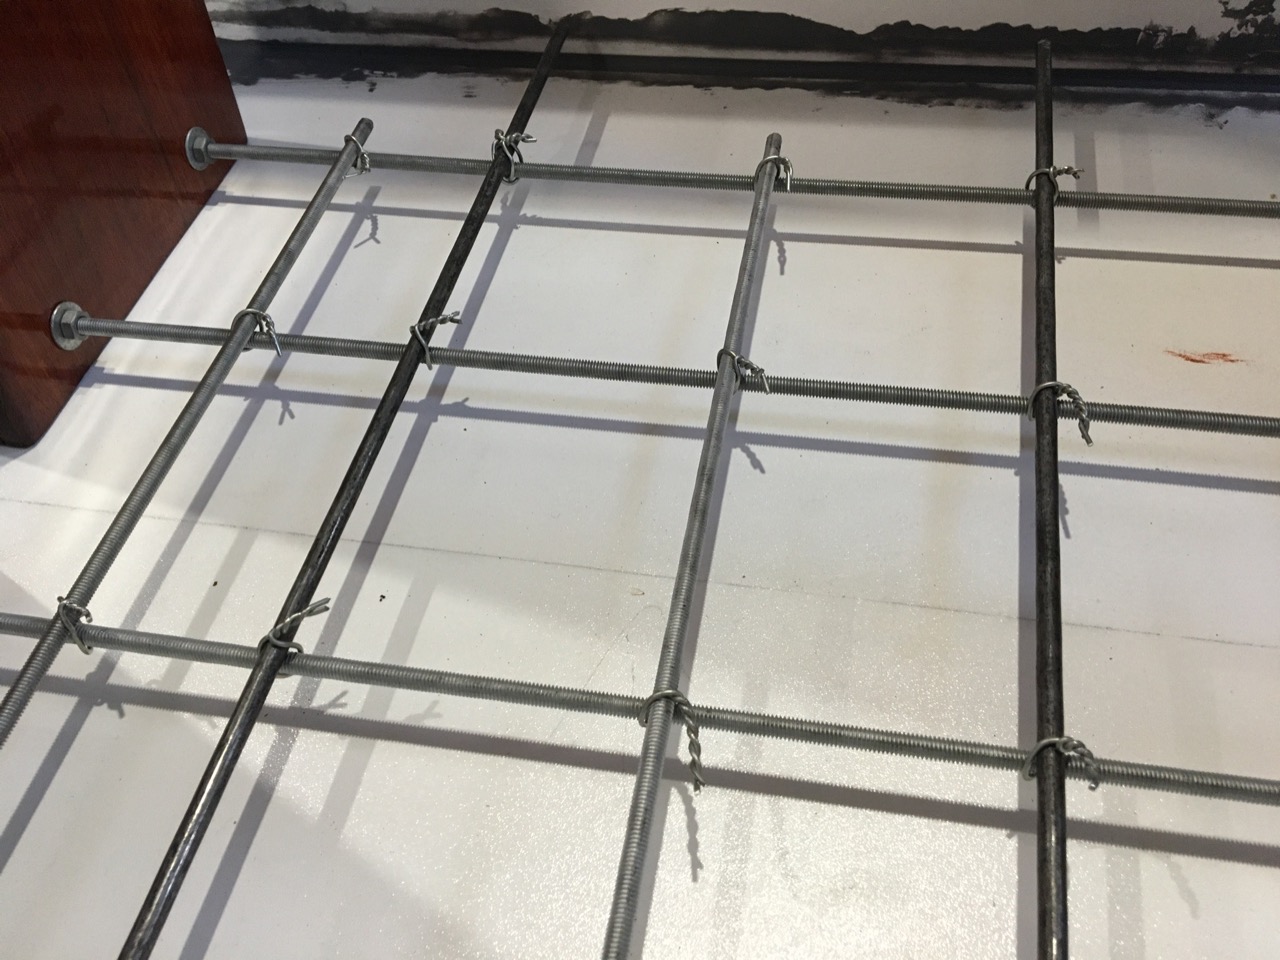
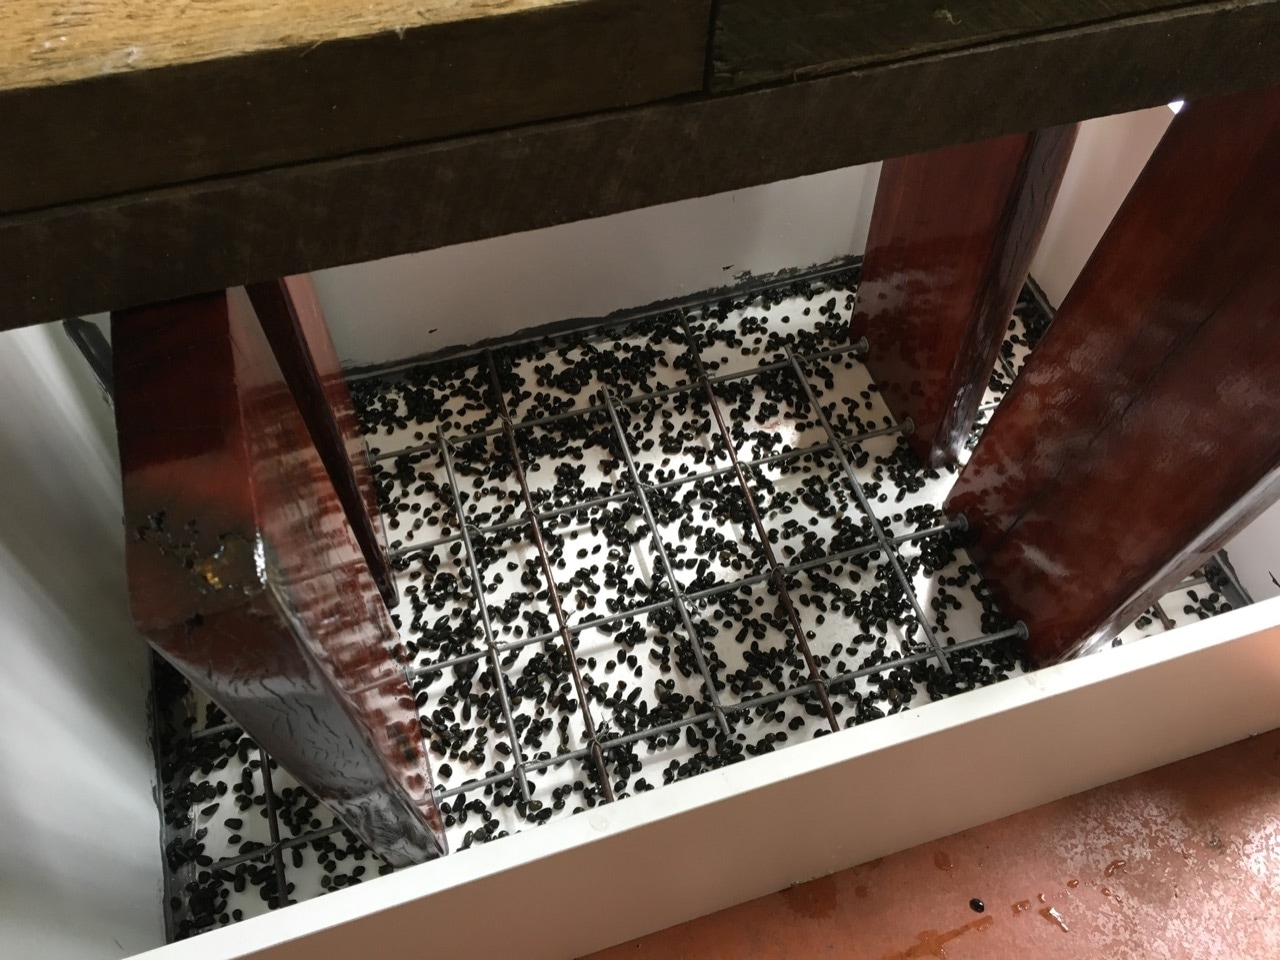
Of course just pouring concrete in and hoping for the best was not going to work. I drilled through each of the legs and secured them to one another with threaded steel rods. I also used whatever was left over of the threaded rods as well as some unthreaded rods to create a reinforced mesh. The mesh was at a level so that it would end up right in the middle of the concrete top.
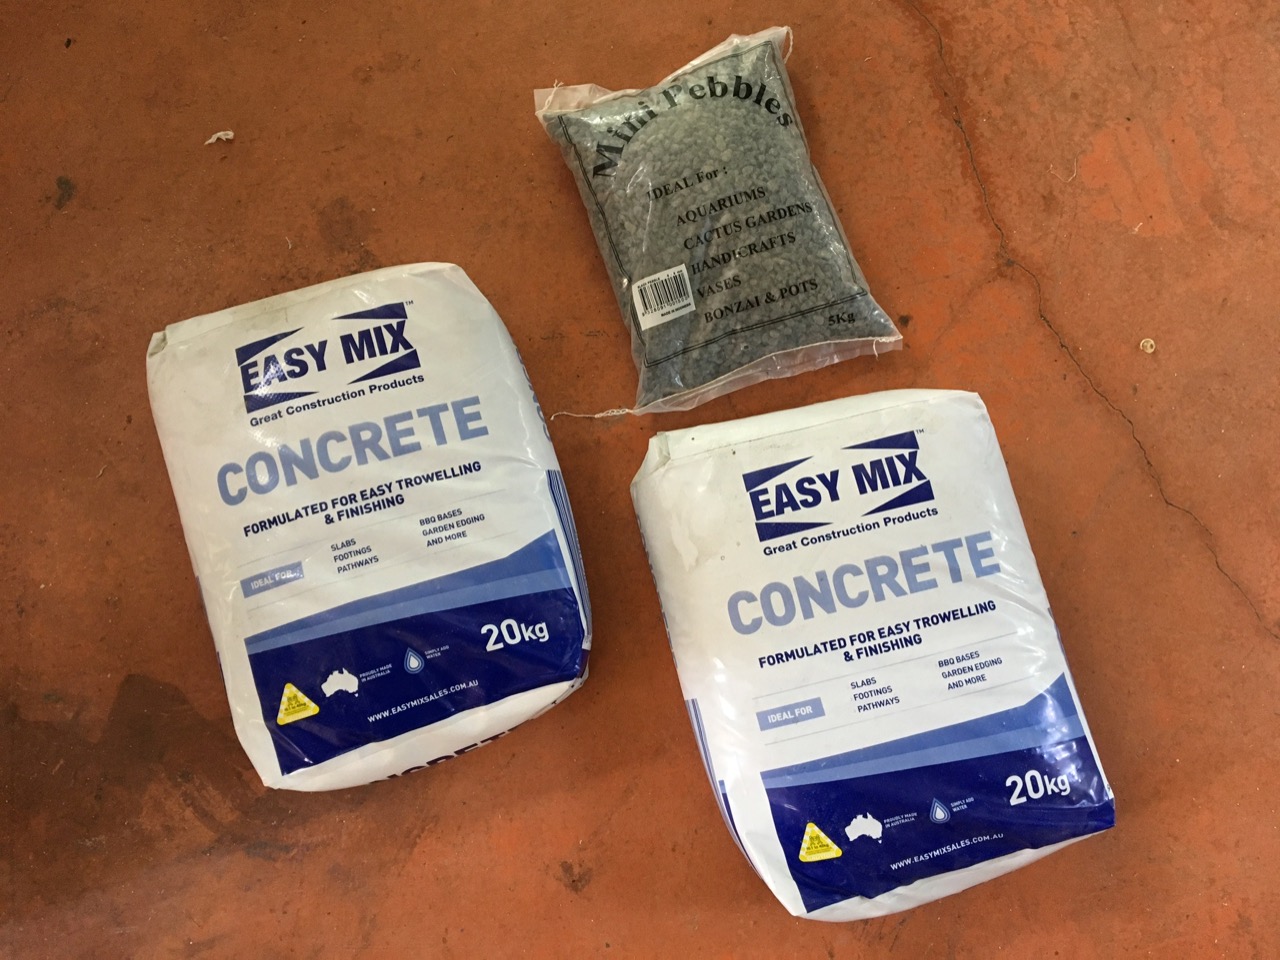
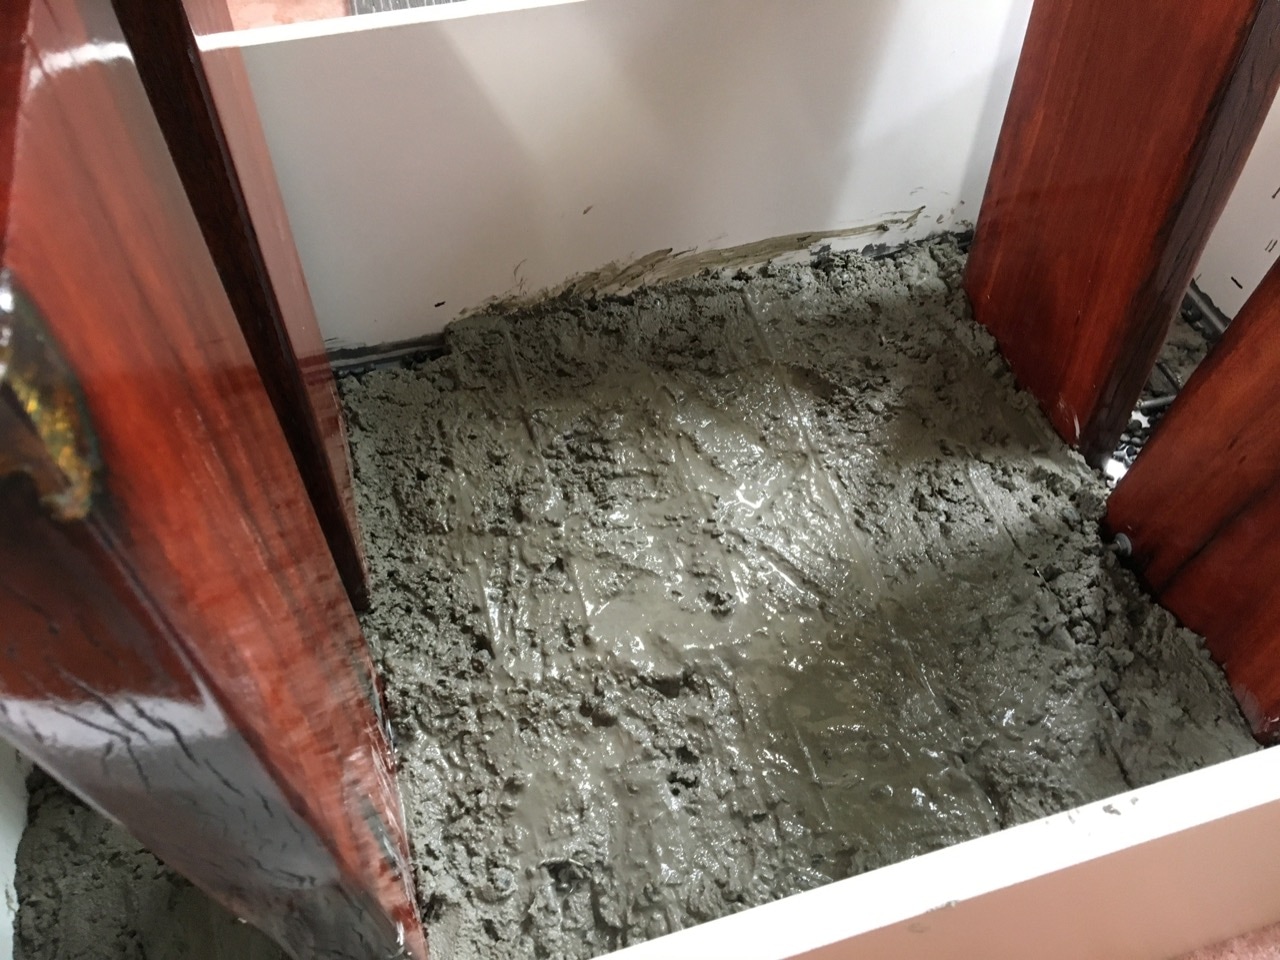
We used some easy mix concrete. Two bags of 20kg each. Ok this was going to be a heavy table! In addition we added a layer of pebbles first as a kind of aesthetic feature. This was meant to show up through the concrete (that didn't quite work).
This was my first time working with concrete like that and so I didn't do a great job. At first the concrete was mixed a little too dry so we tried to compensate and made it too wet. Oh well, it was too late to do anything about it and after doing the usual vibration to remove air bubbles we let it sit for a few days to set.
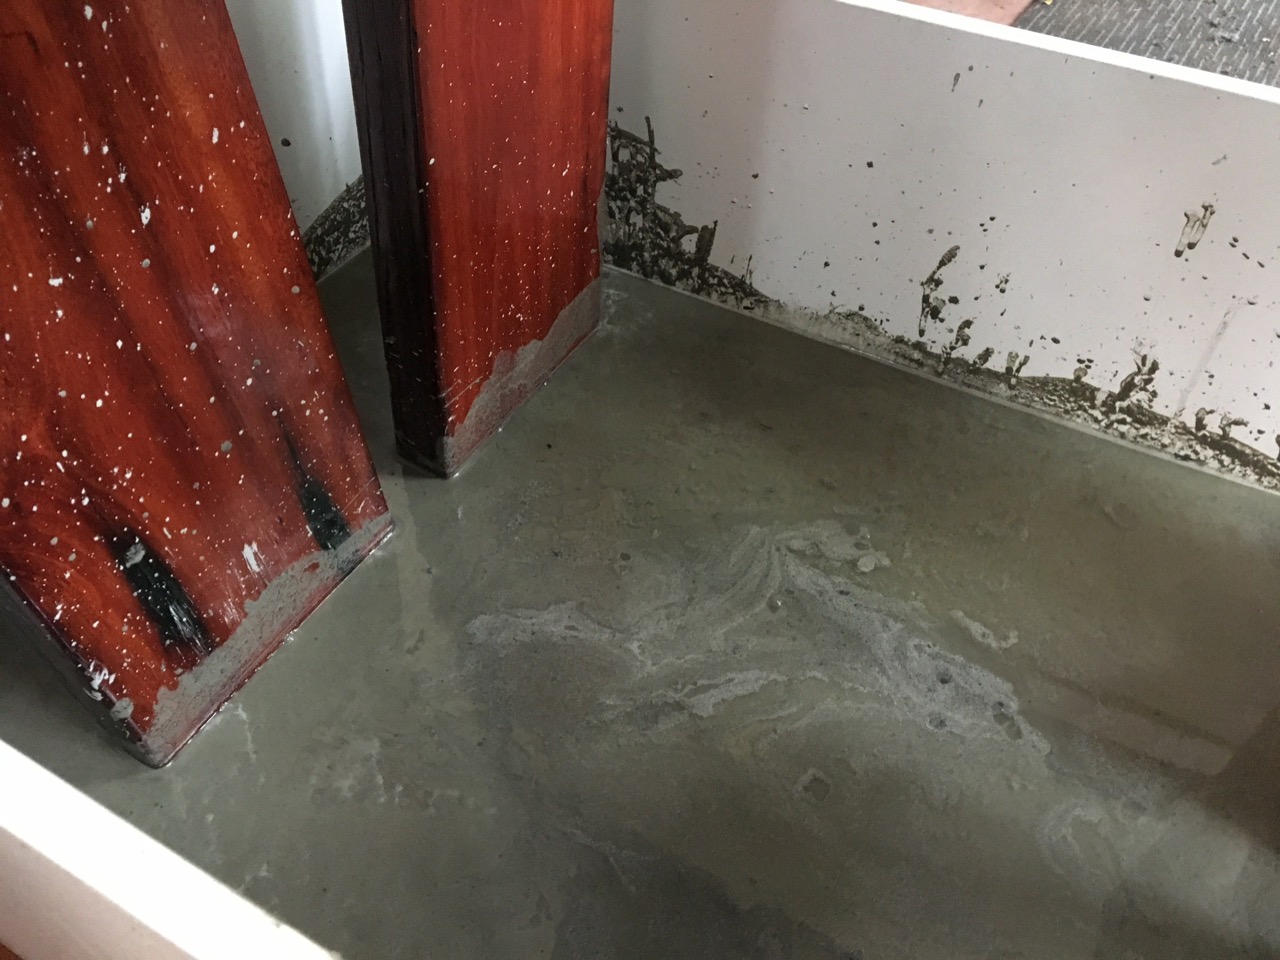
It came out alright but there were quite a few air bubbles left. No big deal, those holes could be filled in! A bunch of slurry and the holes were no more.
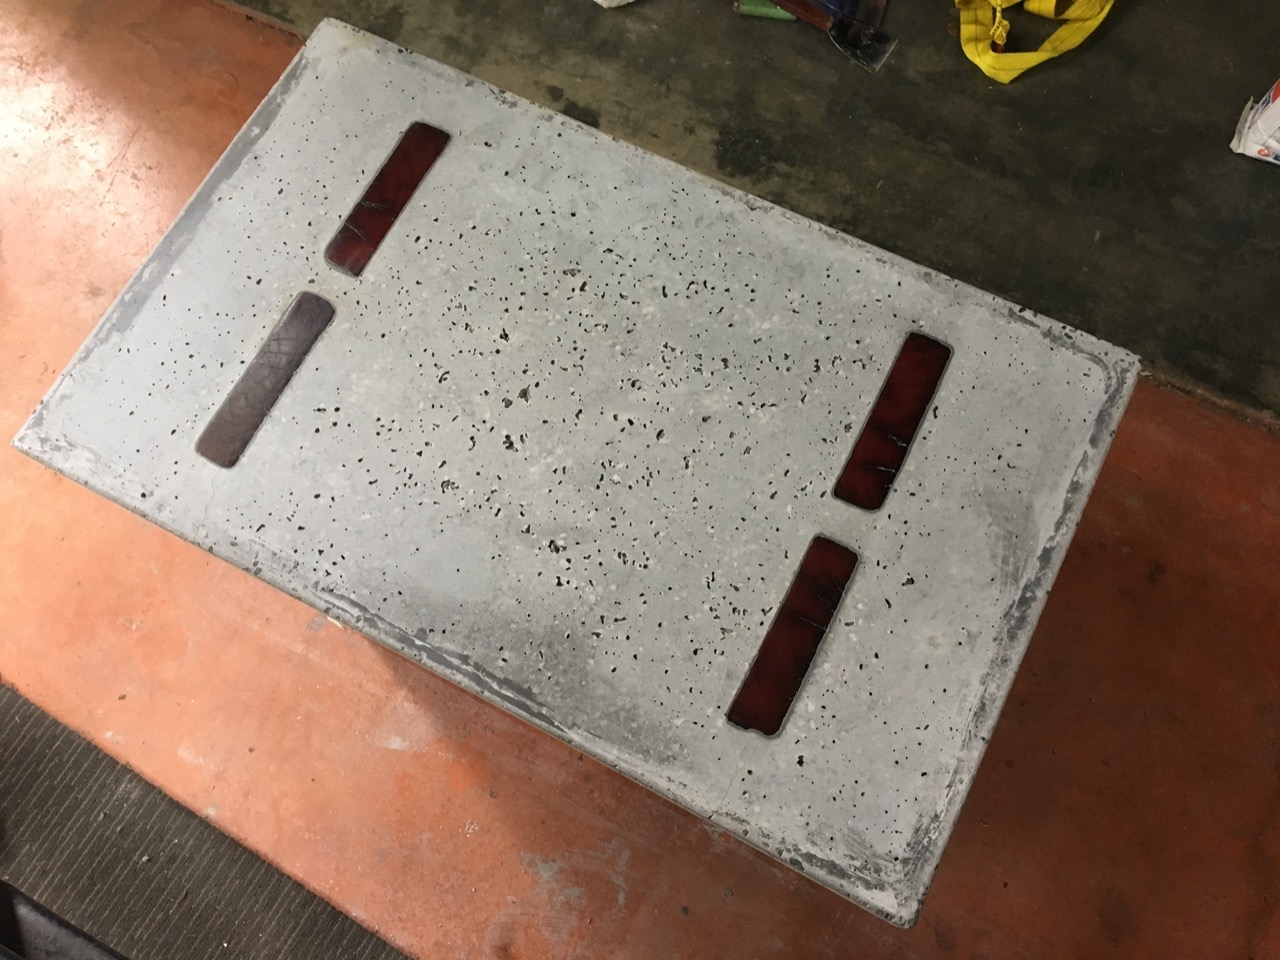
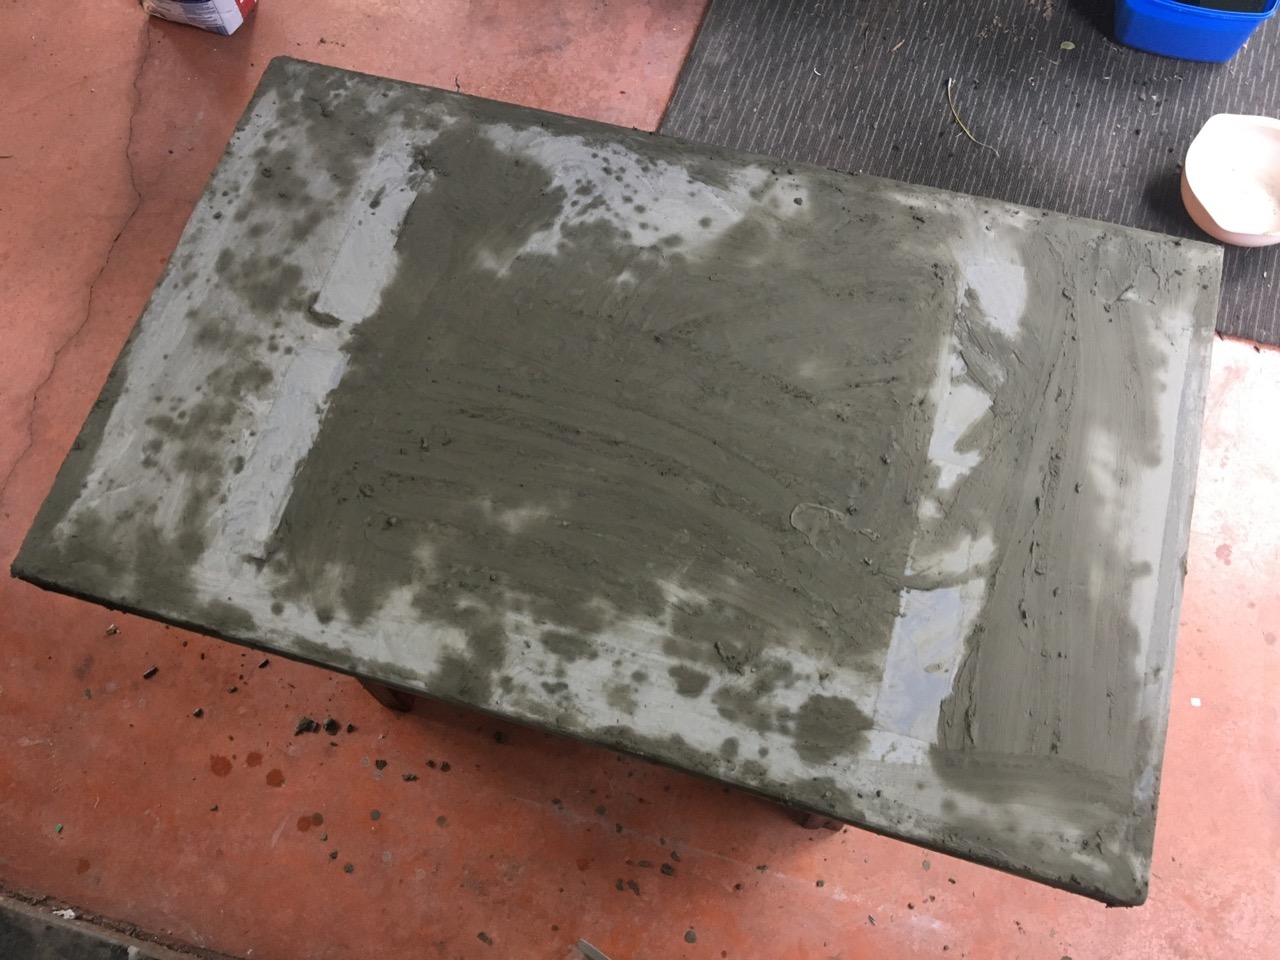
I used an orbital sander to get the top smooth, it worked well and produced a lot of concrete dust. Way too much concrete dust! I didn't have the right equipment to wet-sand it so this was an expected outcome.
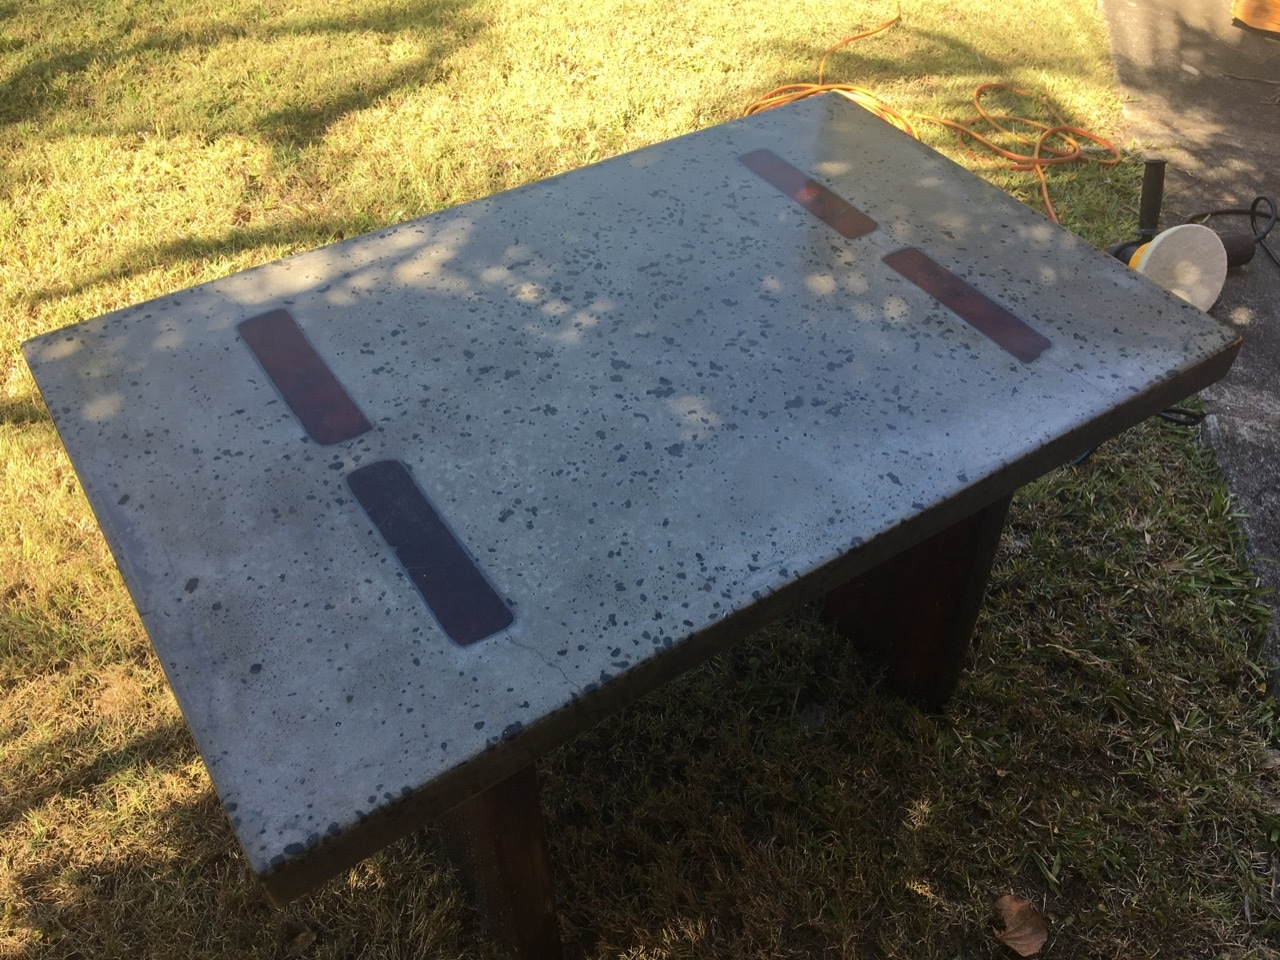
It was at this point that I was starting to think about the sealing and finishing. After a few ideas I thought I'd go back to what I was familiar with - clear resin. My thinking was that this would create a smooth and seamless surface and would give that nice wet concrete look. Luckily I was right and my gamble paid off!
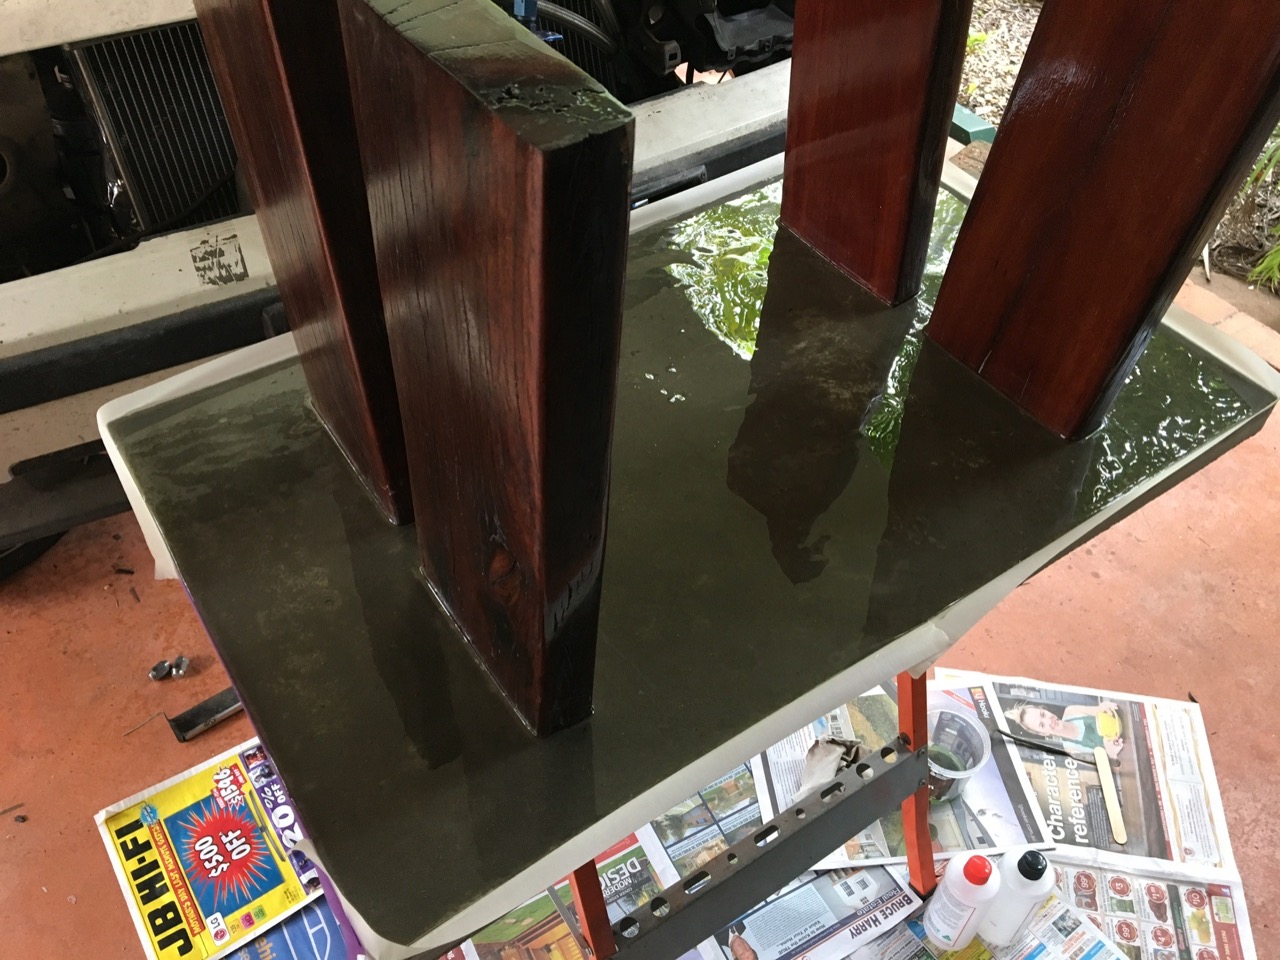
After the initial pours the table was looking amazing! The top and bottom and each of the sides had to be done separately. That was quite a bit of work since each side had to set and cure before moving onto the next side. To get all the surfaces smooth I sanded it all down as usual, this was also quite messy due to the amount of surface area that had to be sanded.
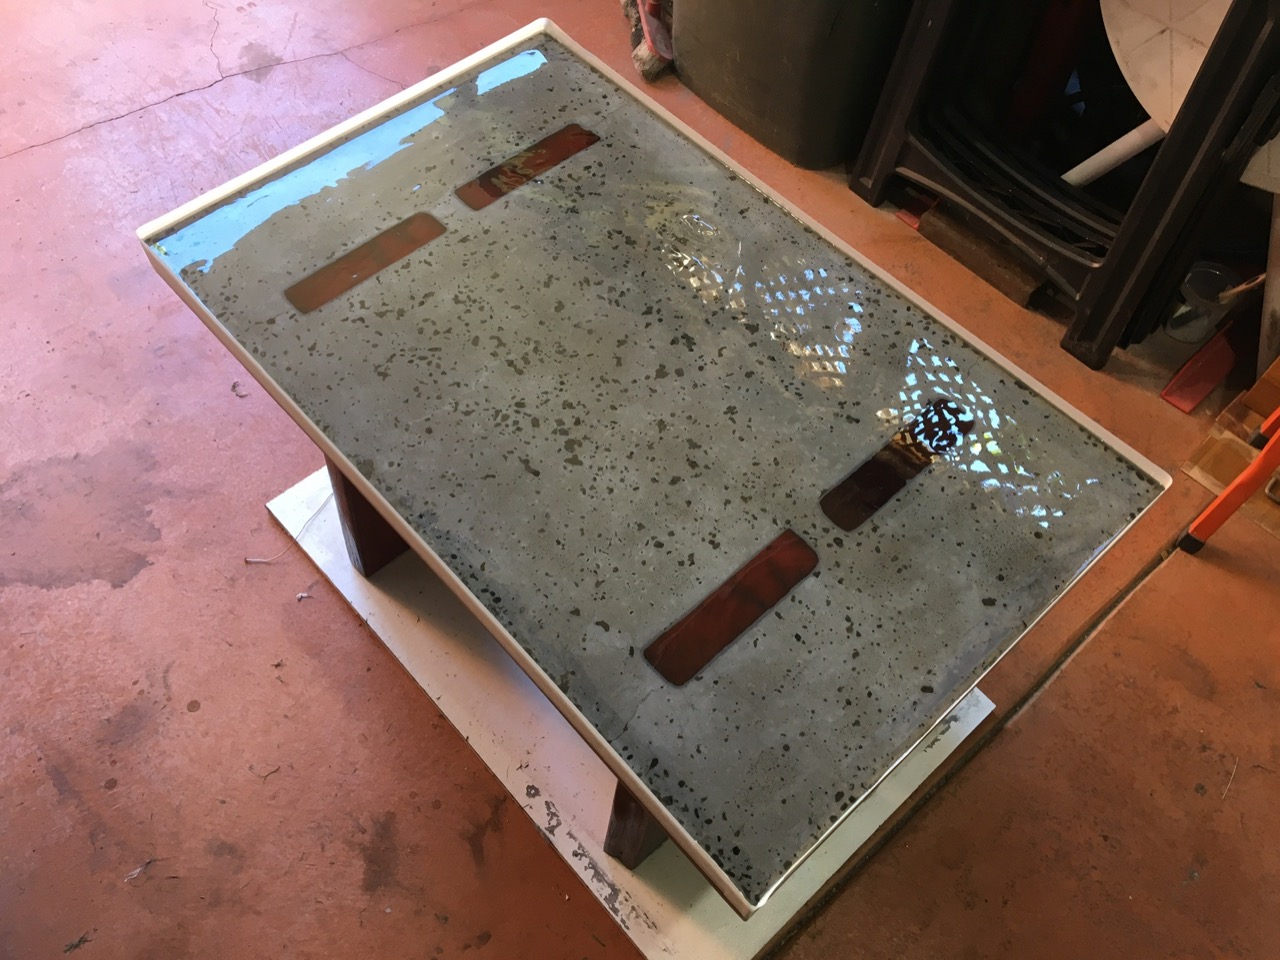
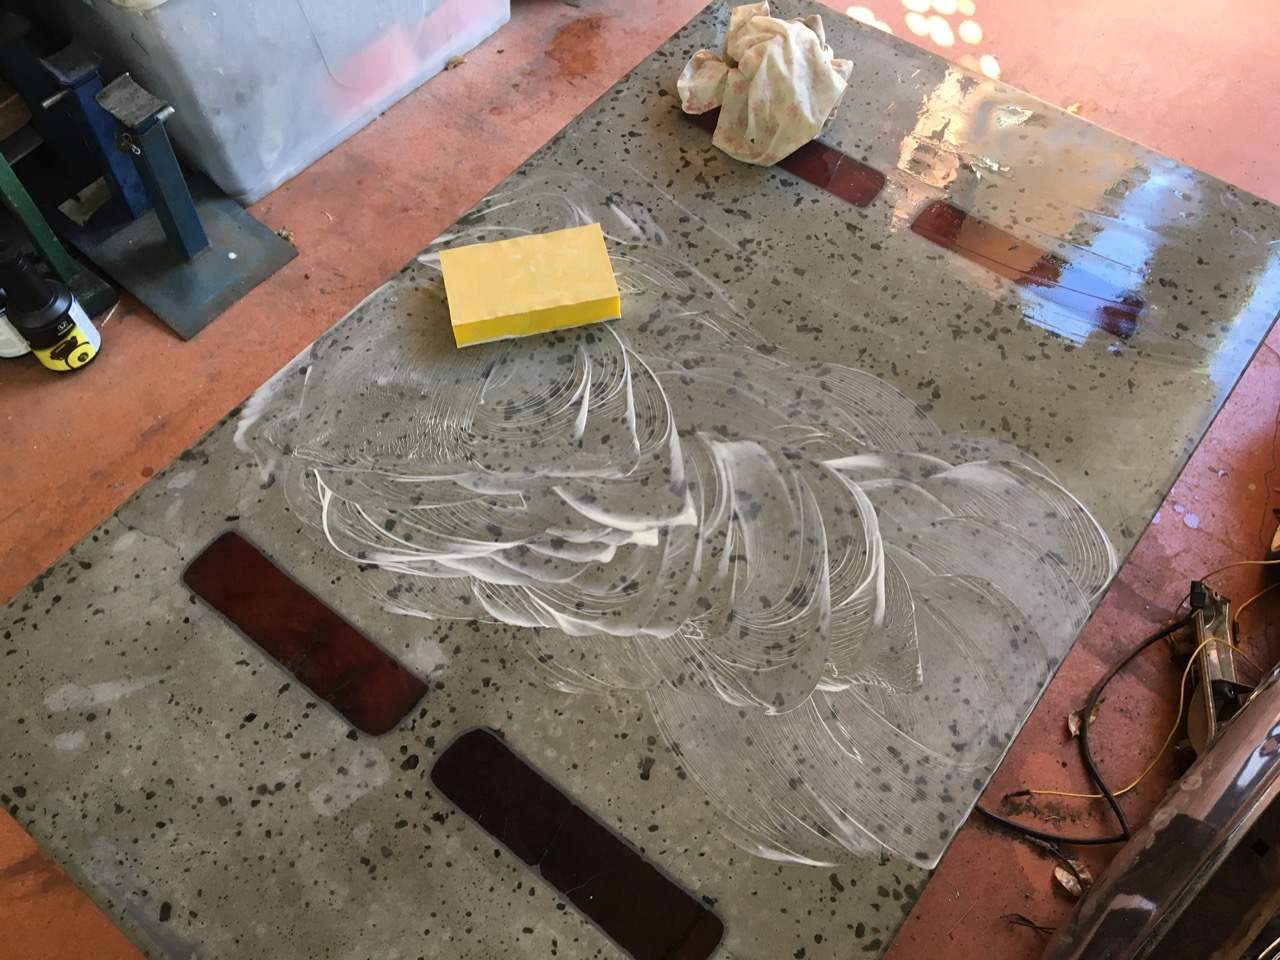
At this point I made another mistake thinking that I could simply put the same high gloss floor varnish on the resin surface (this worked on the hardwood coffee table!) I did. It looked awful. I sanded it off. What we decided to do instead was simply polish the resin. Using many grades of wet-and-dry sandpaper and finally cut-and-polish compound and a polishing machine I got to making it happen.
The surface wasn't as shiny as I expected it to be, but it was acceptable. I actually liked that it was slightly milky, it added to the industrial look of the coffee table.
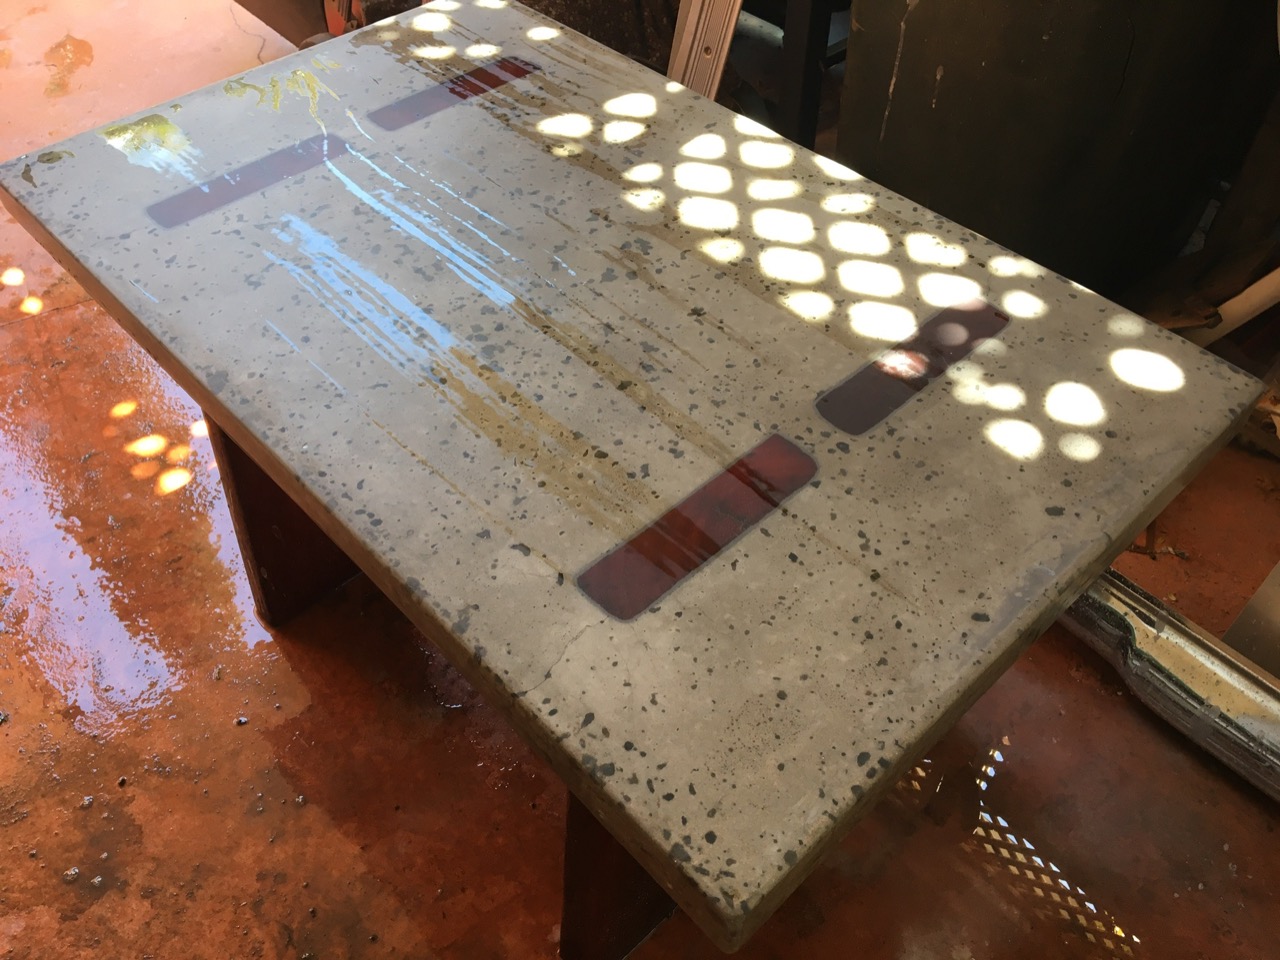
This table was an interesting project and I've learned quite a bit about what I should and shouldn't do when working with concrete. At some point I'd like to make more furniture out of concrete too. This was definitely a unique piece, it weighed close to 50kg and was very sturdy. Definitely a nice room centrepiece!
-i
