This article is split up into four parts, you can skip between them using links below...
- Part 1 - Introduction and metal brackets
- Part 2 - Joining the two pieces and making a mould
- Part 3 - Pouring the resin and initial sanding
- Part 4 - Final finish, sanding and lacquer
The end result speaks for itself...it turned out quite nice...
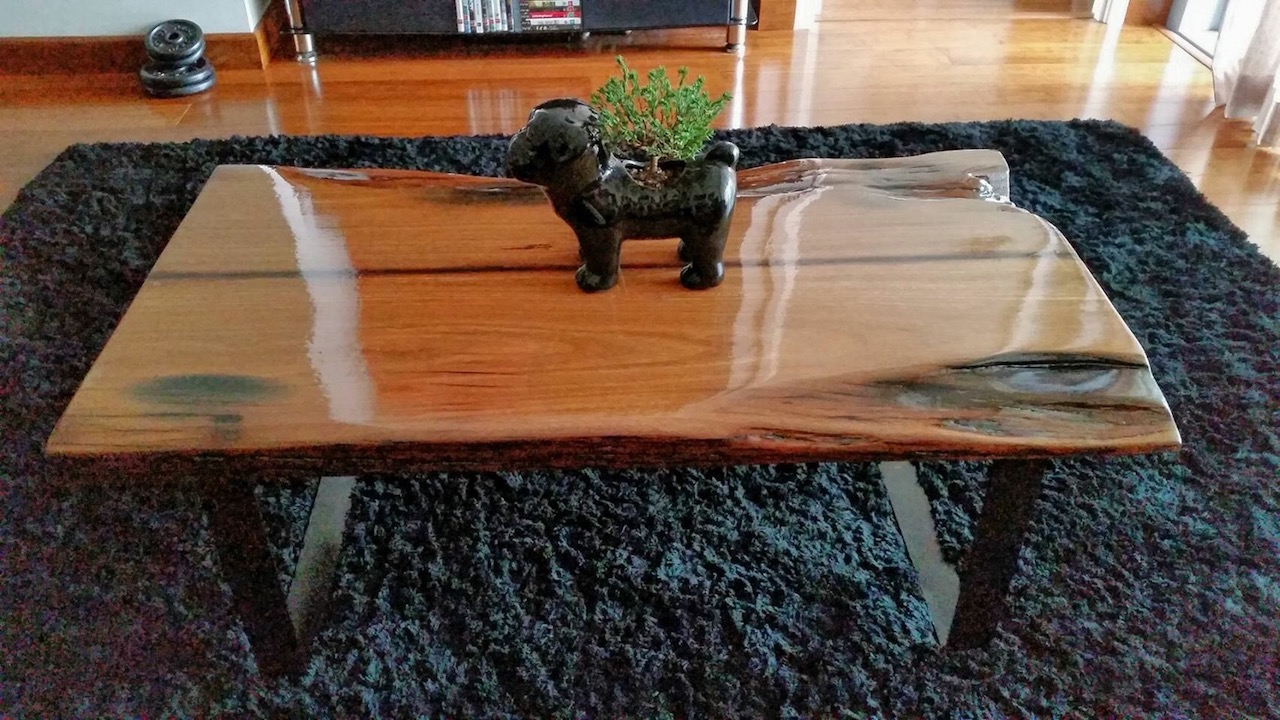
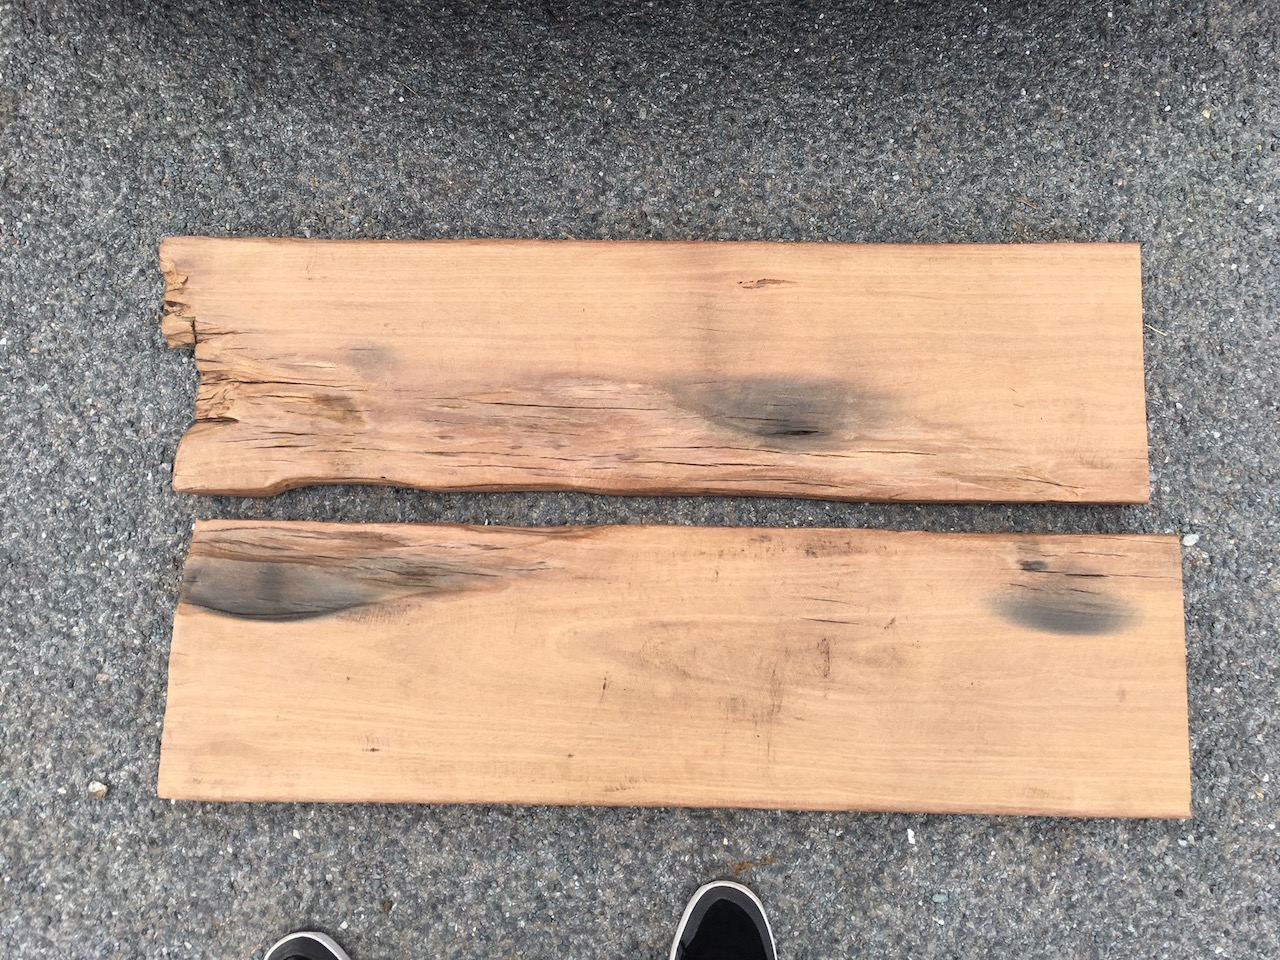
So lets see what I had to work with from the beginning...it had potential! This was a ~2m piece of hardwood that's been cut in two. Each of the parts was close to 1m in length with one side slightly longer but having rough ends that needed to be trimmed.
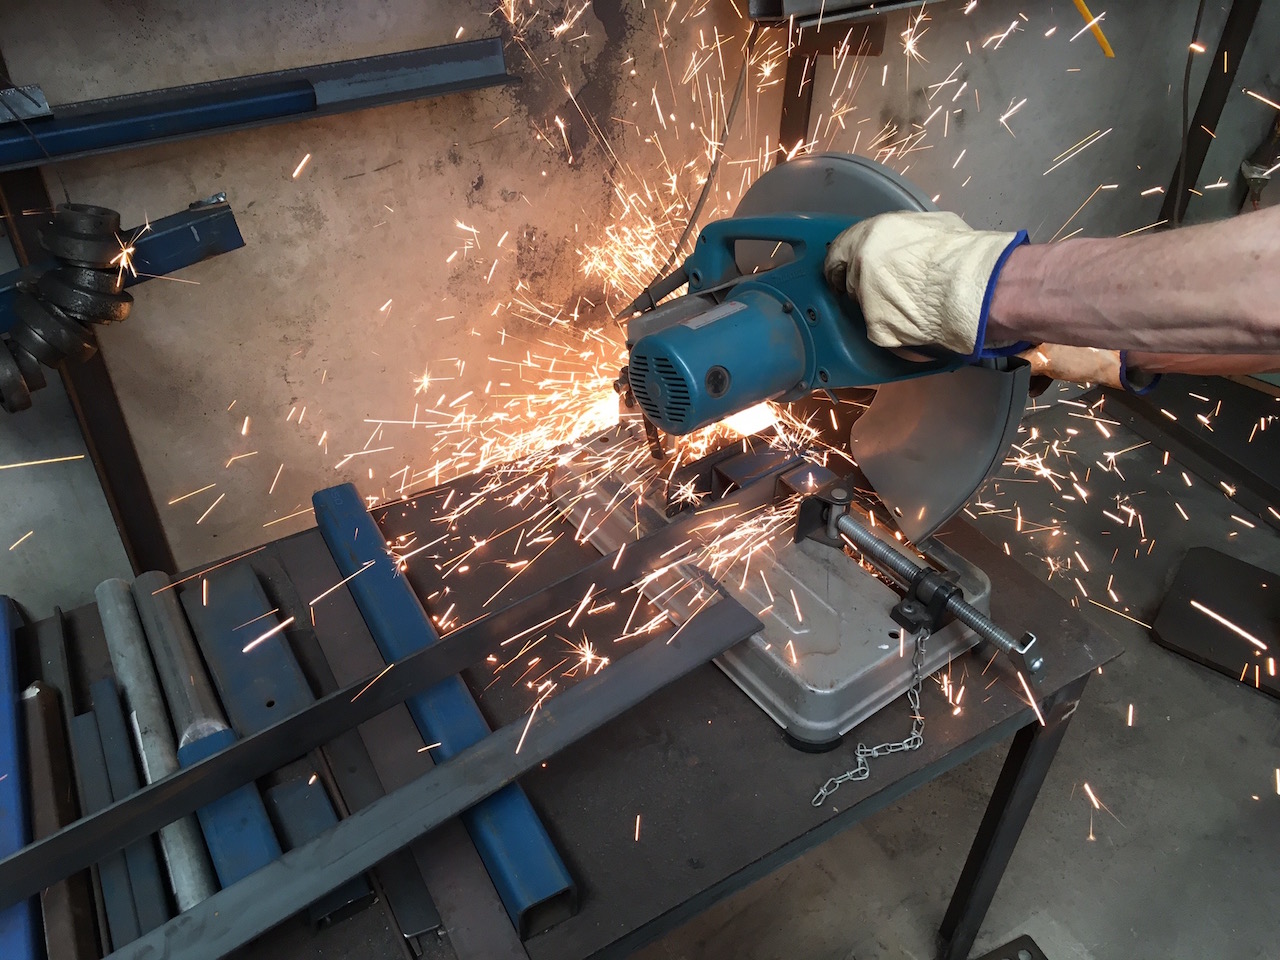
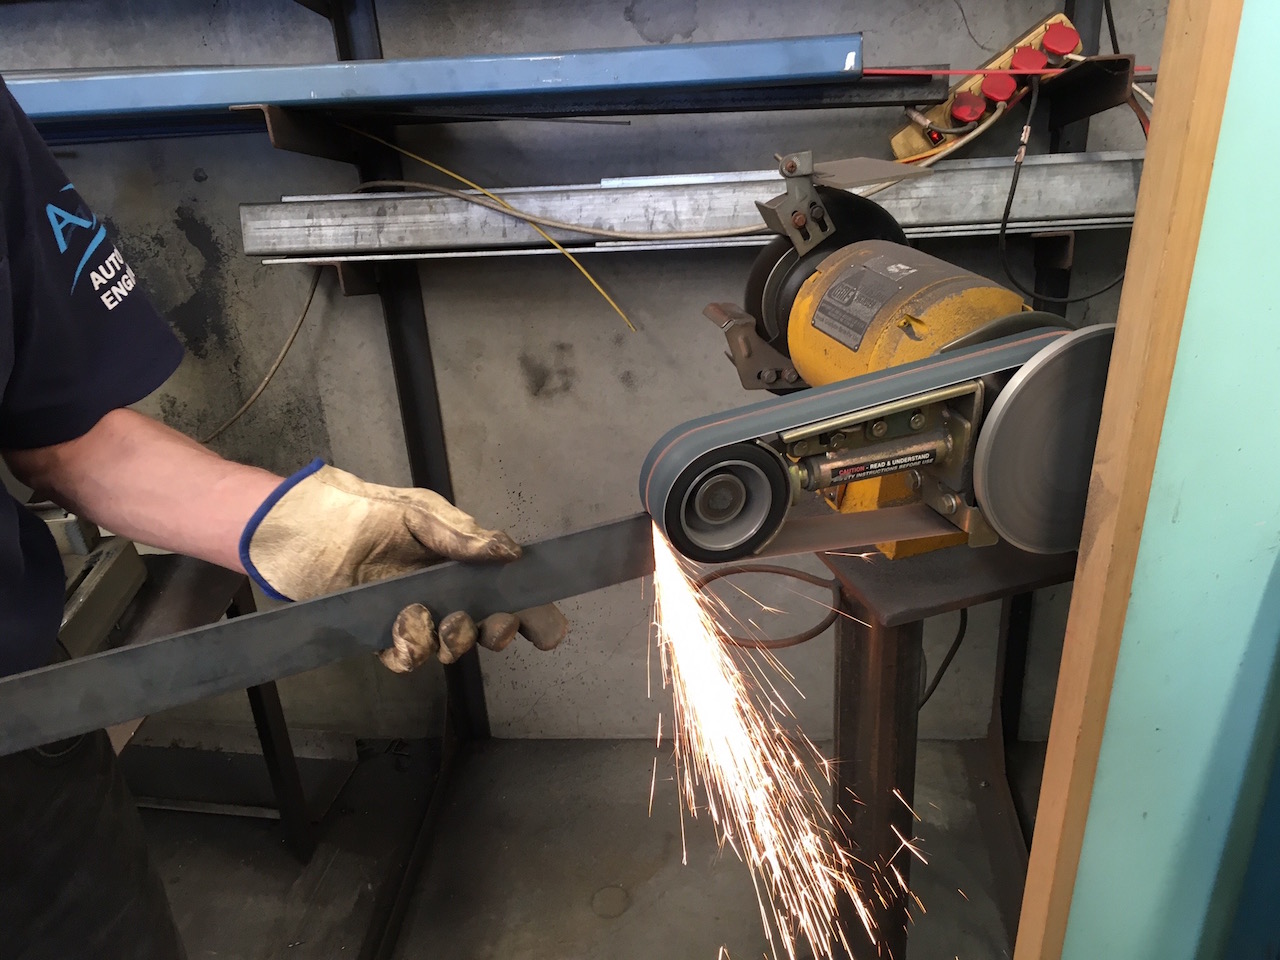
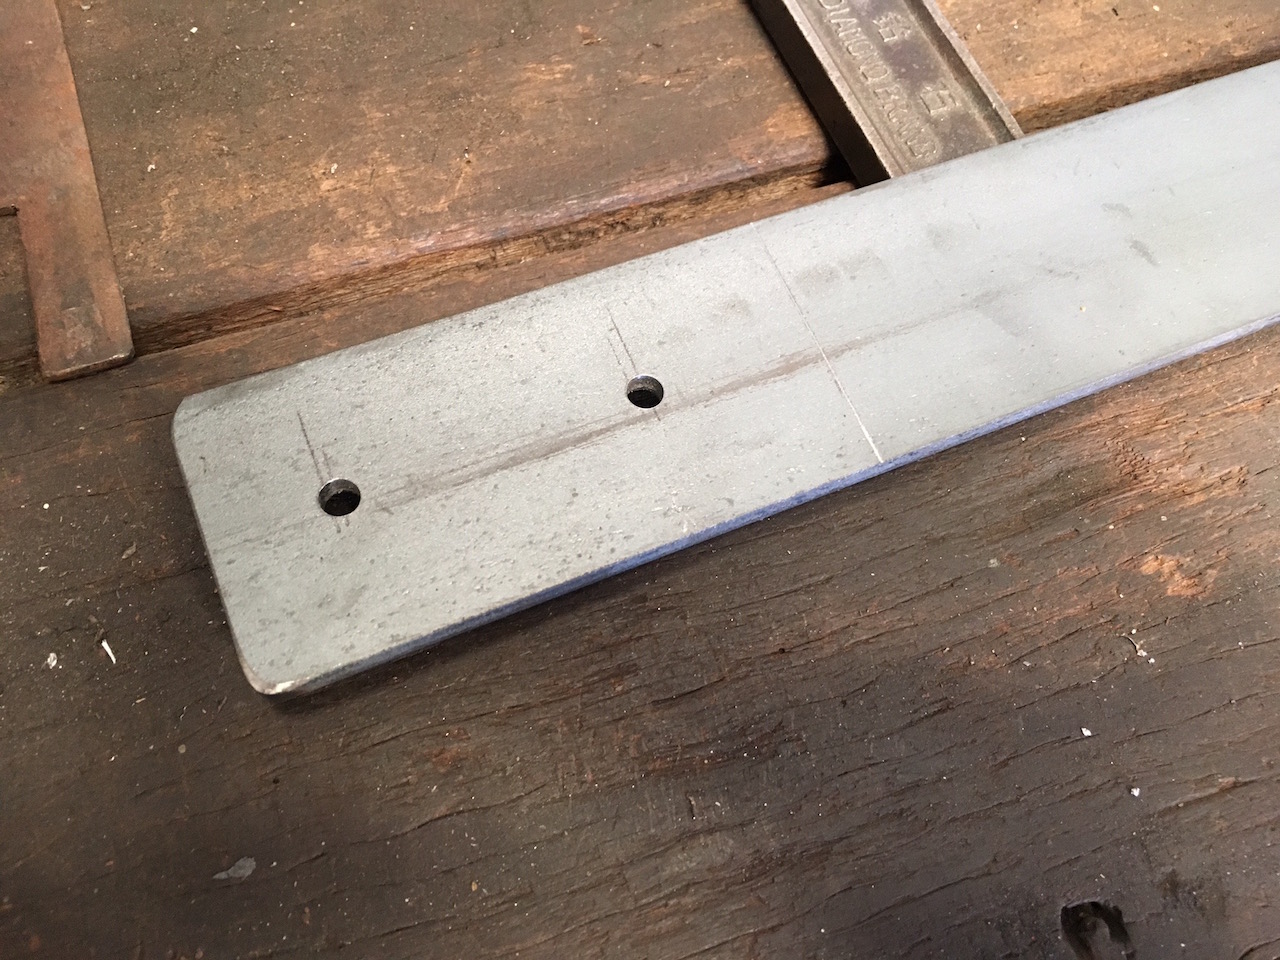
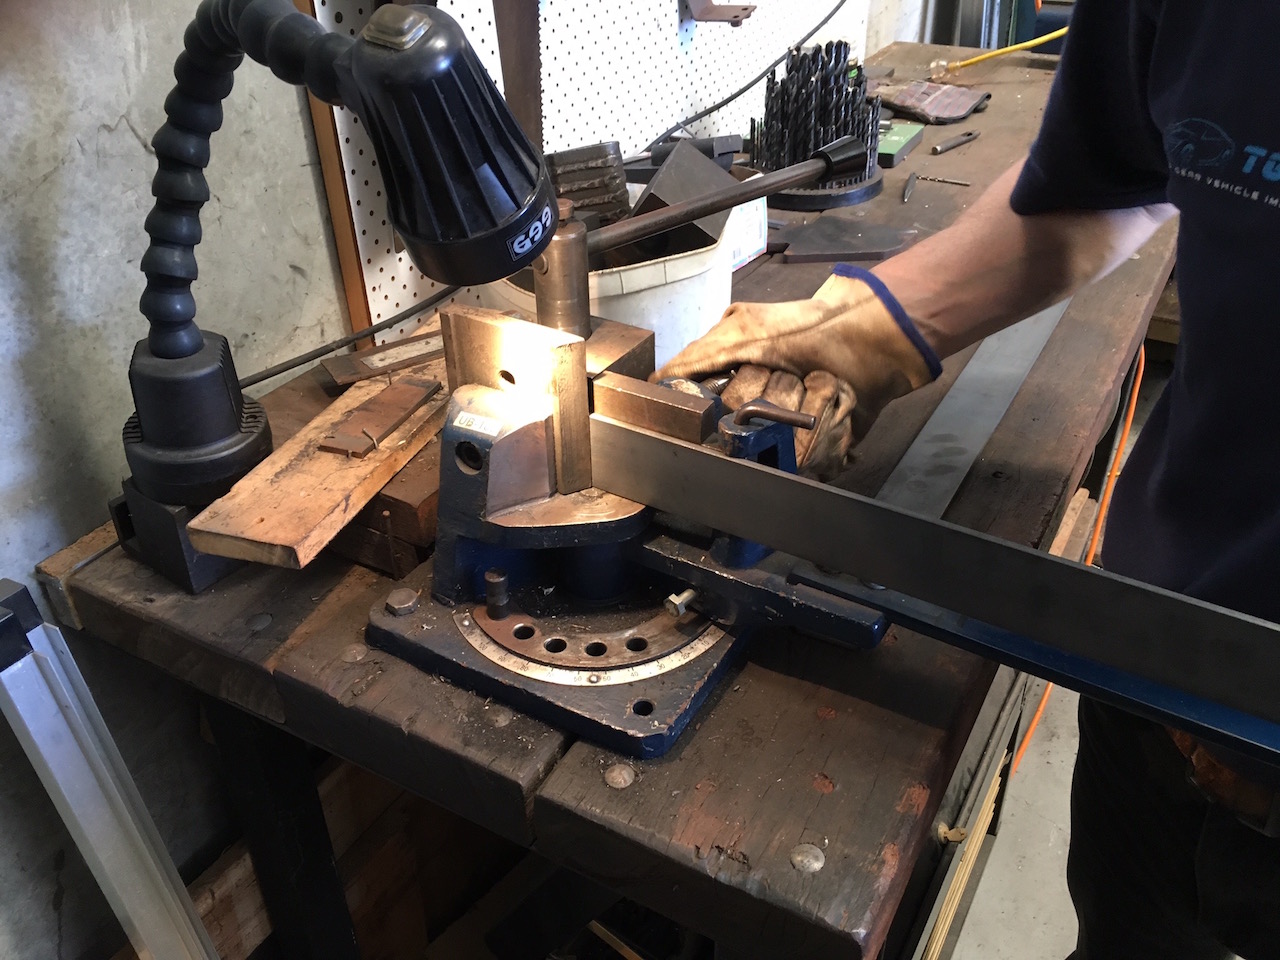
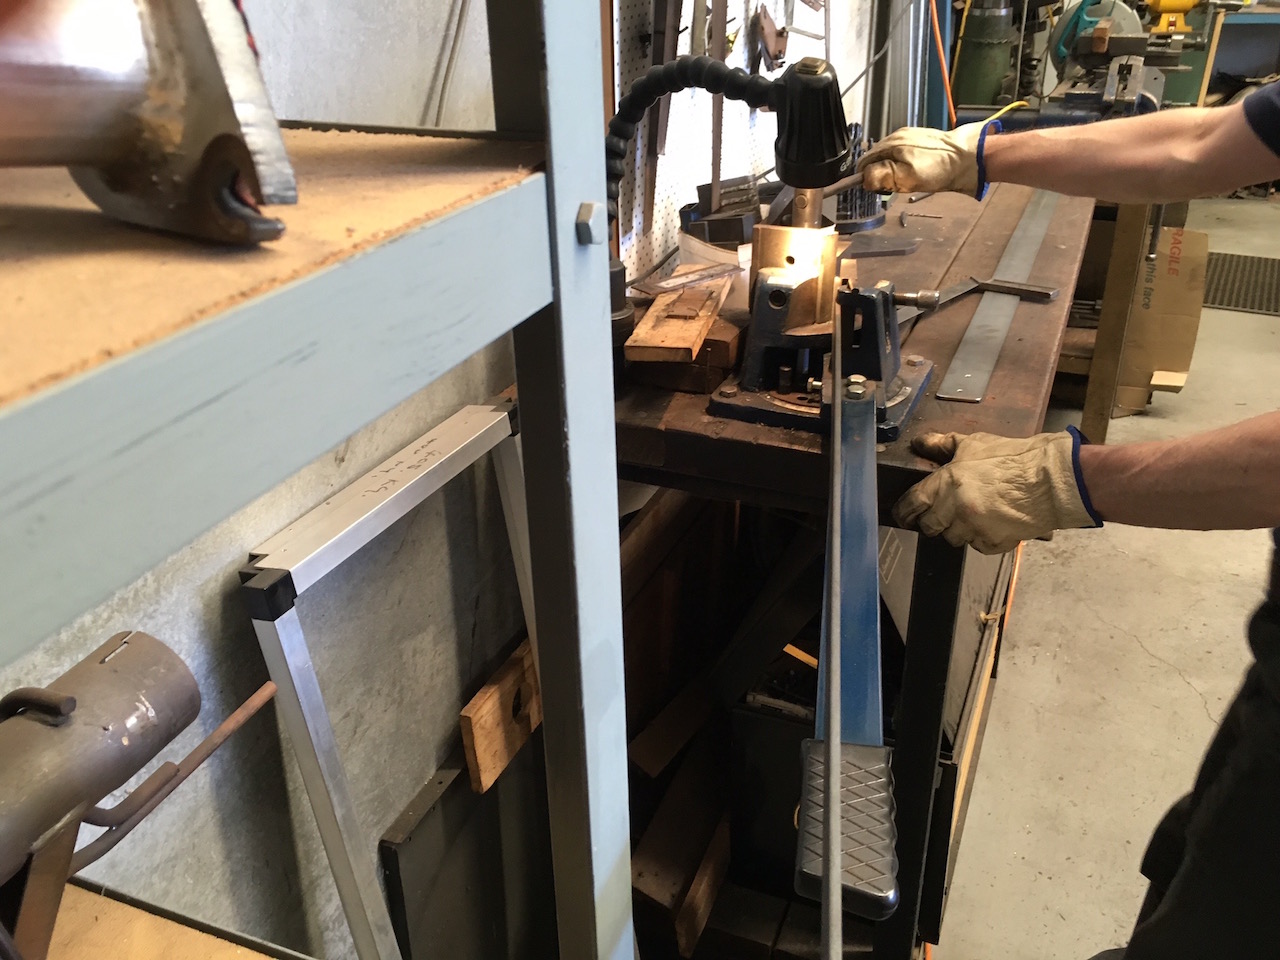
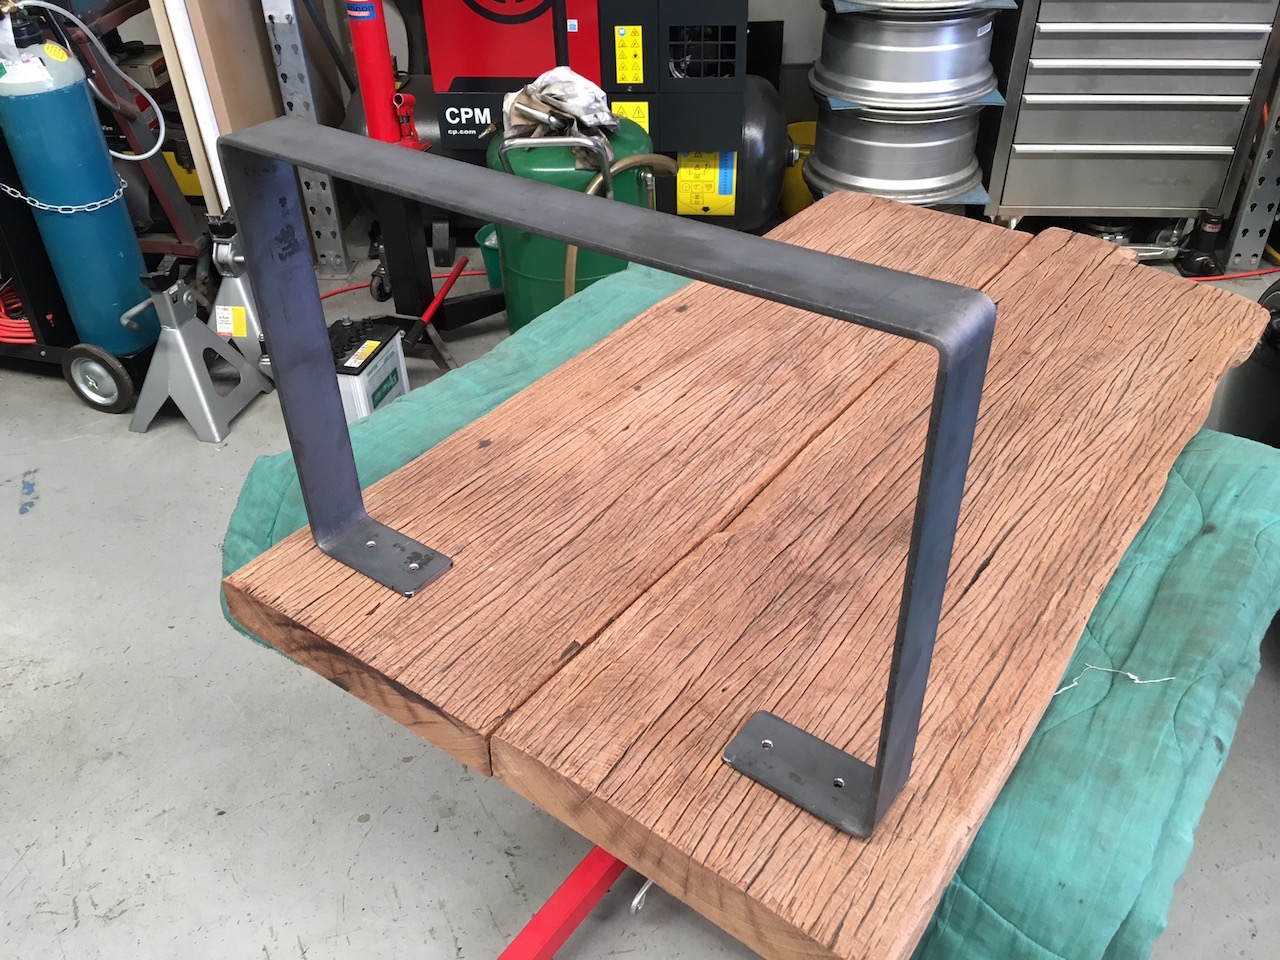
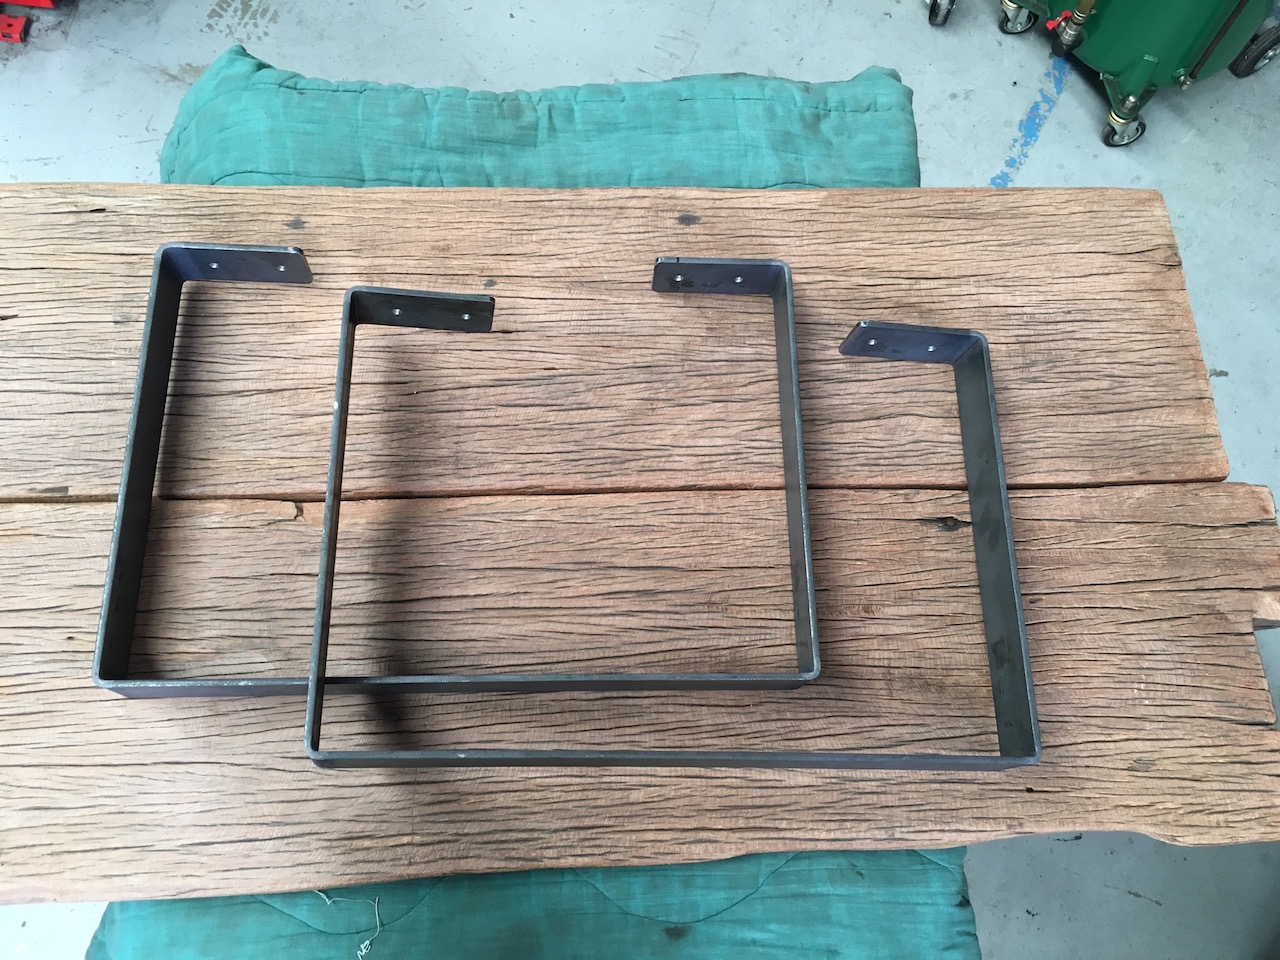
Before I got to joining the two pieces of wood together, I asked my dad to help me with the legs. For this we used 5mm mild steel bars. These were cut to size, rounded off on the edges and bent into shape. All in all about an hour's worth of work.
The holes for the screws were drilled before bending.
The bars were bent by hand on a bending bench vice (don't actually know the name of it, but that's what it does).
In the end we got some nice legs for the table. These were made to be around 33cm high.
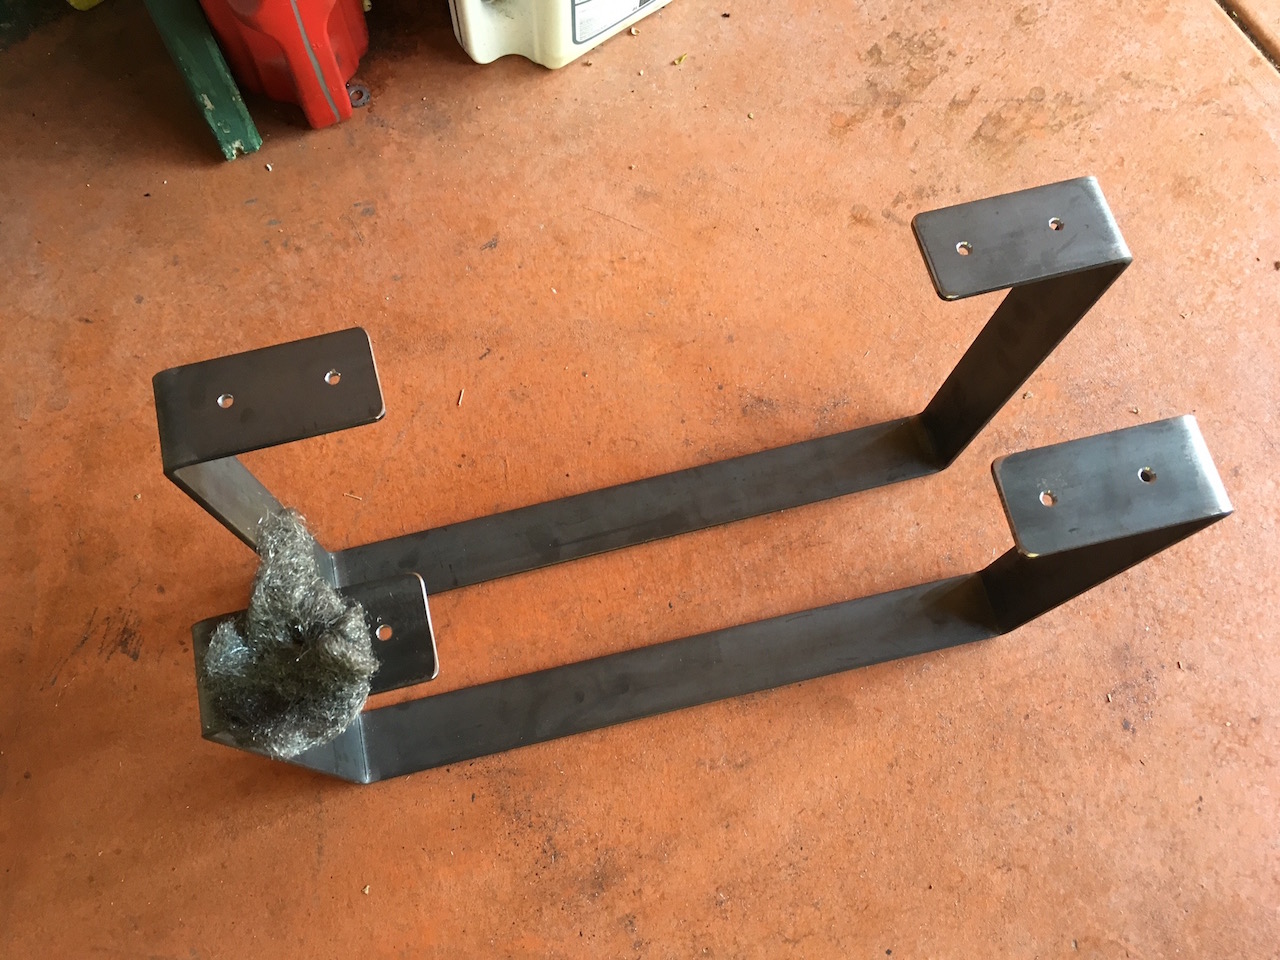
Before painting the legs I used some steel wool to remove dirt and to smooth them over a little.
After having the legs all cleaned up, I hung them on a tree in the backyard to give them the first coat of matte black paint. The idea was to keep them matte, but that didn't work out too well as the paint kept on coming off whenever something hard touched the legs. I fixed that by applying clear acrylic over the top.
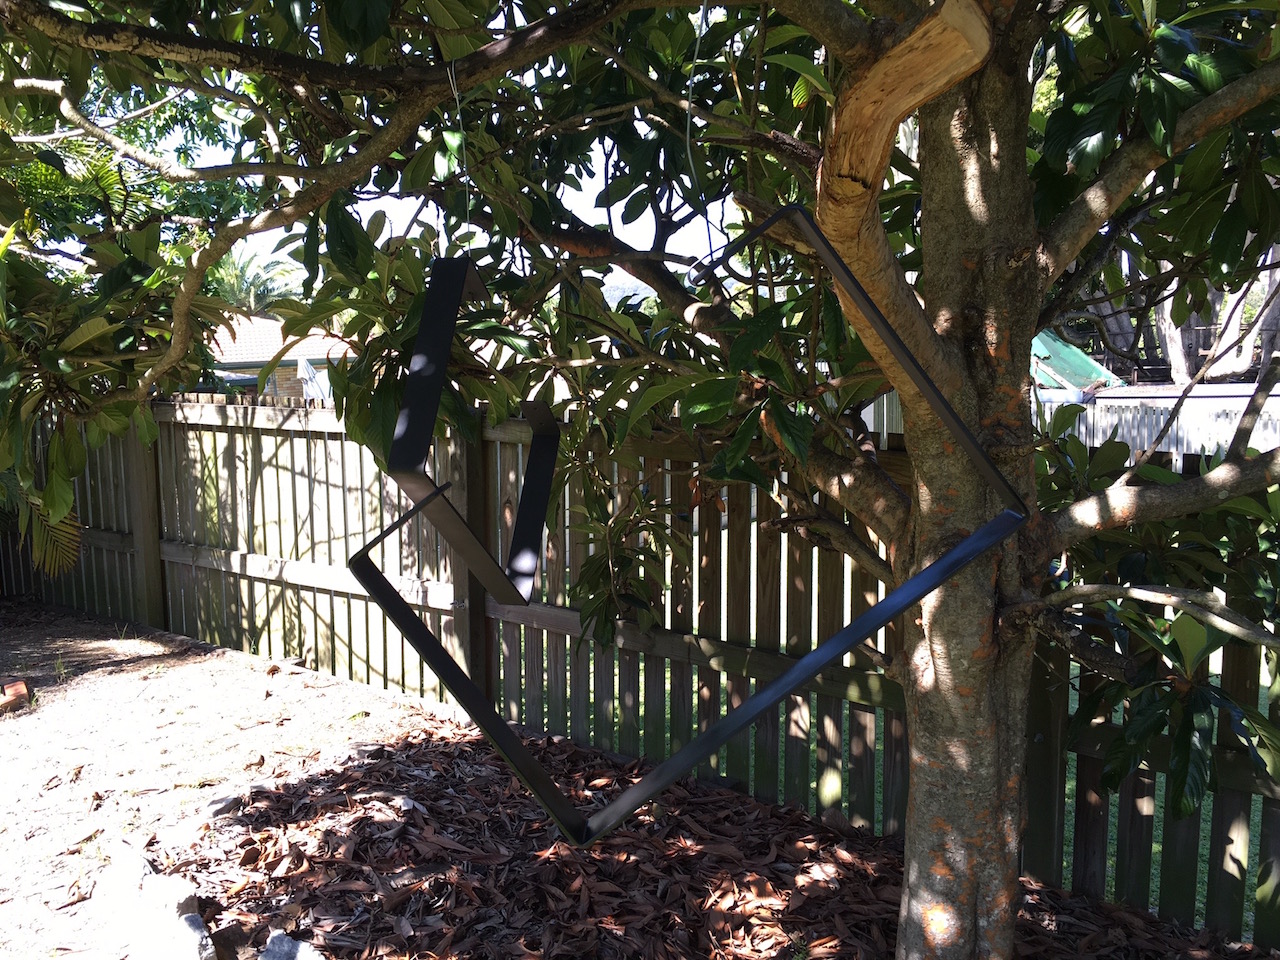
The tree is not a good spot to hang these as it tends to shed a fair amount of dust. For the remainder of the coats (2 more black and 2 clear over the top) I hung them in the middle of the yard off the clothes line. The legs came up semi-gloss, which is perfect for this table style.
That's about it for the legs and the end of this post. The next post will get into how I joined the two pieces of wood together and how the mould for the clear casting resin was put together. The resin was used to fill in the gaps between the wood sections for a seamless finish.
Continue reading this article's part 2 here.
-i
