This article is split up into four parts, you can skip between them using links below...
- Part 1 - Introduction and metal brackets
- Part 2 - Joining the two pieces and making a mould
- Part 3 - Pouring the resin and initial sanding
- Part 4 - Final finish, sanding and lacquer
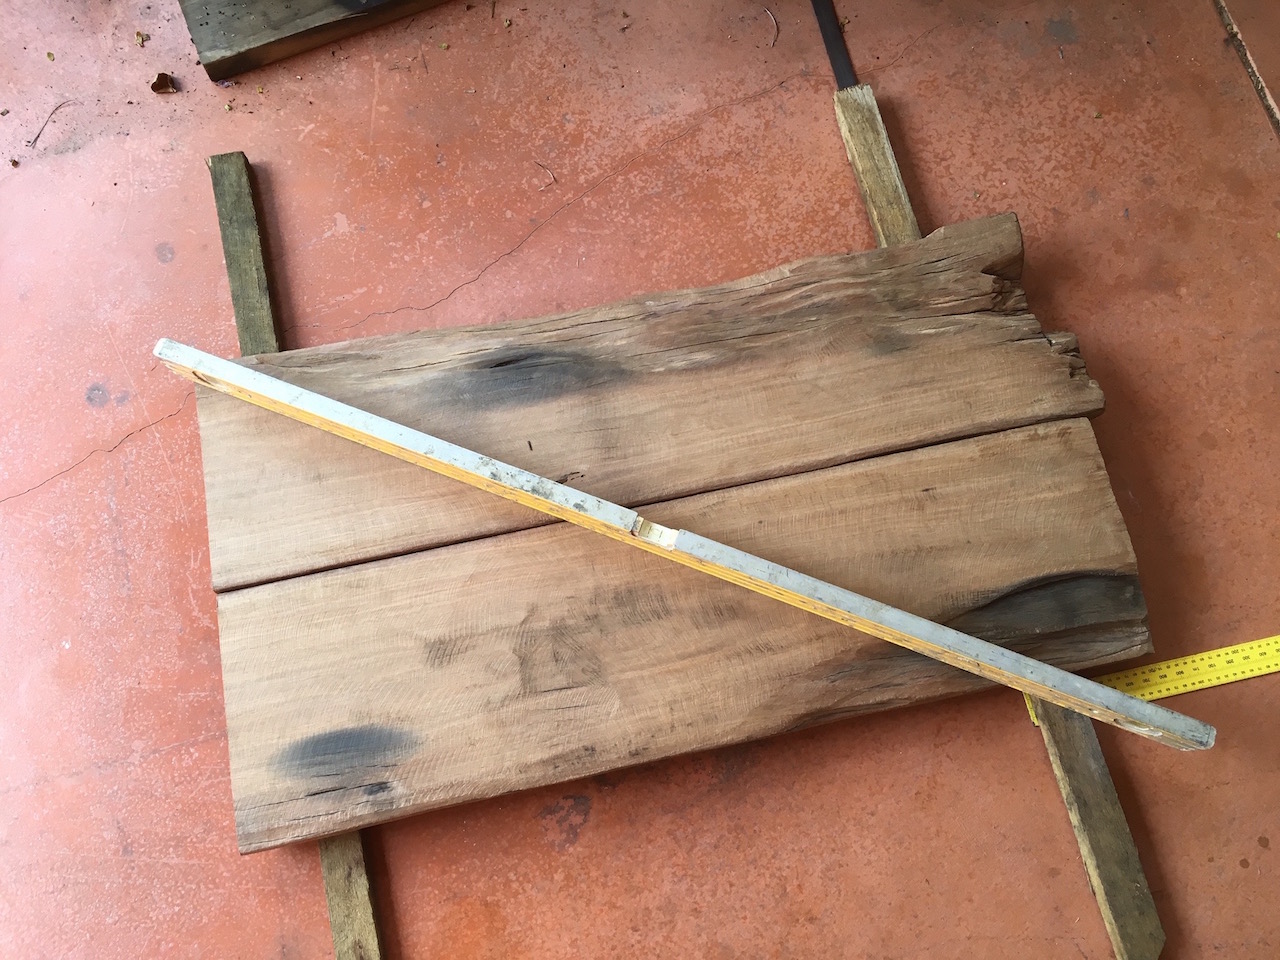
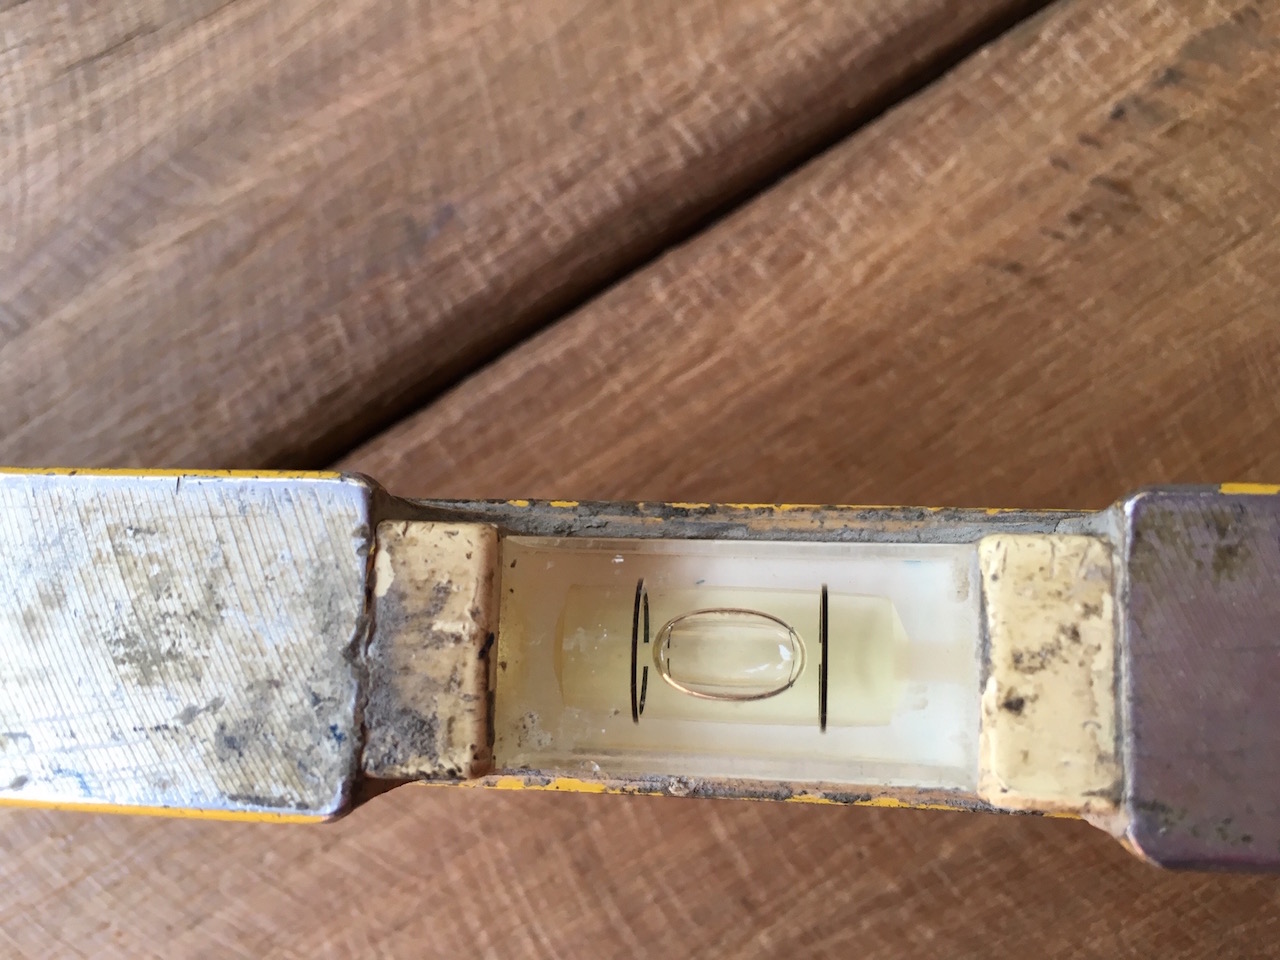
Prior to joining the two pieces I made sure that the working area was nice and level.
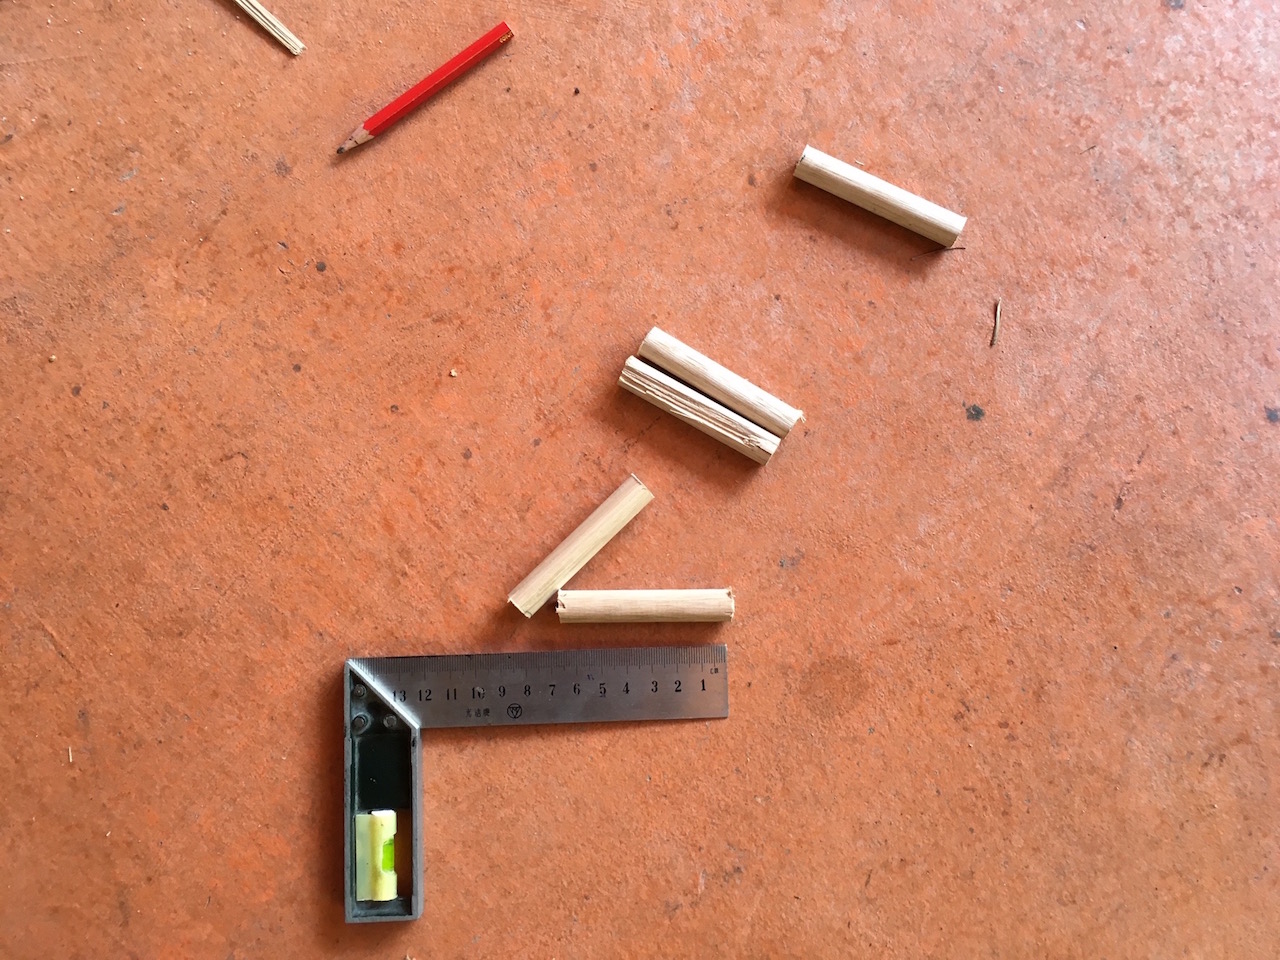
The two pieces were going to be joined with 12.5mm dowel at evenly spaced intervals. I drilled into the wood with a smaller drill bit first, then used a 12.5mm bit to get the right sized holes.
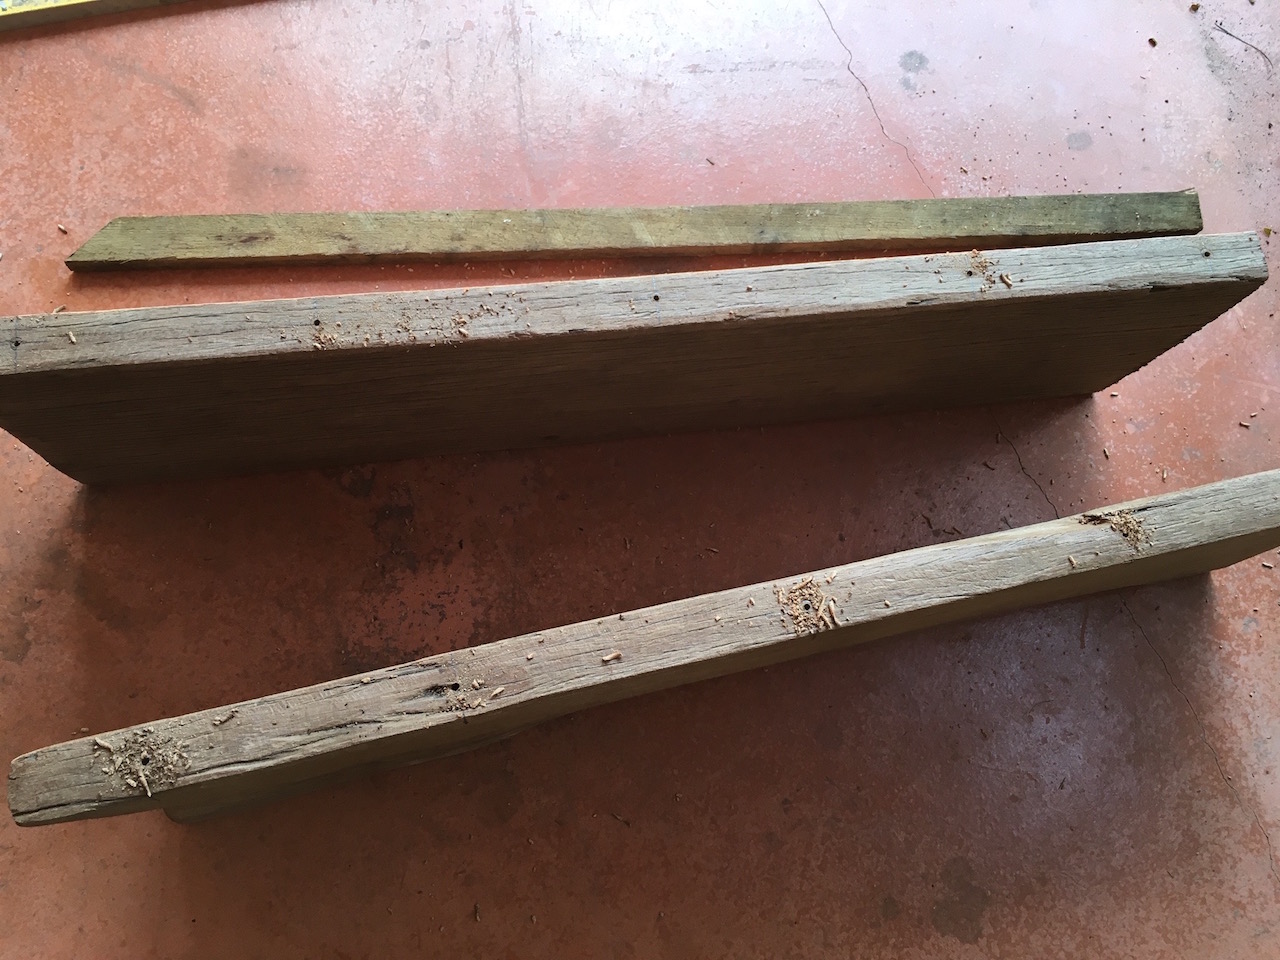

The dowel pieces were quite big - 6.5cm in length. Originally I started off with 10cm pieces but these refused to sit properly and I had to pry them out.
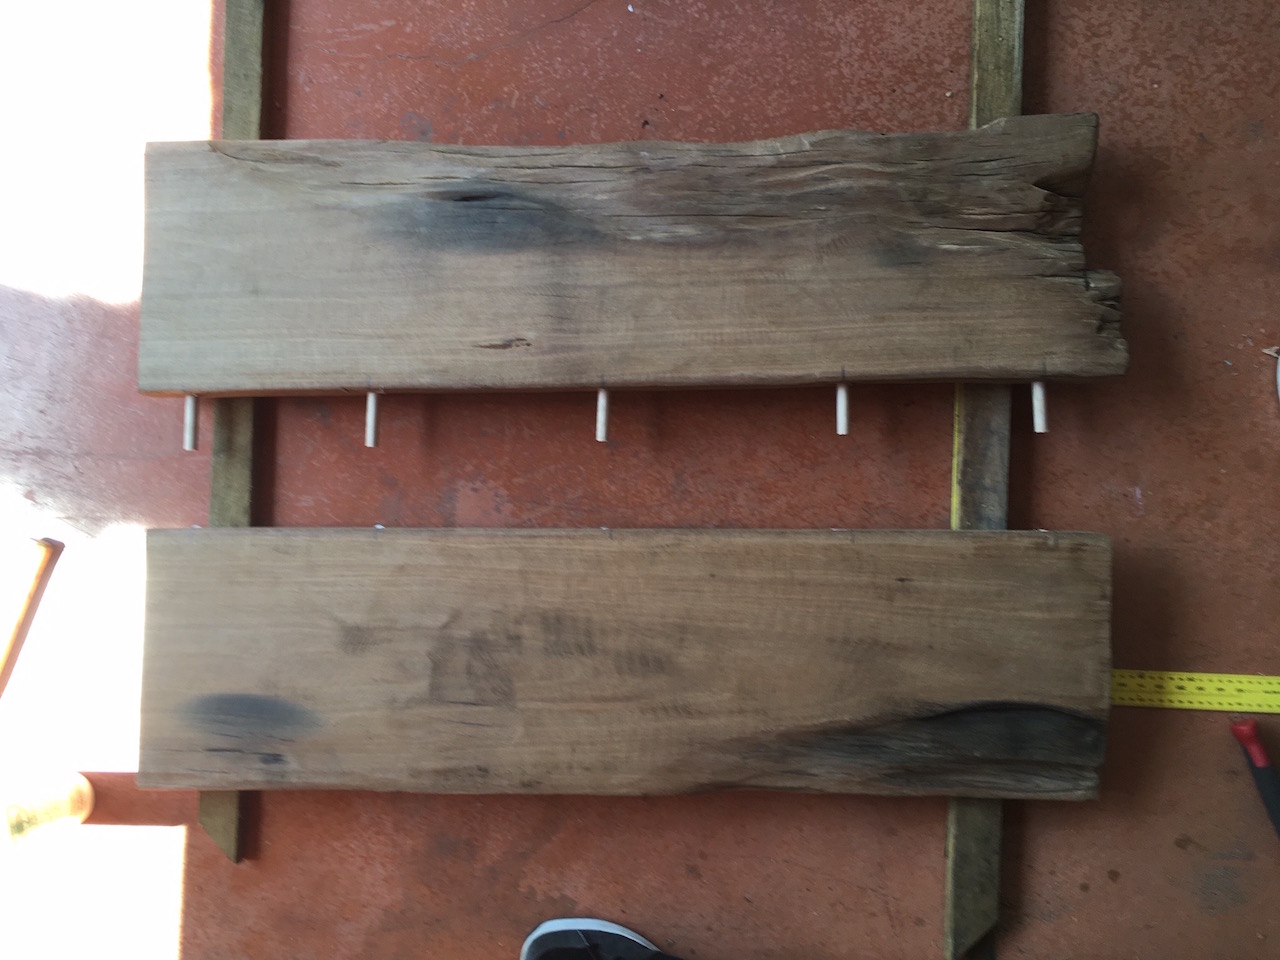
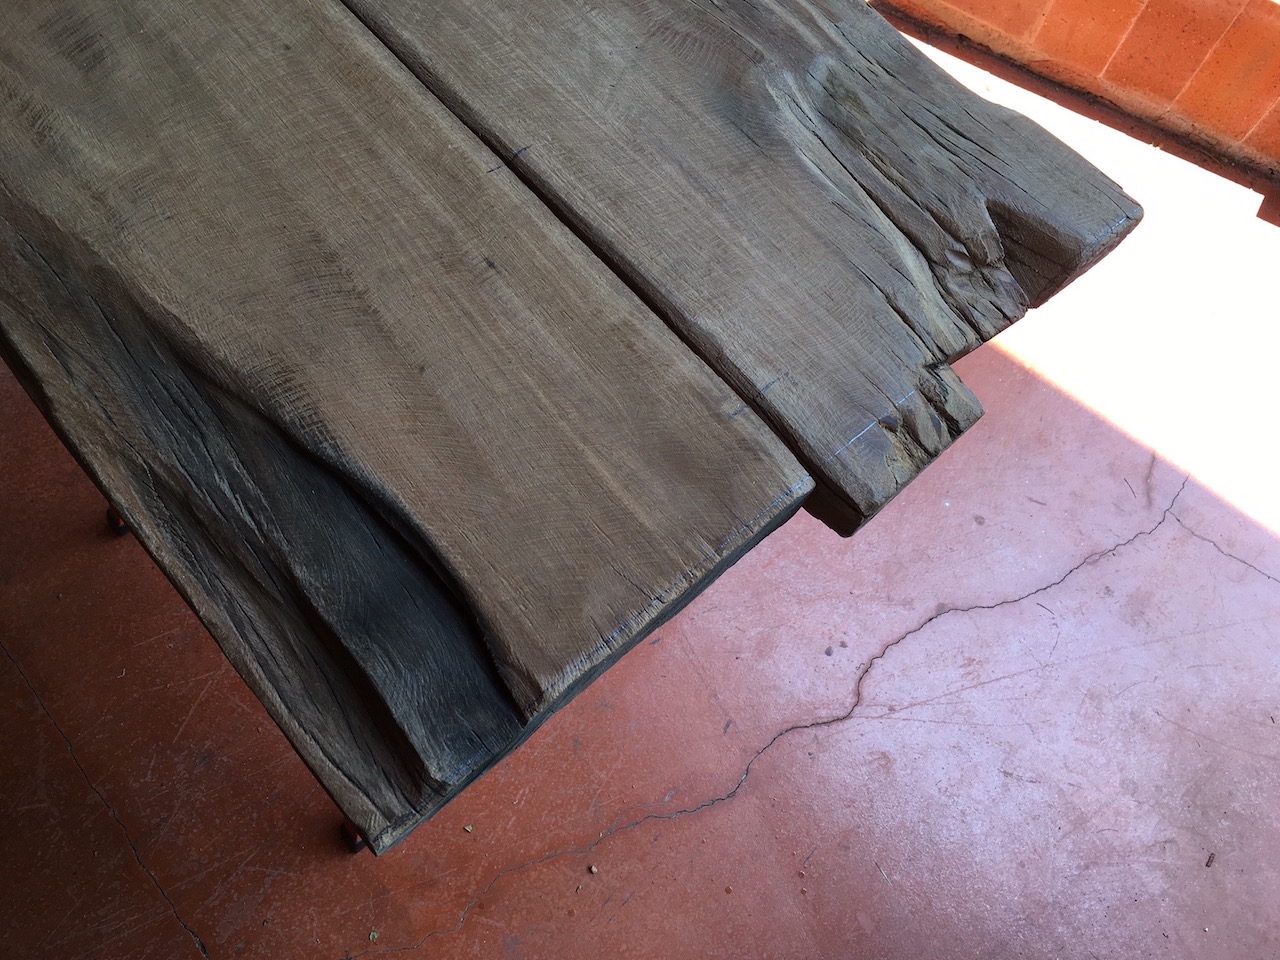
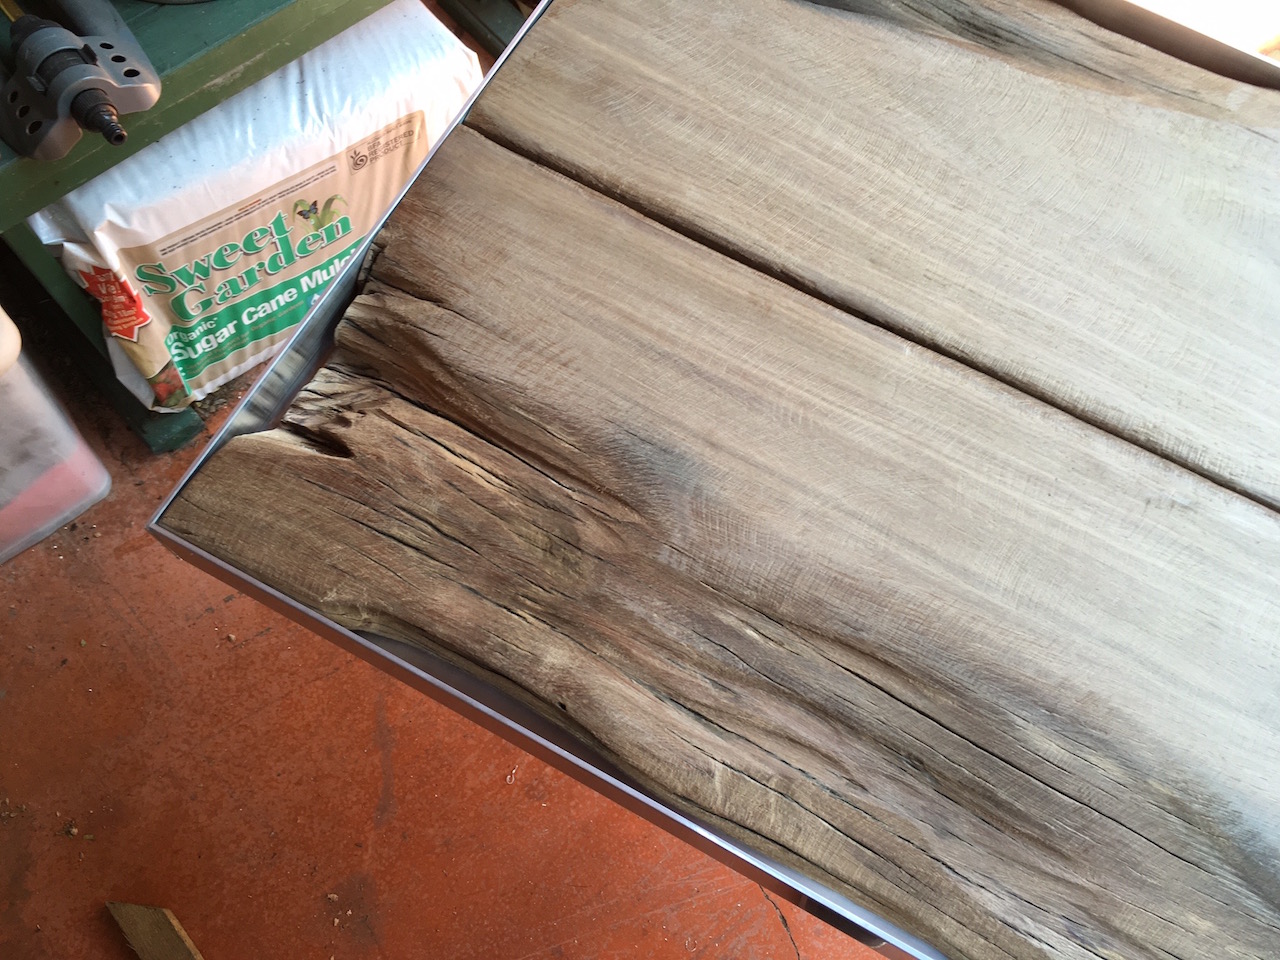
I used a rubber mallet to hammer the two pieces of wood together, this avoided getting any more dints and generally damaging the wood. You can see the original long dowels I tried to use in the photo. The fit was quite tight in the end and the two bits of wood were quite level already.
Next I cut off the bit that was sticking out to make it more level with the rest of the table.
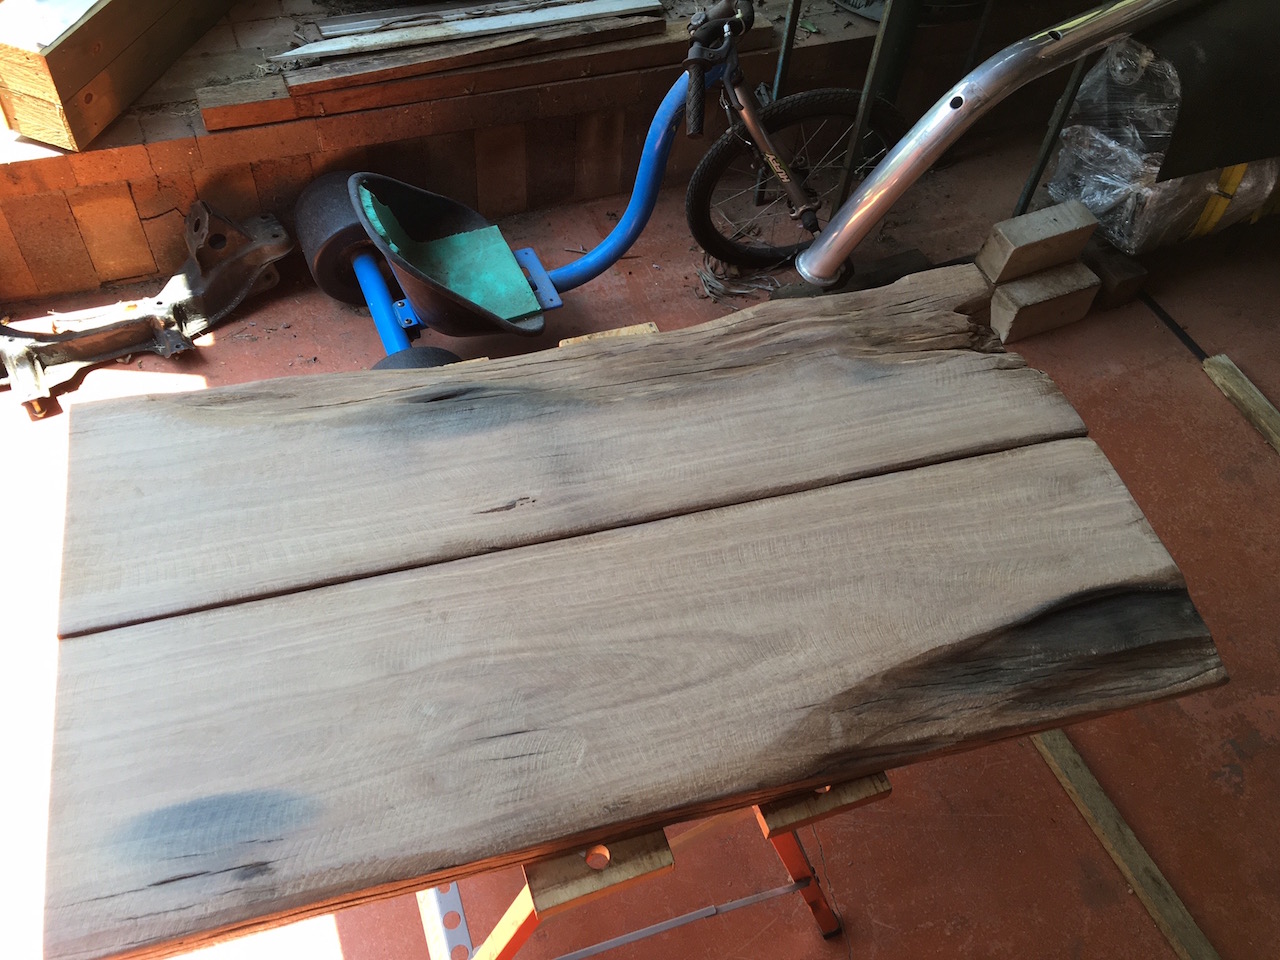
Now since I was going to use casting resin to make the whole table into one flat rectangular prism, I had to put a makeshift mould around the edges to pour the resin into. For this I used 50mm aluminium angle that I coated with mould release.
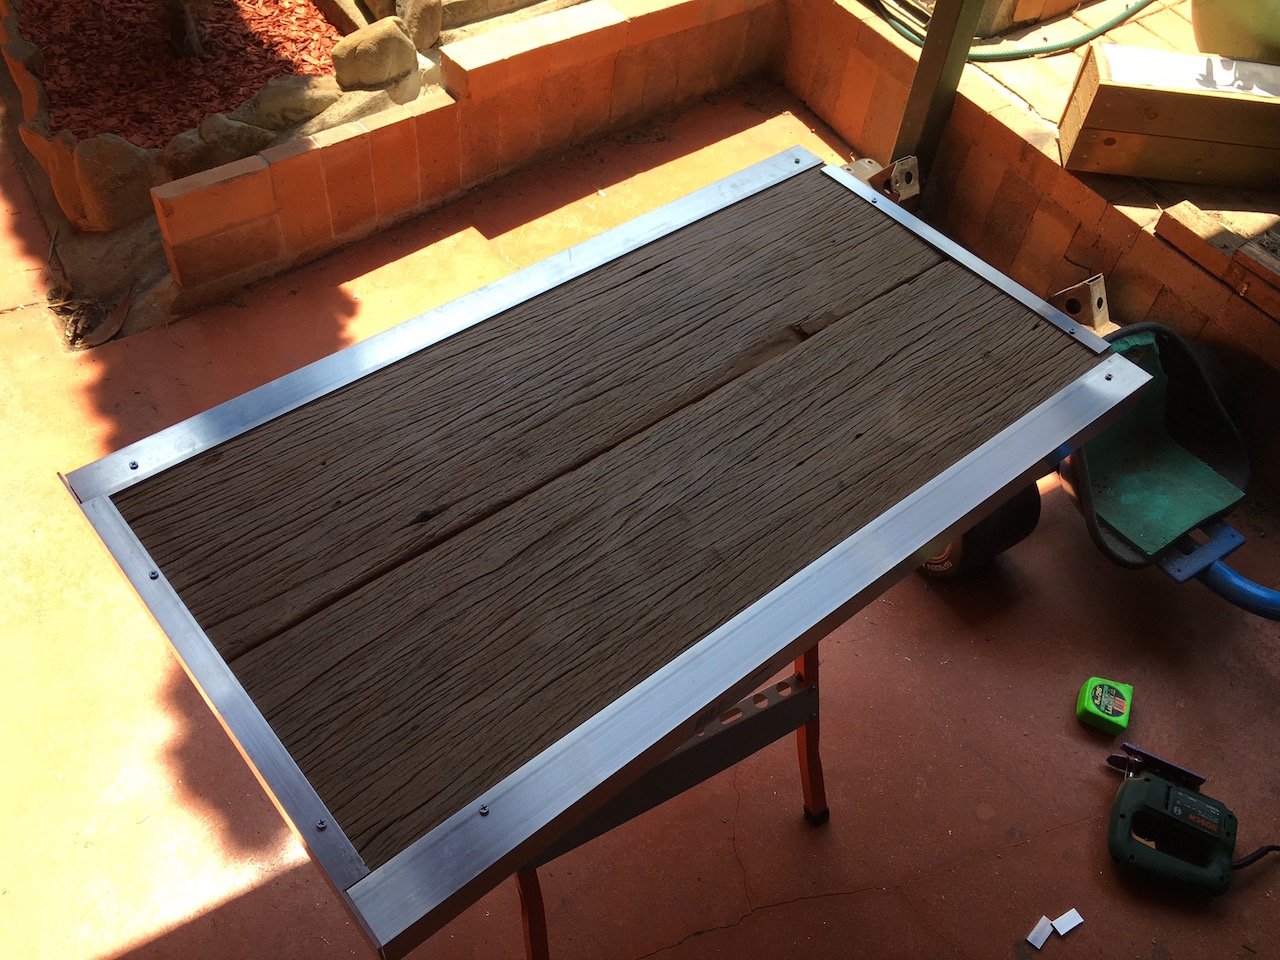
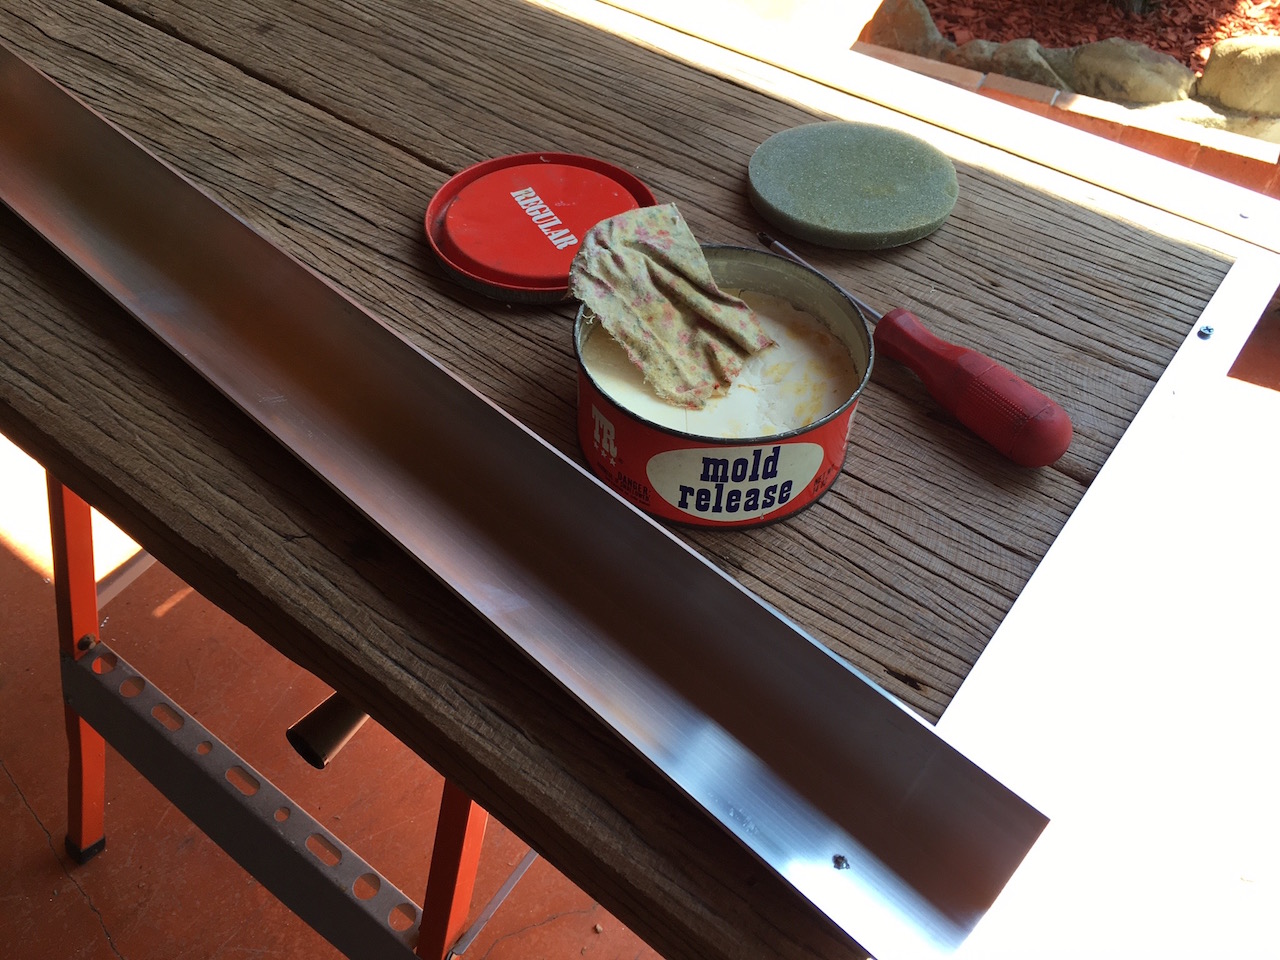
An hour later and whole lot of masking tape has sealed the gaps where the resin would leak.

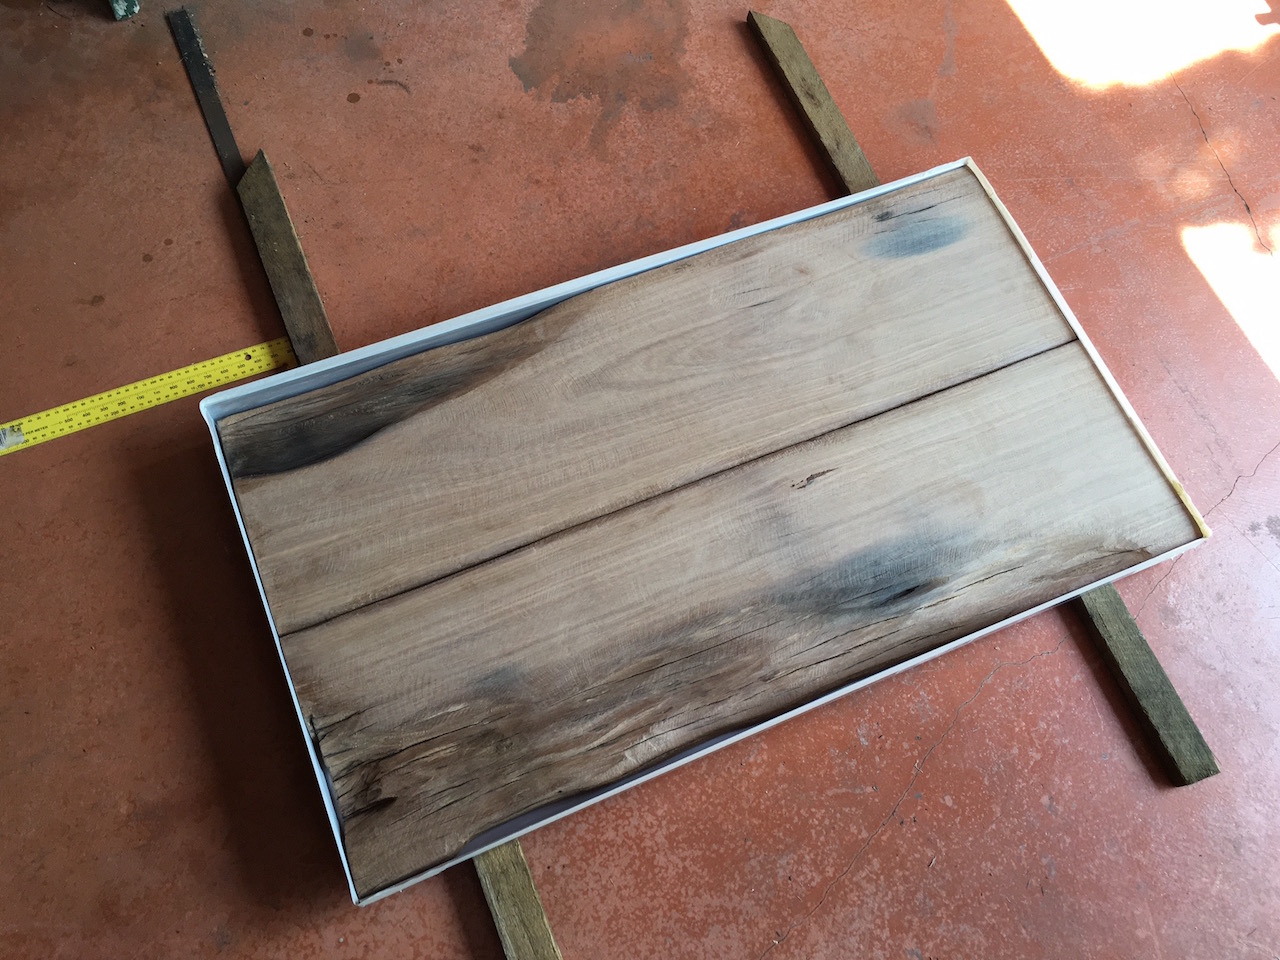
The table top was now ready for the resin to be poured. I'll talk about that in the next post, as well as the absolute disaster that the resin turned out to be and how I went about fixing it.
Continue reading this article's part 3 here.
-i
