This article is split up into four parts, you can skip between them using links below...
- Part 1 - Introduction and metal brackets
- Part 2 - Joining the two pieces and making a mould
- Part 3 - Pouring the resin and initial sanding
- Part 4 - Final finish, sanding and lacquer
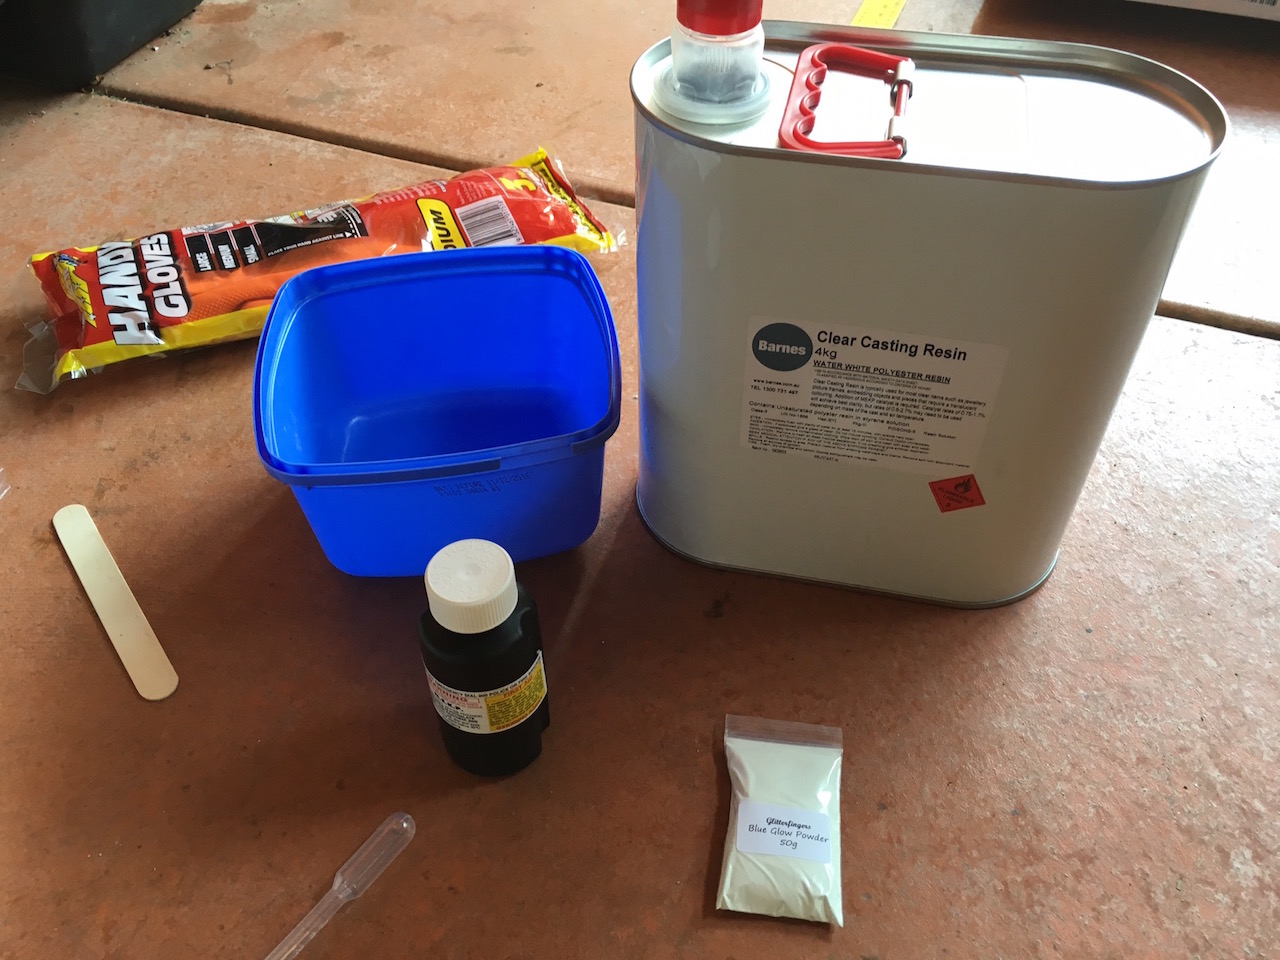
I wanted to have the table top finished in a way that would make it one flat surface. For this I planned to use casting resin to fill in the hollow areas in the wood. I picked up some polyester casting resin for this task. This was mixed with some glow in the dark powder so that the table would 'glow' in the dark. Very much like the famous Glow Table.
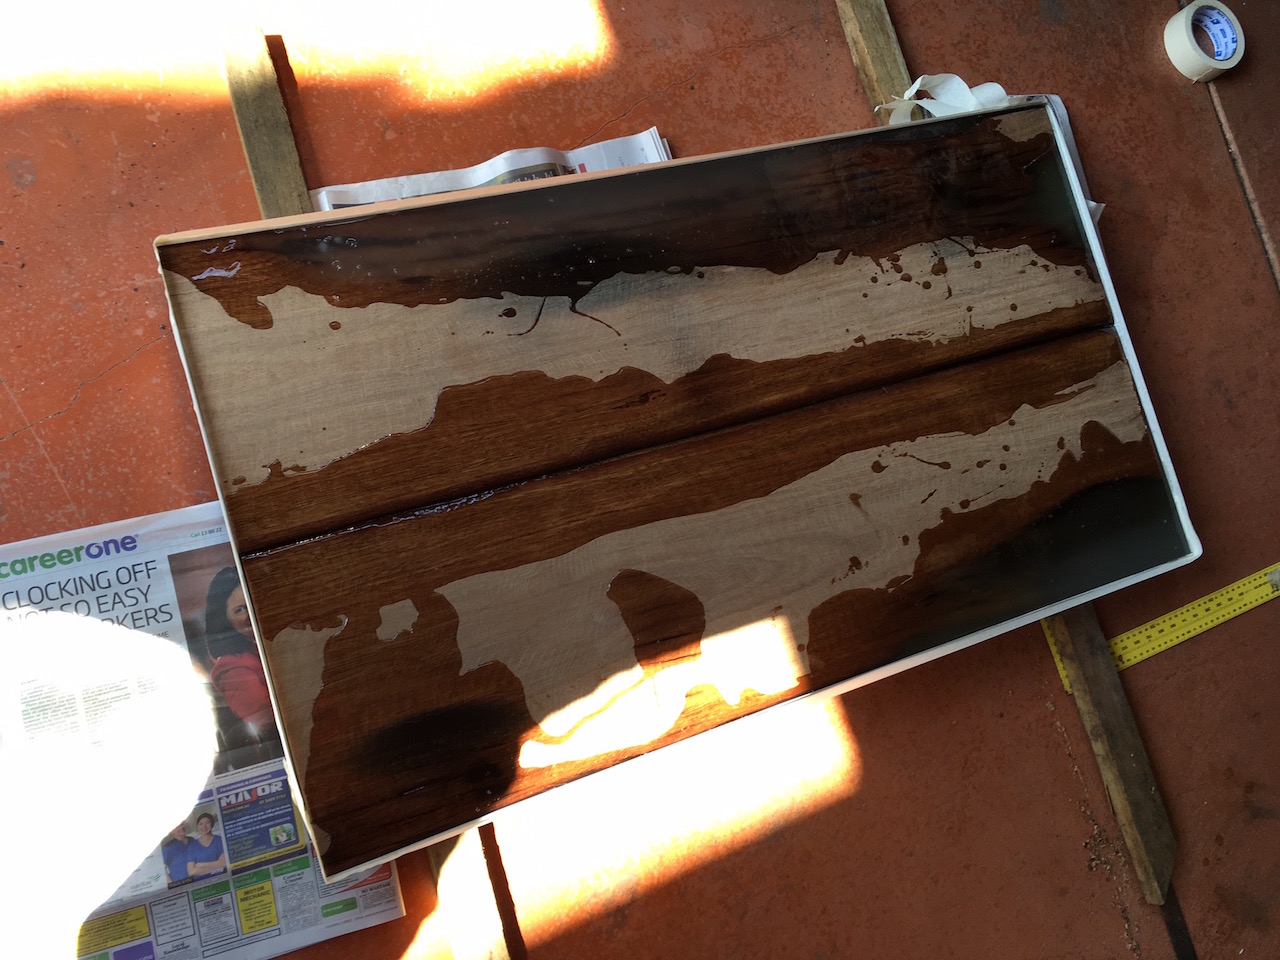
The mould was all ready so all I had to do was mix the resin, catalyst and the glow in the dark powder and pour it all in. The resin is amazingly clear and after the initial pour I was quite happy with the result.
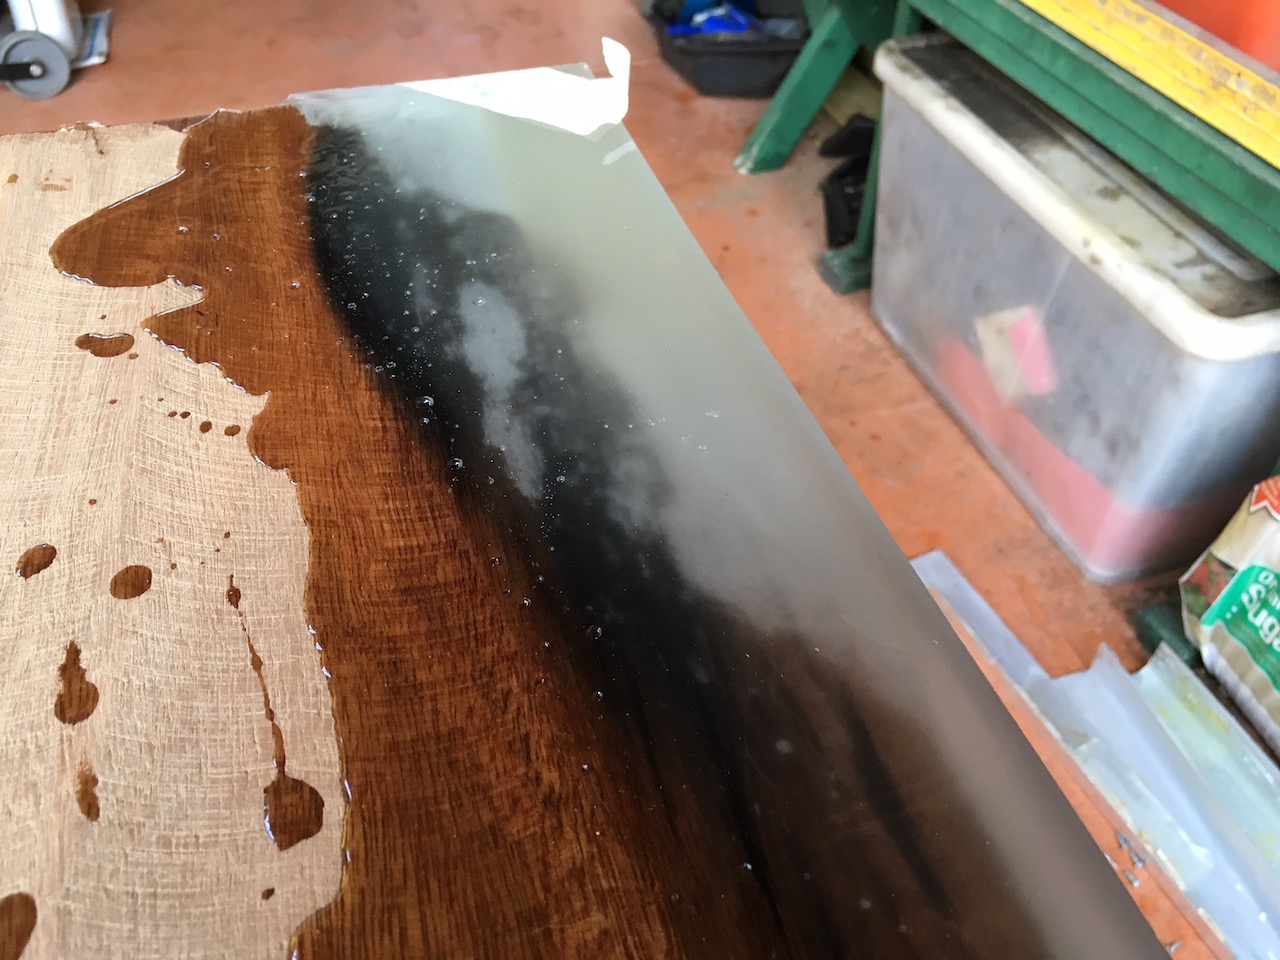
About an hour after pouring the resin in, something went wrong. The resin starting turning milky and cracking! I realised this is because it shrank and the milkiness was actually the resin peeling off the wood and an air pocket forming.

This was a total disaster. At first I didn't know what to do, but then quickly decided that I am better off pulling all the resin off while it wasn't fully set. This is what I was left with...bit of a mess with stray bits of resin that didn't come off properly and were too tacky to remove easily.
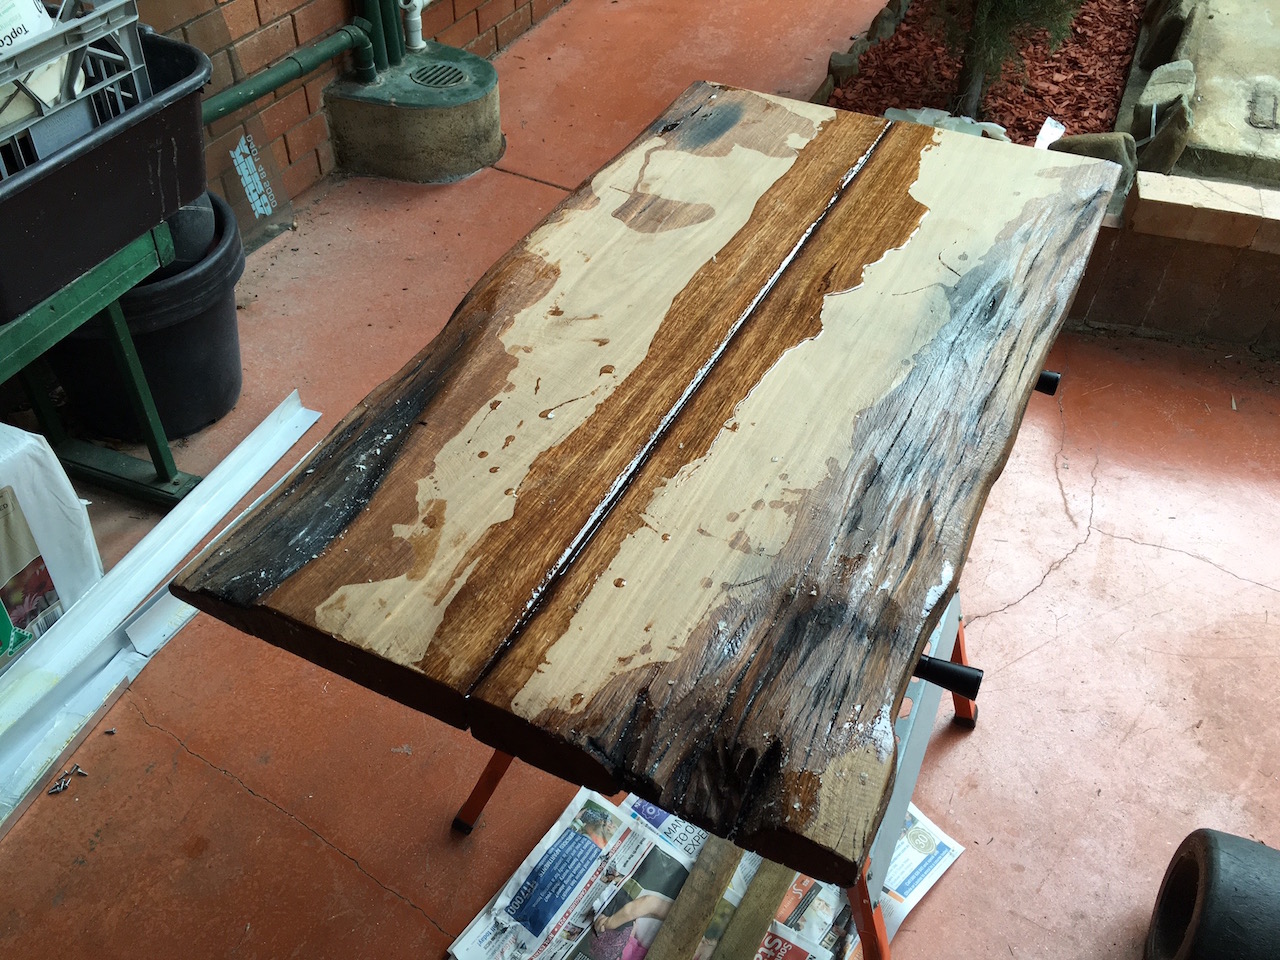
At this point I decided my original plan wasn't going to work and that I'll have to work with the features the wood had instead of trying to fill them in.
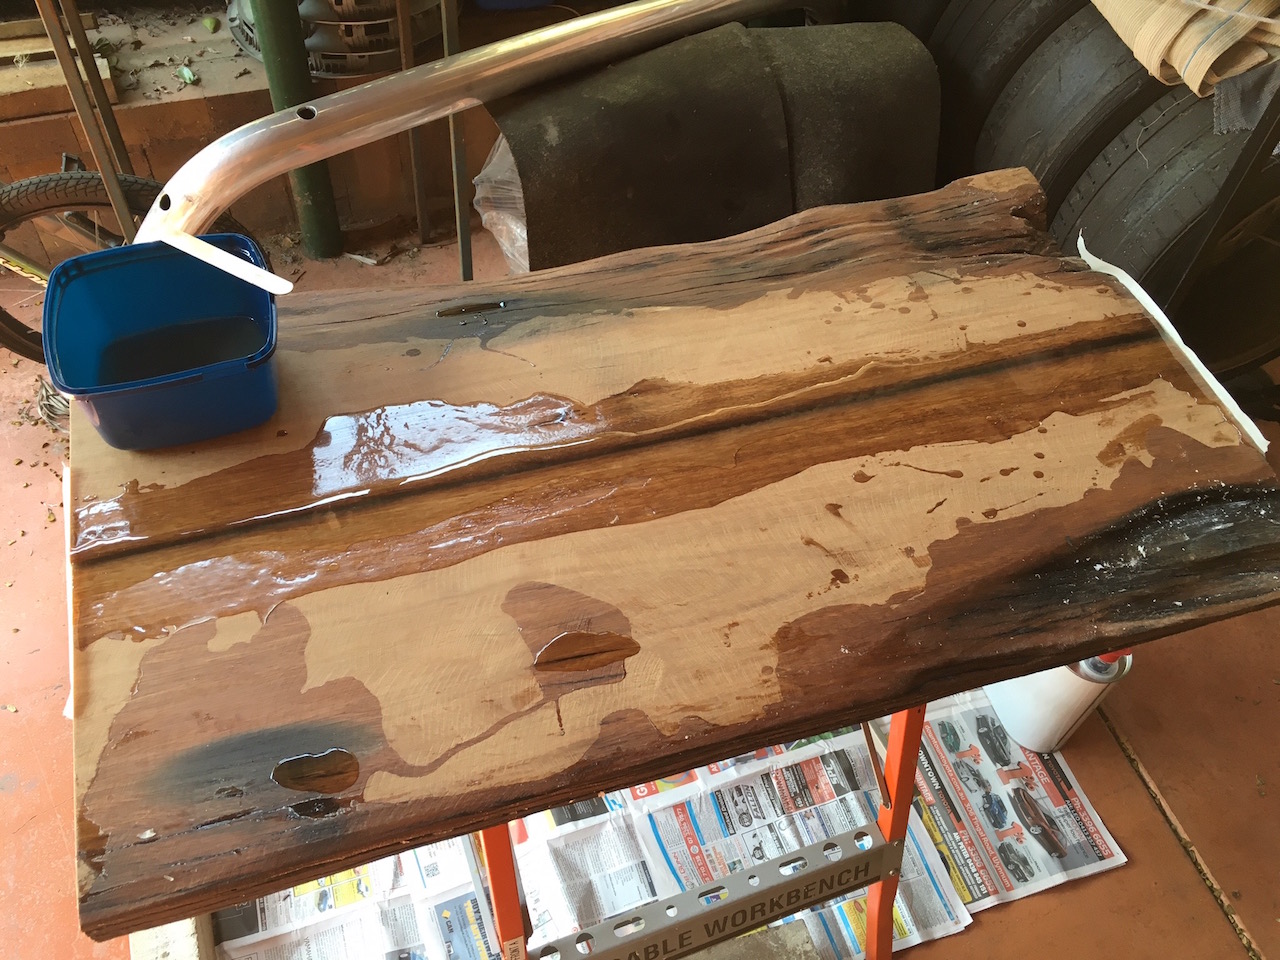
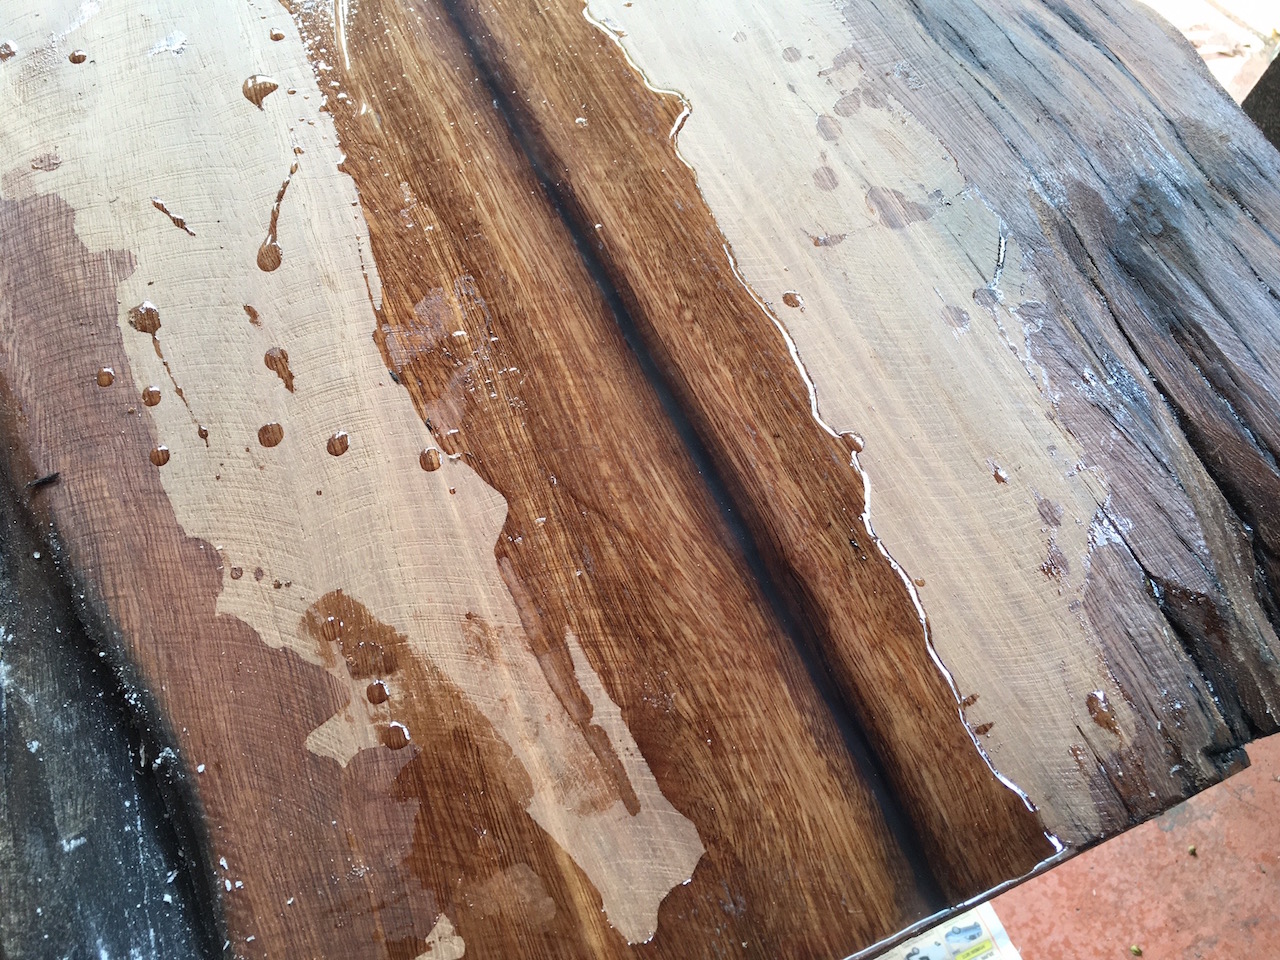
The next day I did some more pouring, mainly to get the gap between the two pieces filled in. I also poured resin into the bigger cracks that were left exposed. I'm still amazed by how clear the resin is, even with the glow powder inside it.
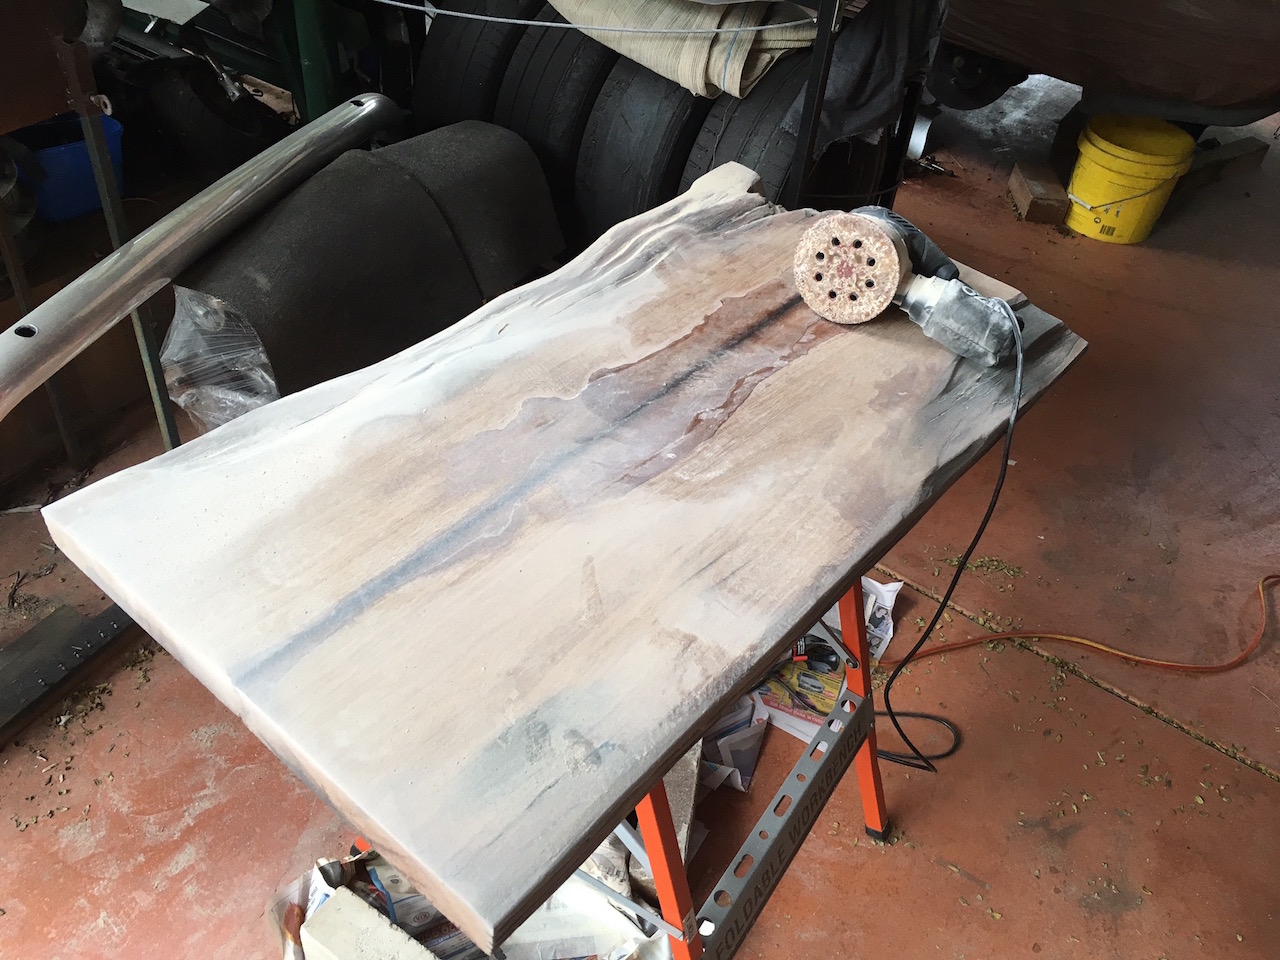
After letting the whole thing set for a few days it was time to sand the resin down to make it flat with the wood. This was a considerable effort and I could barely feel my hands after the 3-4 hours of sanding with an orbital sander.
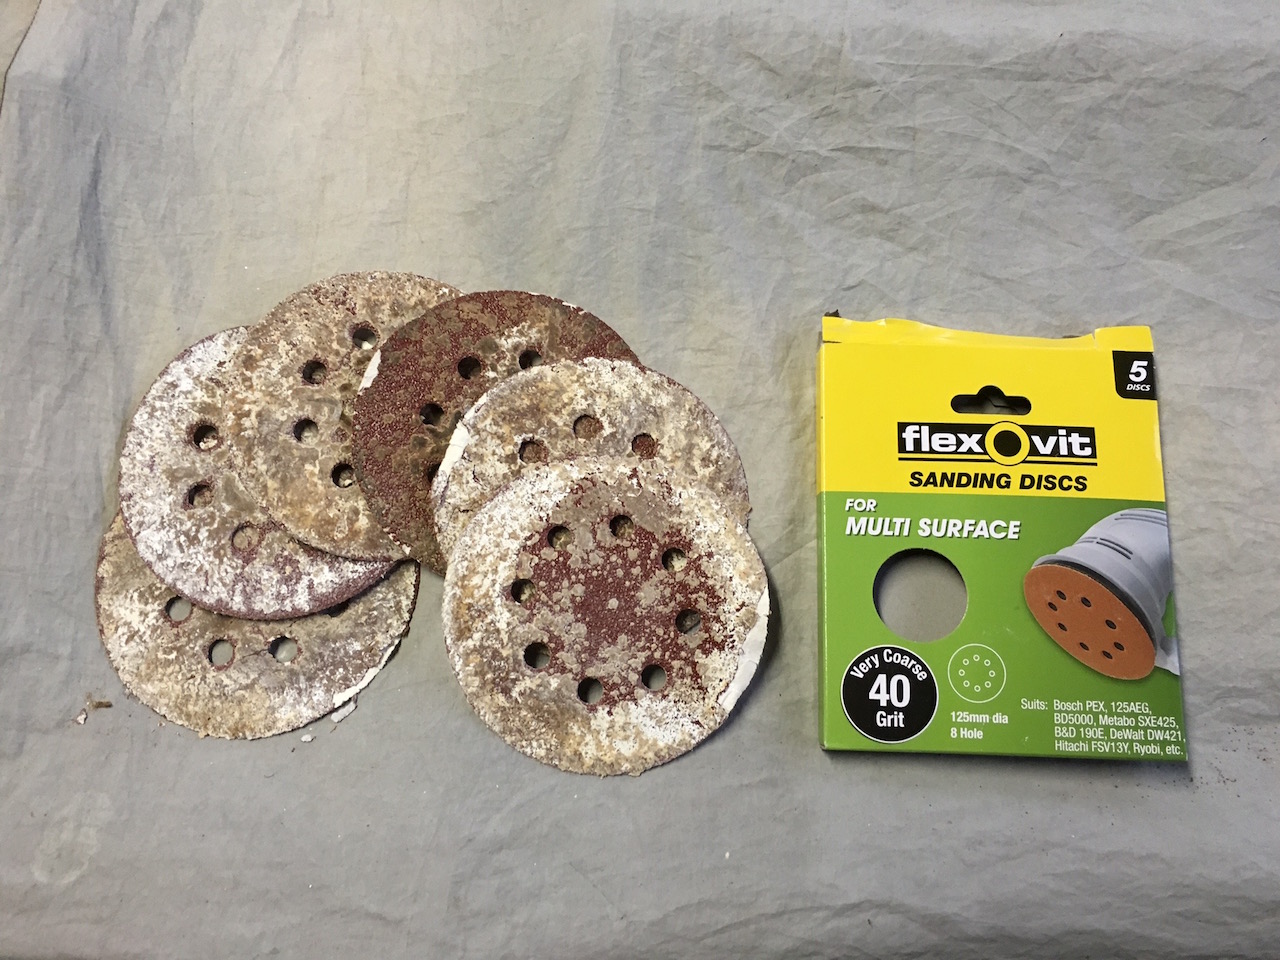
Many sanding pads later...
I finally had a smooth flat table top! This is also when I cleaned up the remaining resin leftovers from the previous disaster. The table now started to look like something decent.

The next post describes what I did in terms of lacquering the table and shows the final assembly and pictures from various angles.
Continue reading this article's part 4 here.
-i
