This article is split up into four parts, you can skip between them using links below...
- Part 1 - Introduction and metal brackets
- Part 2 - Joining the two pieces and making a mould
- Part 3 - Pouring the resin and initial sanding
- Part 4 - Final finish, sanding and lacquer
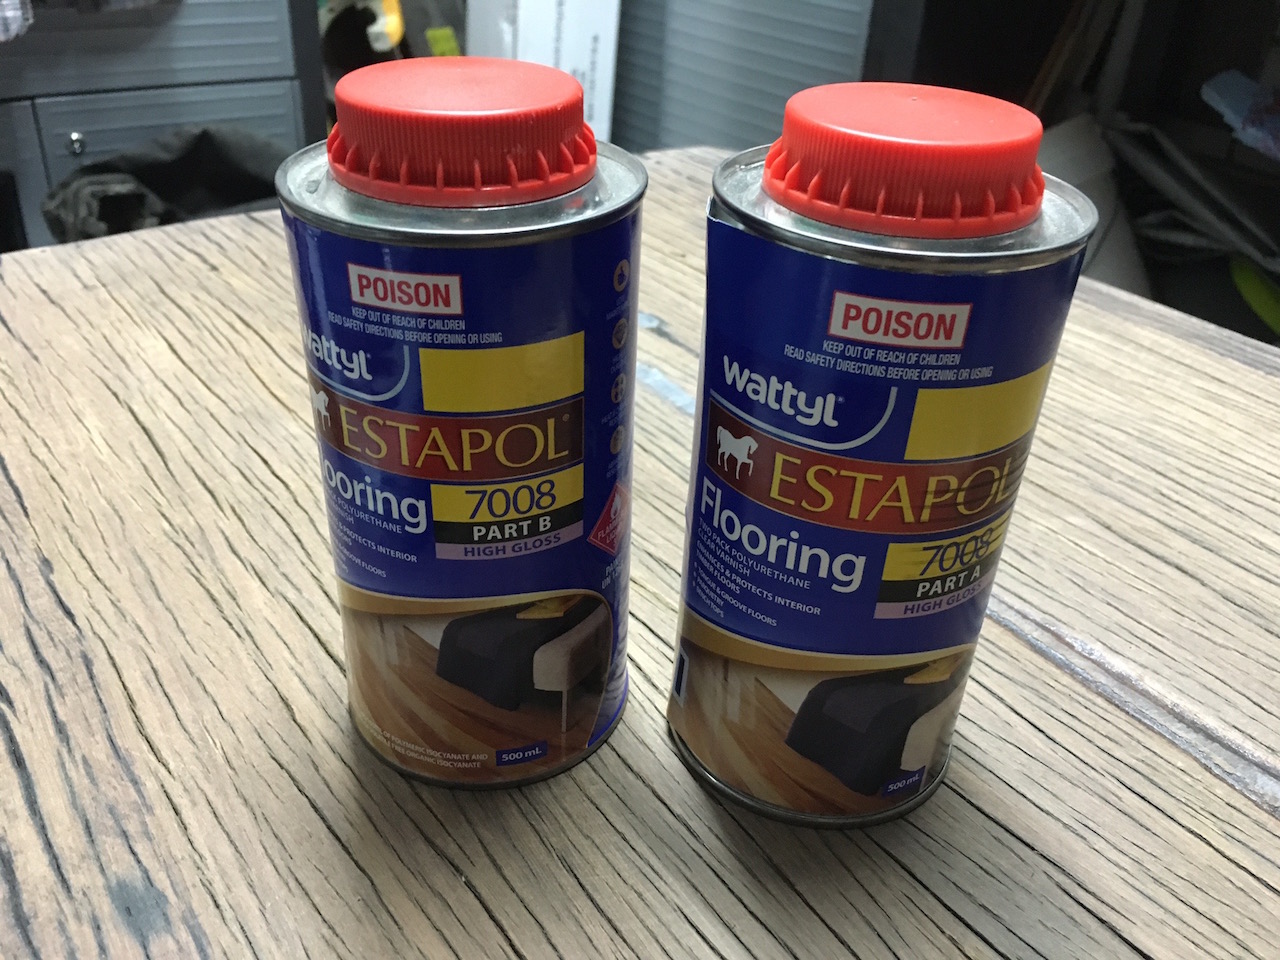
In the last post I got as far as having the coffee table top sanded down ready for the first coat of lacquer. The product I used for this was 'Estapol Flooring two pack polyurethane clear varnish'. It's not cheap, but the end result is worth it.
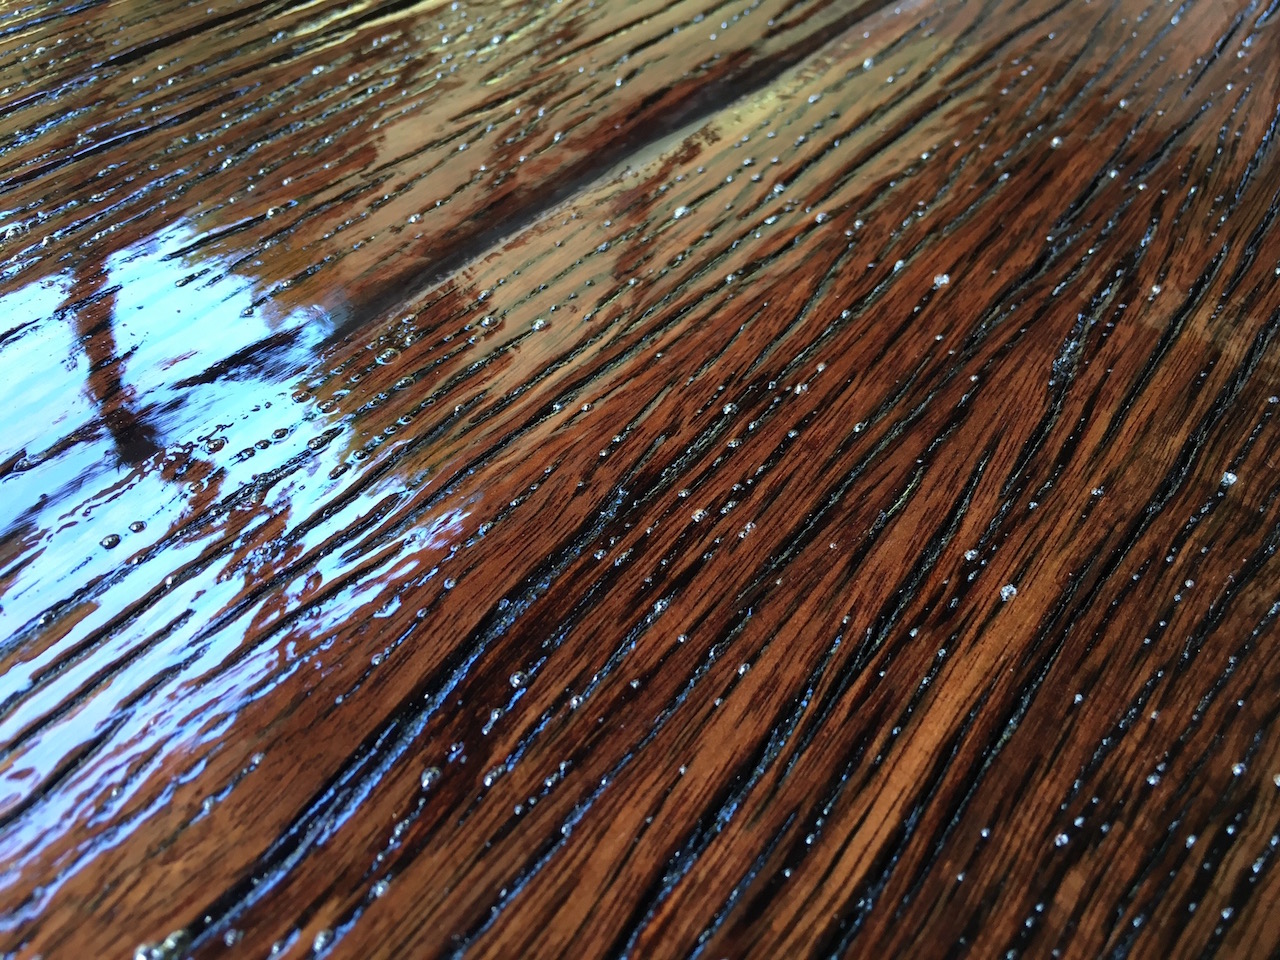
After the first coat it was an instant wow moment...
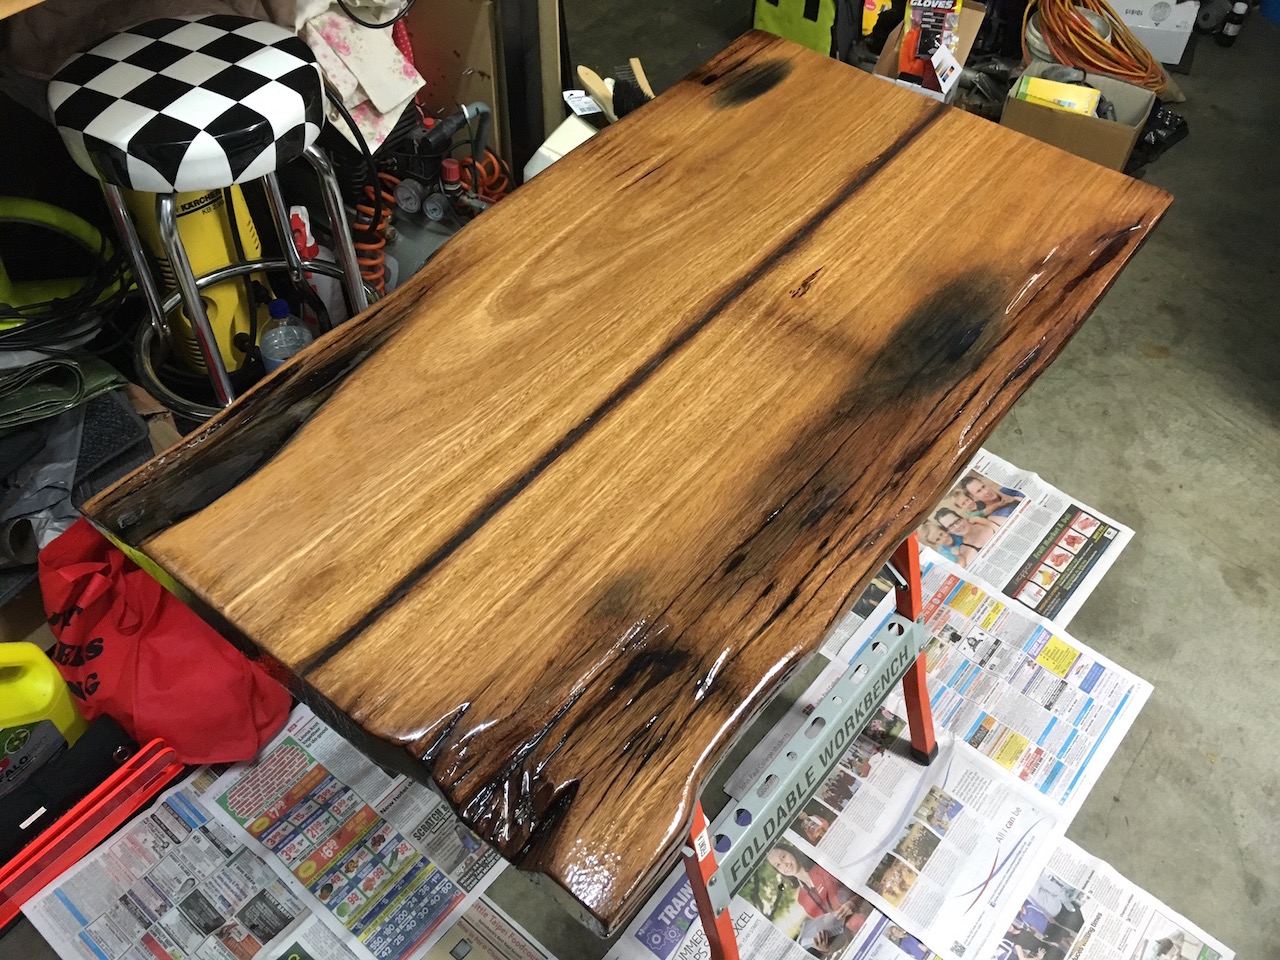
The transformation was quite something!
The bottom side of the table wasn't as exciting. Here it is with the first coat and the first coat sanded down ready for another coat.
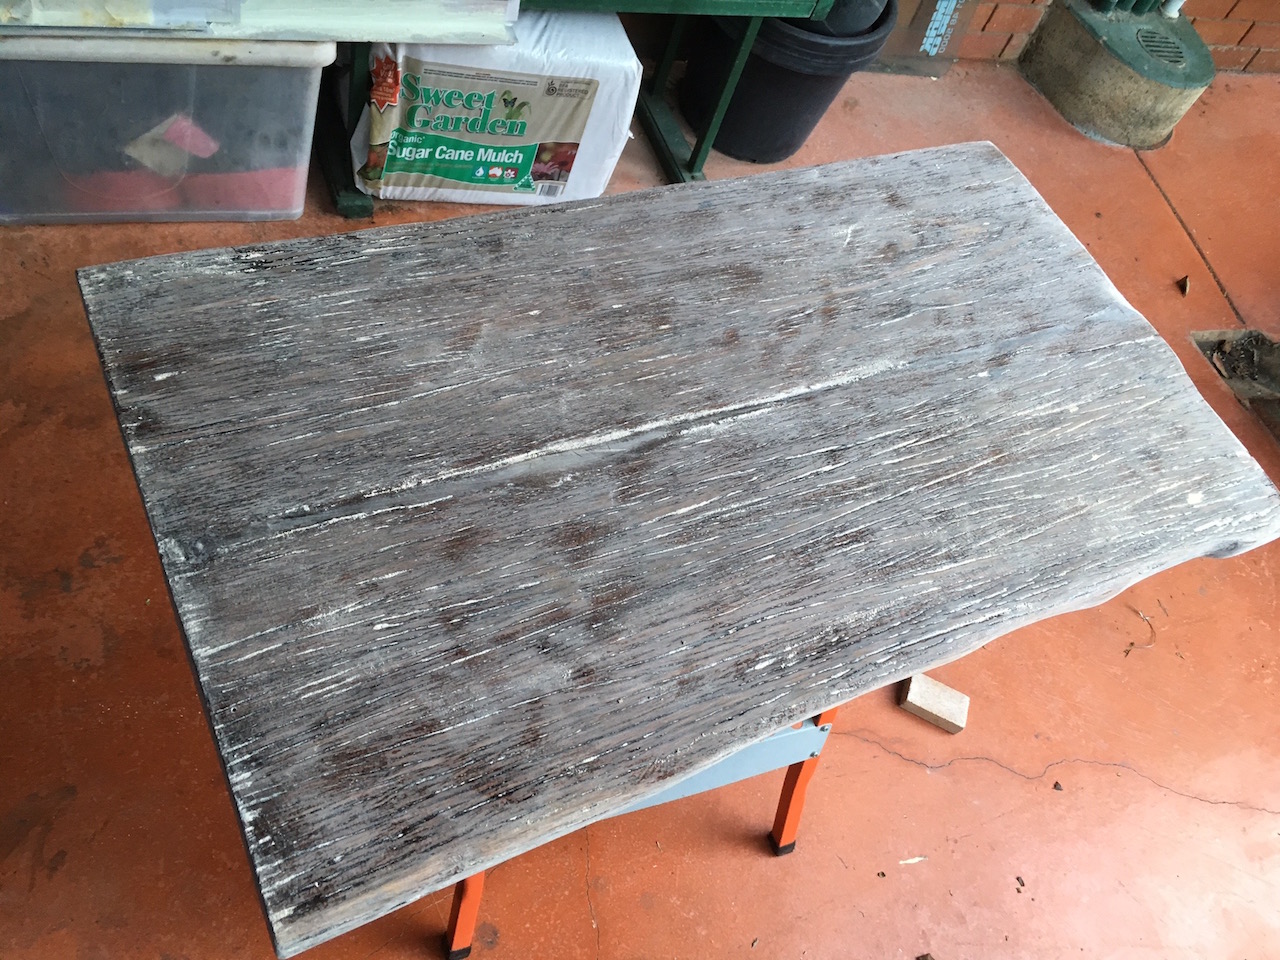
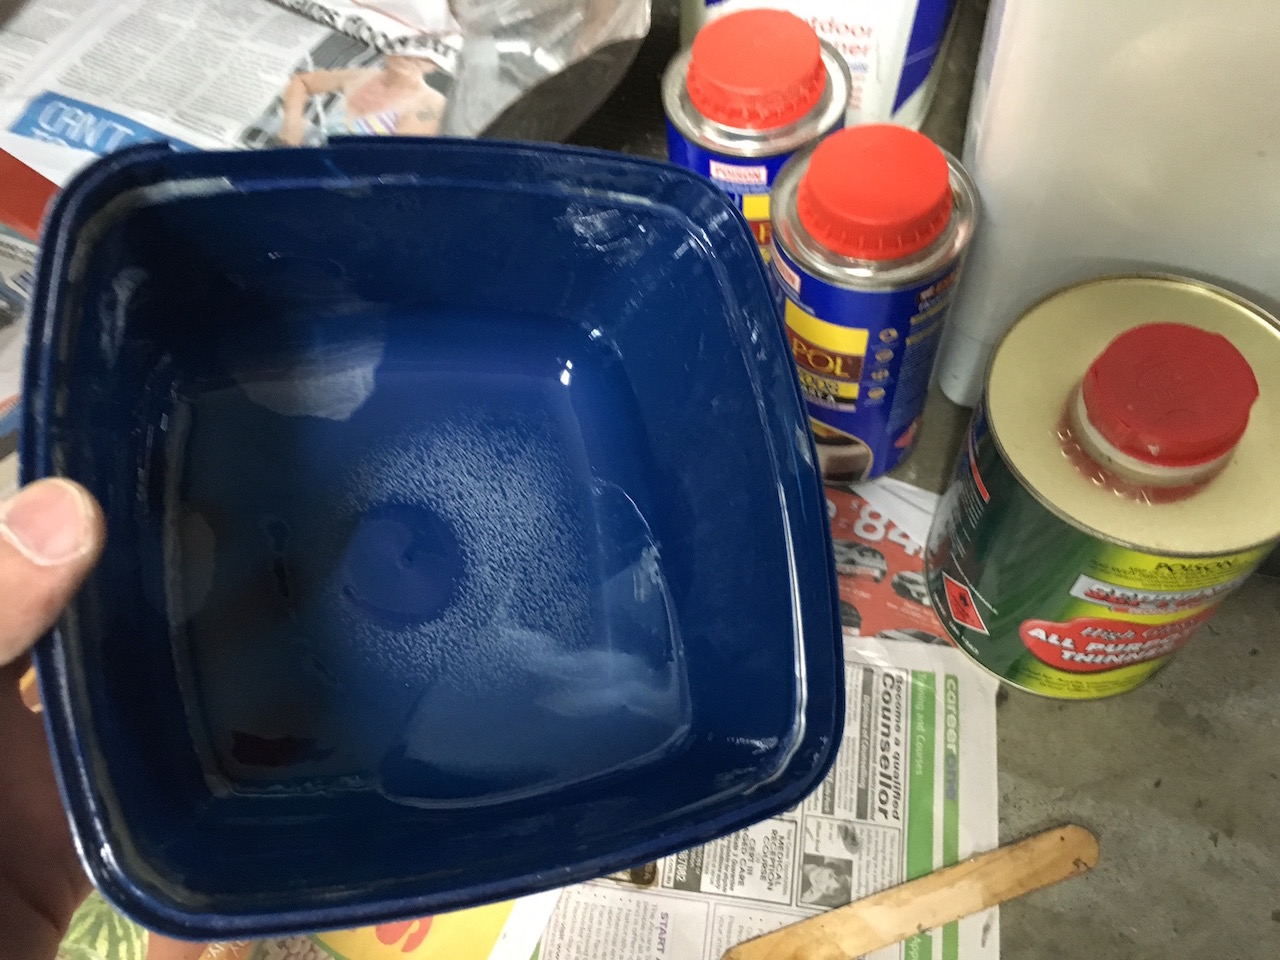
The top part of the table had the lacquer settle nicely, but on the bottom I had a few issues. After applying quite a generous coat, lots of air bubbles formed. This wasn't a huge problem though, being the underside of the table. The next coat that I applied, the Estapol was mixed with equal amounts of Parts A and B and paint thinner. The thinner let me spread the lacquer easier and avoided bubbles forming.
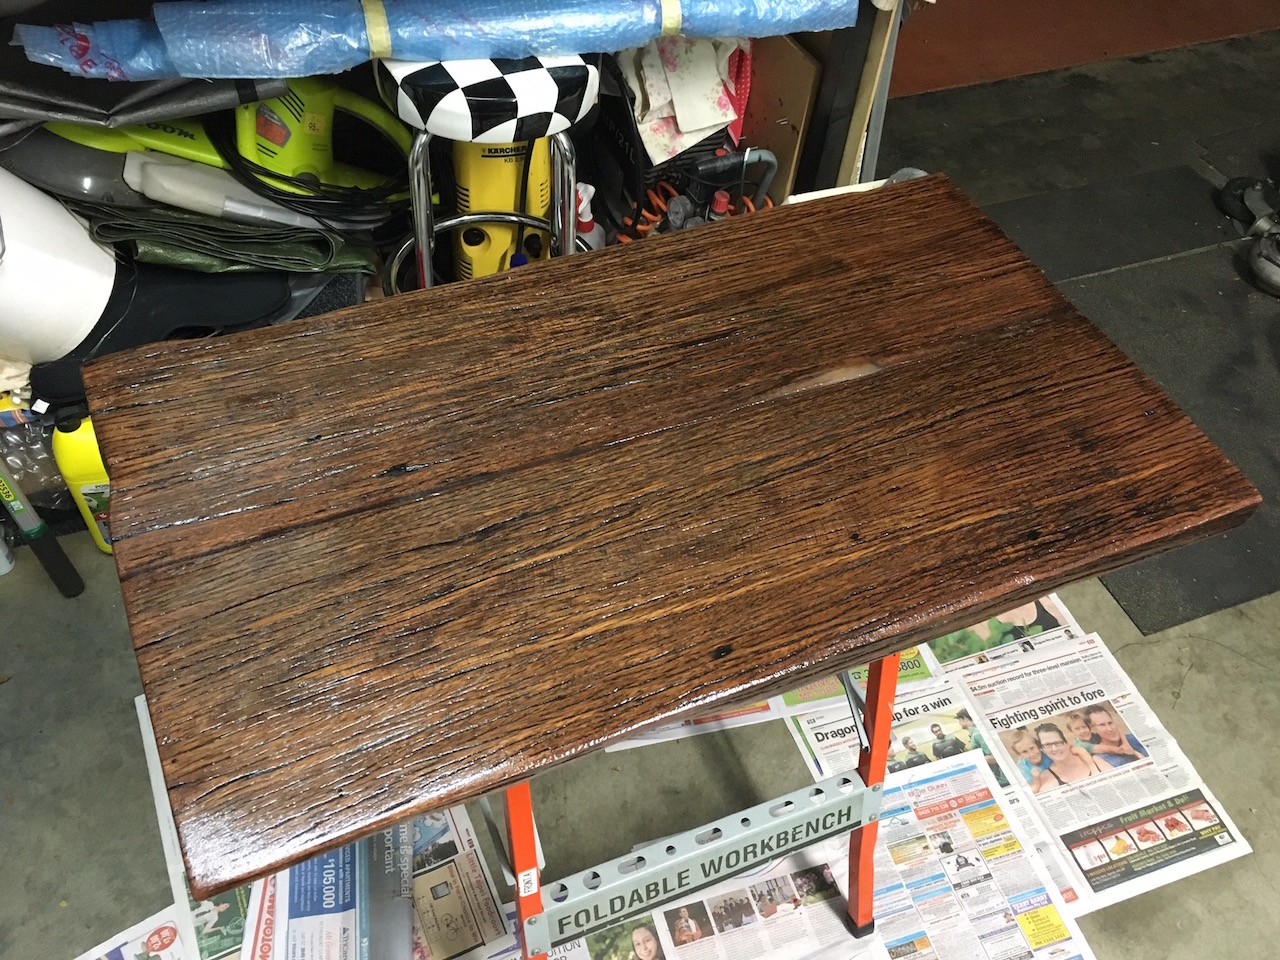
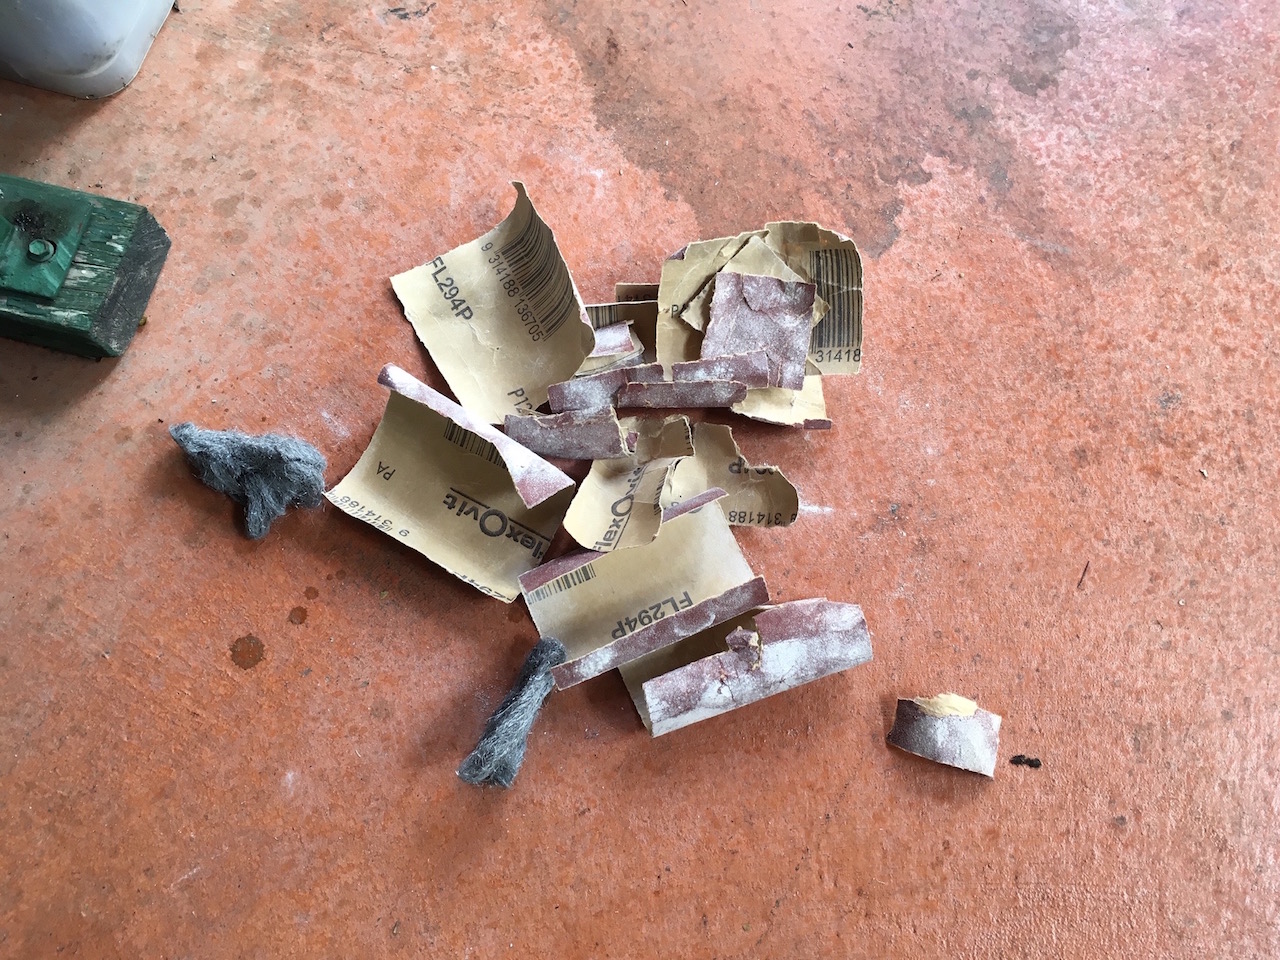
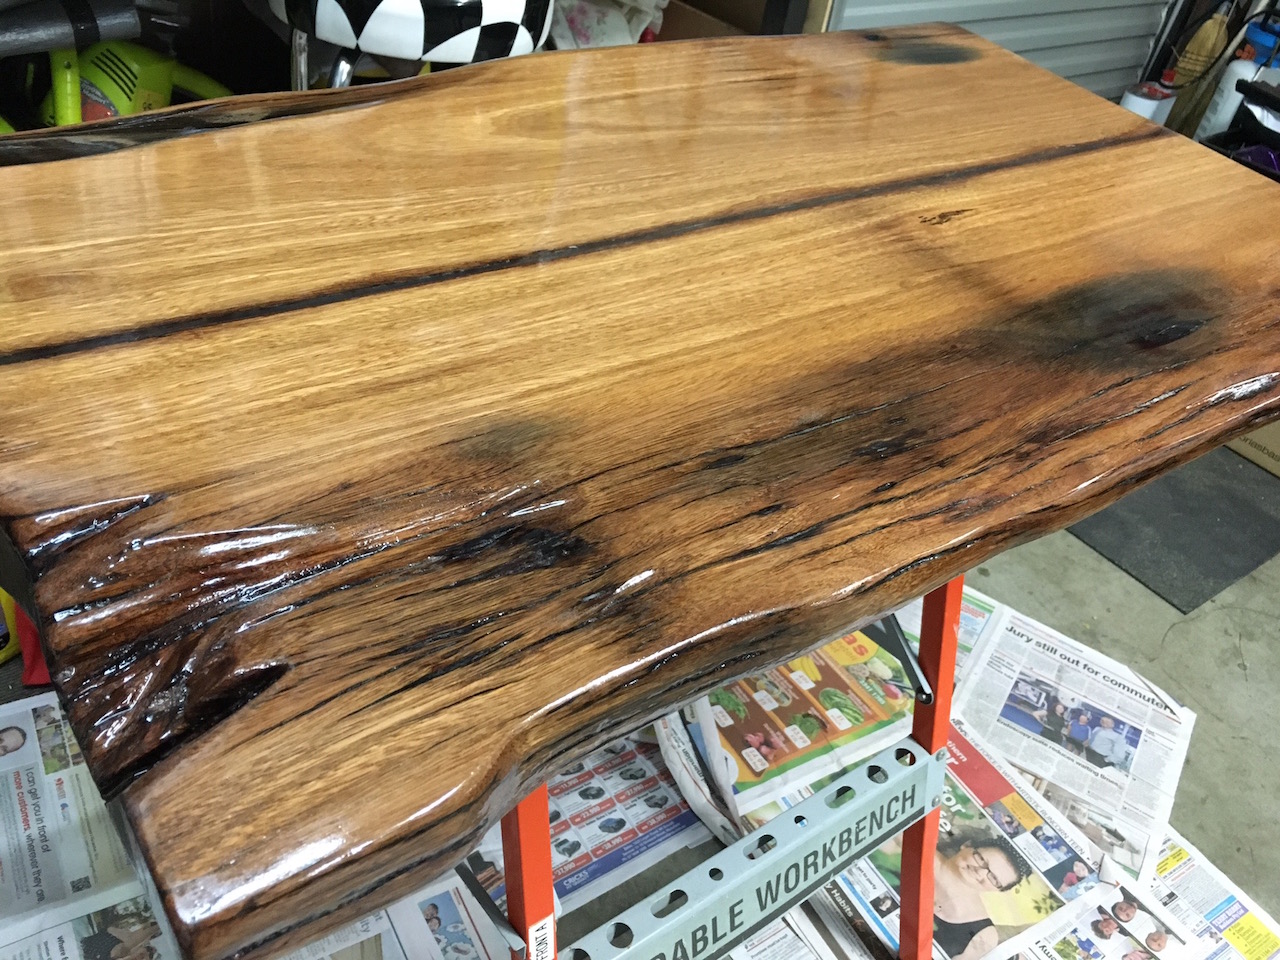
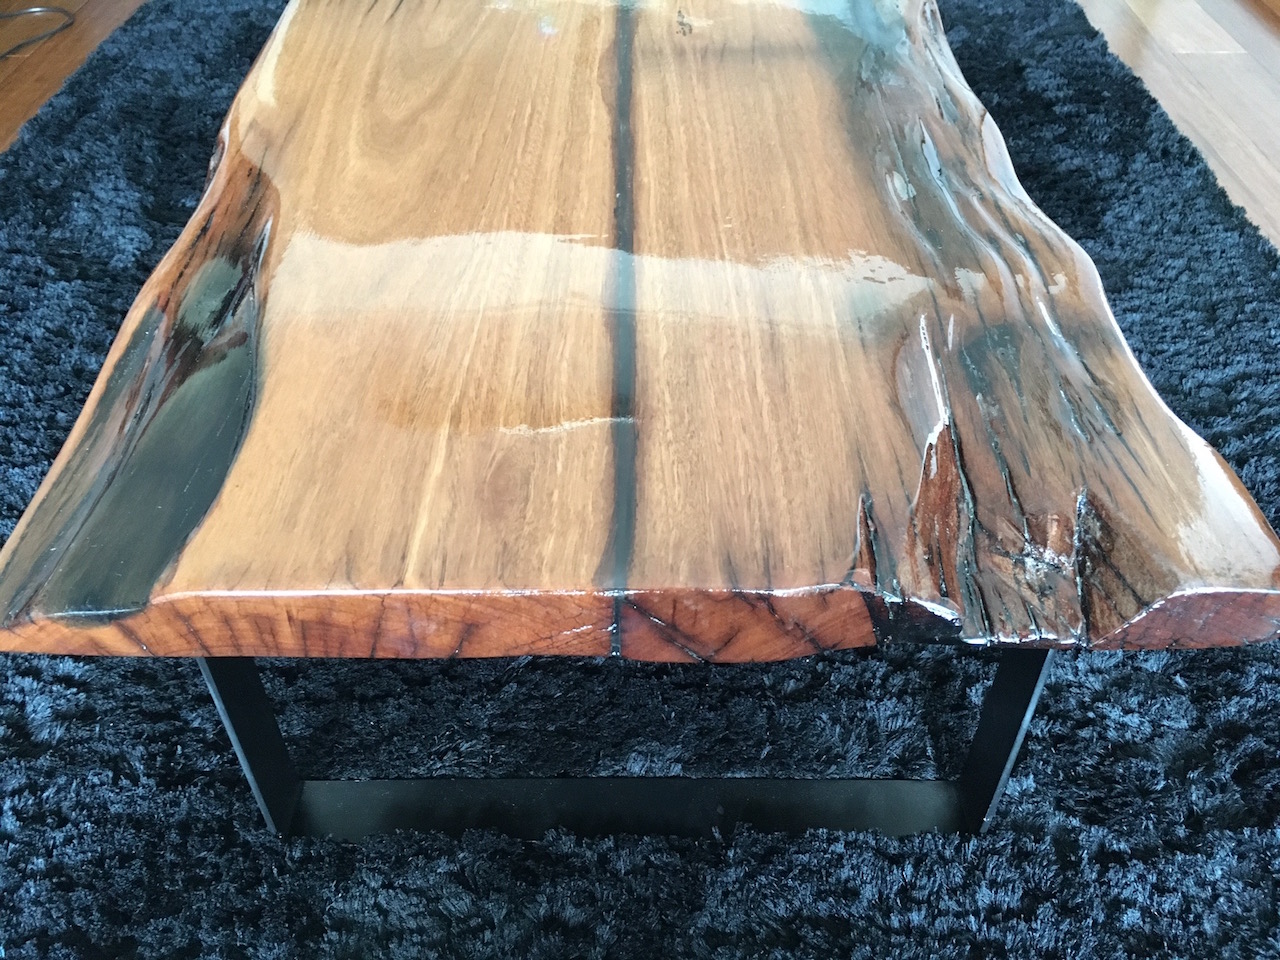
For the top side I ended up applying 5 coats, sanding each one down smooth. The earlier coats were sanded with 120 grit sandpaper, the last two coats were done using steel wool.
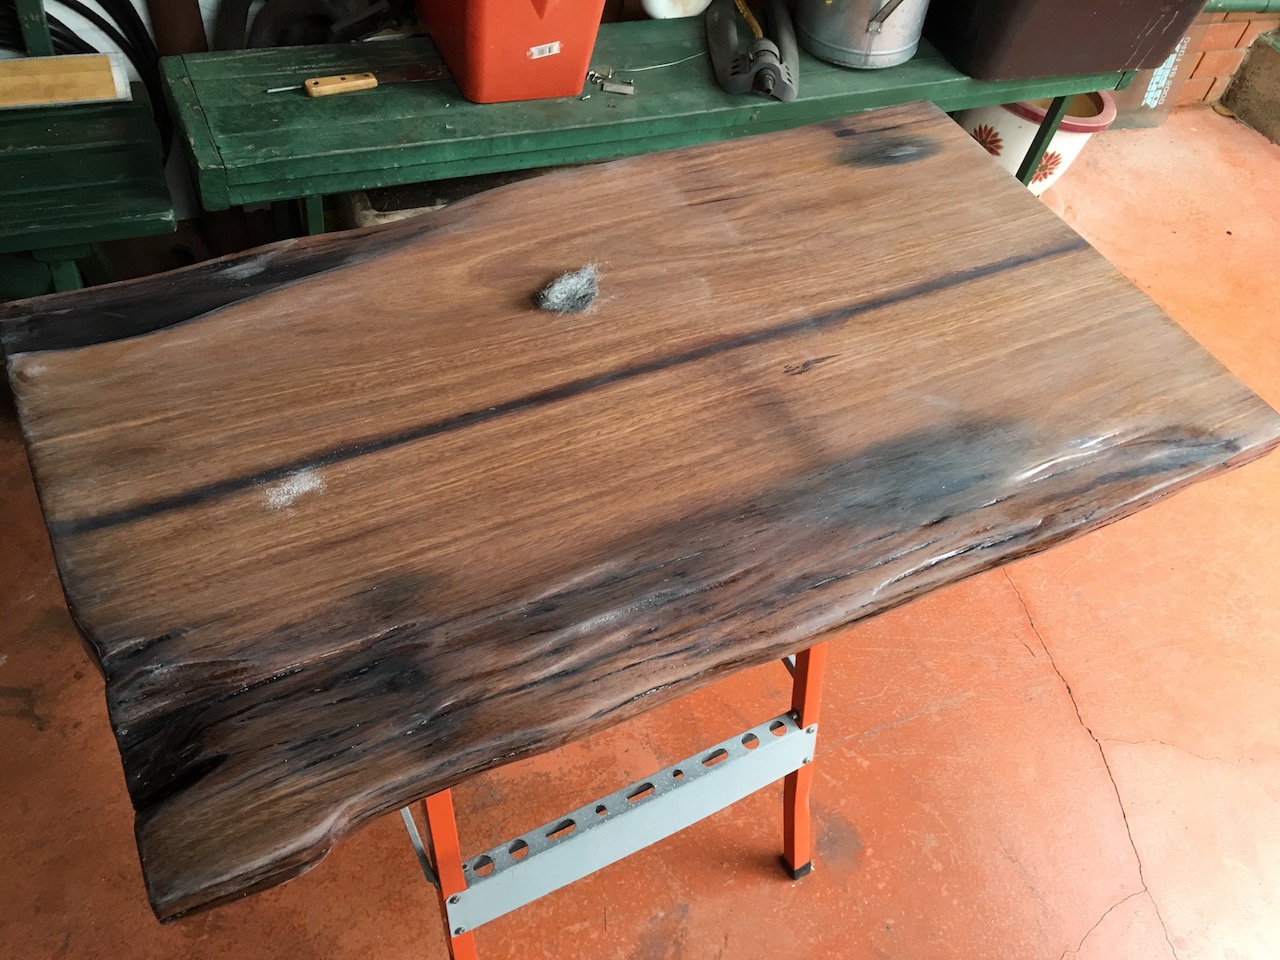
Eventually it looked like one super shiny surface, a perfect result! The gap between the two pieces of wood was nonexistent. The resin section was smooth to the touch without any noticeable transition between the wood and resin surfaces.
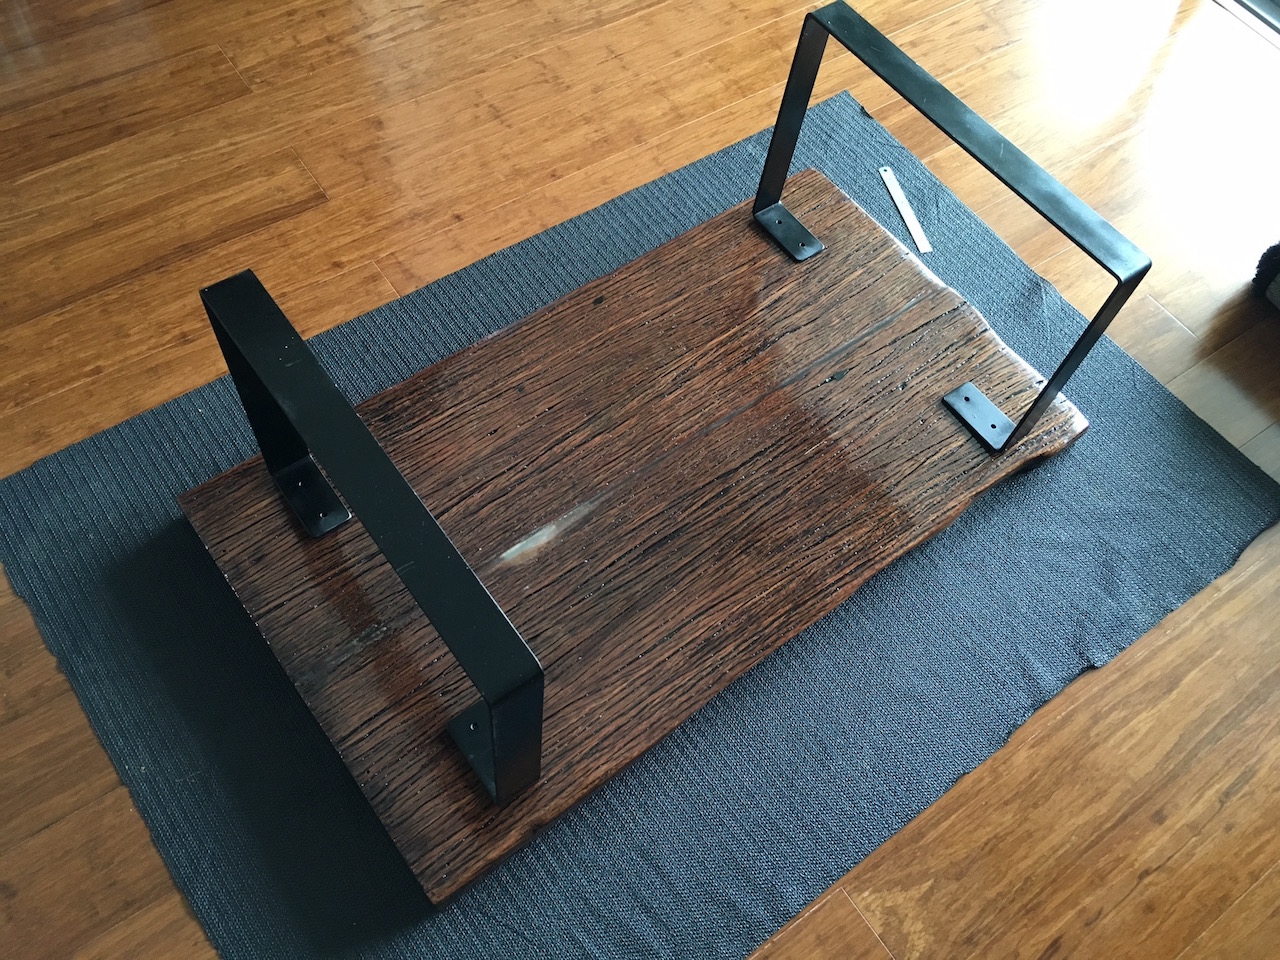
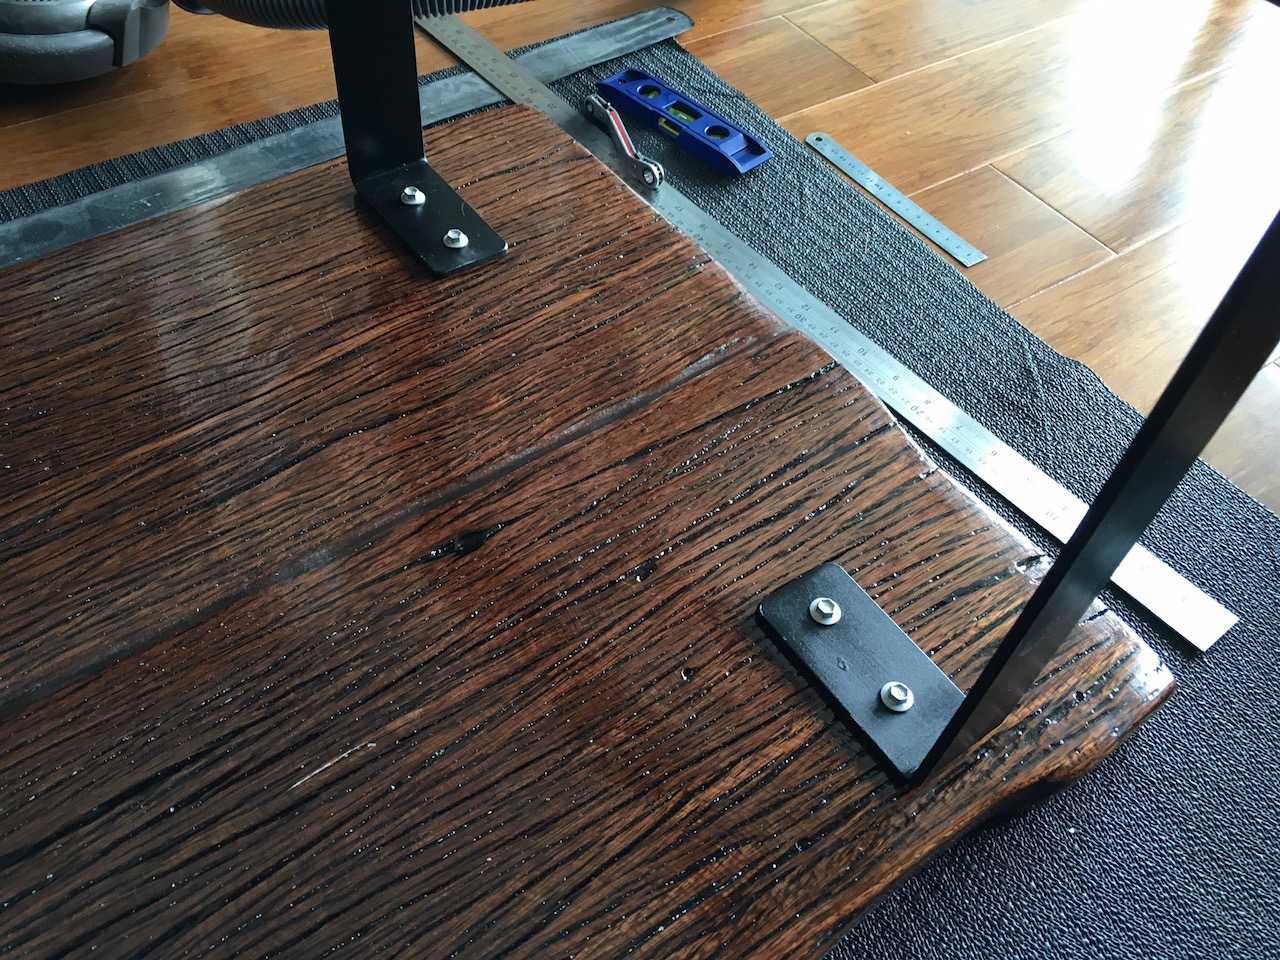
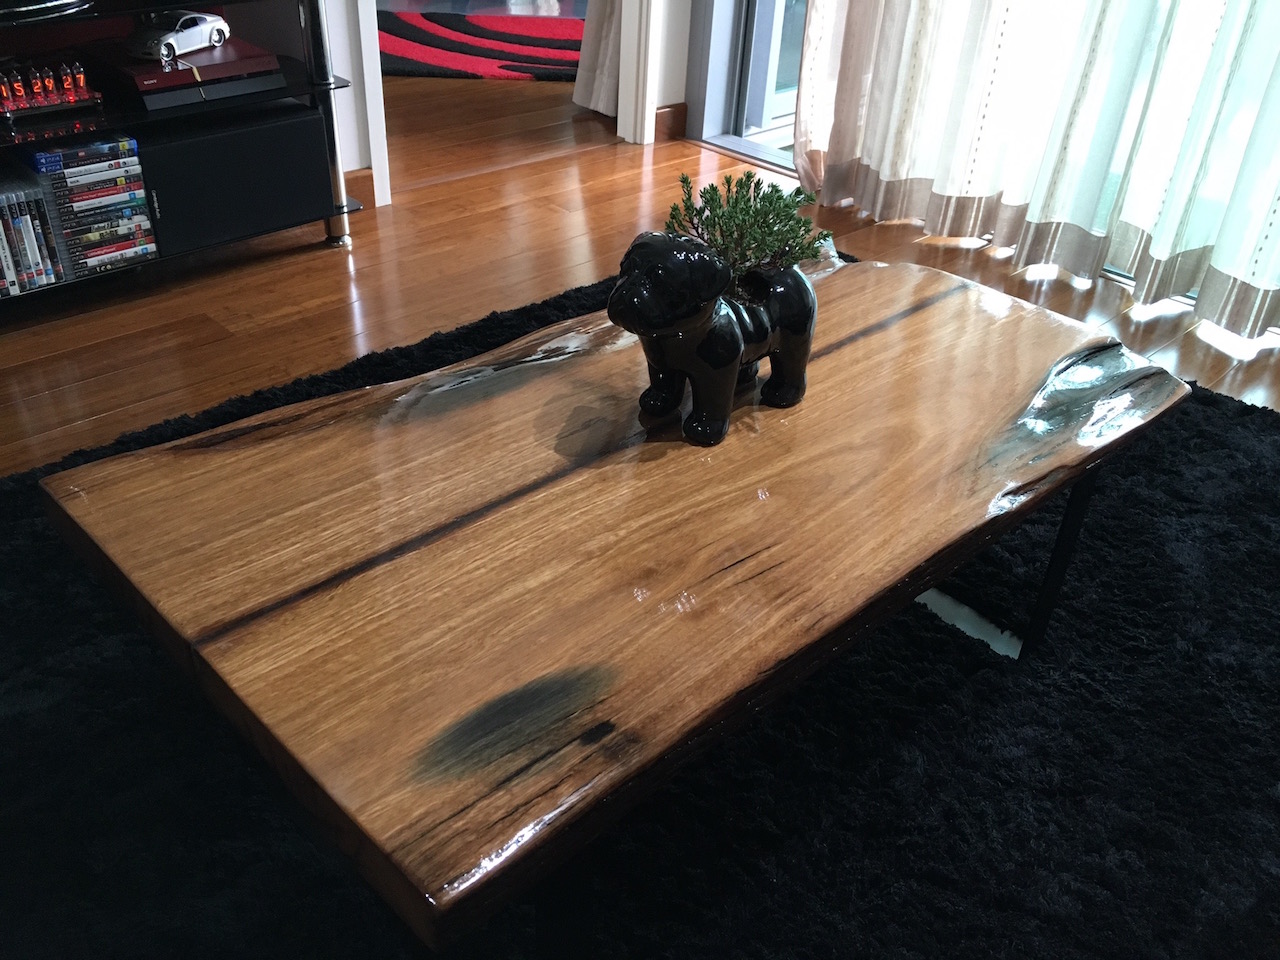
The only bit left now was to attach the legs...
Here are some shots of the coffee table at various angles...
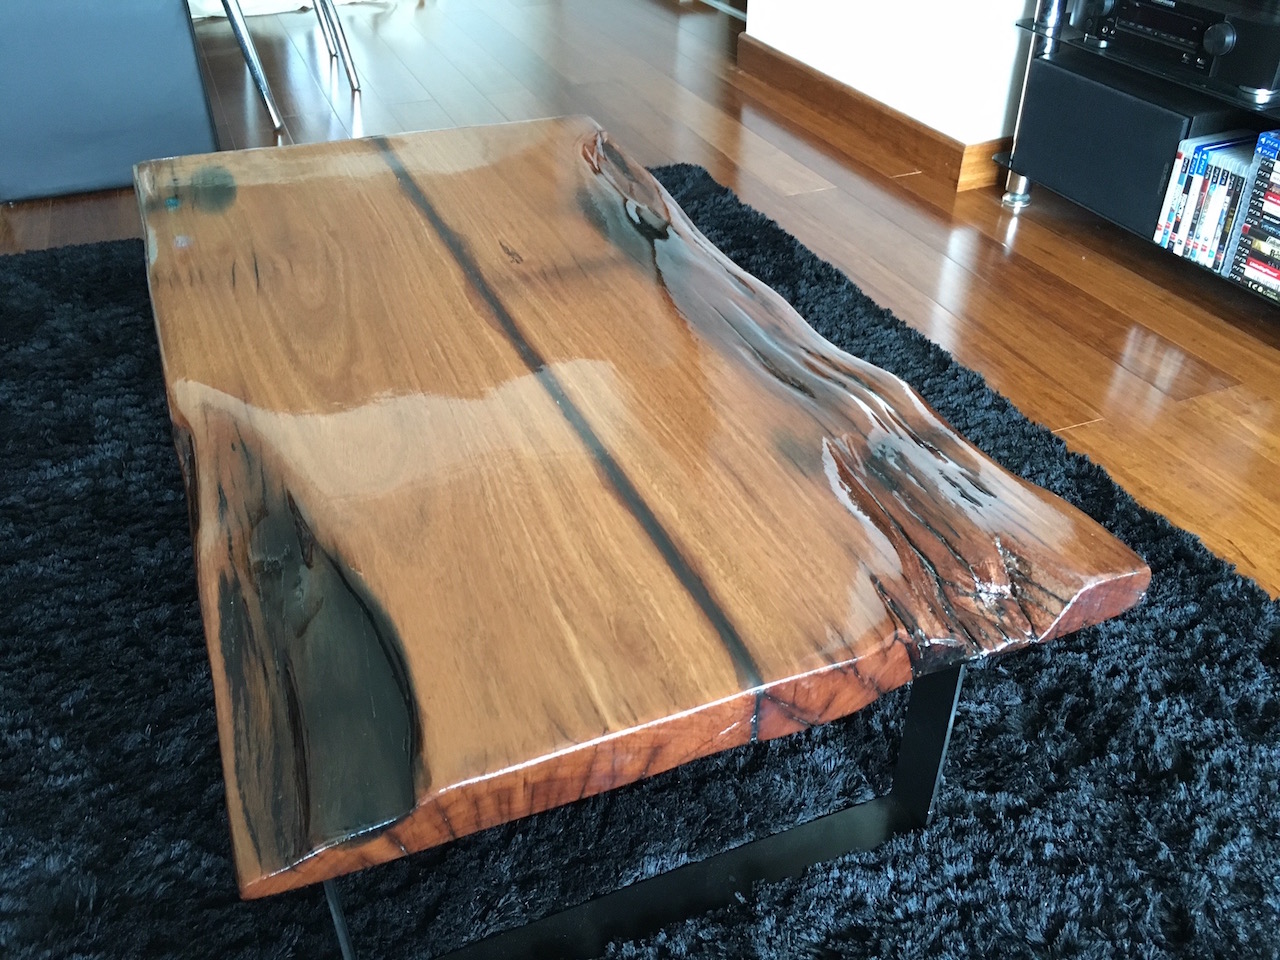
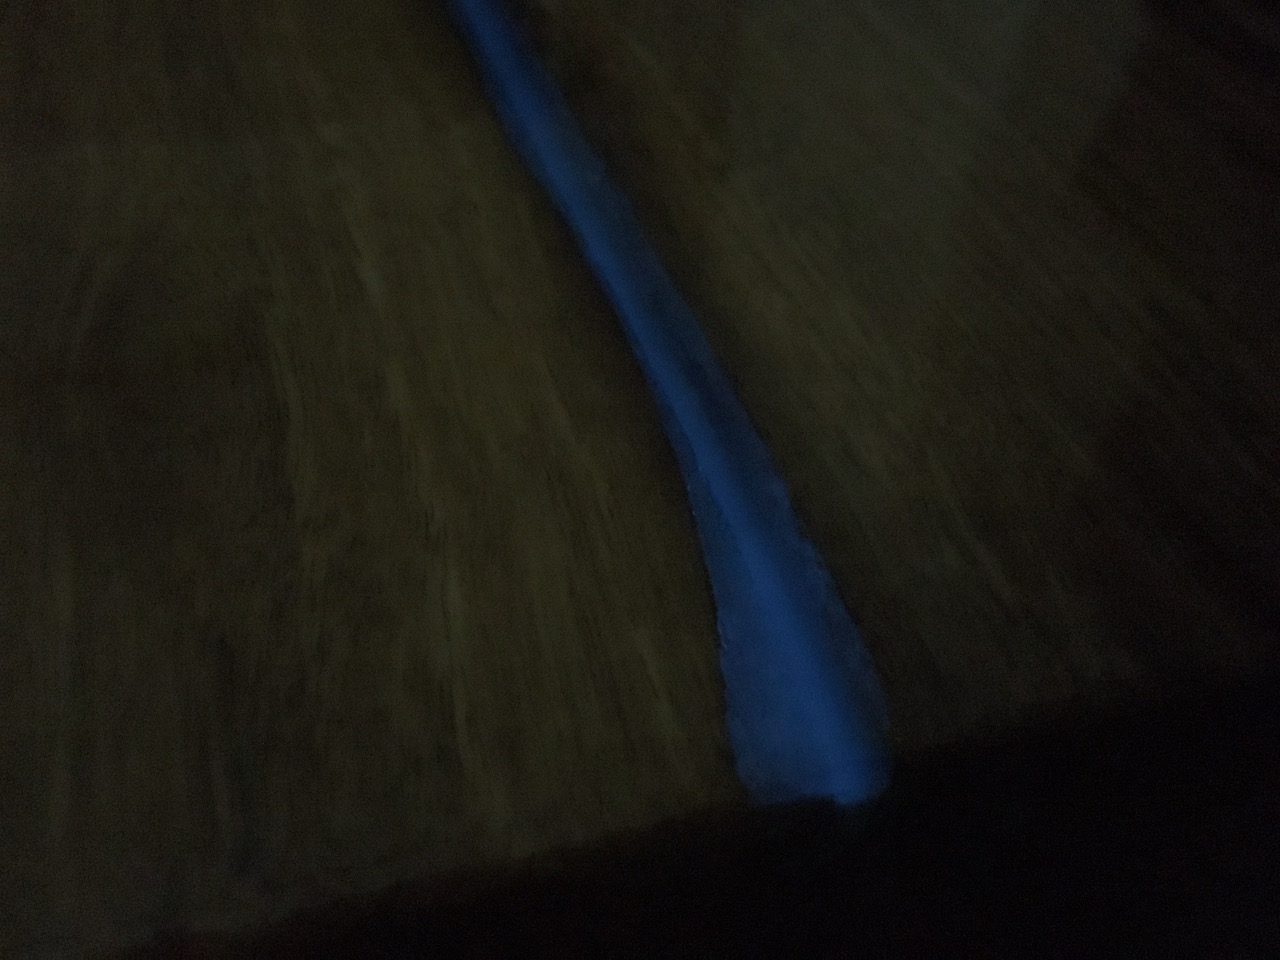
I did mention that some glow in the dark powder was added to the resin at the beginning. The join between the two parts of the table does glow...faintly but it glows...
That concludes this series of posts. I'm going to be making a TV unit next, it will have a similar look and feel to the coffee table and the results of that project will be posted in due time so keep an eye out.
If you liked this coffee table idea, check out this article that has a tonne more interesting and cheap to make DIY coffee tables - 15+ BEAUTIFUL CHEAP DIY COFFEE TABLE IDEAS.
-i
