My timing couldn't have been better to find this device, there was an announcement on the website that it was shipping early June, however the website didn't have any listed in stock. I decided to send an email and got a reply back from Ed very quickly informing me that he had 5 in stock and just hasn't updated the website! I snapped one up immediately. A couple of weeks later and mine arrived in the mail.
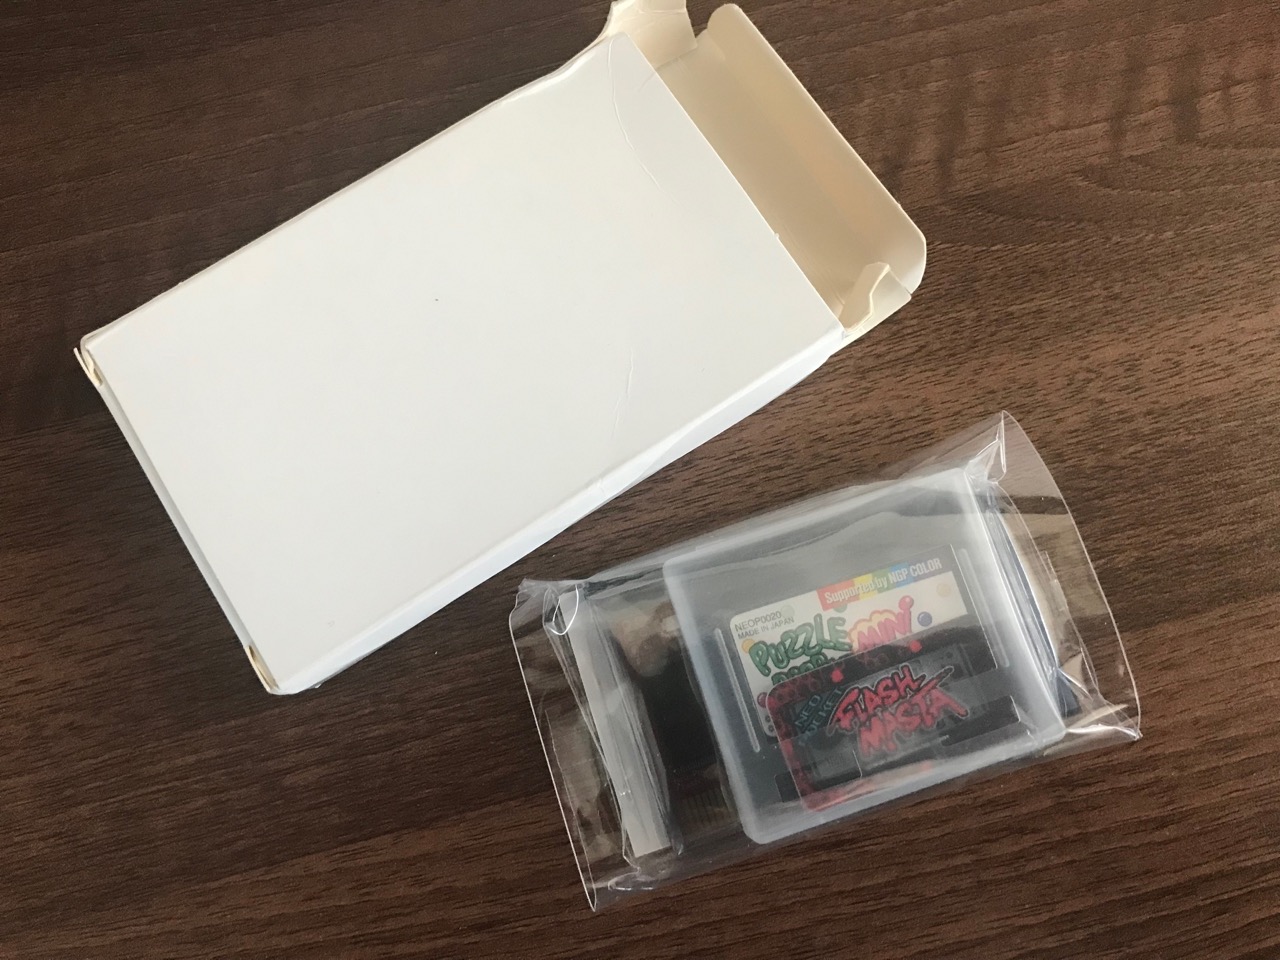
Packaging was done quite professionally. The device came in a small box with a 'sacrificial game cart' included. There were 3 ways to get the device - just the PCB itself, with a sacrificial cart that you're meant to cut up to suit yourself or a fully assembled version. Whichever way you go, you need a cart to make this work (there's just no way to use the PCB without a casing), the first option without a cart simply implies that you have a cart of your own that you're willing to sacrifice.
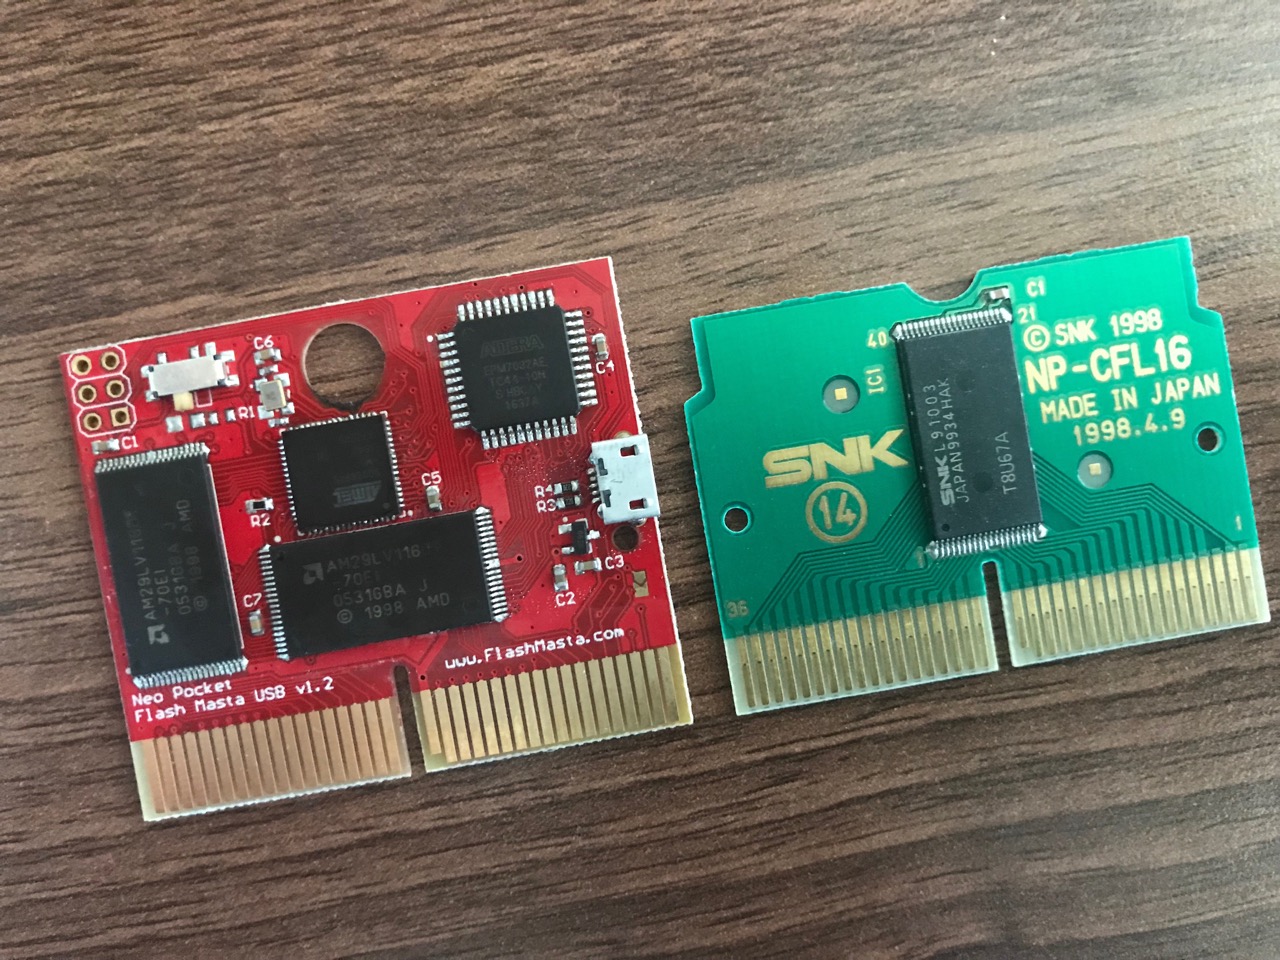
Besides the Flash Masta PCB and the sacrificial cart there was a game label in the box.
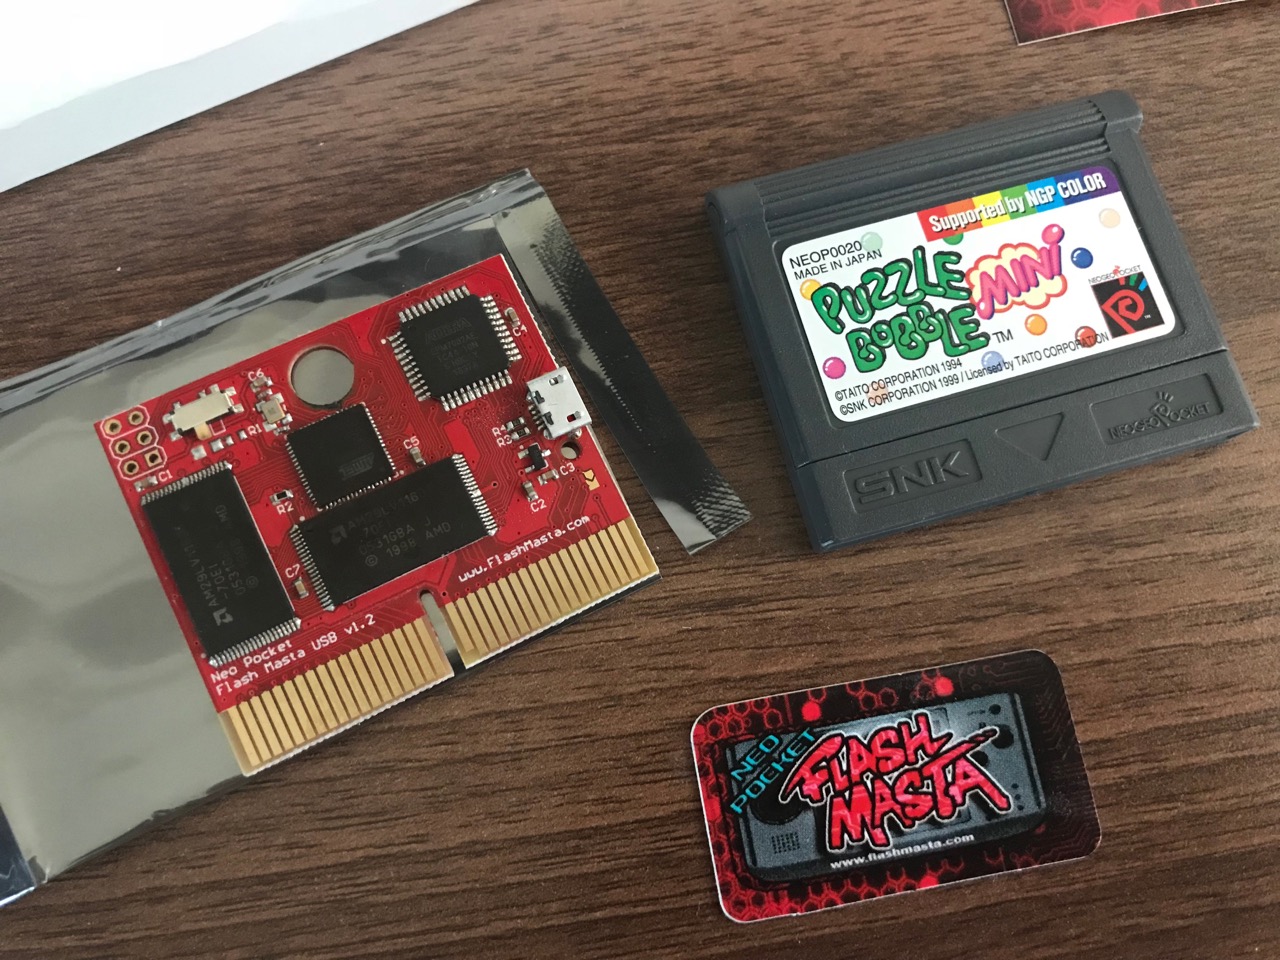
The sacrificial cart that Ed sent to me was Puzzle Bobble, I tried to see if it worked and it did. I also quite liked the game so decided to keep that cart and took apart the only other cart I had - some Japanese pokies/gambling game (boring!)
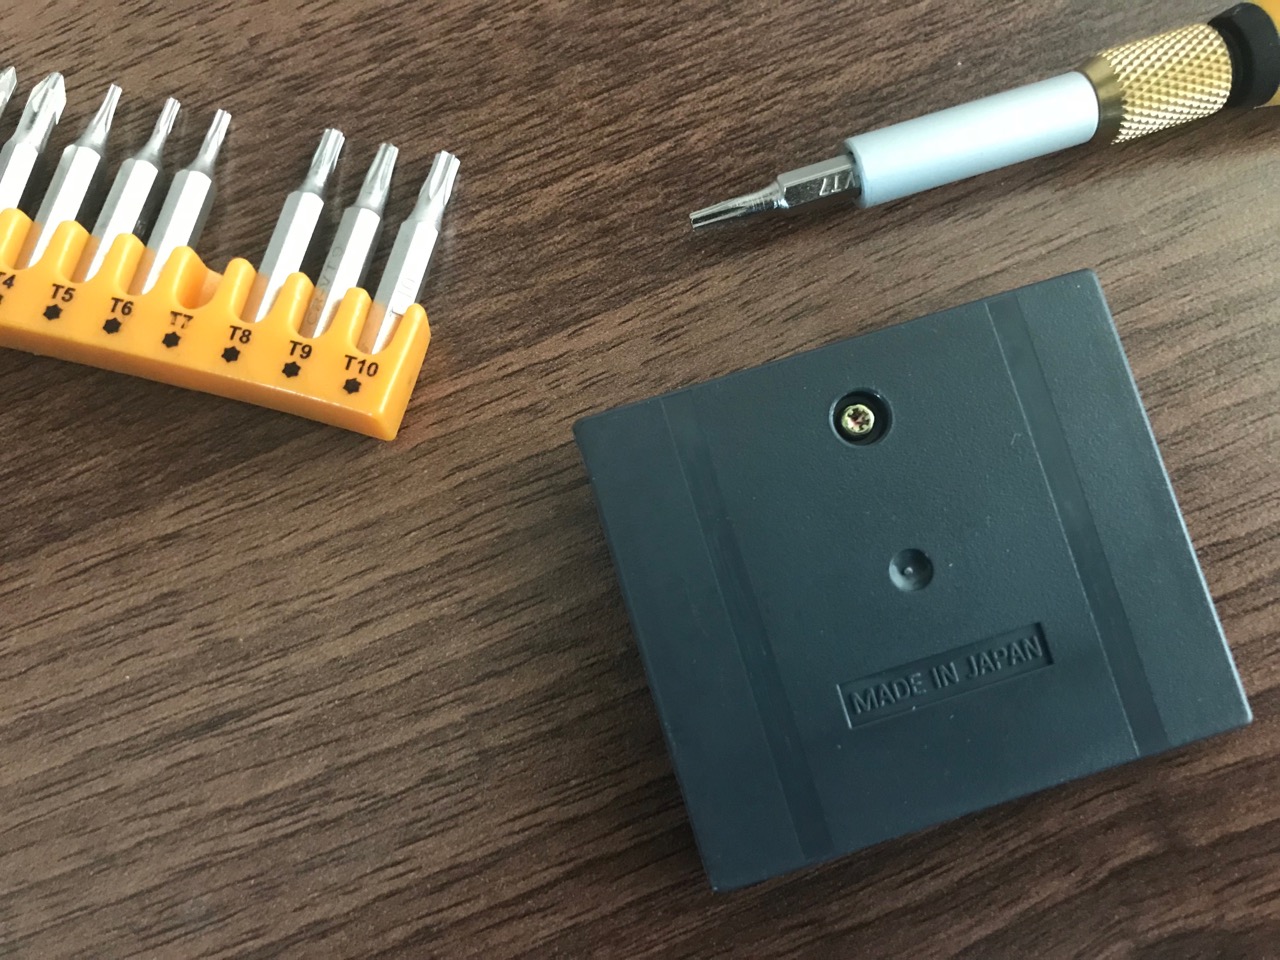
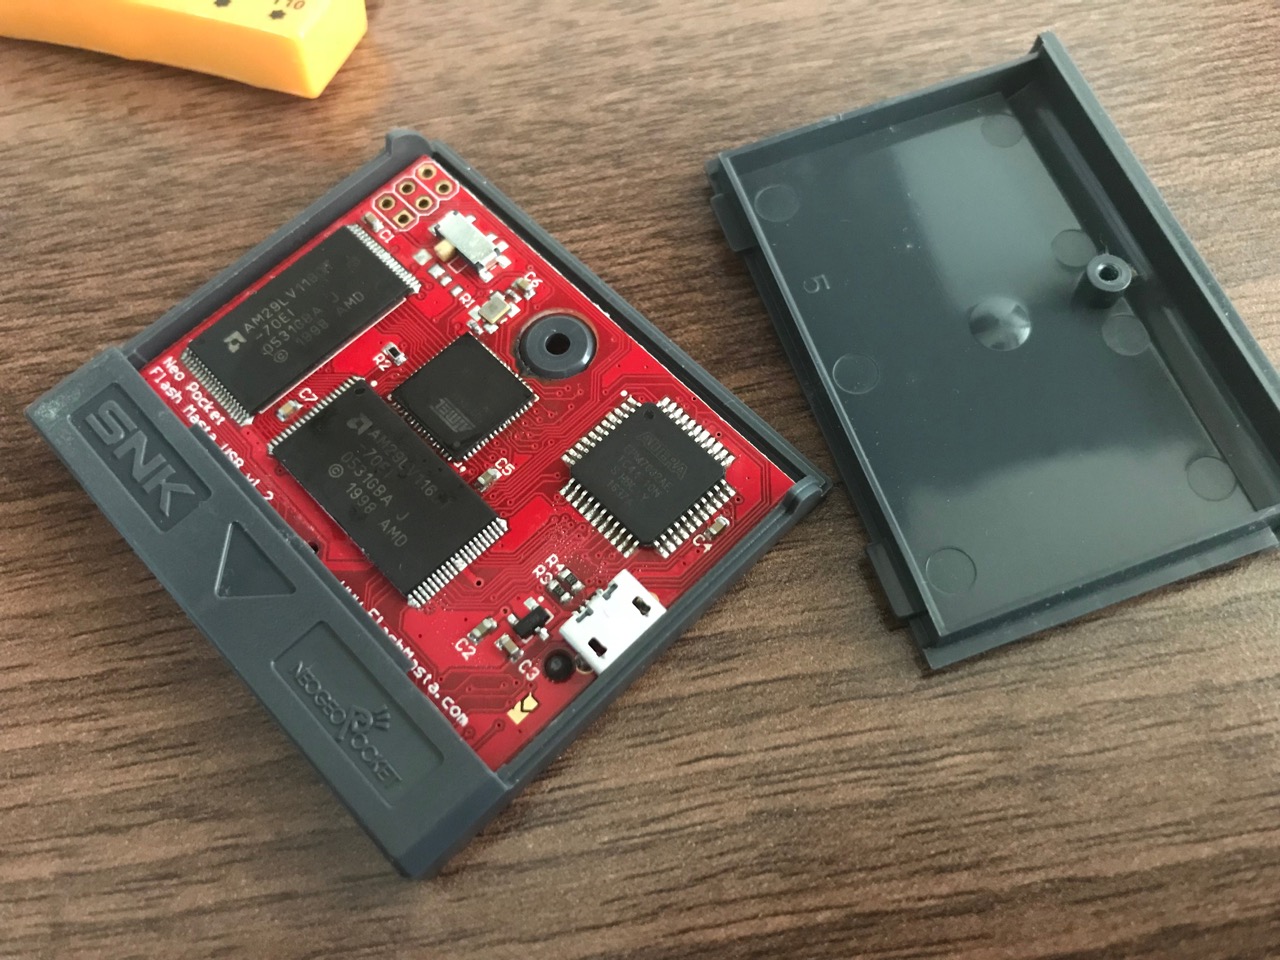
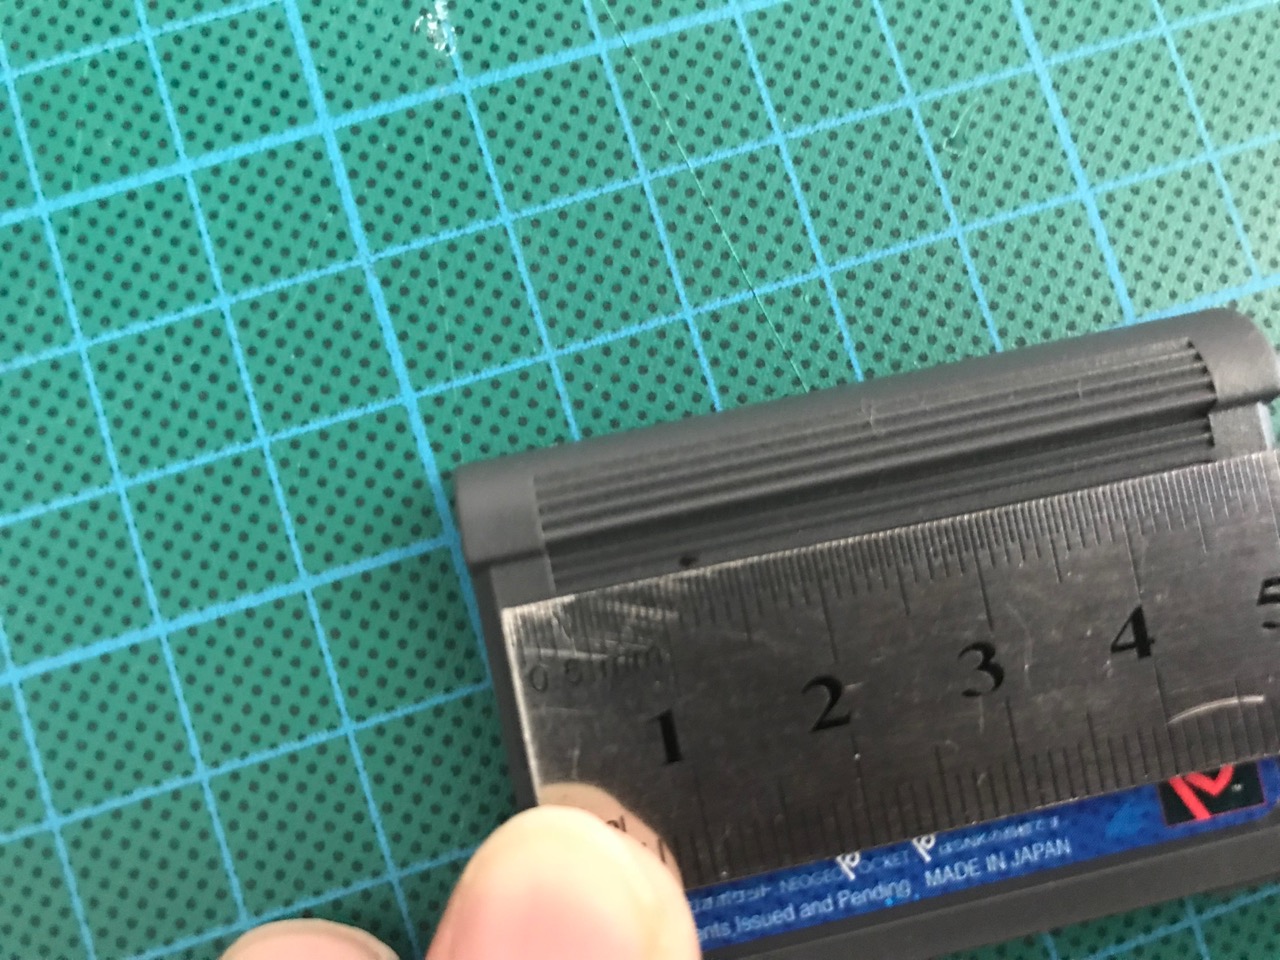
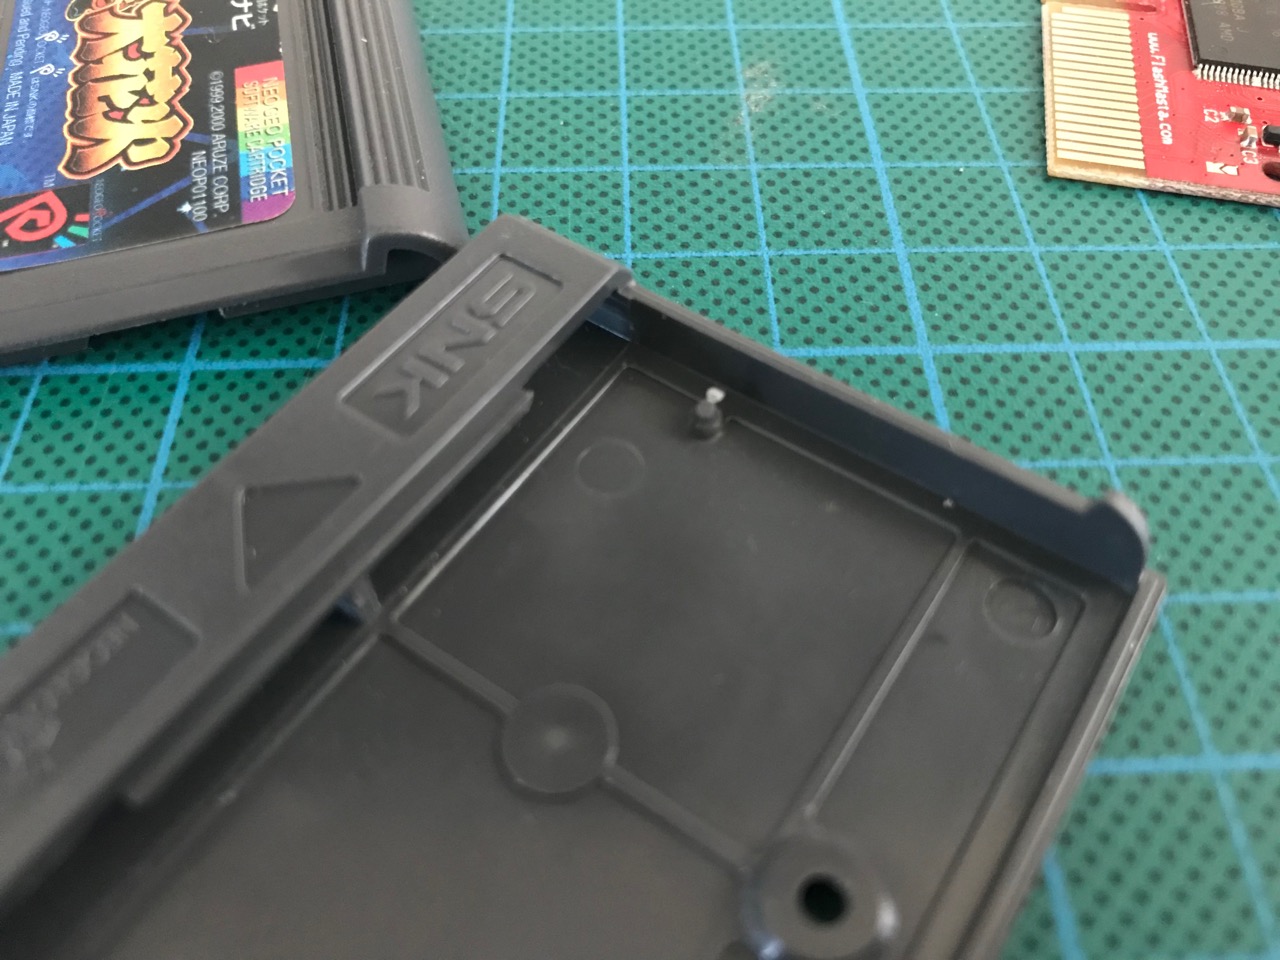
Taking apart an NGP cart was simple. I needed to use a T7 Torx screwdriver, there was one screw, which when removed allowed the front of the cart to be lifted to expose the PCB inside.
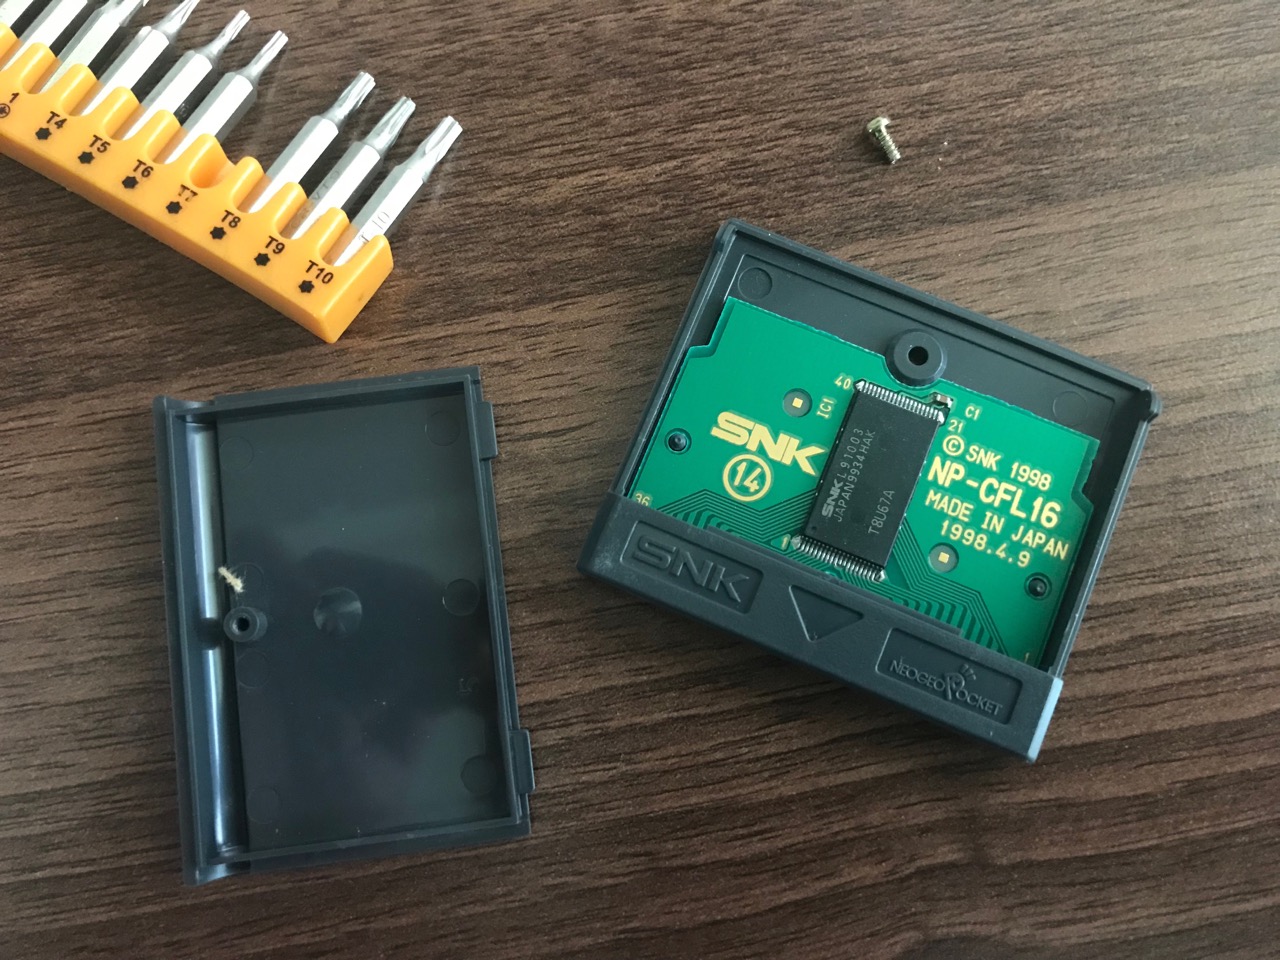
The Flash Masta PCB was larger than the NGP cart PCB, but it fit perfectly inside the cartridge casing. Of course the cart front would not fit at this point since none of the notches were cut in.
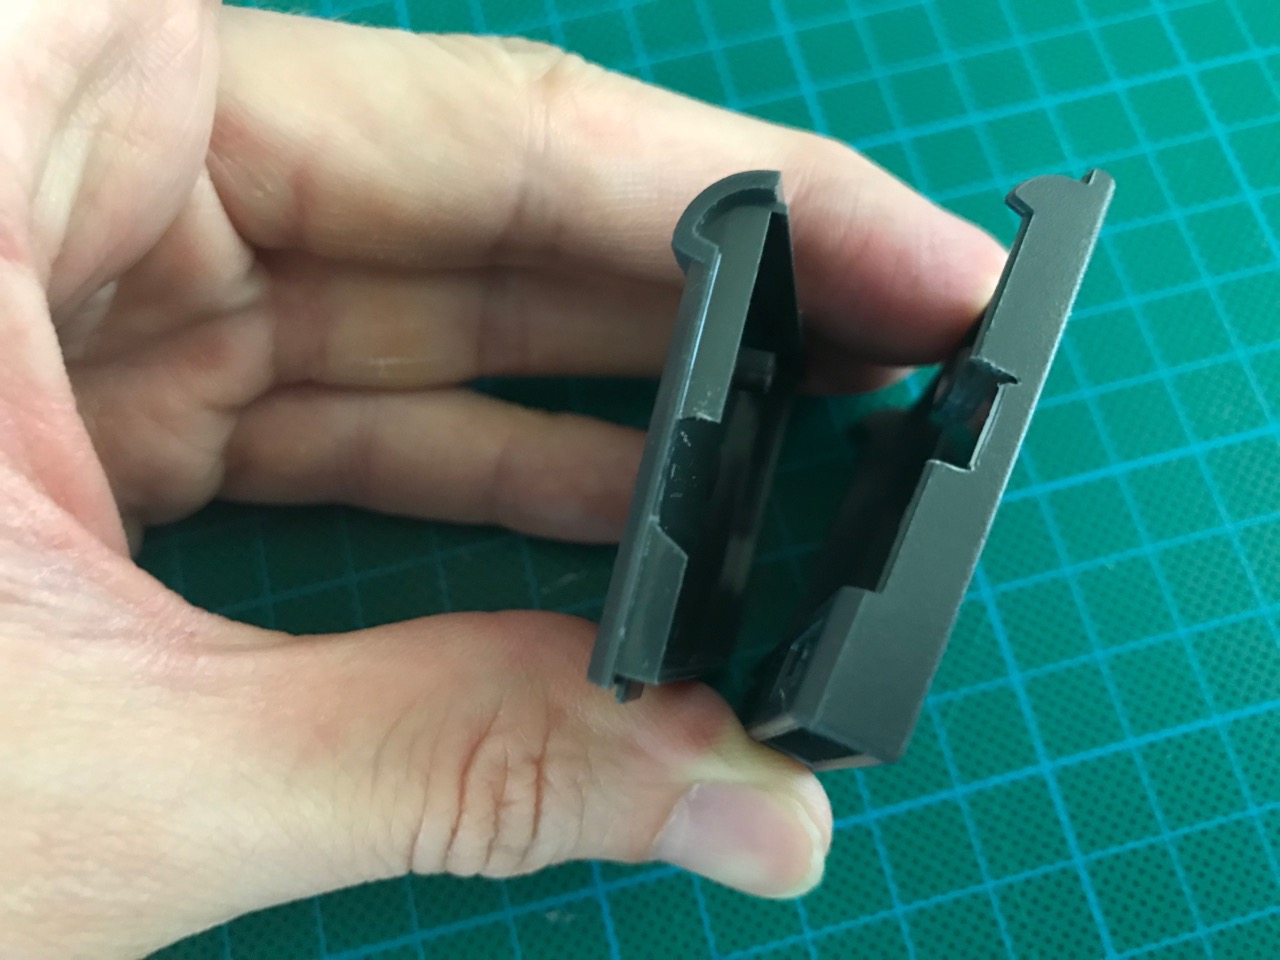
I used a number of tools to cut the holes in for the micro-USB port. The scalpel came in handy to mark out the spot on the casing where I had to cut. The rotary tool was used to do the actual cutting and then I used pliers to snap off any remaining plastic. The notch on the front part of the case had to have a slant cut into it to make it fit over the micro-USB port when clamping the casing together.
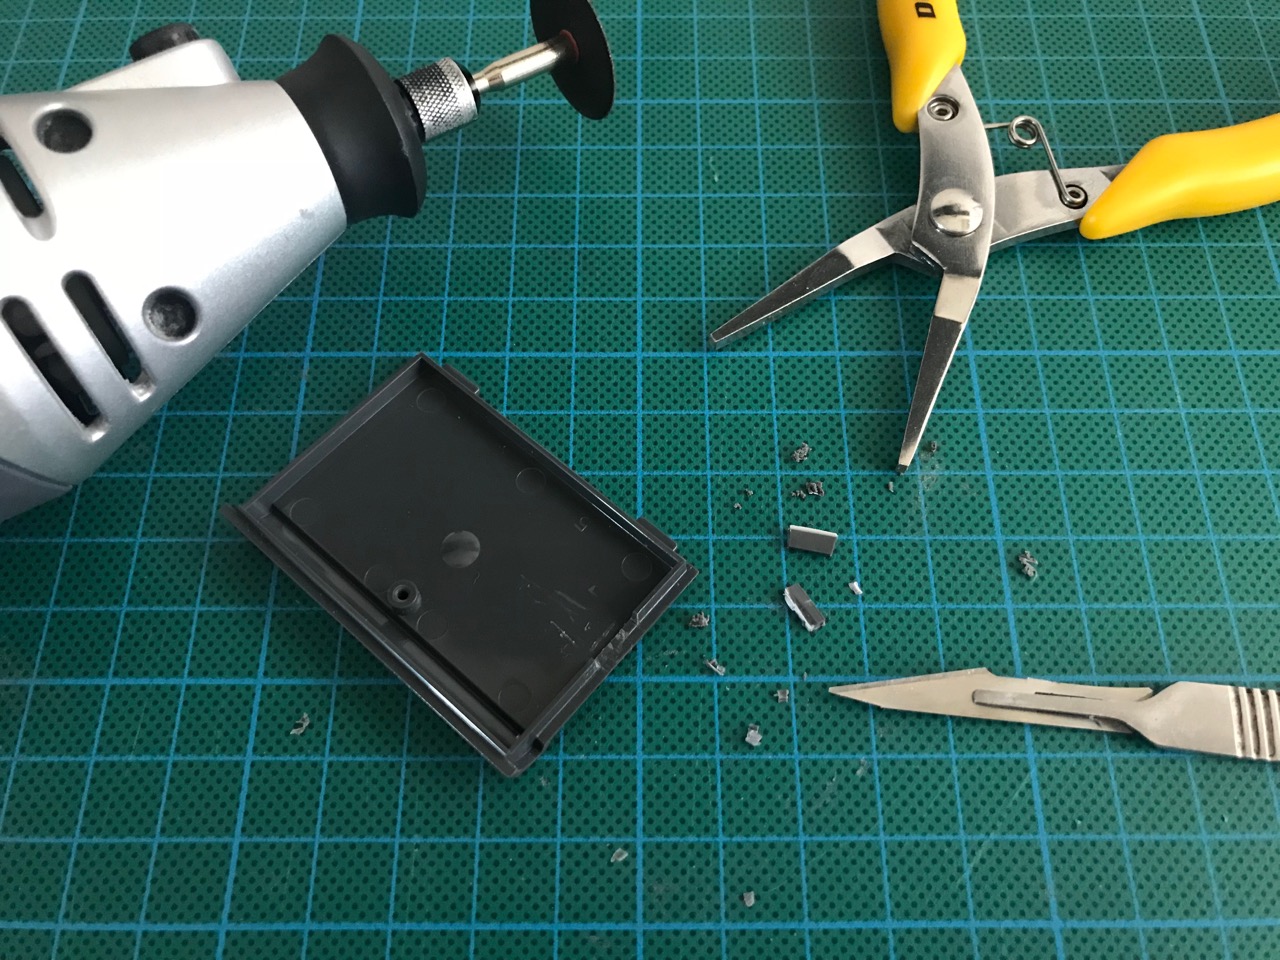
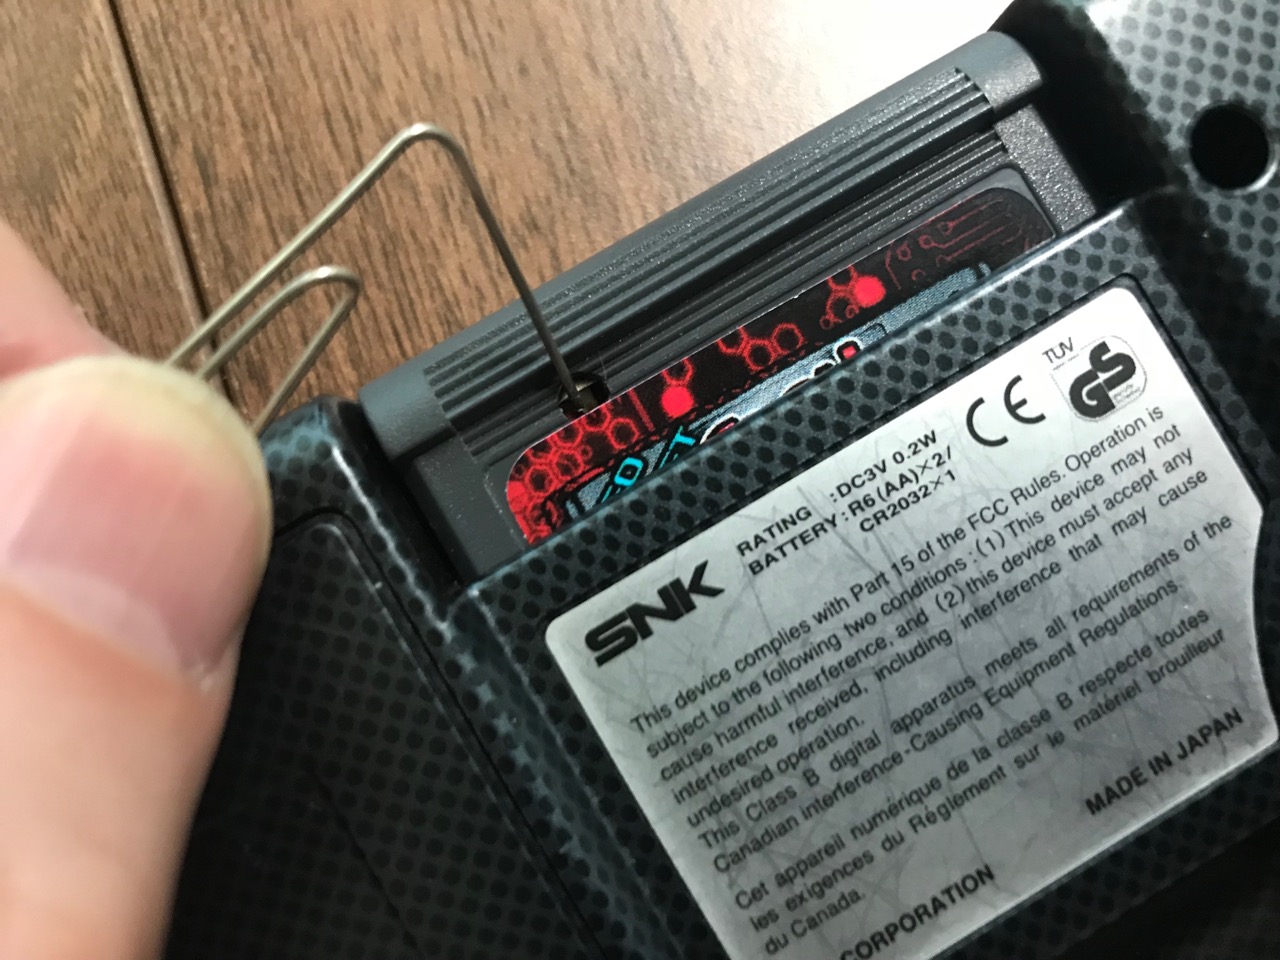
Since the Flash Masta cart could hold two ROMs it had a switch to allow to switch between these. This switch needed an access hole cut into the front of the cart. After measuring everything up I first used a 1mm drill bit to cut a pilot hole on the bottom-most groove under the casing lip and just over 12mm from the side. I then used a 3.5mm bit to cut the final hole. I saw that the pre-assembled carts used a horizontal hole but I thought my way looked neater, besides it was much easier to do.

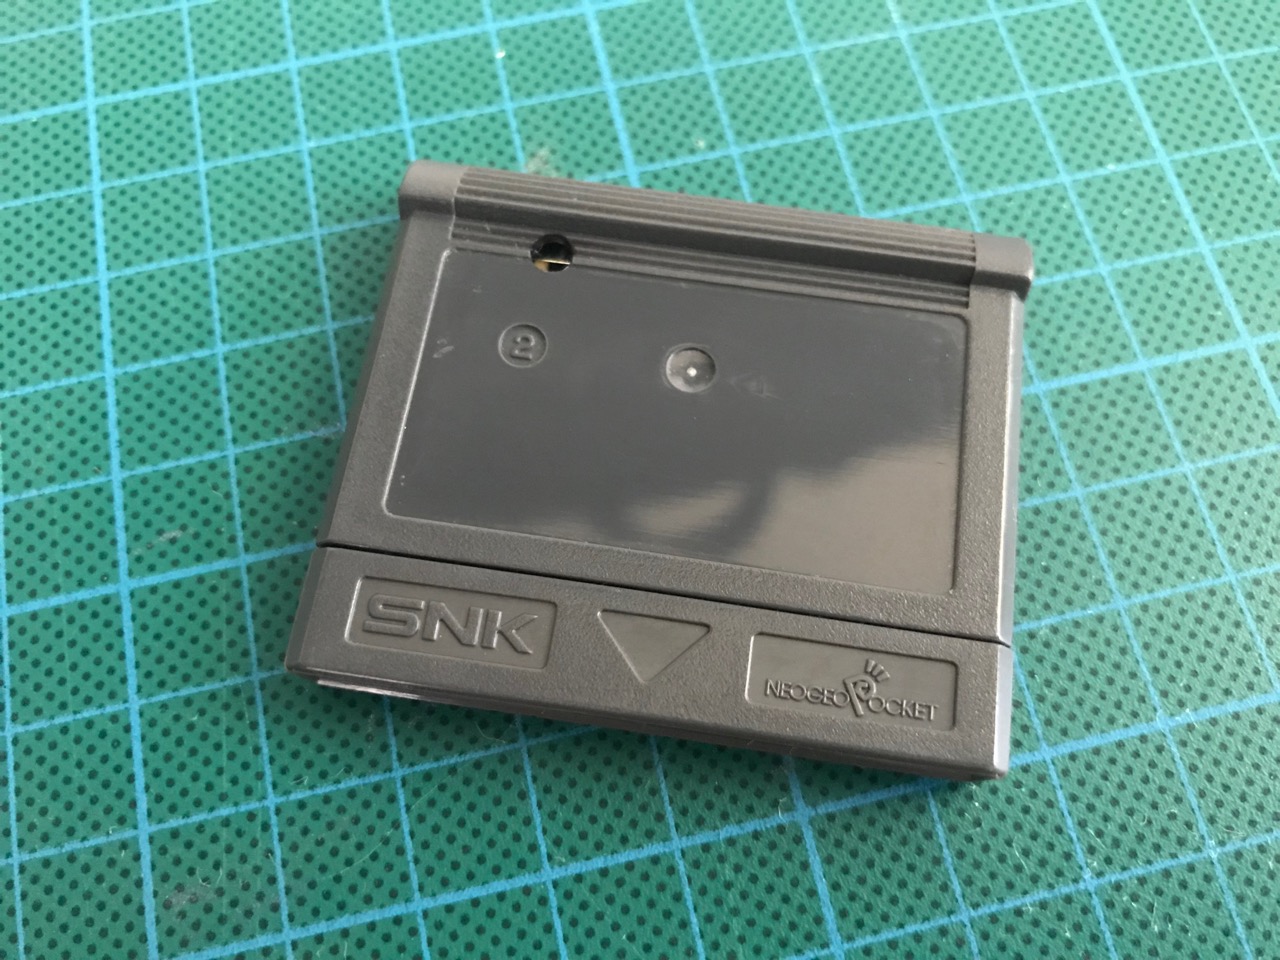
The cart casing I used had a stand-off on one side that was preventing it from clamping together nicely. I sliced off around 0.5mm of this stand-off and the cart clamped together perfectly then. After that I put the screw back in and the cart was ready for the sticker application.
I removed the old sticker and cleaned the cart up with isopropyl alcohol and then applied the Flash Masta sticker. The cart was ready for flashing!

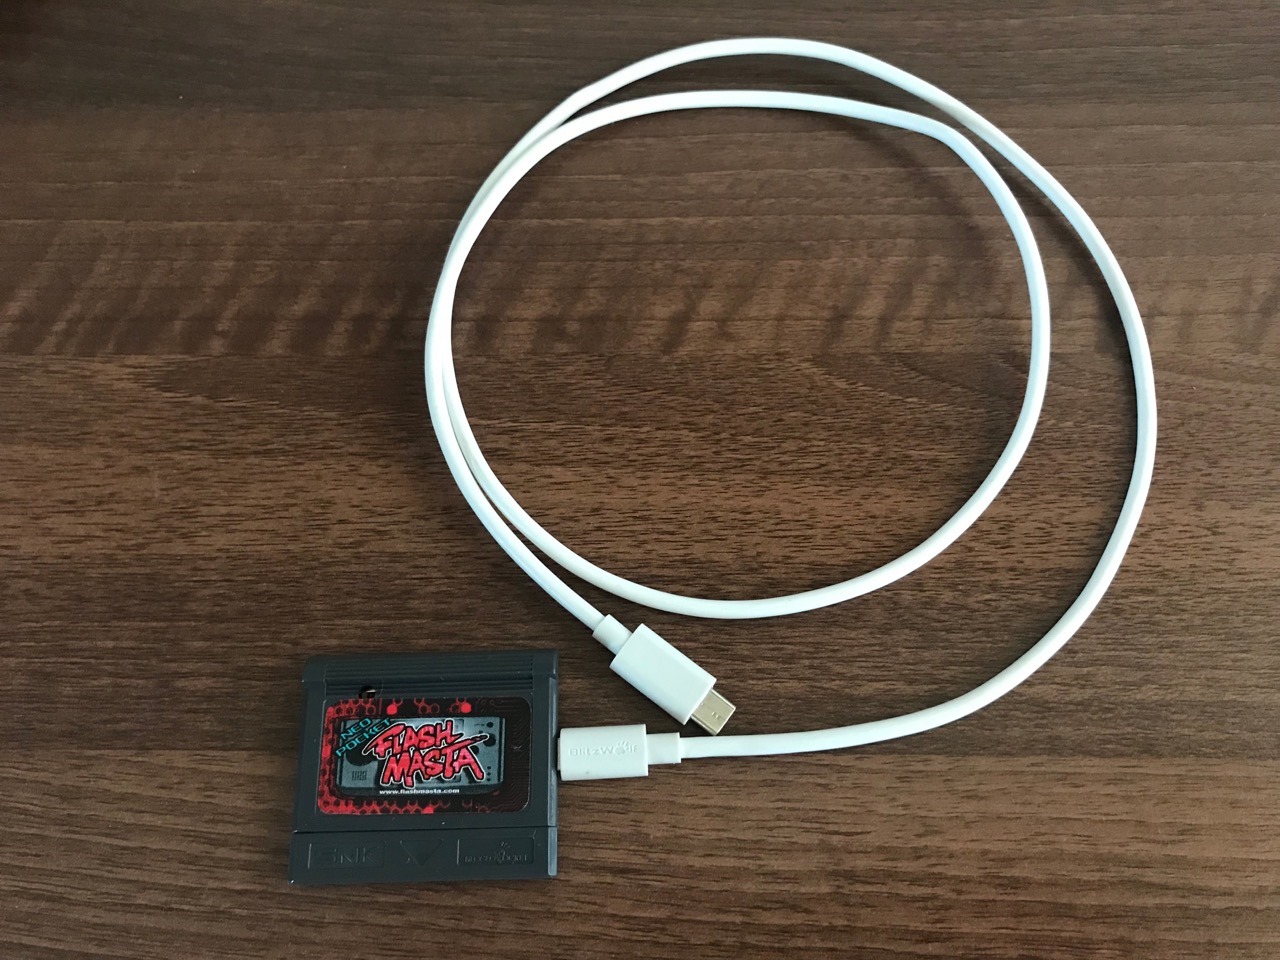
To flash the cart required some custom software. This was available on the downloads page. Since I was using my Mac, I only needed to install the flashing software (Windows required some other software to be installed first.) I also downloaded MIX! which was a home brew game for the NGP. Then, I plugged the micro-USB cable into the Flash Masta cart and proceeded to install the software (without plugging the other end of the cable into my laptop just yet).
Installation of the software was trivial, I just dragged it into my Application folder. However, after launching the app, macOS complained it was not able to start it because it was from an unidentified developer. This was easy to overcome and I have a separate article on how to do that here.
Once the Flash Masta app was running it presented a screen informing me that the cart could be plugged in. As soon as the cart was plugged in, it was detected and its details were shown. Pretty neat! I was expecting trouble getting everything recognised but this was very, very easy.
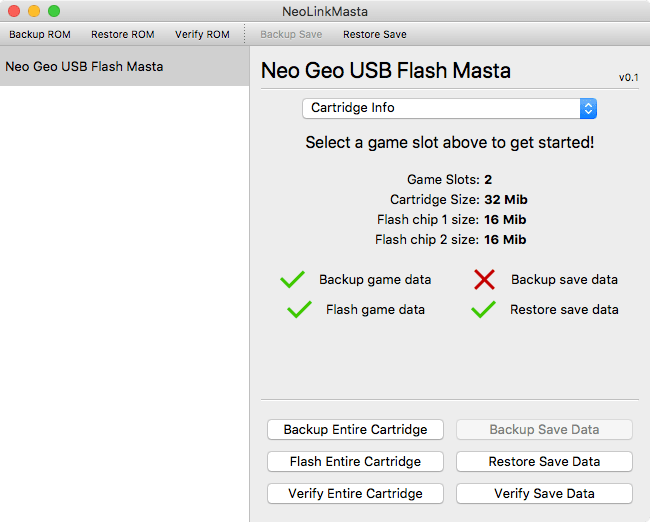
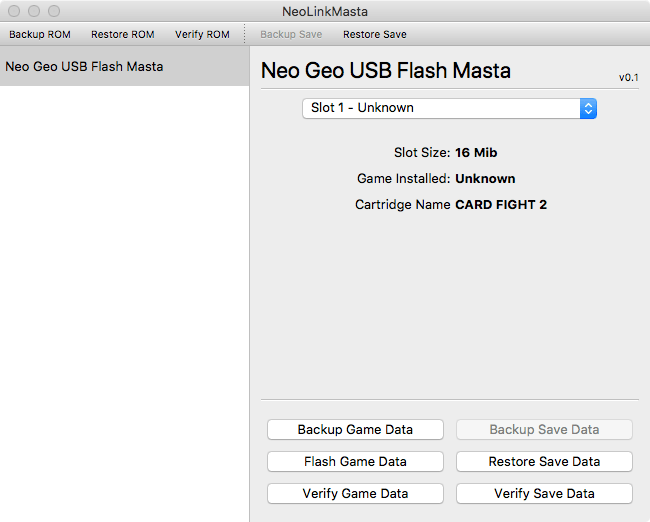
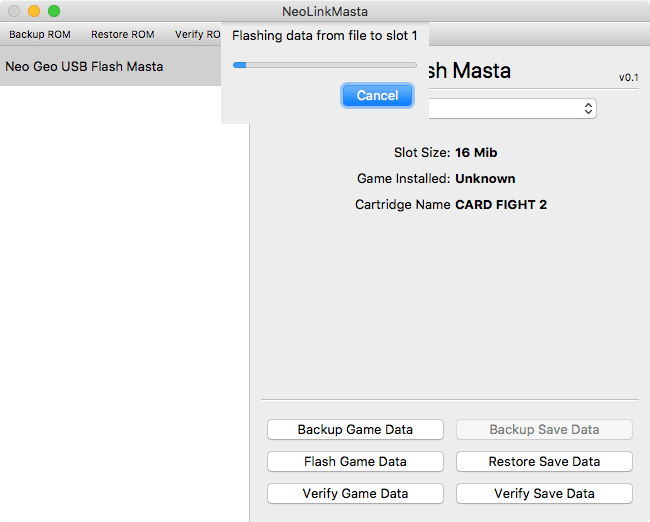
Flashing the cart was very easy too. It was possible to flash the entire cart or just one of the slots. I chose to flash the first slot (the second slot has something in it already). I selected Slot 1 from the drop down and then clicked 'Flash Game Data'. The flashing process took a little bit of time and when it completed I unplugged the cart to try the game out. There is no mention of ejecting so I literally just unplugged it.
I used a paperclip to make sure that the switch on the cart was set to the first game slot (to the left).
Then after powering on my NGP the game launched and I was able to play it!
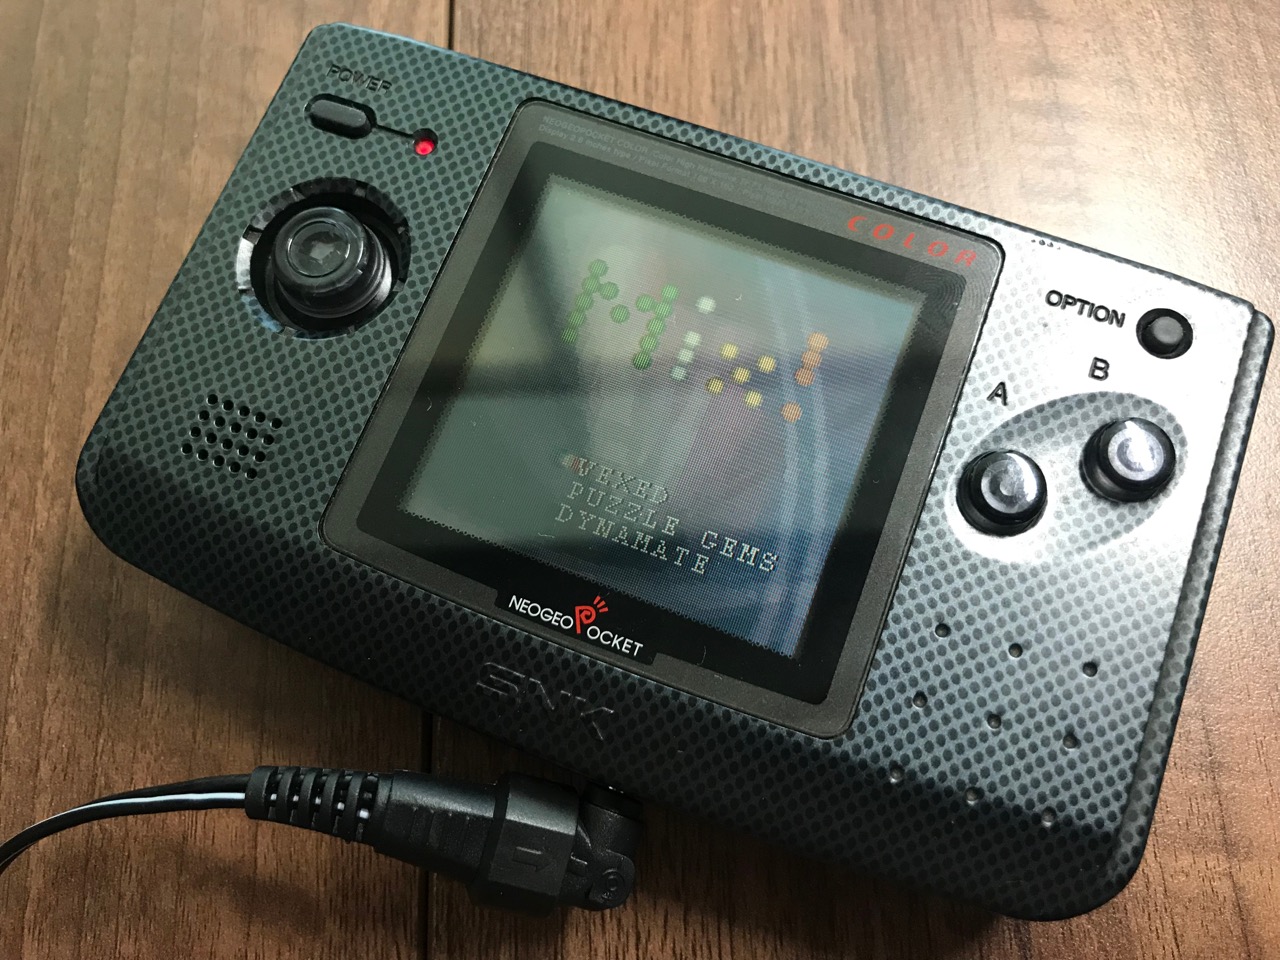
I'm very happy with this flash cart and am looking forward to trying out other games on my NGP. I've also got some parts in the mail to do a front-light mod so I can play it in darker lighting conditions (the NGP is impossible to play in anything but direct sunlight.) Besides that I have a non-color NGP on the way which I plan to modify with a back-light. Keep an eye out on these future articles and keep on gaming!
-i
