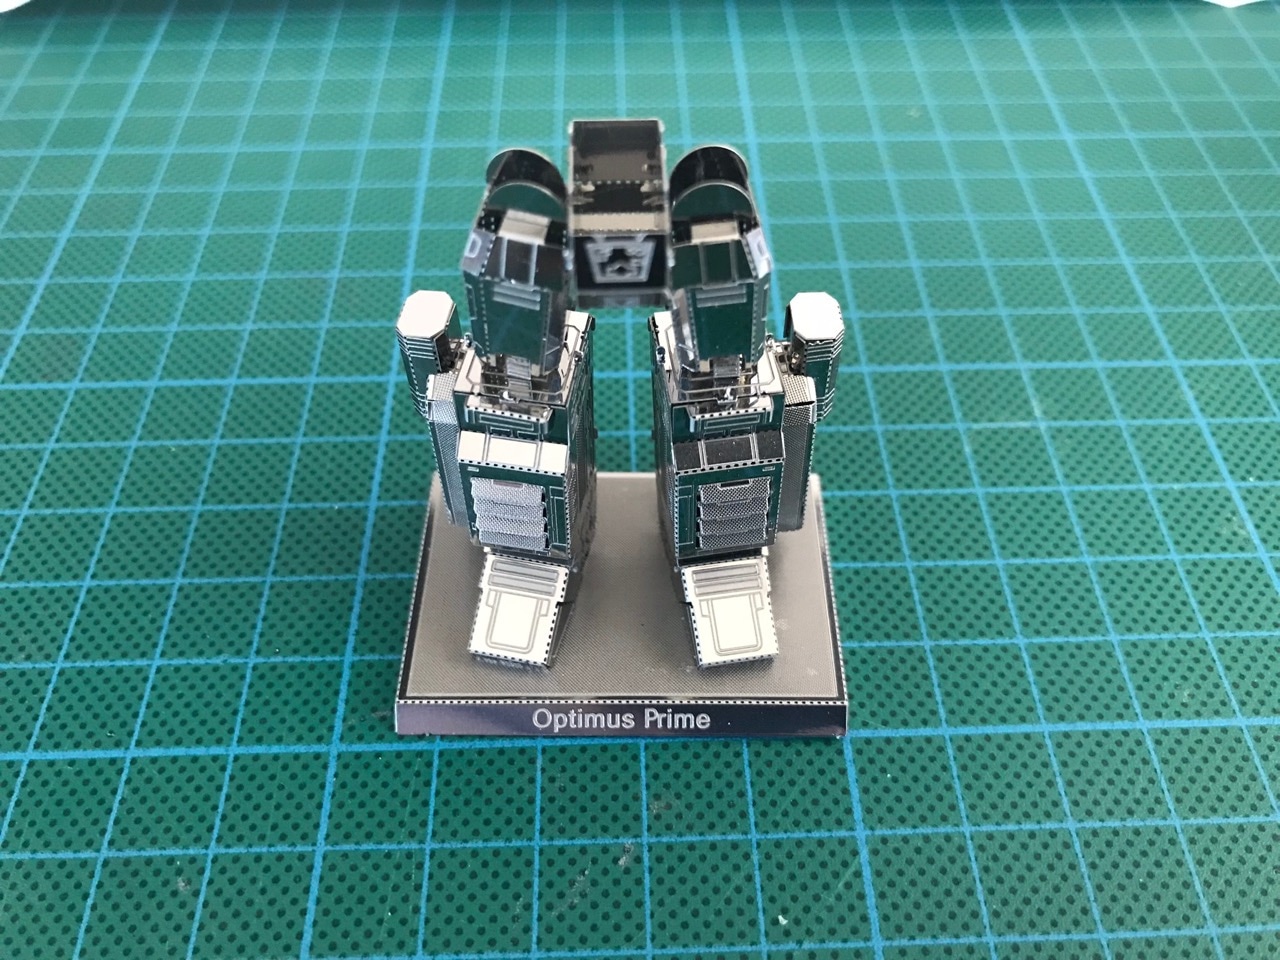
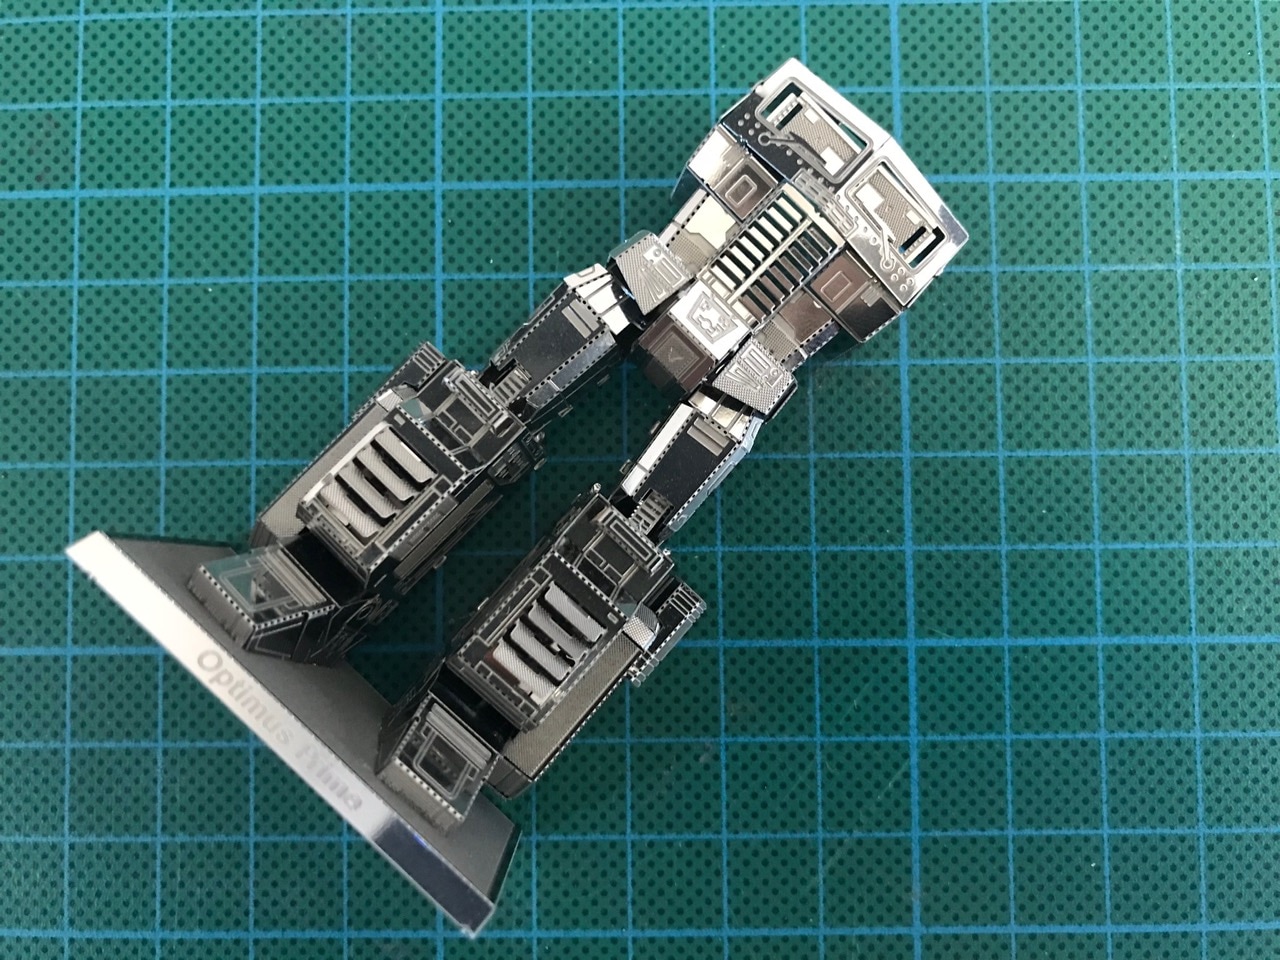
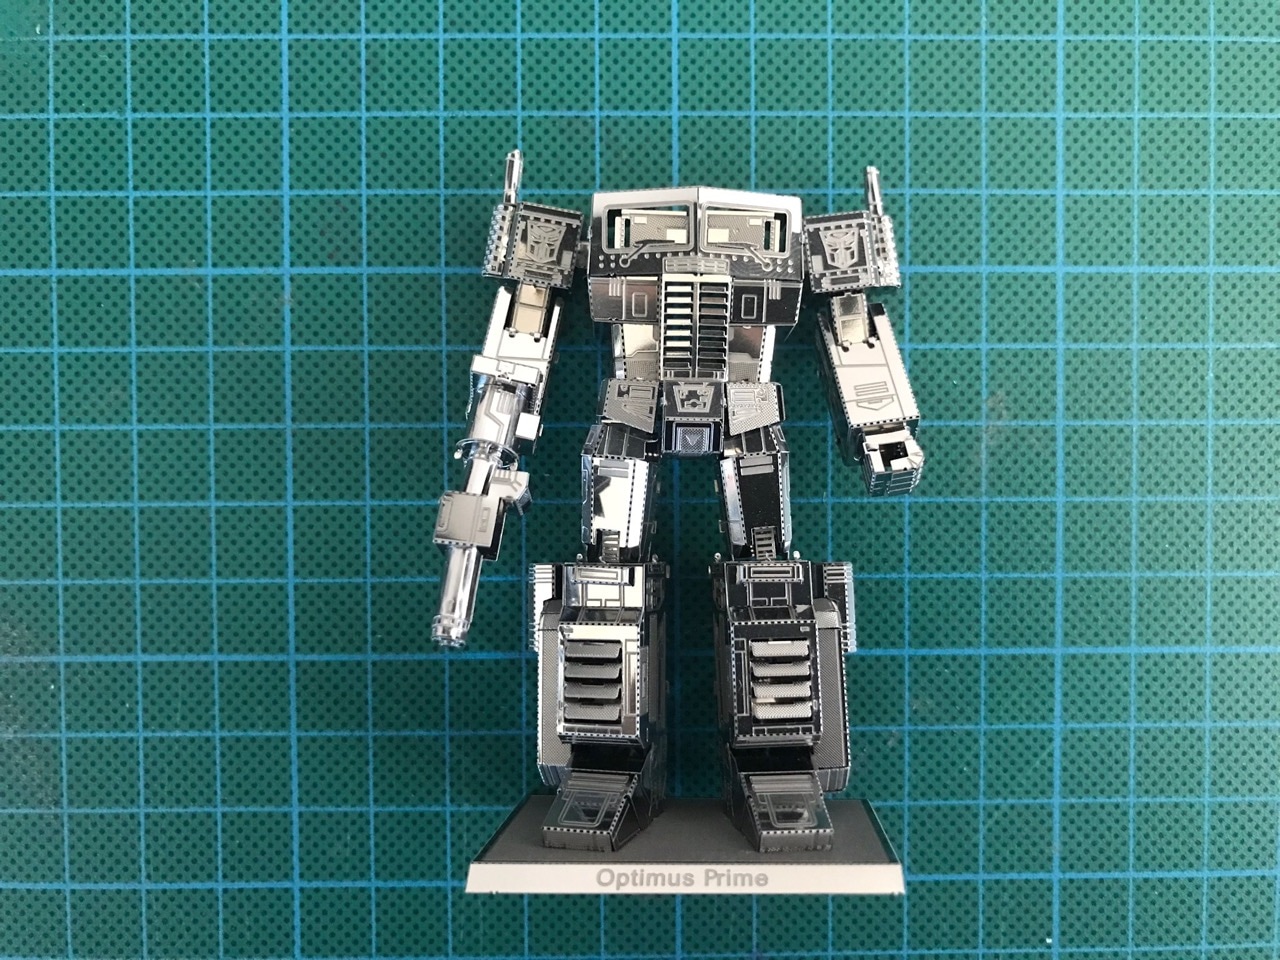
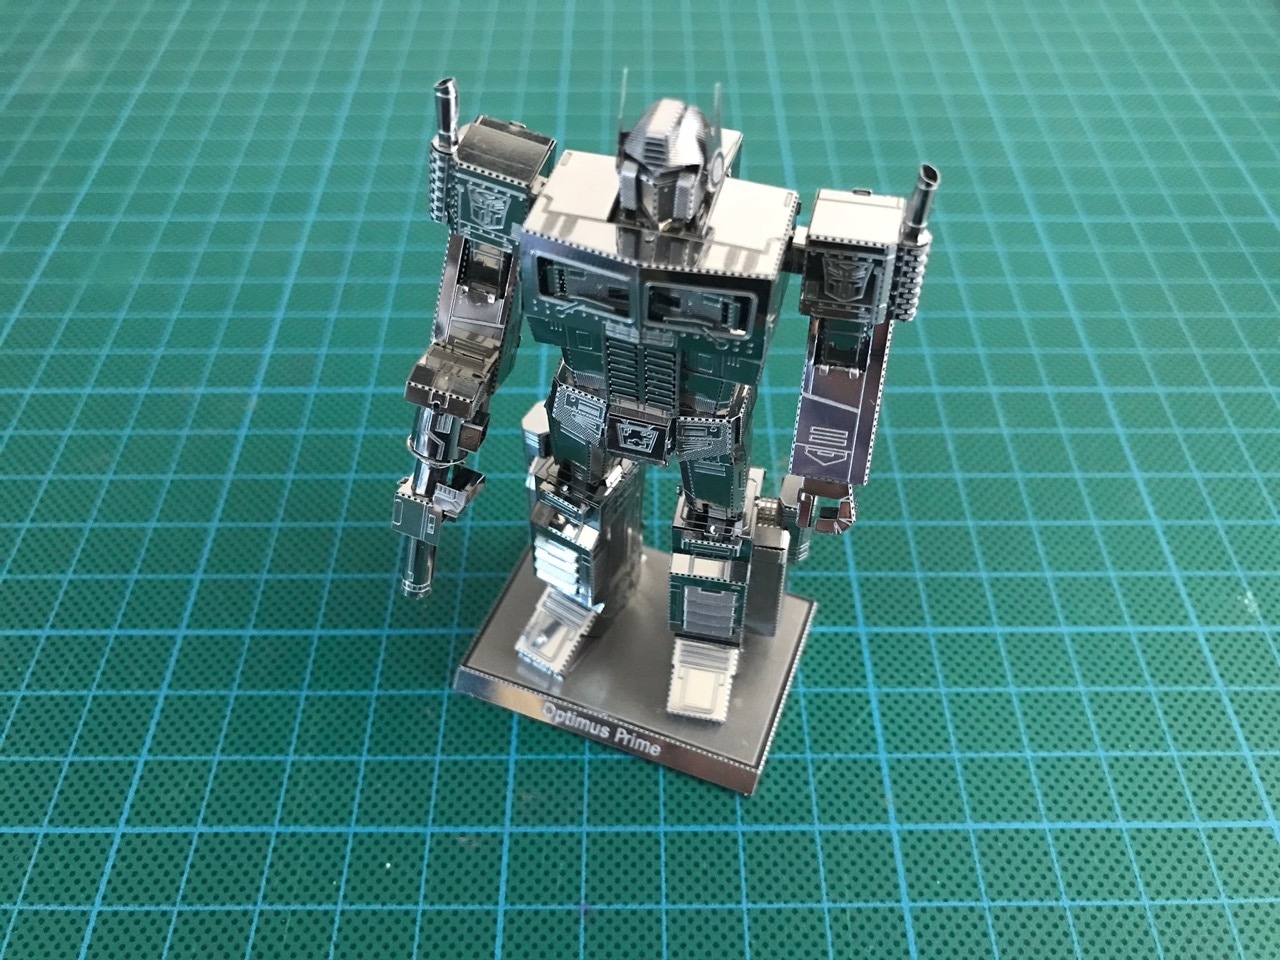
The end result was very cool...

This was a two-sheet kit. The instructions came on two separate sheets, which was usual for this size kit. Again my (minor) complaint as many other times was that the numbered part layout was on the first page and required flipping between it and the rest of the instructions multiple times (as can be seem in the assembly video). Apart from that the kit gave me no trouble and was very enjoyable to put together.
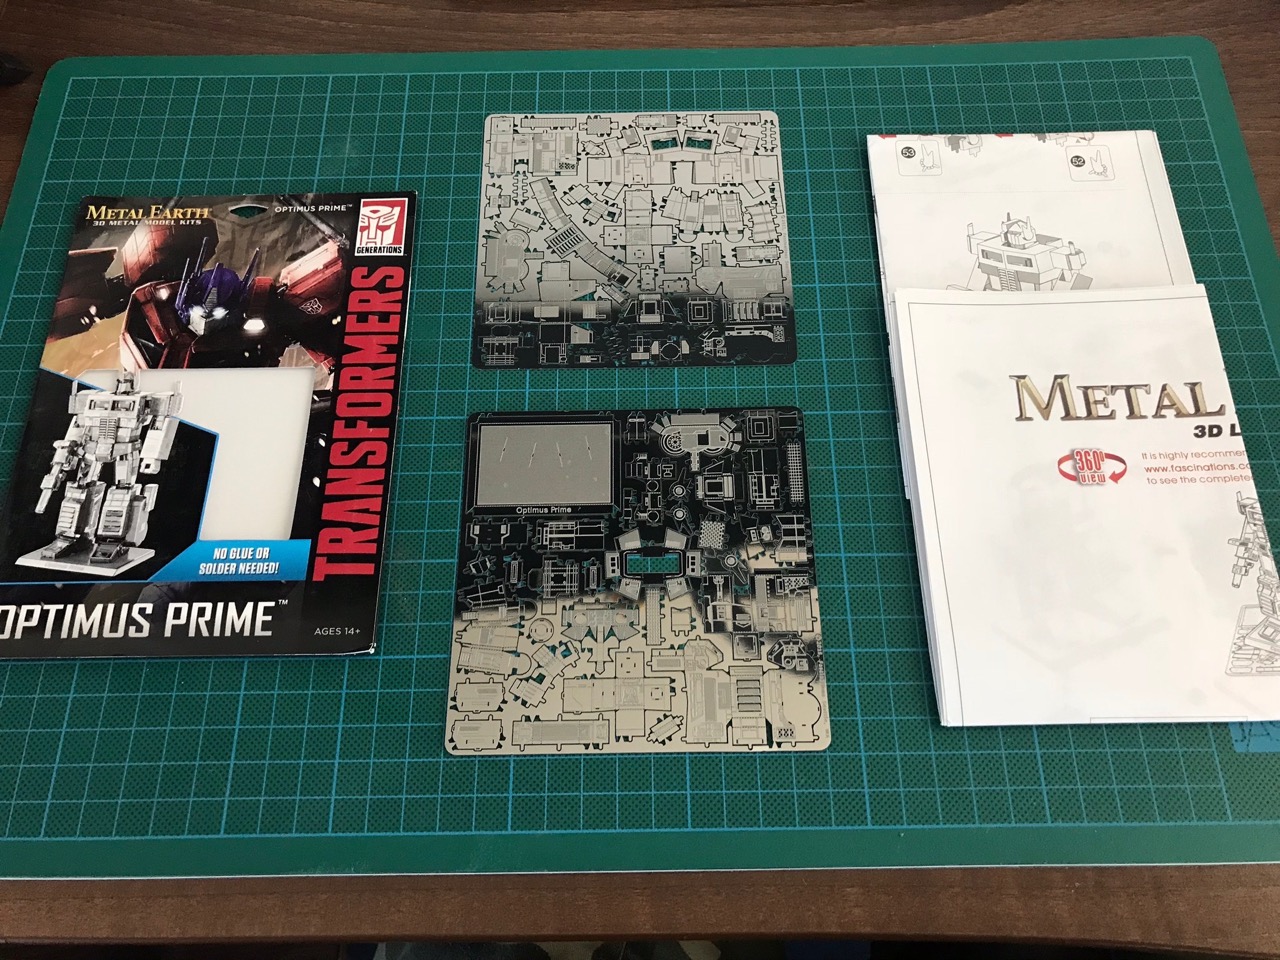
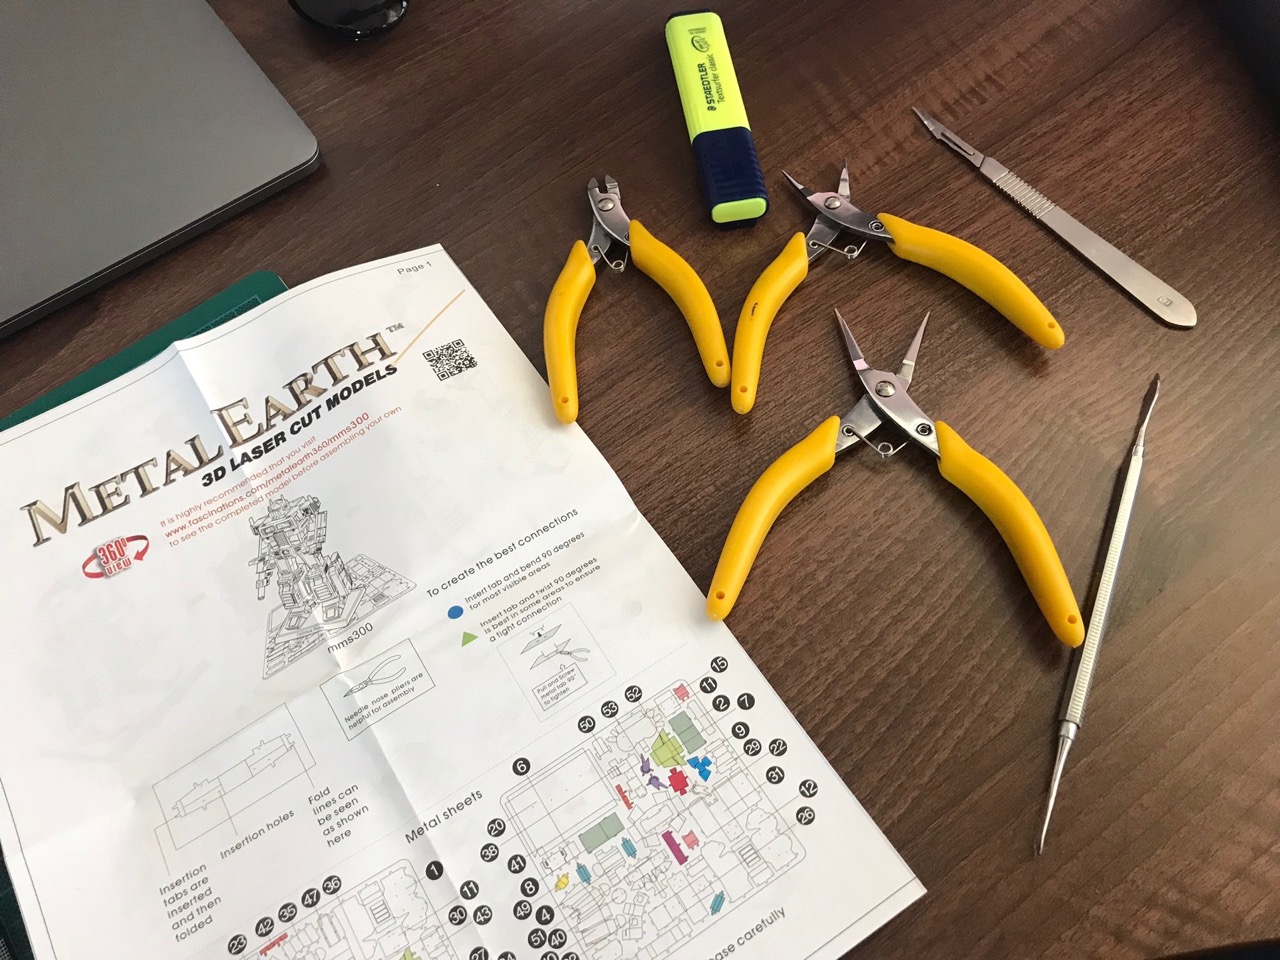
As usual I got my selection of tools to assemble this kit. That metal spatula was very useful and this time around I found that the scalpel really came in handy too.
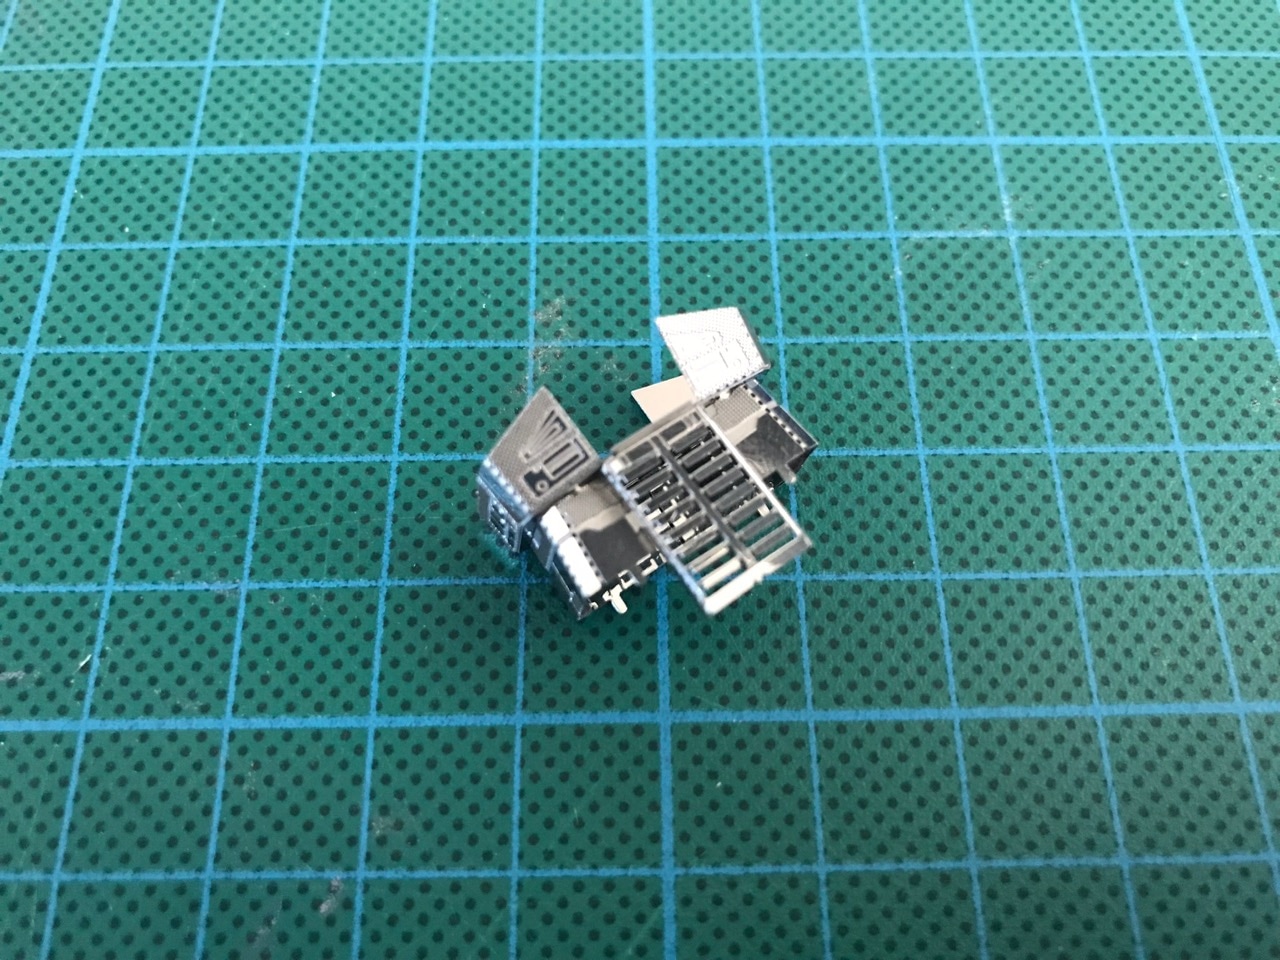
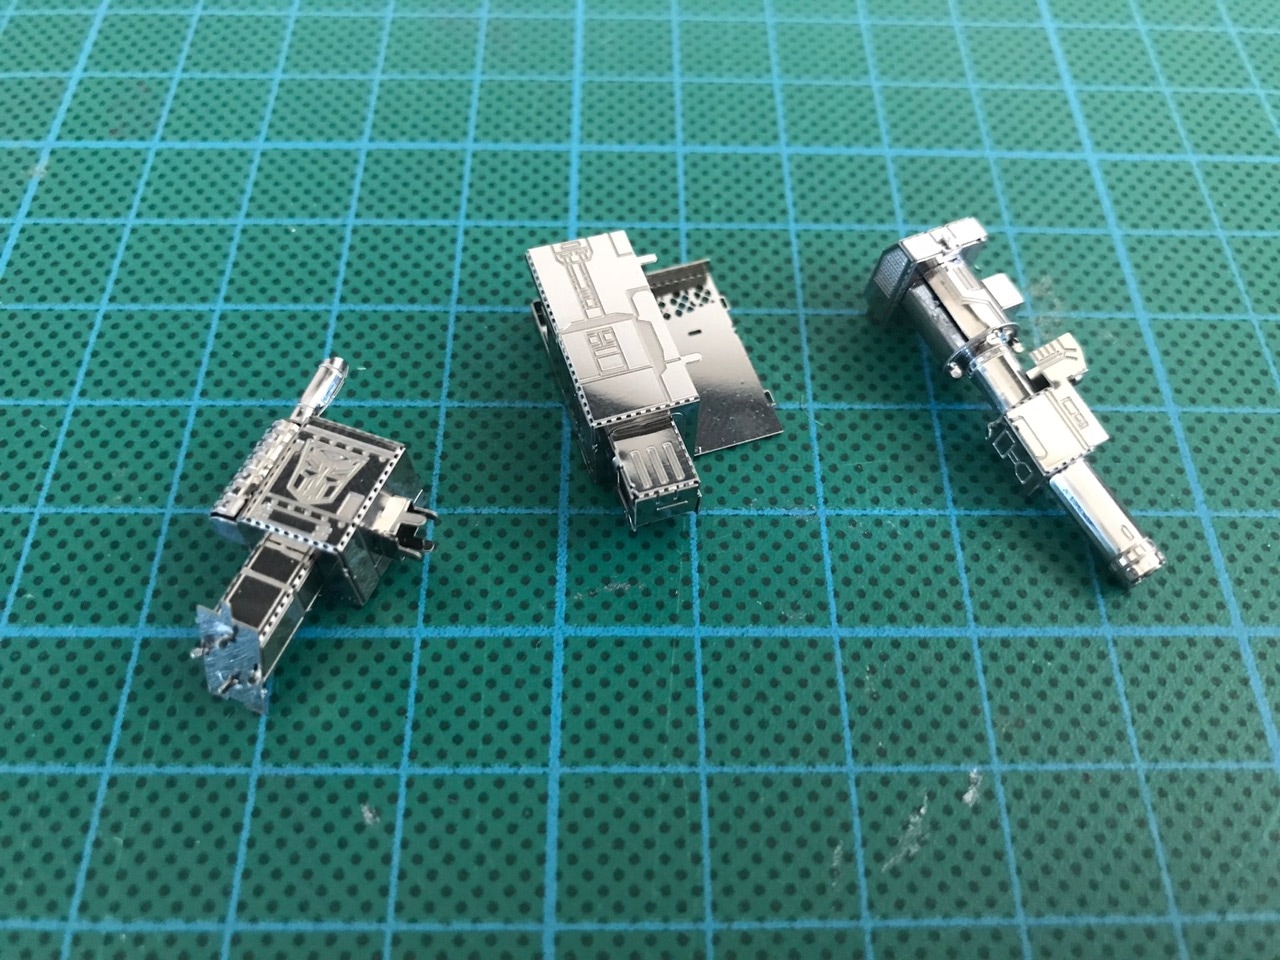
The first part to assemble was the left leg. This was where the scalpel came in handy - one of the first instructions was to bend the leg grilles into place, using anything but a scalpel would have made this task very difficult. I've not encountered this kind of design on other Metal Earth kits I've put together so far so was quite happy when I saw something different like this.
The leg was made up of three sections.
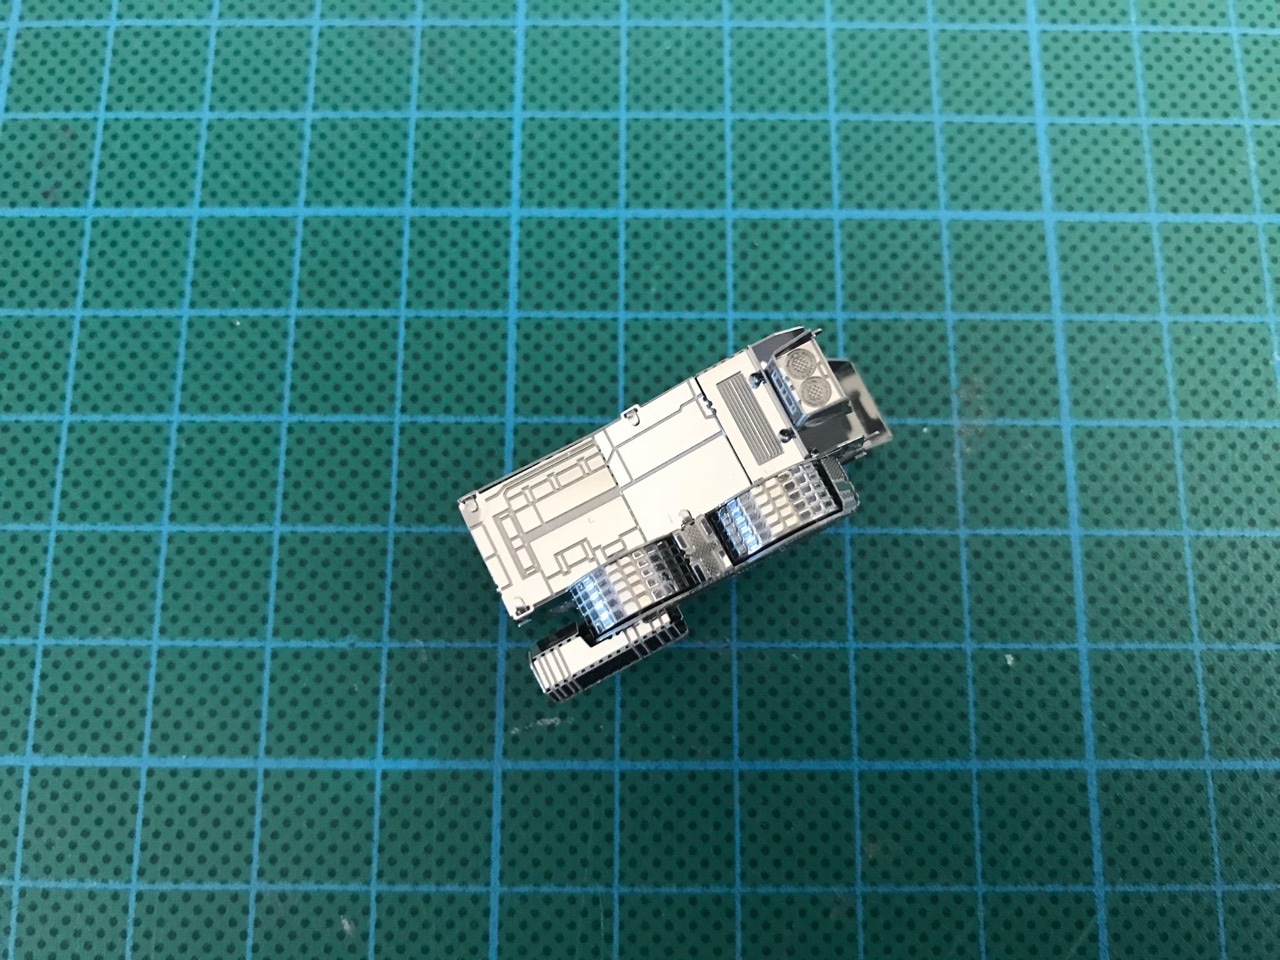
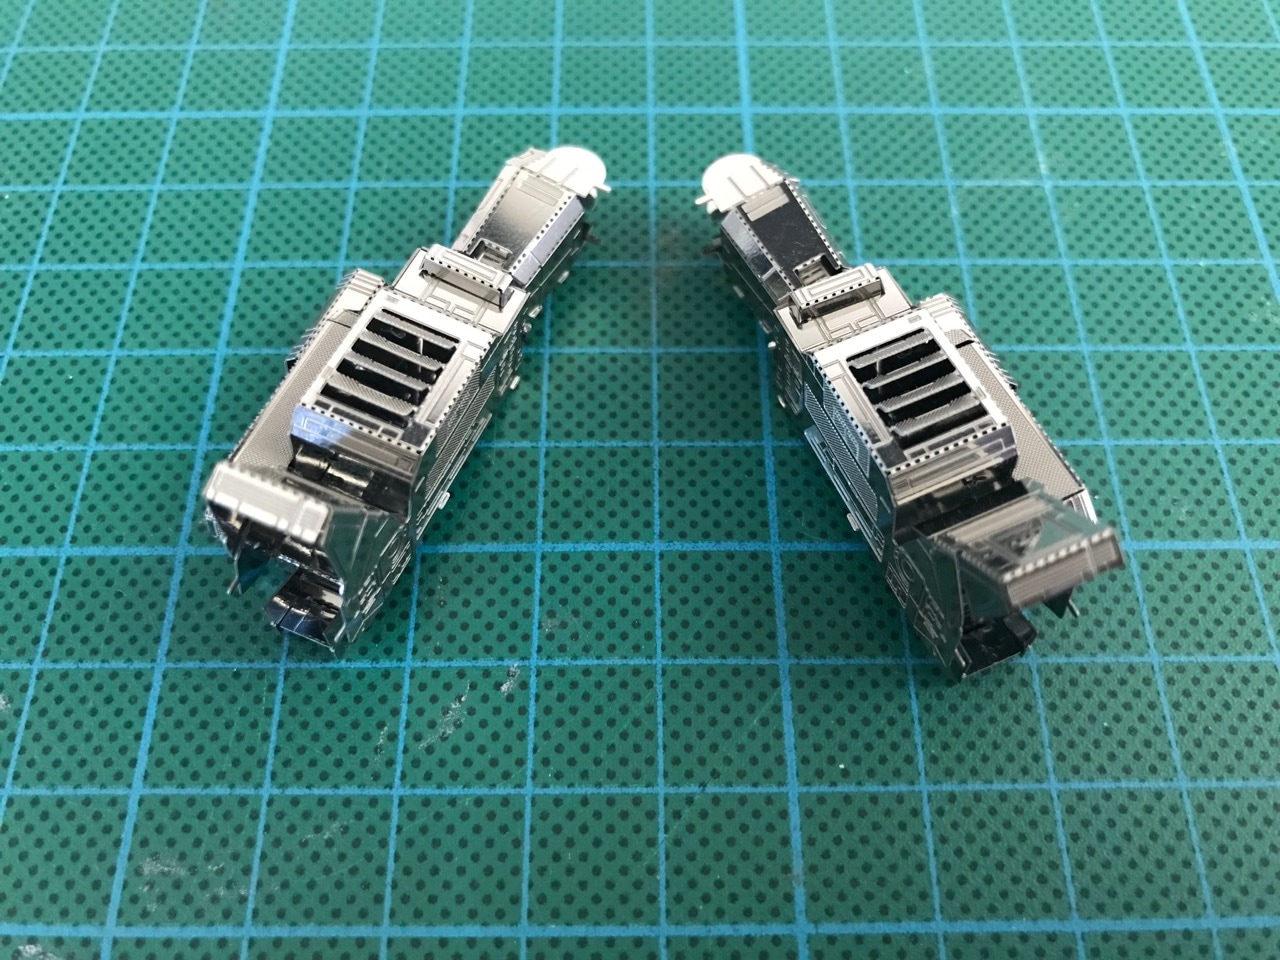
The right leg and crotch piece were next. Then both the legs were attached to the crotch section and the base.
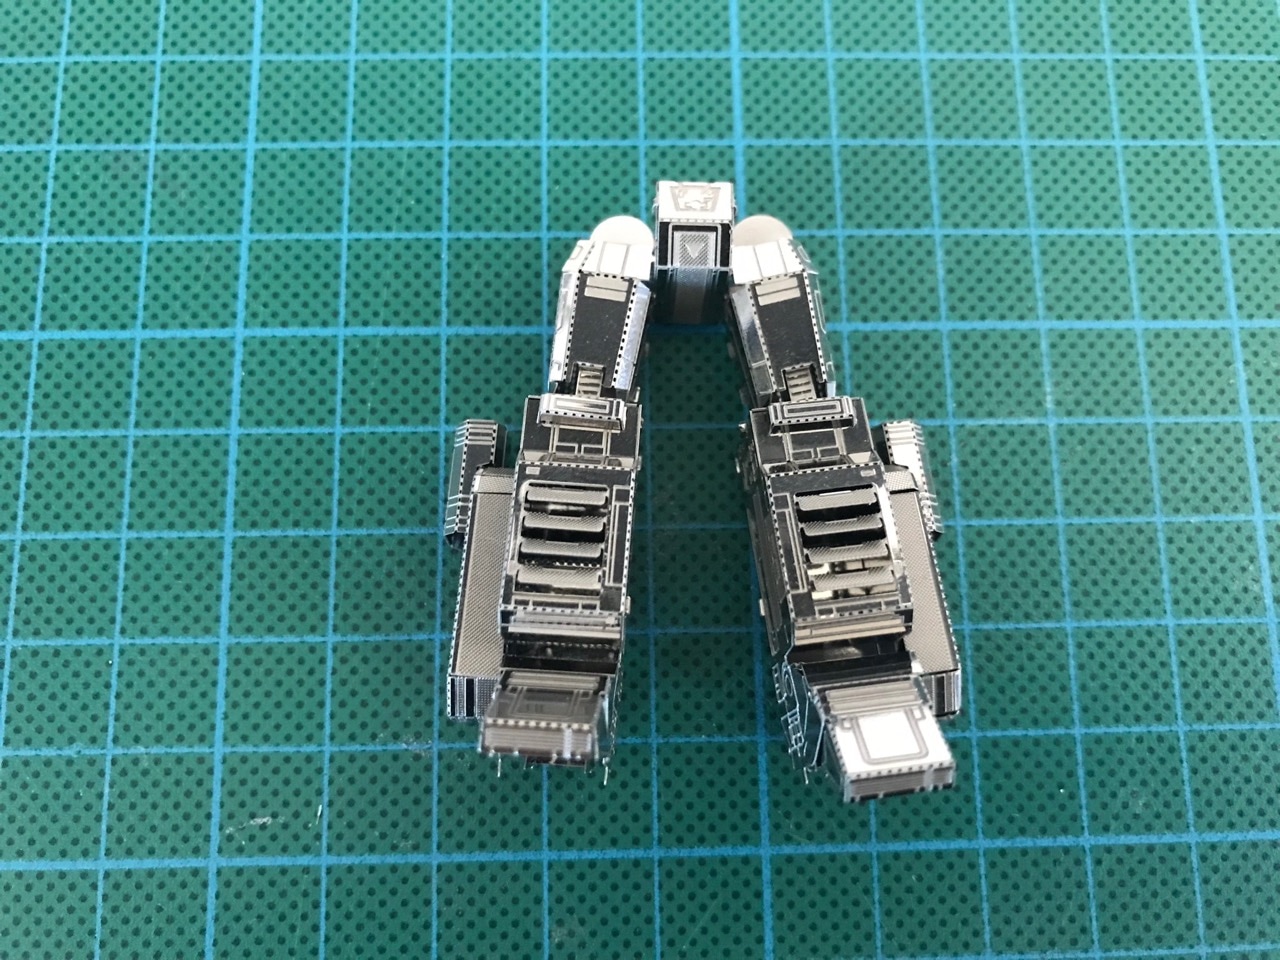
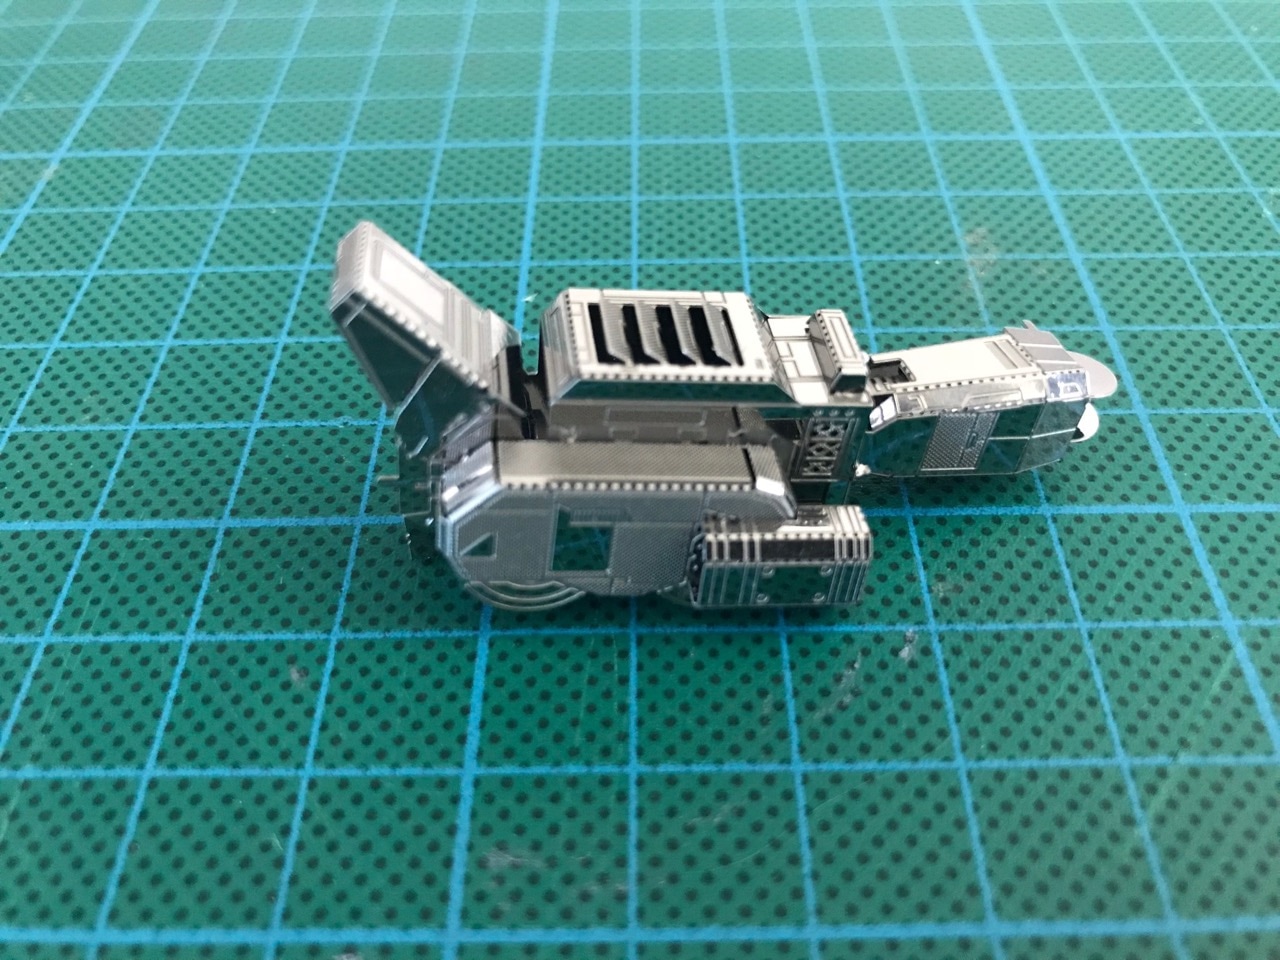
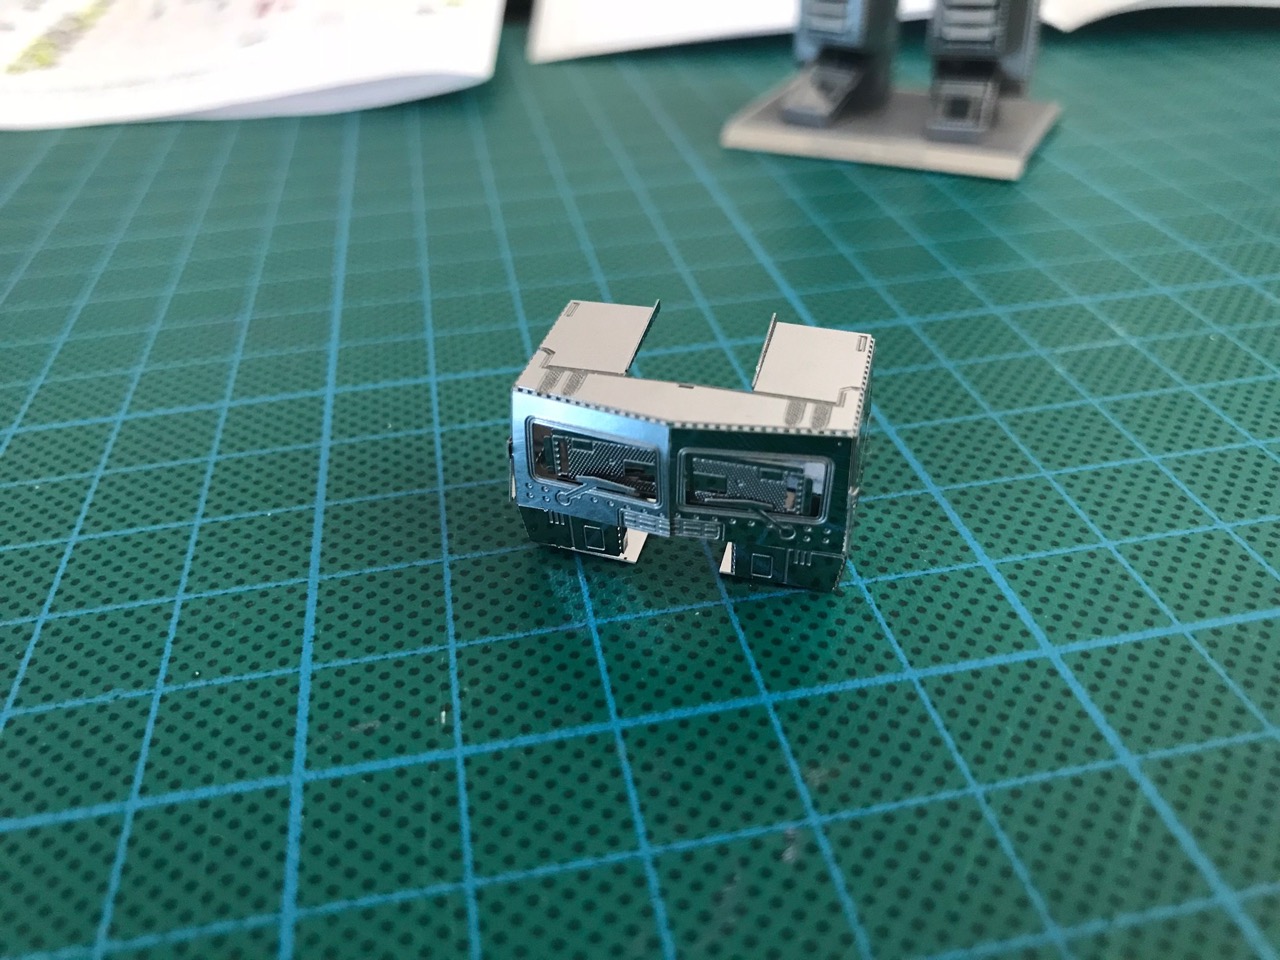
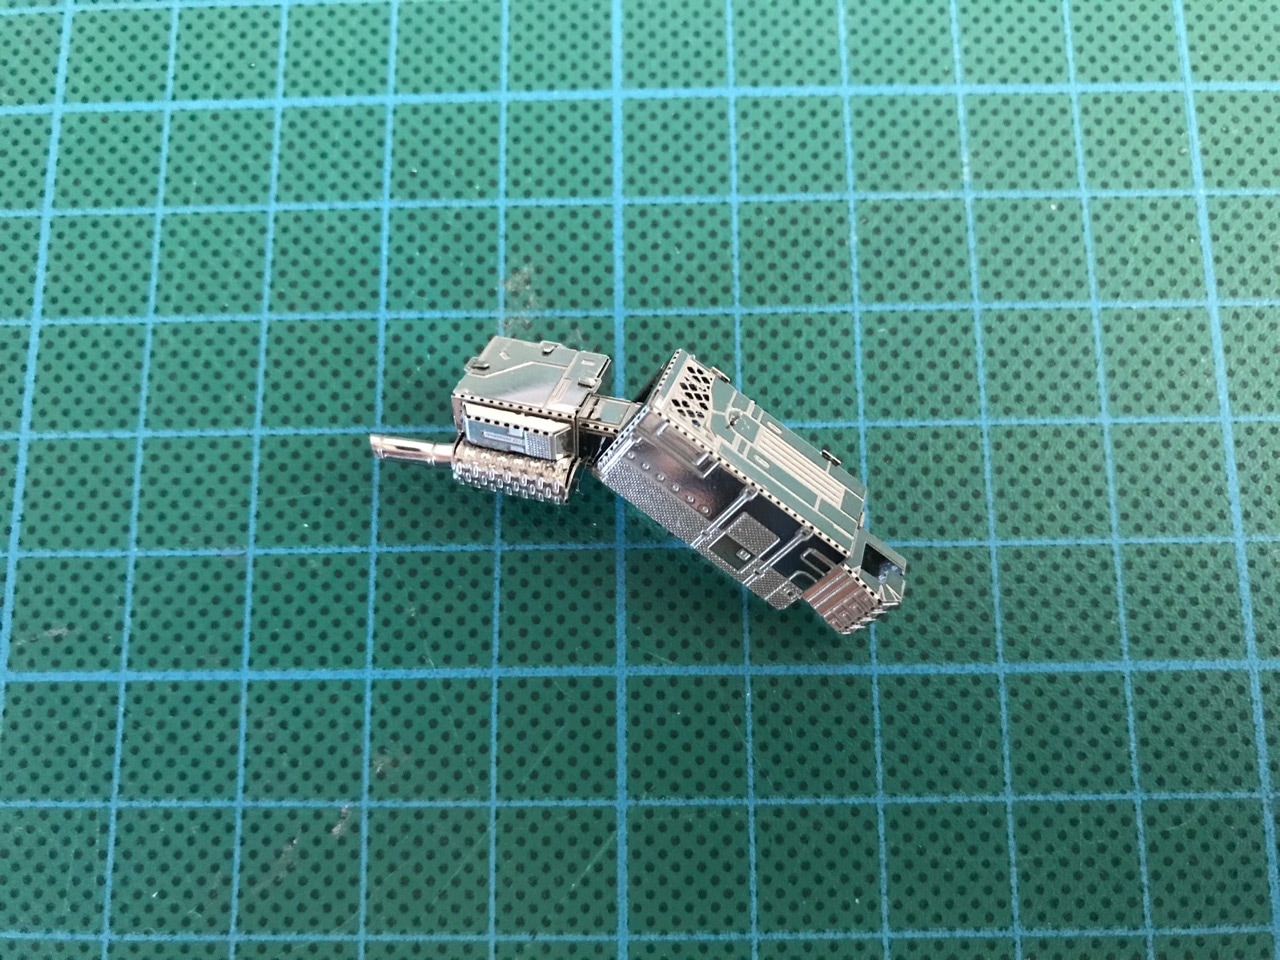
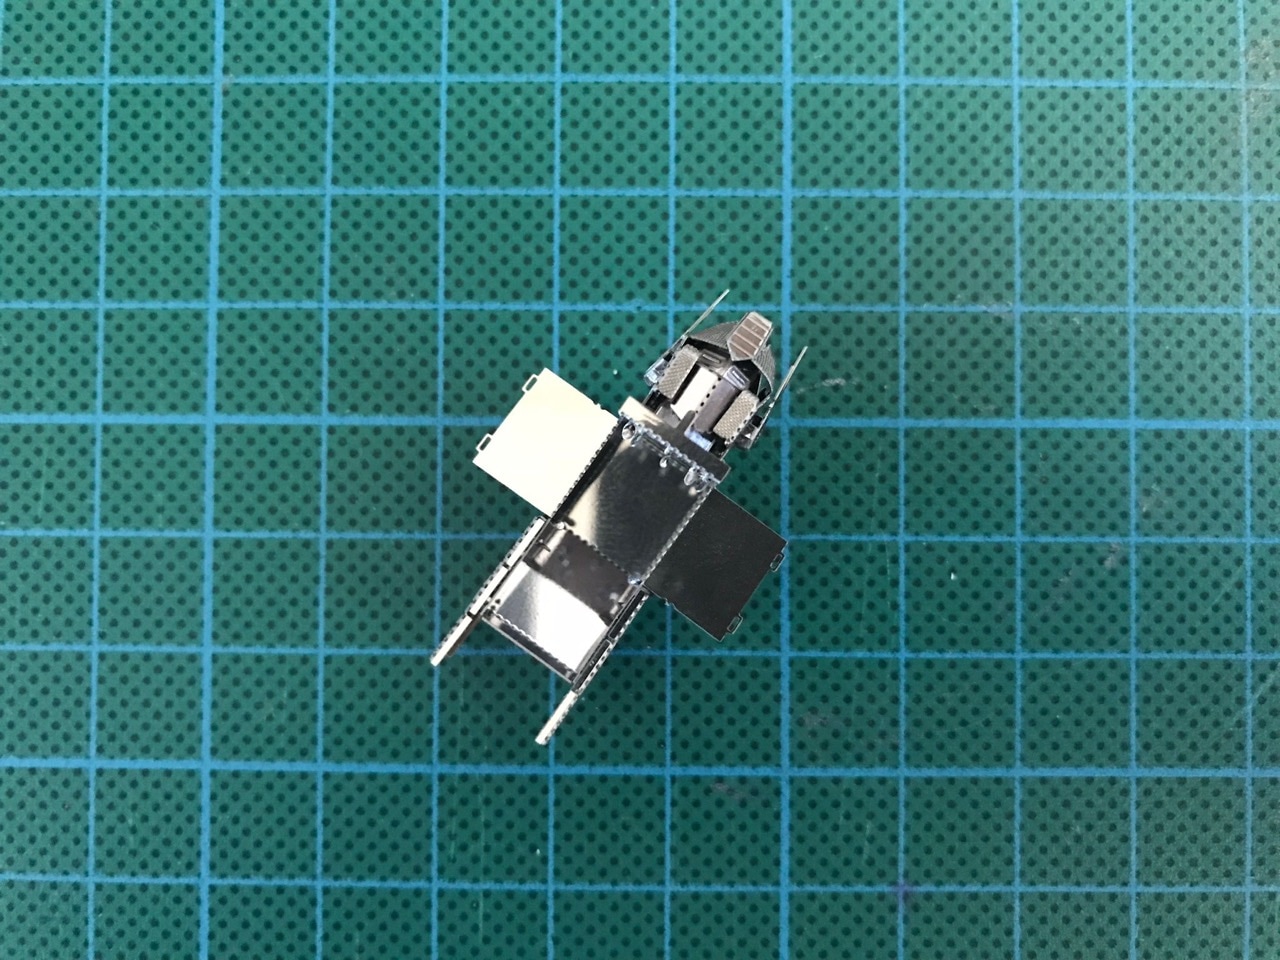
The chest section followed. It was made up of two other sub-sections. The grilles here didn't need to be bent out.
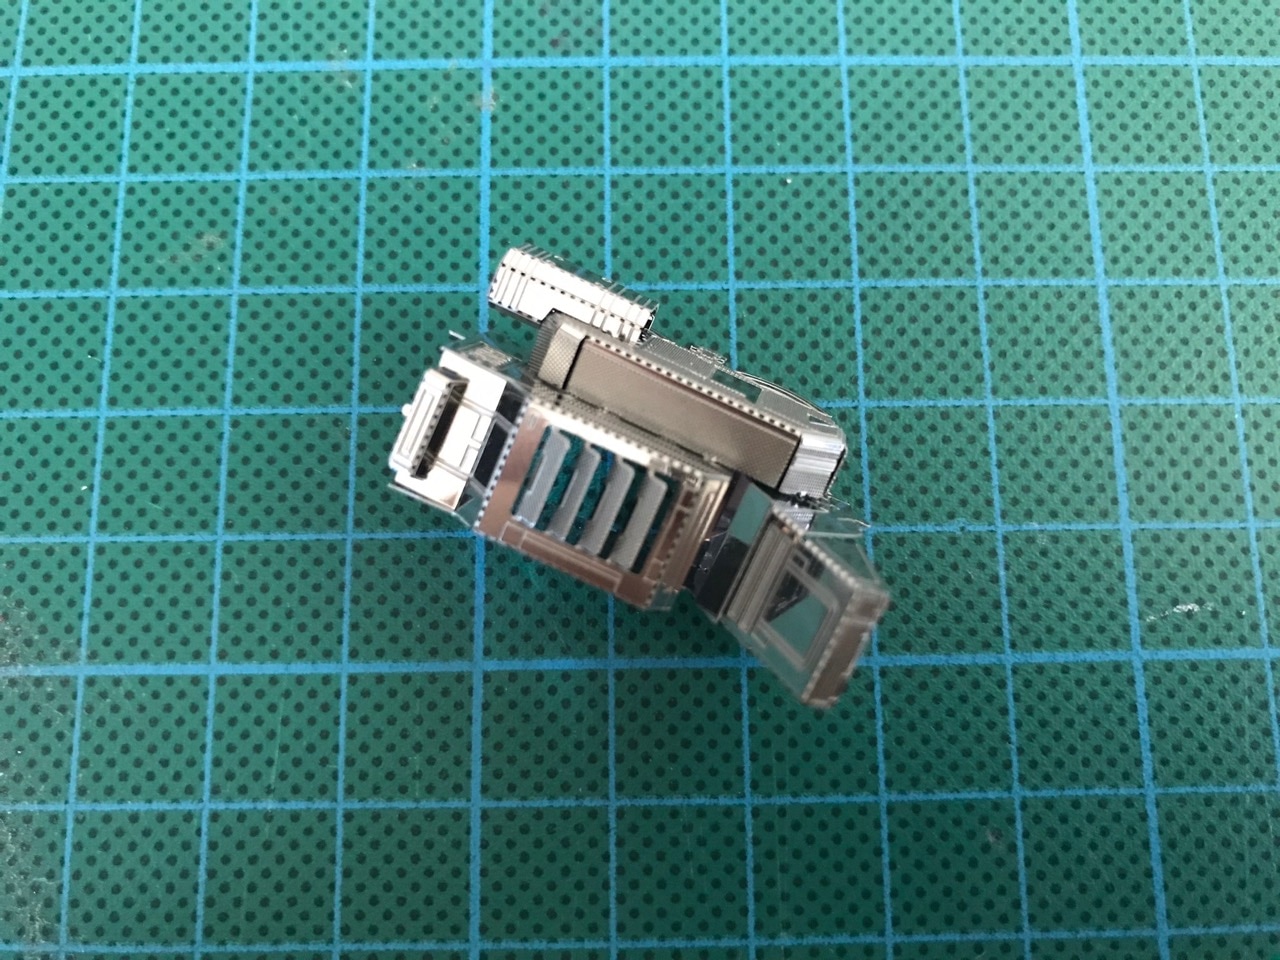
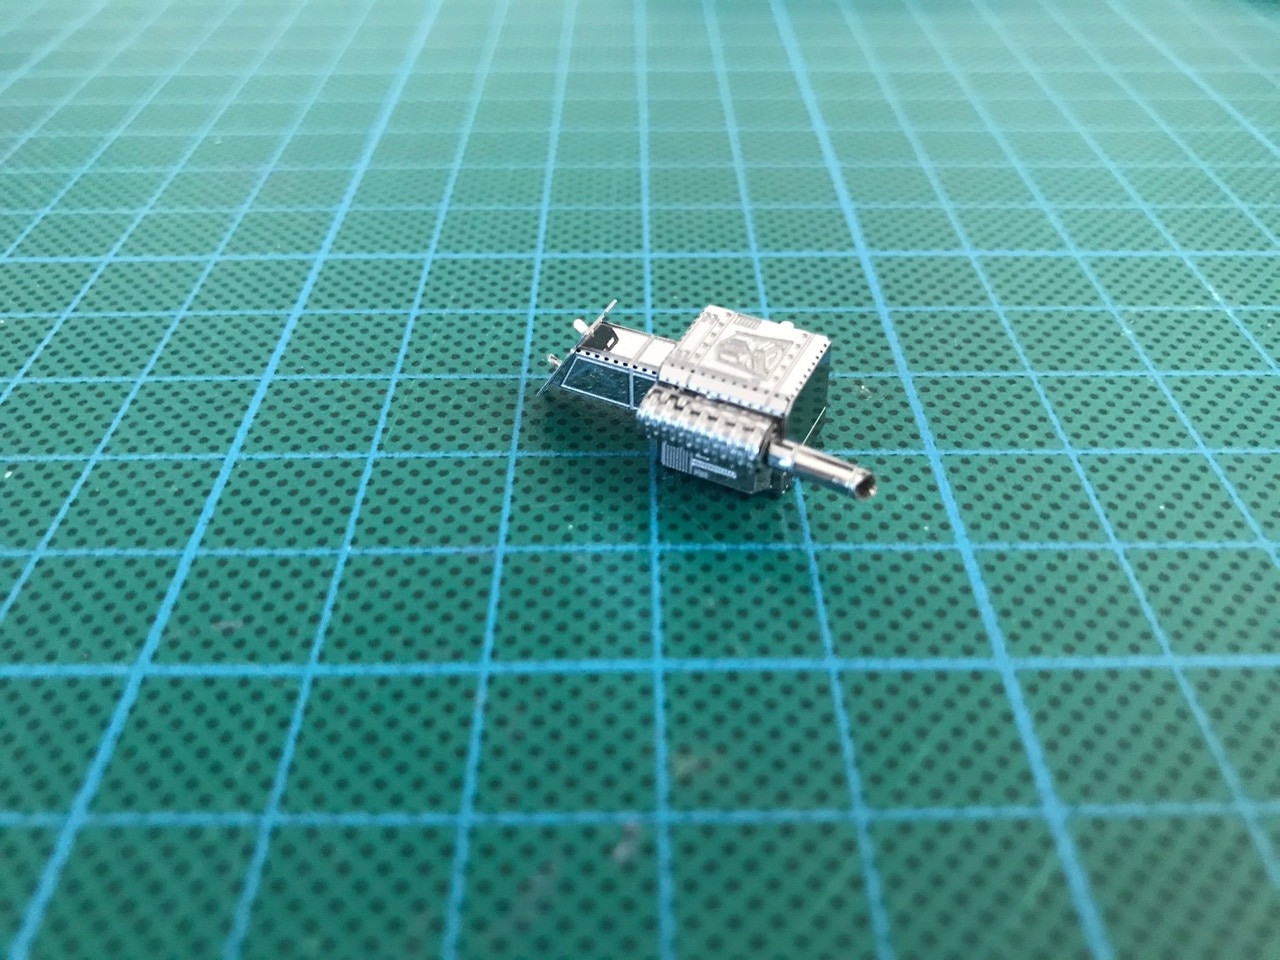
Arms had quite a lot of detail in them including some tiny exhaust pipe sections that had a very small radius. The arms were not identical - one was just a regular arm and the other held a gun. I didn't put the gun section on correctly and realised this too late - it was 90 degrees out of its expected position. I didn't try to fix this as the gun looked fine the way it was.
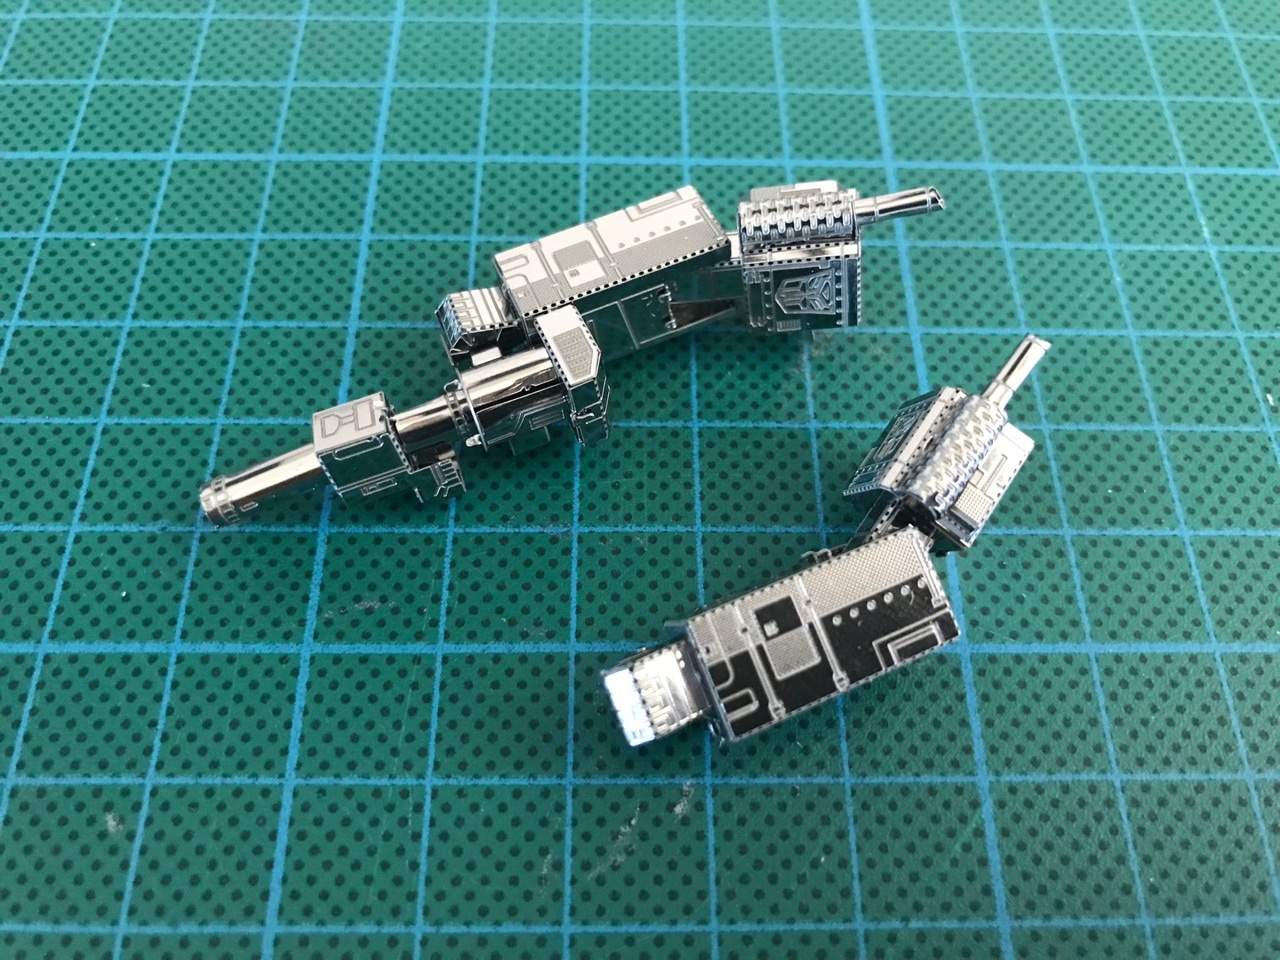
The arms then attached to the torso.
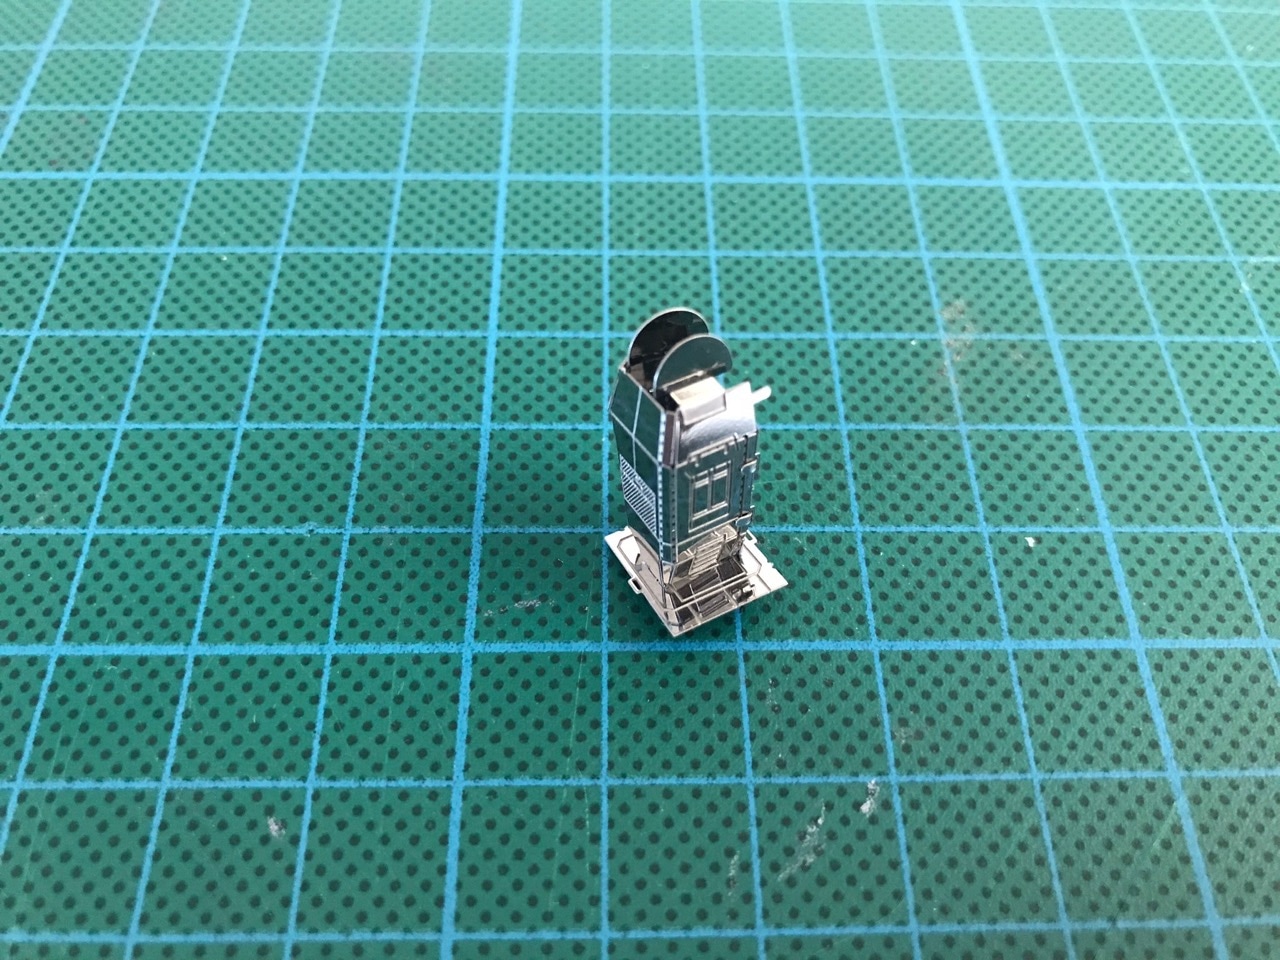
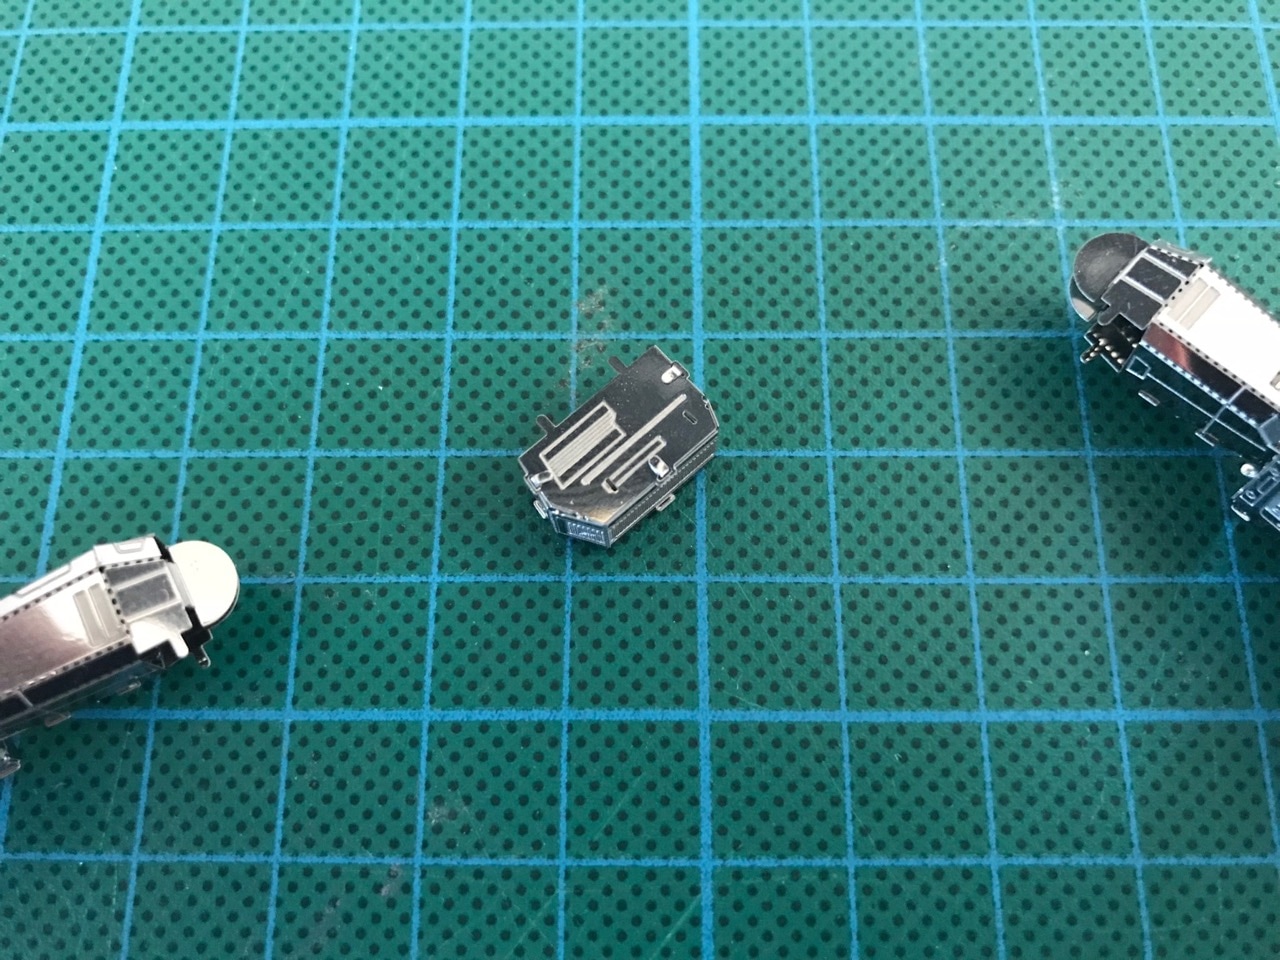
The head section was the last to be assembled and was quite complicated even though it was so small. There were some bends required that didn't have perforations - the rounded helmet part. I liked the way this section mounted to the rest of the model, it came in from the back and had one tab in front of the face that came up through and over the torso.
Here's a video of the assembly...
This was quite a fun kit to assemble. Again I came across some unique designs that I've not seen in any other Metal Earth kit. The kit was completed in around 2-3 hours so it wasn't too time consuming and overall probably a medium complexity kit. I would definitely recommend this if you like Transformers or robots in general.
-i
