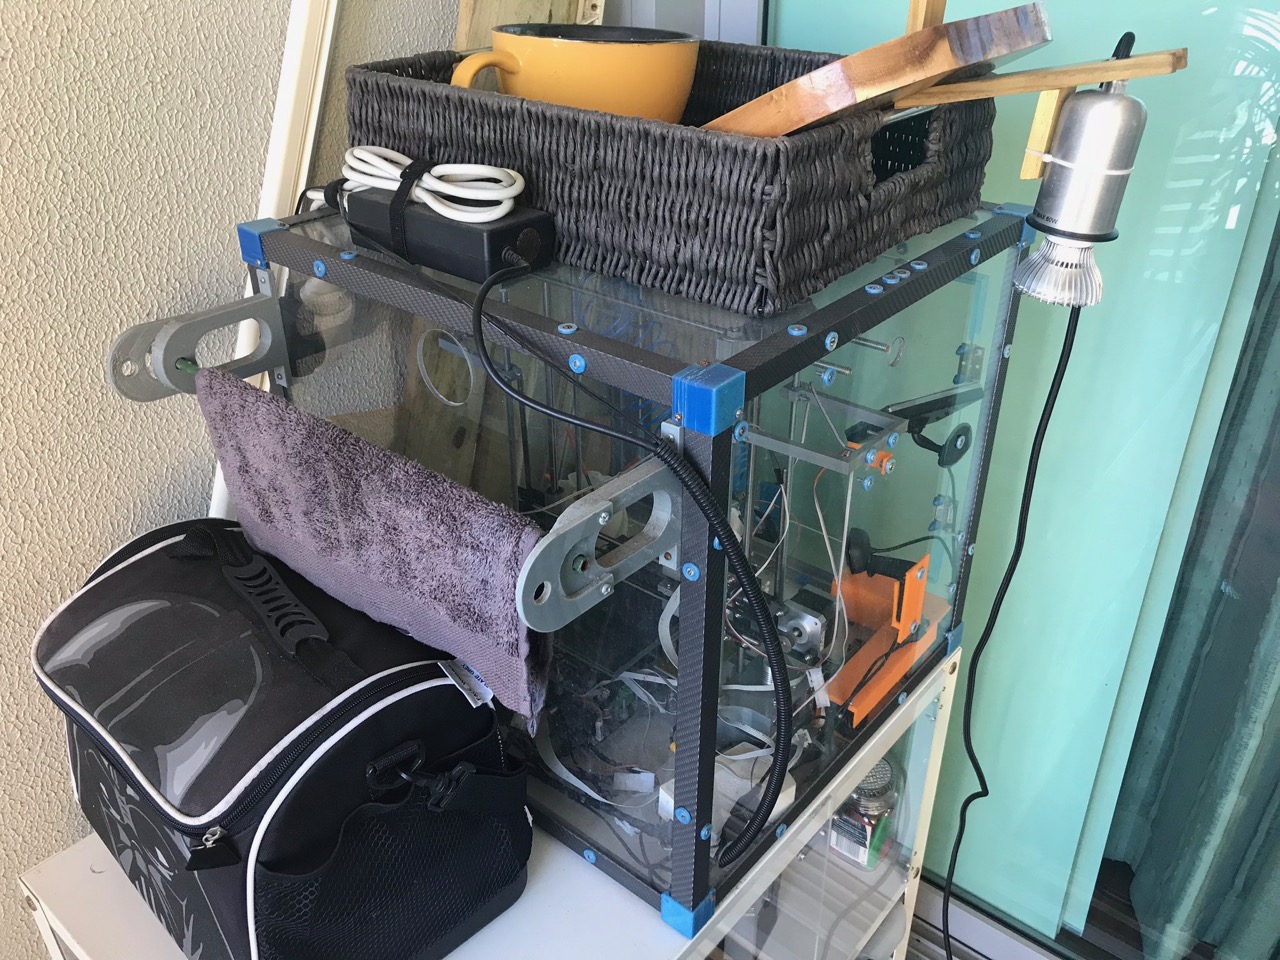
I decided that this was a clear sign that the 3D printer had to be disassembled (at least partially), its enclosure taken apart and for it to make space for something else that may come in its place. So I took it down and started...
So Long, and Thanks for All the Fish
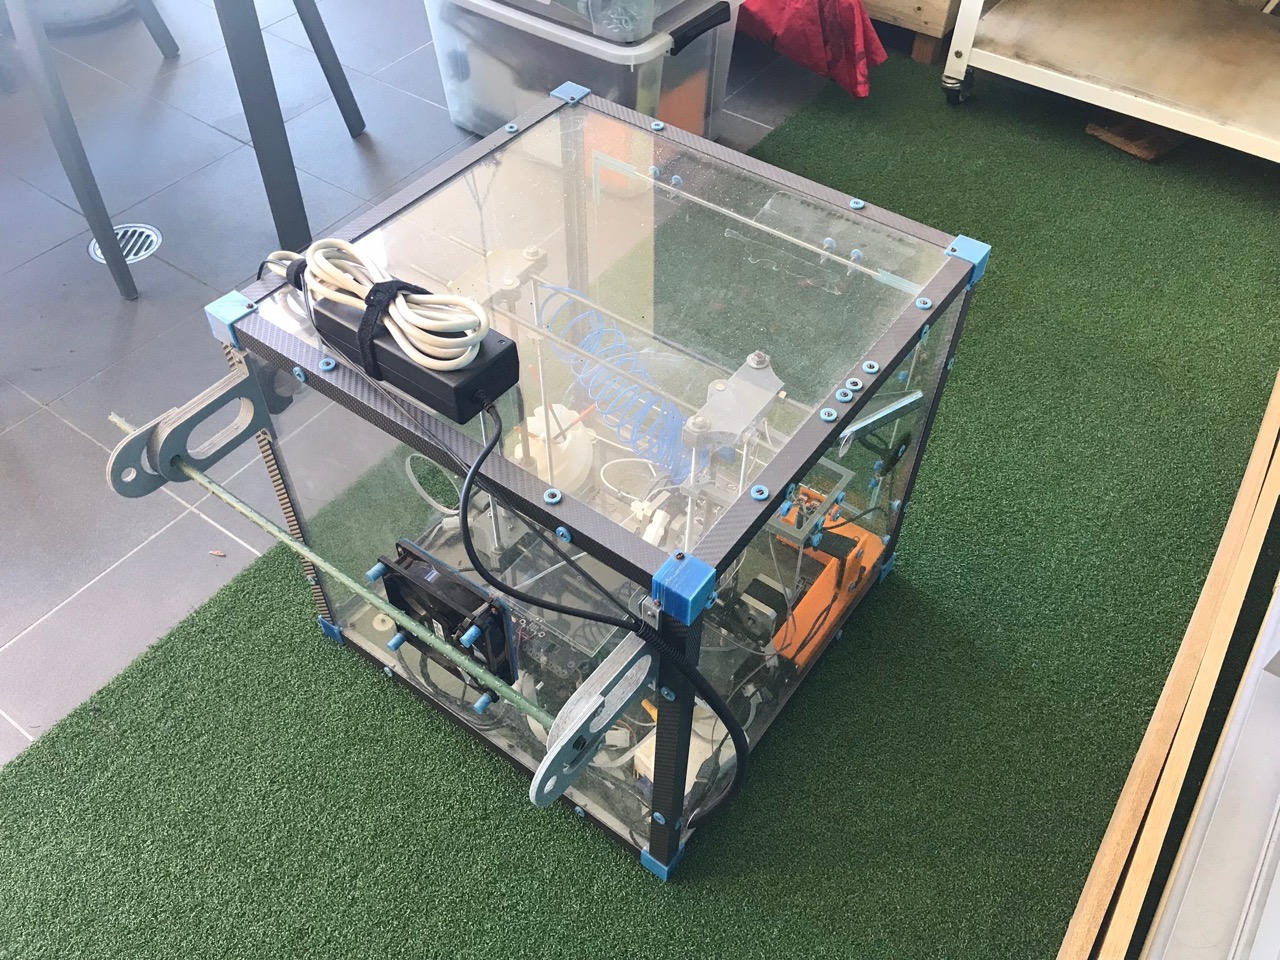
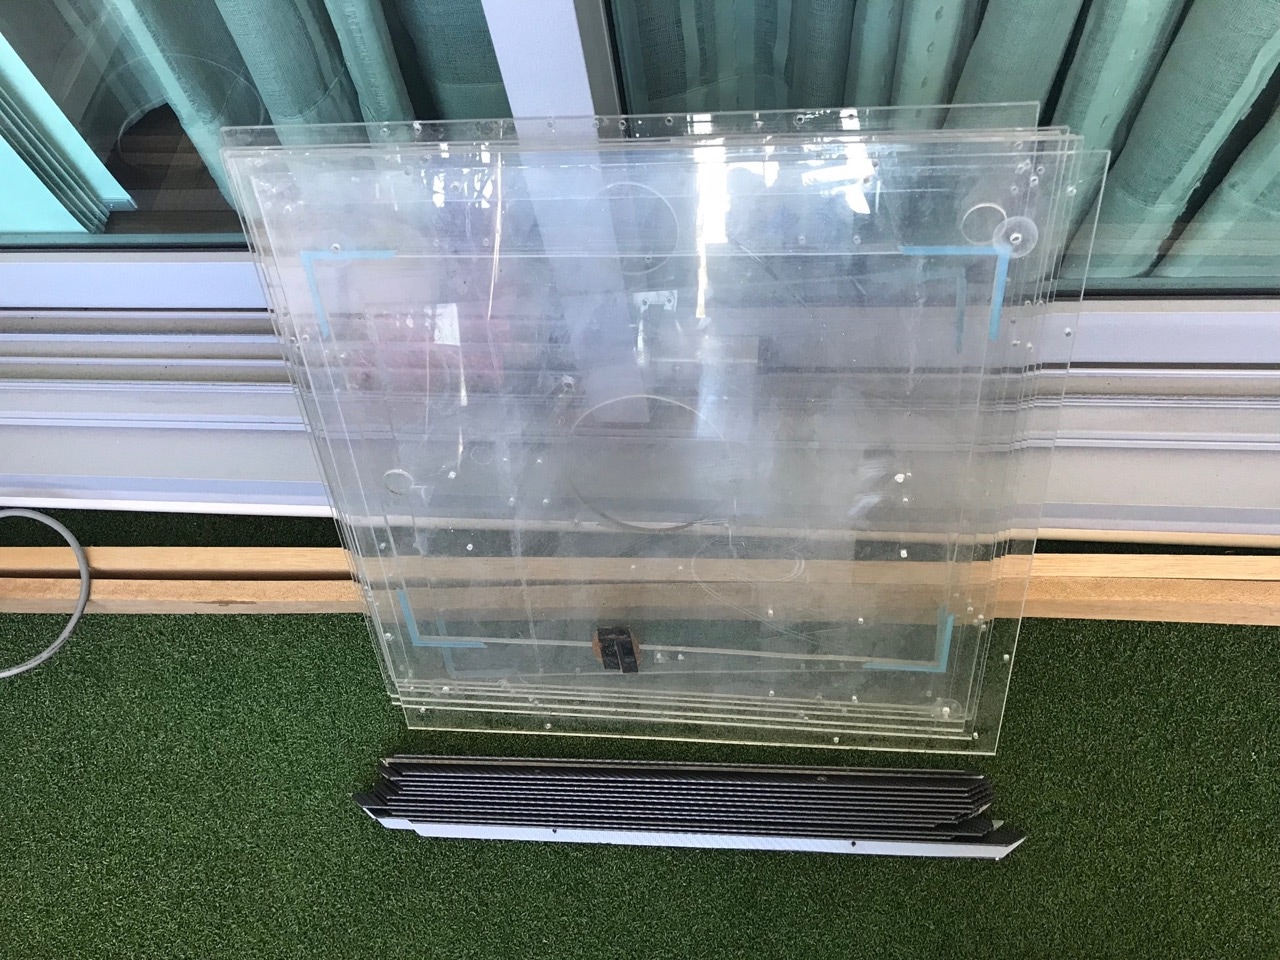
The enclosure had to be taken apart first since the printer was mounted inside. This itself had to be disassembled in a particular order to make it easier to get to everything. The front door was first to go.
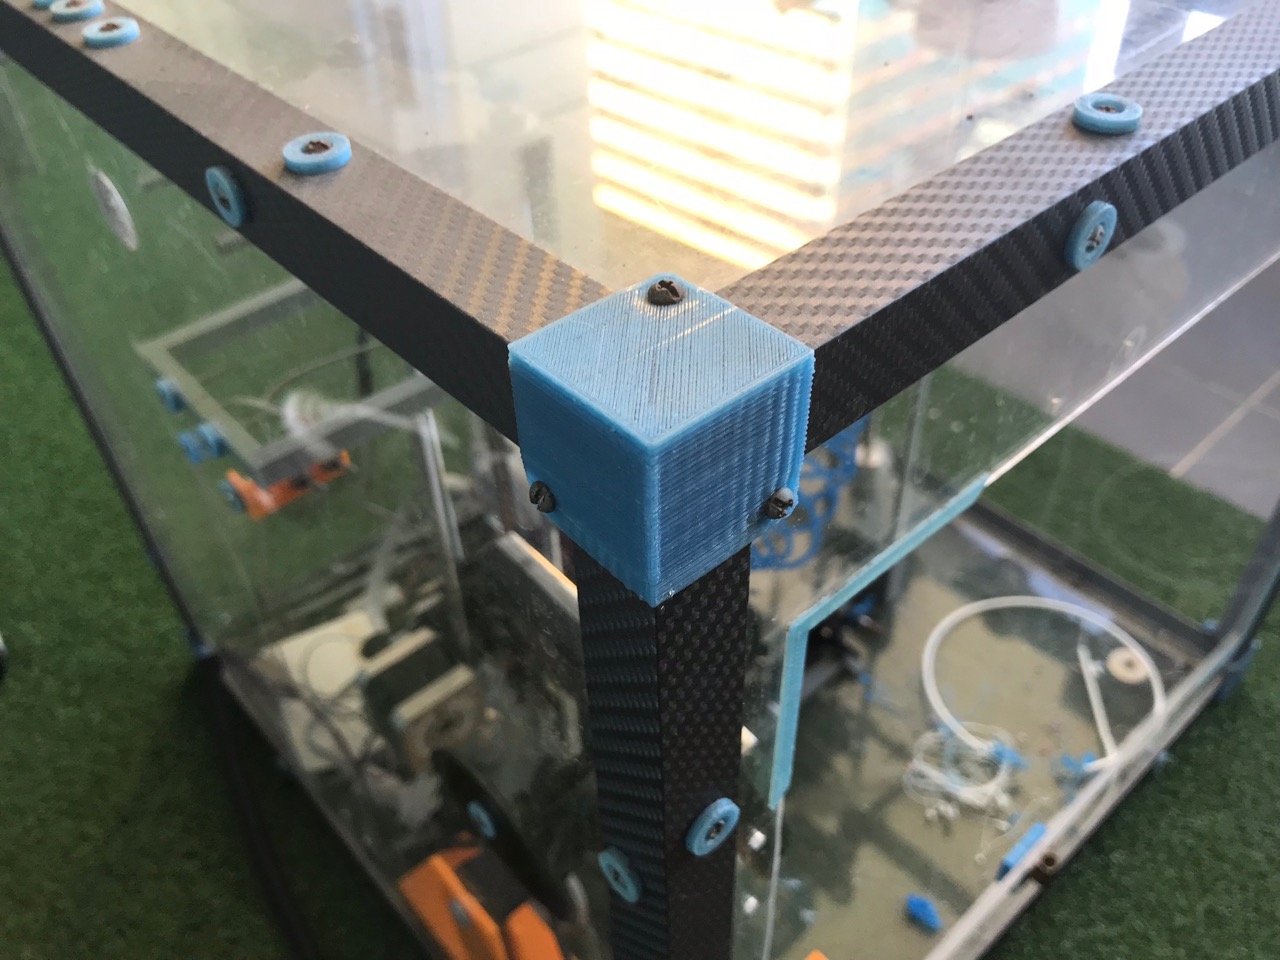
Most of the screws were in a good shape here so I decided that I'll make a pile of them to keep. Corner protectors were next. These were actually designed to help keep the box together and without removing these the box would not come apart. Surprisingly they held up very well over the years.
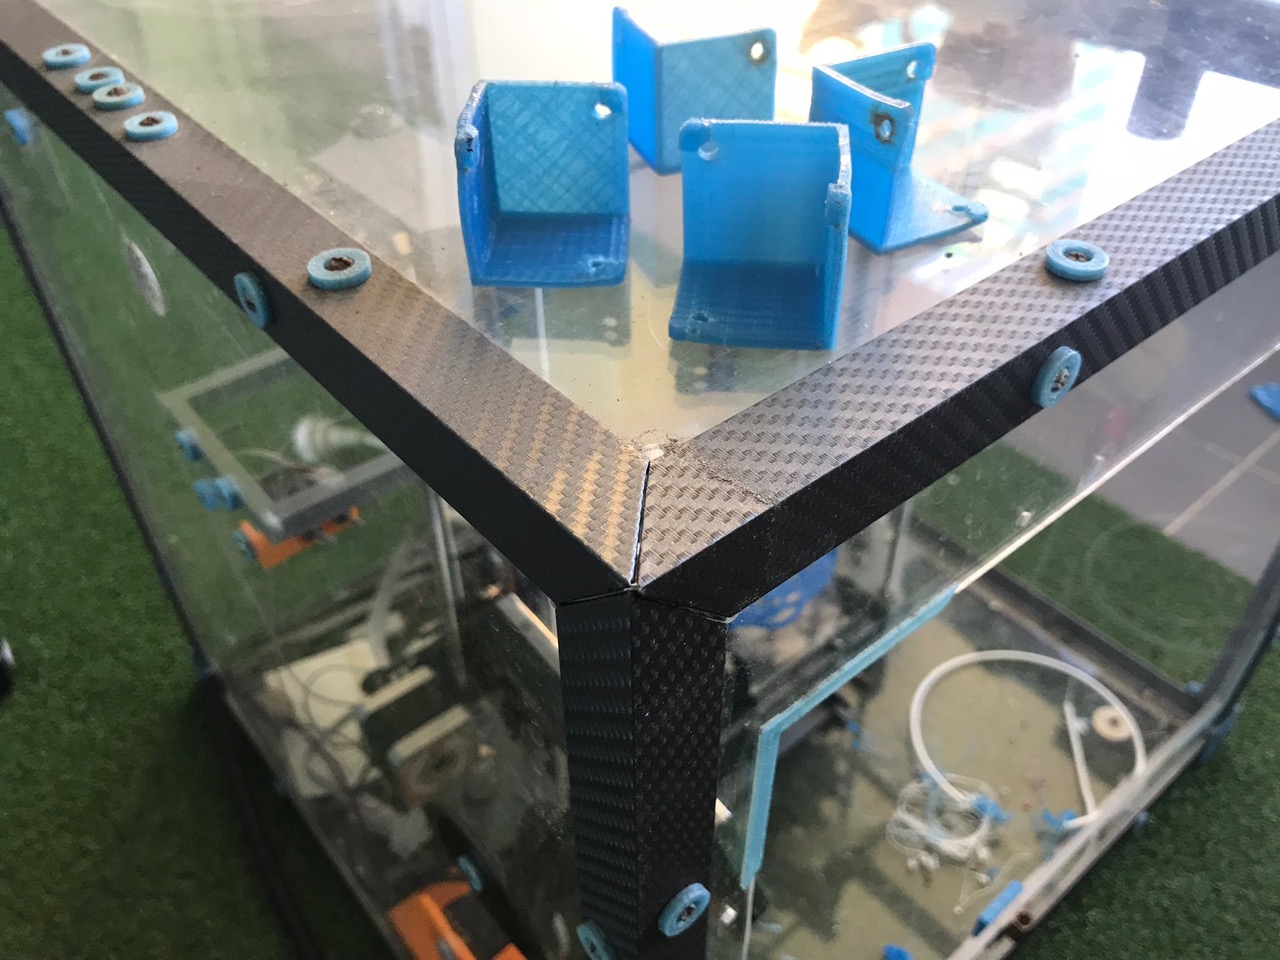
With the corner protectors in the trash I could then start on taking the top of the box off. The easiest way to do that was to remove screws from around the side of the corner brackets. Then I could remove the remaining screws once the top was free from the rest of the box. Most of the bolts here were corroded and in a bad shape so I threw them out.

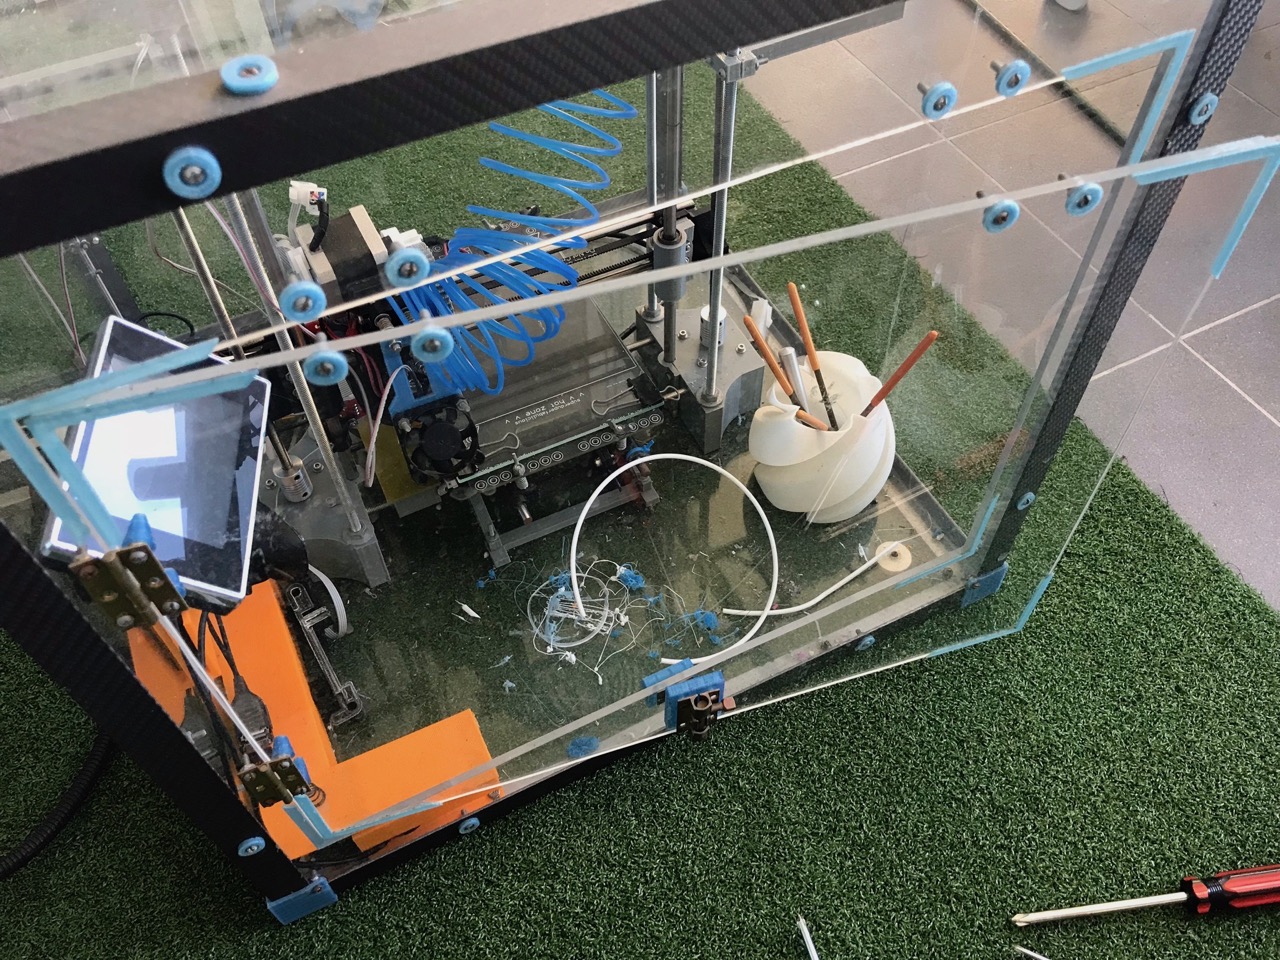
With the top of the box open I cold easily reach inside now. The rear mounted components were then removed. Unfortunately the fan grille snapped as I was unscrewing it. That was too bad, it had a cool design.
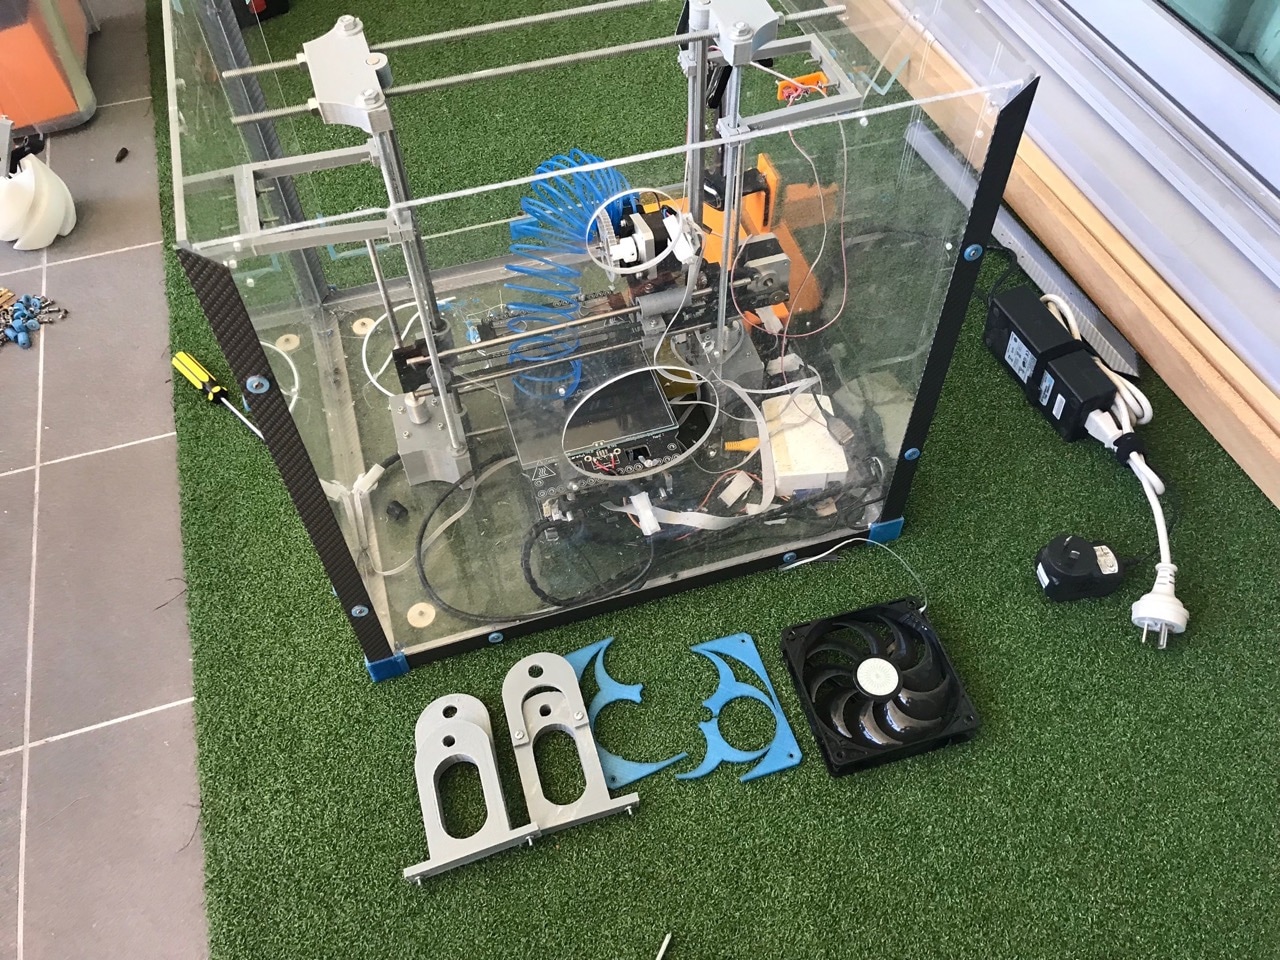
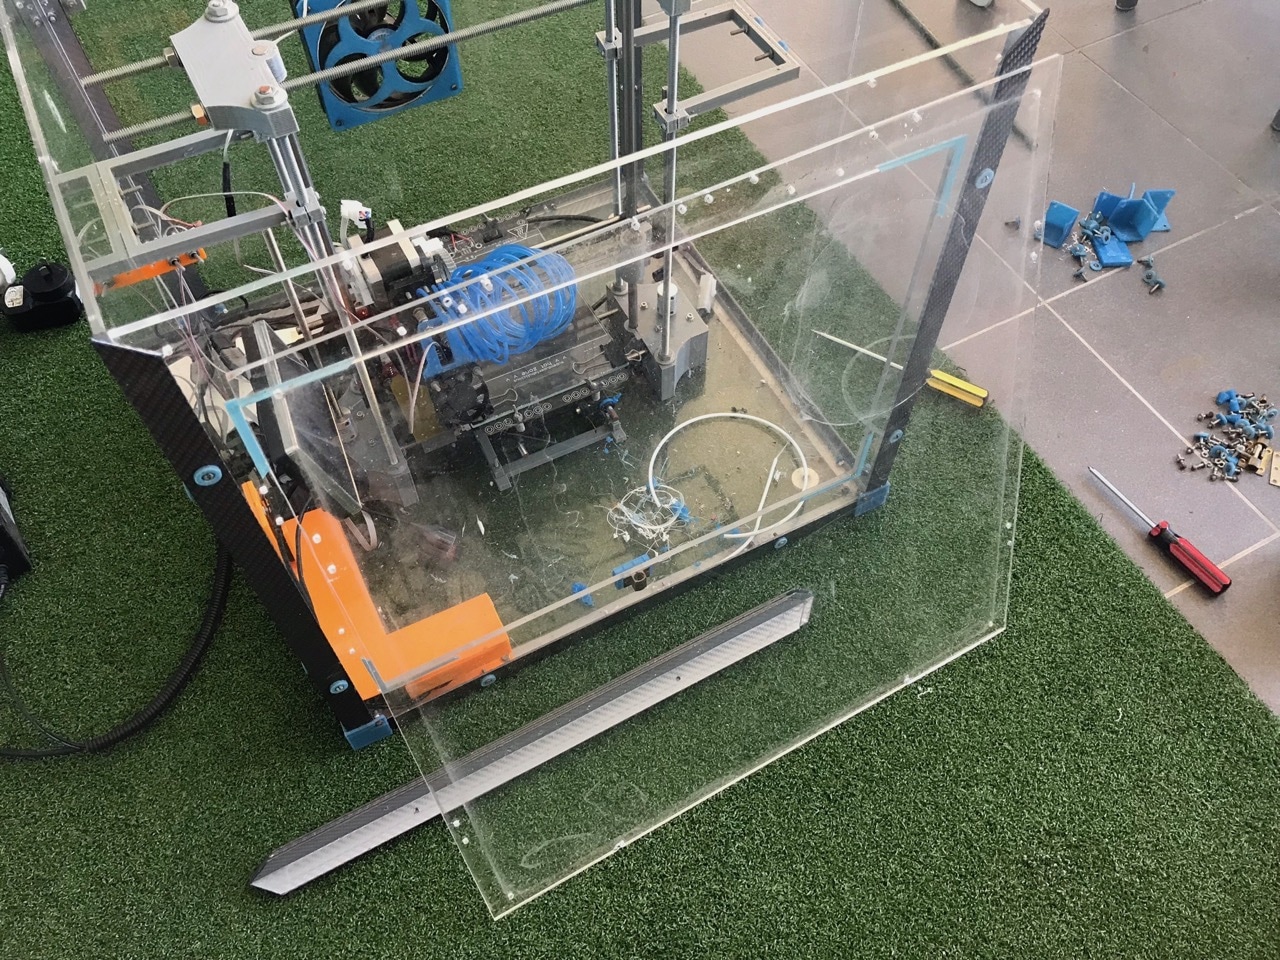
I removed the rear part of the box next to make it even easier to get to the components inside.
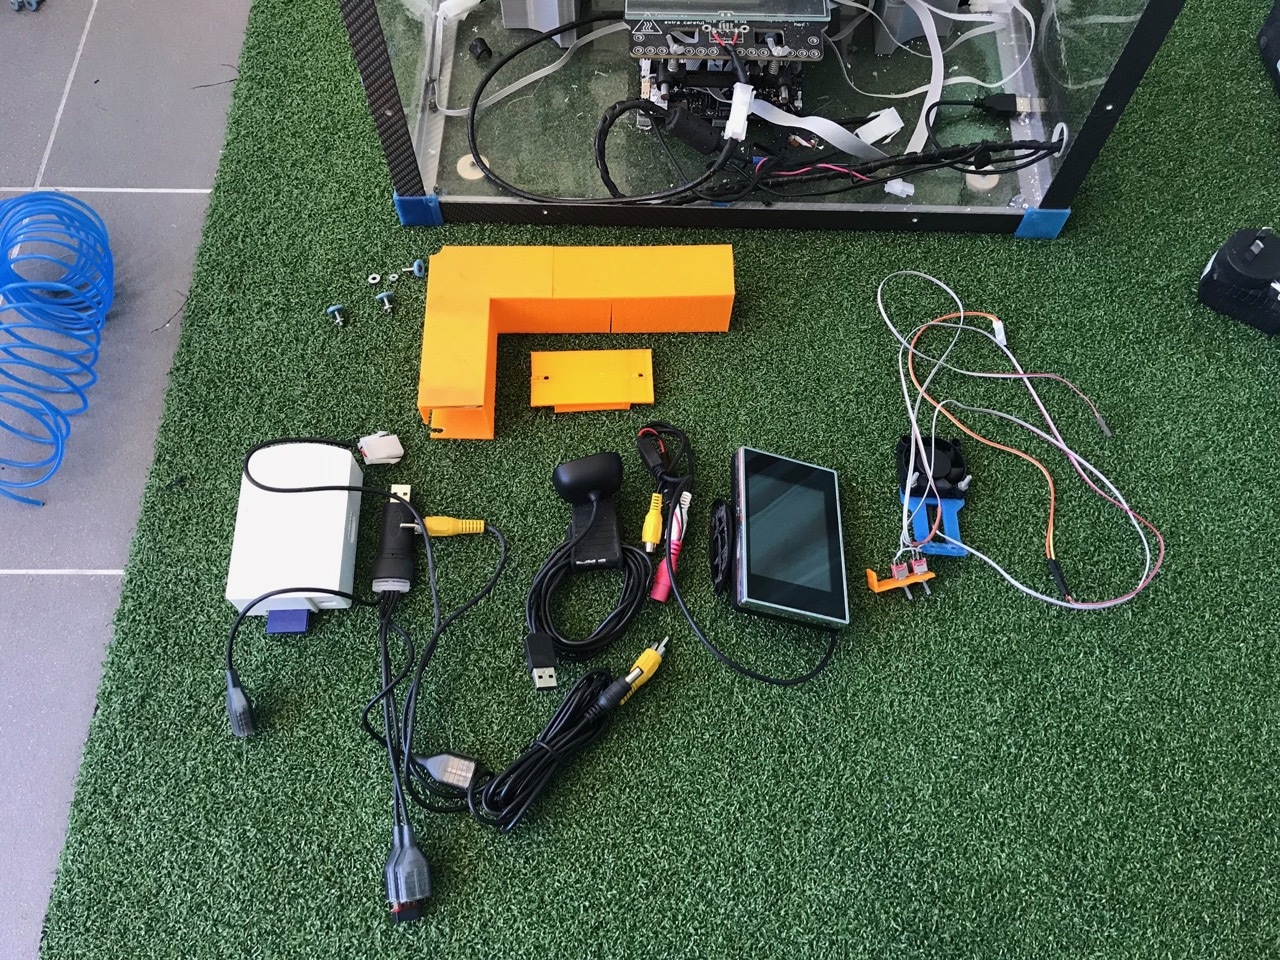
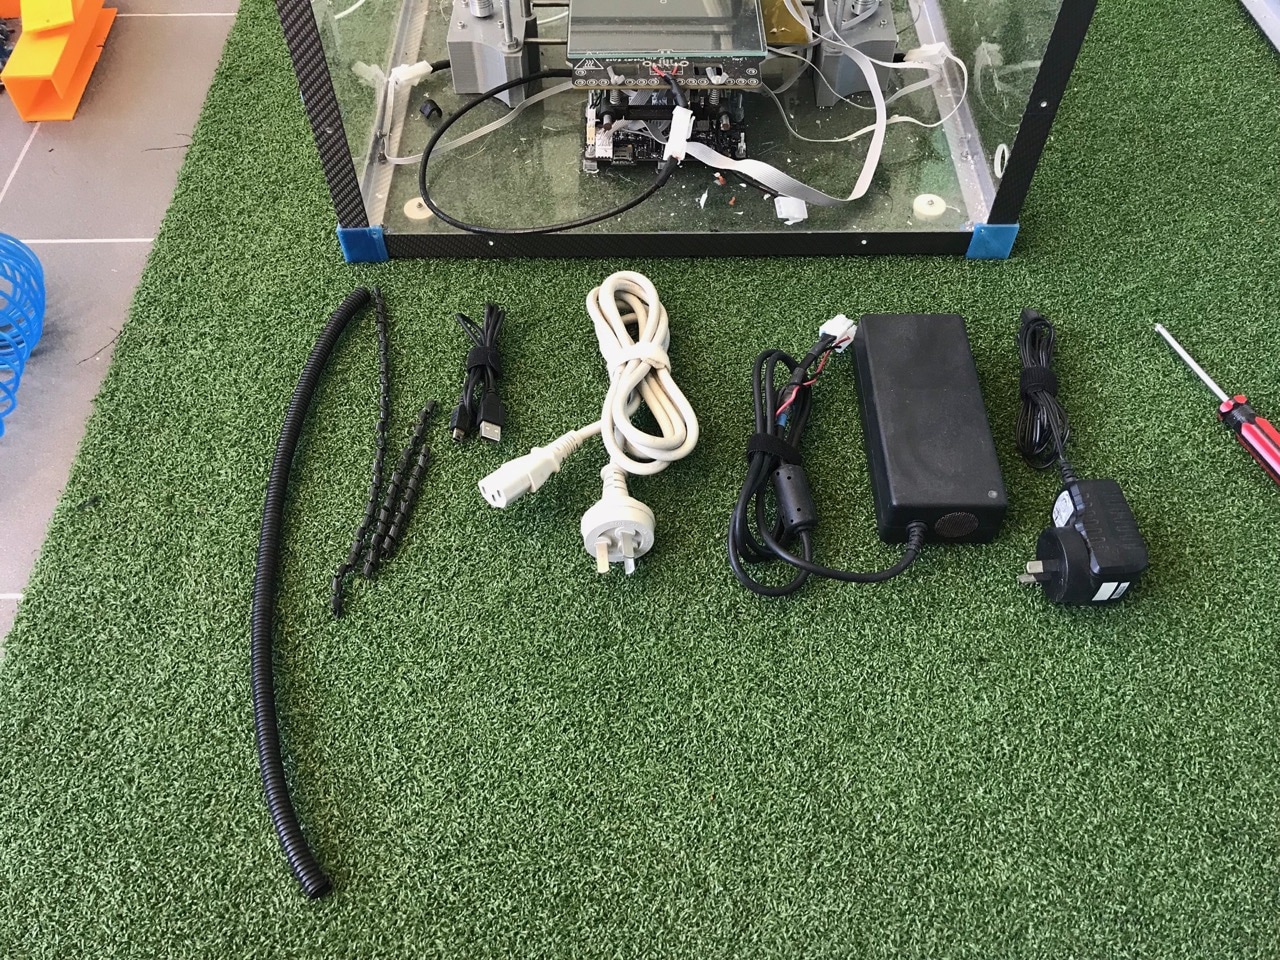
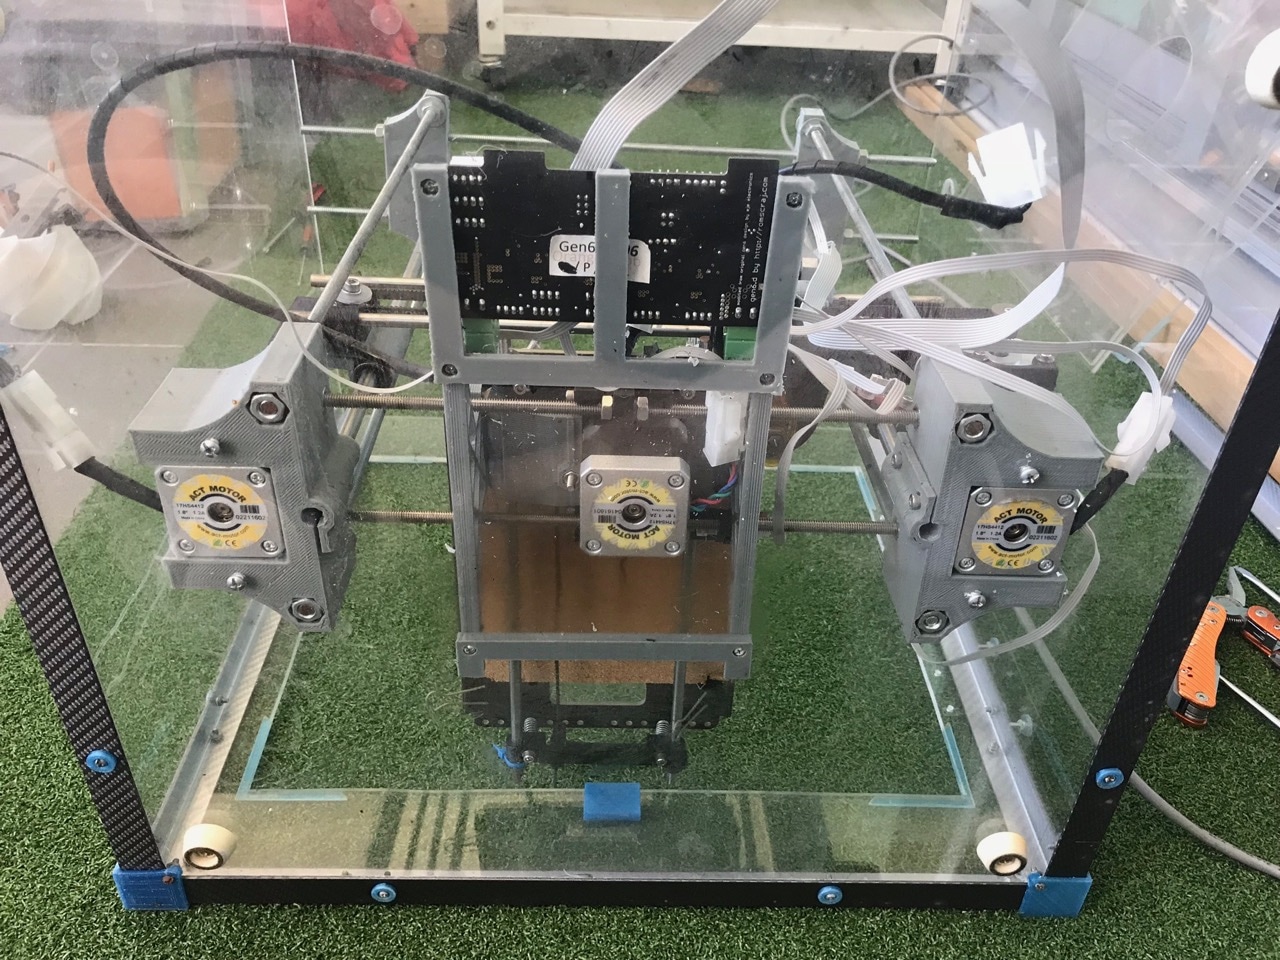
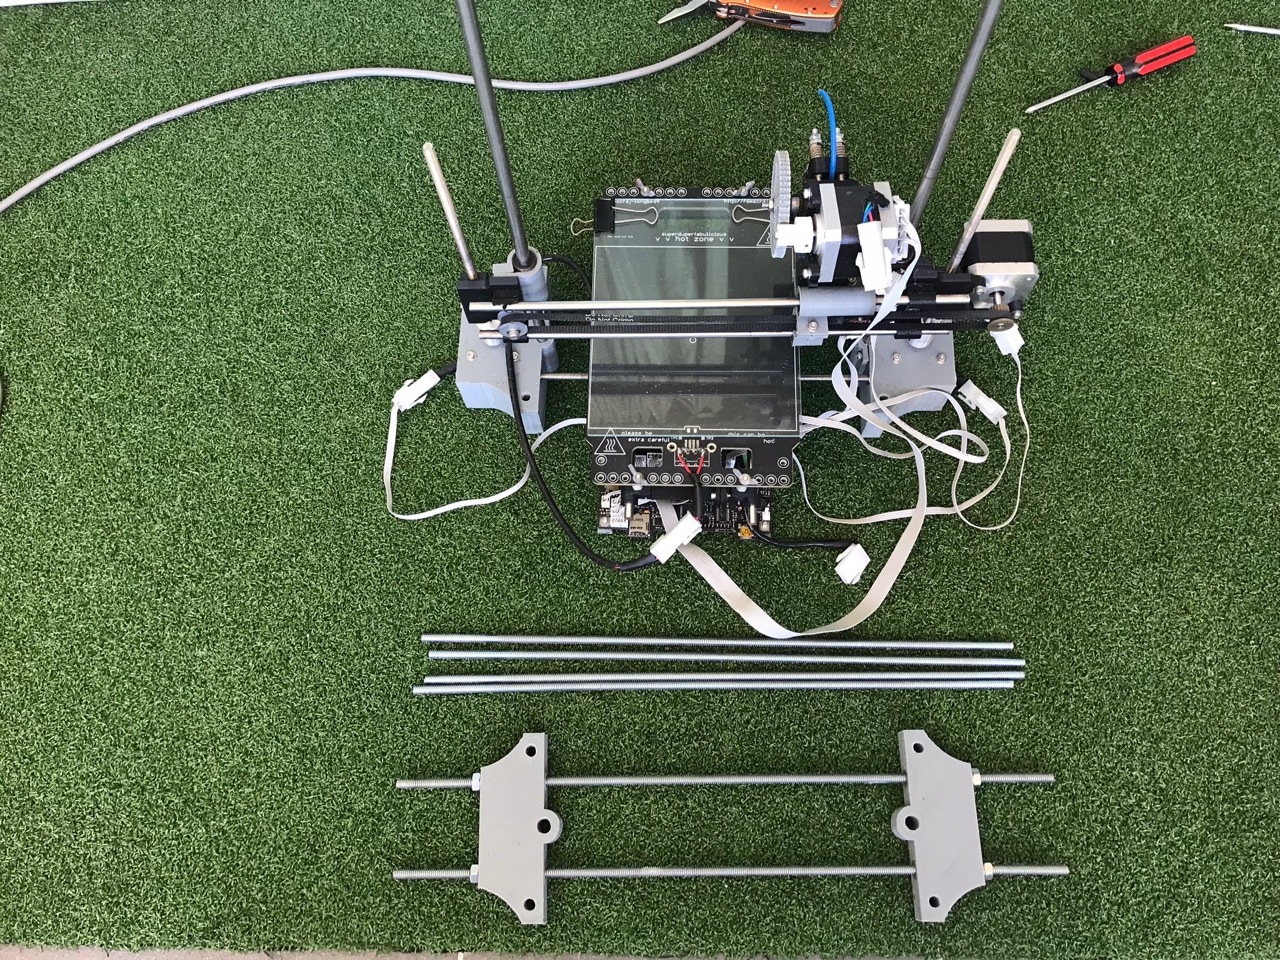
All the electronics and power components could then be removed next. The webcam, Raspeberri Pi, screen, USB hub, extruder cooling fan and a bunch of wiring were out of the box for the first time in years.
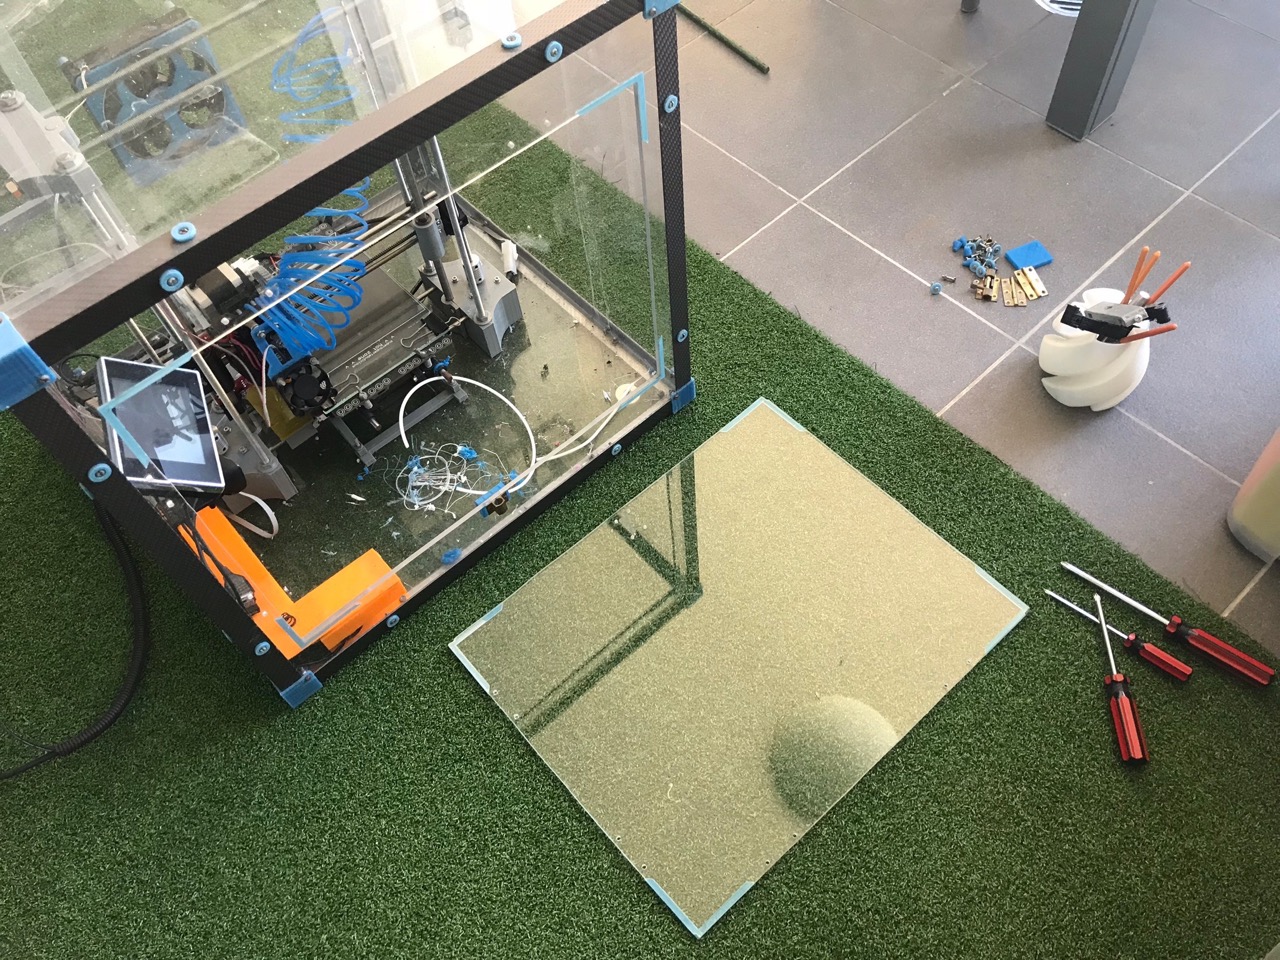
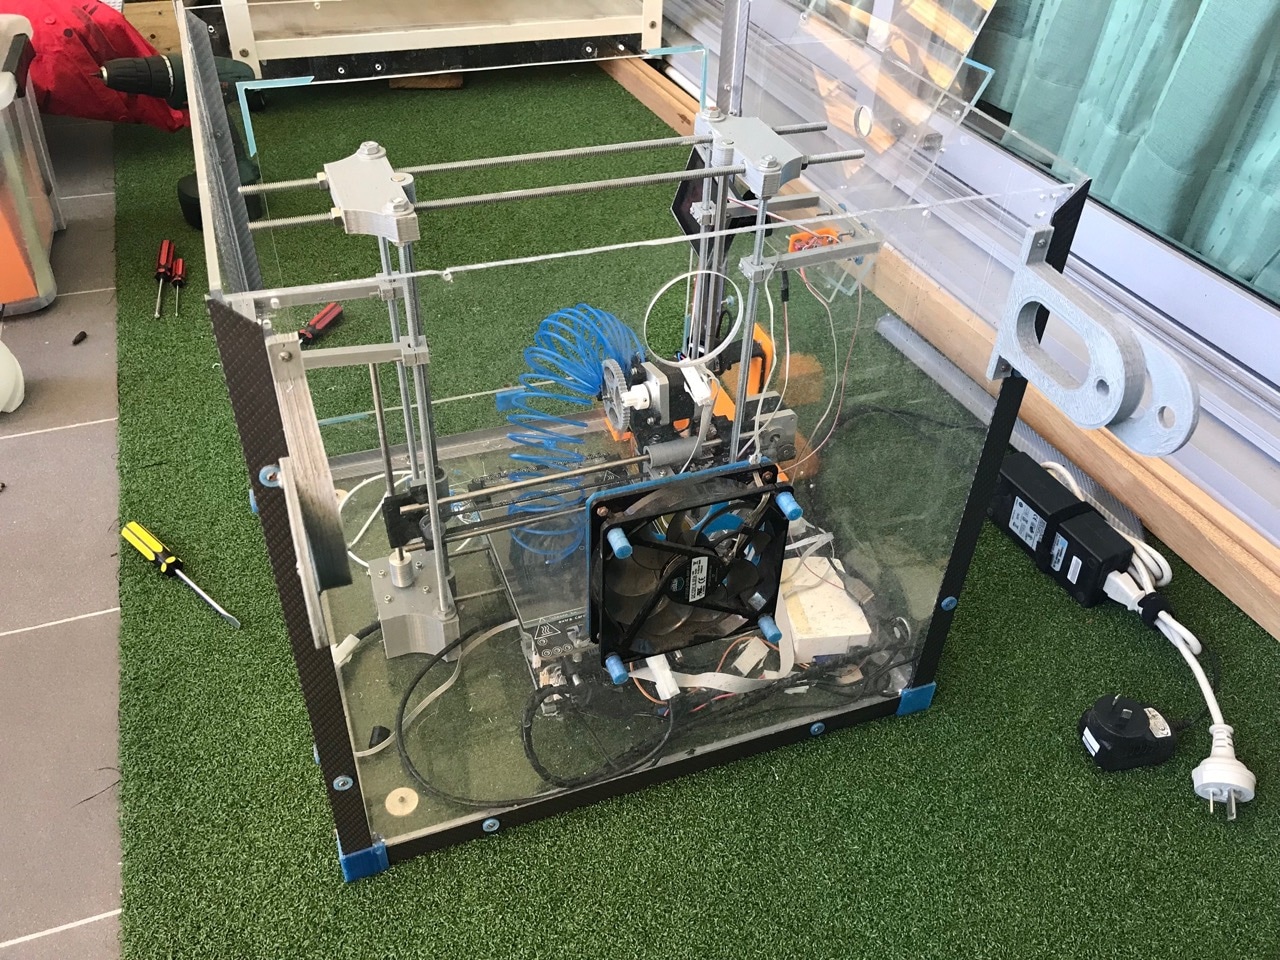
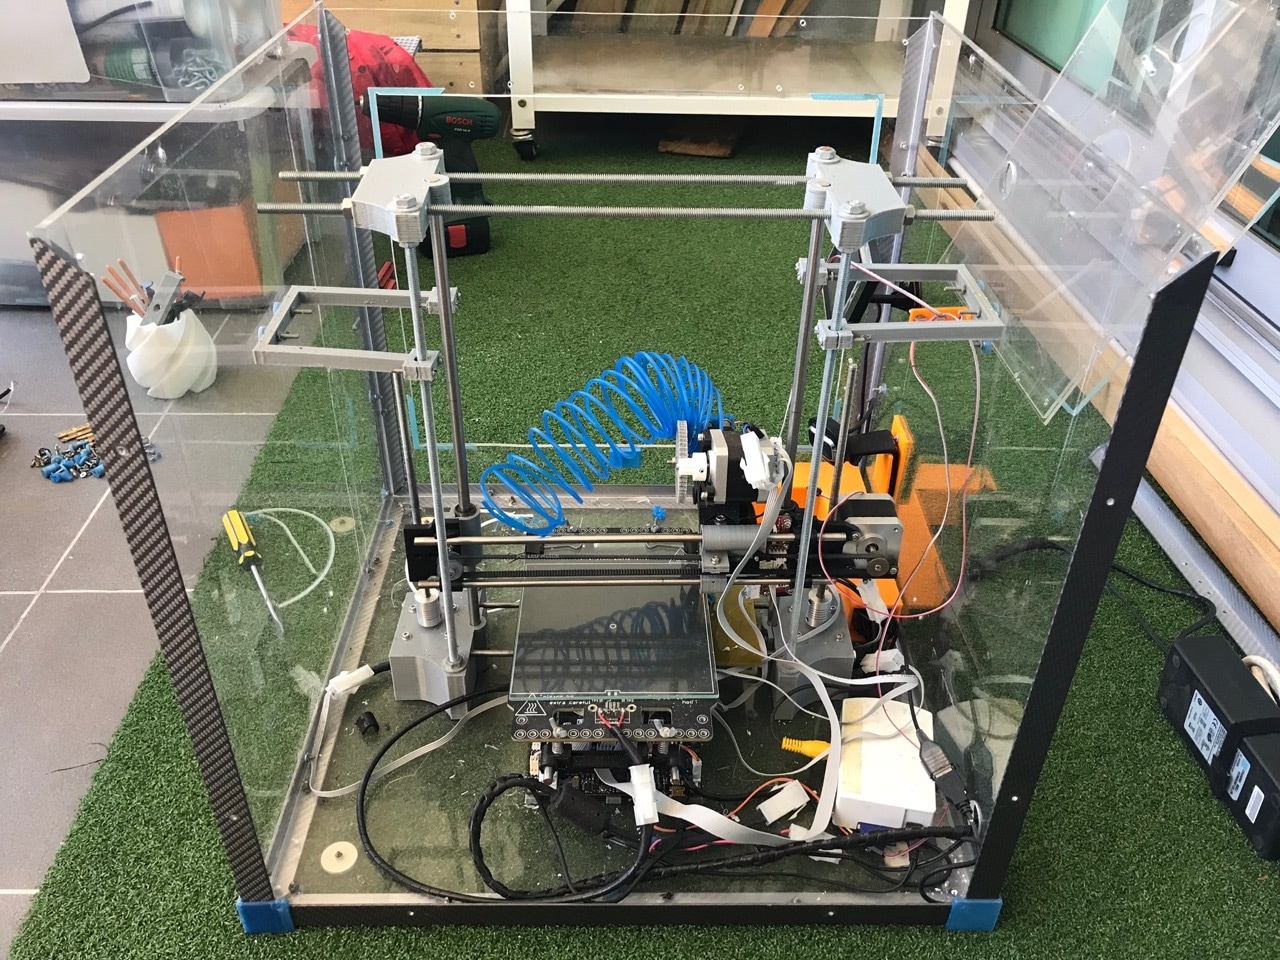
With all the electronics out of the way I could start disconnecting the printer from the case. The side/top stabiliser brackets were first to go in this respect. I threw those in the trash as they would serve no useful purpose now, the bolts were salvaged though.
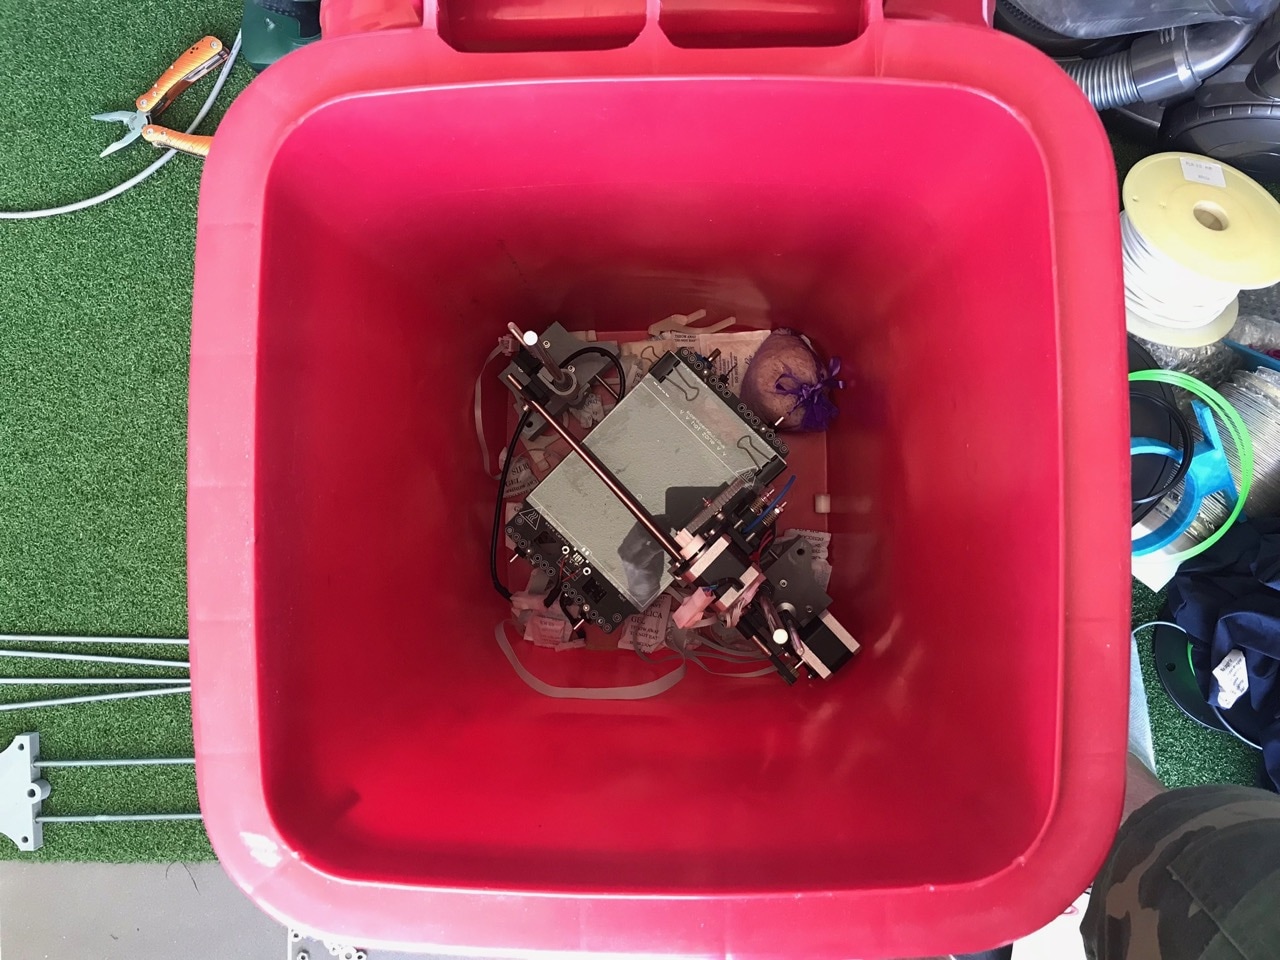
The base of the printer had screws holding it in place to the base of the box. To get to them I first had to vacuum out all of the inside of the box to avoid making a mess when I flipped it on its side. Then, the four screws on the bottom could be reached and removed. The 3D printer was free of the box!
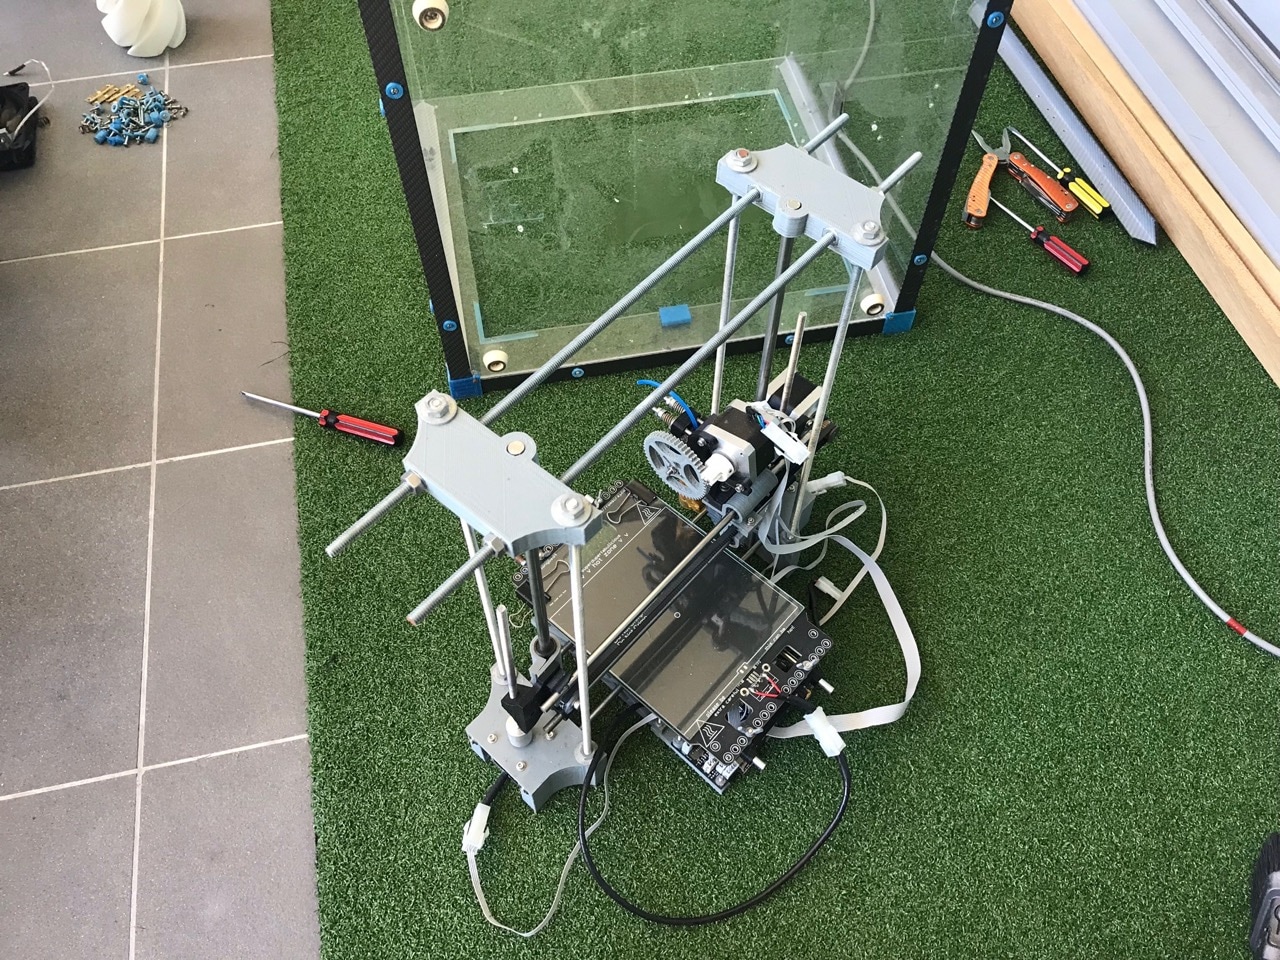
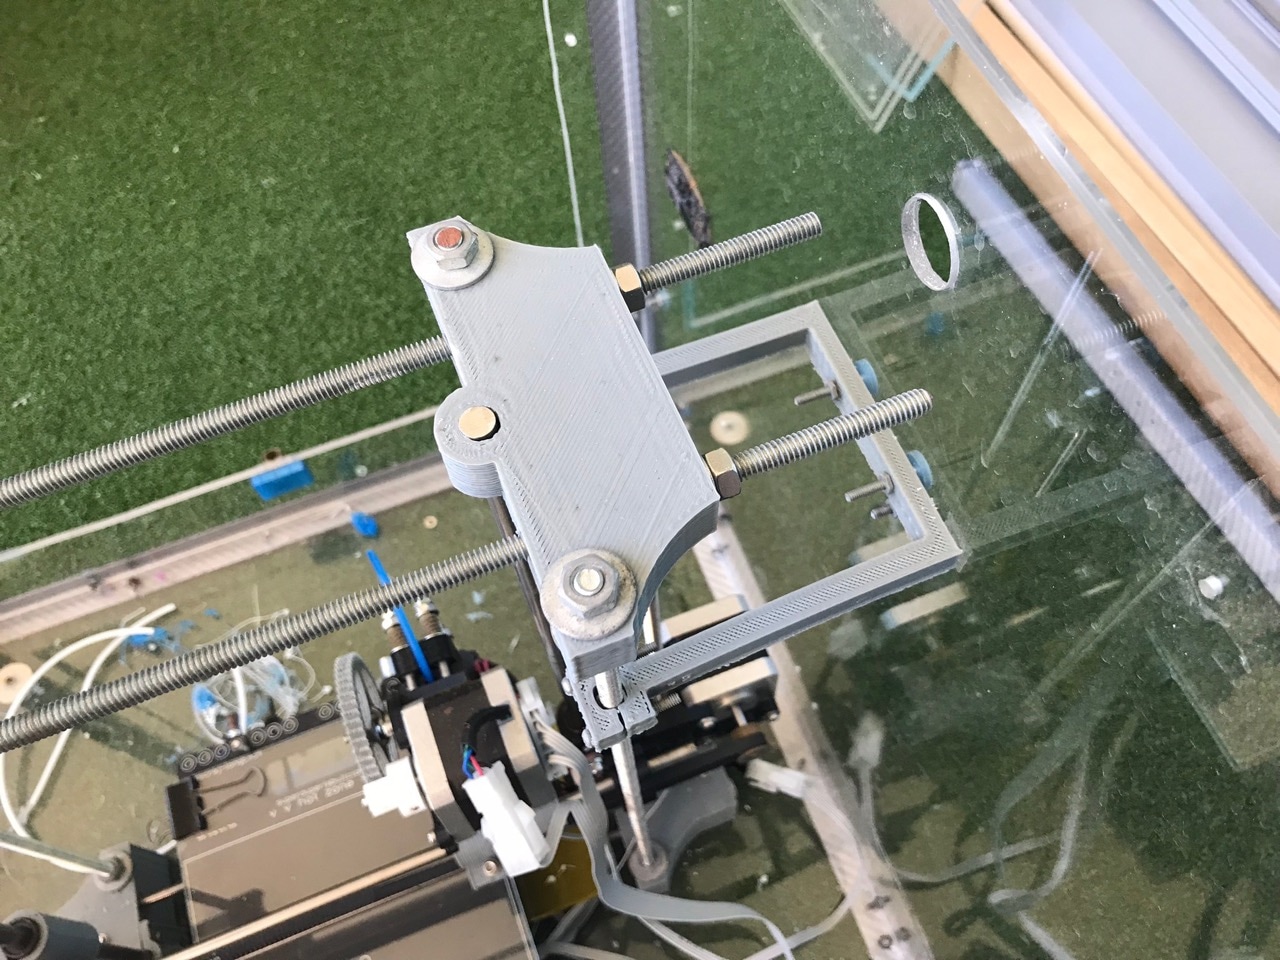
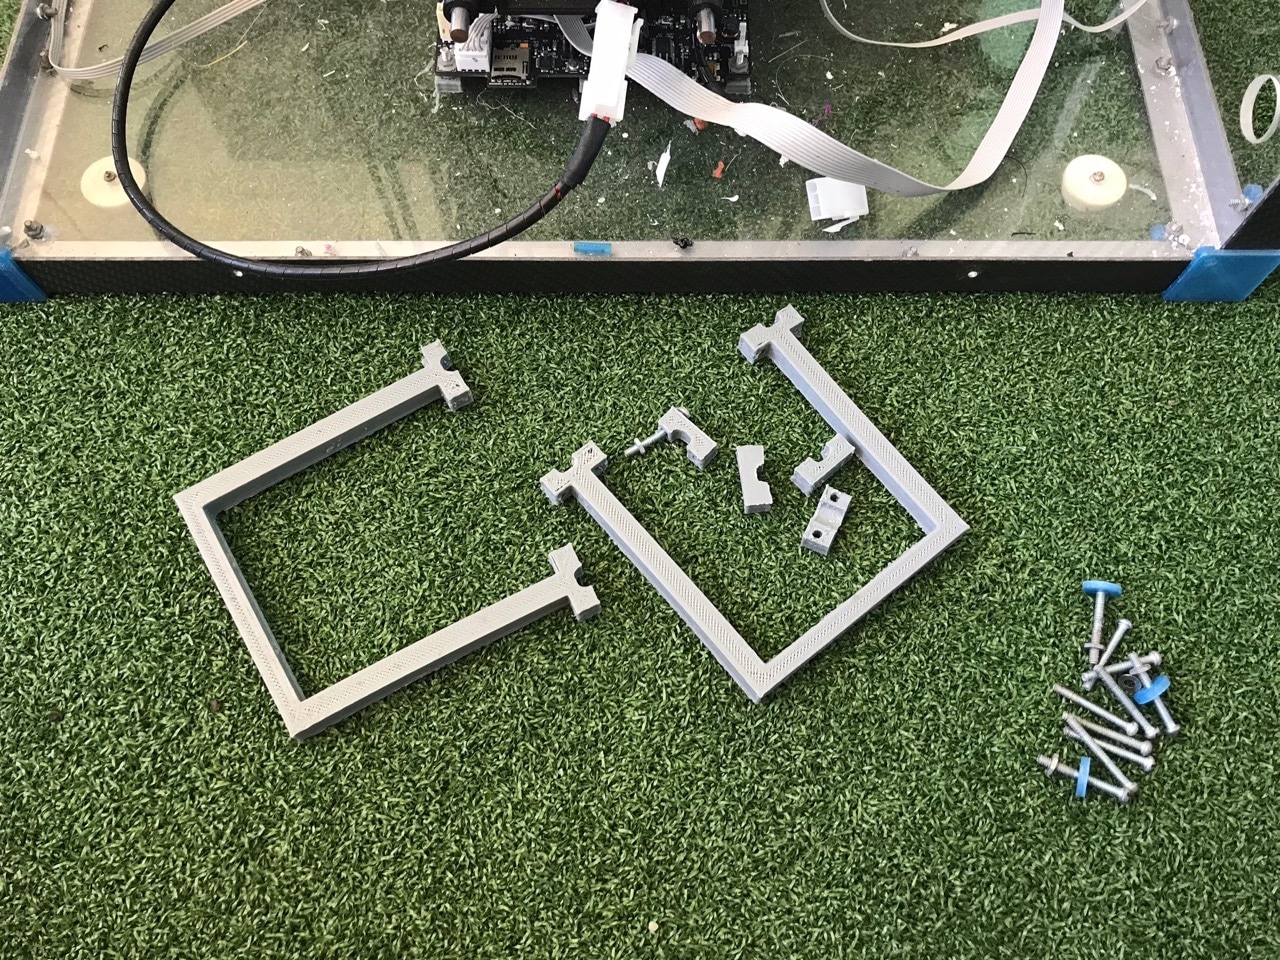
It took quite some time to disassemble the rest of the box because of the number of bolts holding all of the brackets together. In the end I had all of the sides and corner brackets piled up flat and ready to be put away. For the printer itself, I decided that all I needed to take apart was the vertical stabilisation frame, the rest of the printer could stay as one piece still.
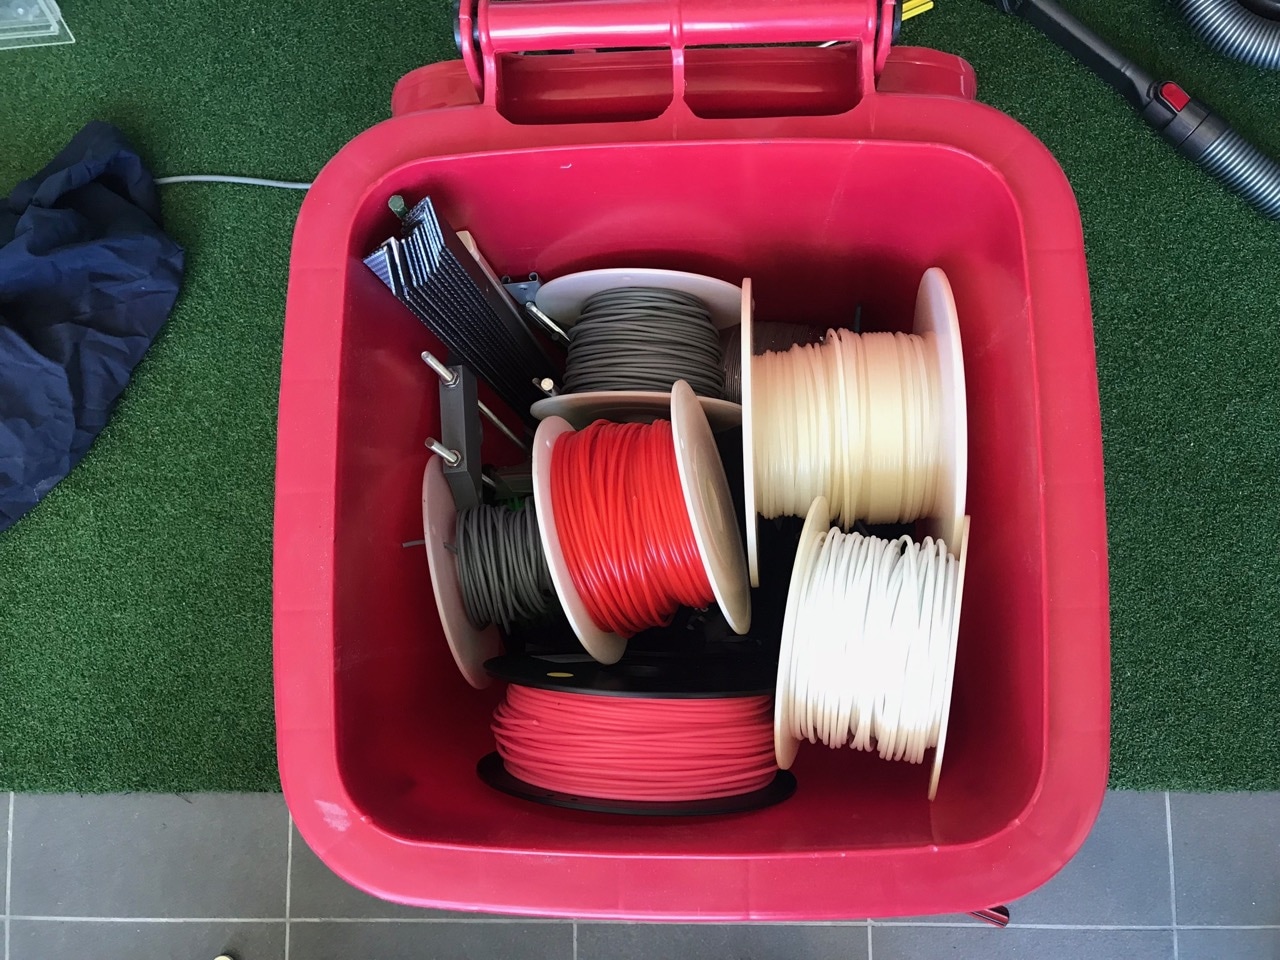
What was next? Well packing it all up of course! I had a small wheelie bin that held all of my plastic spools and figured this would be the best place to store the printer and its parts. I may still want to dig this out when I have space and time to spend with 3D printers again so keeping the printer and plastic together was a good idea. I was surprised that everything actually fit inside!
So that was it! I'm not sure if I could say that I am sad to see my 3D printer taken apart and stored away. I think 3D printing is still a long way off from being a consumer activity but it does have potential. These days there are so many places that can do 3D prints for you that there is little reason to have your own at home. One day I would like to get back into it but for now I'll be concentrating on my software projects.
-i
