Lets take a look at the condition of the Game Boy as it was first...
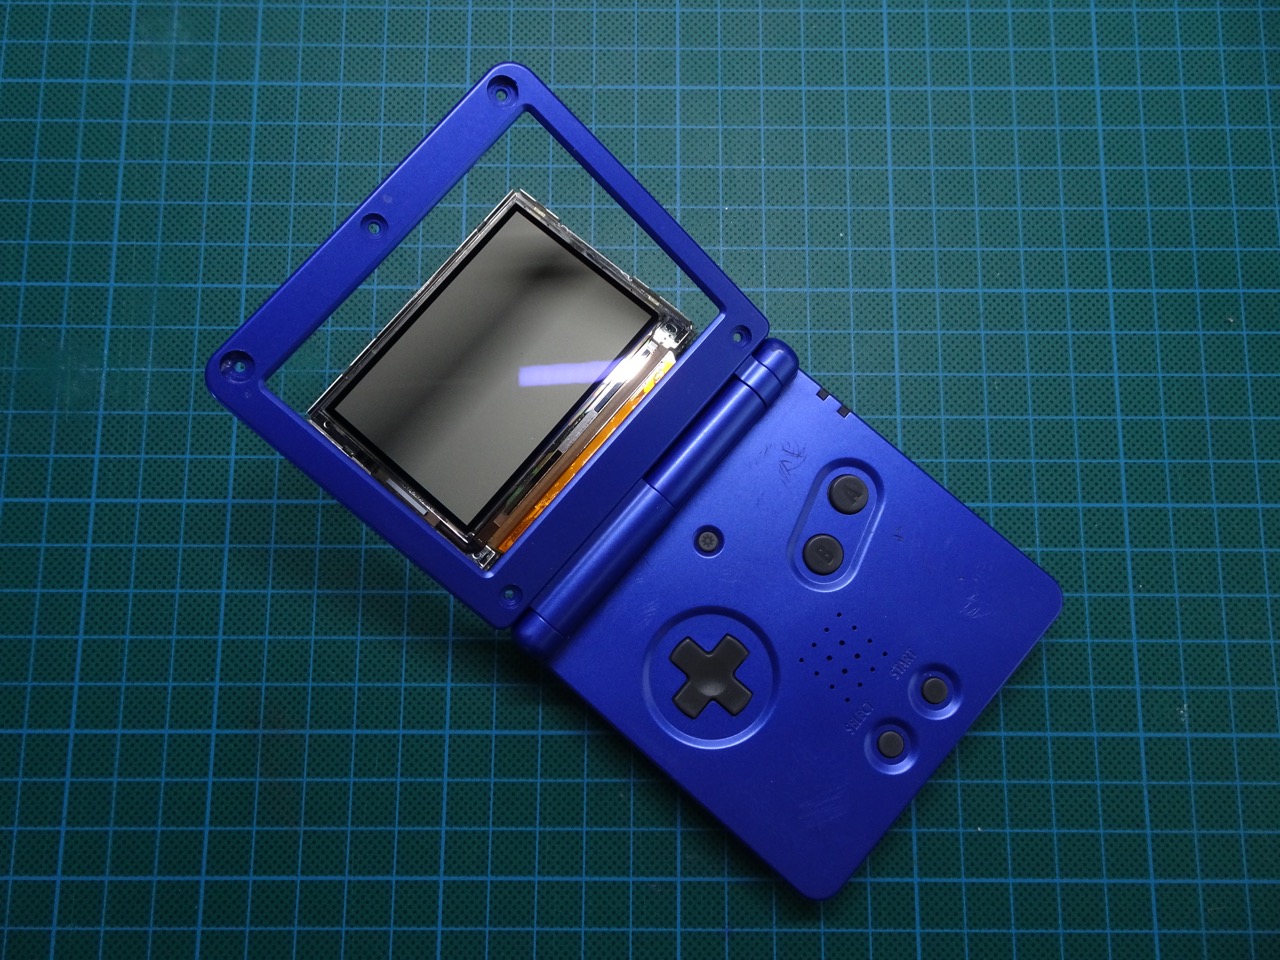
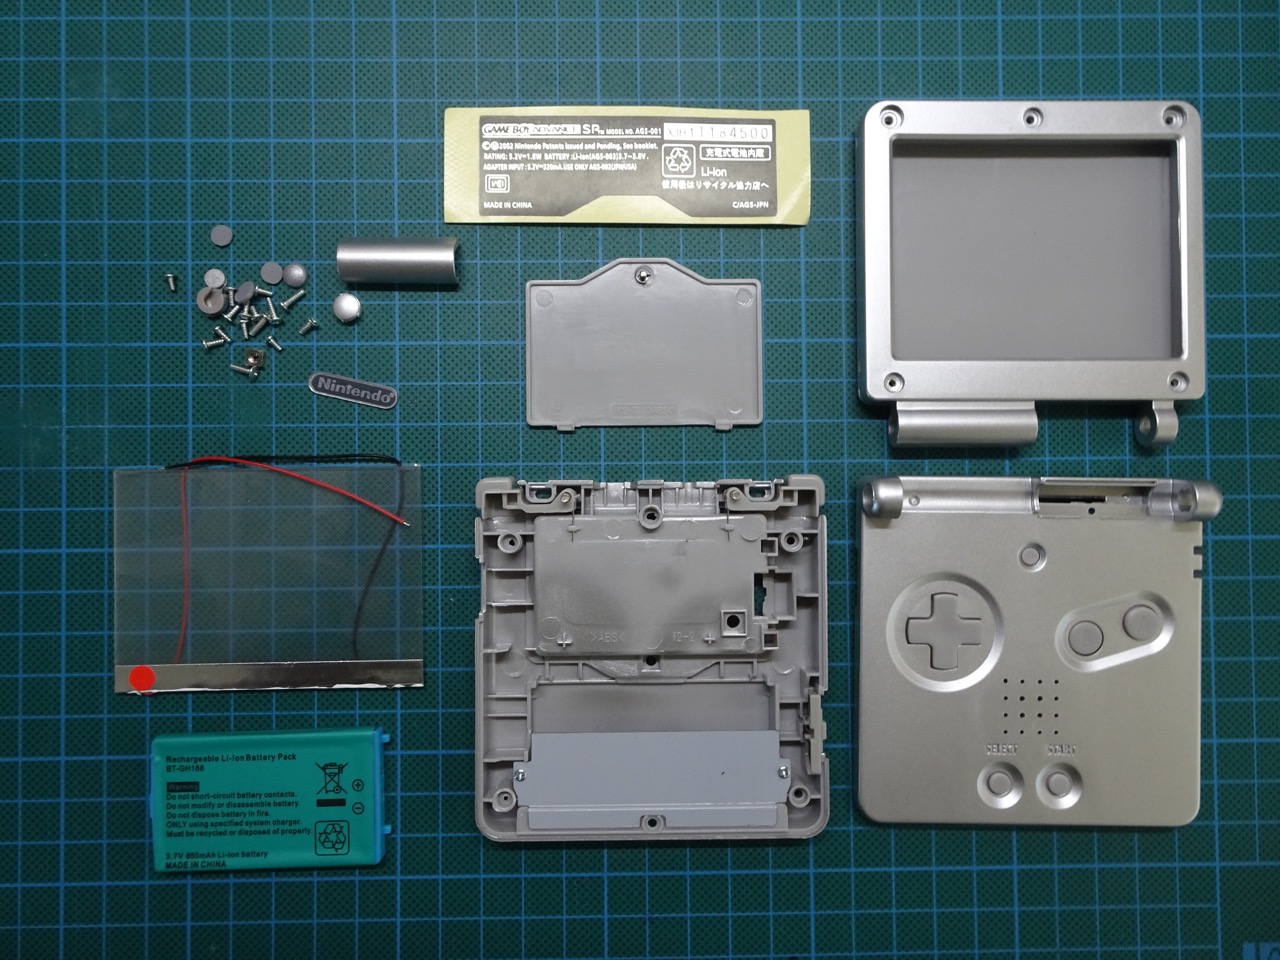
Not in it's best shape! The replacement parts I had to get were a new housing, a battery and ironically a new front light. I bought the cheapest housing I could get, which happened to be silver in colour, that suited me just fine. The battery was very cheap too and the front light didn't cost much either. All up it was around $25 worth of parts.
The Game Boy was partially disassembled already, I just needed to take apart the main body. Of course this required a tri-wing screwdriver again, the only real special tool.
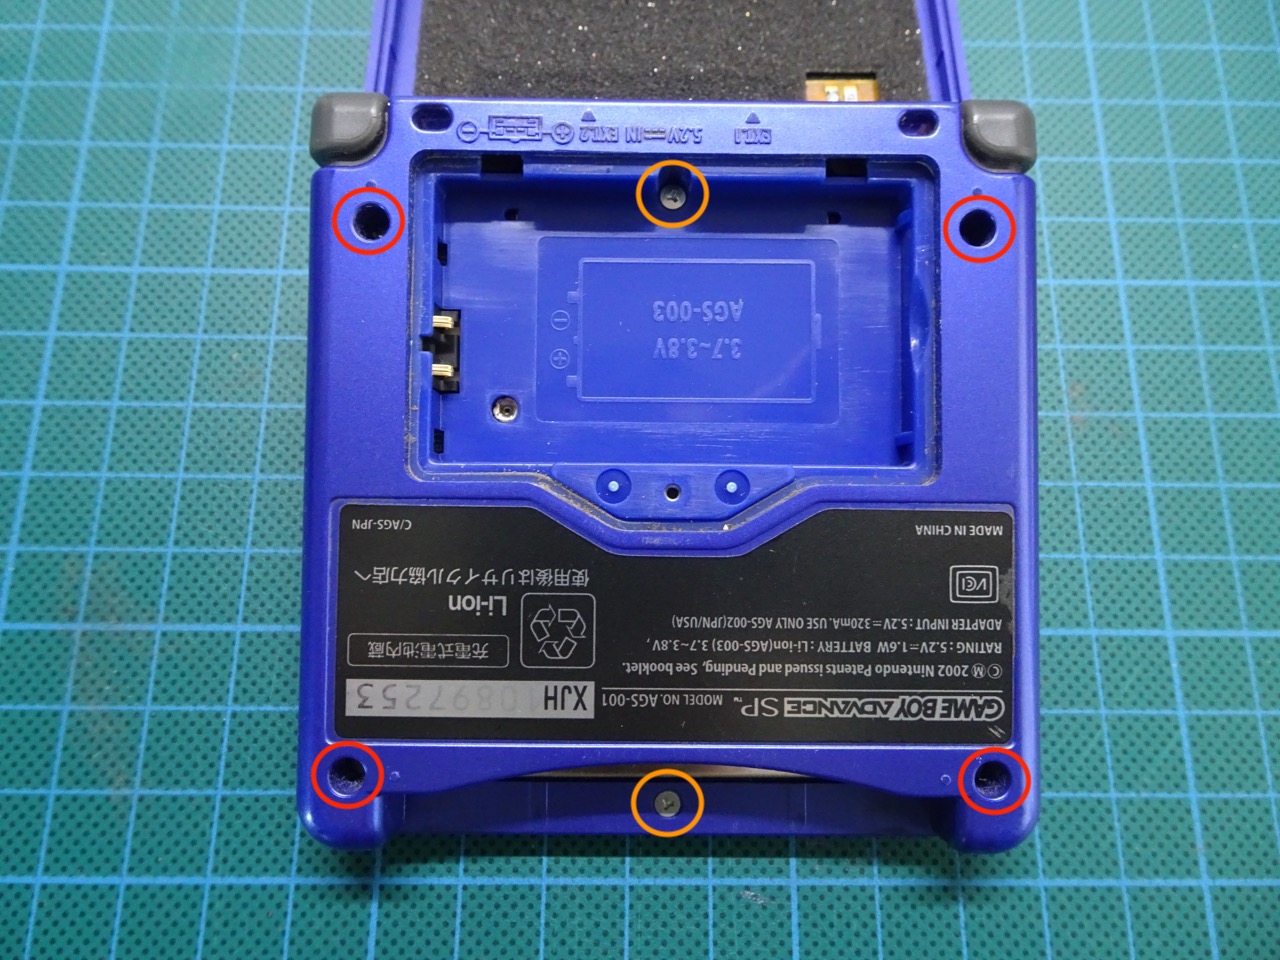
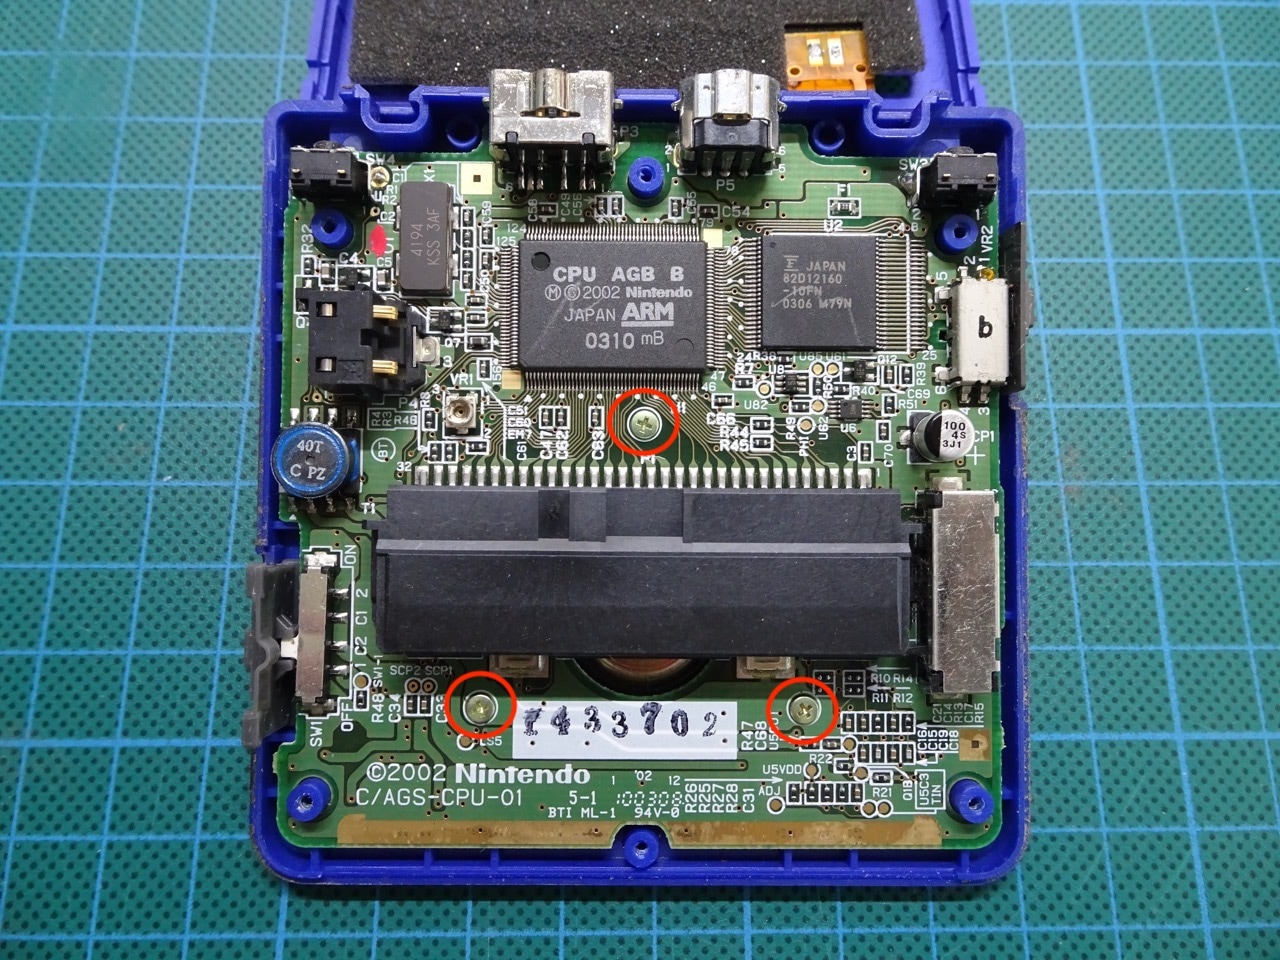
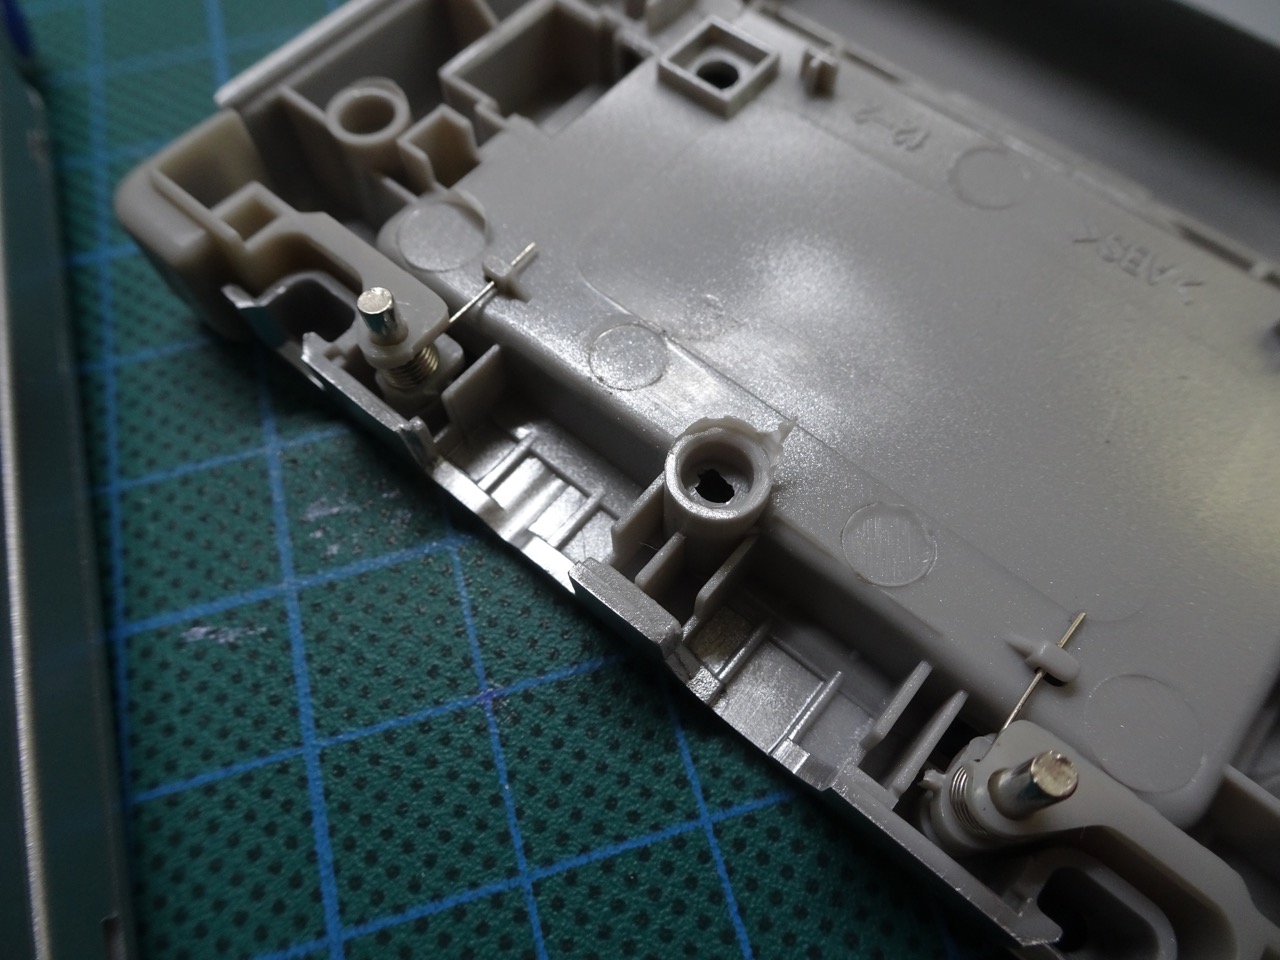
In addition to the four Phillips screws there were two tri-wing screws on the bottom. The motherboard was held in place with three Phillips screws.
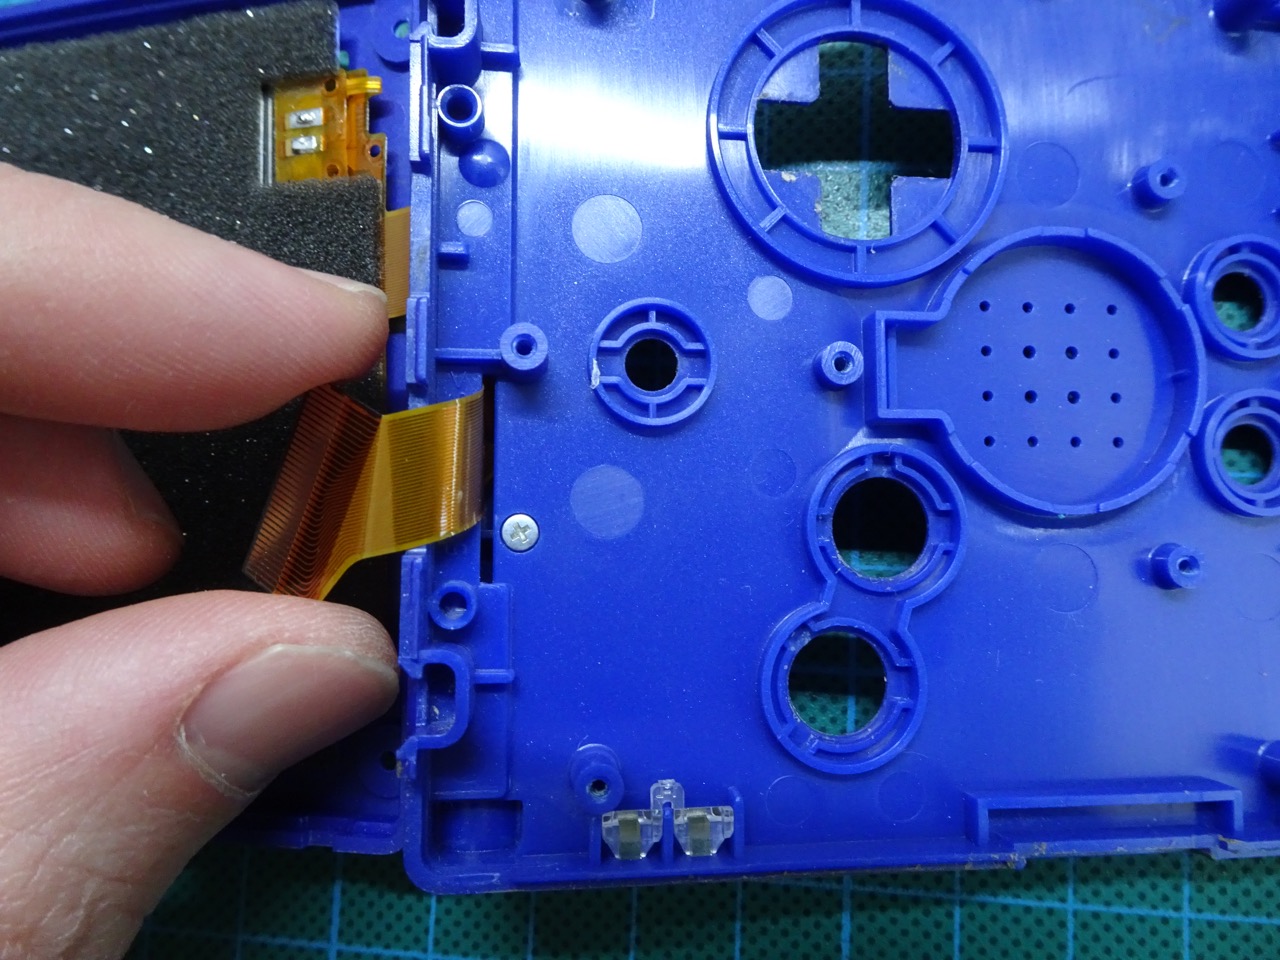
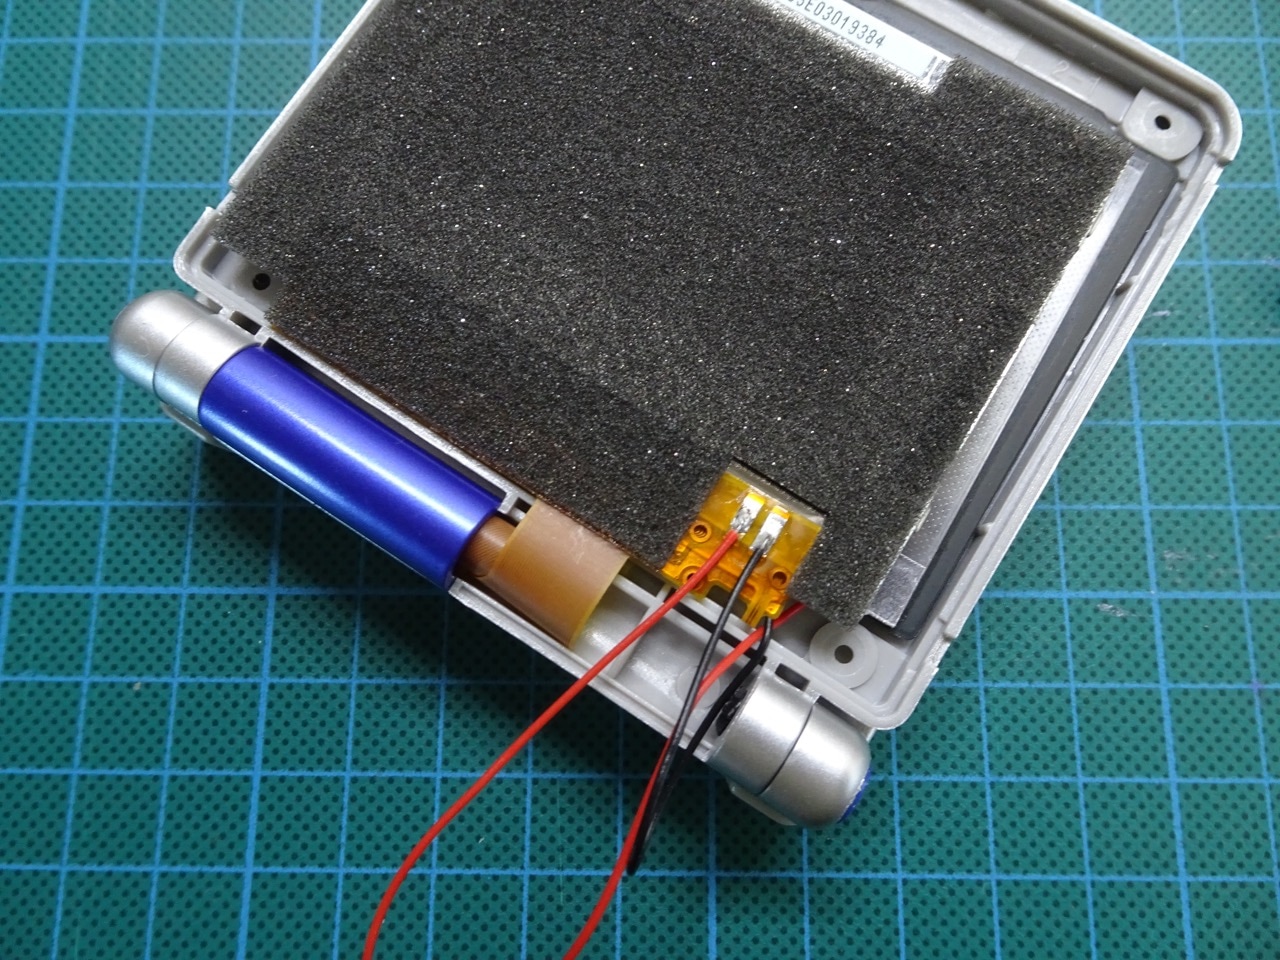
The usual ZIF socket held the ribbon cable in place on the button side of the motherboard.
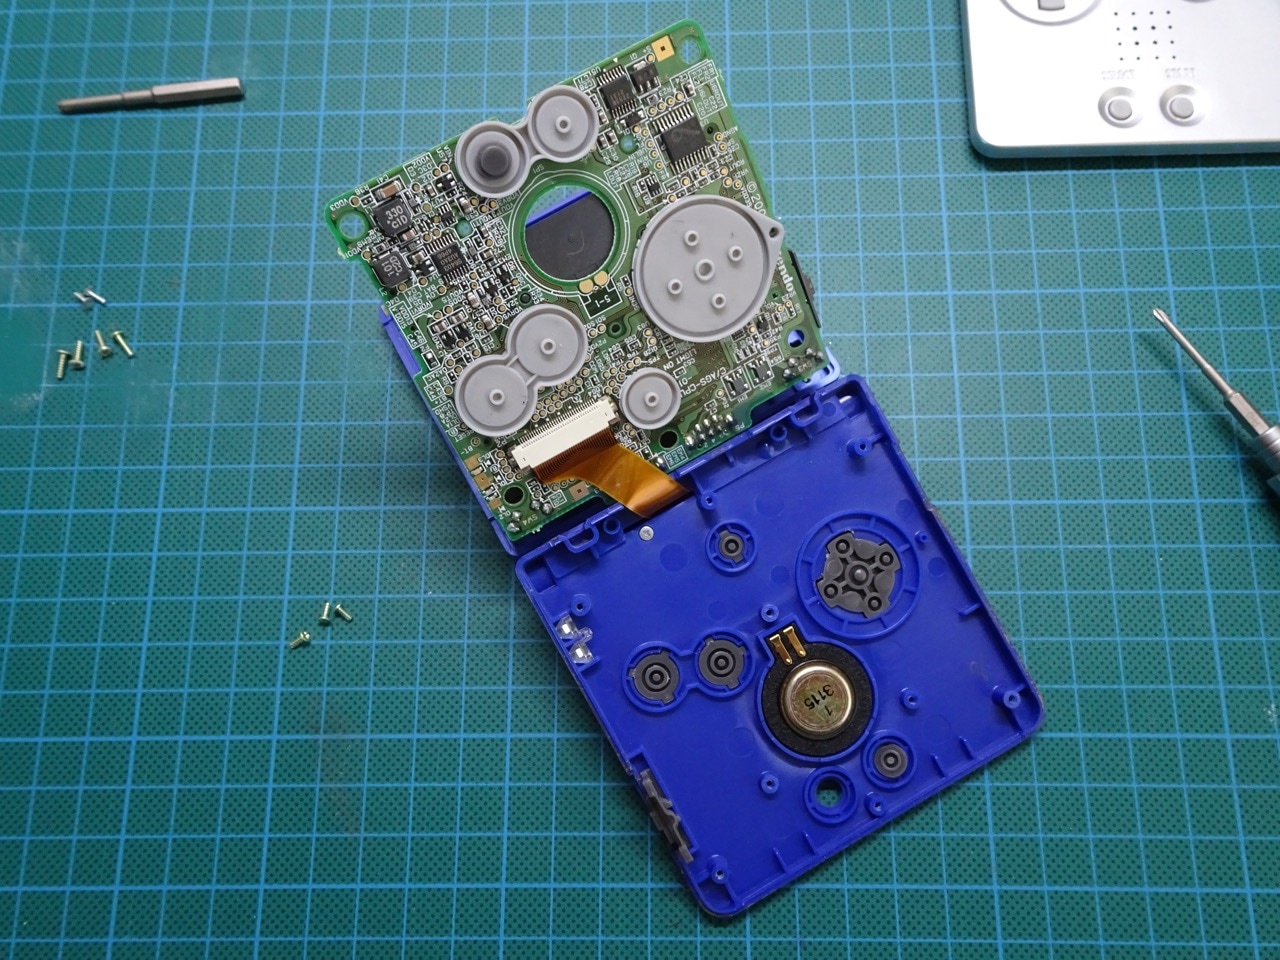
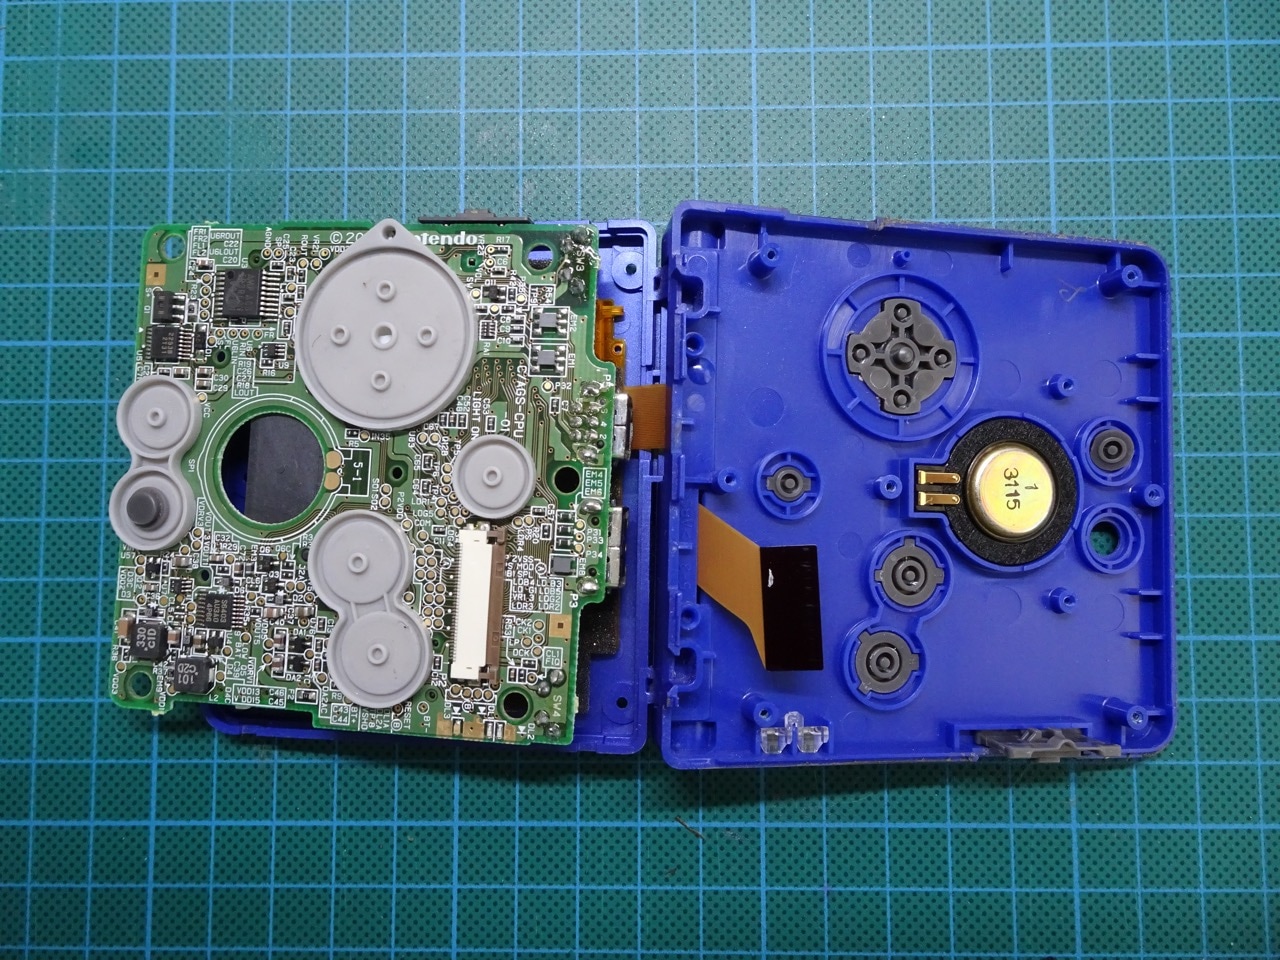
Under the ribbon cable there was an additional screw that held the cable cover (on the opposite side) in place.
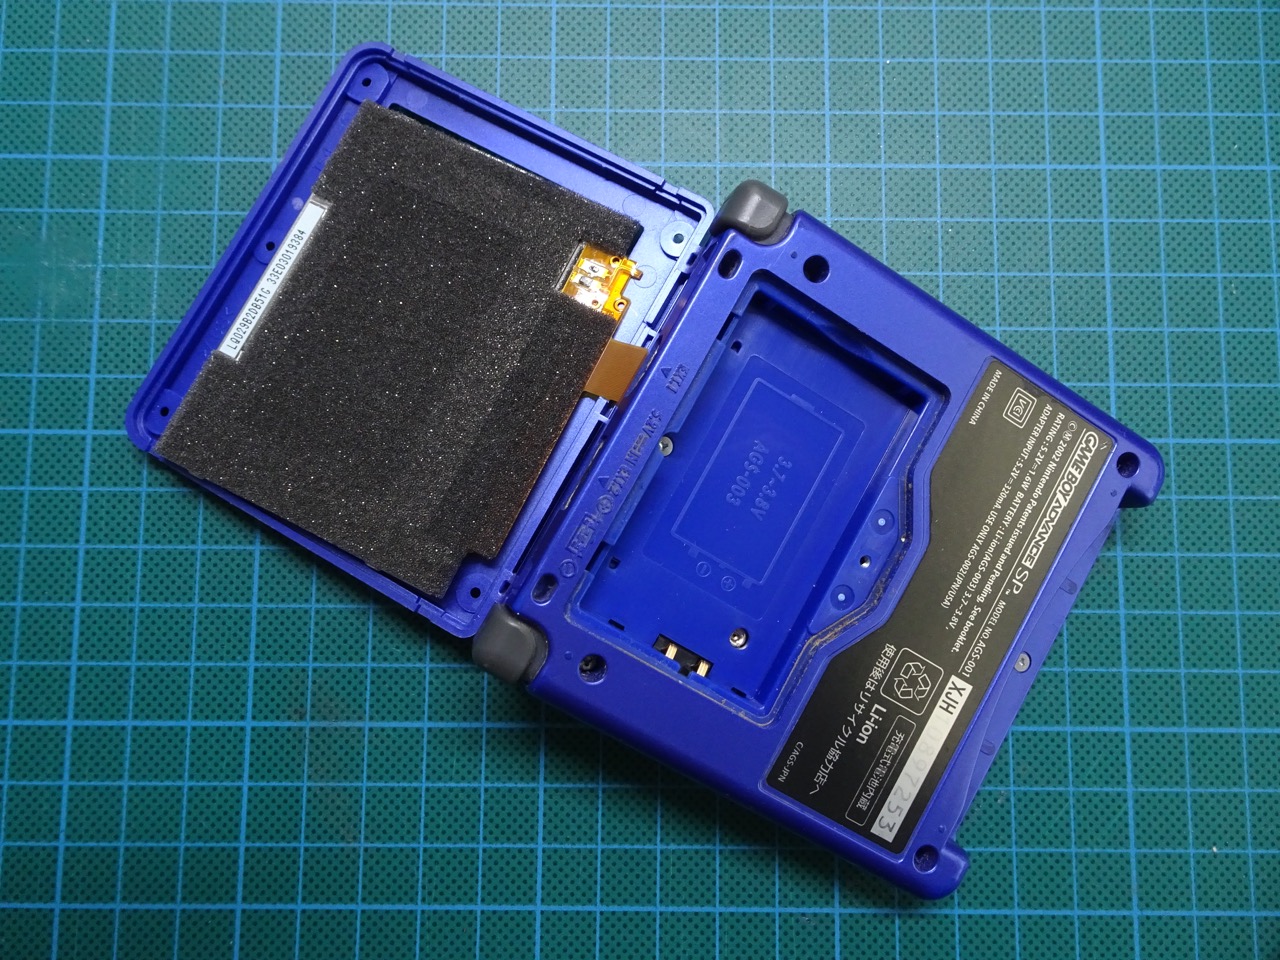
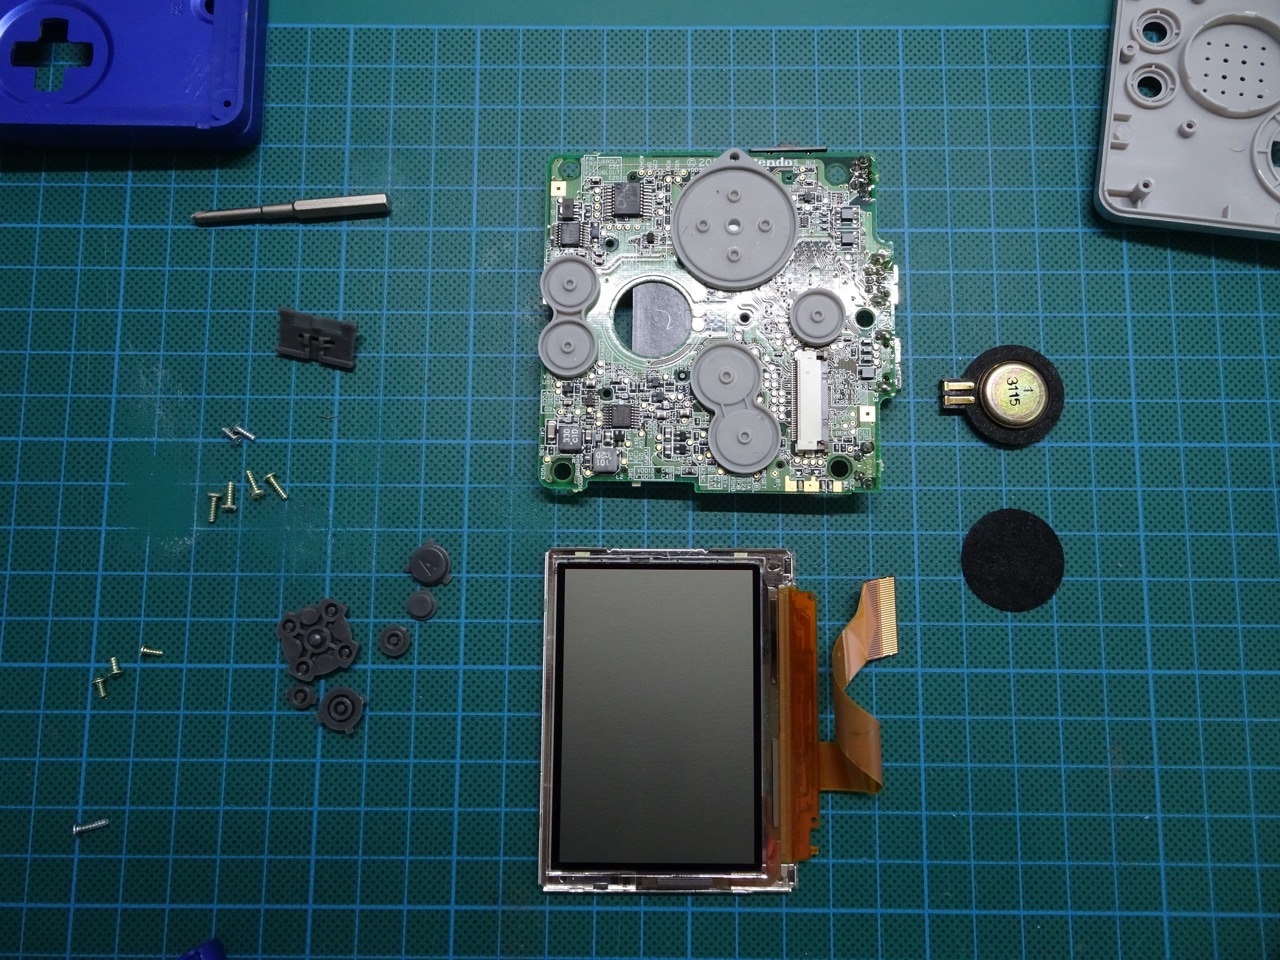
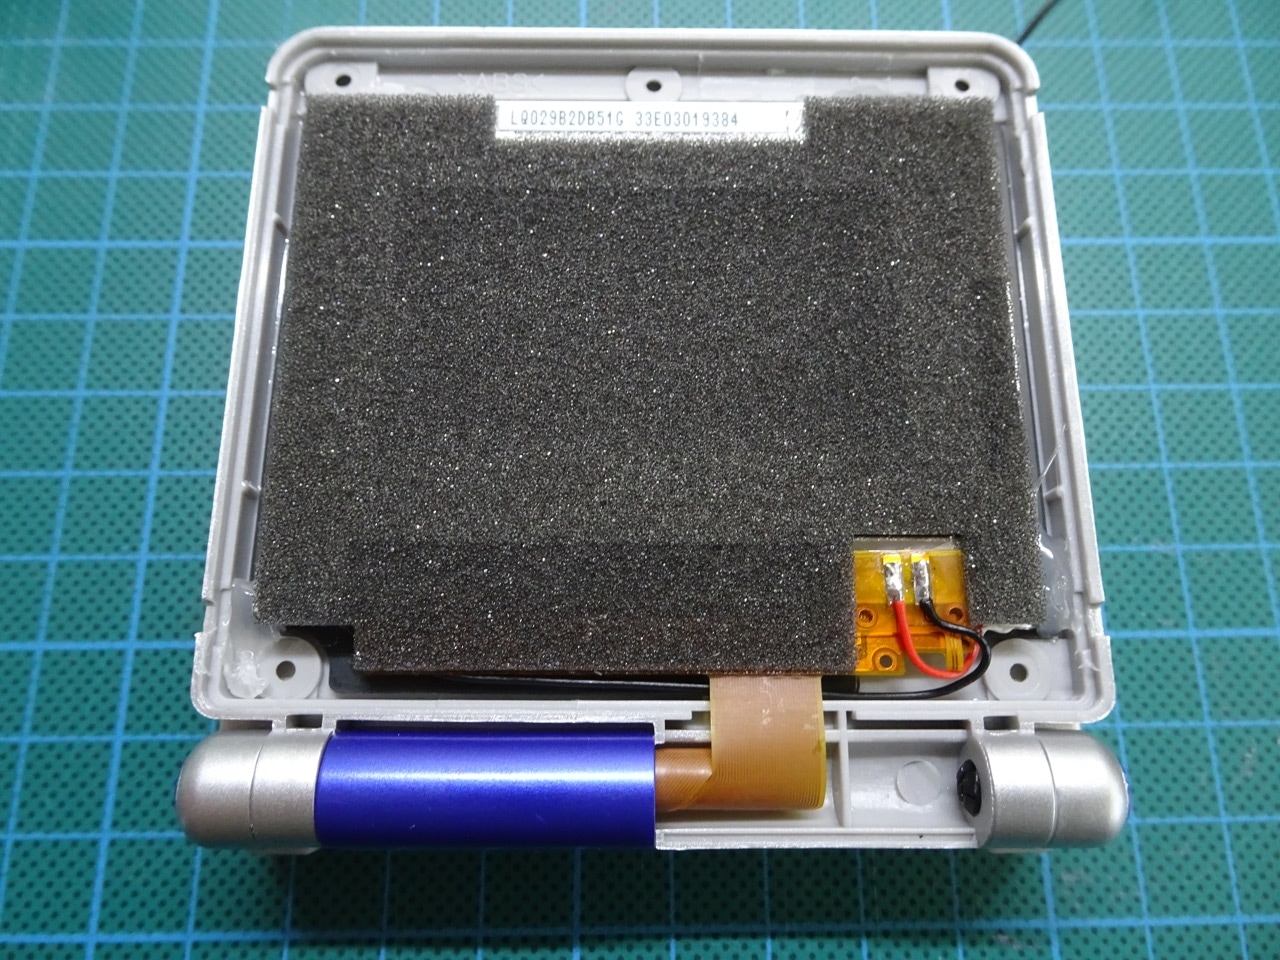
It didn't take too long to have all of the internal parts free of the original case and ready to be transplanted into the new one.
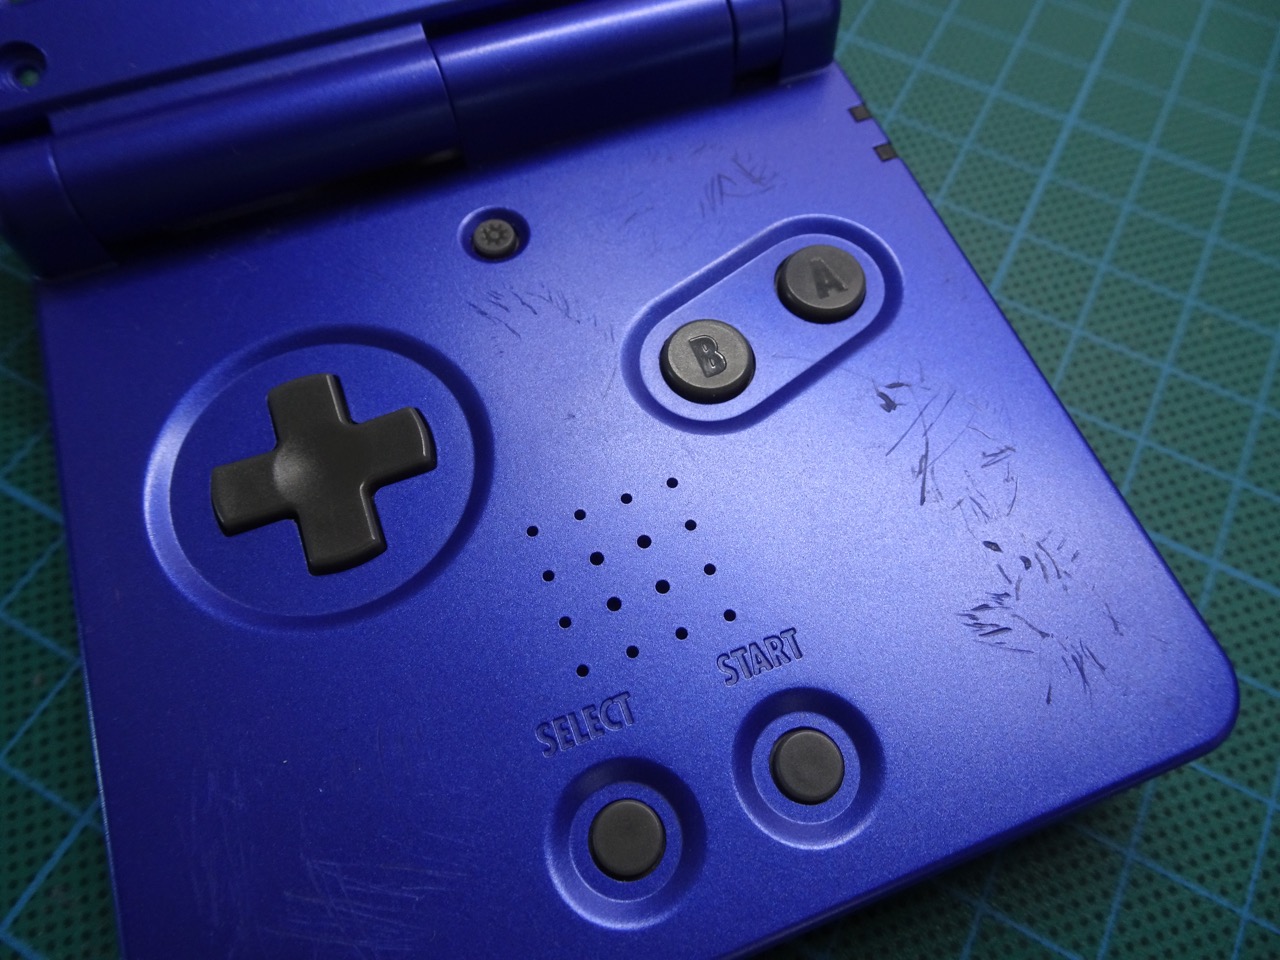
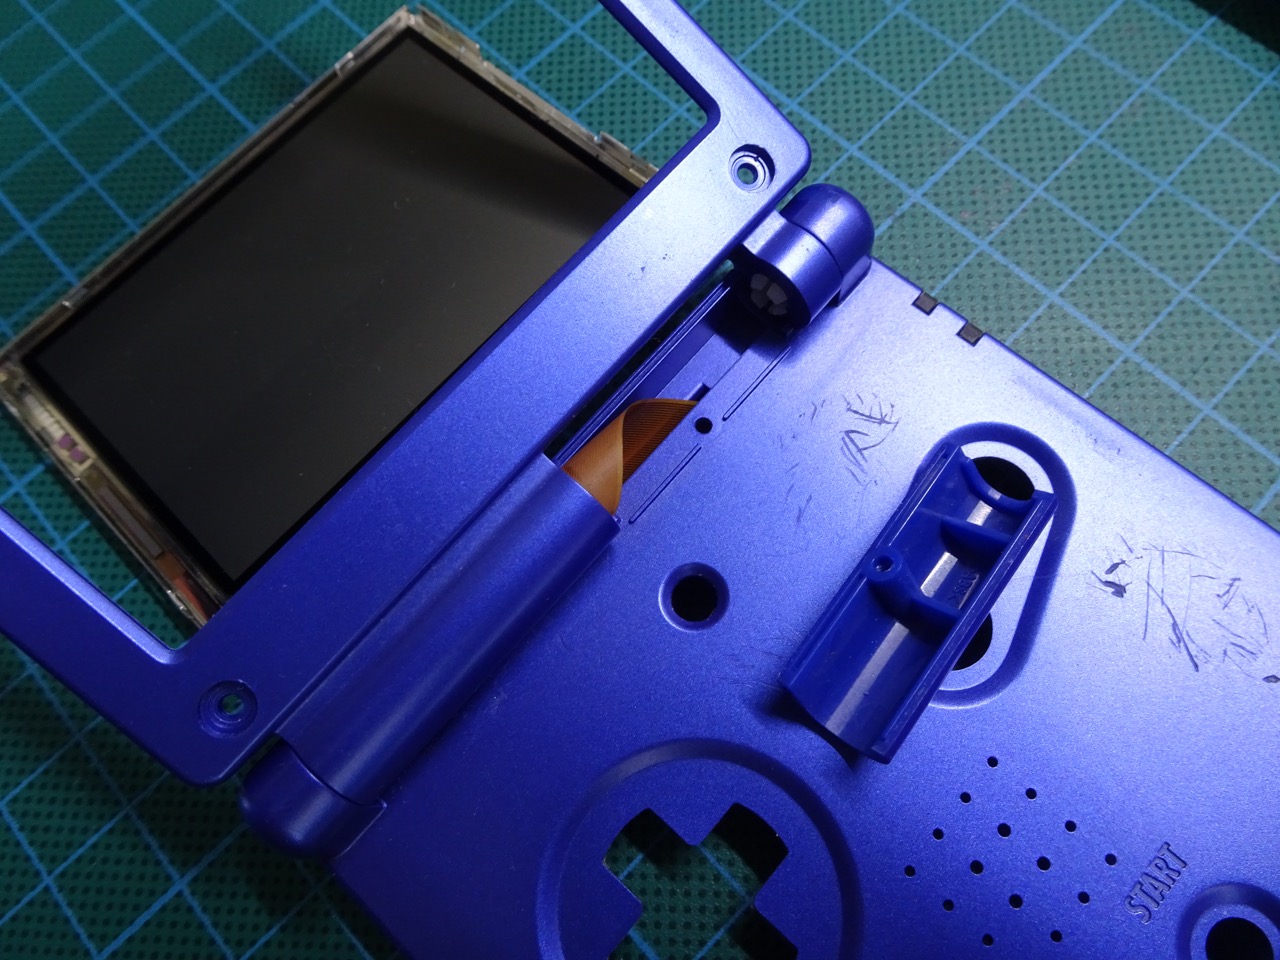
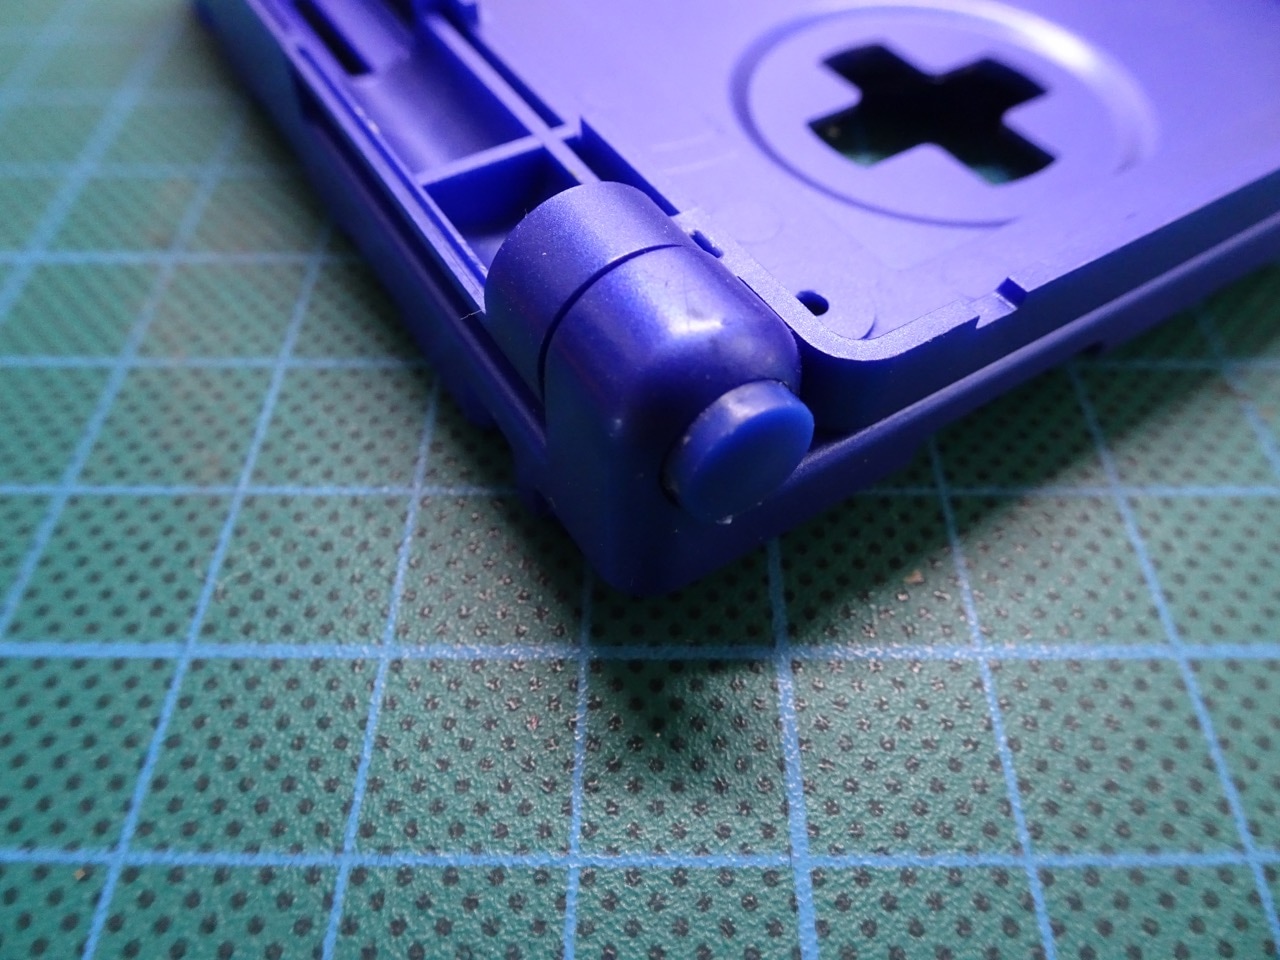
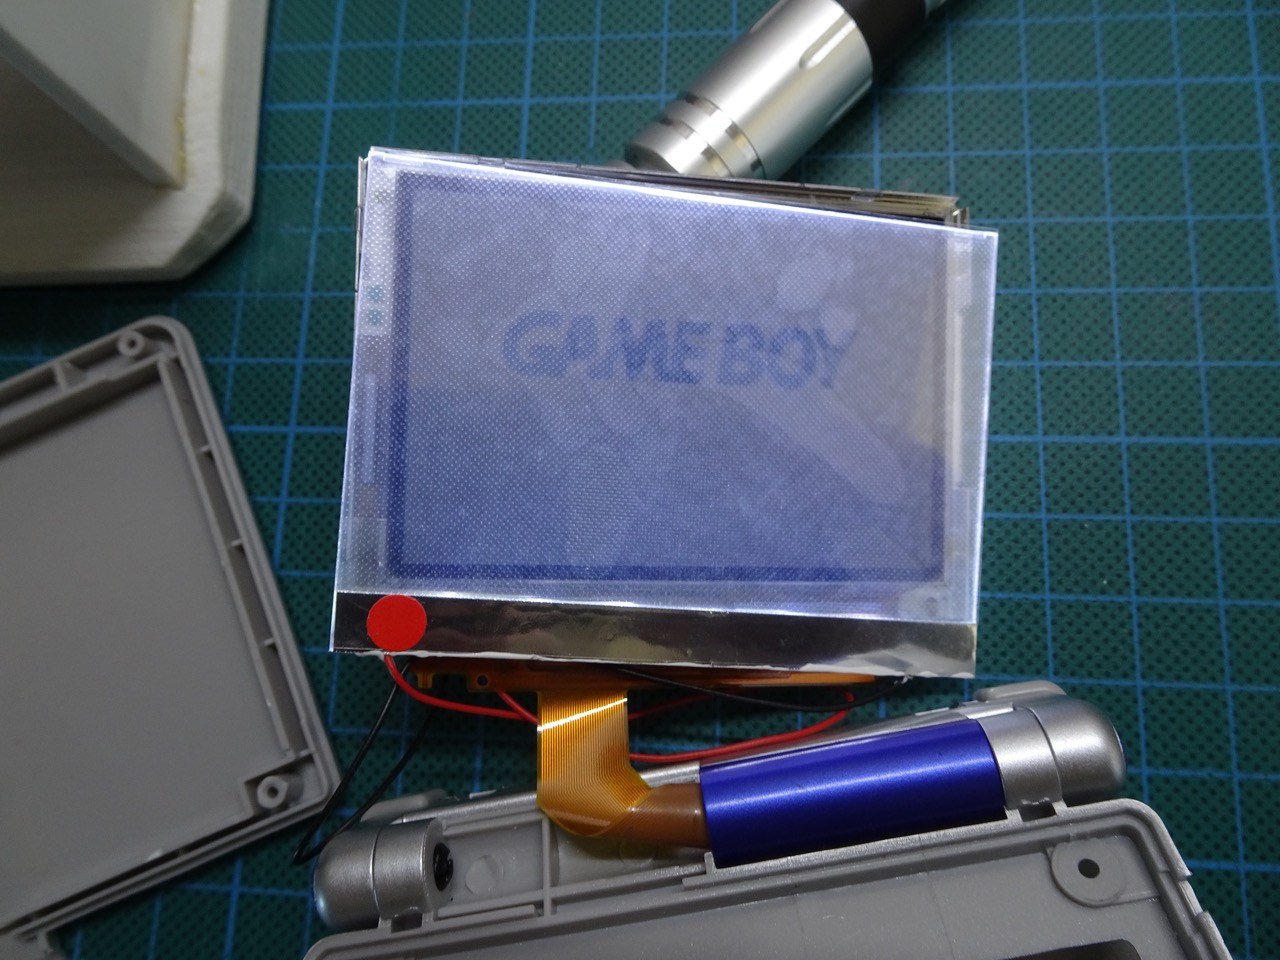
I decided to use some of the original parts like the LED diffuser and the buttons. Also to pay homage to the original case I used the original blue ribbon cable cover and the plugs on the side of the case that held the screen housing in place.


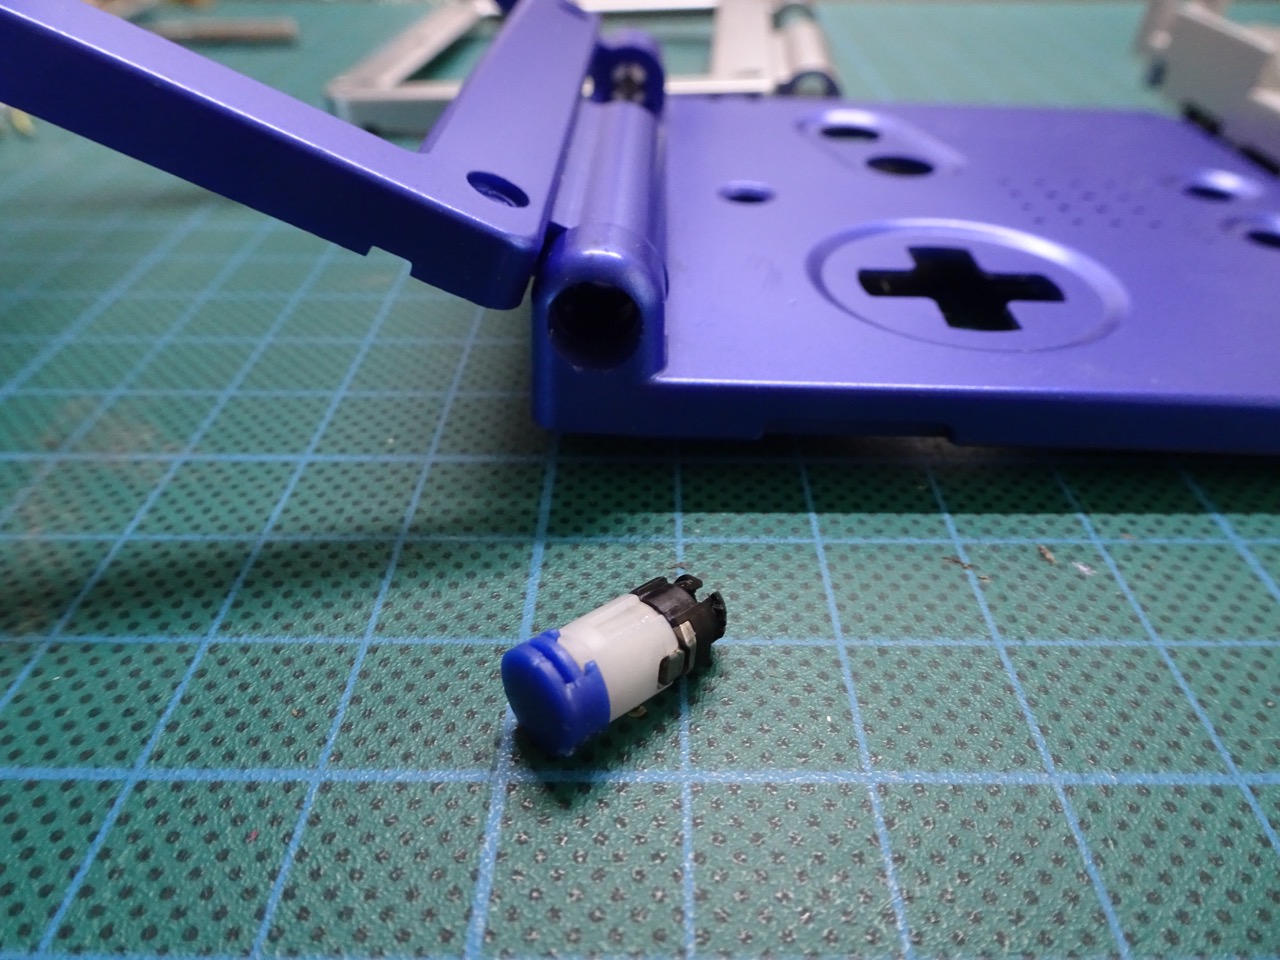
Speaking of those plugs - they were a pain to remove. I managed to get them out only after I realised that they are easiest to remove when the screen housing is in it's fully open position. I had to remove these because the replacement housing didn't come with them.
Re-attaching the ribbon cable was relatively easy, the motherboard went back in place without hassles too. I did run into a problem when attaching the two parts of the base together because some of the plastic wasn't cut away properly. I used a scalpel to remove this flashing. After that everything fit together perfectly.
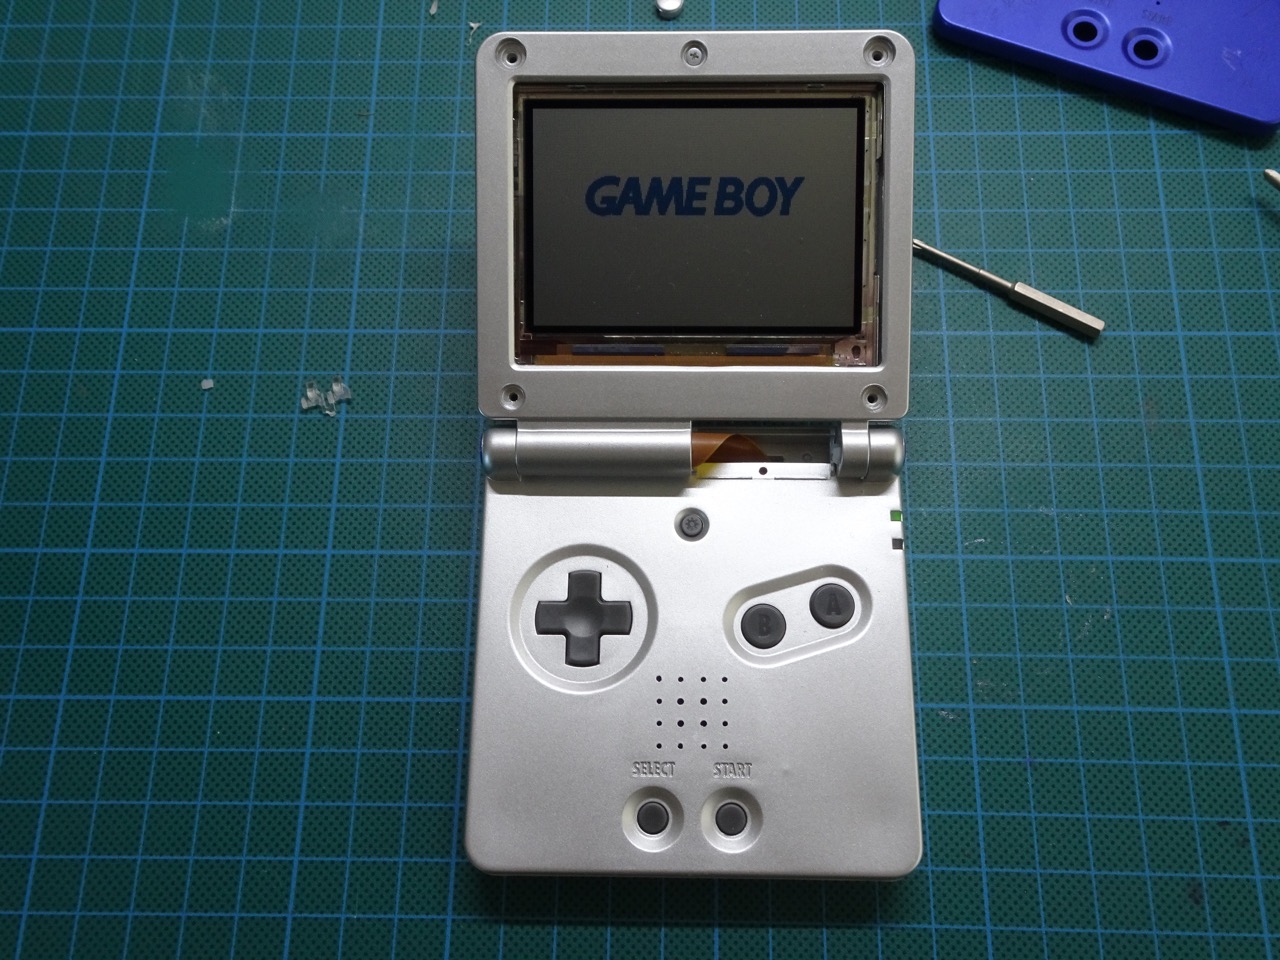
It was time to fit the battery and turn on the power. Everything worked!

I realised that in my rush to reassemble the case that I forgot to put this square nut in on the inside above the battery cover. So off I went again taking the base apart and re-fitting everything all over again. Finally the battery compartment was able to be closed.


The next step was a dry-fit of the front light.
We got power!
I then removed all of the protective film and got ready to adhere the front light to the screen. For that, I used LOCA. It took a bit of time and patience to work all of the bubbles out but I got there in the end. I did this by working on one bubble at a time and sliding the front light in circular motions over the screen while applying pressure behind the bubble to push it out to the side of the screen.
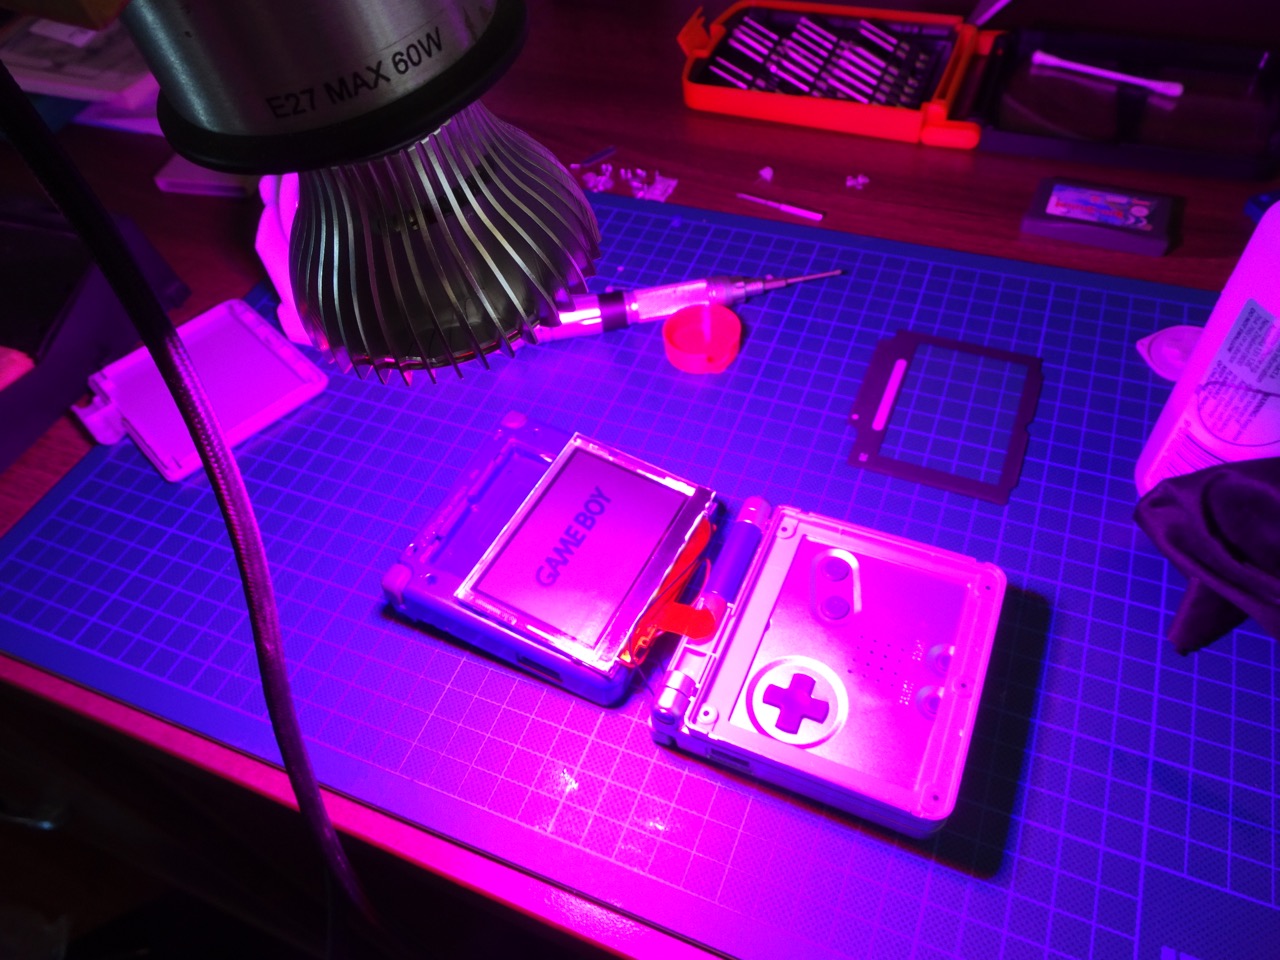
I then thought that I'll use my plant grow light to set the LOCA. Turned out there was no UV in this light at all and the LOCA didn't set. I went outside and let it set in direct sunlight instead. Lesson learned!
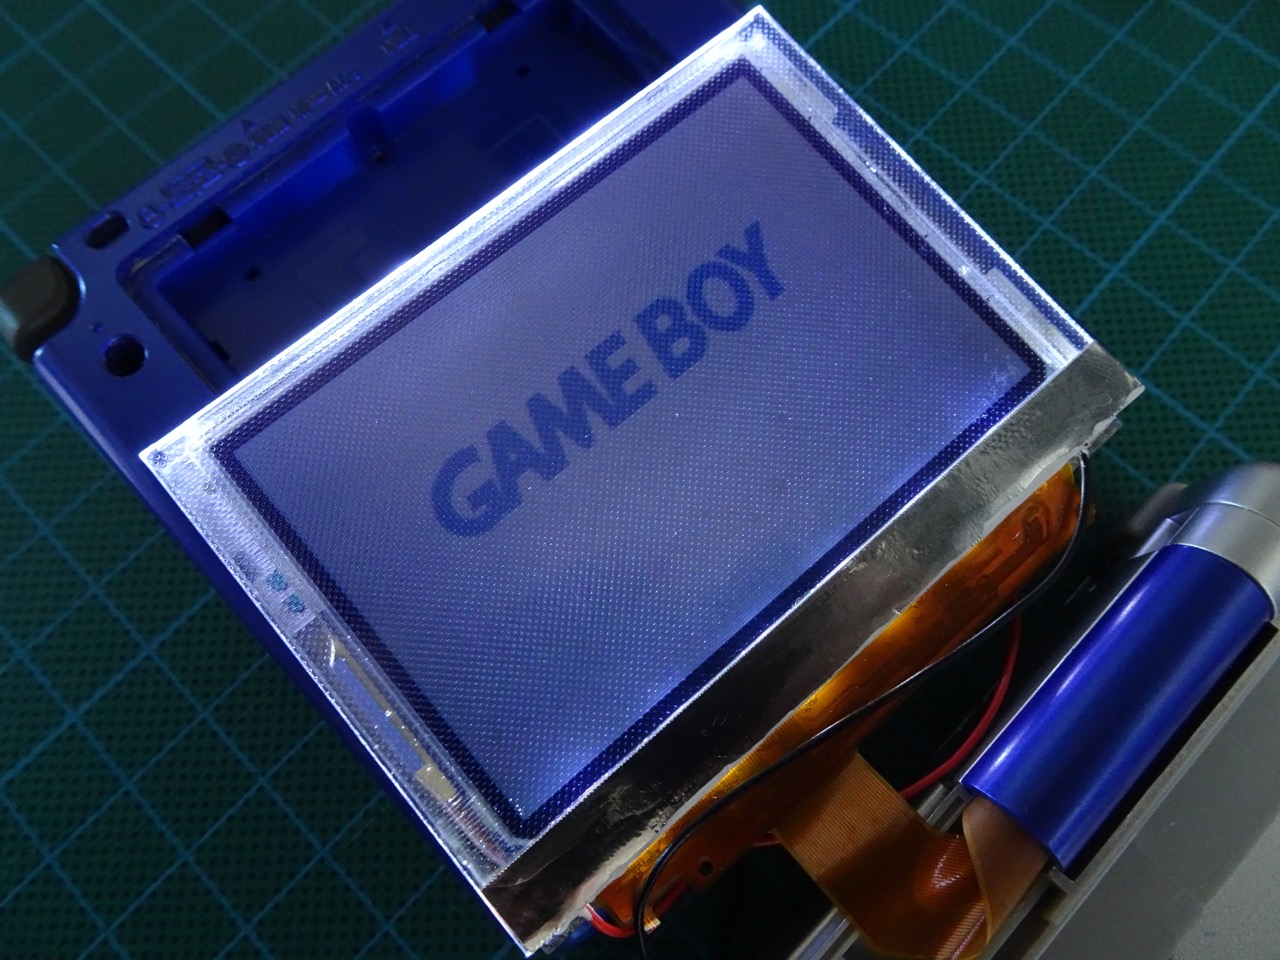
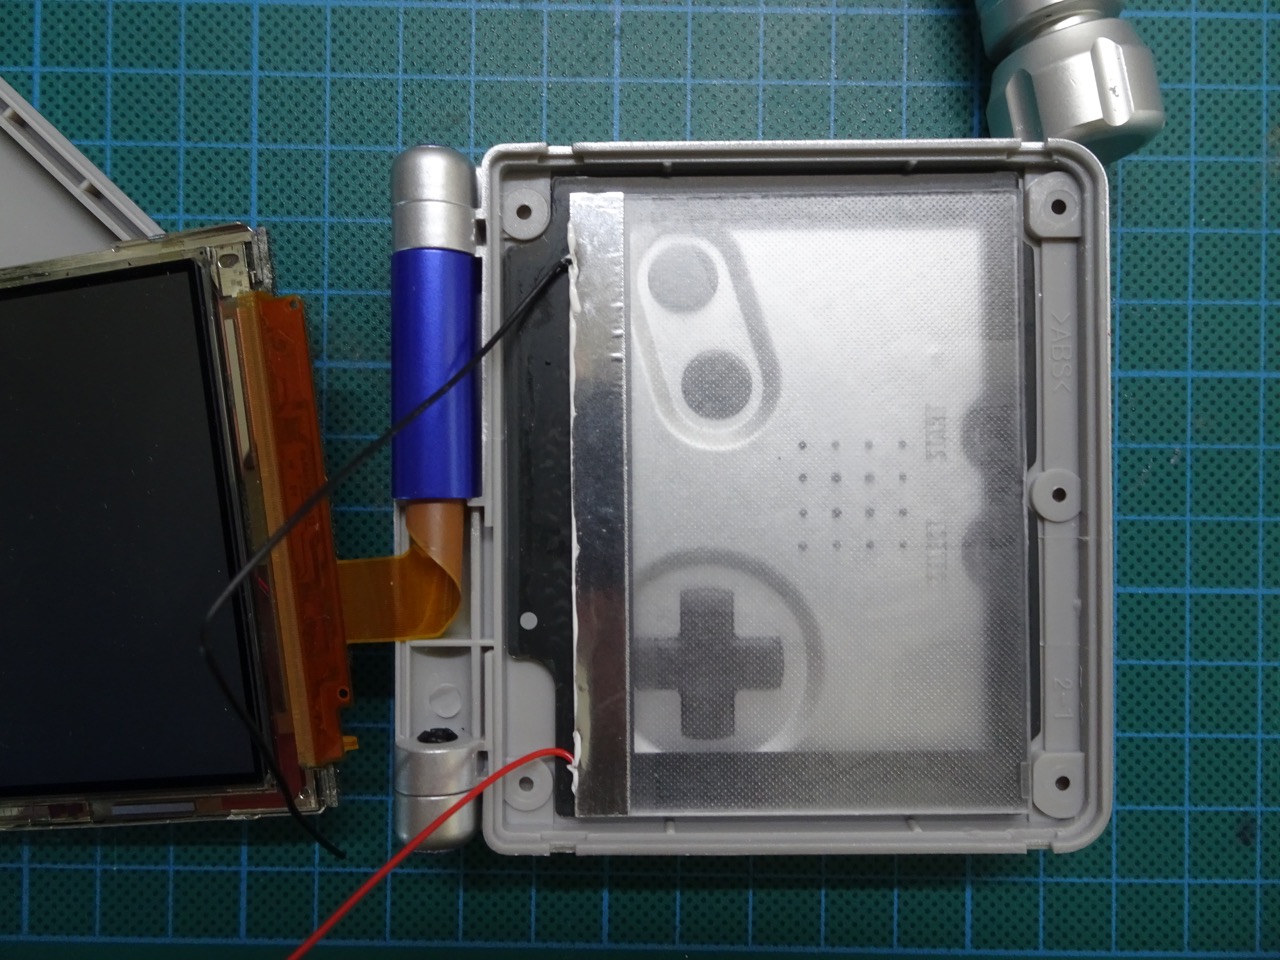
Then it was a matter of shortening the wiring, aligning the screen and reassembling the screen housing.

Here's something that I didn't like. The new front light (v3) from Handheld Legend uses 'microlens' techonology, which are really tiny dots that litter the acrylic surface. They are extremely visible and actually block out a lot of the Game Boy screen. I didn't have an earlier revision of the front light to test with but from memory the Game Boy original glass front light didn't have this issue.
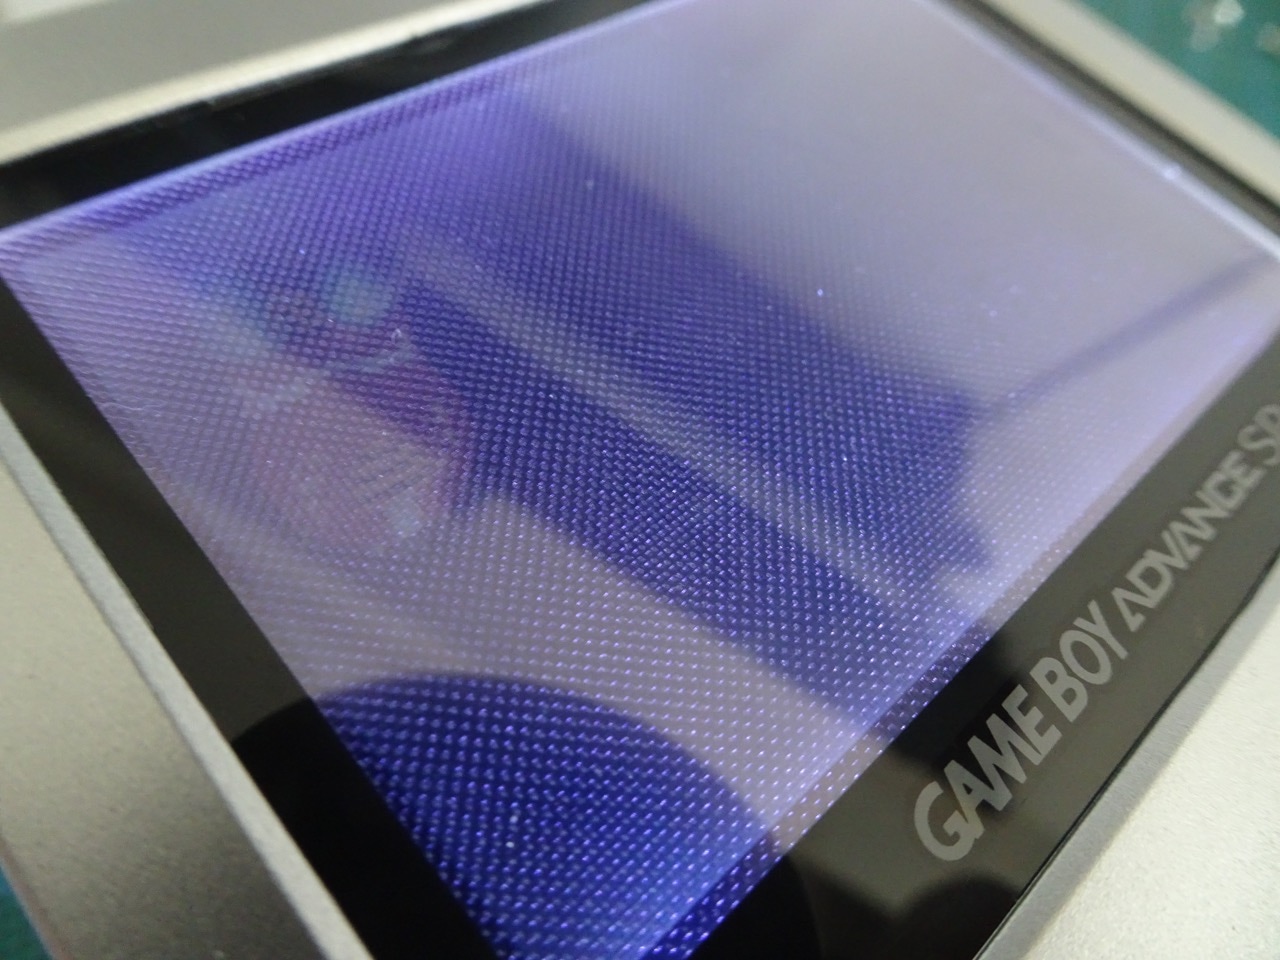
Ah well the end result was still good. There's only so much that can be expected from a front-lit screen and maybe in the future I will replace this screen with a backlit model, though the cost of doing this may be prohibitive. I decided not to cover the screw holes on the screen housing in case I do get back to this in the near future.

The odd blue parts make this gameboy look cool I think and it's no longer a throw-away piece of junk. Definitely a nice addition to my collection.
-i
