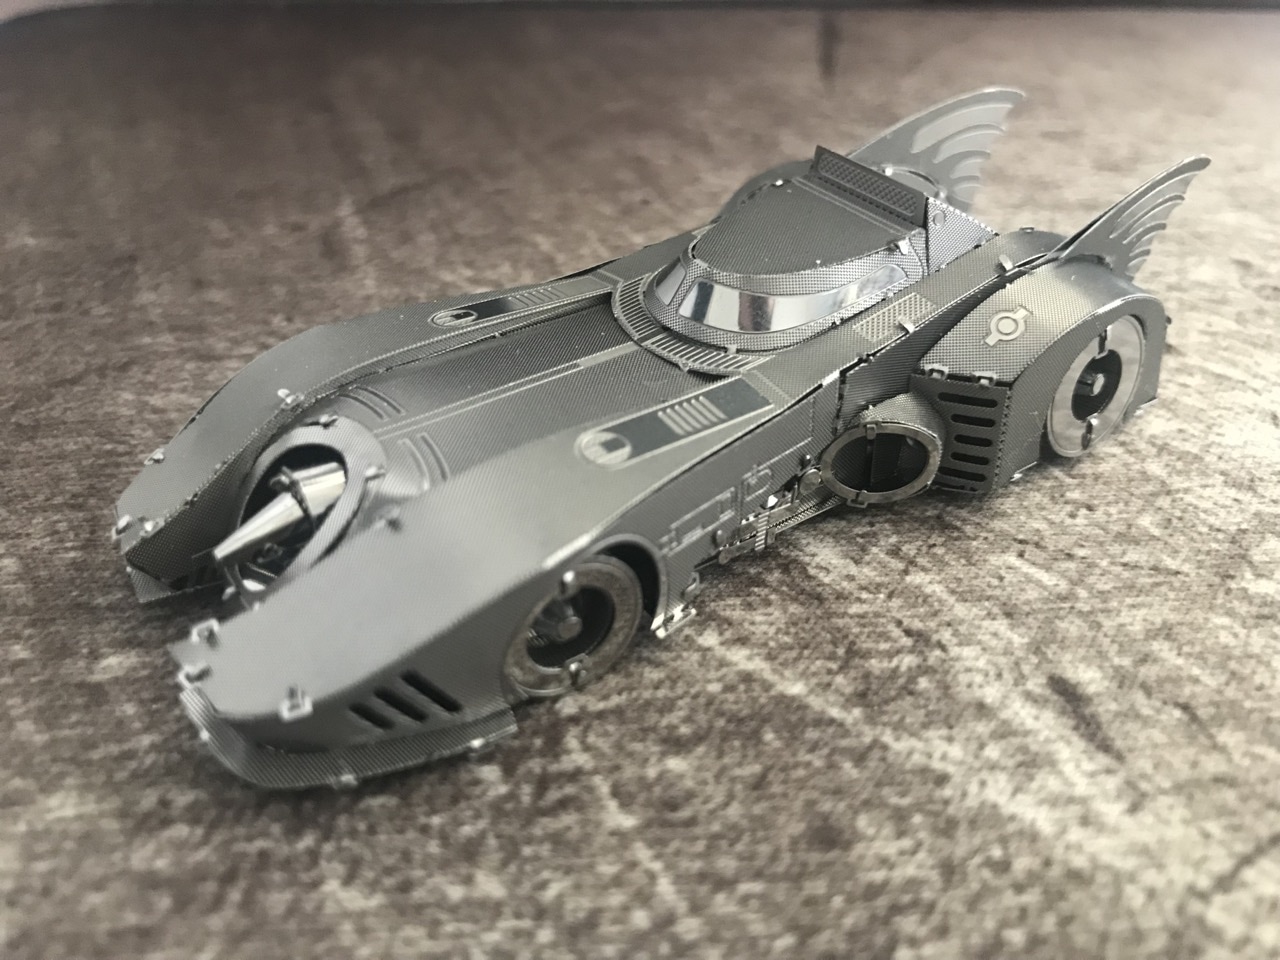
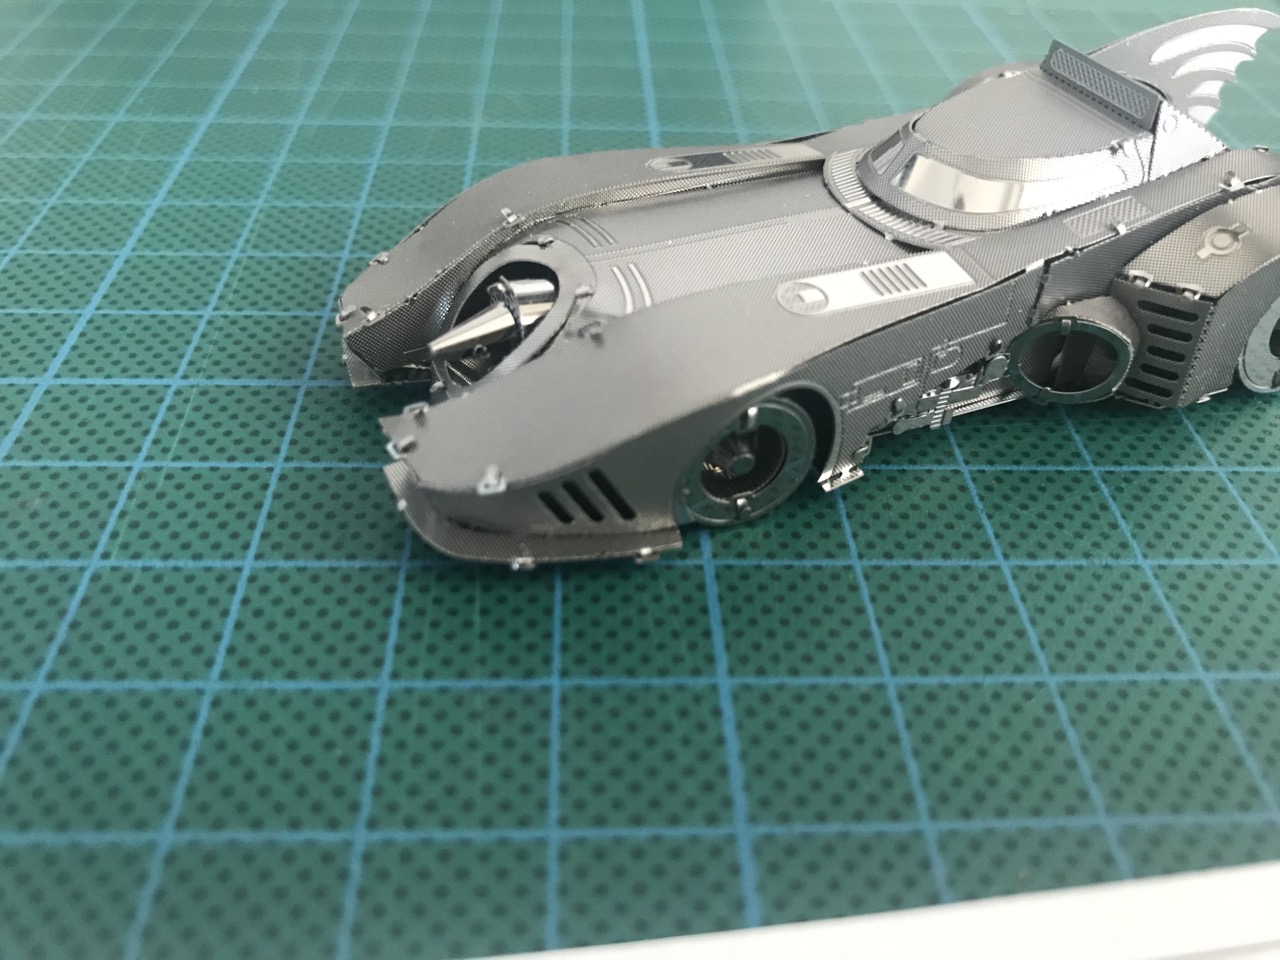
The end result is spectacular...
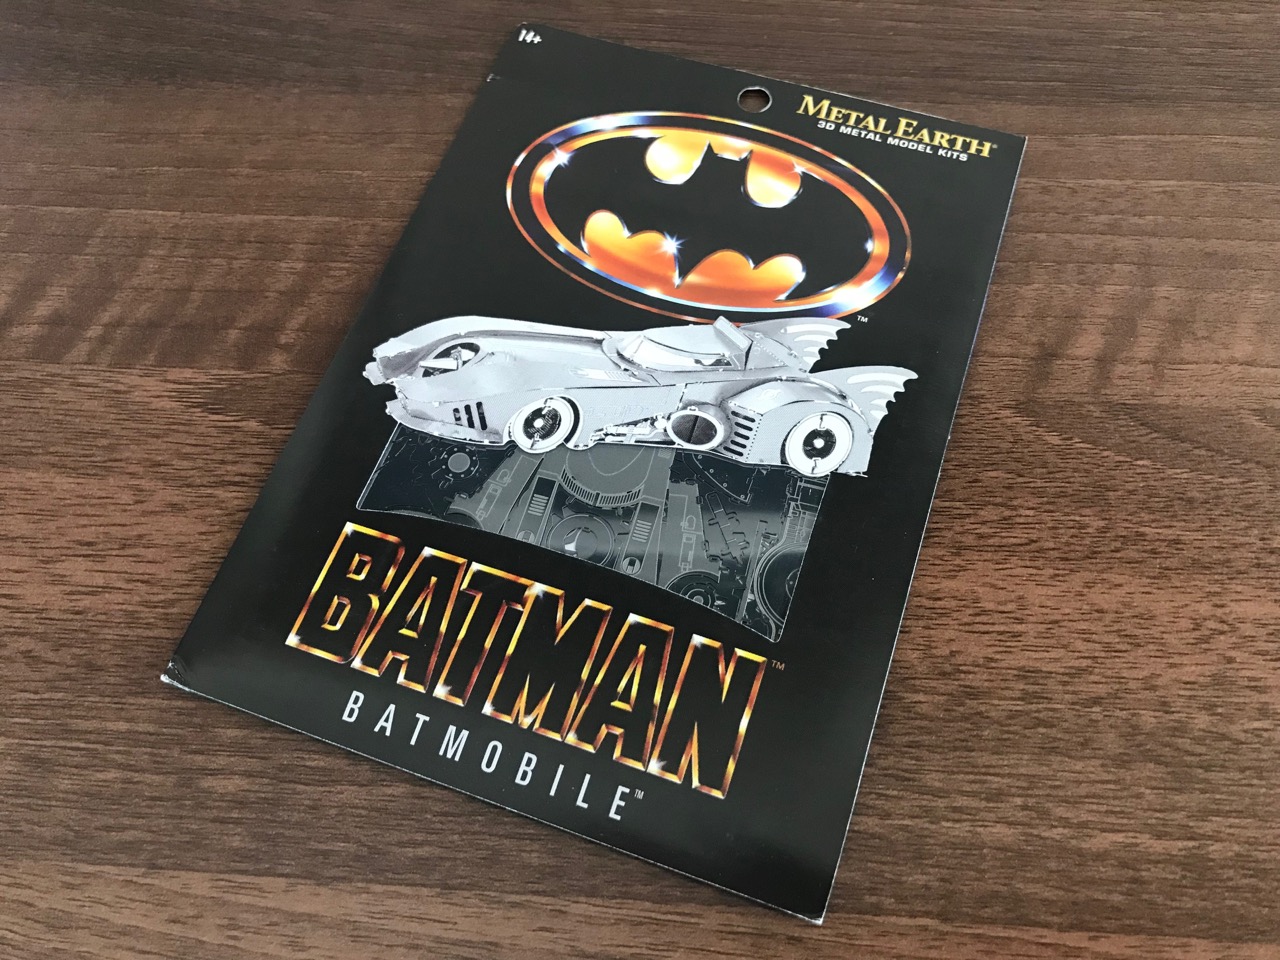
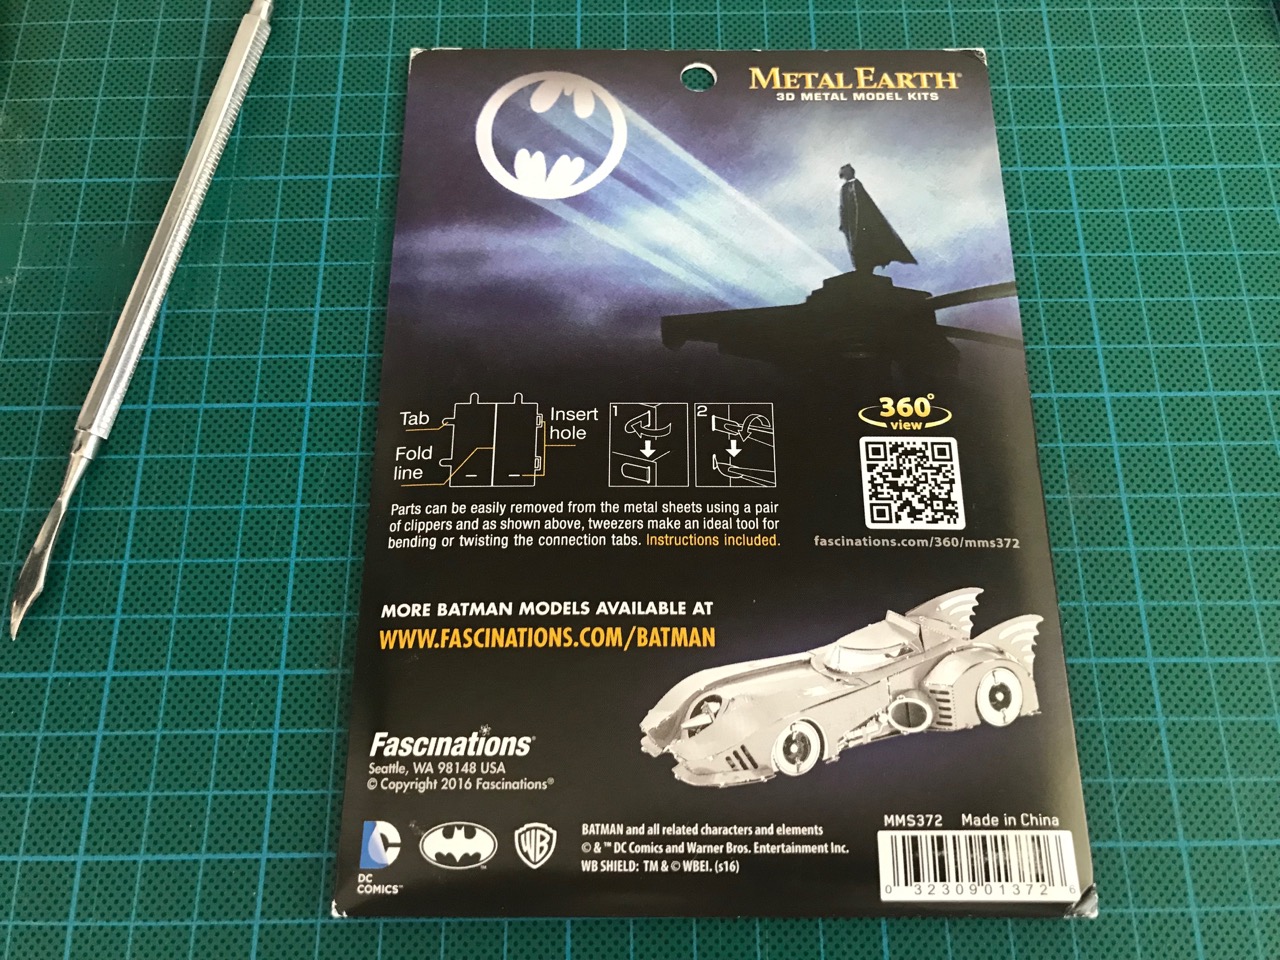
The packaging for this kit feels a little different to the usual Metal Earth style, but I like it. It's nice and clean and shows off the model well.
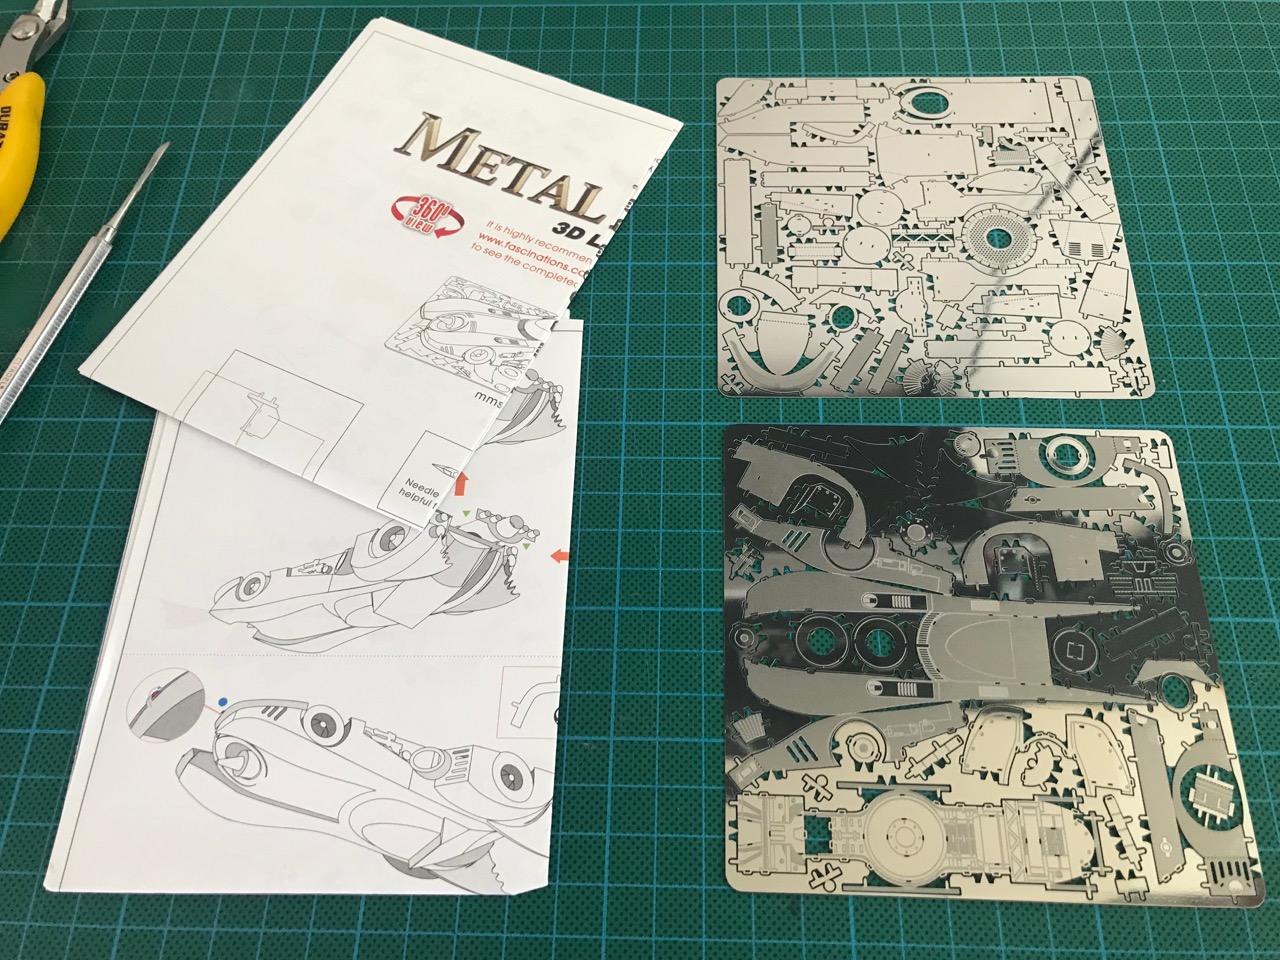
This is a two-sheet kit and it comes with two double-sided instruction sheets. Don't let those big parts fool you though, there is a huge amount of small components too. It took me around 6 hours to put together. There are some parts that are colour coded, which I quite like as it makes duplicates much easier to pick out.

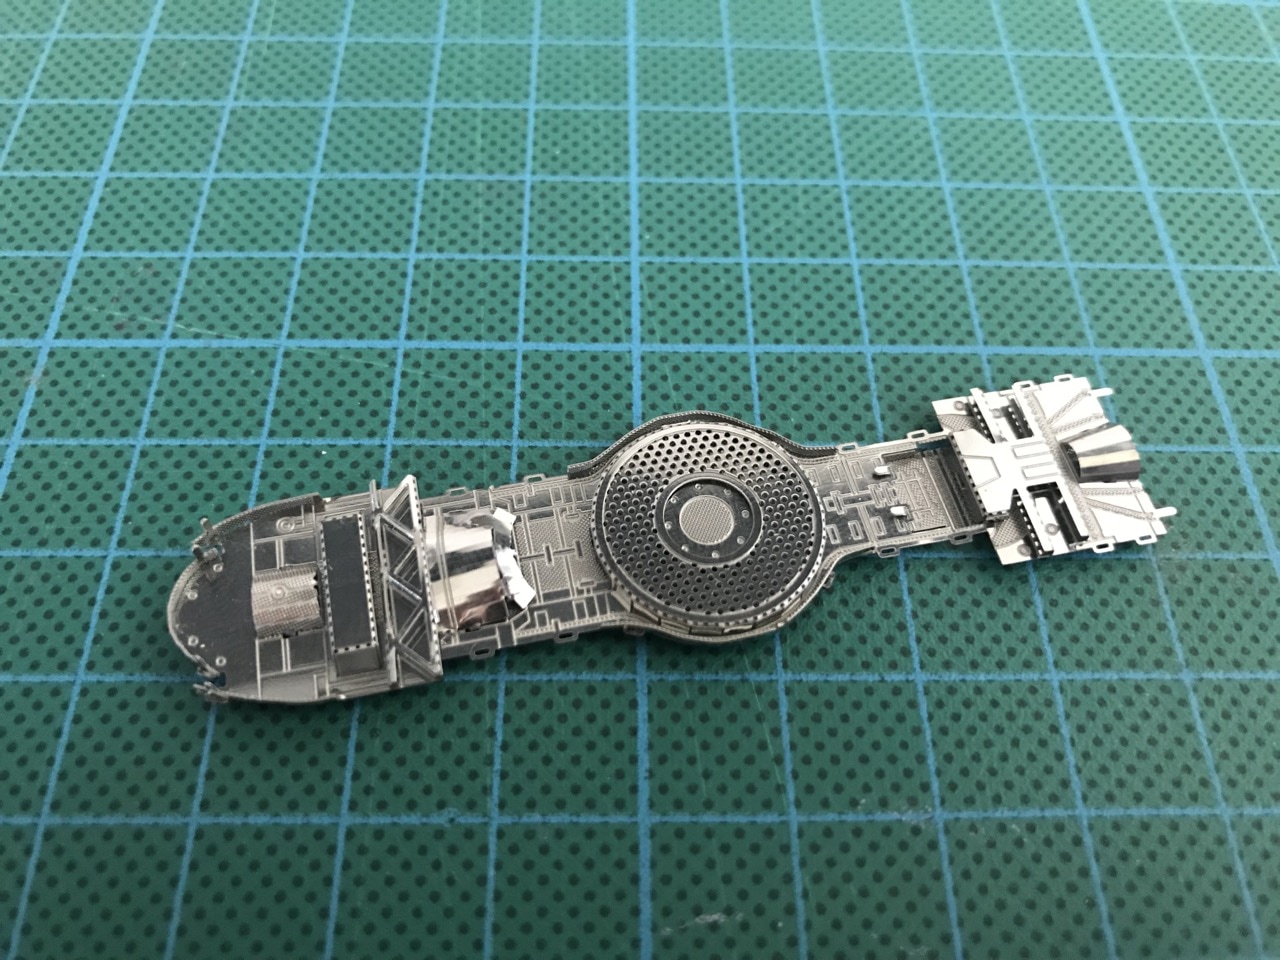
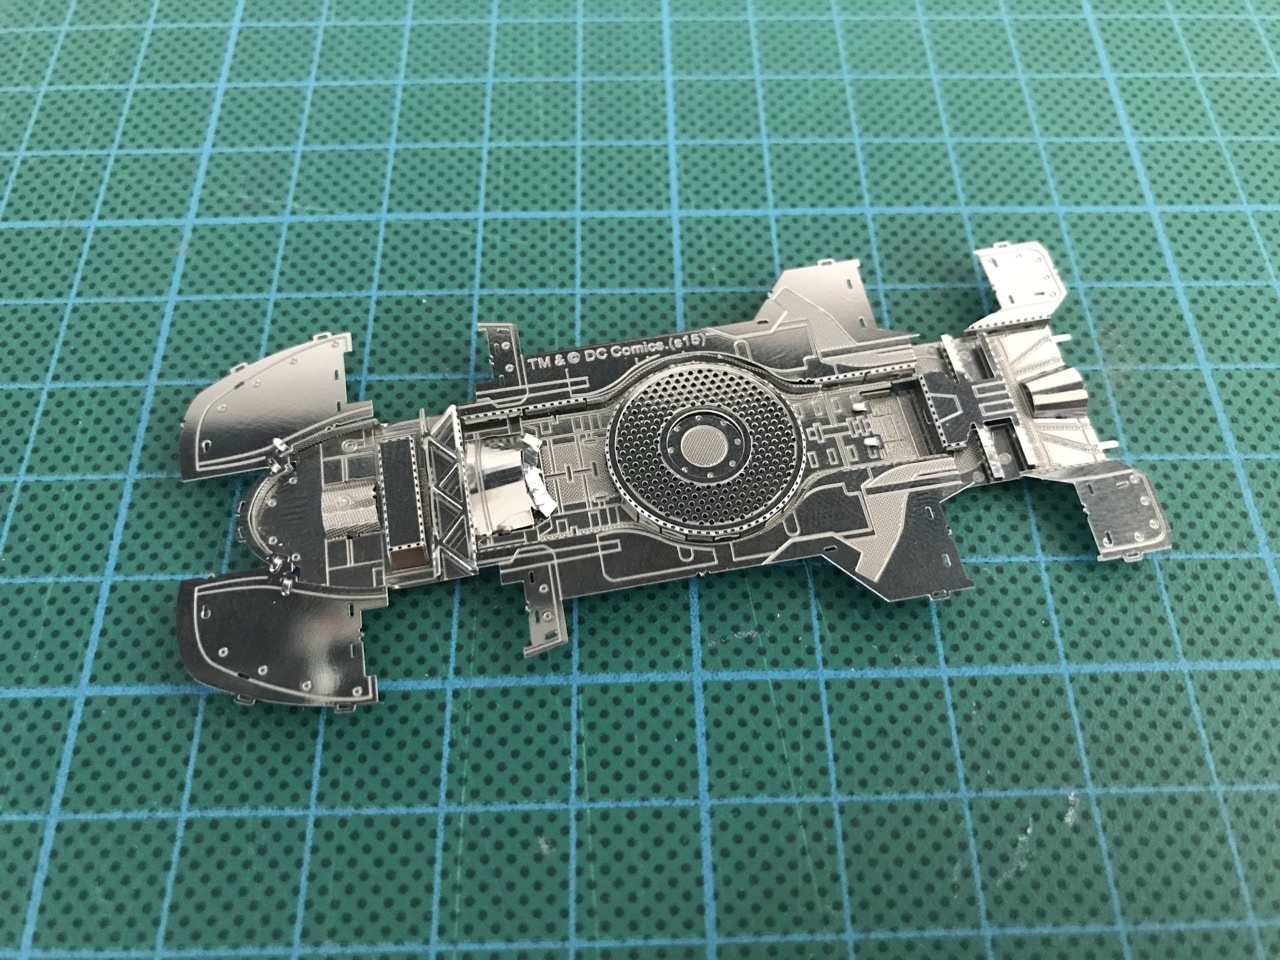
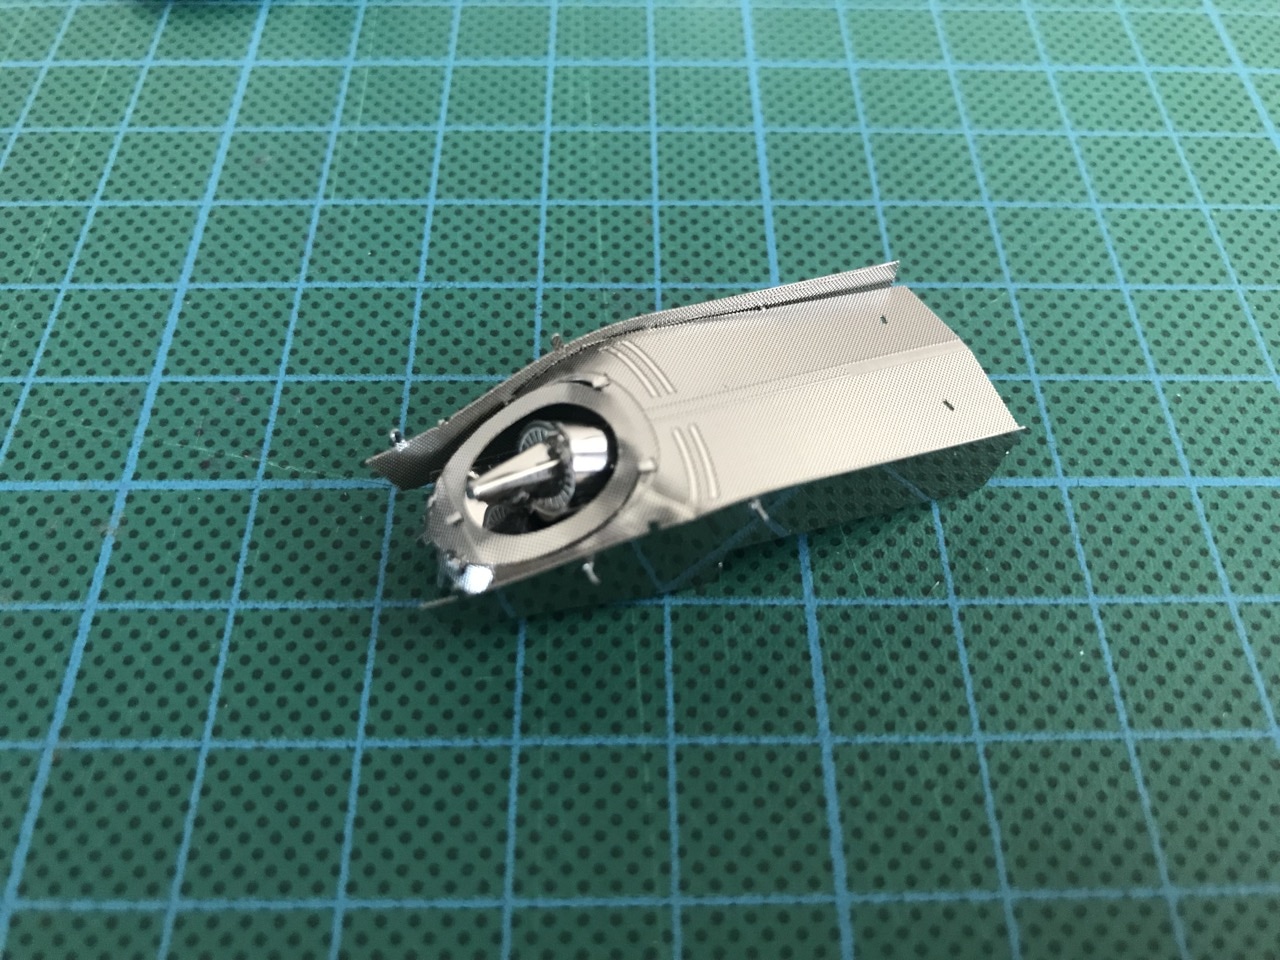
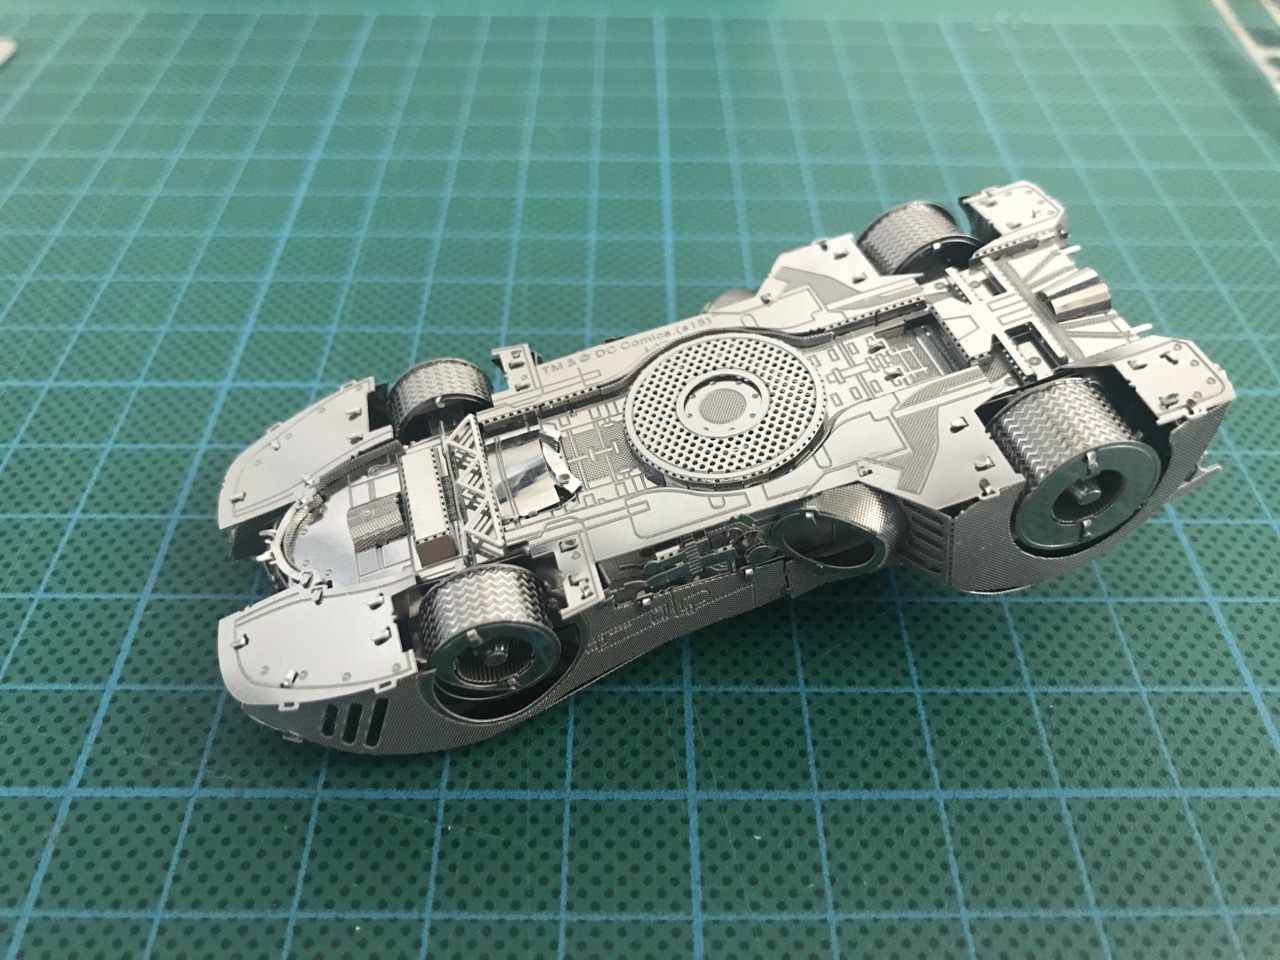
So lets get to the assembly! The bottom of the car was first in line. This is where a lot of the detail was. Surprising really since this part of the car is not going to be seen when it's on display but very cool that so much detail was put in. The bottom section had one major piece to which all the detail pieces attached to and then there were five extra sections that made up the front, two sides and the two rear wheel areas.
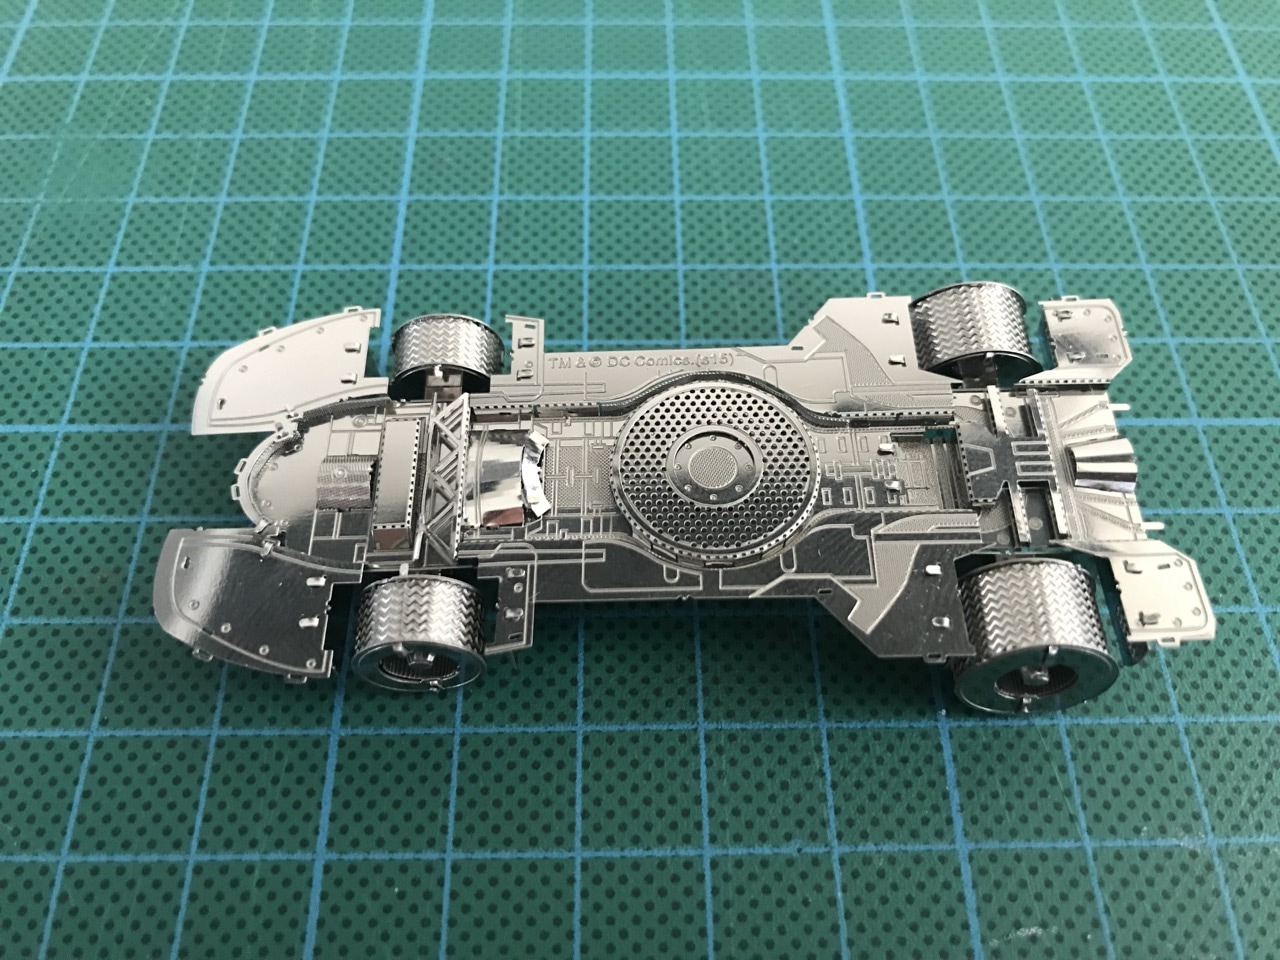
Speaking of wheels, these were next to be put together and had to be assembled in two sets - a smaller one for the front and a larger set for the rear. Each of the wheels had a square housing attached to it.

Once they were all assembled, the wheels were attached to the base and the Batmobile was starting to take shape as something that resembled a car.
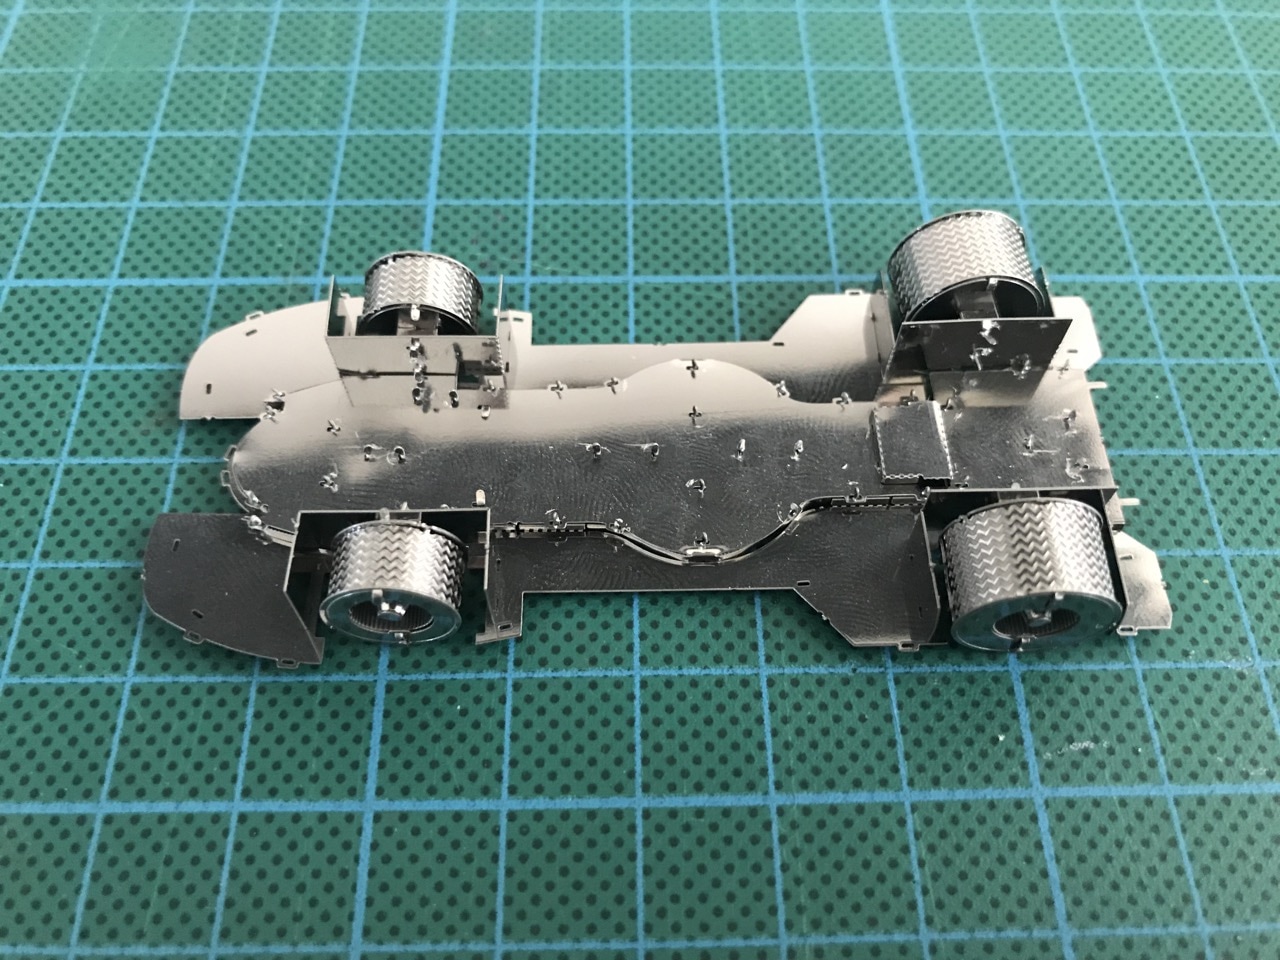
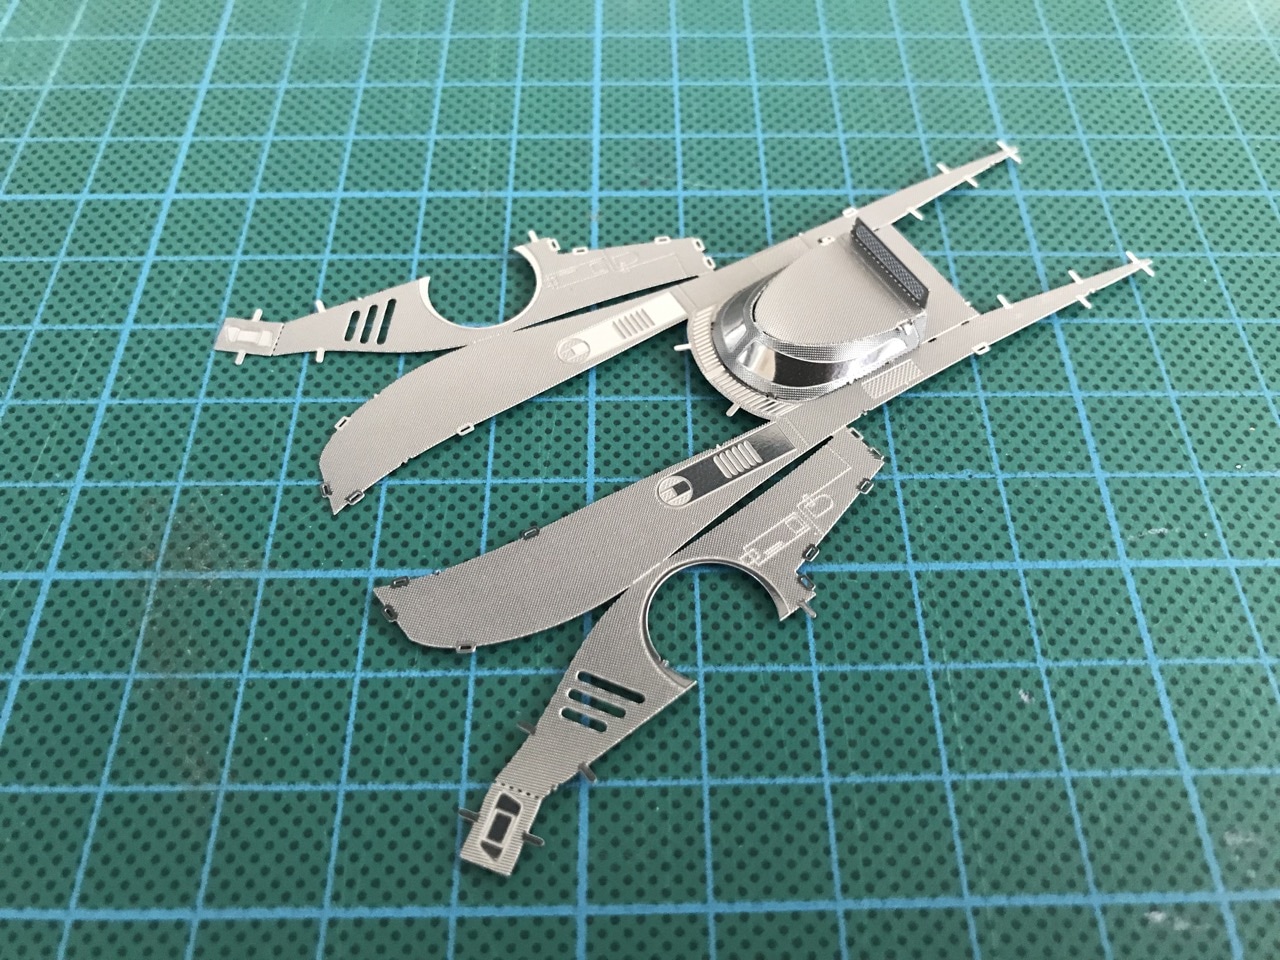
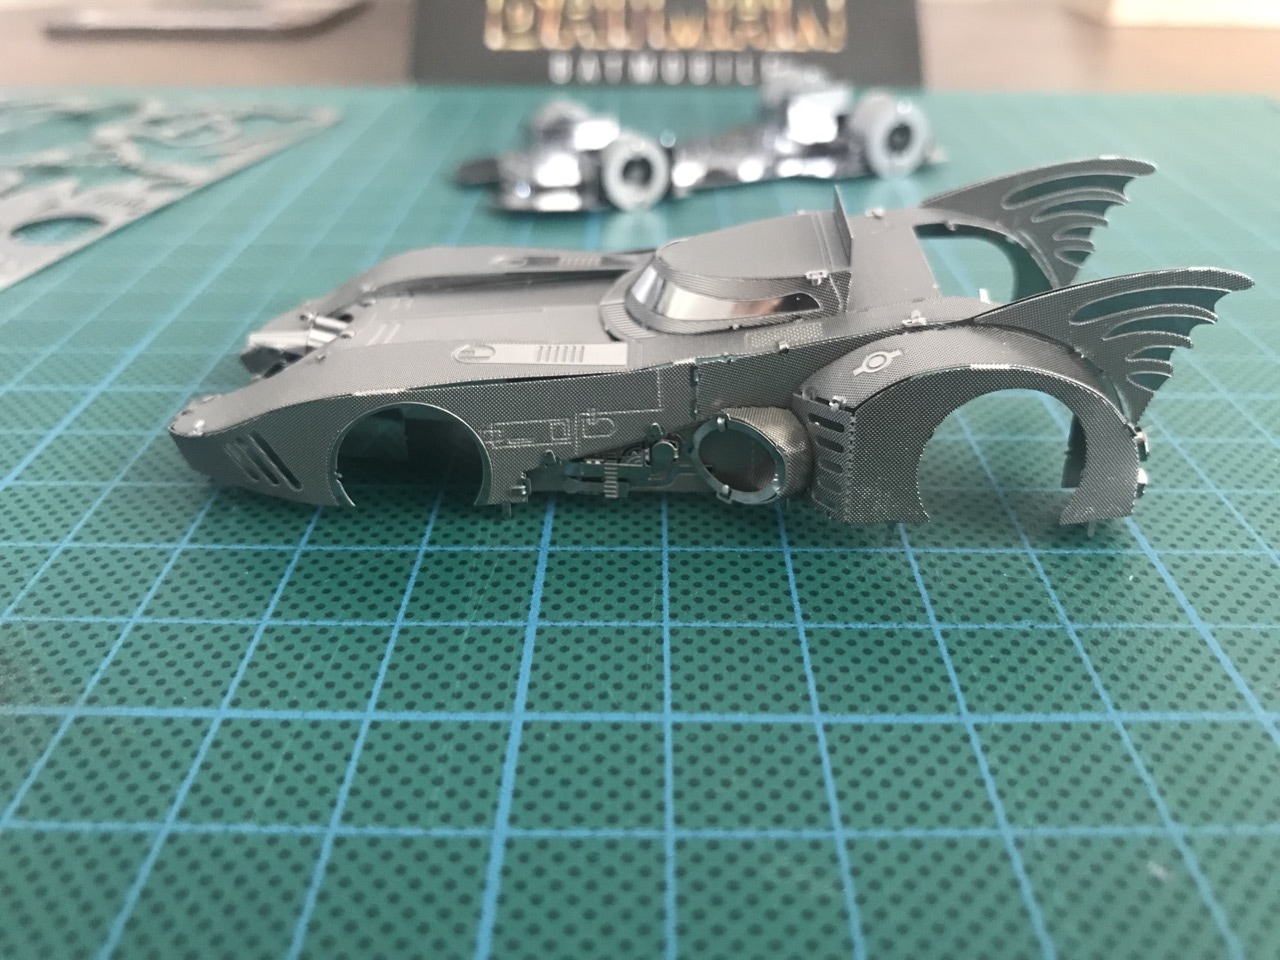
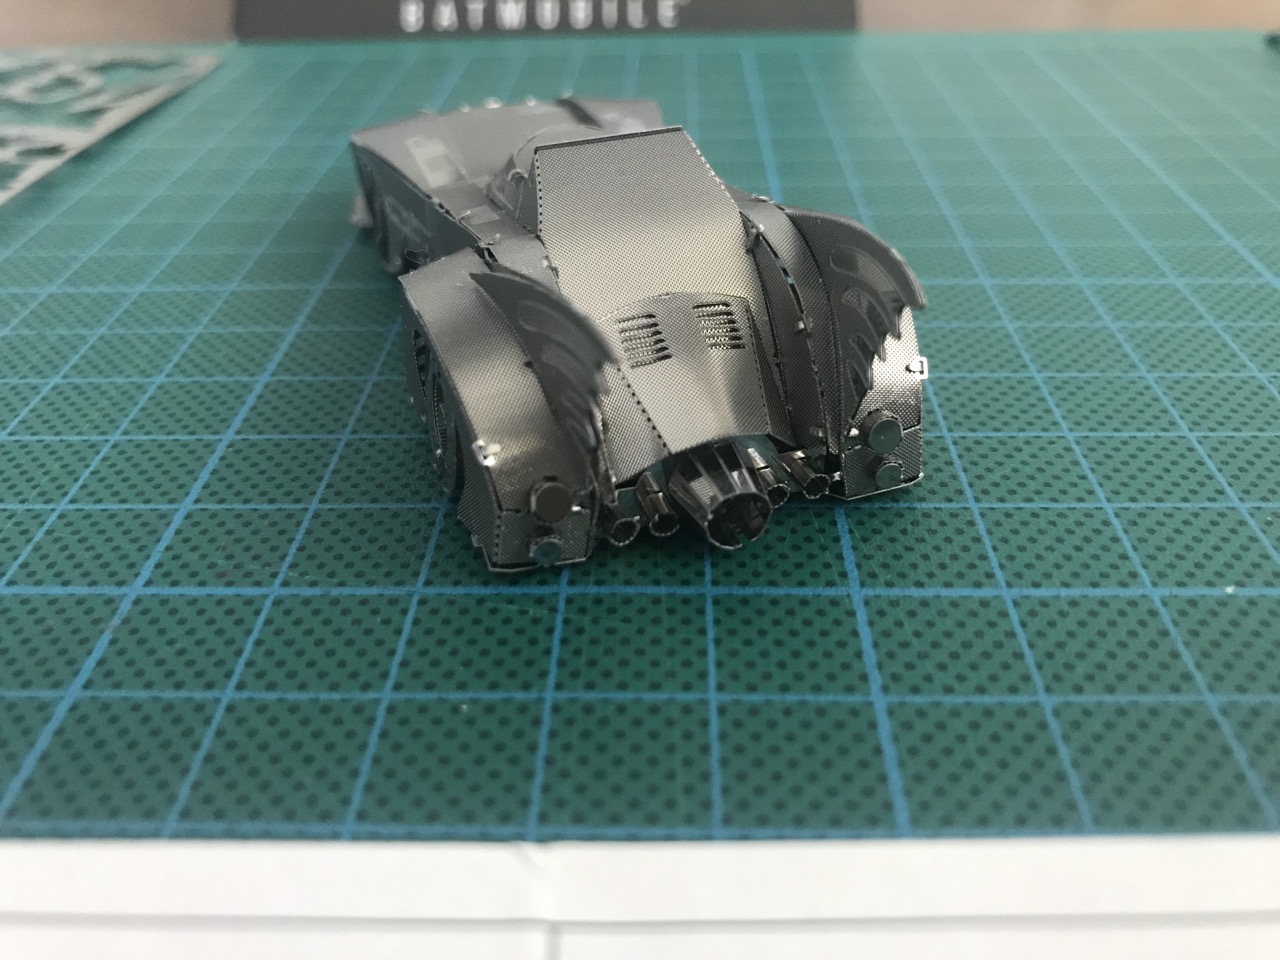
The front engine and cabin sections were next to be put together and fitted to the top part of the car. This is where the slick curves started to appear.

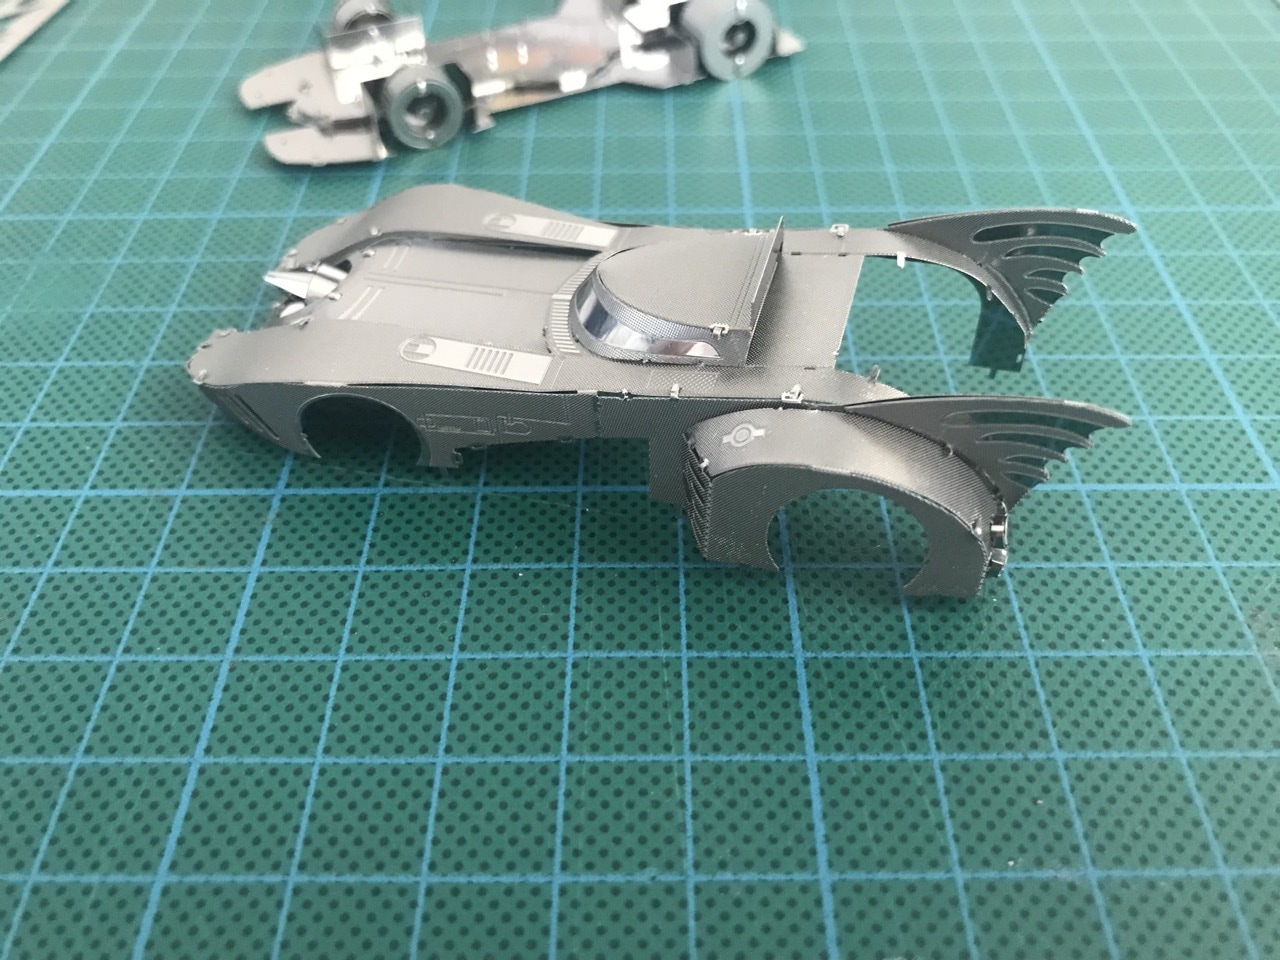
The rear bat wings and wheel fenders were next to be attached to the top section.
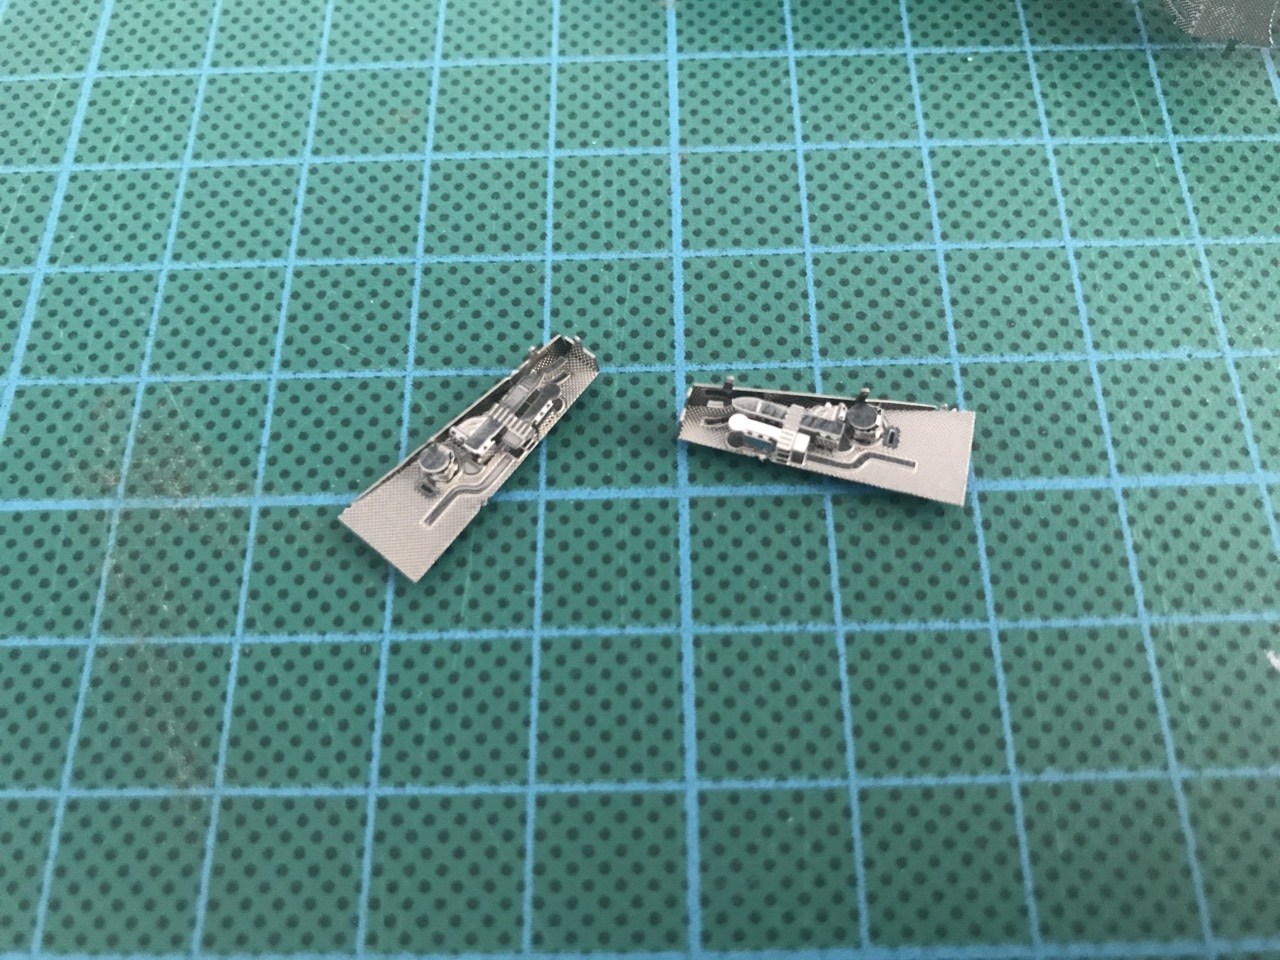
There was a nice bit of detail on the sides that was added in as separately assembled subsections. Here the surface detail popped out and added a nice finish to the sides.
The rear section was the last to go in before the top and bottom parts of the car were to be connected.
It took a very long time to put the top and bottom sections together. I had so much trouble getting these to align properly. The wheel enclosures didn't play nice with fitting everything together and some of the internal sections didn't lock in properly at first. It took a while, but eventually I was able to get the top and bottom fitted and locked in with one another. The front two tabs gave me extra trouble too because the front engine section seemed to protrude much further past the bottom than it should have. I realised that I simply needed to bend it down into a curve to shorten it - after that correction the front two tabs fit into place.
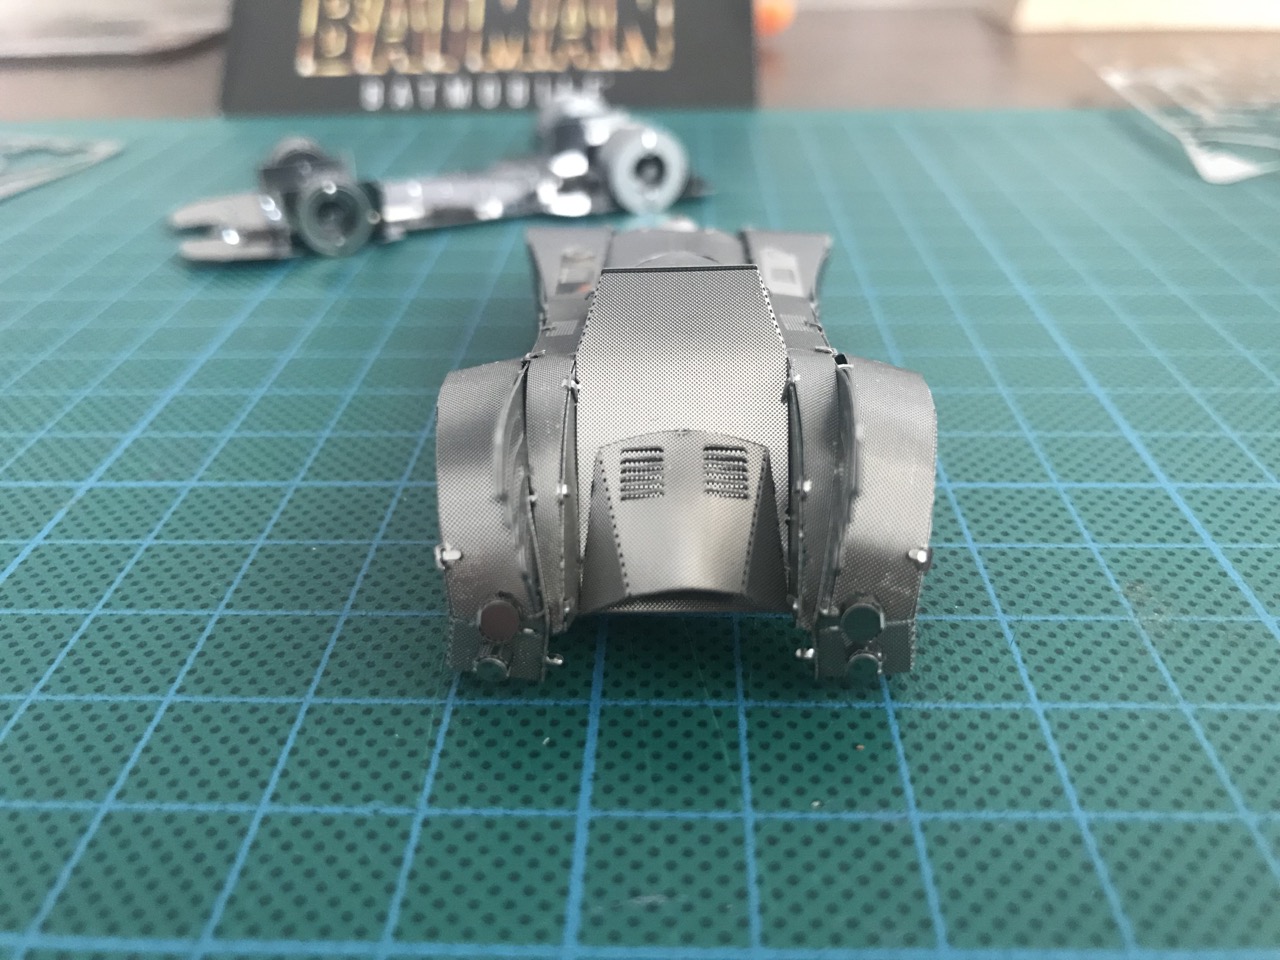
The skirting at the front was a headache to put in, but it did fit eventually. I almost gave up trying to fit it but I'm glad I did because it really does enhance the look of the bodywork of the car.
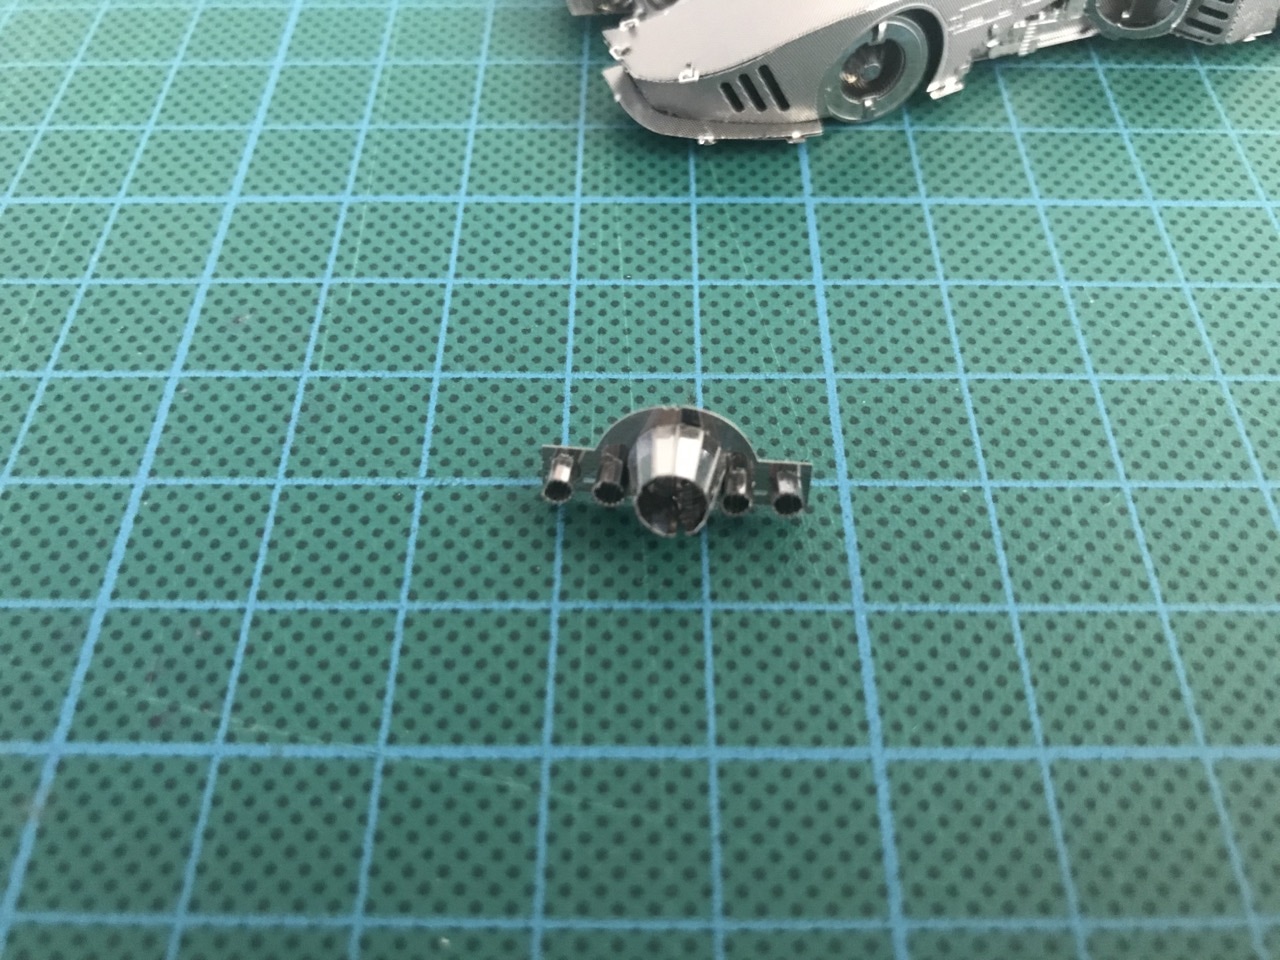
To finish the car off all that was left was to assemble the exhaust section and fit it to the rear of the car.
The car feels quite solid after assembly. I really am surprised by how much detail there is on the bottom side still, but as I mentioned it is a nice feature of this kit. It's a fun kit to assemble, it's challenging and requires the use of all the tools in the toolbox so if you're looking for a more demanding kit, this one is for you!
Here's the time-lapse of the assembly...
-i
