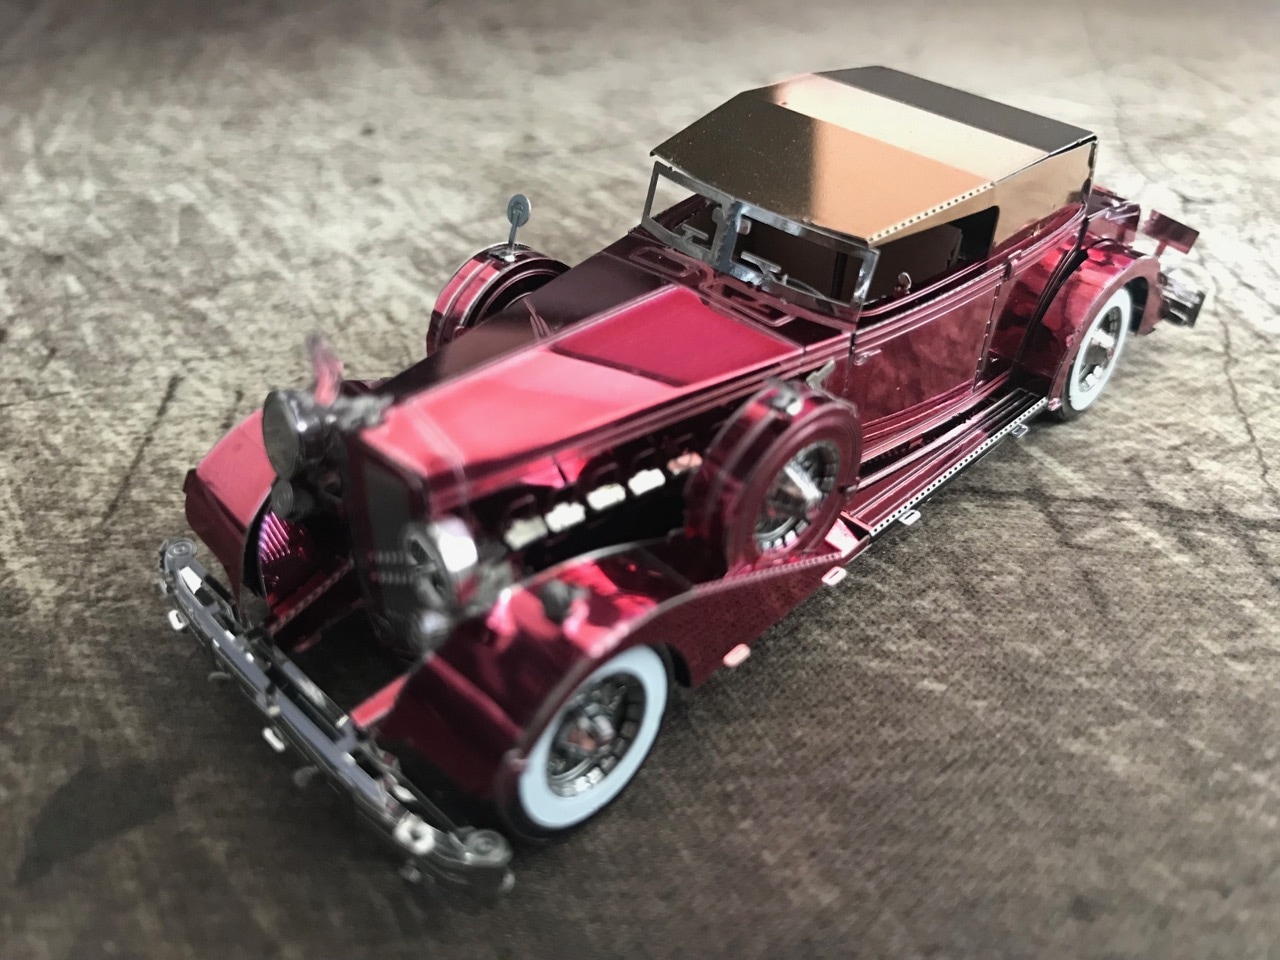
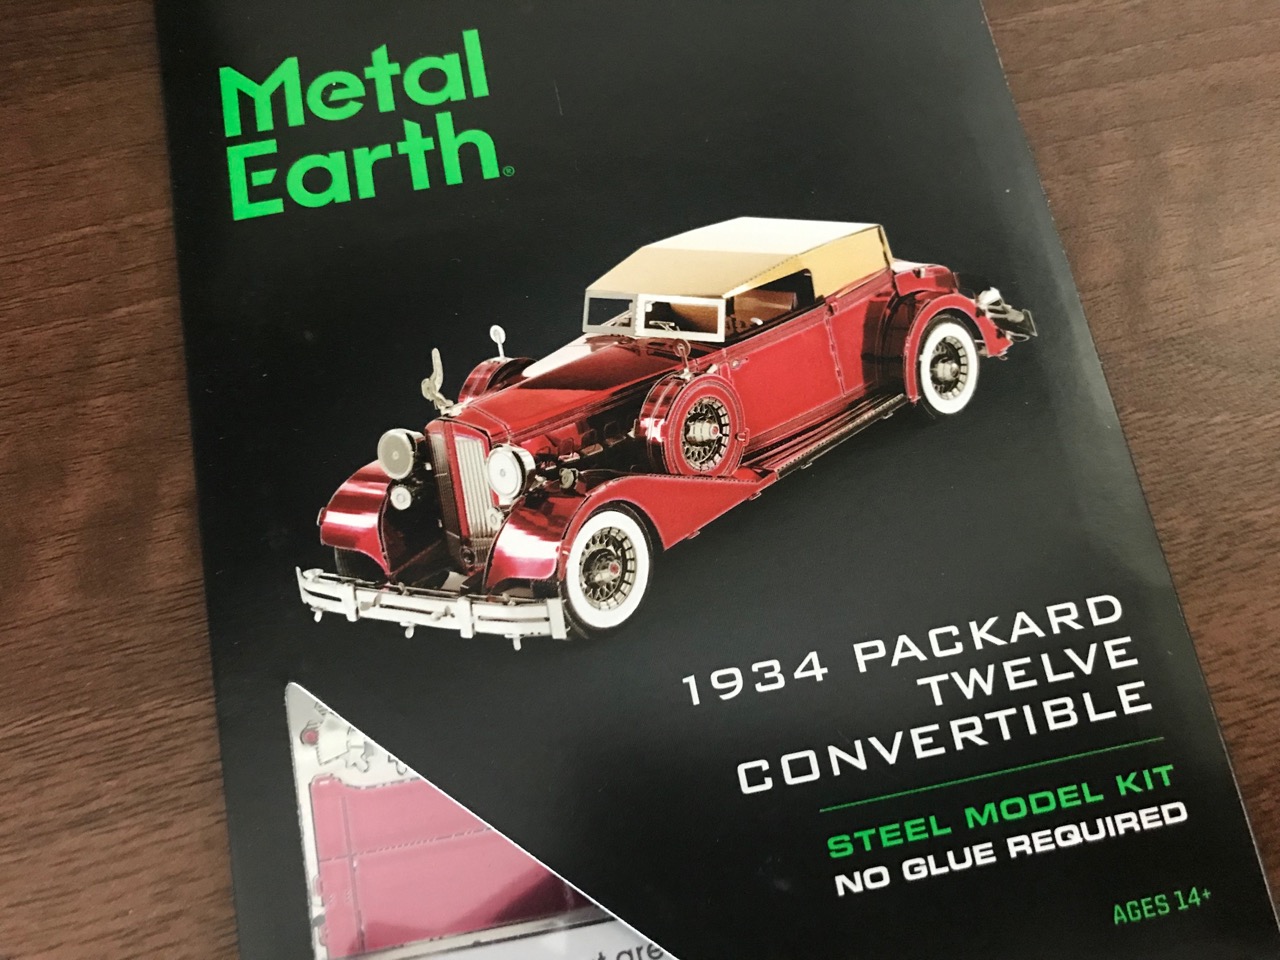
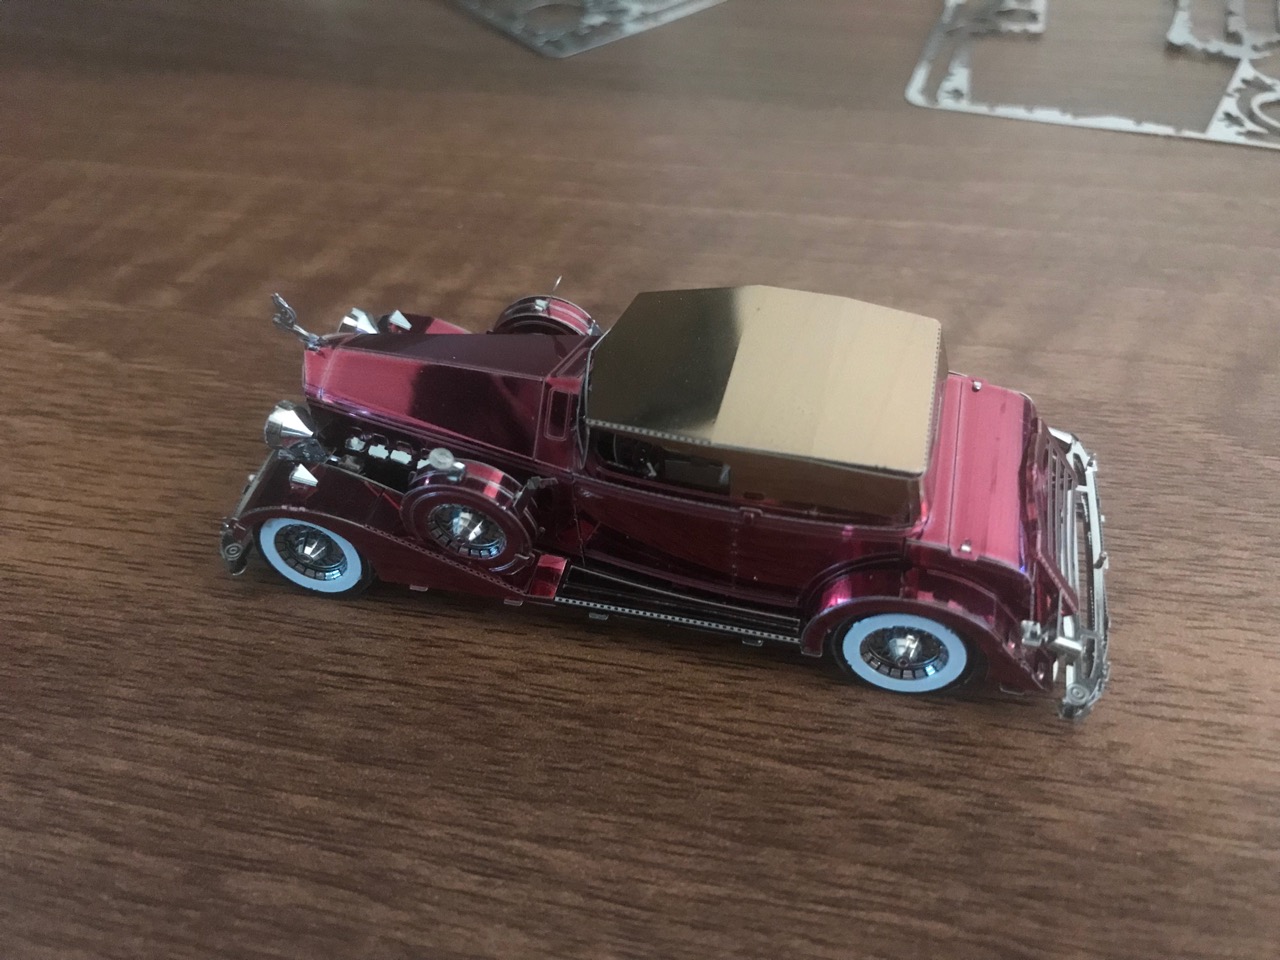
The end result is very cool and the deep red paint finish combined with the cream cover and interior really make this model stand out.
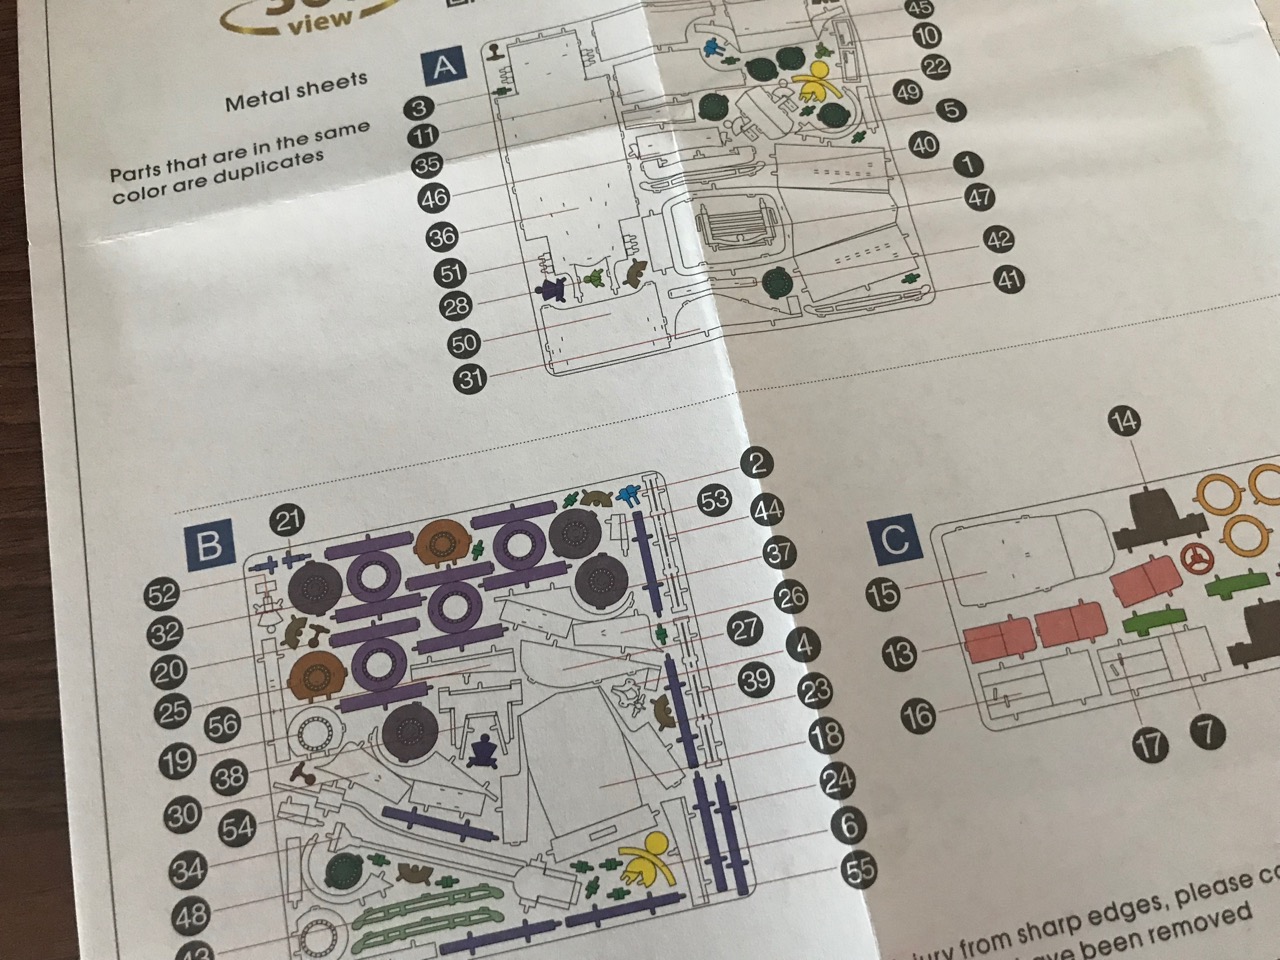
So what's in the kit? Well it's a two and a half sheet kit and there are two sheets worth of instructions. Instructions are fairly sparse compared to other bigger kits, but that doesn't mean there isn't much to do when assembling this model.
The half metal sheet in this kit is different to the two full sheets in a way that it is thicker. Parts from this sheets are used to make the interior and wheel white-walls, so the extra thickness helps make more rigid sections. I actually rather liked how thick these parts were because details, especially on the interior were etched deeper.

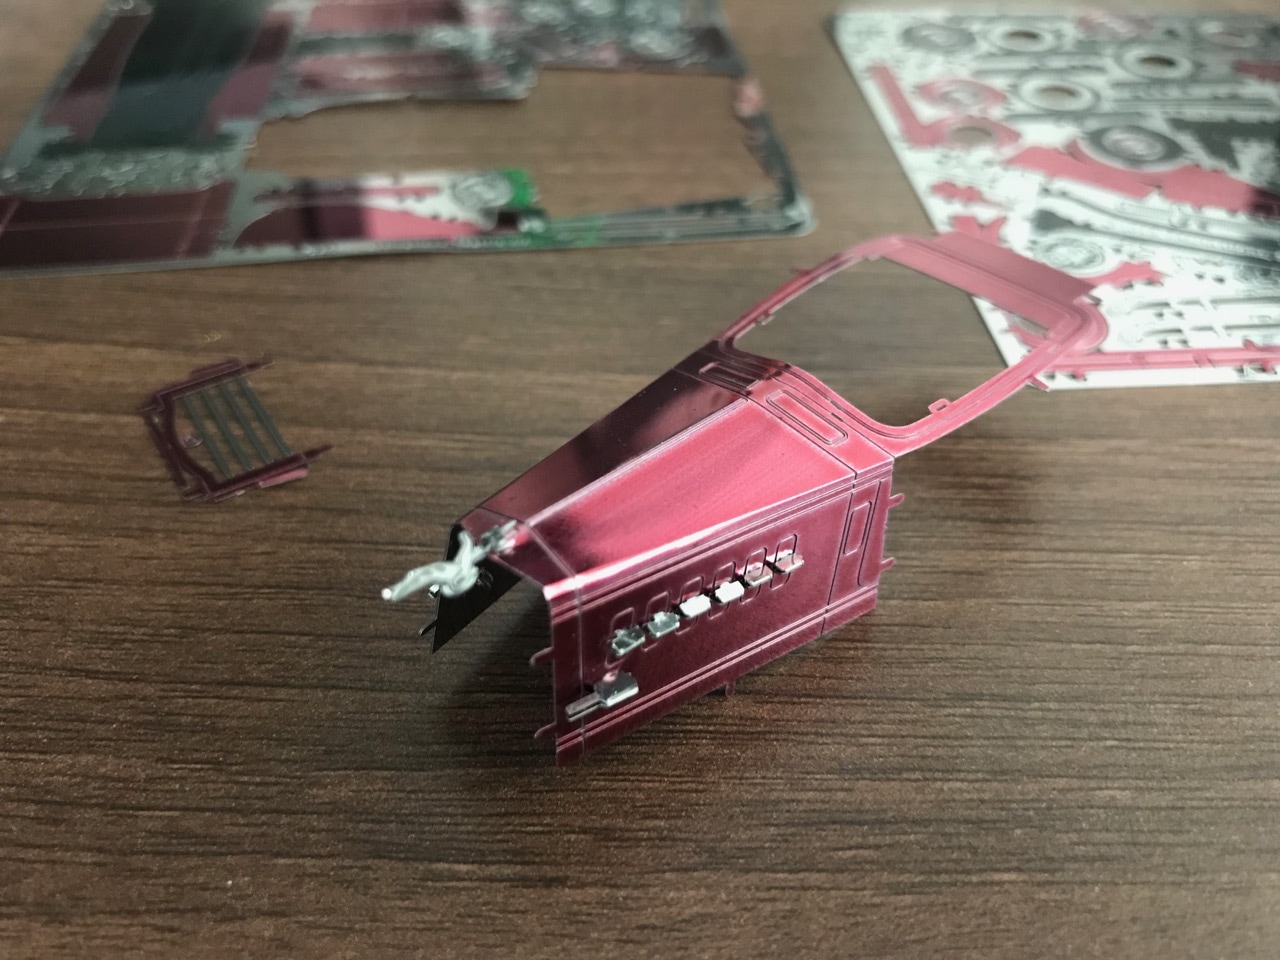
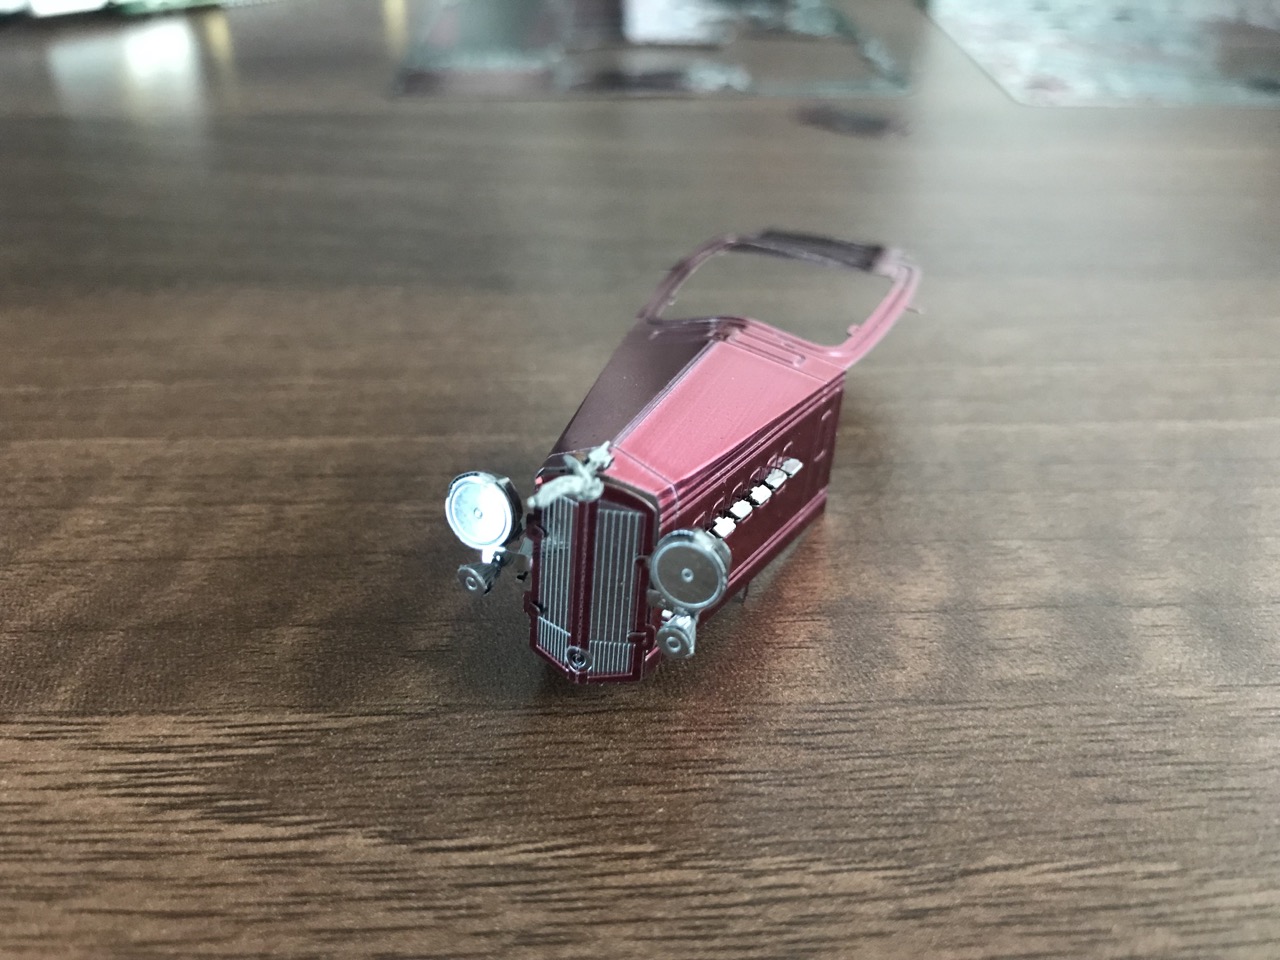
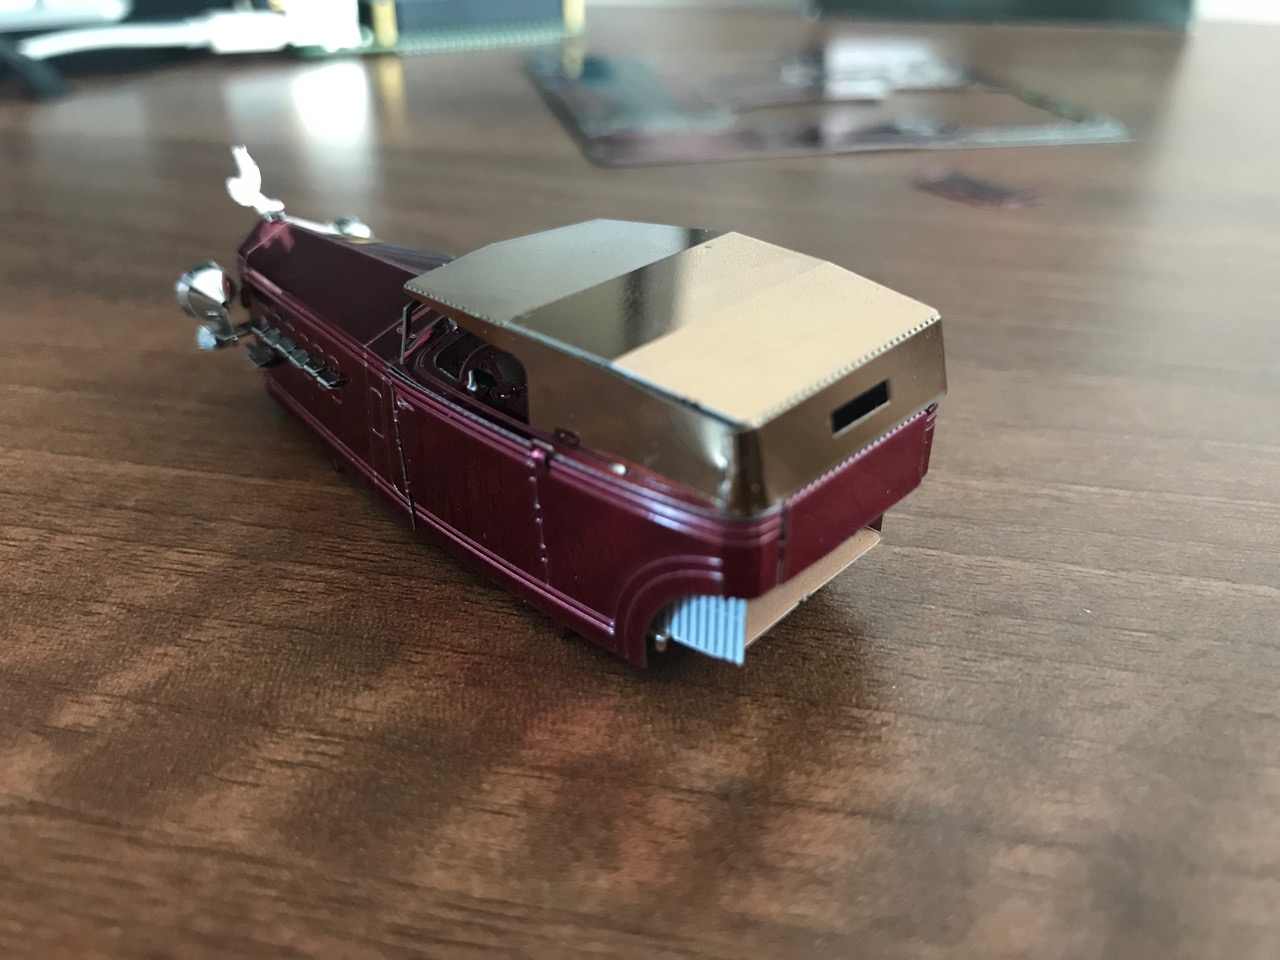
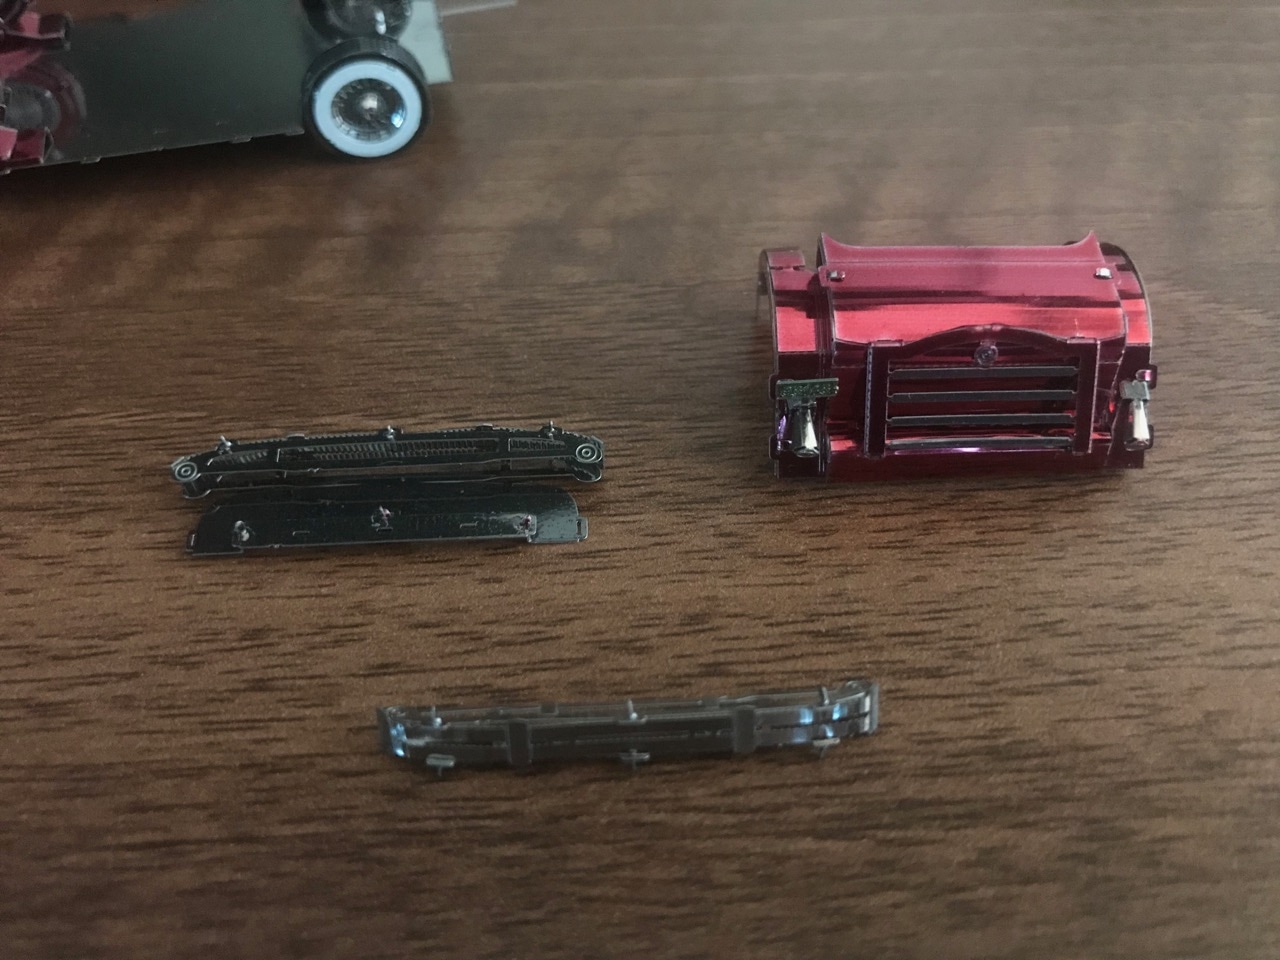
From the get-go this kit is fiddly! The first components to be assembled are side air ports on the engine bay - these are SMALL! The car emblem is also small but has nice detail etched onto it. Once that is done, next is the front grille and lights. The tiny cones for the smaller lights are quite a challenge to put together because the whole small light assembly is a single piece.
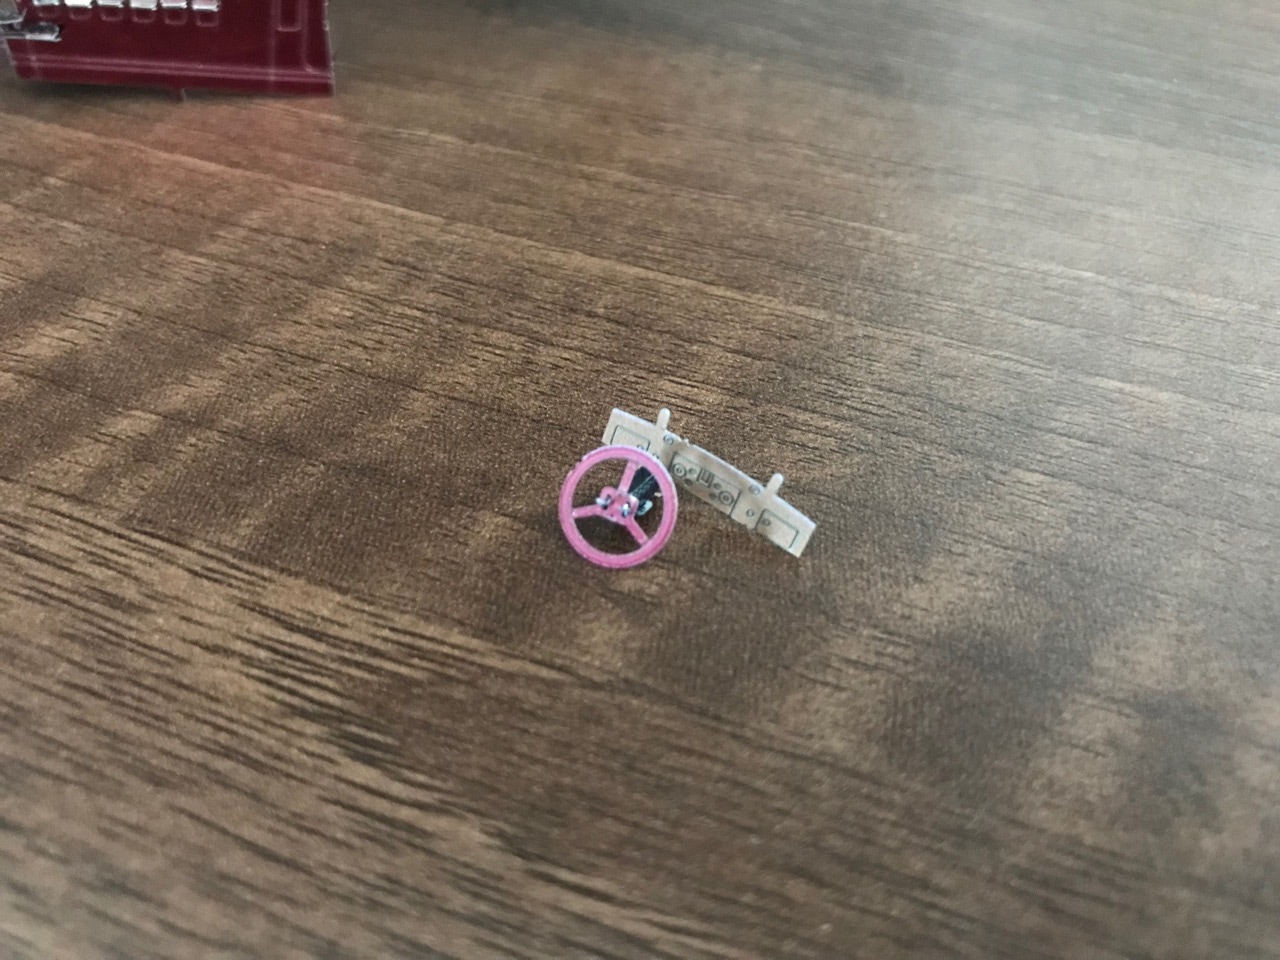
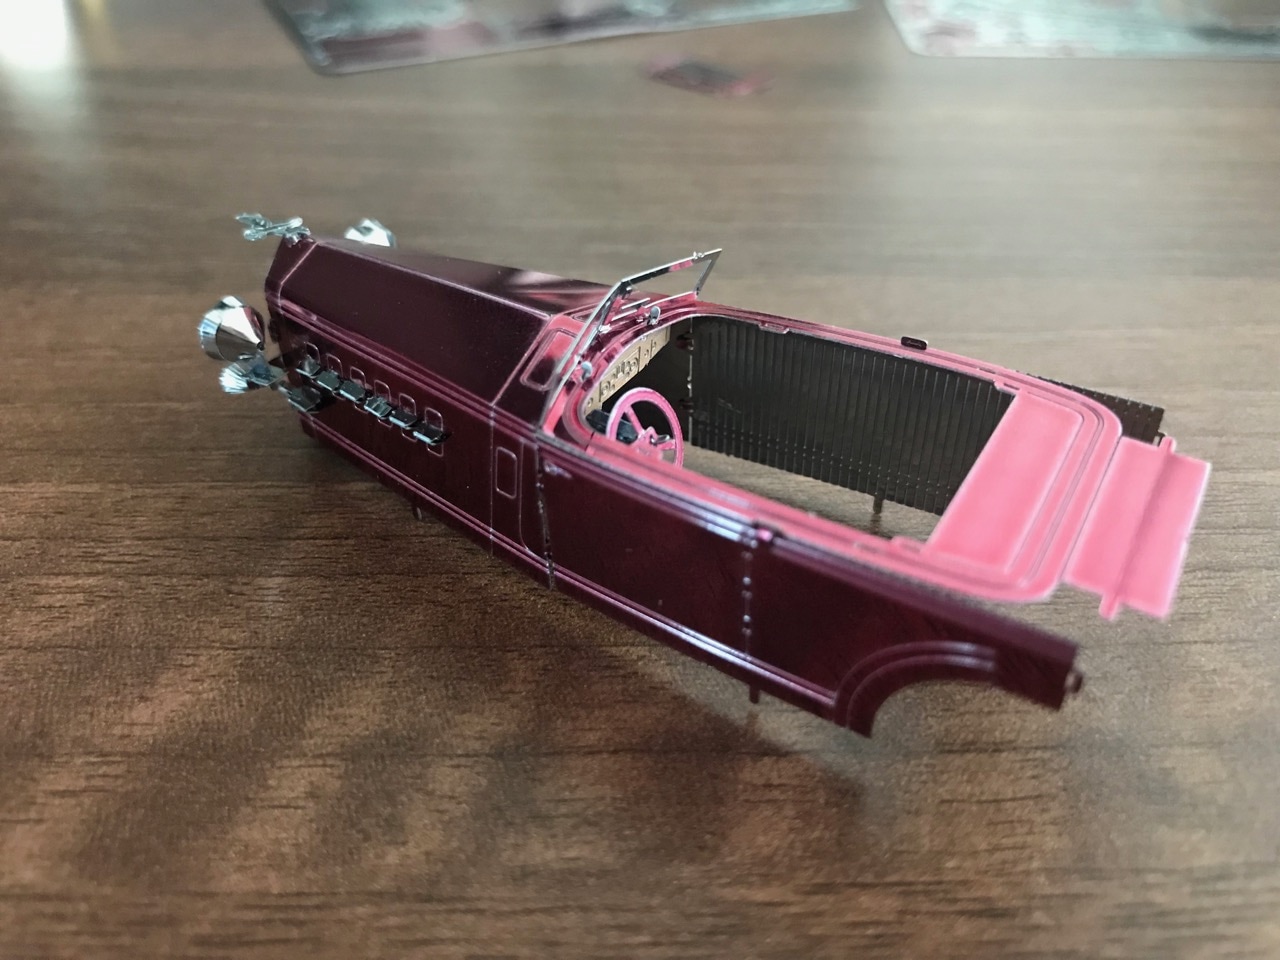
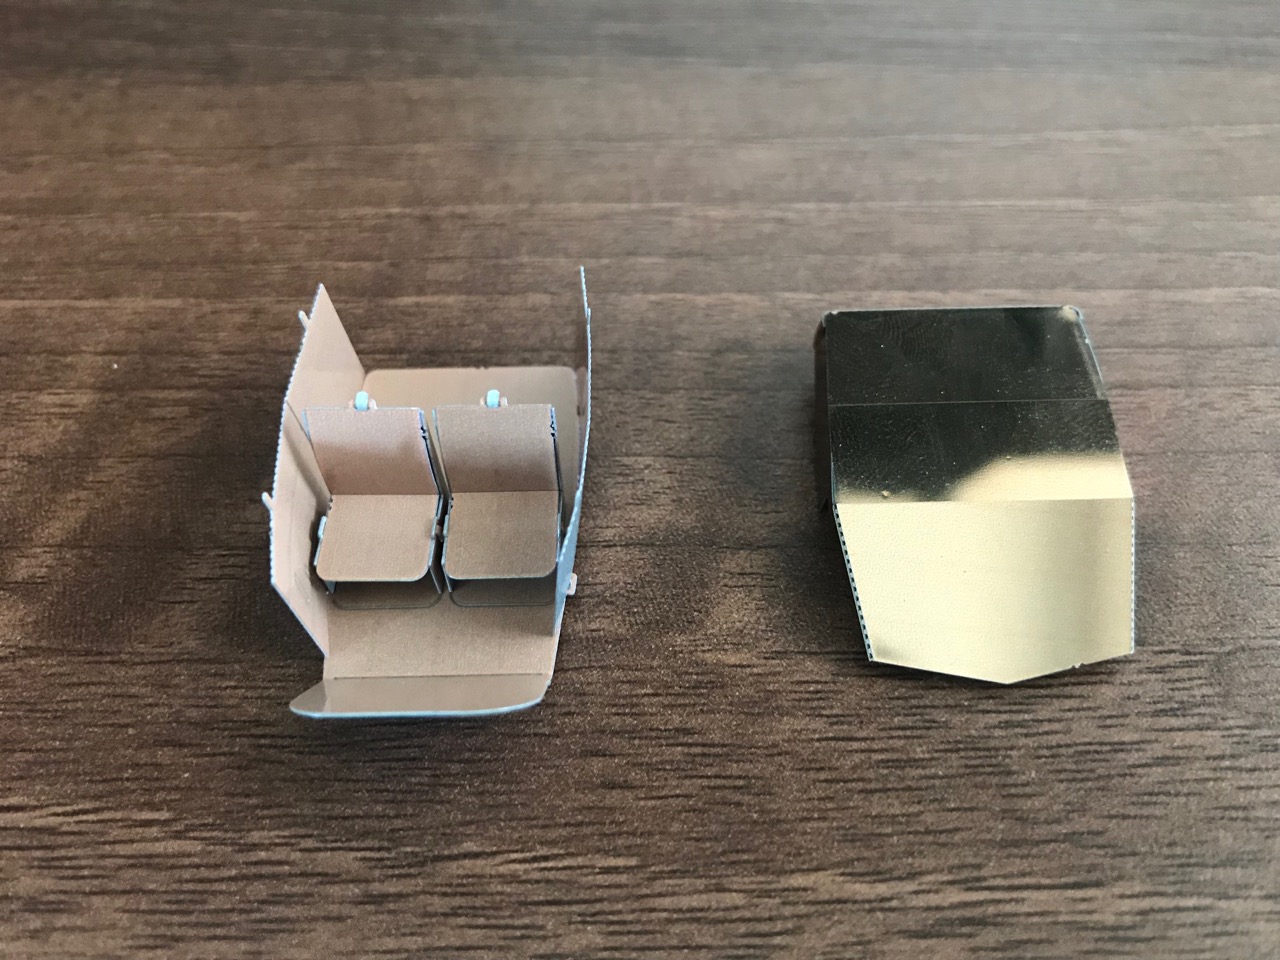
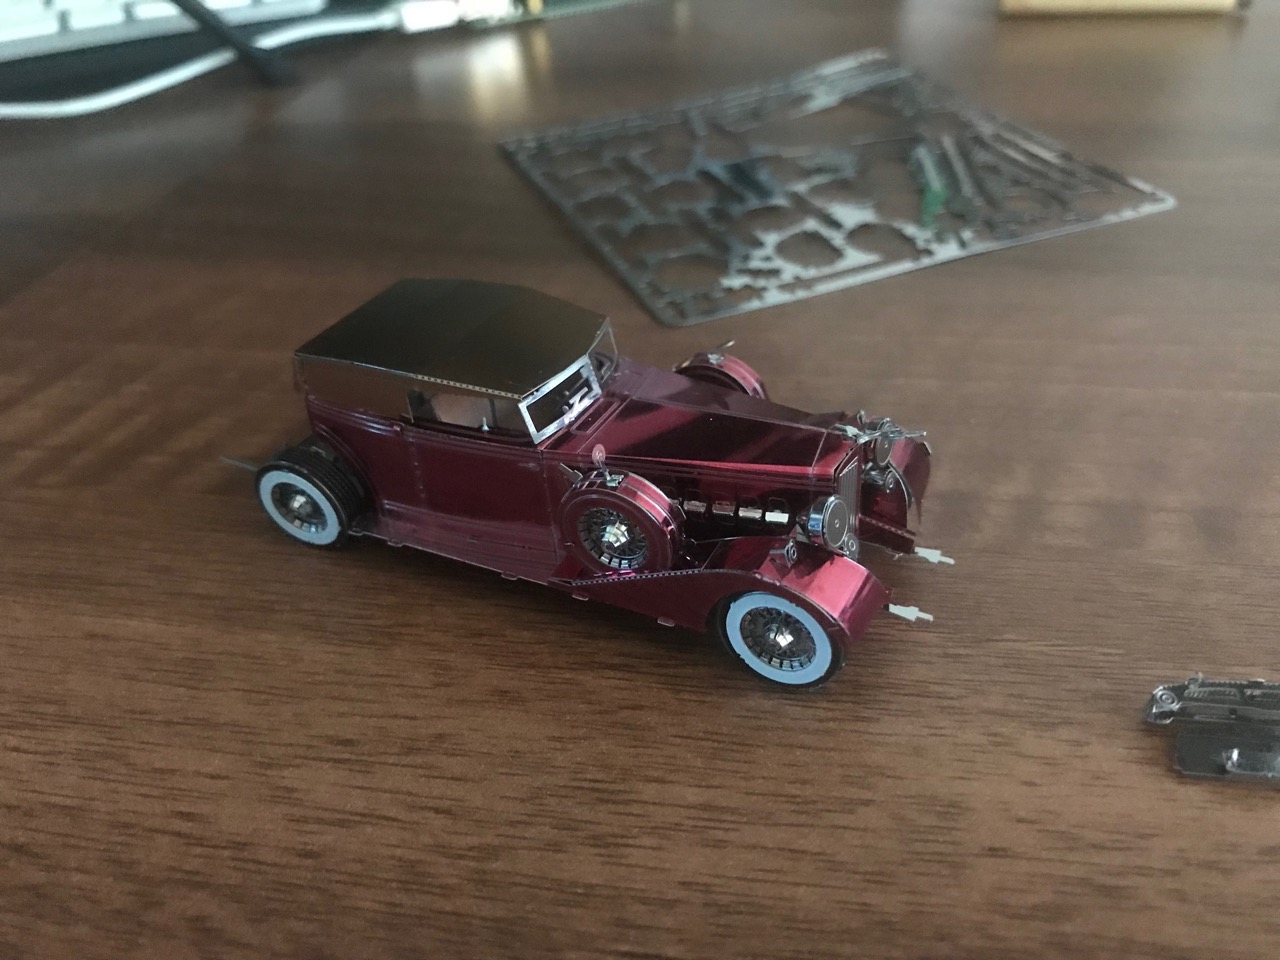
The interior and cover sections are next. The dash has a very nice level of detail and the seats look like they're made out of something soft, it's quite a nice touch.
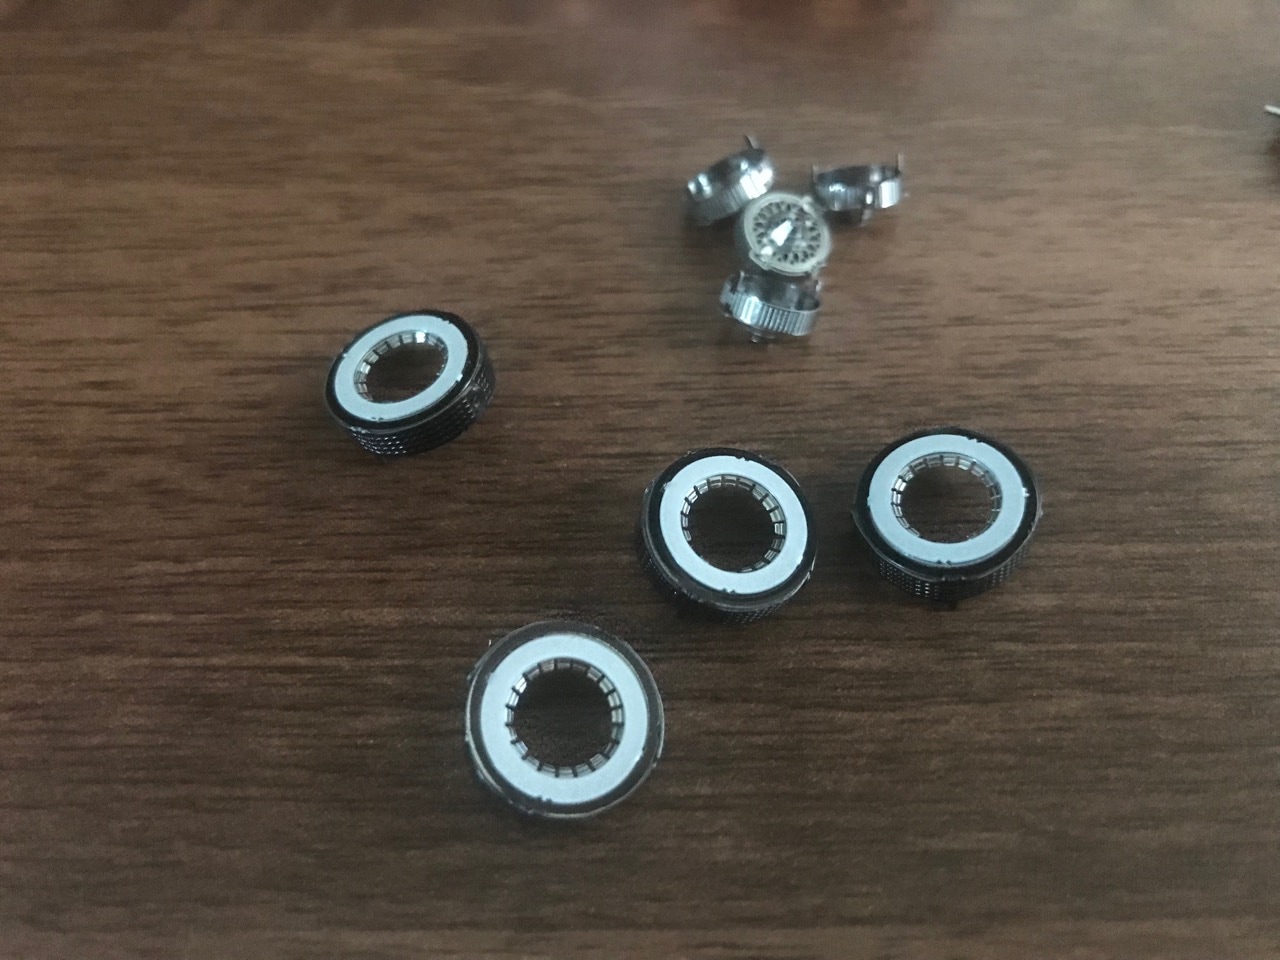
Next up is one of the fenders, and then 5 remaining inner wheels assemblies!? I thought this was an odd way to arrange instructions and the wheel assembly section felt a little out of place.
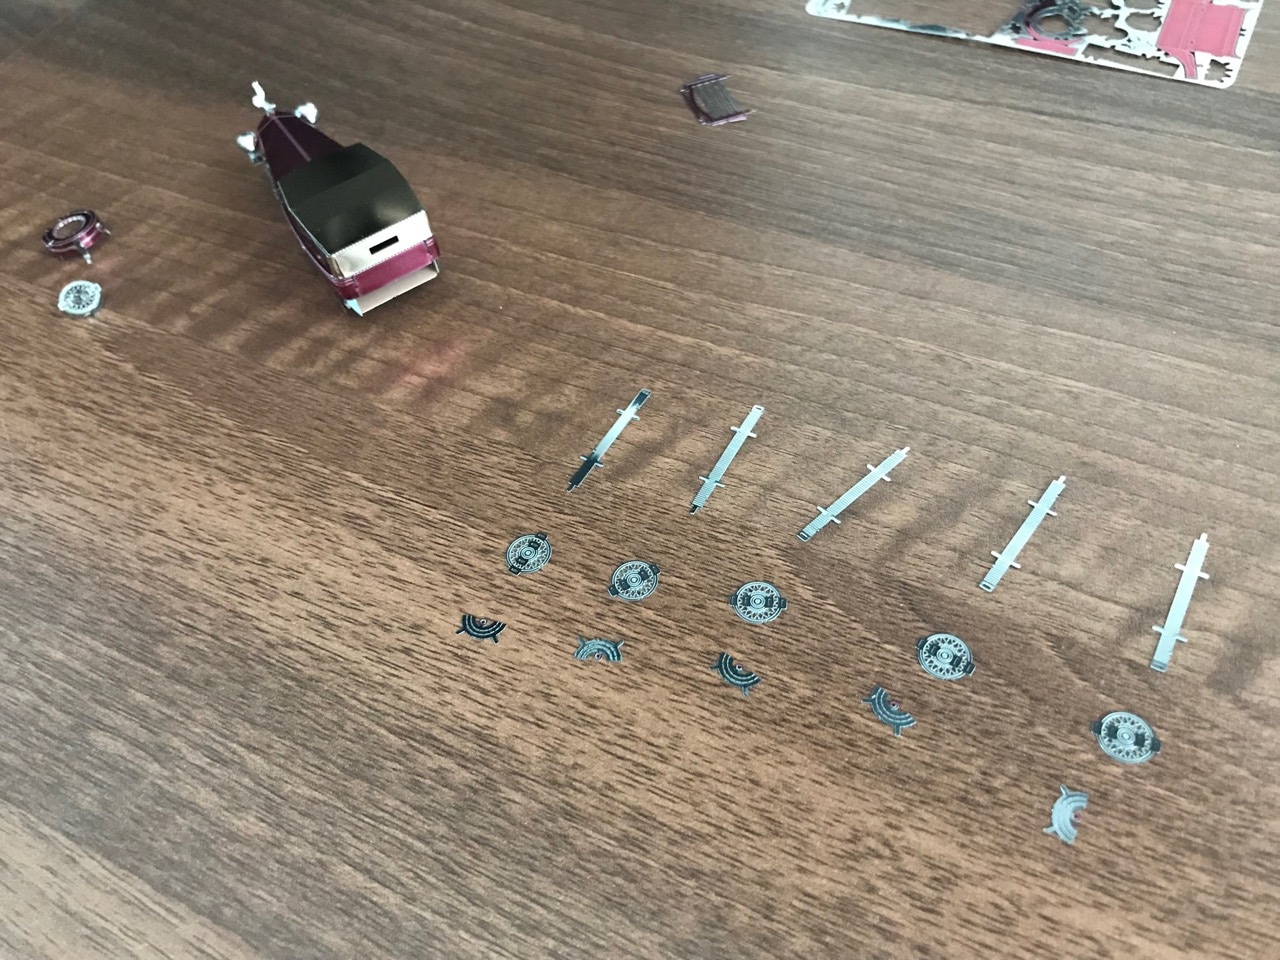
After this, both the front fenders are finished and the four outer wheel assemblies are put together.
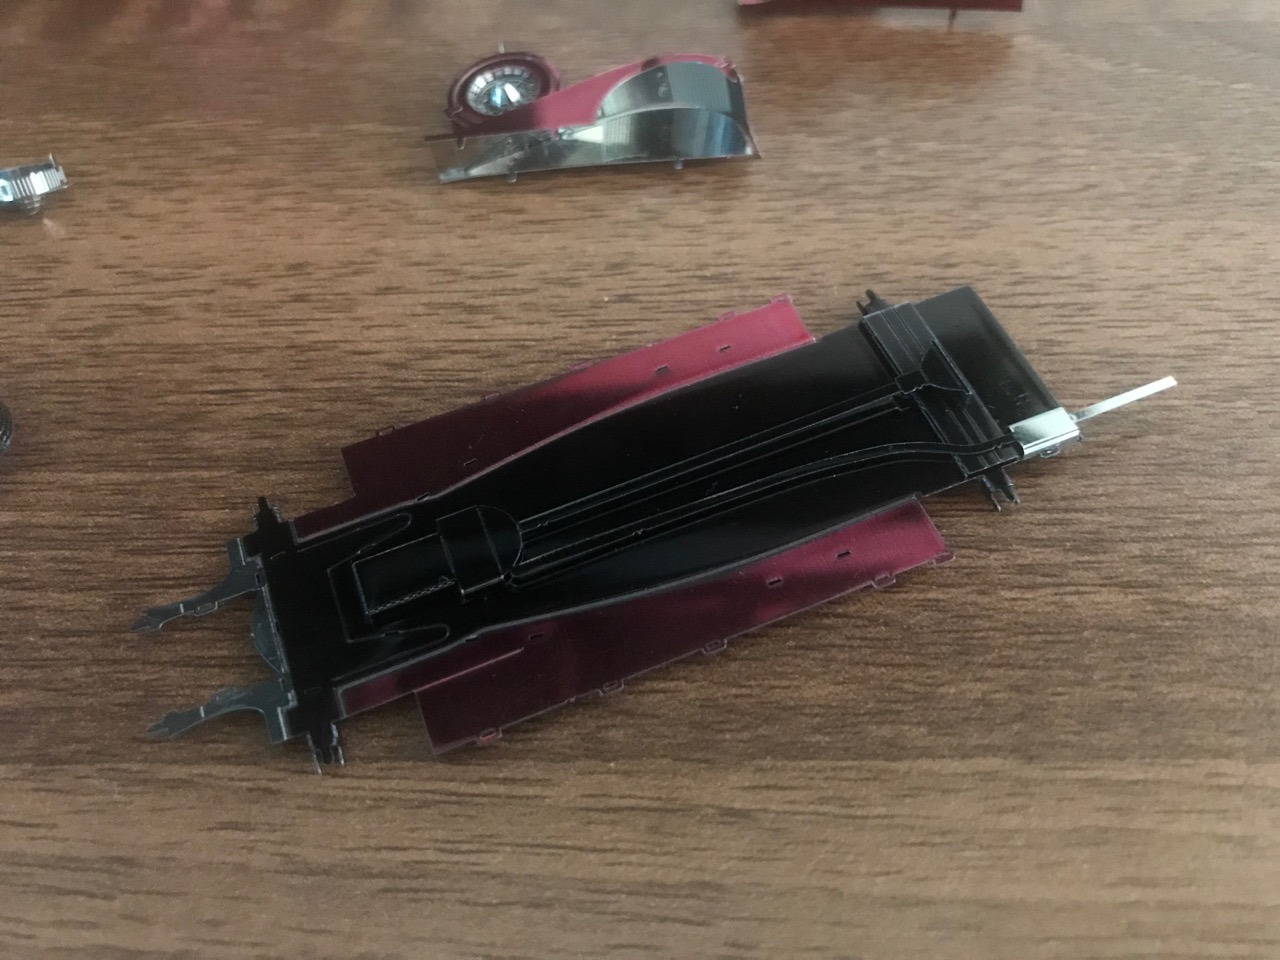
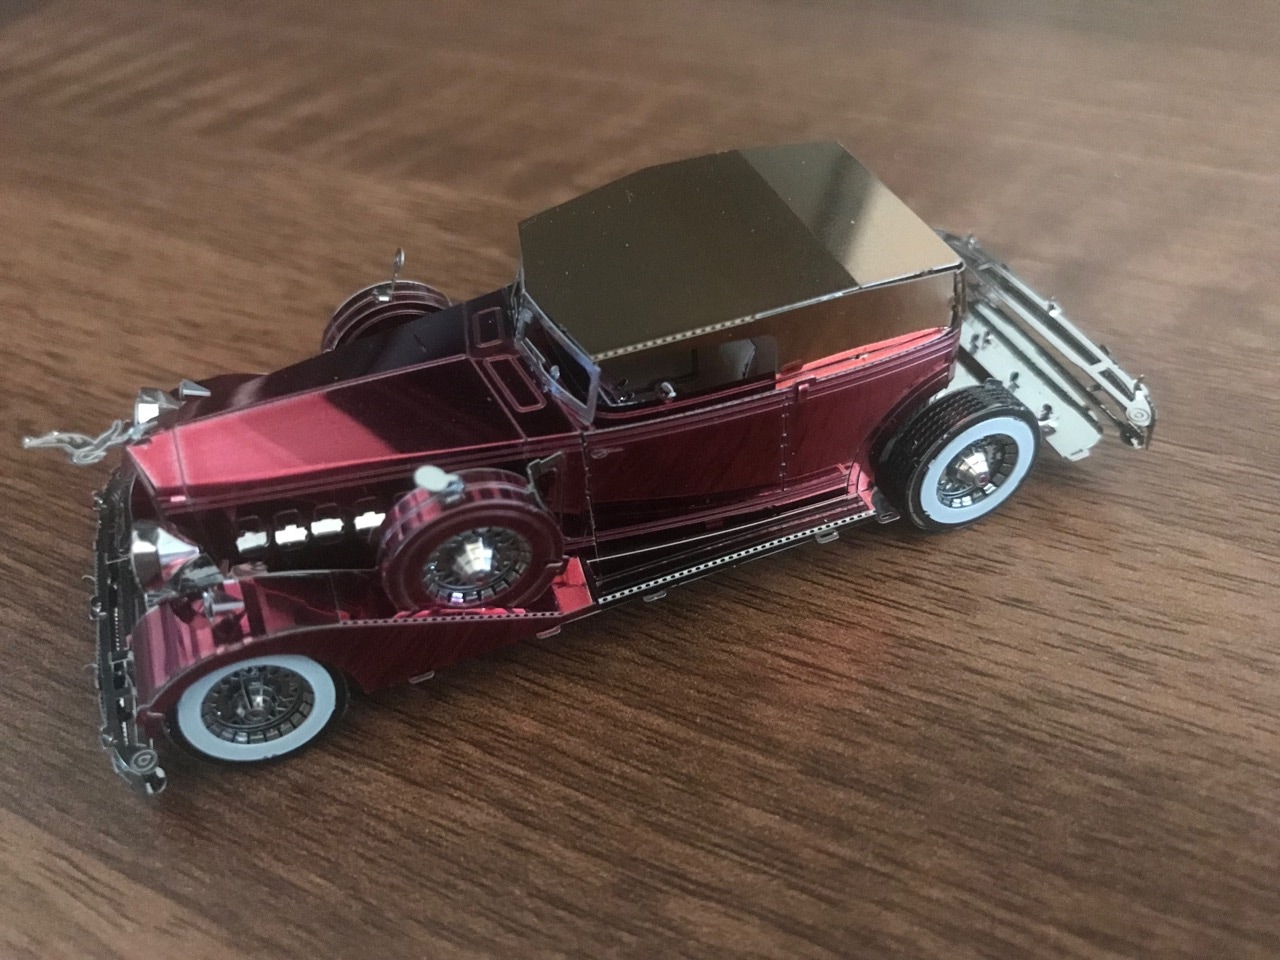
Next up is the underside detail. This includes the exhaust system and the drive train. I like that the last section of the exhaust is done in chrome and the rest of the piping uses black.
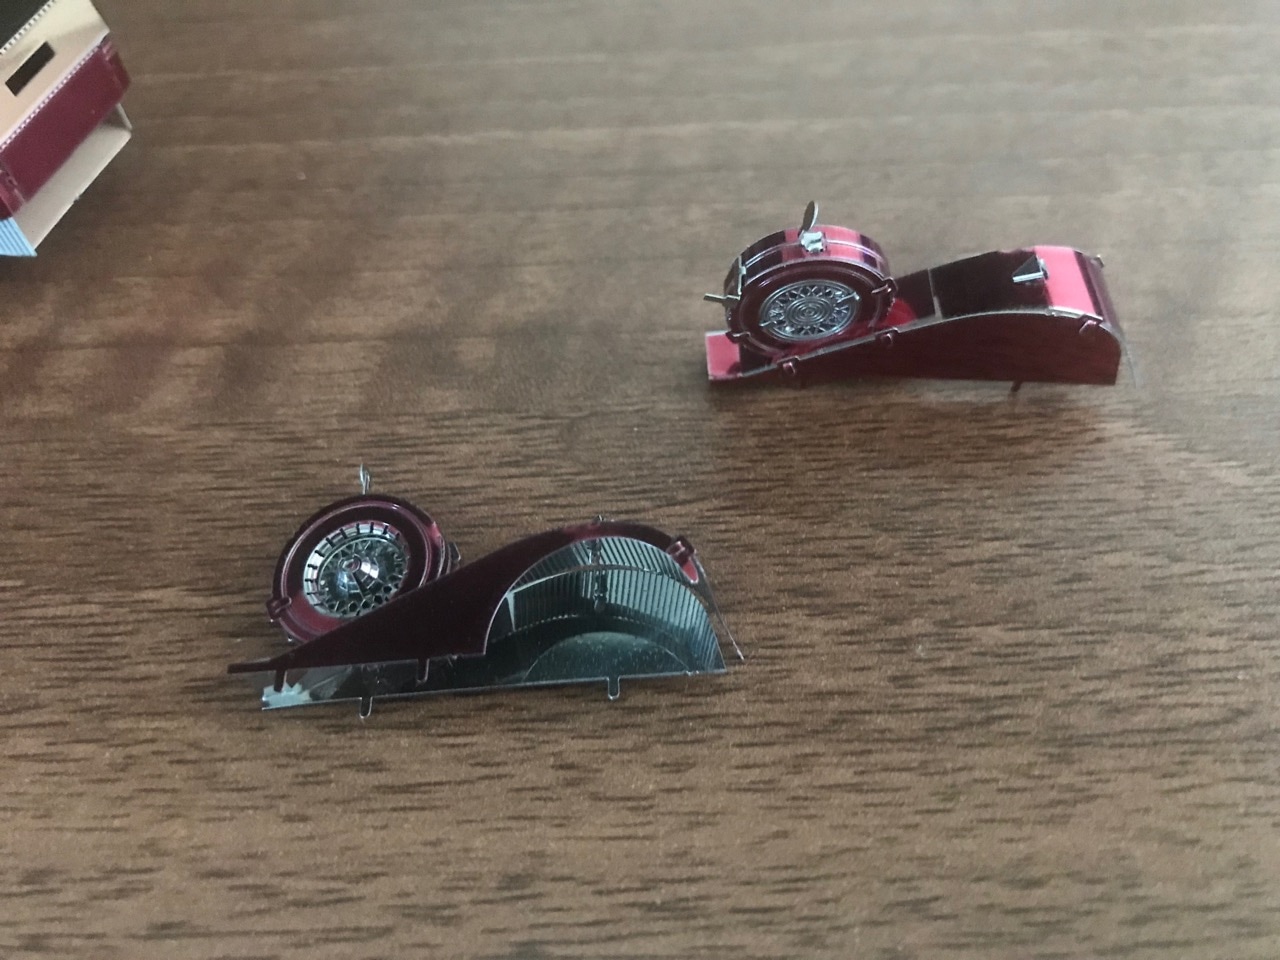
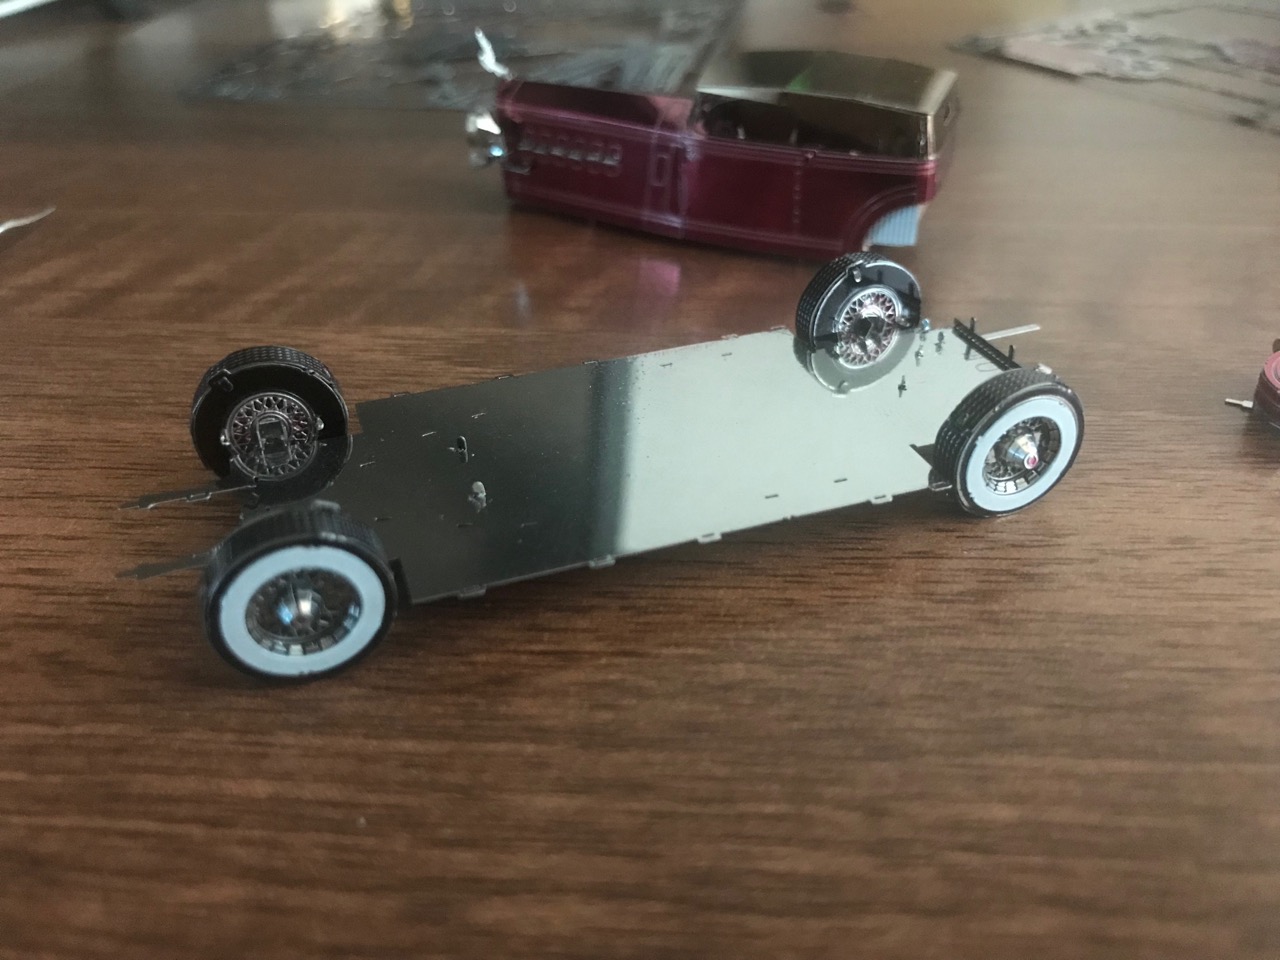
Once the underside is finished, the wheels and fenders can be fitted. For the wheels, the inner section is fitted first, then the outer (tyre) section is attached. These feel quite solid when finally put together.
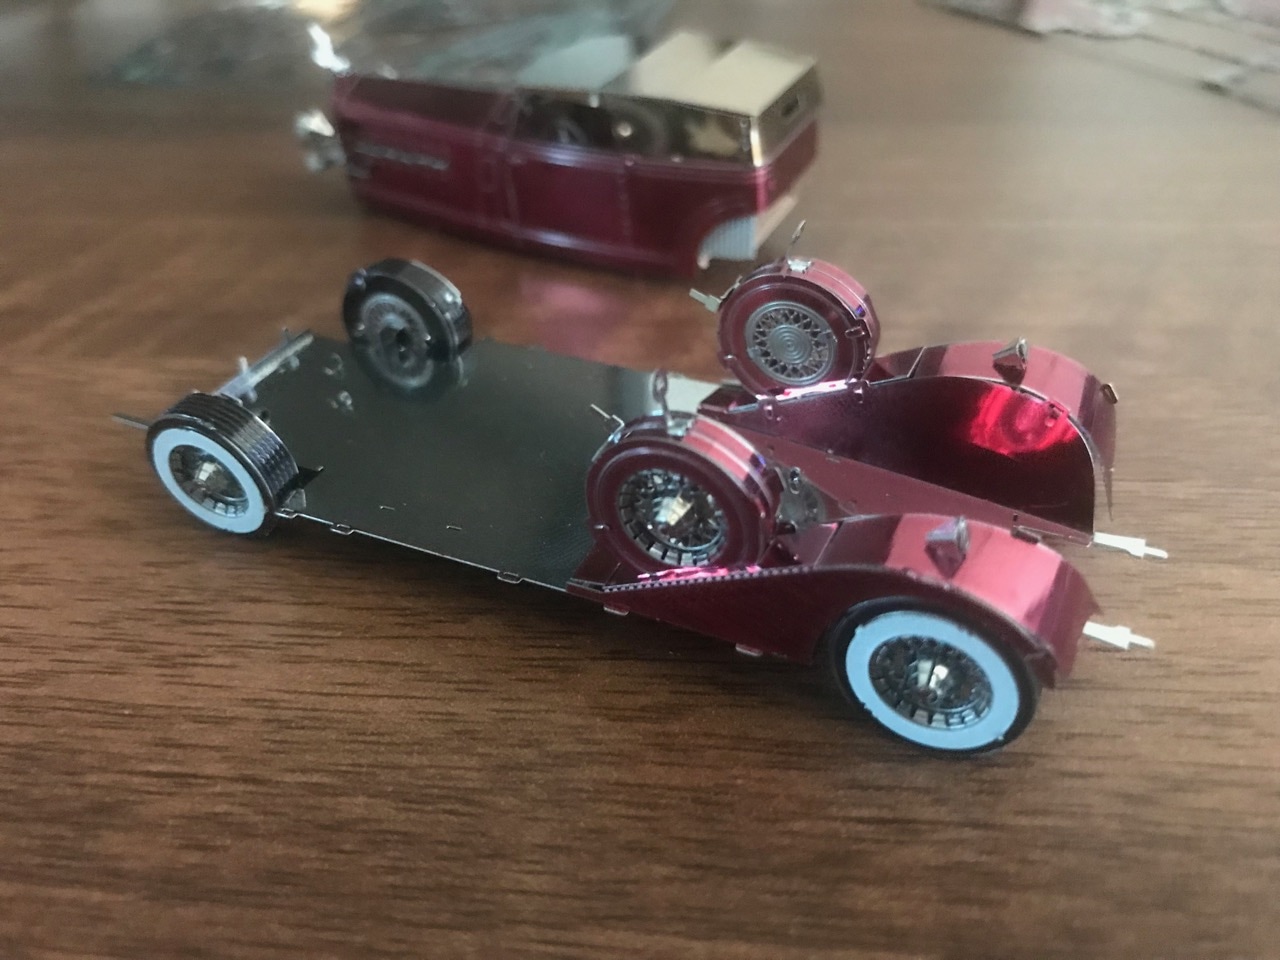
Before the rest of the car can be put together, the remaining detail sections are assembled. This includes the front and rear bumpers and the rear trunk section. There are those tiny conical lights again, but these are easier to put together than the ones on the front.
Here's a time lapse of the whole assembly...
So what do I think about this kit overall? It's very cool! It's only the second vehicle kit that I've put together, the first being the Batmobile, and I like the fact that this model has both an interior and exterior detail and of course the colours make it more special. If you want a challenge, this kit is also for you.
-i
