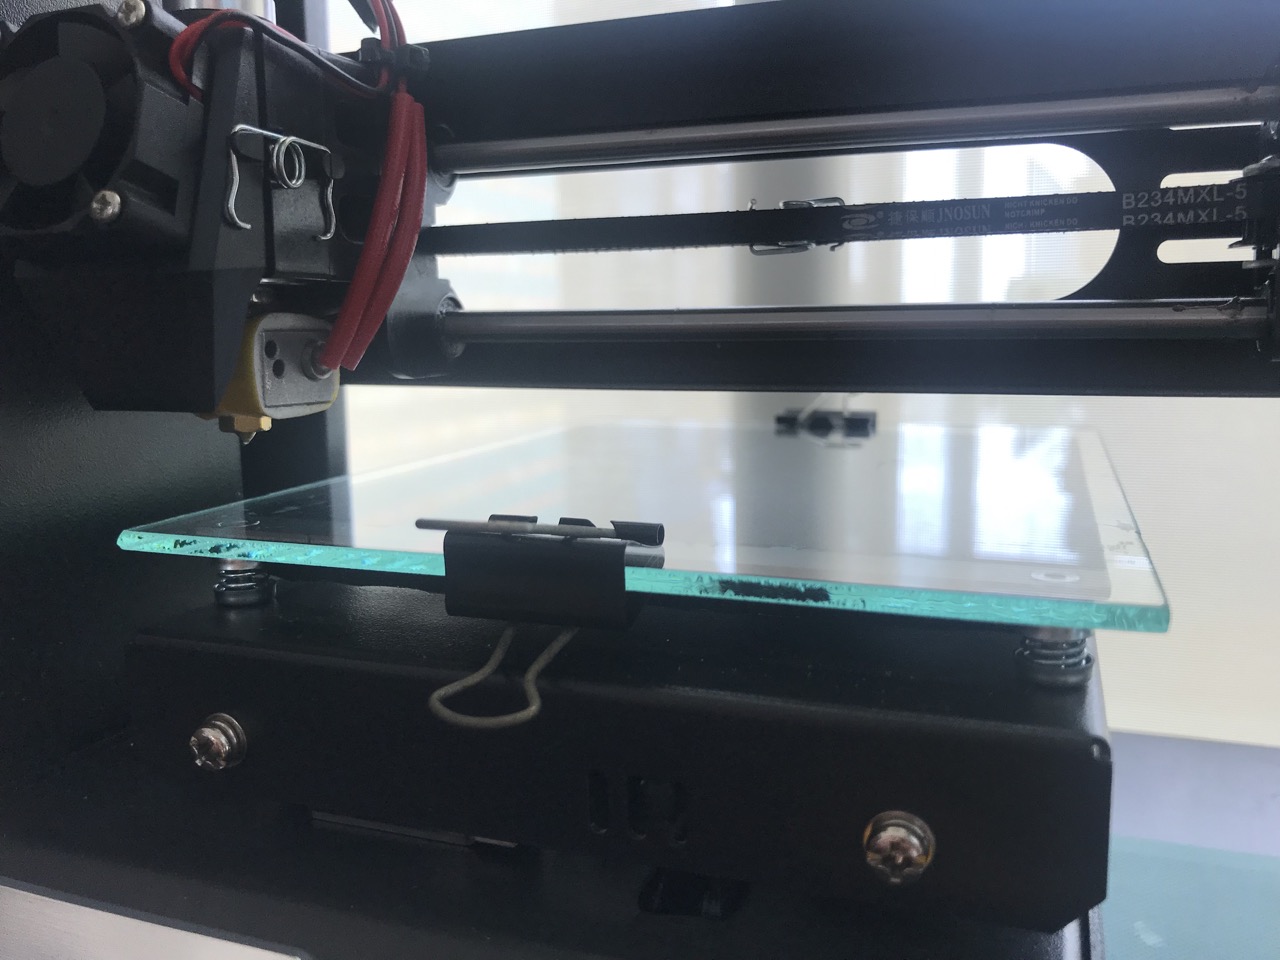
Printing on glass has many advantages. It protects the original print bed from damage, you can apply saline/sugar/diluted PVA solution to it for better first layer adhesion, you can remove the glass if a print is stubborn and stuck, and it conducts heats really well.
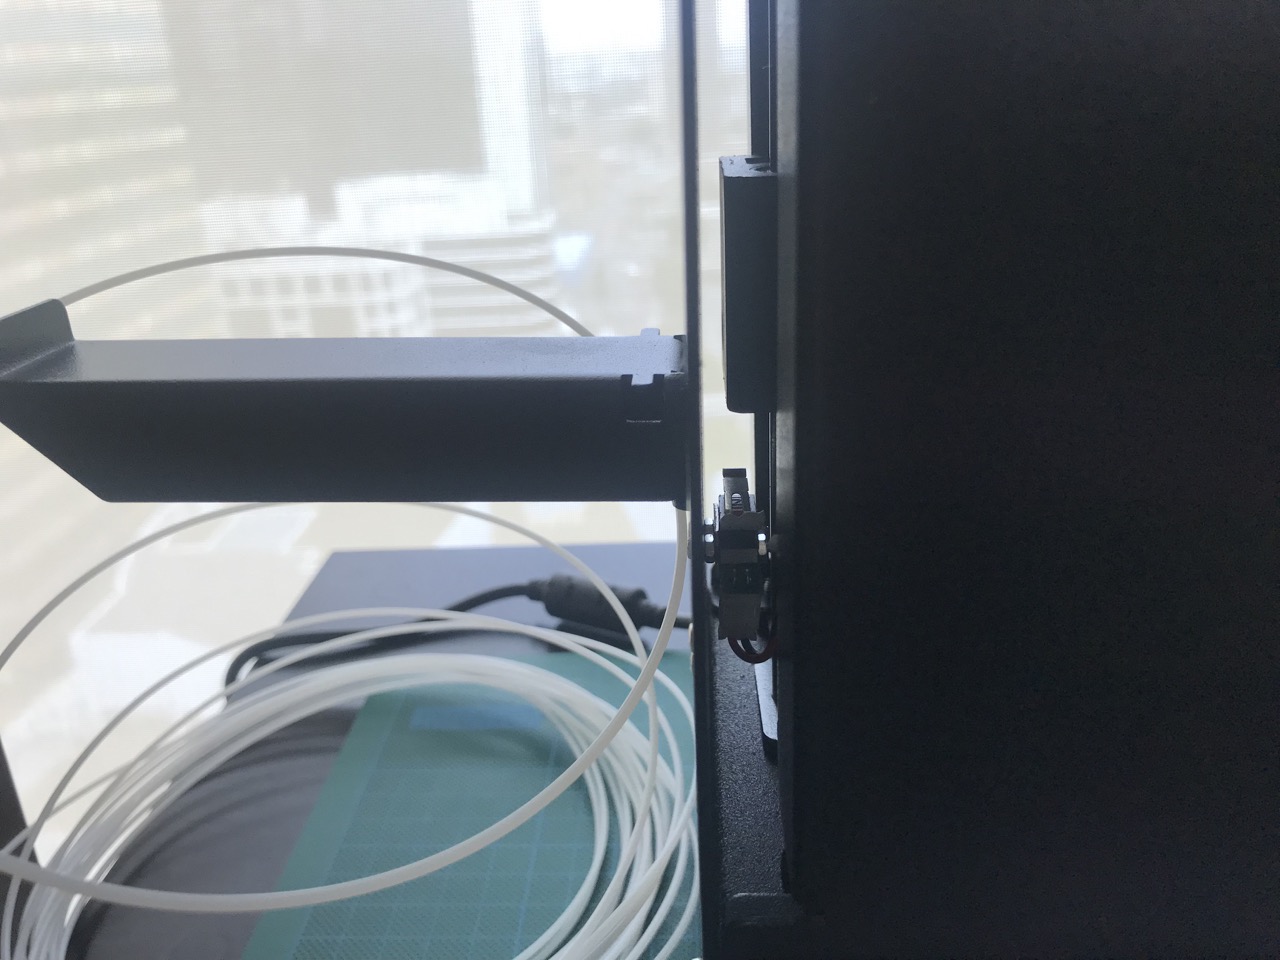
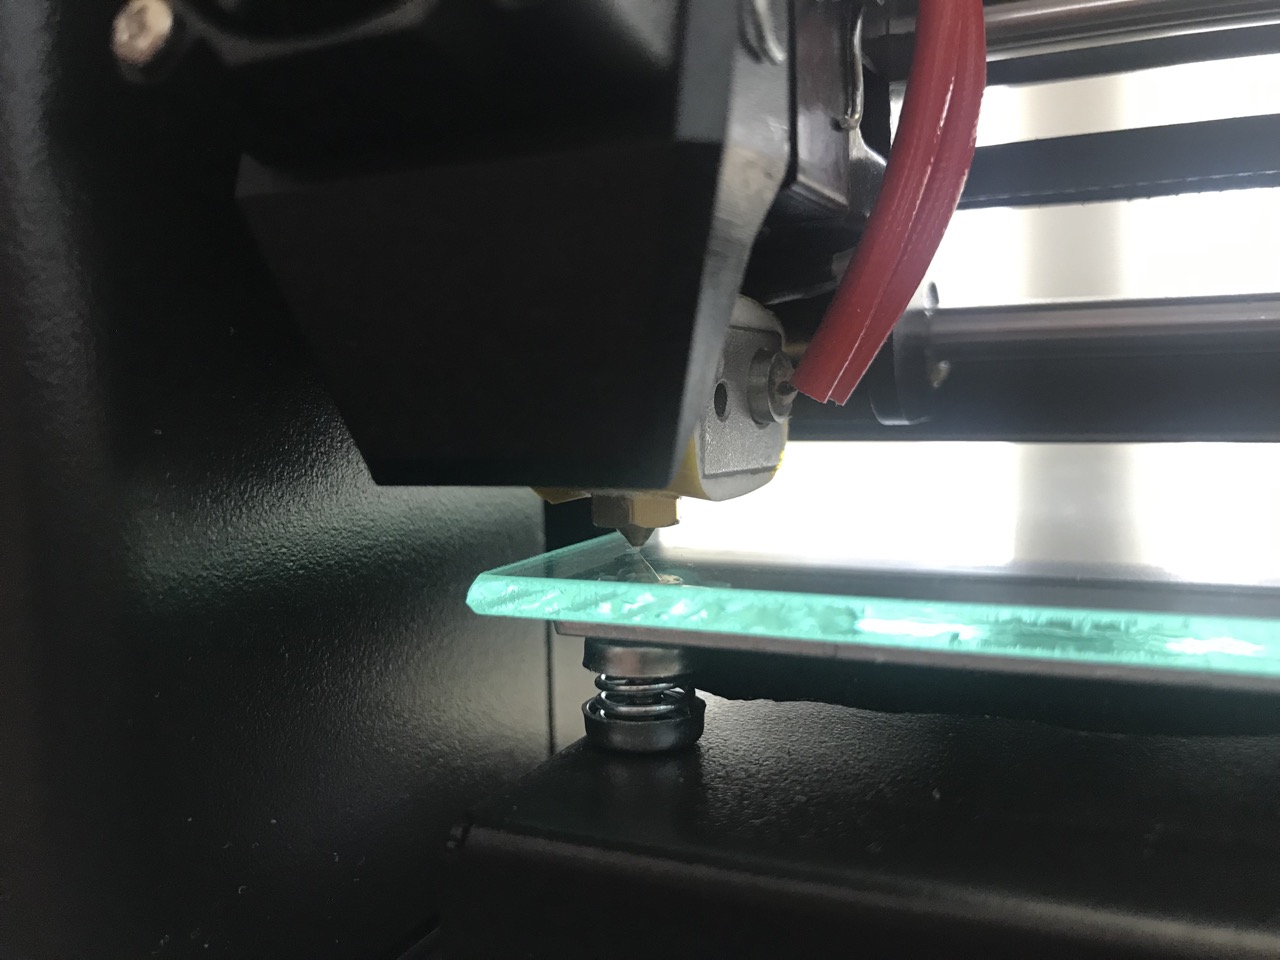
The only problem is this printer is not set up to have a 3mm piece of glass sitting on top of the print bed and there is no out of the box adjustment for the Z axis stop switch. So I had to improvise. The Z axis switch is accessible with some needle nose pliers, so I used double sided tape to adhere a foam pad on top of this switch and adjusted bed height to suit. (The print bed adjustments on their own didn't allow for an additional 3mm gap.)
The foam gave me a pretty good fit but I noticed that due to compression of the foam, the Z axis was off on repeated prints.
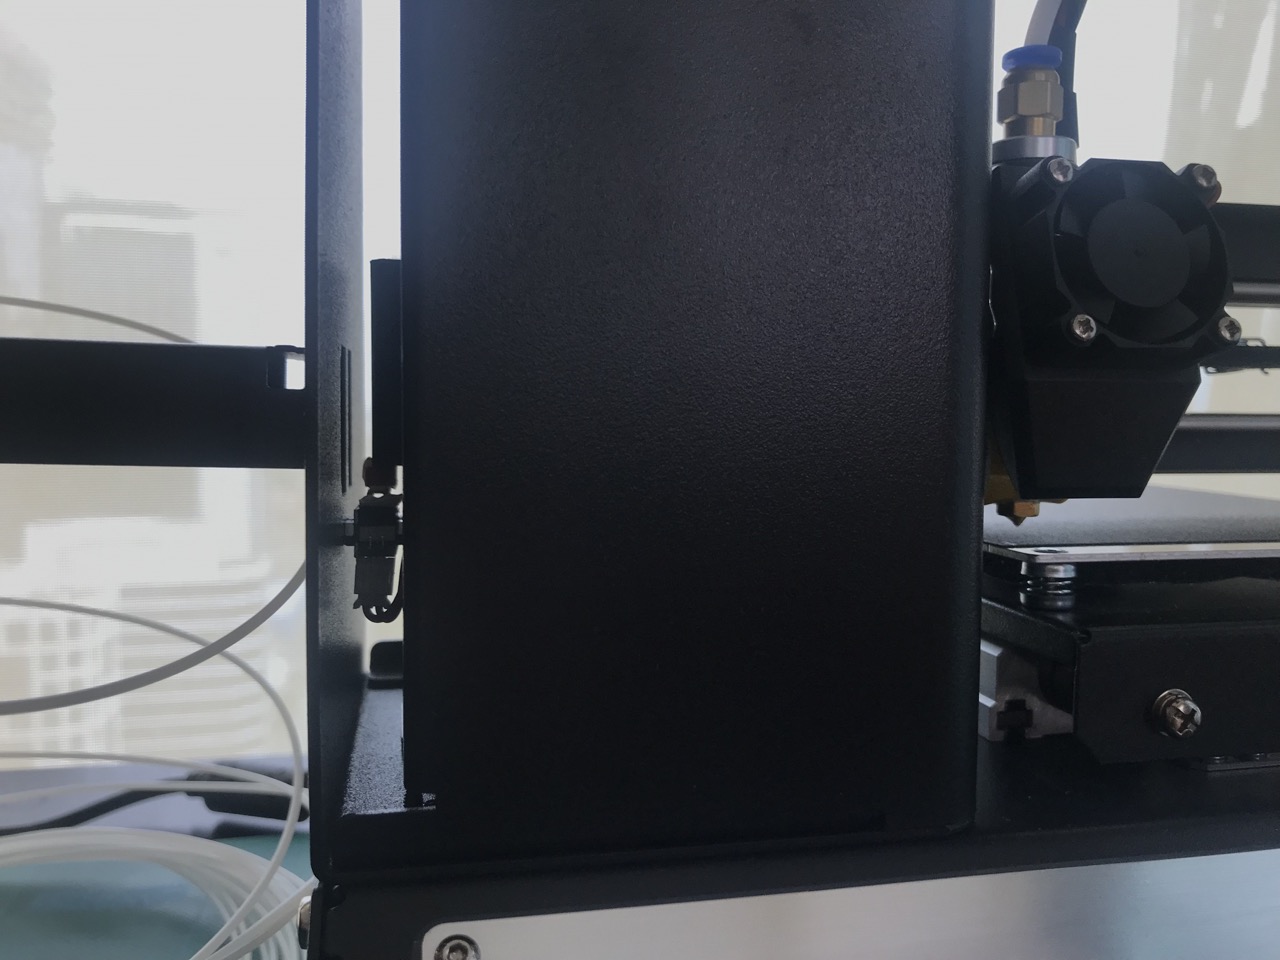
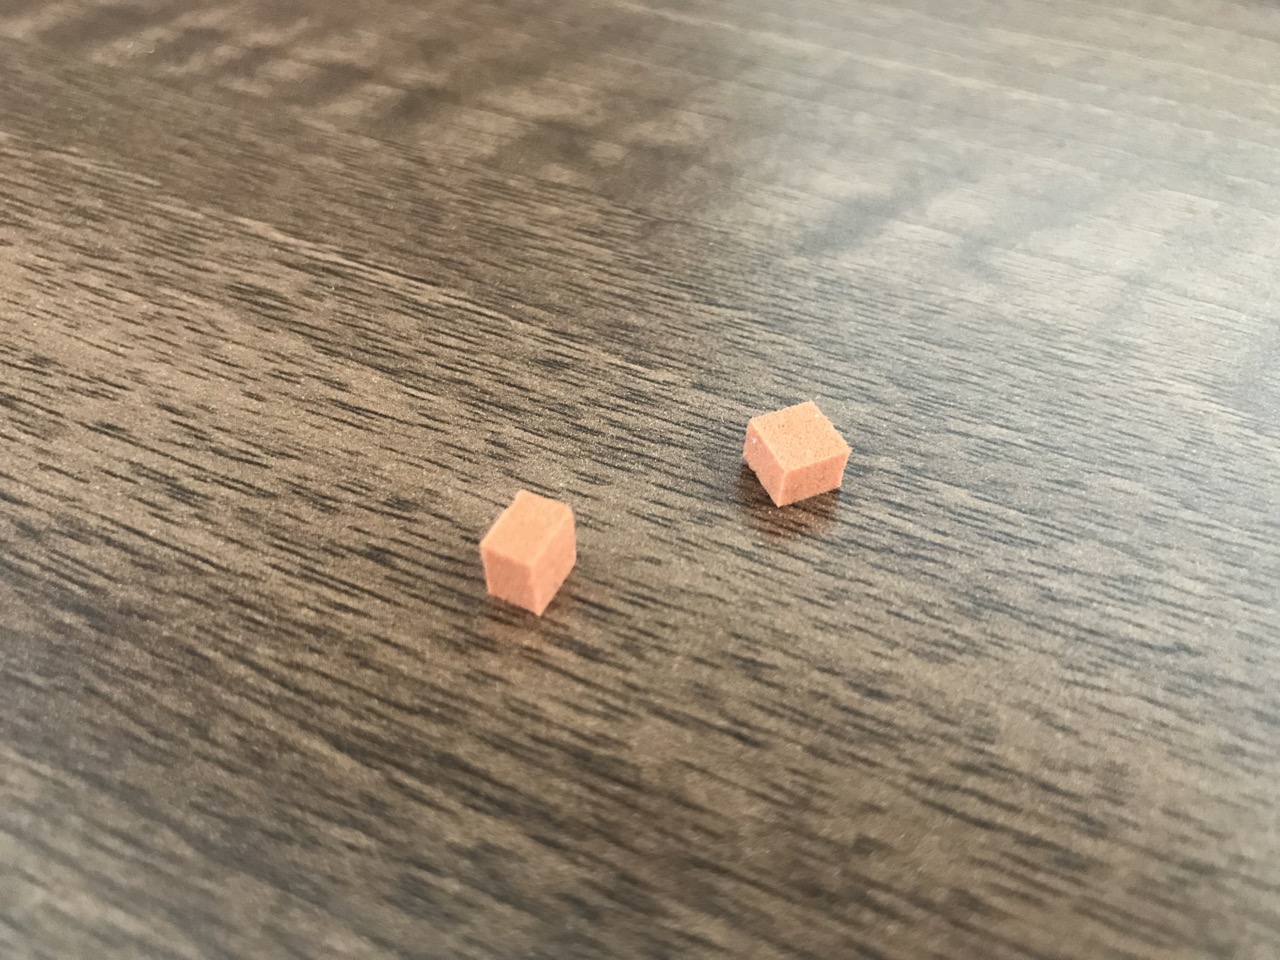
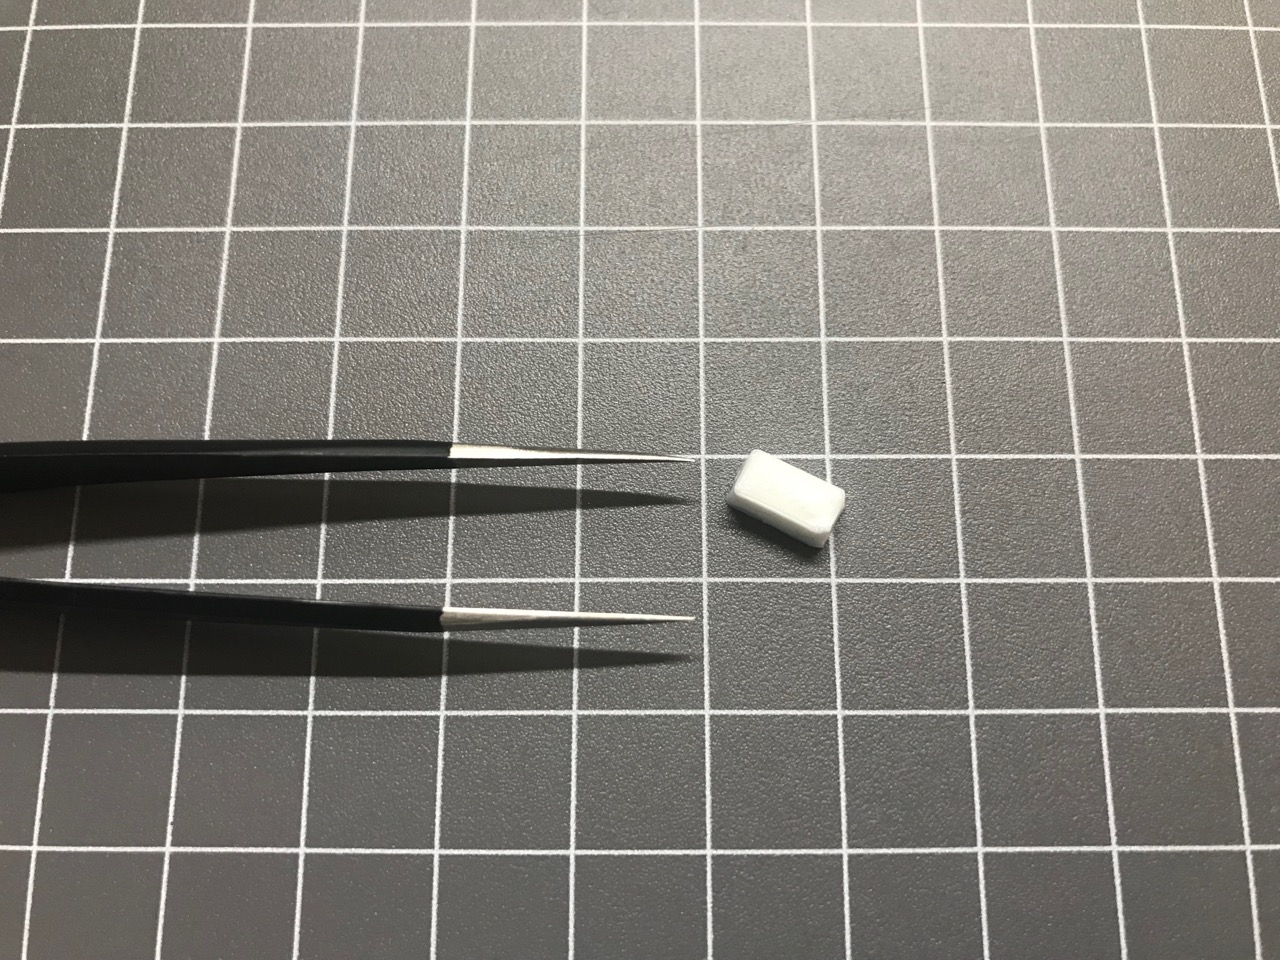
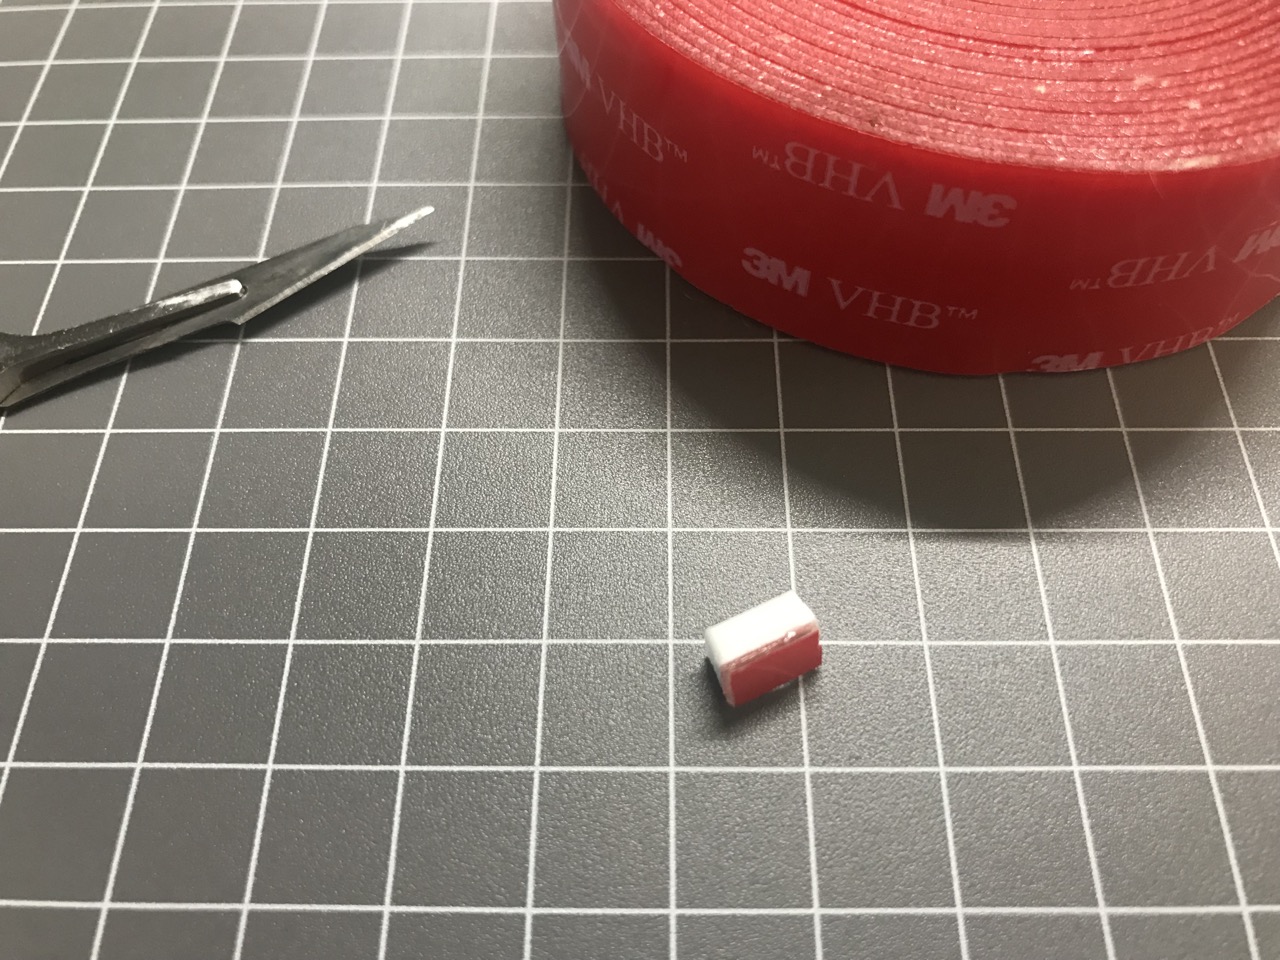
So the solution was to 3D print a 3mm tall block, which I then stuck on to the Z axis switch using double sided tape.
That worked out great and I've been printing non-stop since then without any issues. If you're interested in what I'm printing so much of - it's game cartridge shells for Atari Lynx, to use with the programmer pi-hat that I'm building and selling.
-i
