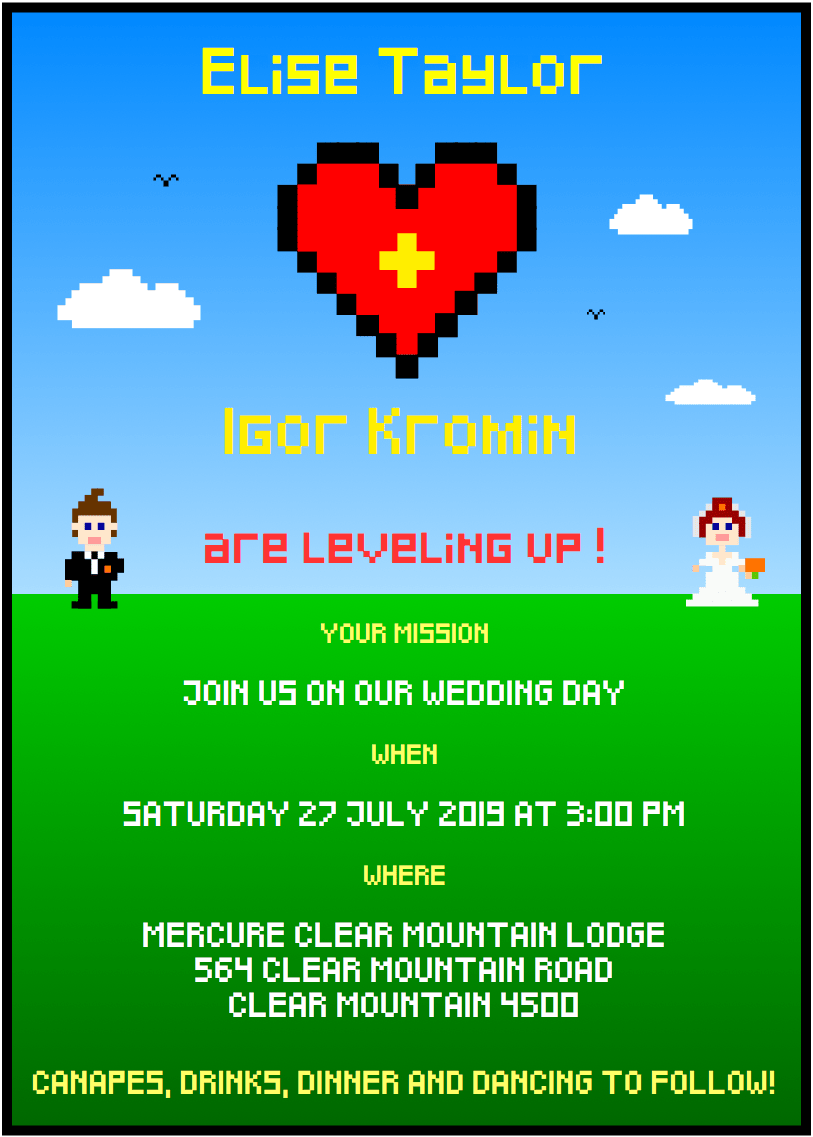
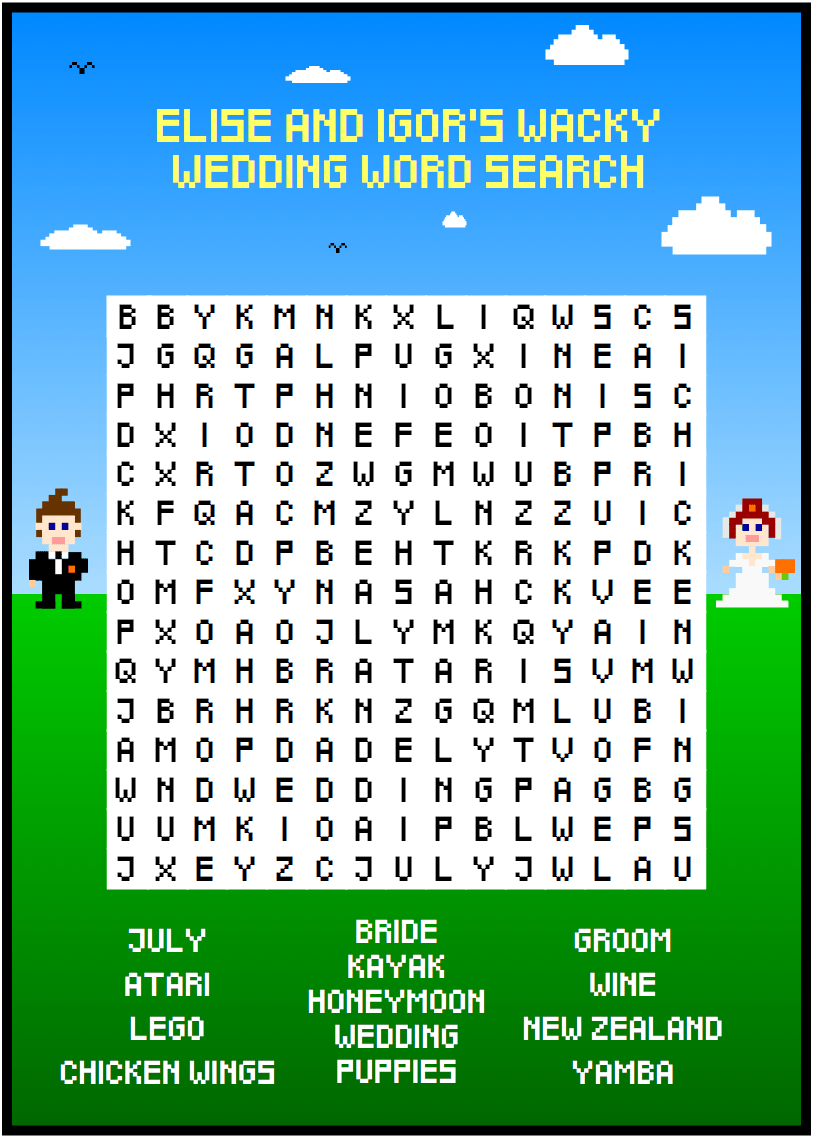
In the next few months some other ideas around the theme developed and we realised that since we started with the 8-bit game theme, we had to carry it through now. For the physical invites, we decided to go a little further. Everyone who RSVPd got a "guest pack" which consisted of a glossy printed invite, venue details and a "whacky wedding word search".
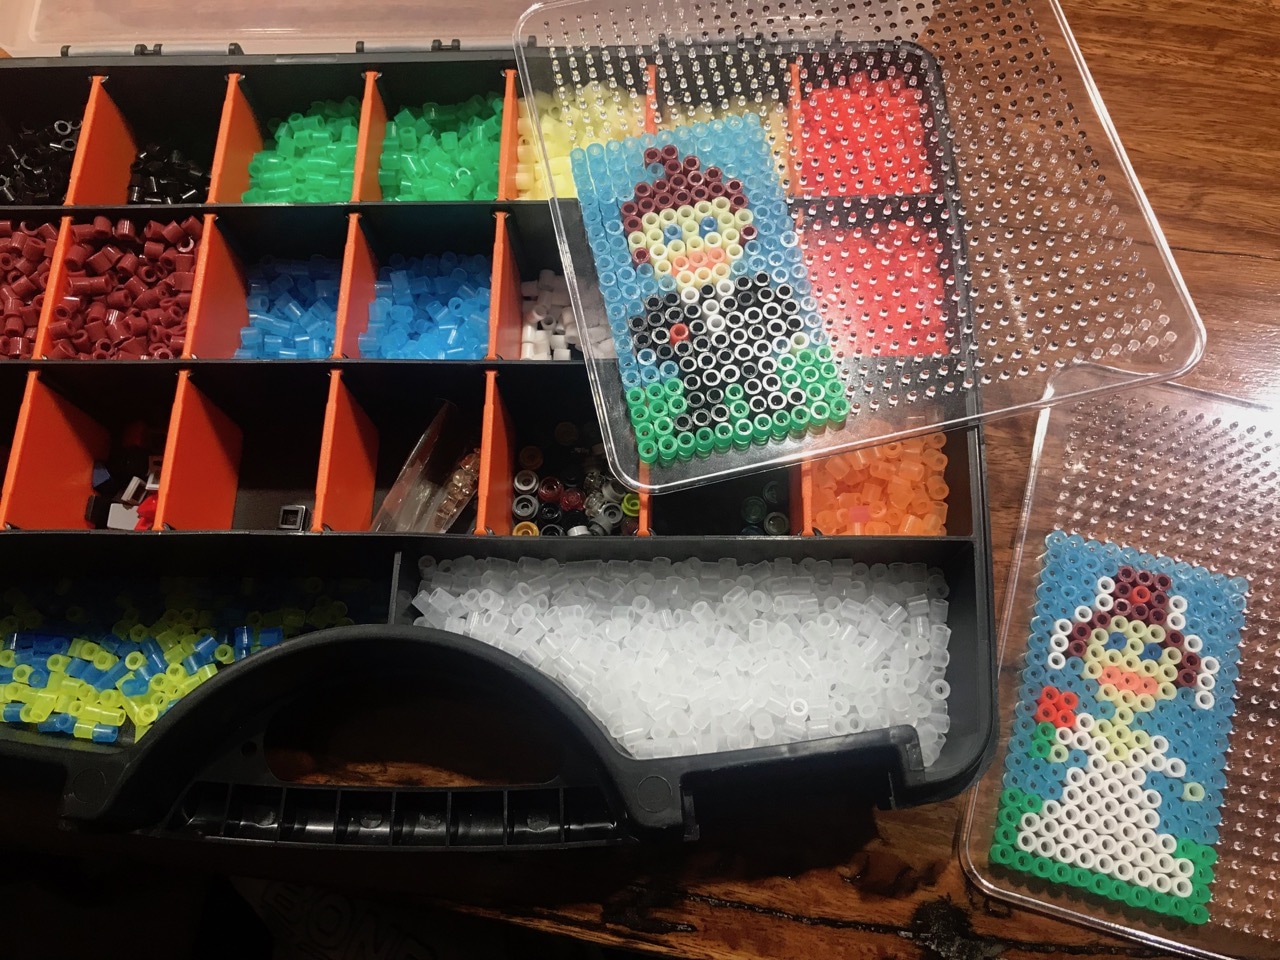
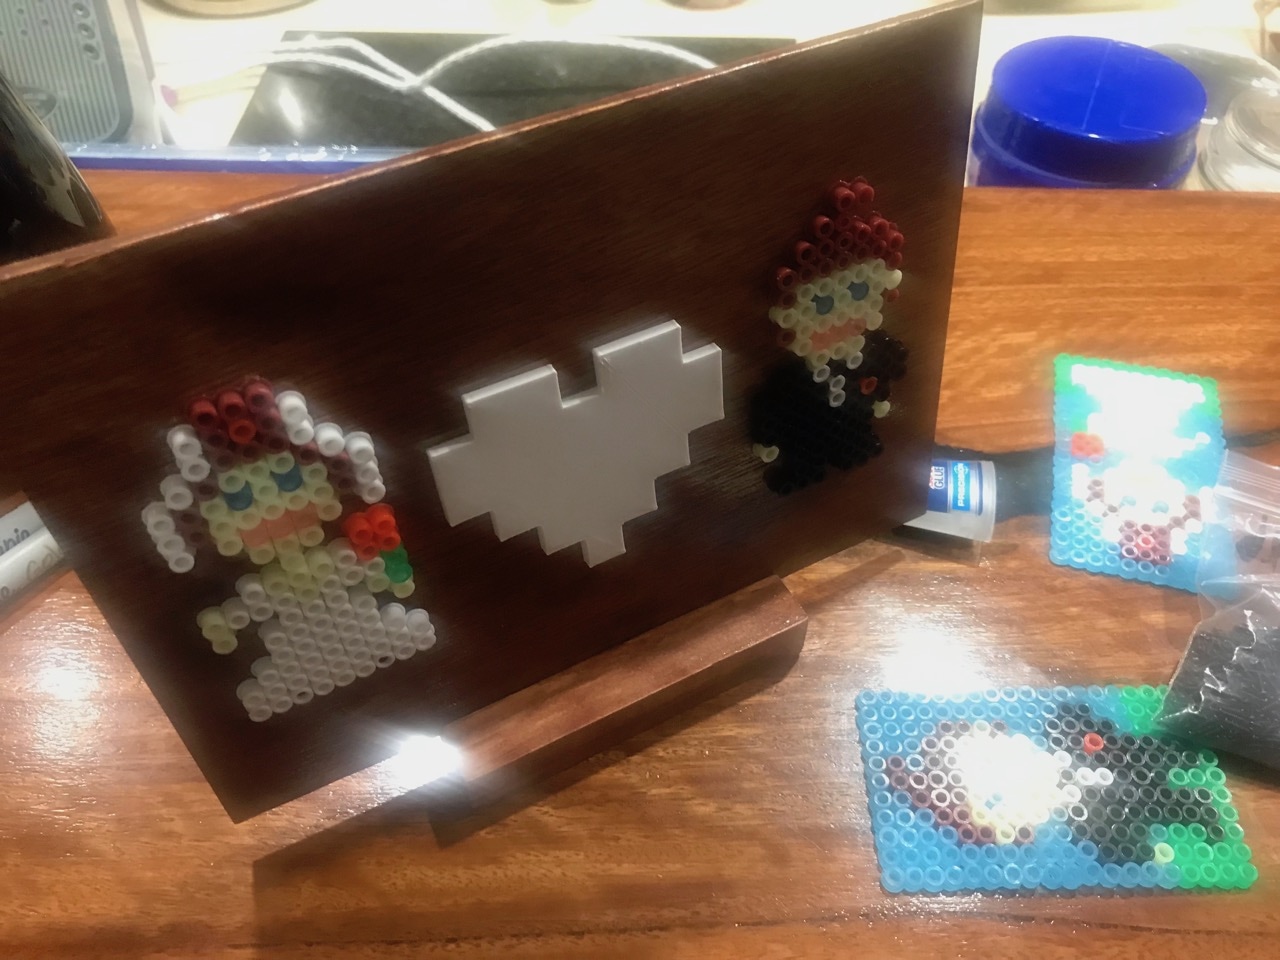
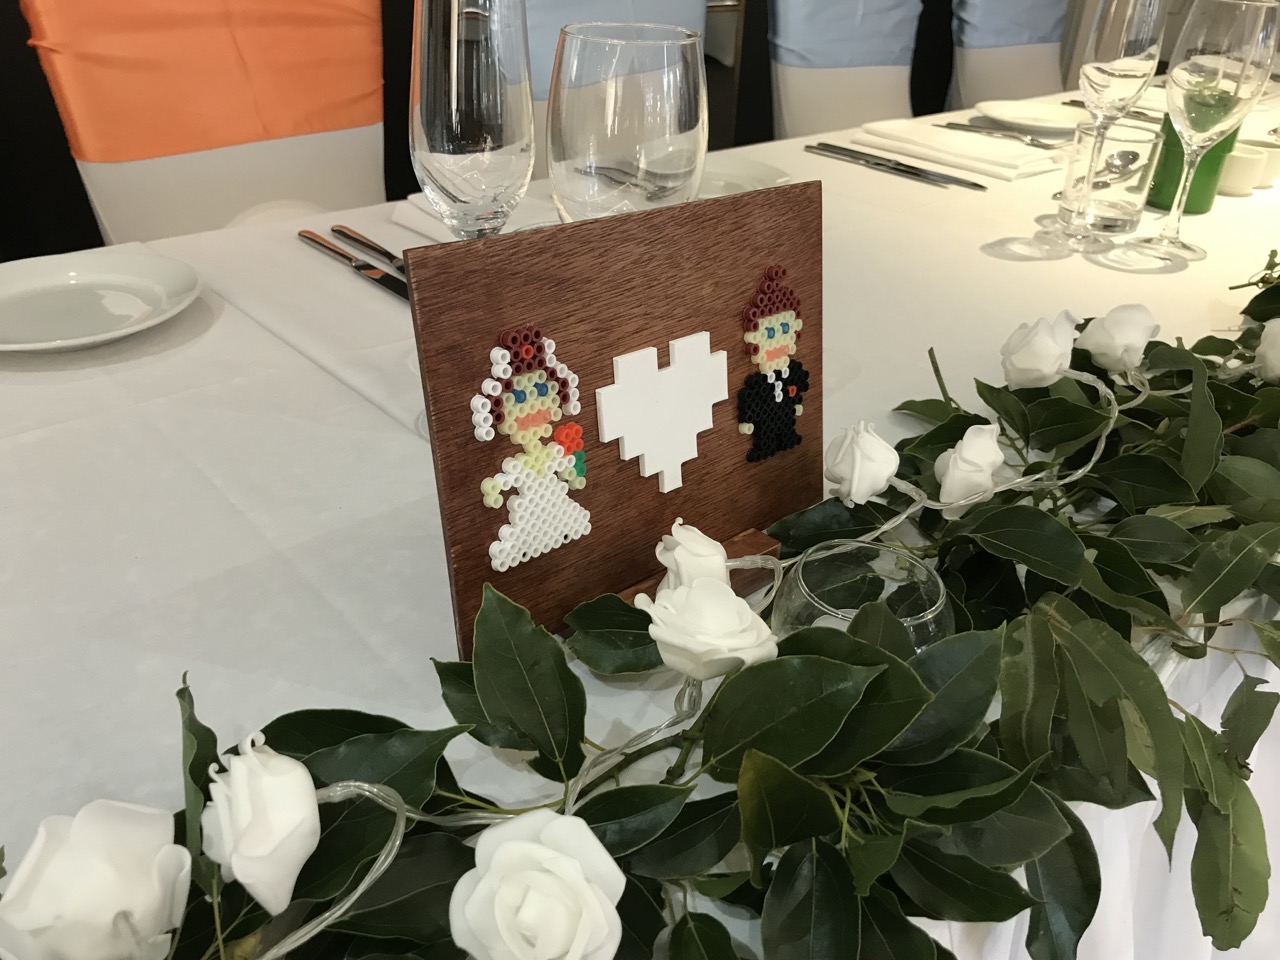
That felt a little empty, so I had the idea that we should make fridge magnets of our "pixel people" using hama beads. We ended up using over 15 thousand beads, each placed by hand, for all of the magnets. Initially I didn't think it would be a big effort, but then it took us over 3 weeks to make them all. We also added heart shaped candy to fill out each of the guest packs. After all the guest packs were mailed out we found out that the glue on the magnets wasn't strong enough, causing them to fall off after a few days, doh! Nobody complained though.
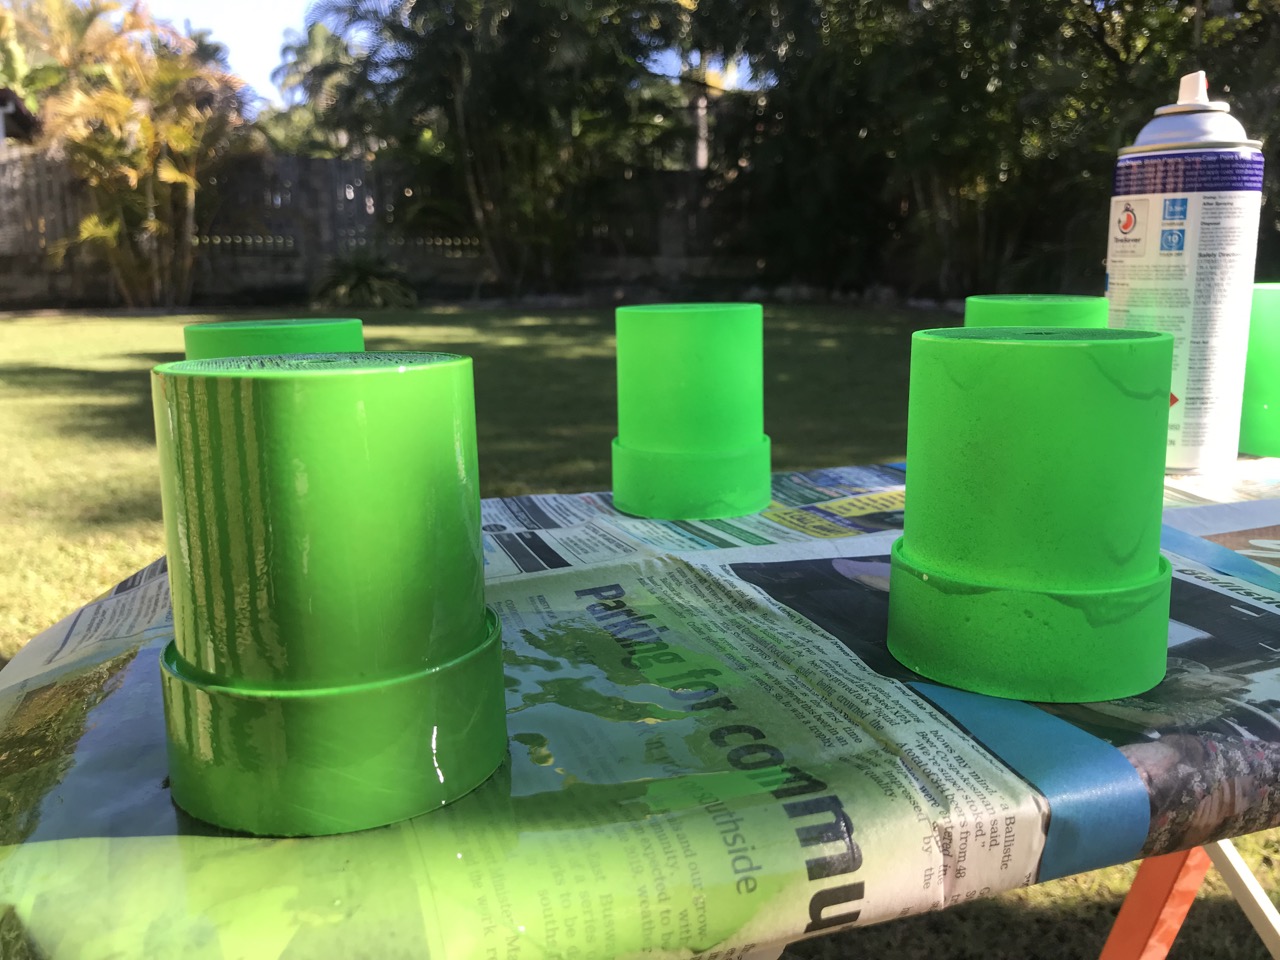
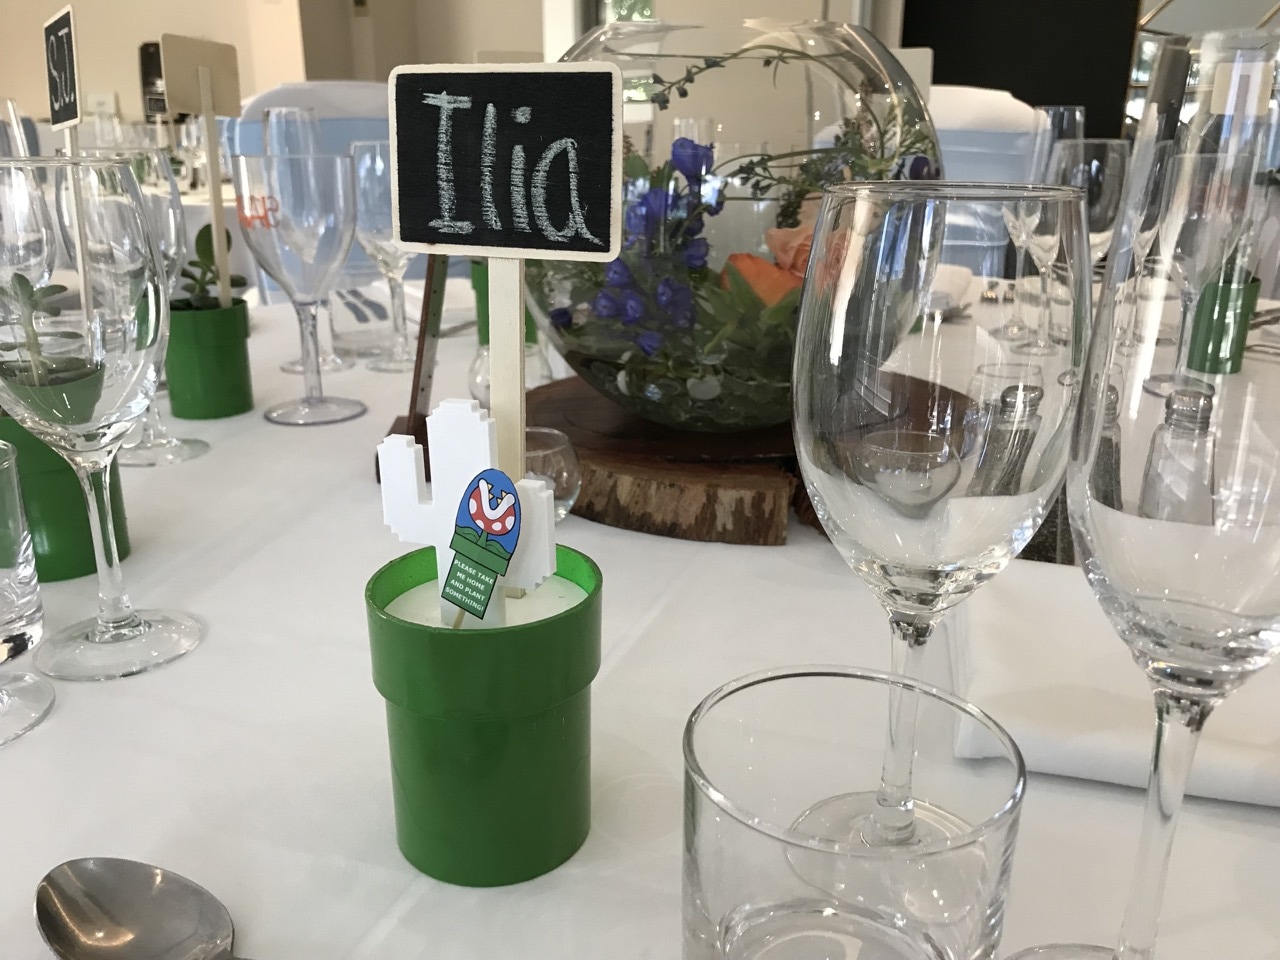
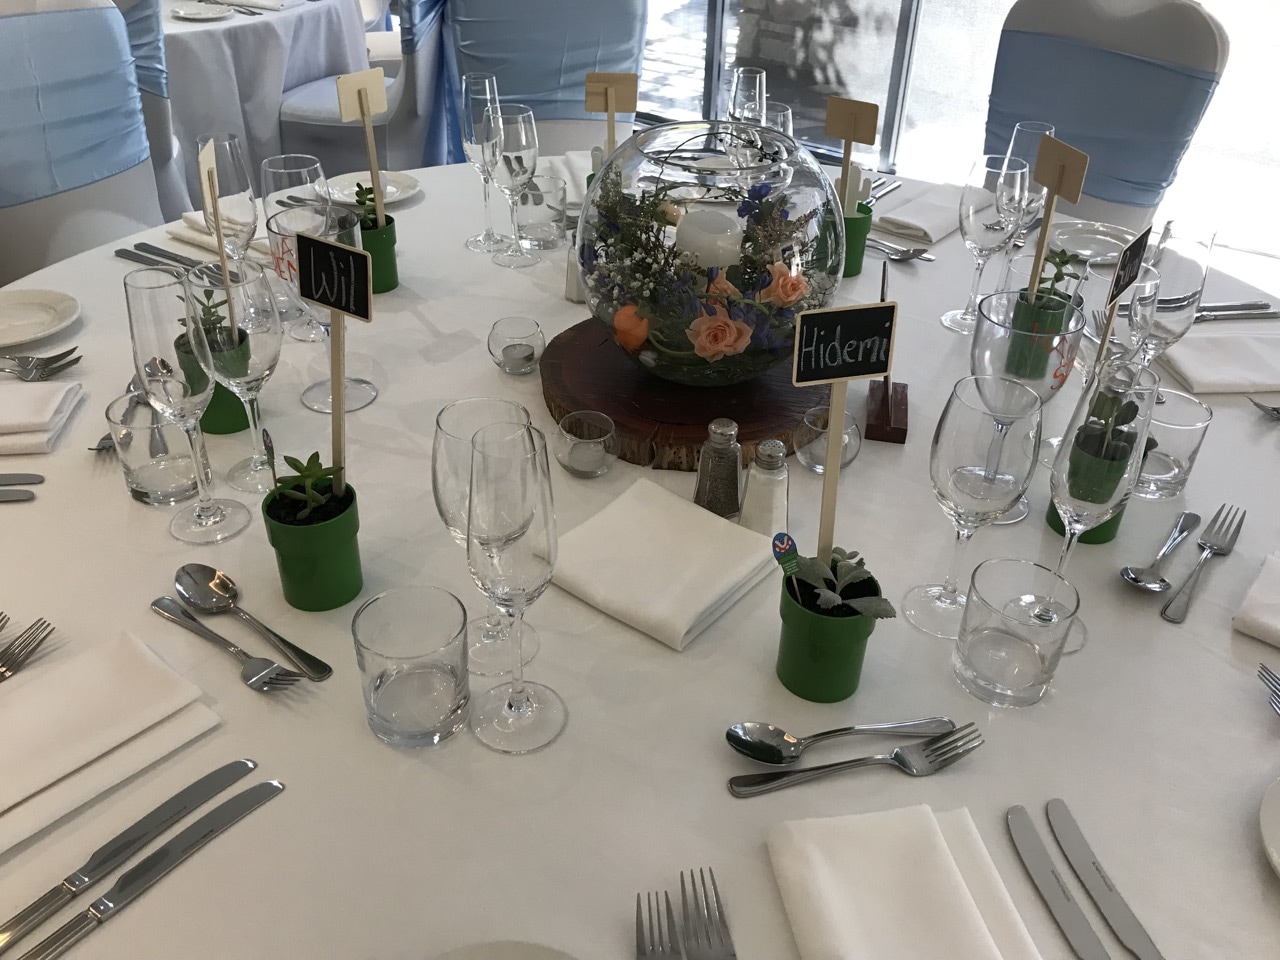
After making so many fridge magnets we didn't really want to spend a whole lot of time on the favours (presents that each guest took home), but somehow this also ended up being an epic task...mostly for me. I really wanted to have the "Mario Pipe" planters, so went out to my local hardware store and bought up all of the Downpipe Stormcloud Sockets they had available. These needed to be cut down to size first (which my dad and brother helped with). I also had to 3D print and glue in bottoms for each one and then of course paint them in the correct colour.

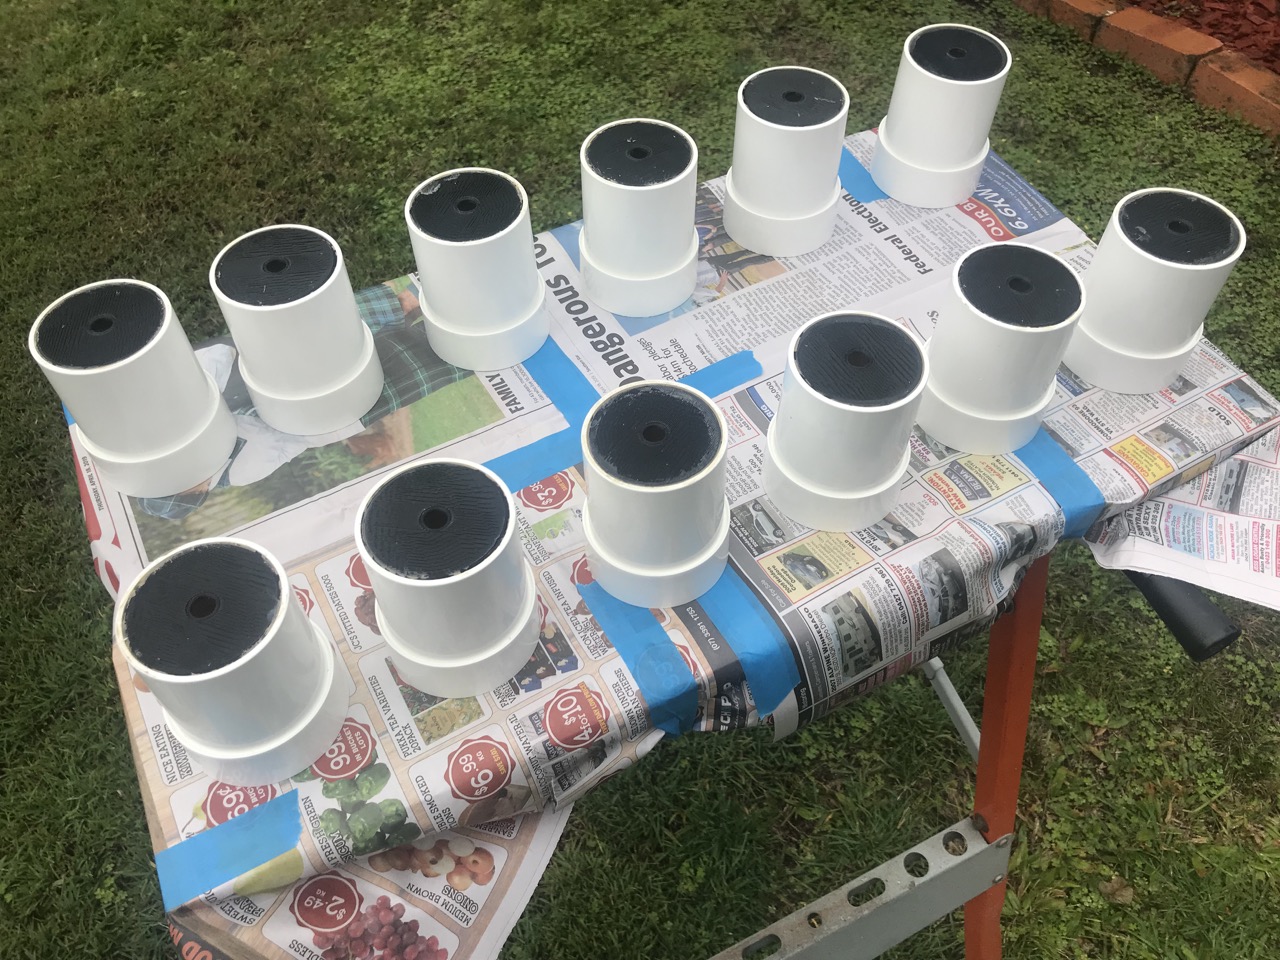

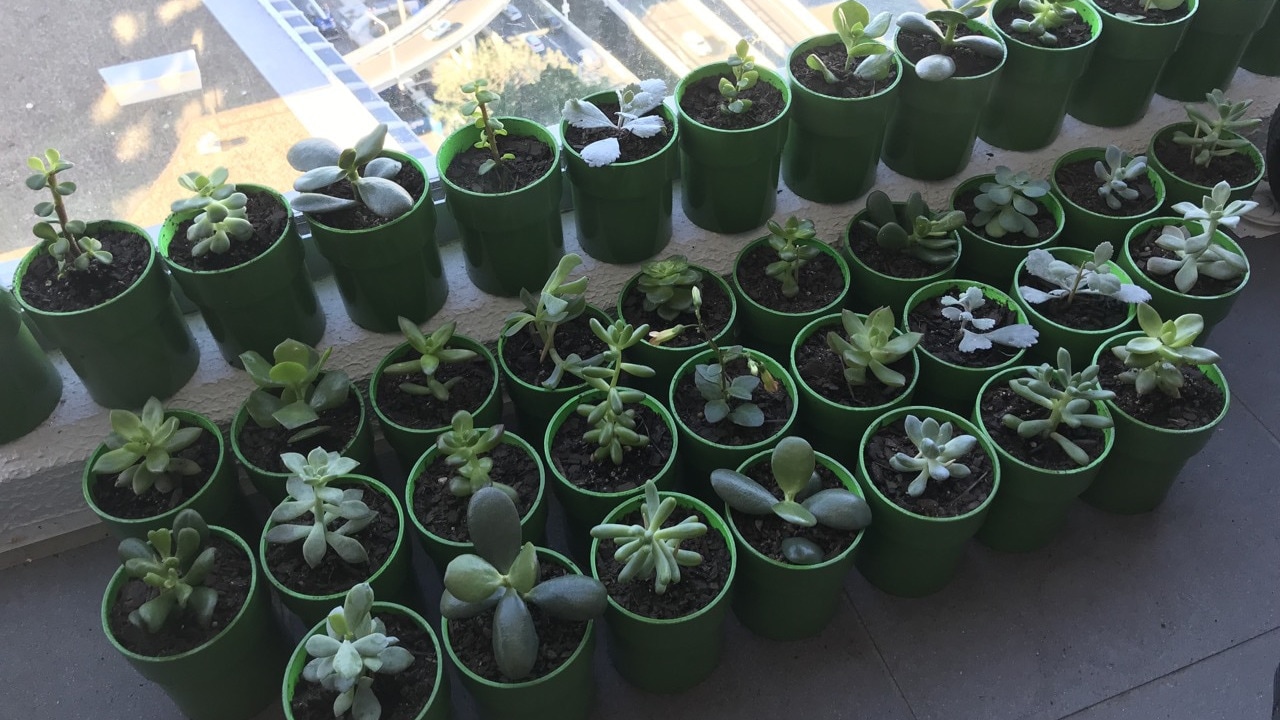
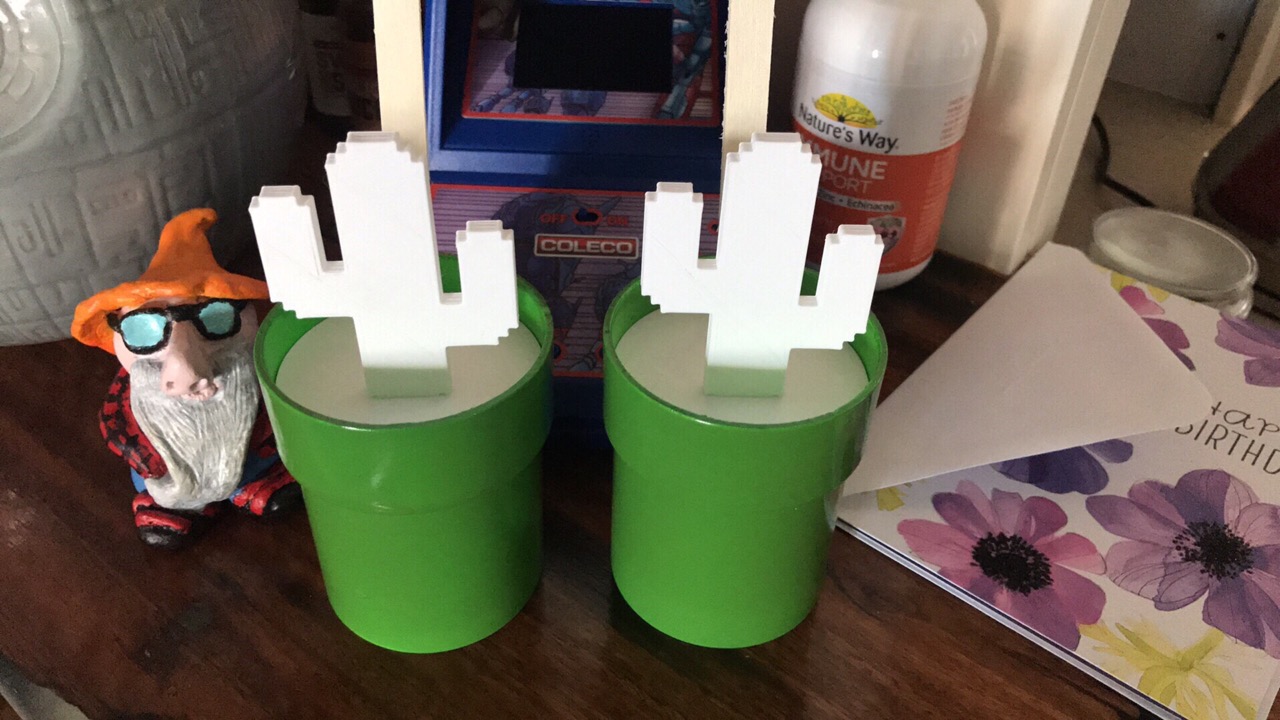
Once all the paint was cured, succulents were planted in each pipe. Of course for the guests coming from overseas and those who could not take a plant back home, I 3D printed fake cacti for their pipes!
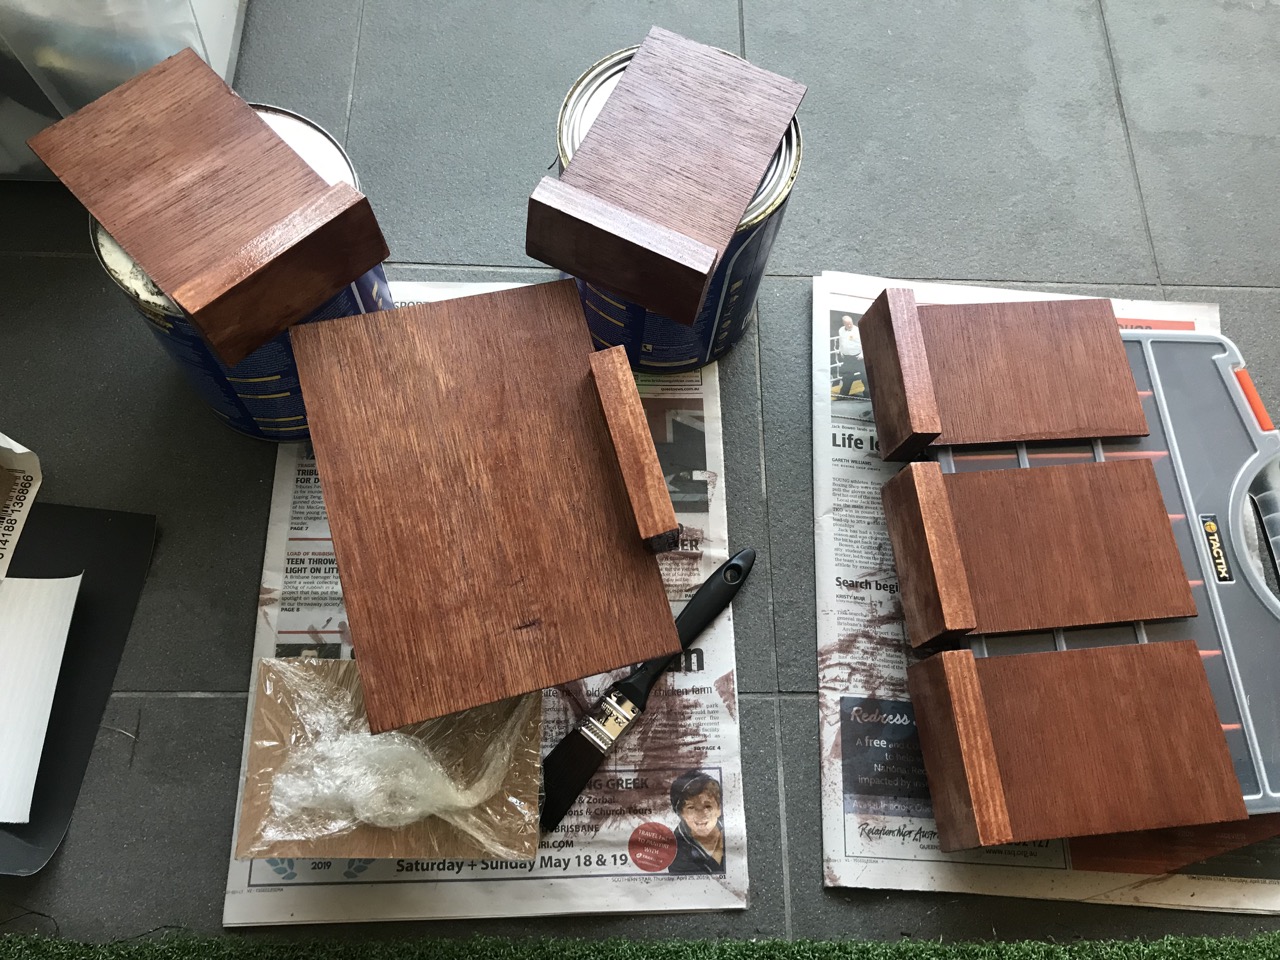
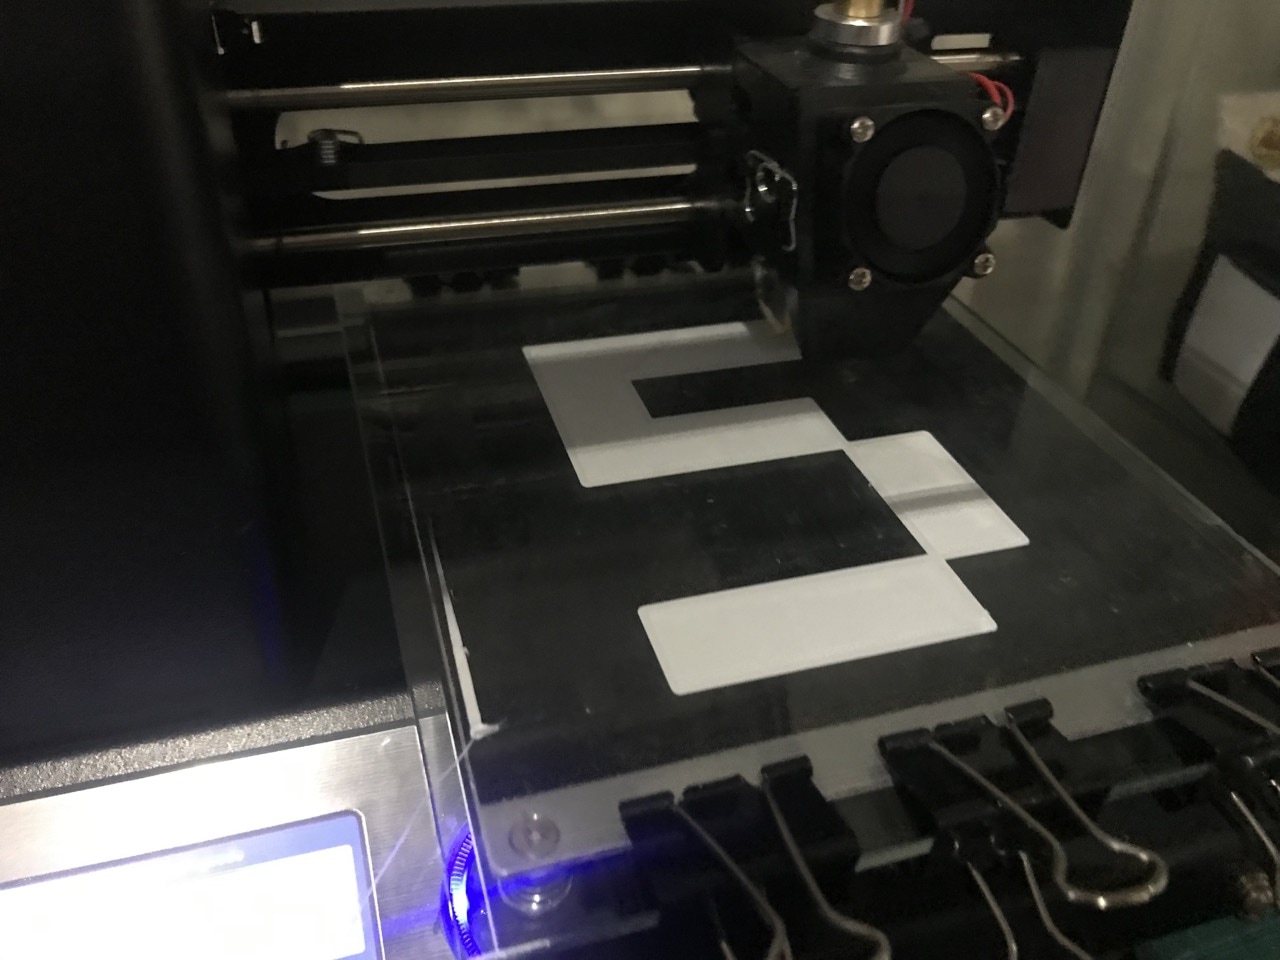
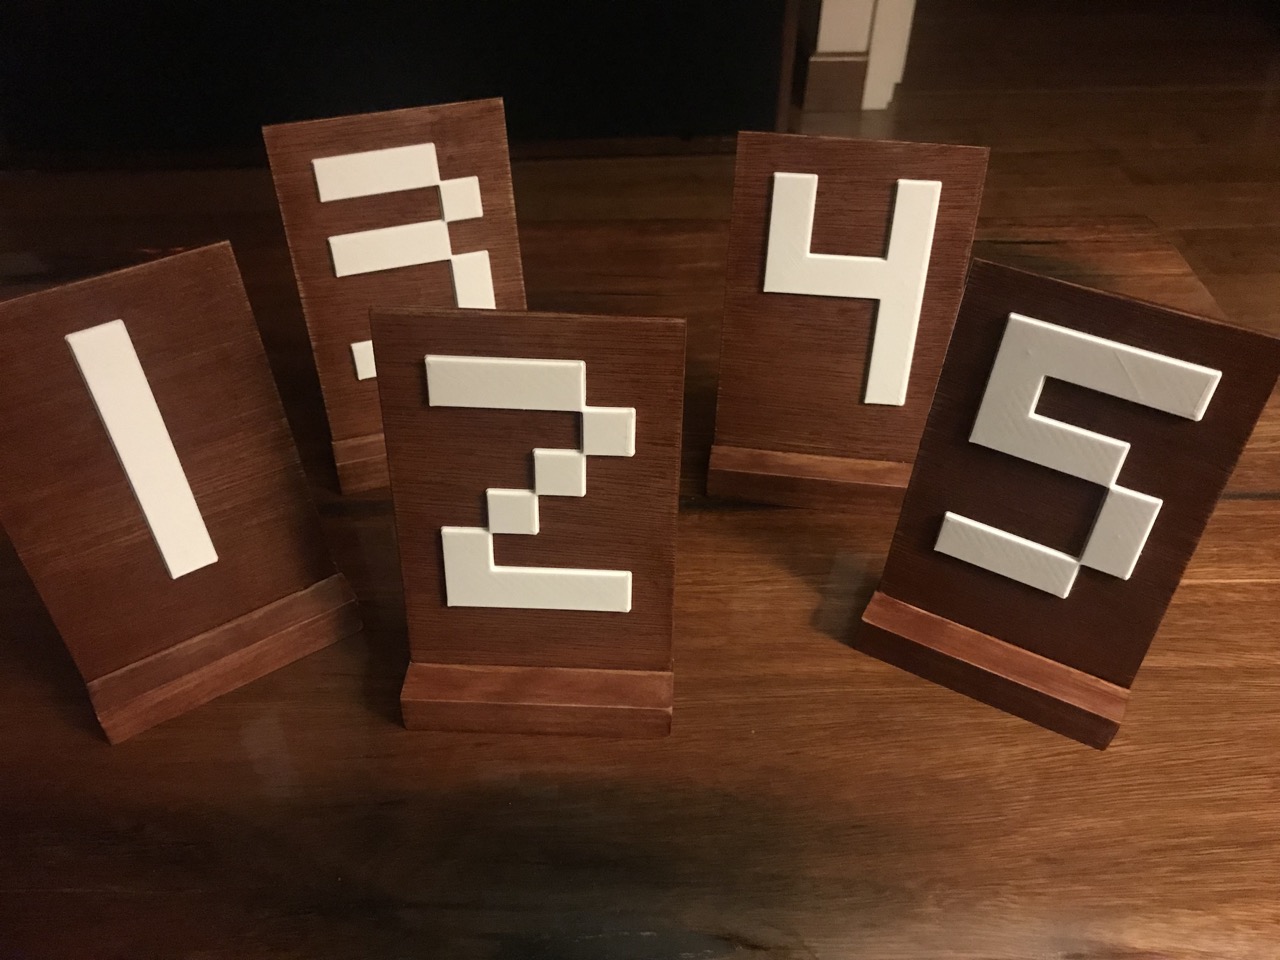
At this point it was only about two weeks away from the wedding date and we didn't have any table numbers arranged yet. So while on the 3D printing streak, I printed some retro style numbers and made stands out of stained plywood for them. Elise and I got our own special "number" featuring our "pixel people".
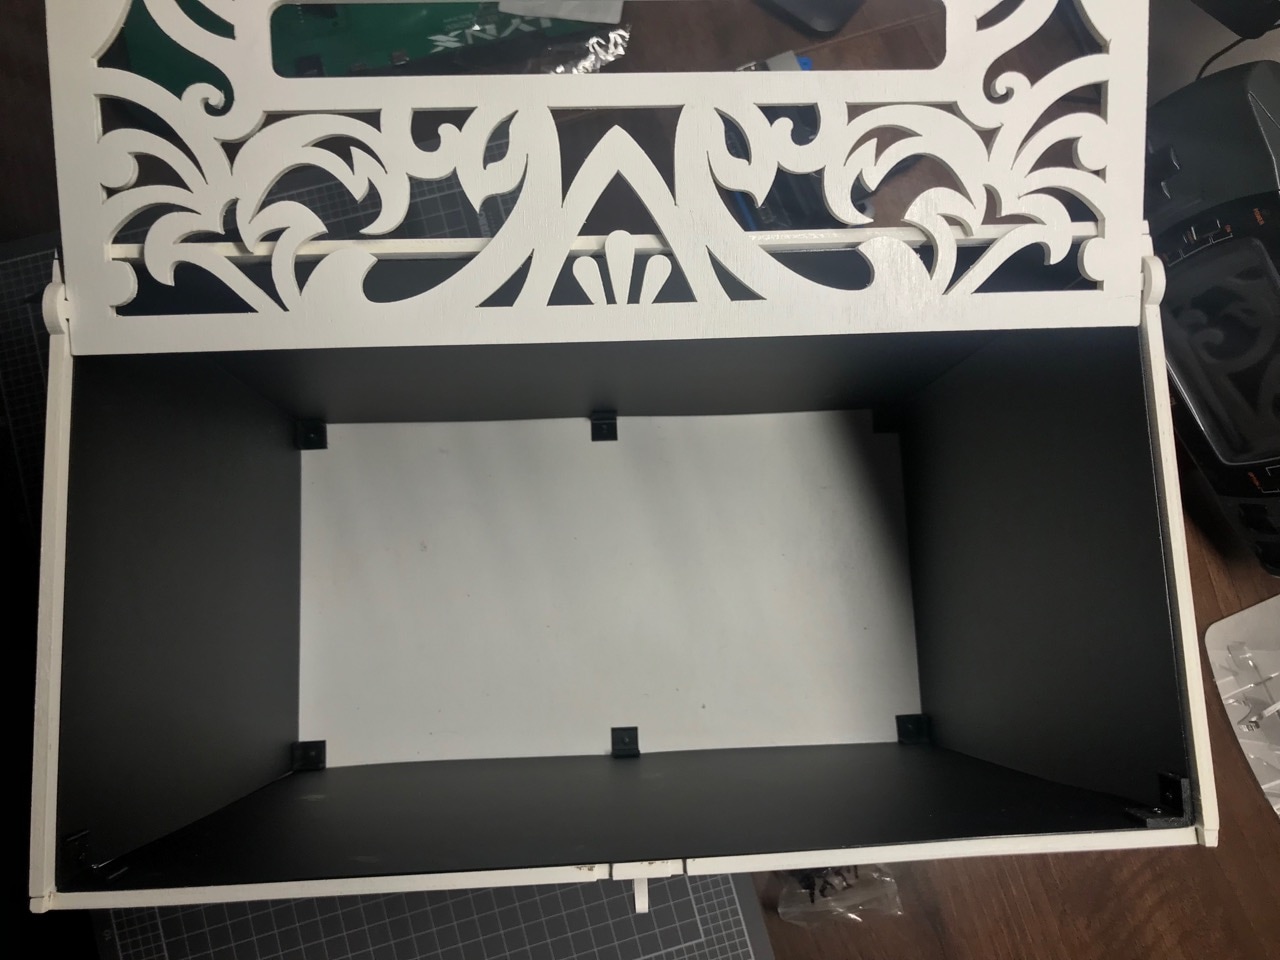
Anything at this point that could be DIYd, was. Our wishing well was see-through, which we didn't like, so using some polypropylene sheets and 3D printed brackets, I made it look a little more elegant.
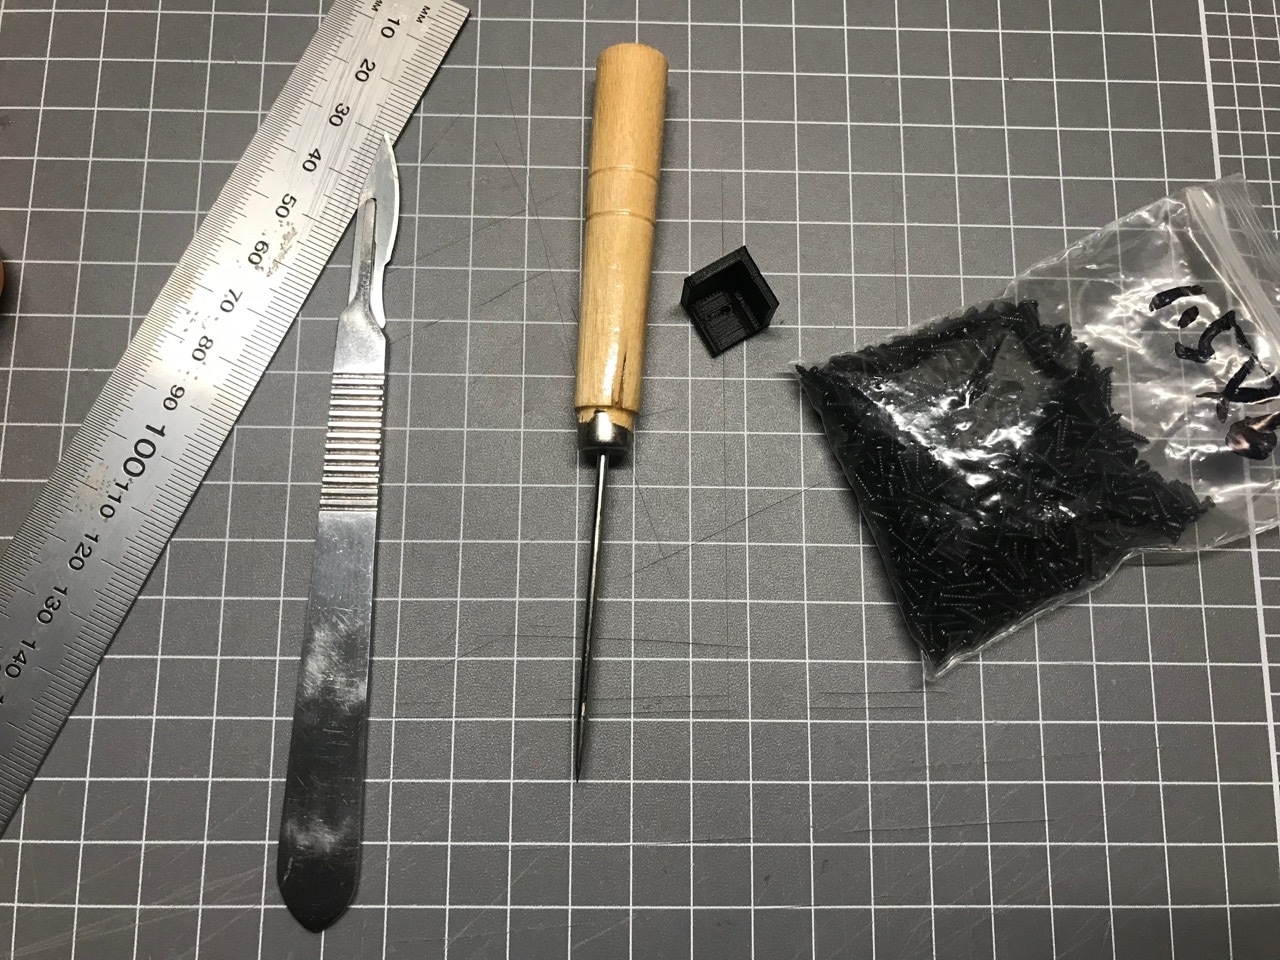
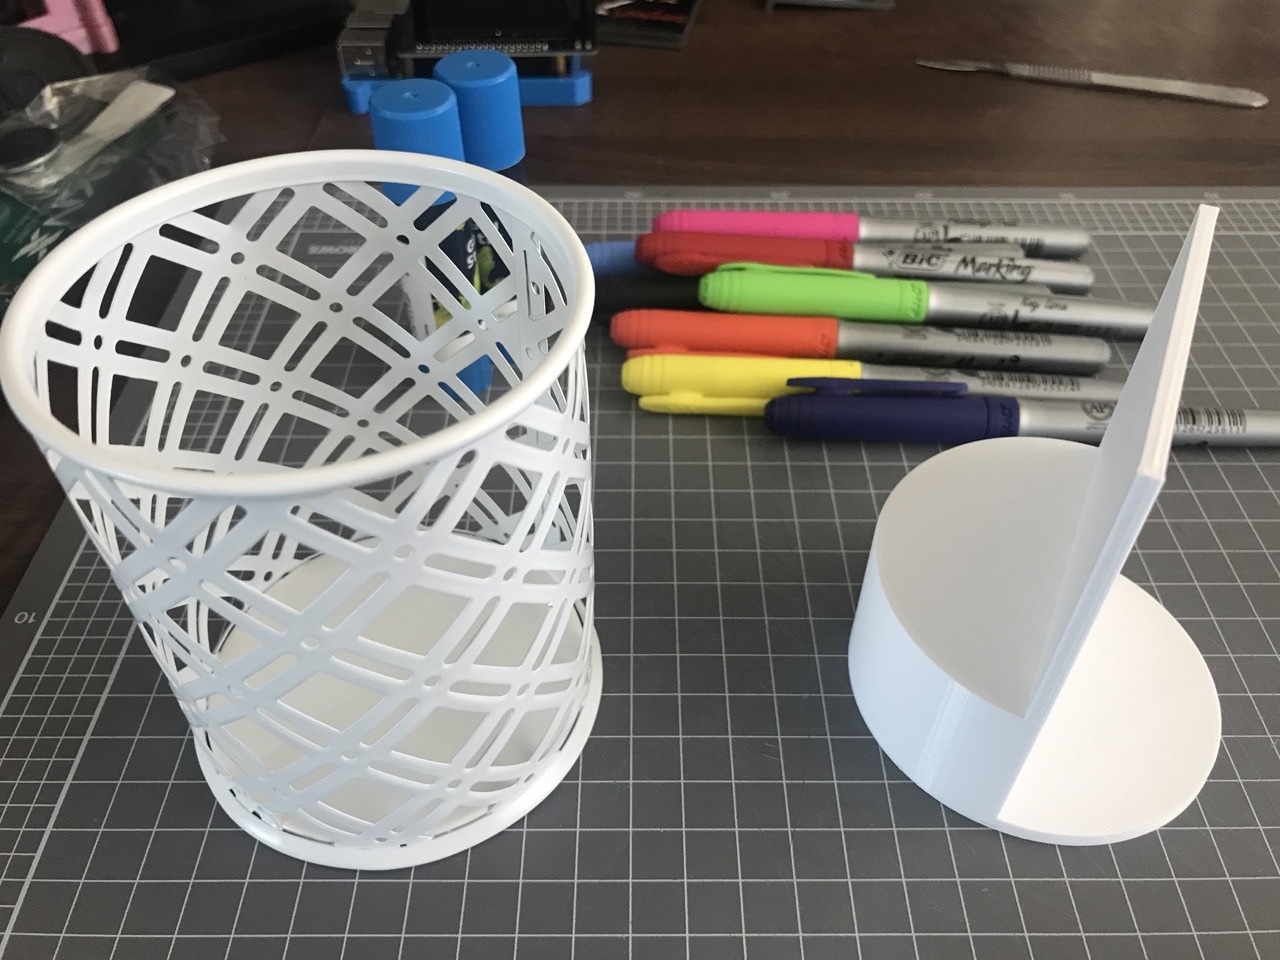
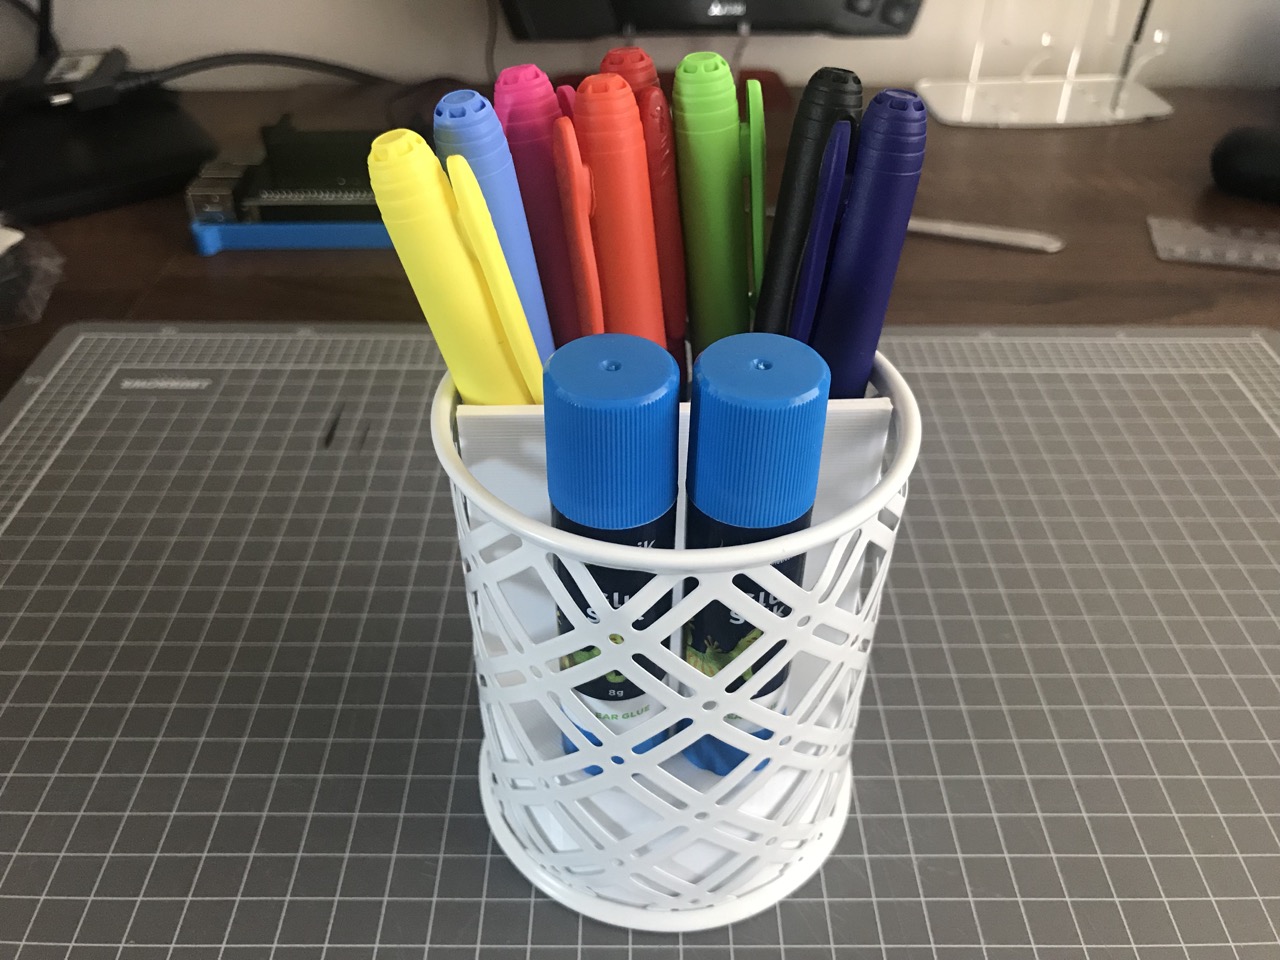
The pen/glue holder for our guest book needed a certain look, so more 3D printing followed...
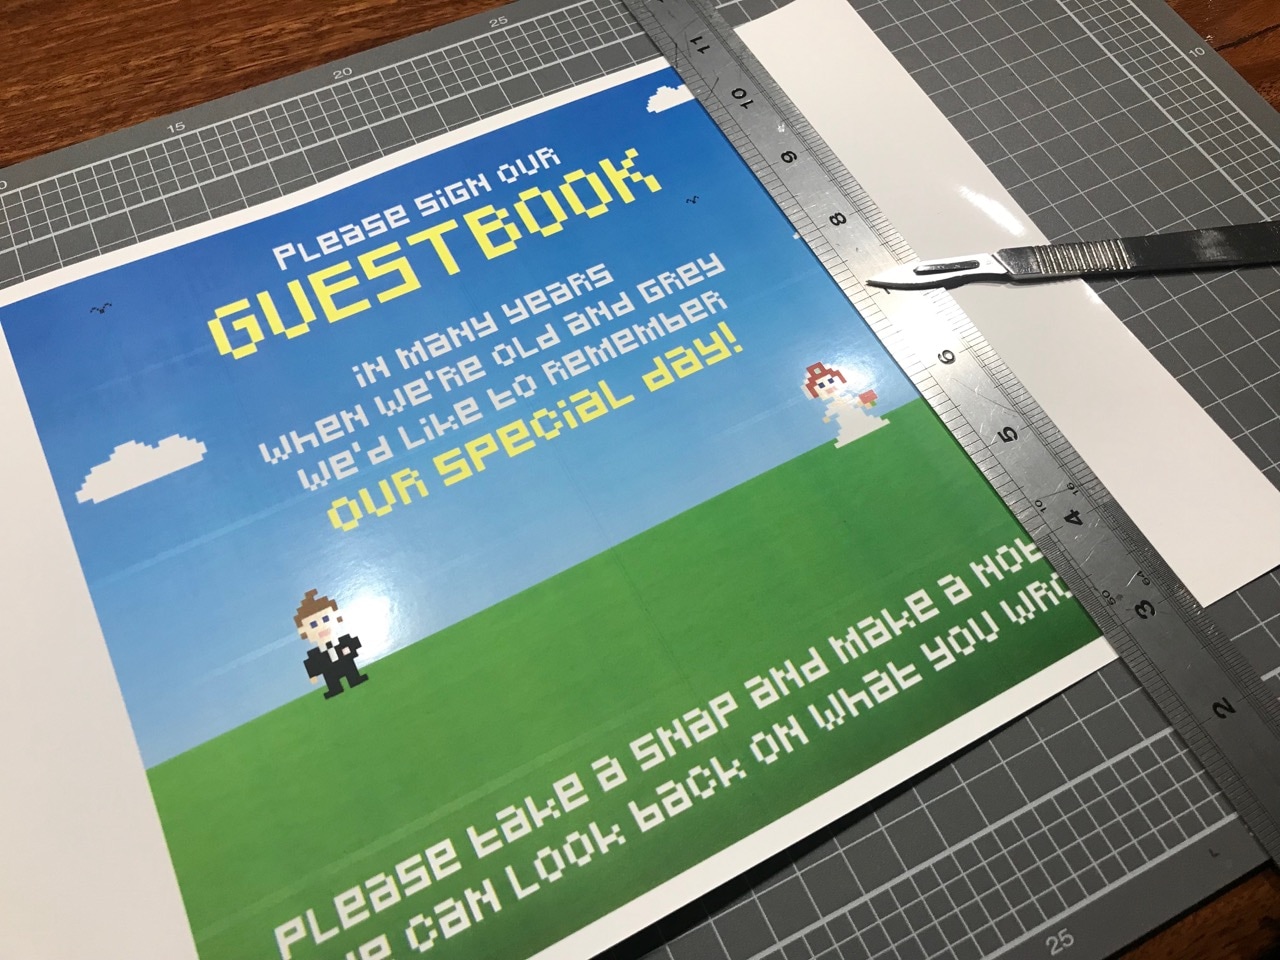
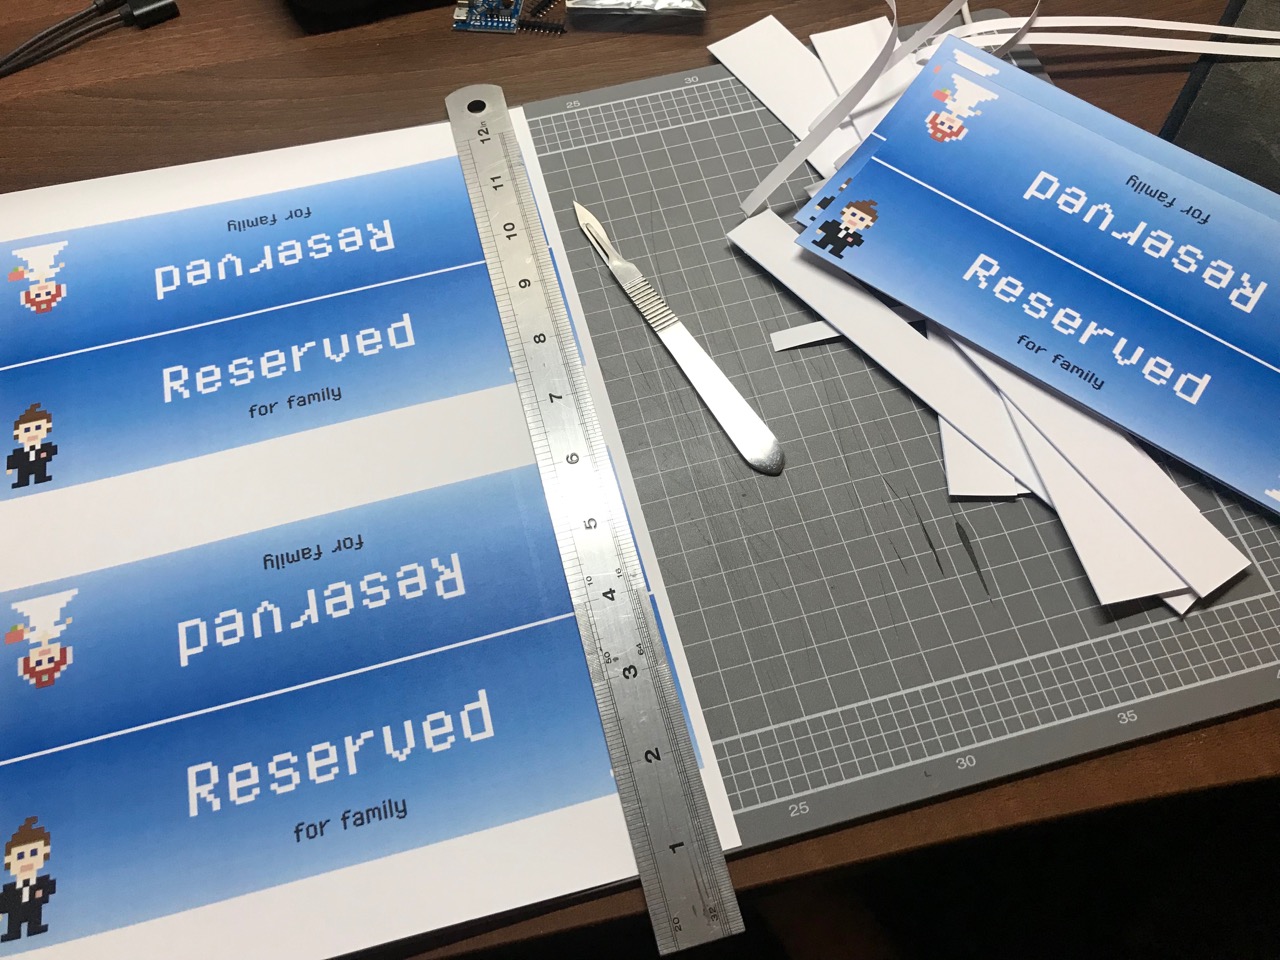
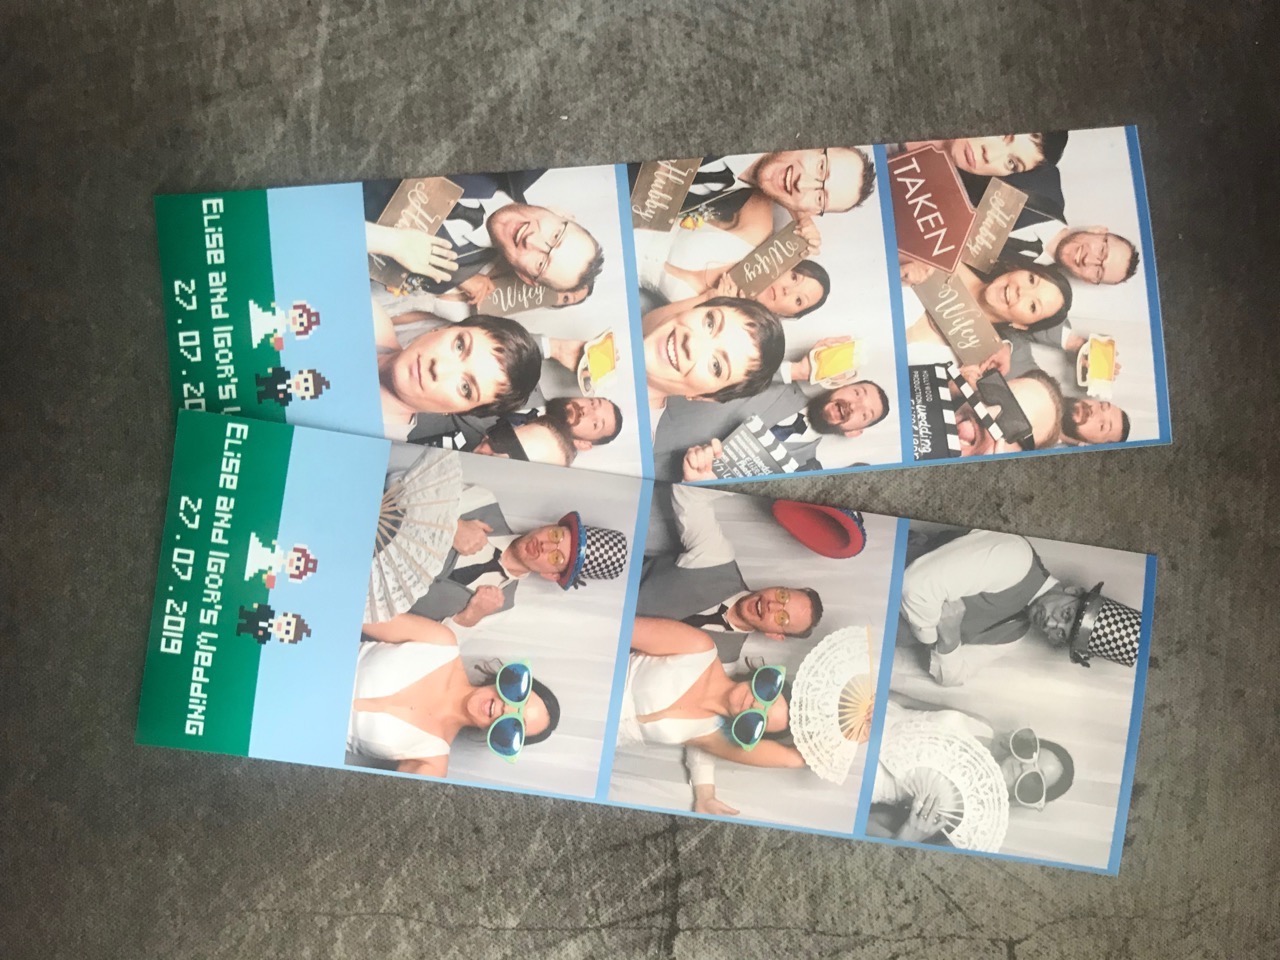
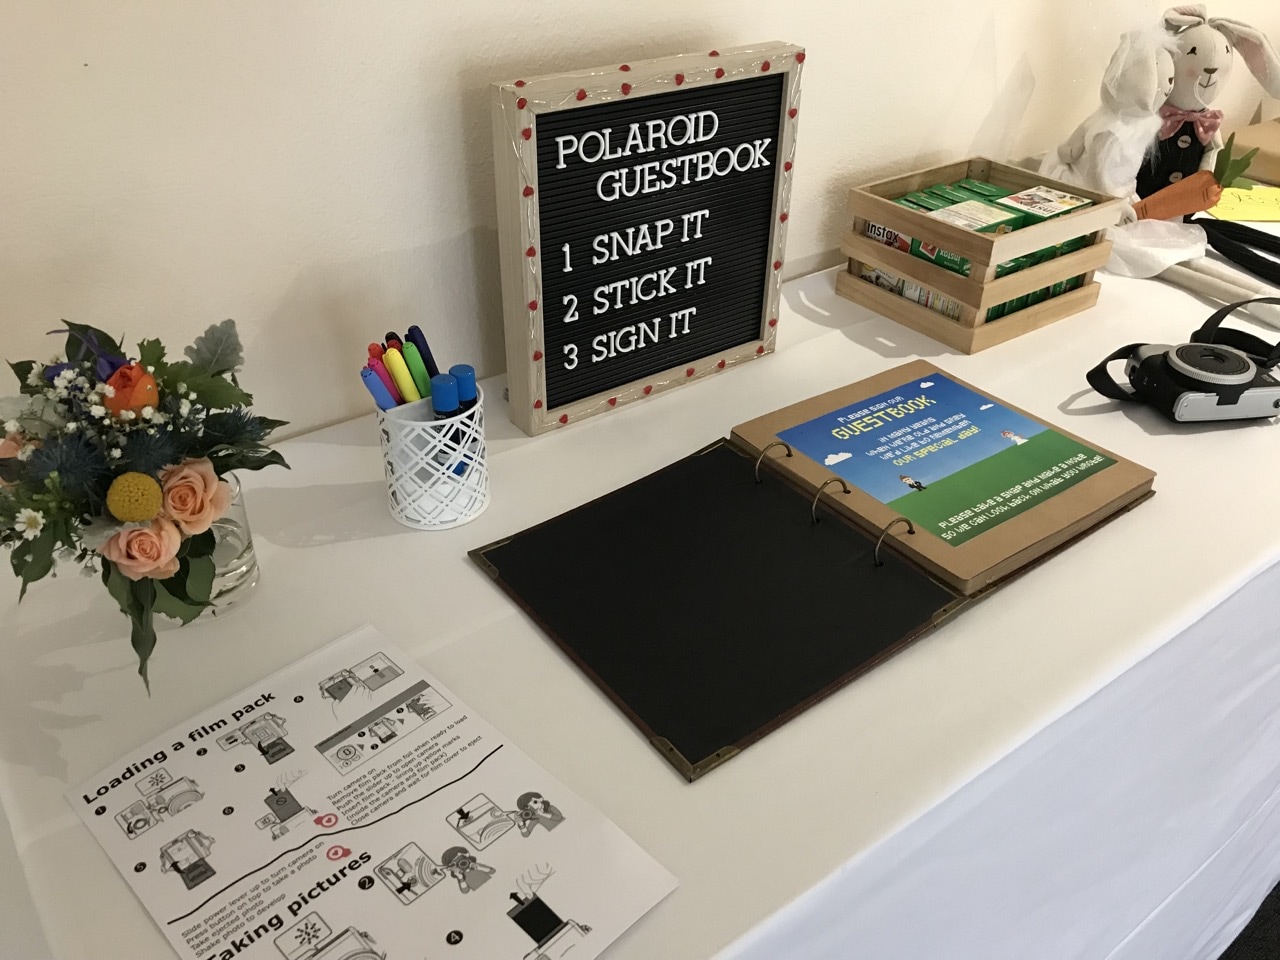
The same 8-bit game theme was carried through to the guest book and even the reserved seats signs. I think at this point we were going a little crazy and looking for any excuse to extend the theme (it was 2 days before the wedding!) Even the photo booth that we hired got this special treatment - the photo strips had our 8-bit template!
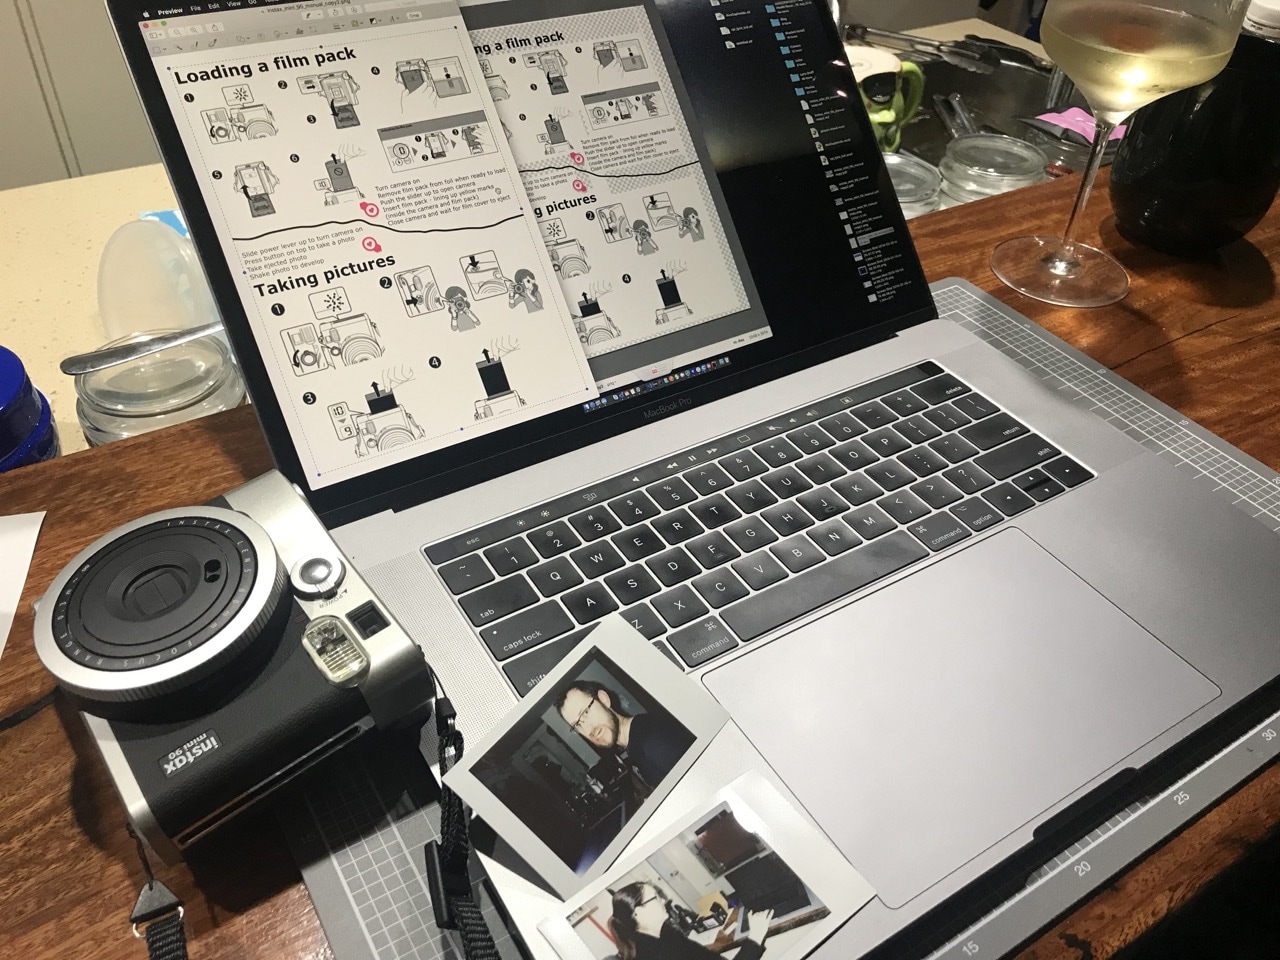
We were going to have an Instax camera that people could use to take selfies for our guest book. Since this wasn't a usual type of camera we wanted to have instructions showing people how to use it. Unfortunately Fujifilm had the most complicated manual and instructions - which we (digitally) butchered into a one-sheet easy to follow guide. ...and while at it the polaroid guestbook sign got some LED heart shaped lights hot-glued to it.

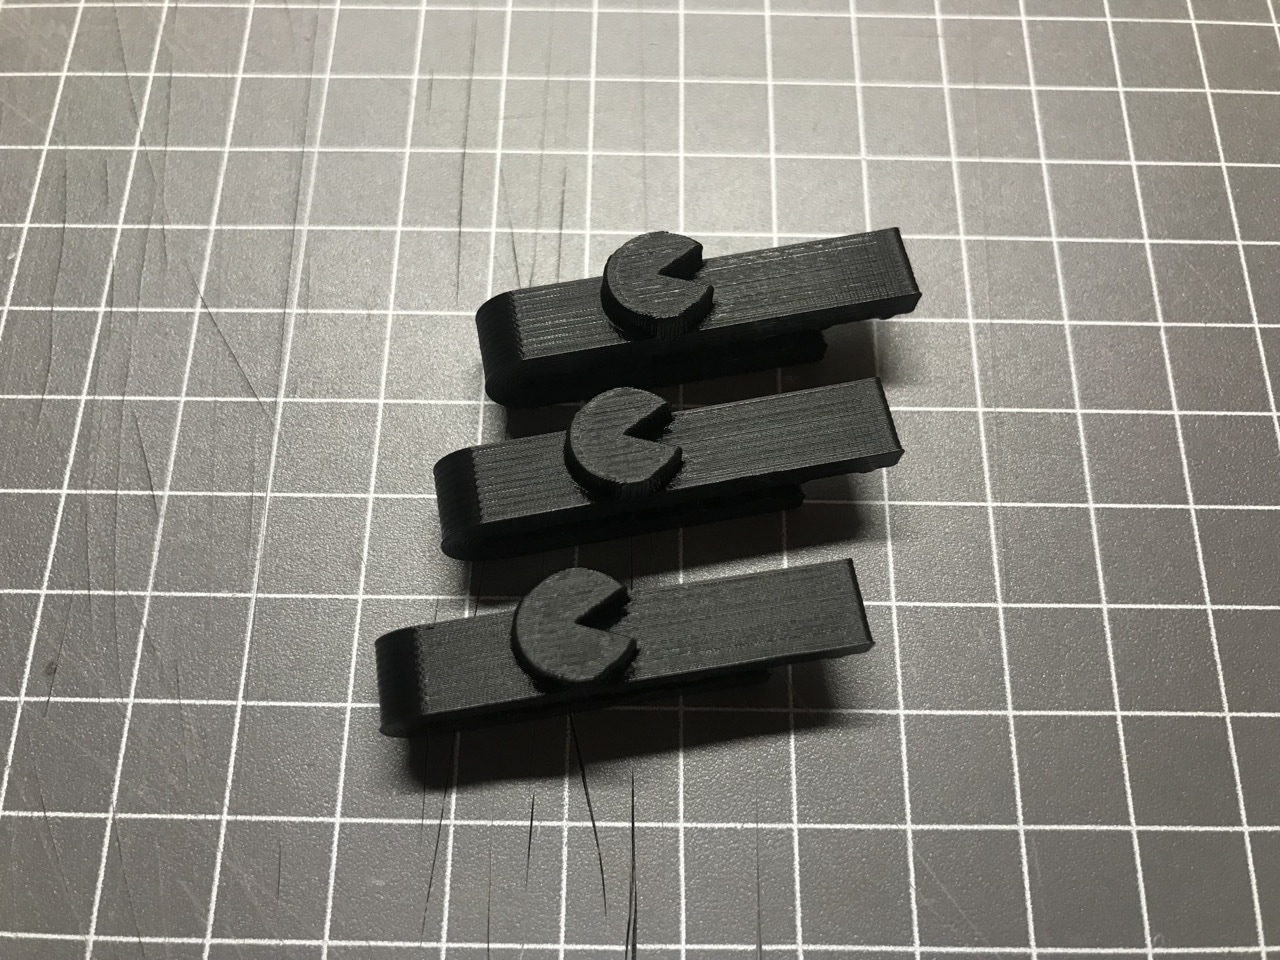
Now we were done with preparations and there was only one day before the wedding. I was still waiting for tie clips to arrive however, and they didn't. After trying to find some locally at a decent price I came to a dead-end. So what did I do? 3D printed some of course!
So was all this work worth it? We thought so! Nothing makes a special event even more special when you've put your own hours and skills into it. The setting and theme were subtle but consistent - it was a fun, light-hearted and not jarring. Everything worked out really well!
-i
