I've seen a number of posts about it online and it looked too good to be true, so I just had to try it out for myself, and this was the result...
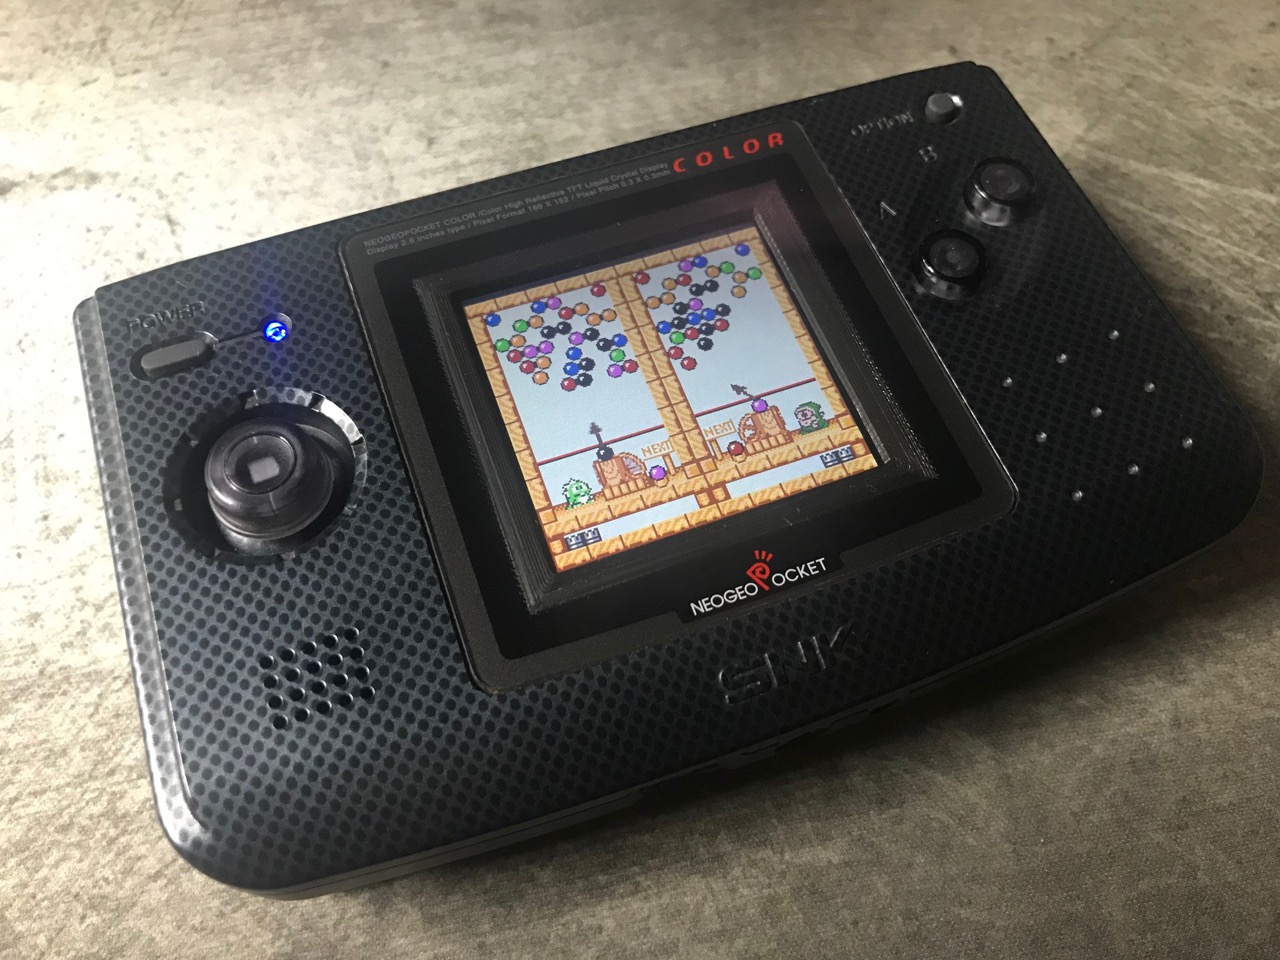
It really does look good! There are a couple of caveats however. The biggest is that this new screen is about 1cm (diagonally) smaller than the original NGPC screen. Given the small size of that screen already, that's a big loss of screen space, but the vivid colours and high contrast really do make up for it. Second is if you want to use the brightness adjustment, you have to either cut into your NGPC or do something ugly like having a visible copper touch sensitive strip stuck on the outside of the case. I opted for not having brightness adjustment (later on this too).
I won't go into details of how to open up your NGPC or how to remove its original screen as that's covered in my previous article, but as a reminder - you will need a tri-wing screwdriver to undo one special screw, the rest are just normal Phillips style screws. If you're new to modding, a toolkit like this is good to have handy.
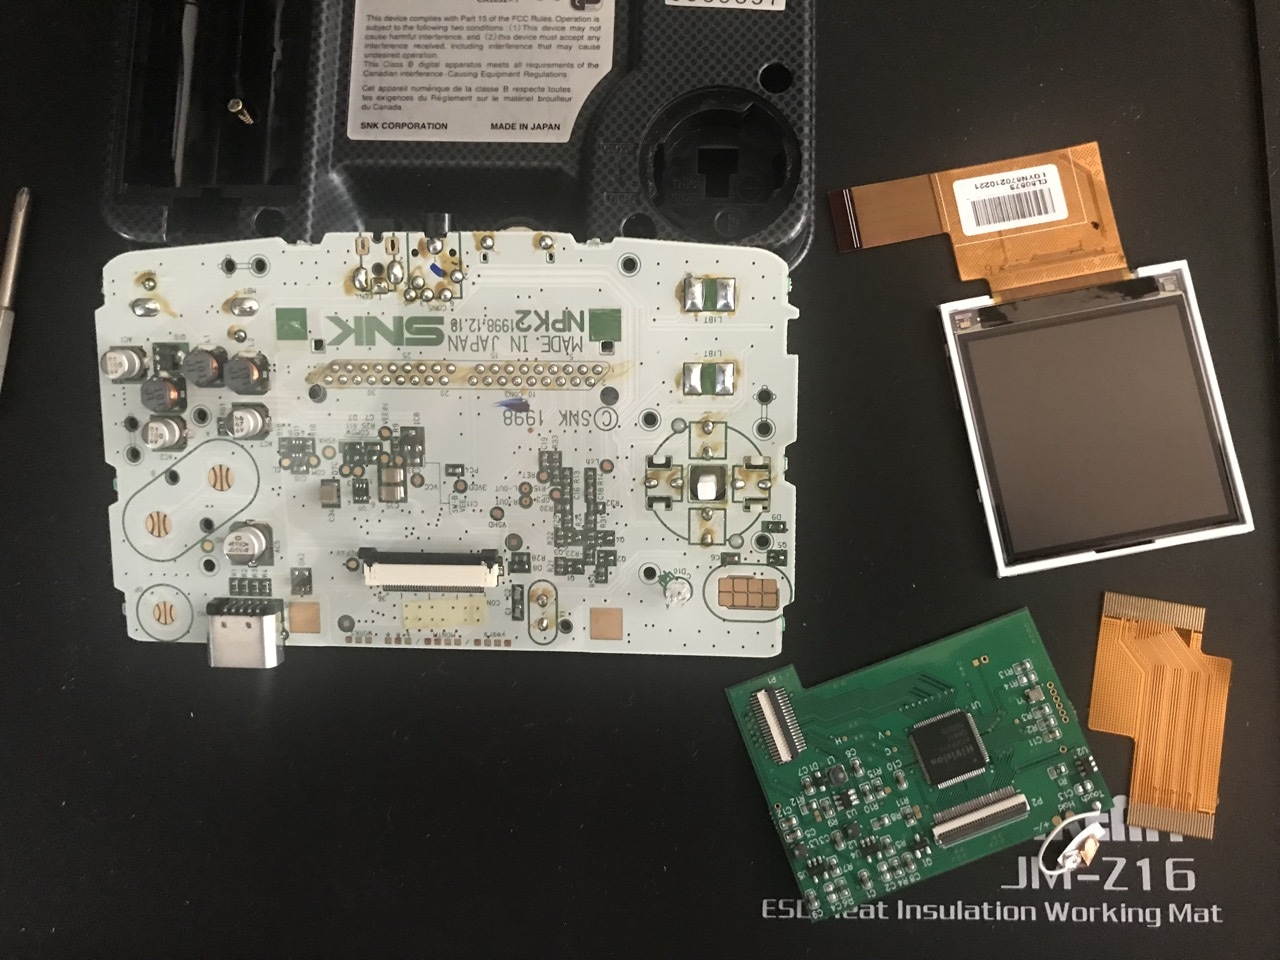
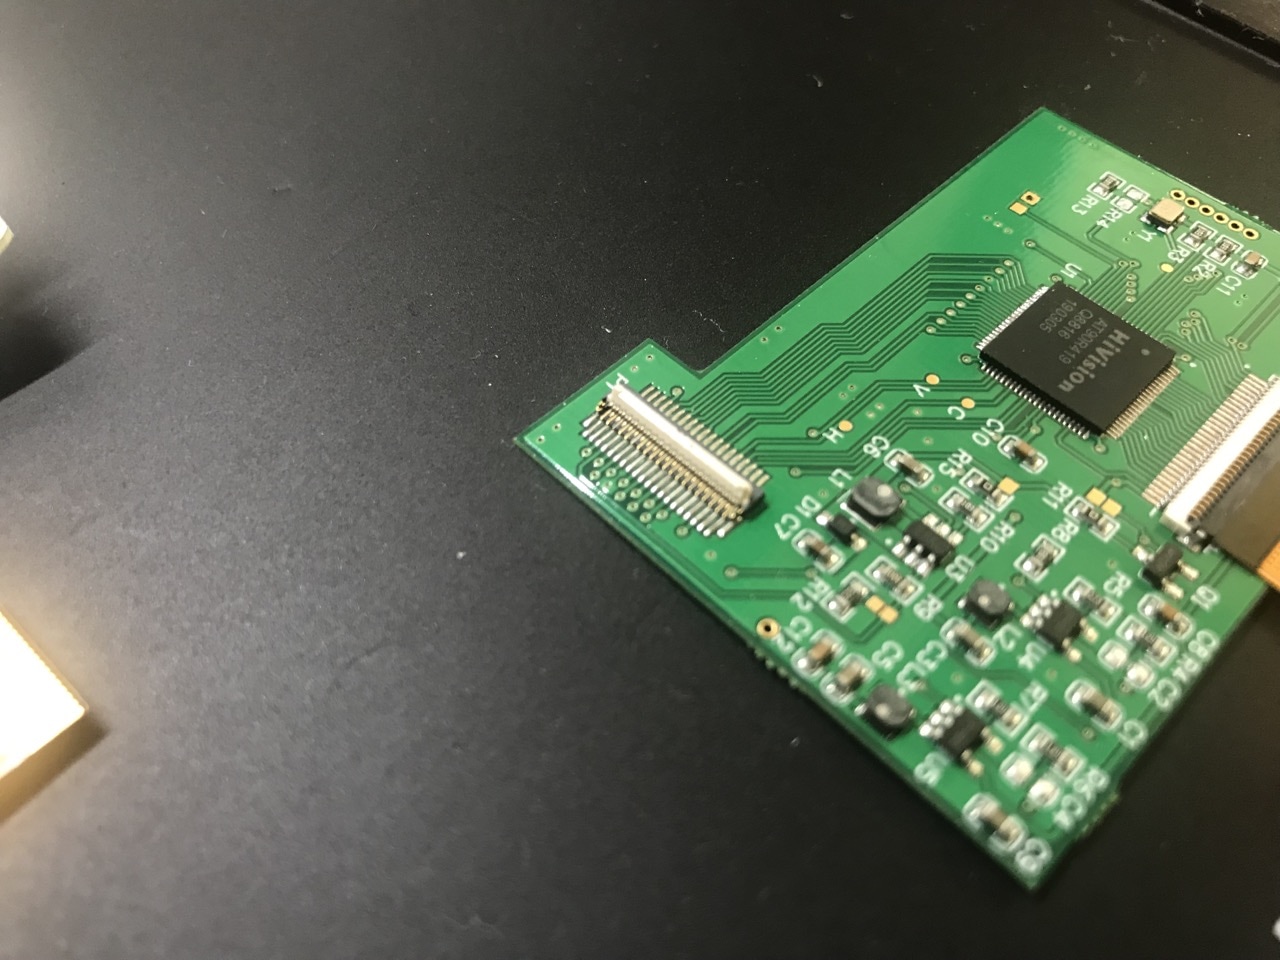
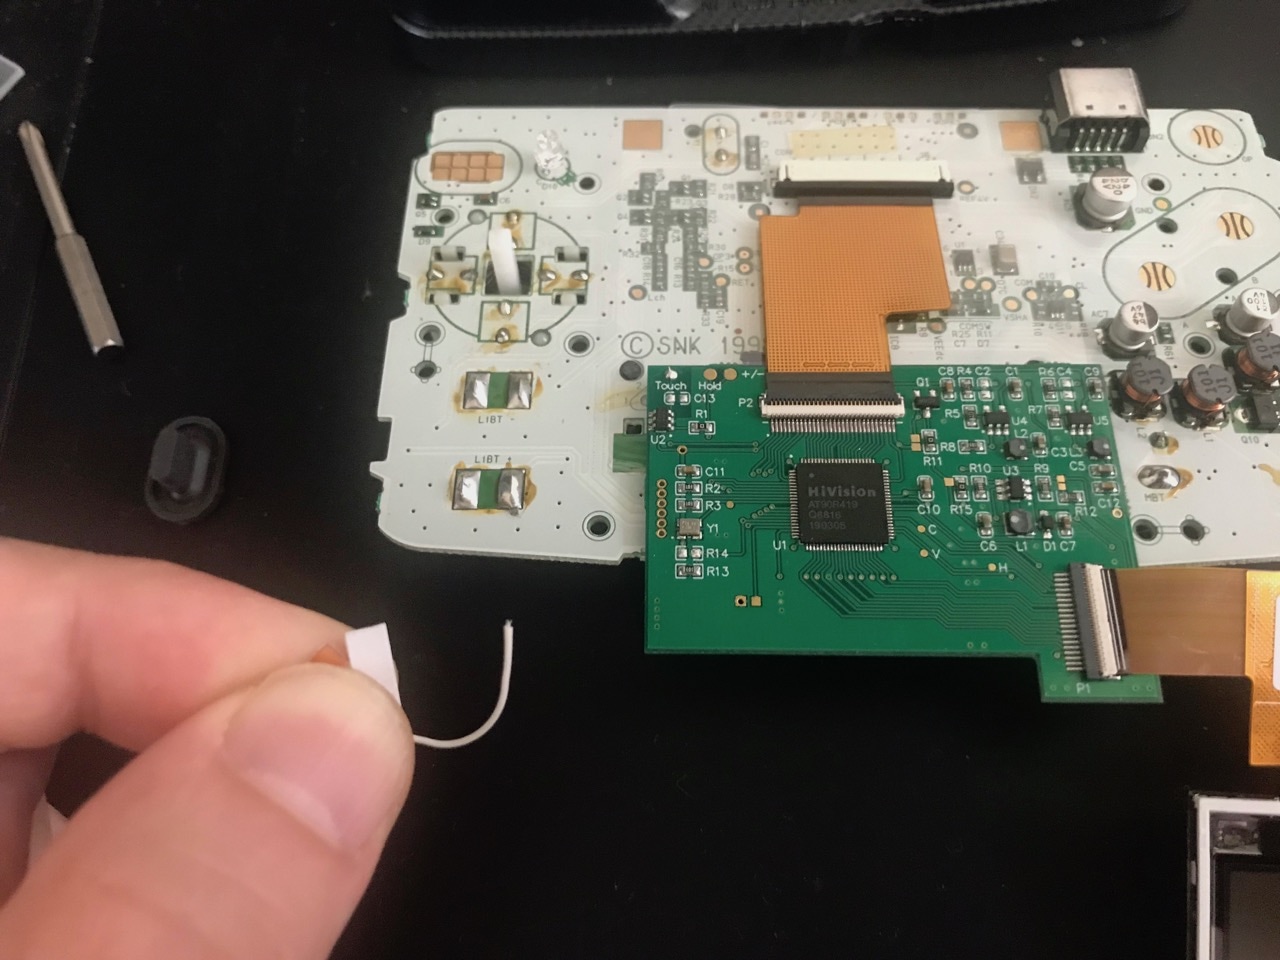
So the kit includes the replacement screen, a control PCB and a ribbon cable to connect the screen to this PCB. There are also some mounting bits of plastic, but you may as well forget about these and go for this 3D printed mount kit (don't forget to tip the author 😅). These will work if you've removed or are planning to remove all of the internal LCD position tabs inside your NGPC (I did this in my previous mod already because I needed the space). Alternatively you can refer to this article by RetroRGB for a different version of the mount kit that works with the internal position tabs in place.
Installing this kit really couldn't be easier. There is literally NO SOLDERING and all the parts of the kit can only fit one way into their respective sockets. First the ribbon cable needs to be connected to the control PCB. This uses a ZIF socket that has a locking tab that swivels vertical to unlock and then can be pushed down to horizontal position to lock. Unlock, insert the ribbon cable, lock. Easy.
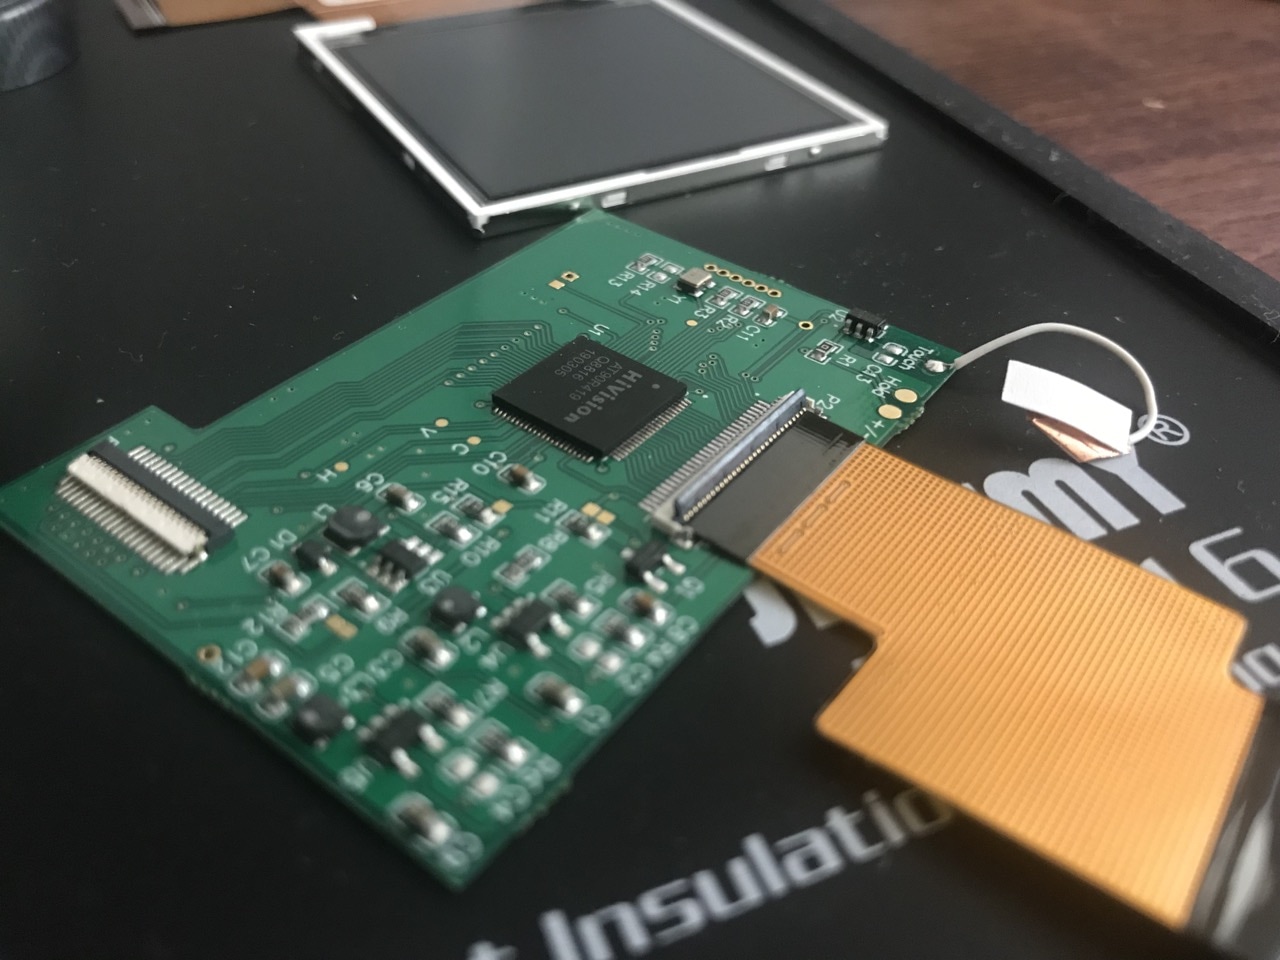
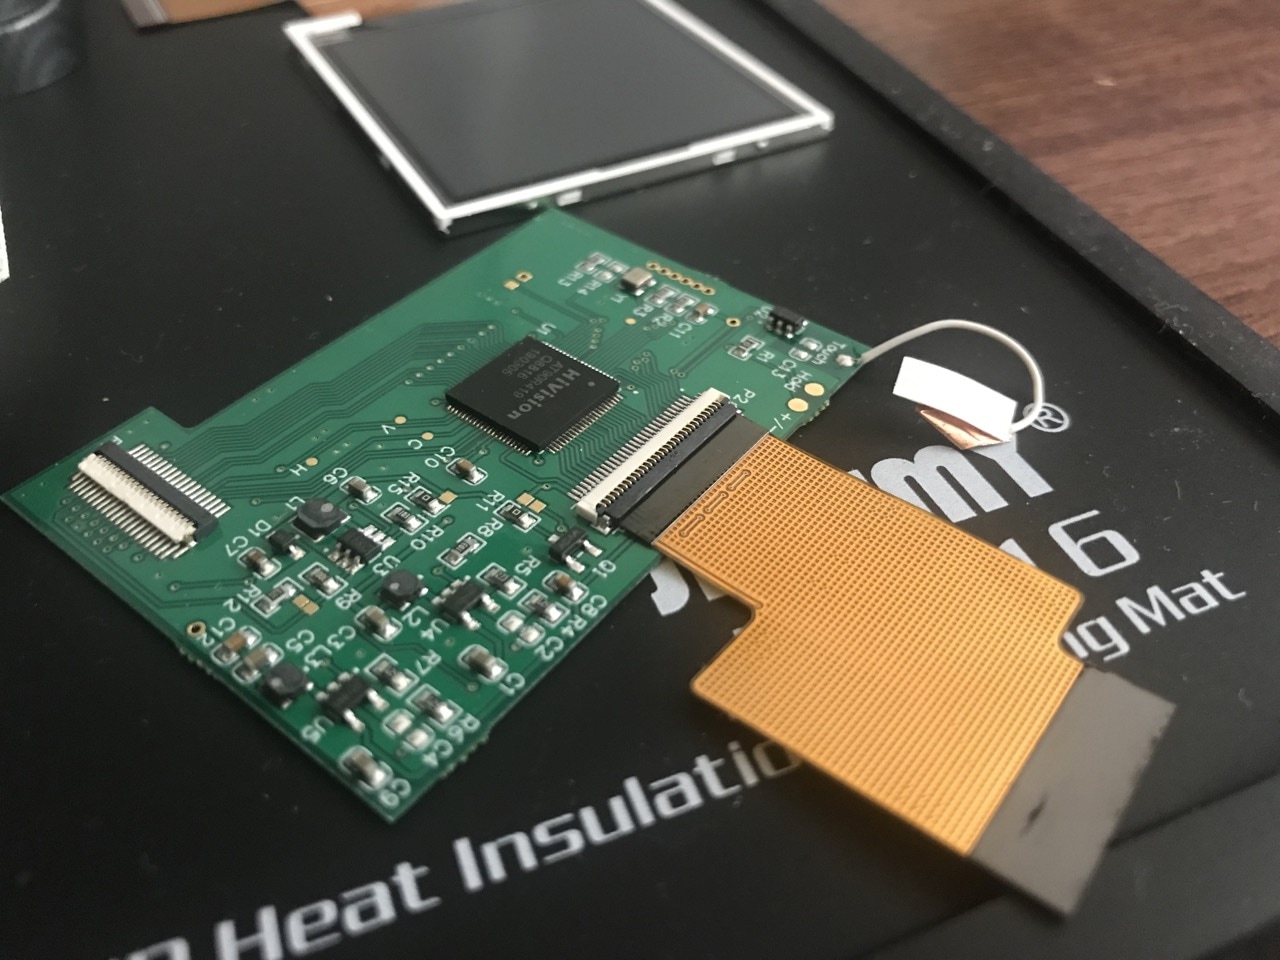
Same deal with connecting the ribbon from the LCD to the control board...
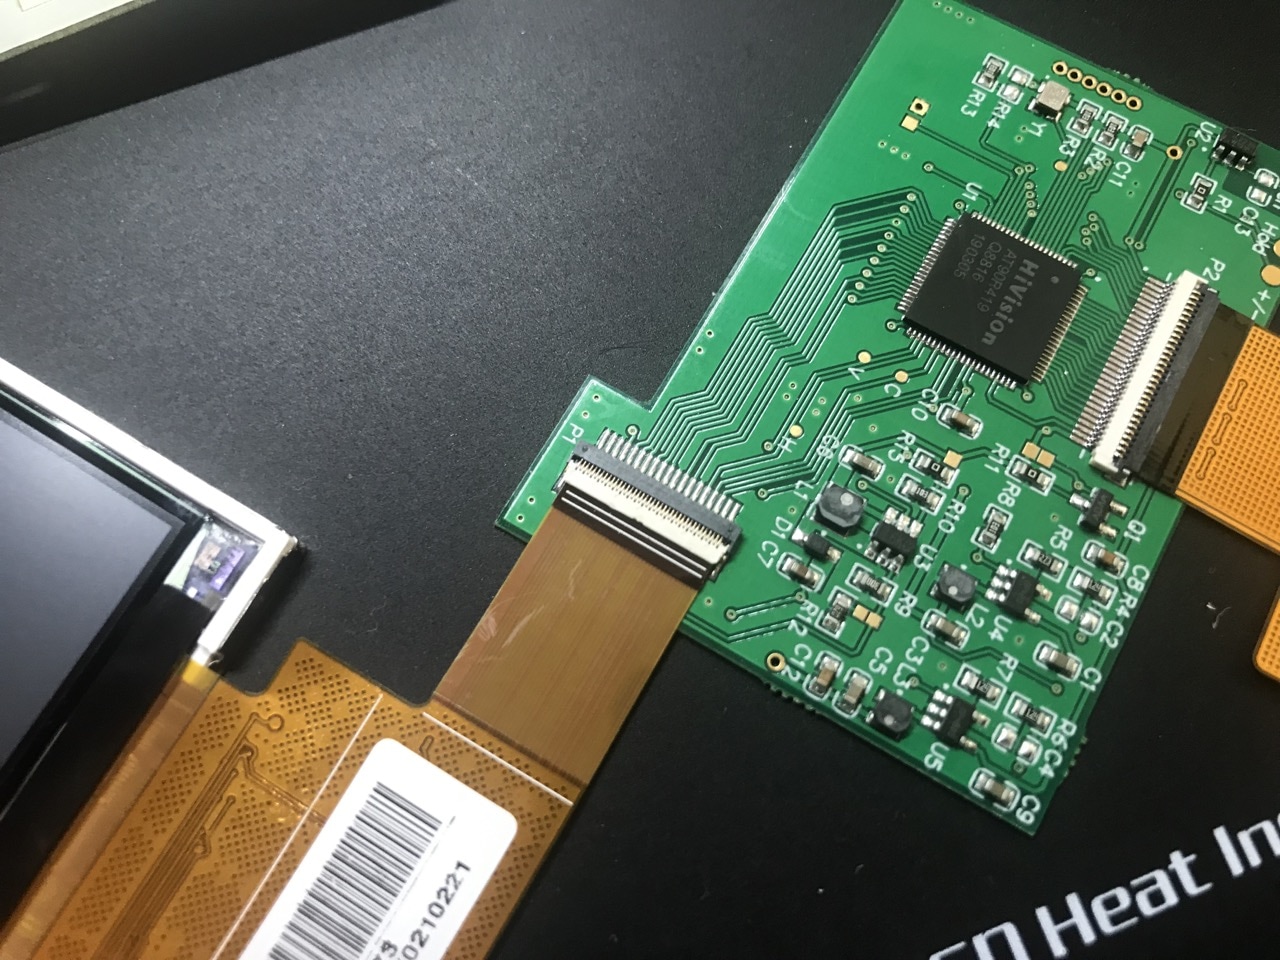
Then connect the ribbon that was attached to the control PCB to the ZIF socket on the NGPC motherboard where the original LCD connected.
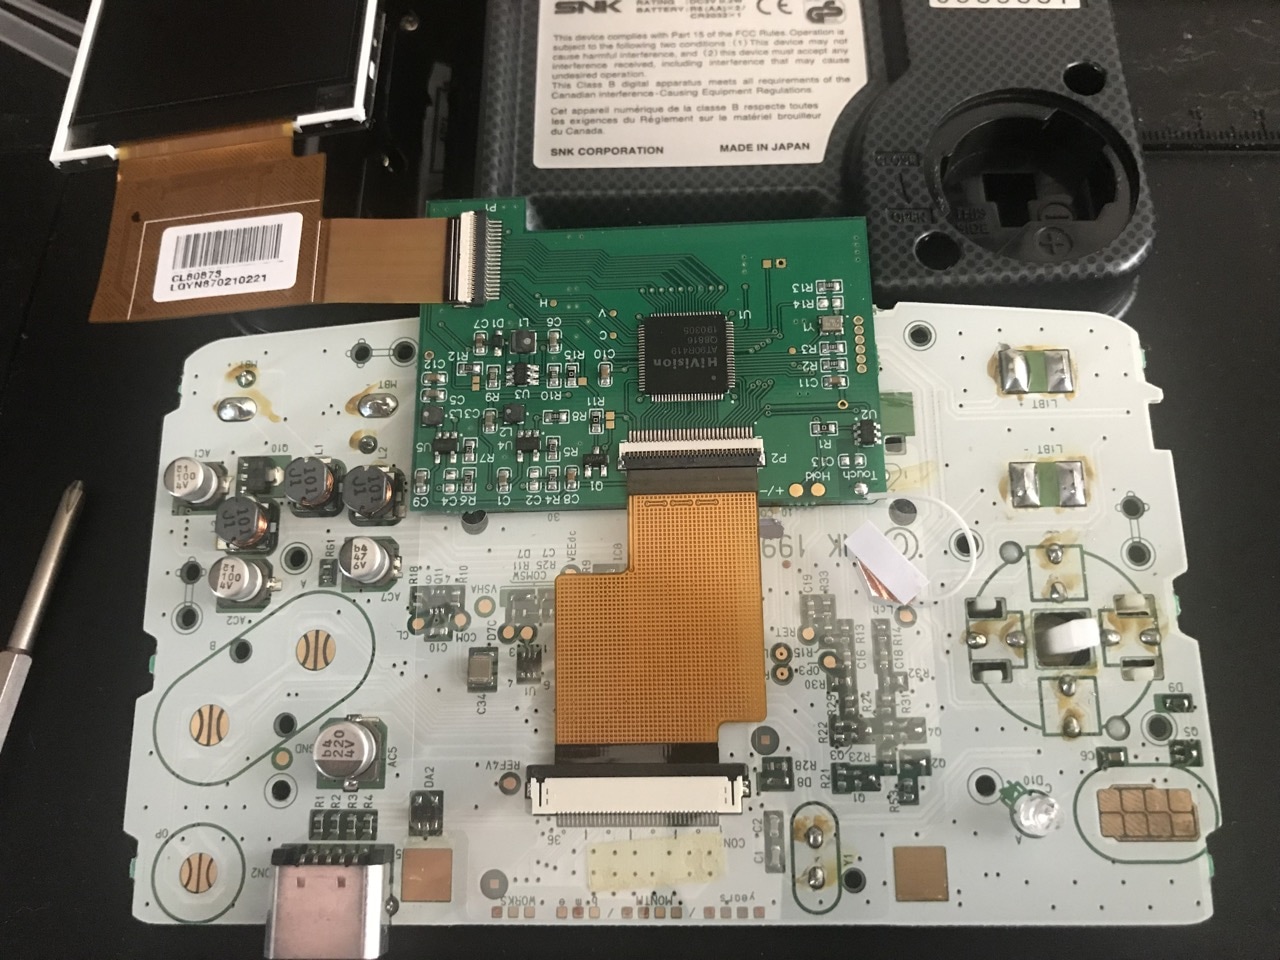
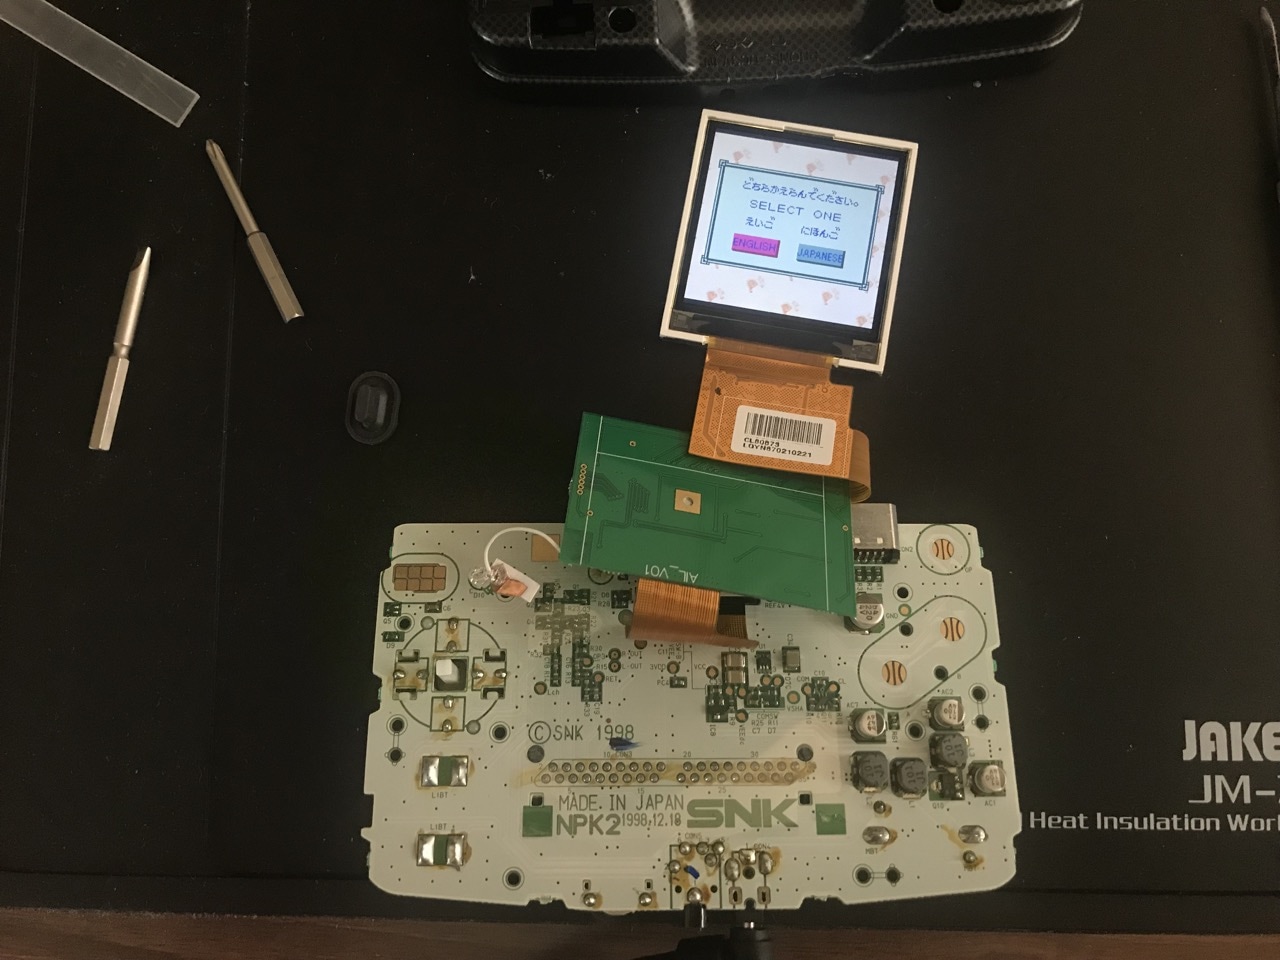
Test power on, everything should work. Unfortunately at this point the brightness touch wire snapped off on me. I decided this was just as well and didn't bother trying to re-attach it. I was quite happy with the brightness level on the new LCD and didn't see the need to be able to adjust it.
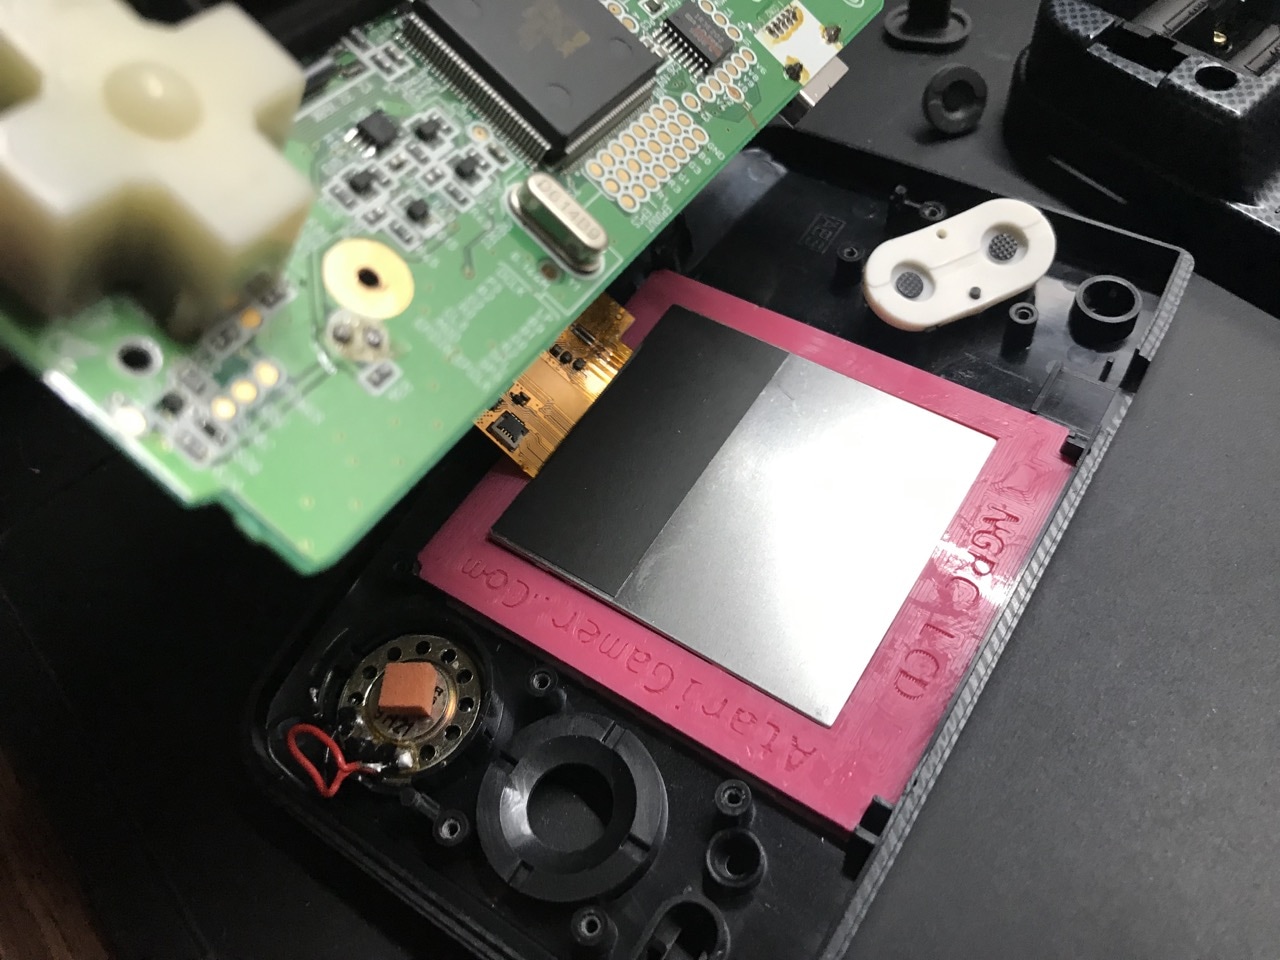
Then next few steps were probably the most tricky as it involved some origami type skills to get all of the ribbon cables folded and facing the correct way.
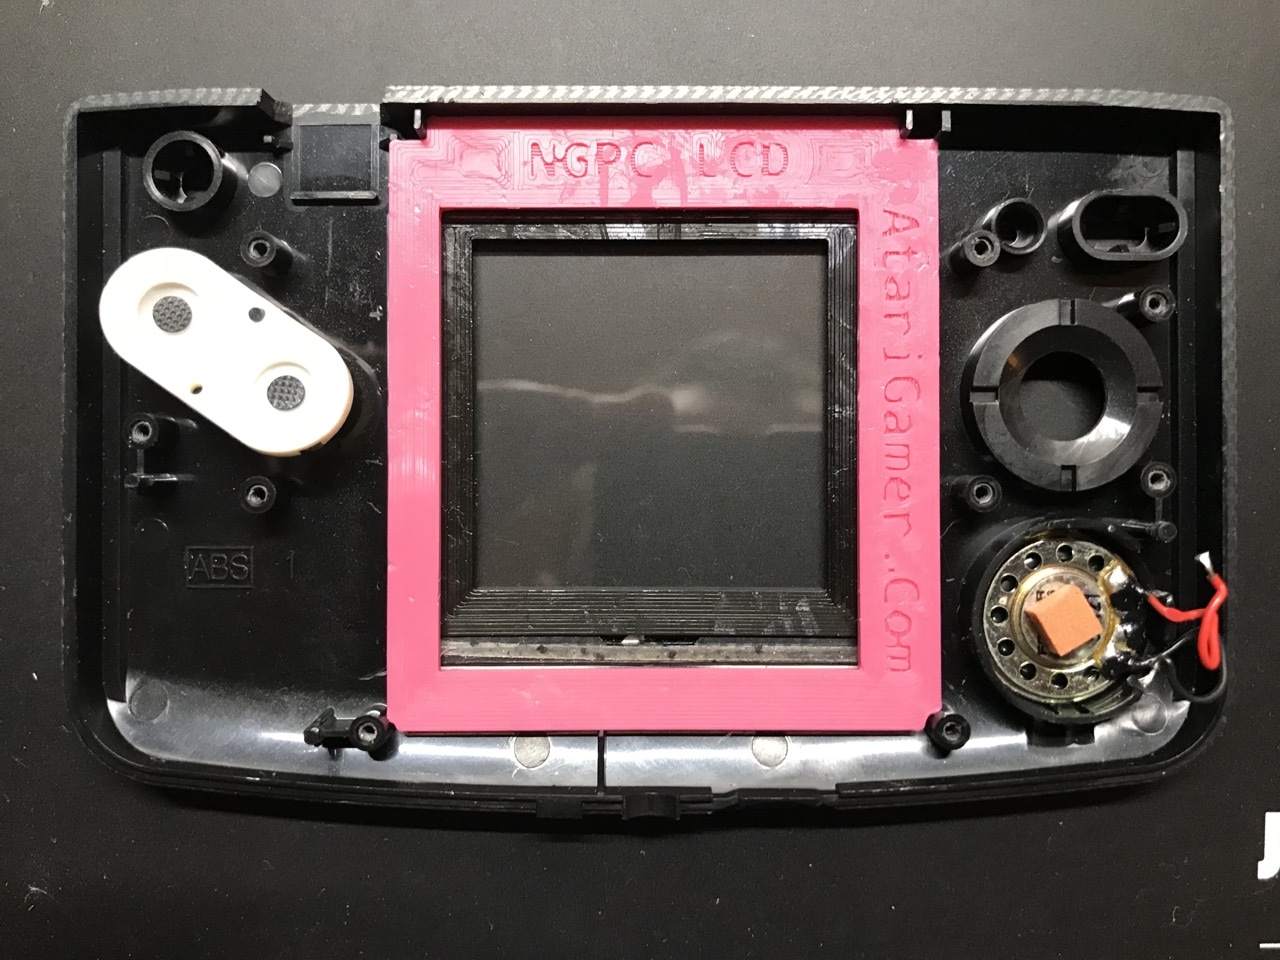
The bezel and mounting bracket went into the front part of the NGPC shell first. Followed by the LCD (note the orientation).
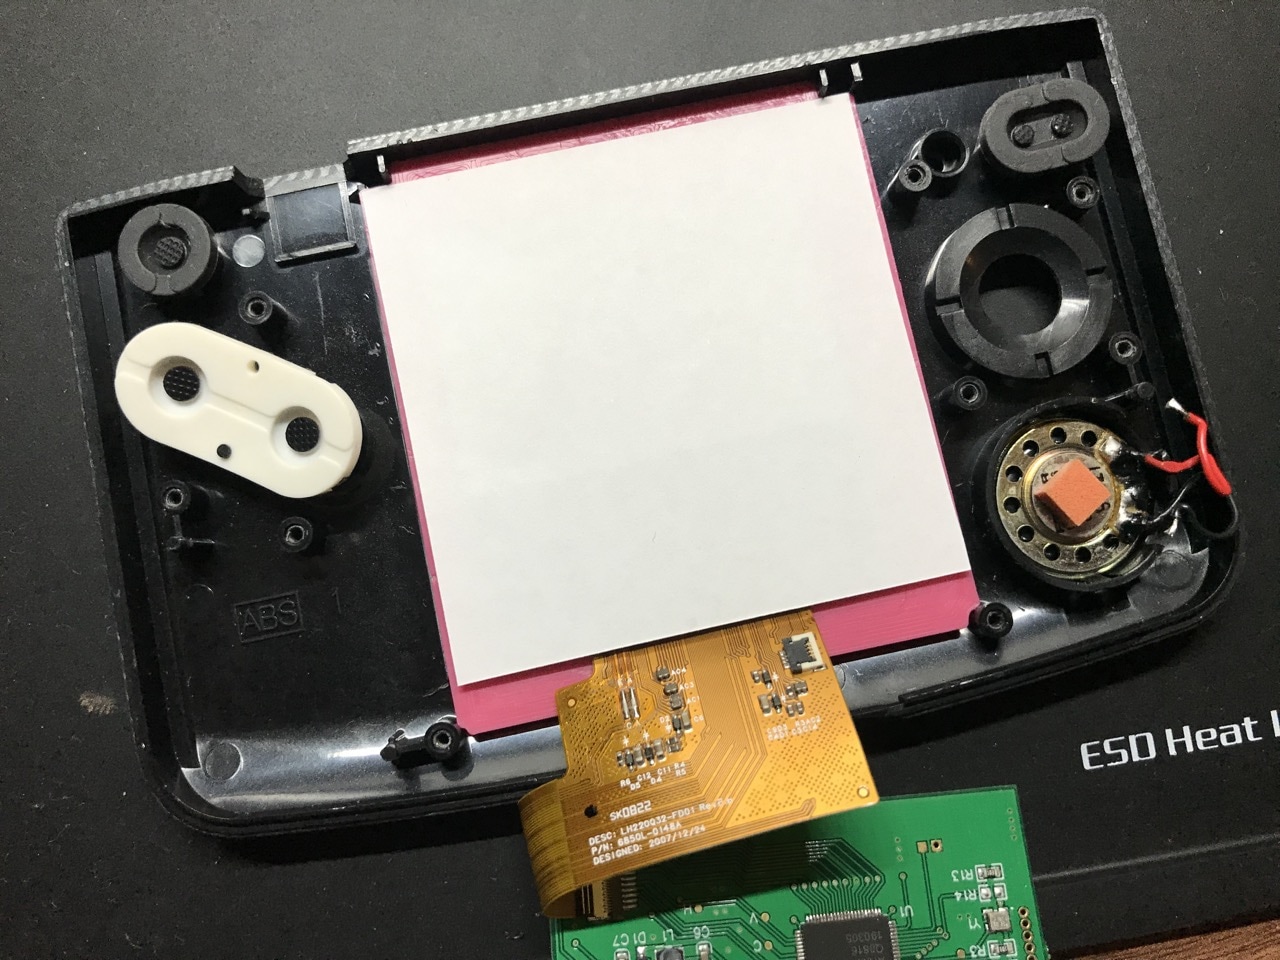
When I first tried to put this together, after connecting everything and screwing in everything in place, my LCD didn't light up - this was due to a short somewhere. I took it all apart and cut out small sheets of paper to fit in between all of the layers, a total of 3 small sheets are needed here.

With that crude insulation in place, it all worked as expected. Here are some photos of it in action with the room lights both on and off...
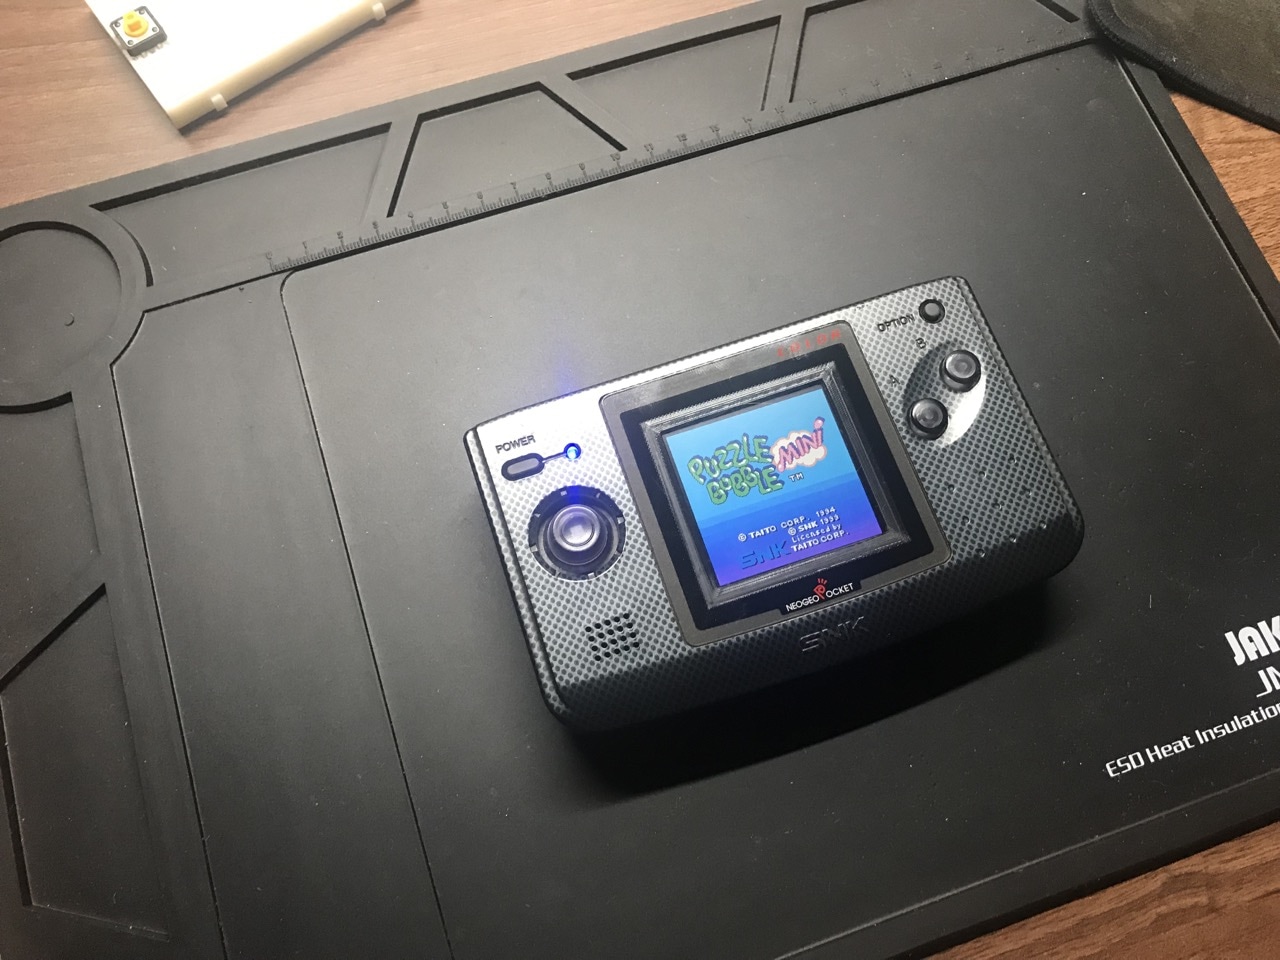
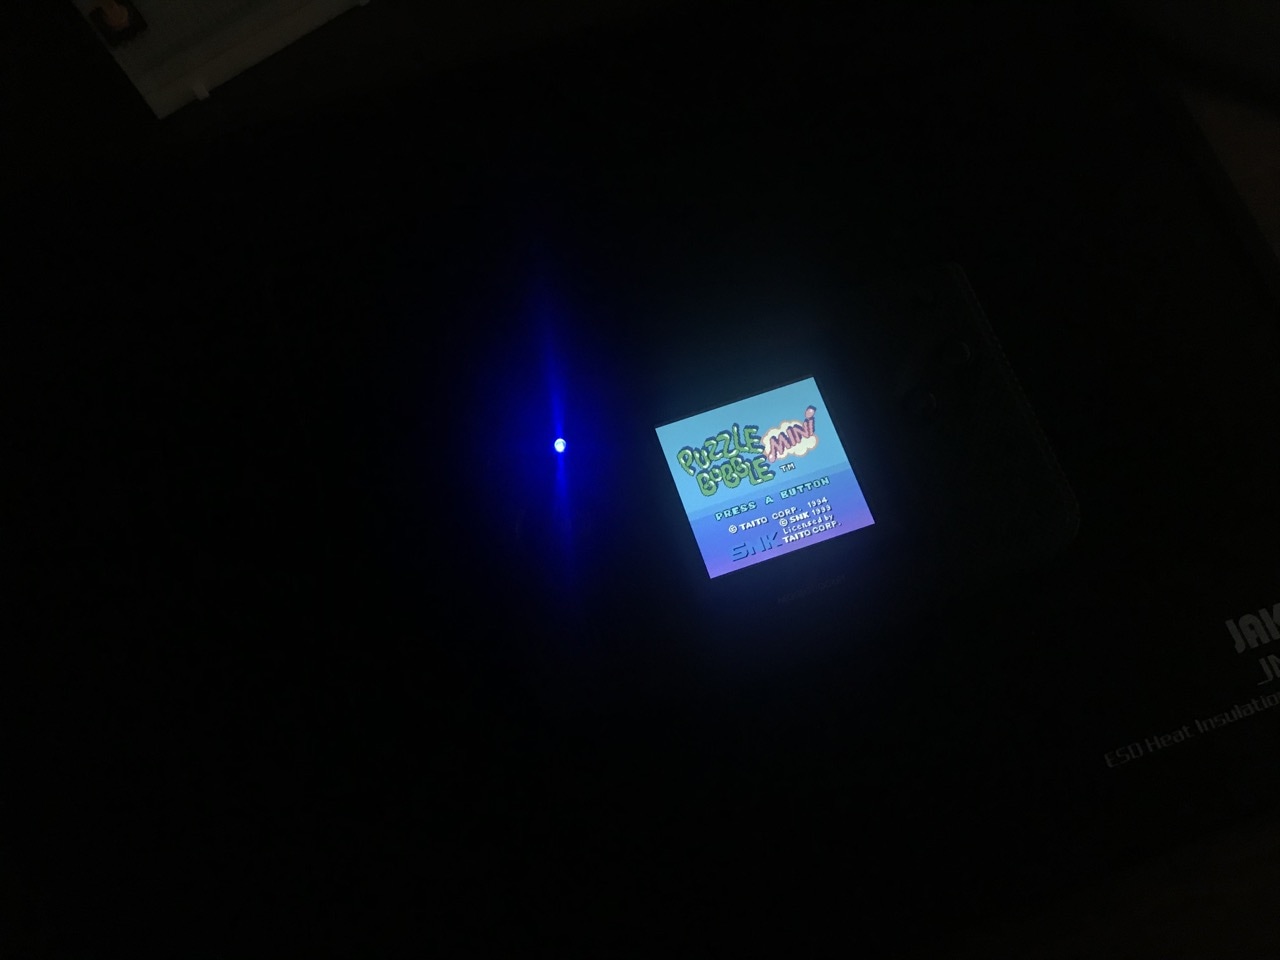
You can definitely see it quite clearly without any lights now! This mod might even get me playing my NGPC now instead of just having it as a display piece. Long term I might even consider making some games for it, and not just for the Atari Lynx.
Next on the wish list is the RetroHQ SD cart for the NGPC!
-i
