The total cost of the desk was under $400 AUD ($109 for legs from eBay, $101 for the laminated Beech panel from Bunnings, $114 for the 70x70 pine outer frame beams, $27 for the 30x30 pine inner frame and around $20 for screws, glue, wood filler and sanding pads). I already had the clear gloss varnish from other woodworking projects so didn't count that into the cost.
This isn't a how-to guide for making your own desk, just my story. Woodworking is a hobby of mine and I'm by far not a professional, so read on and be inspired, but don't take this as a prescriptive guide.
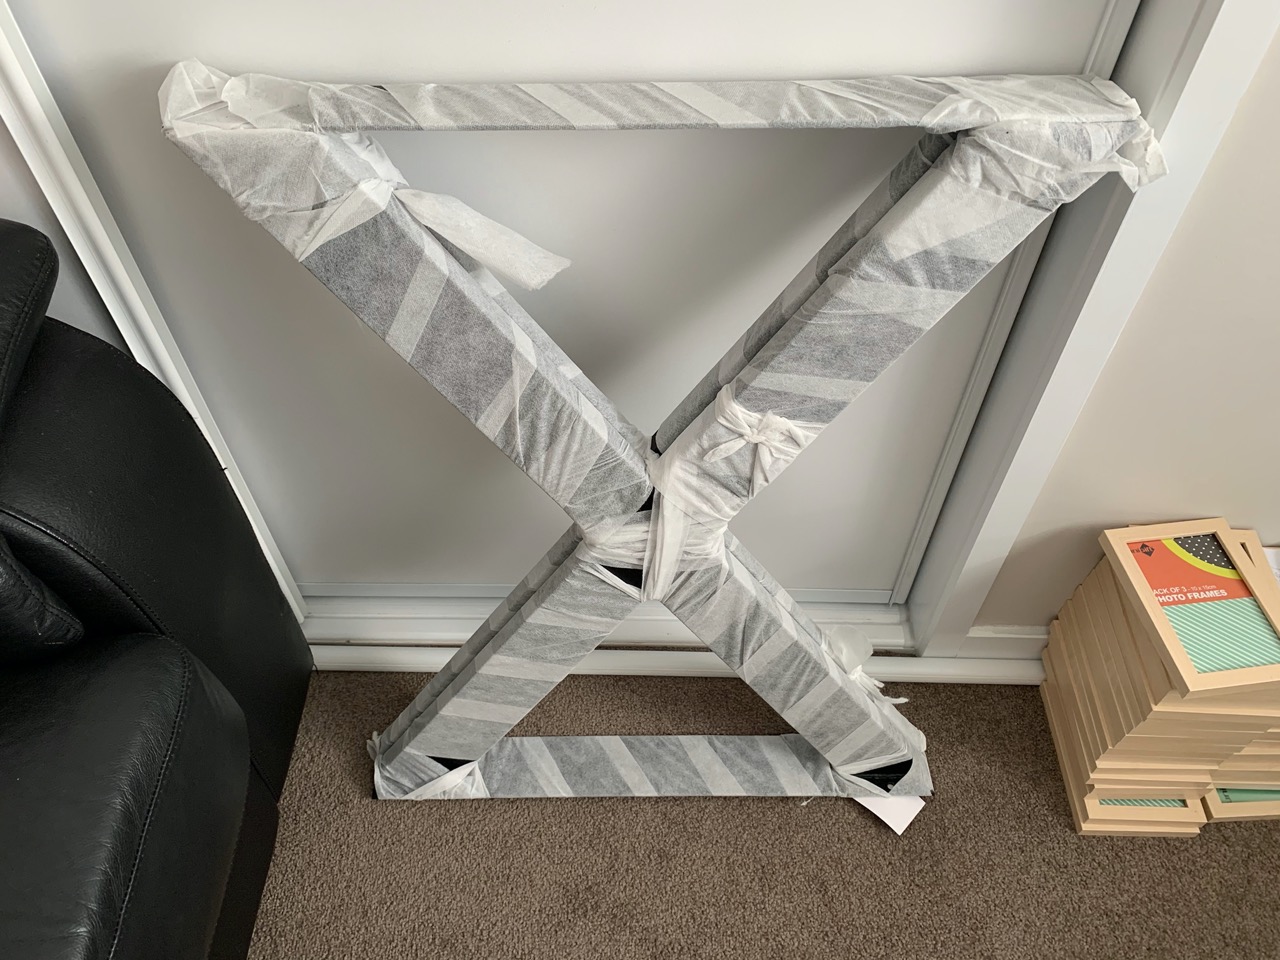
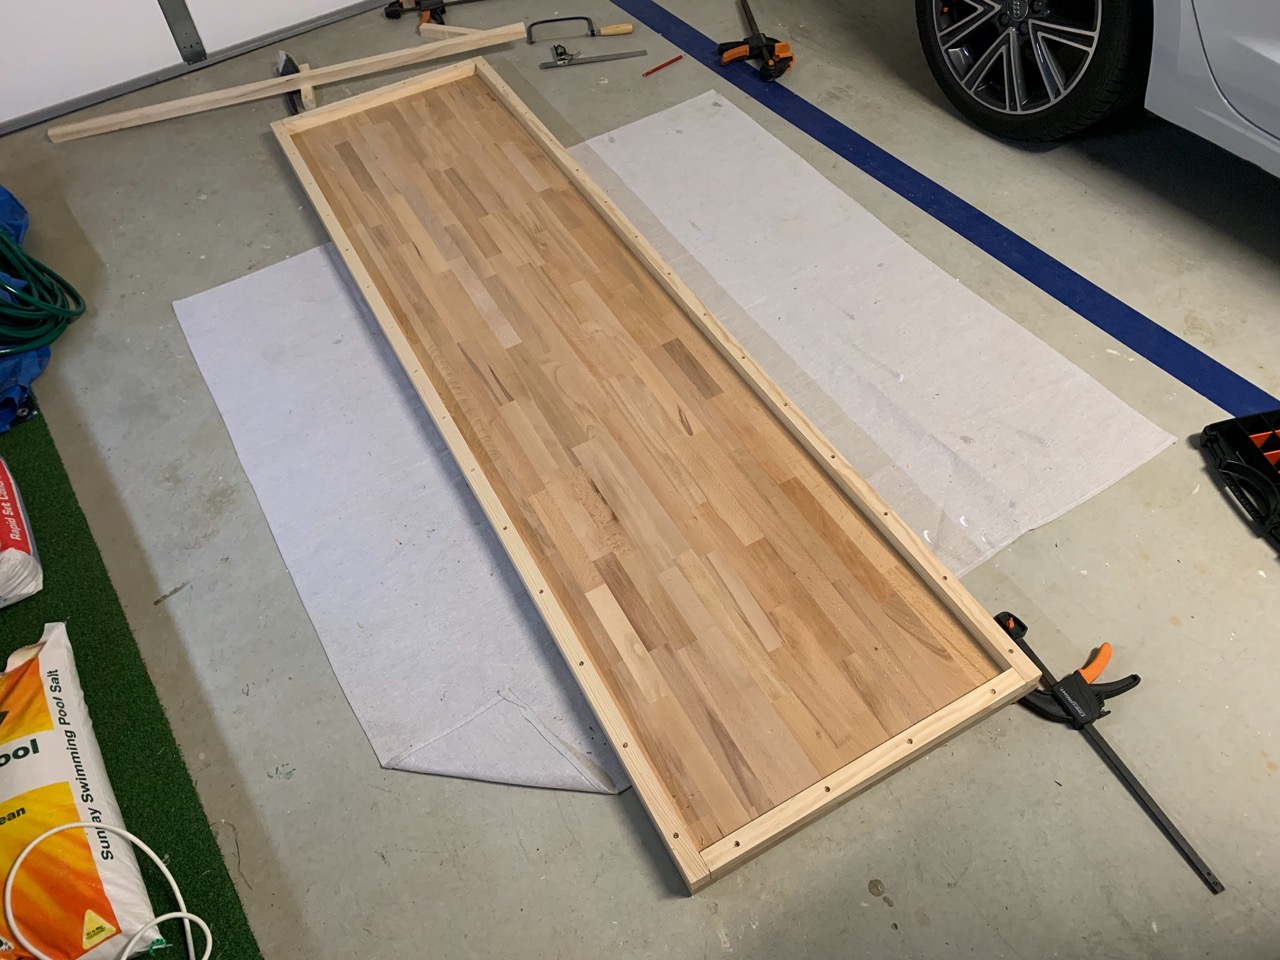
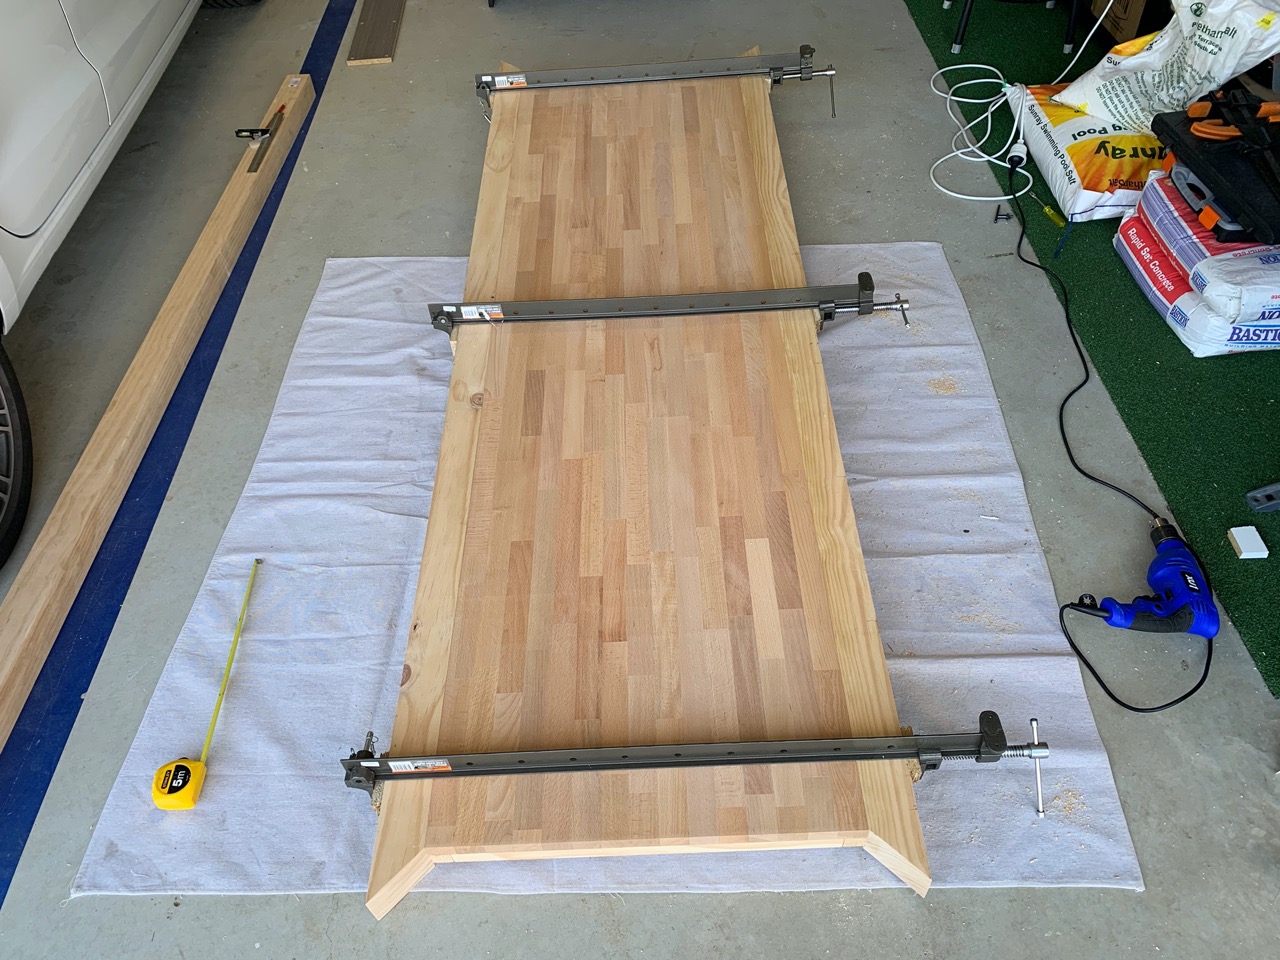
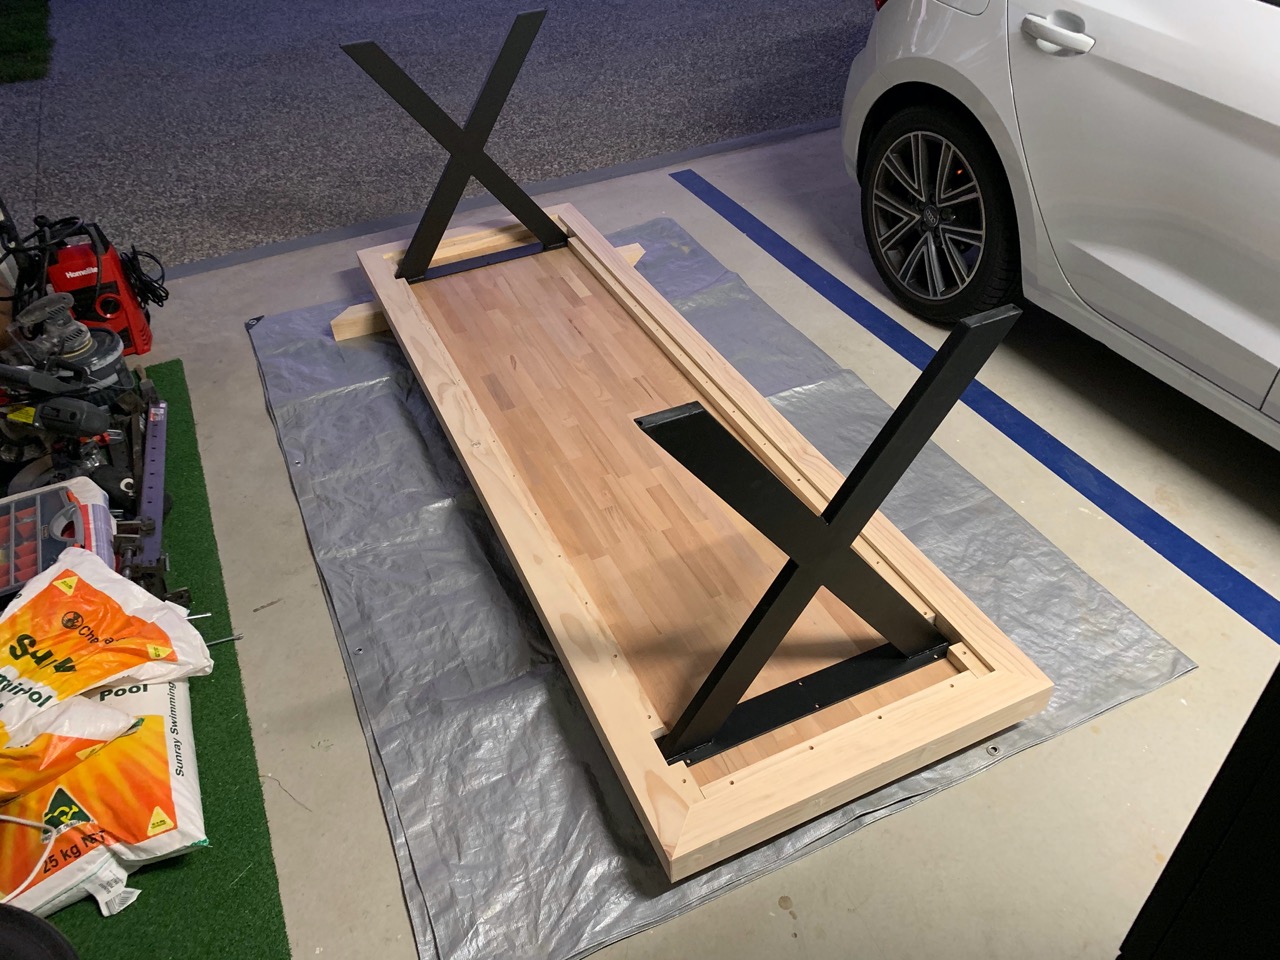
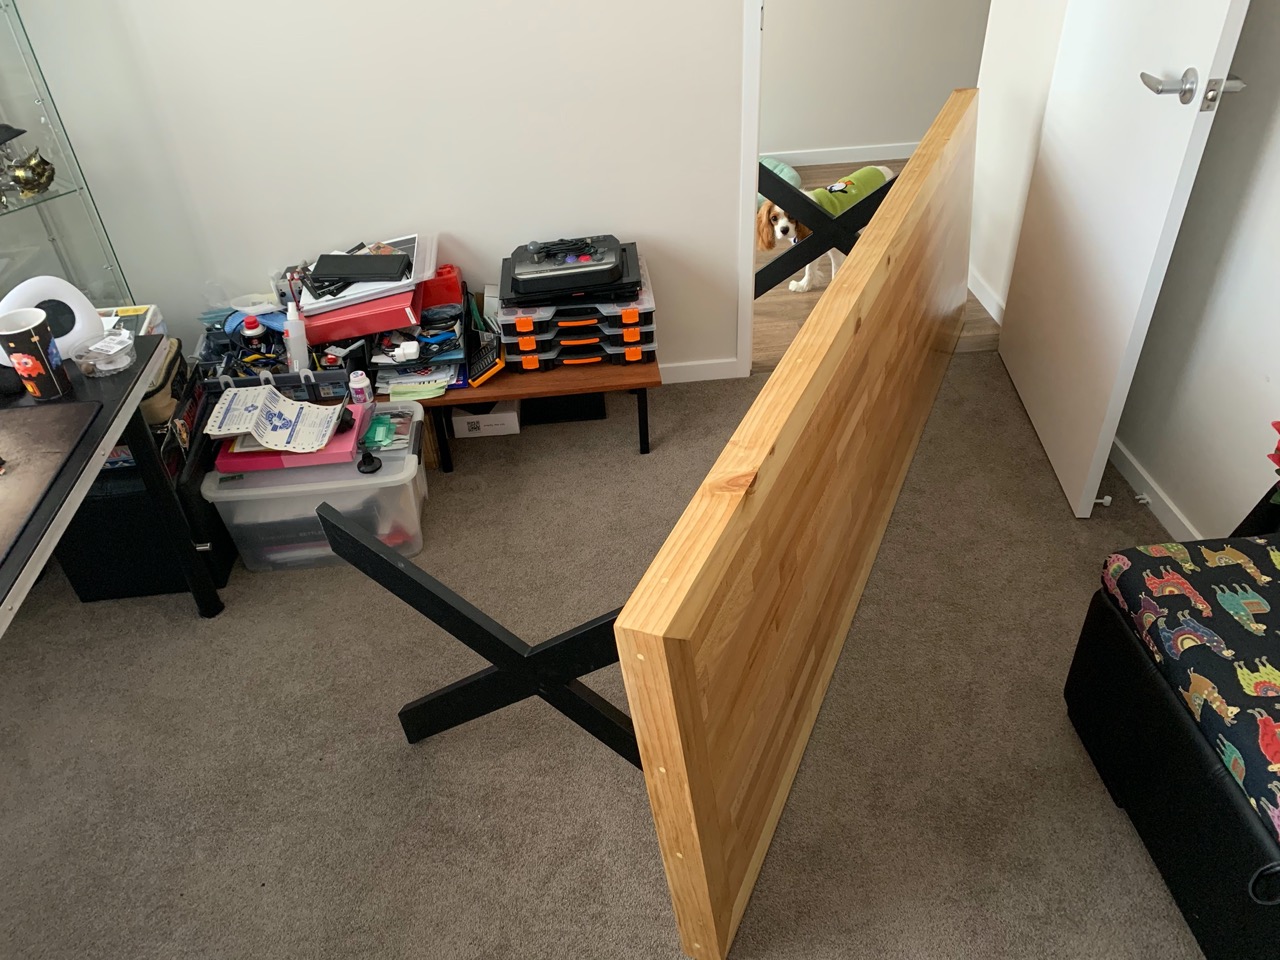
These were the materials that I started with. The X shaped steel legs were pre-fabricated, the wood was all purchased from my local Bunnings store, with the help of the neighbour to bring the 2.2m long panel home on his 4WD.
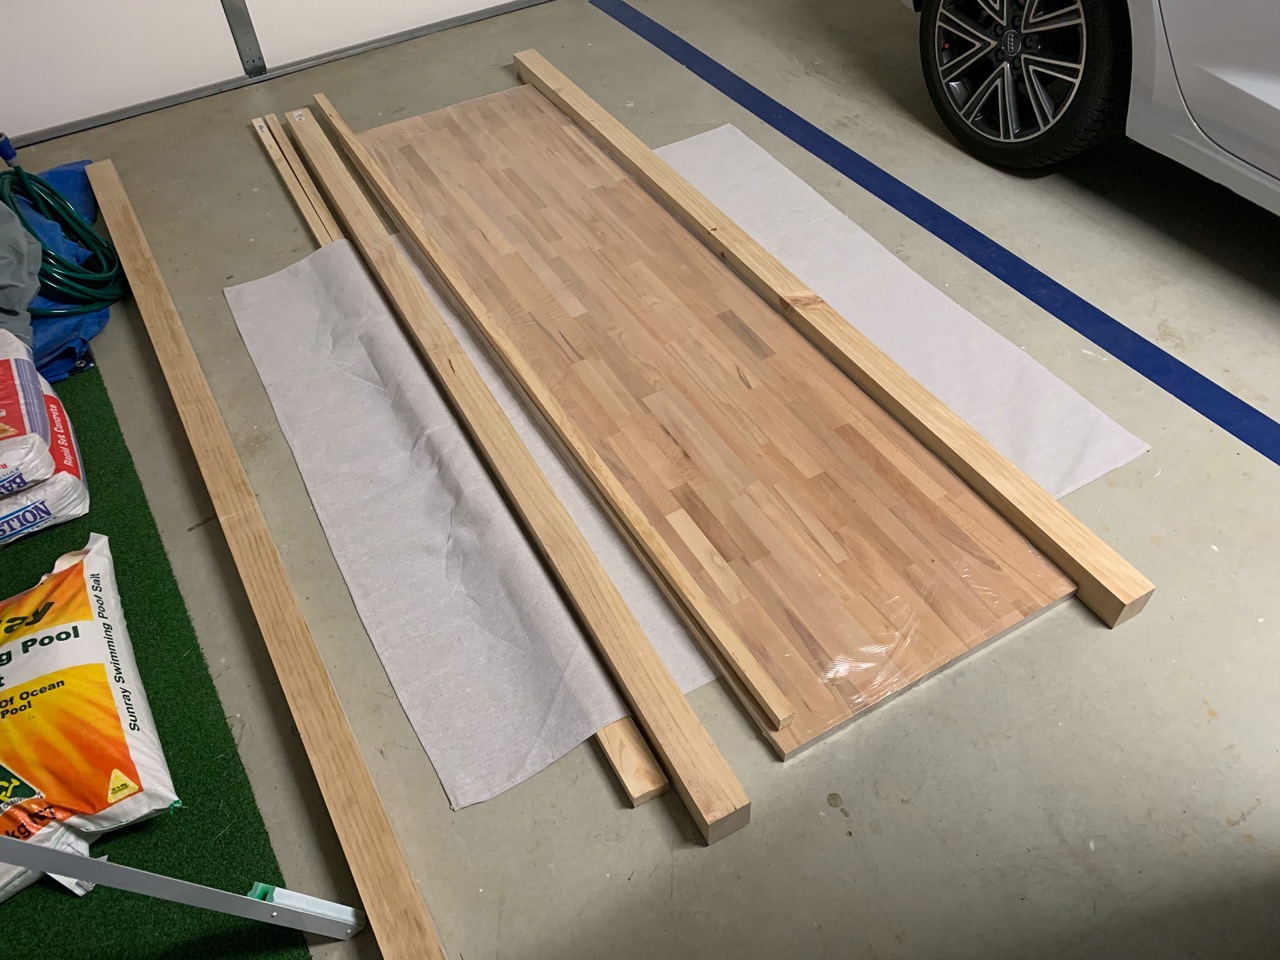
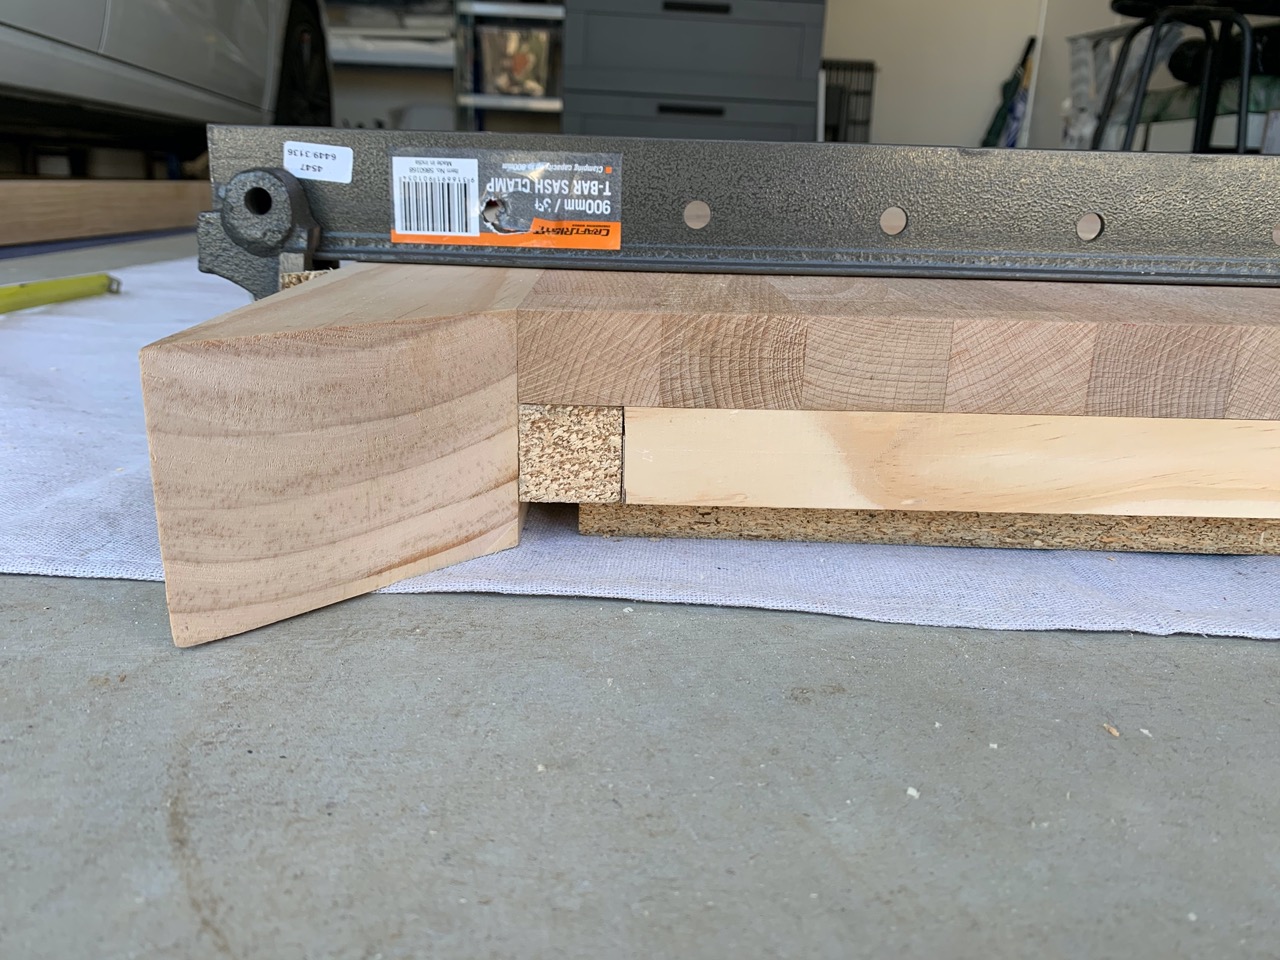
My previous desk was 75cm deep so I wanted something around the same depth to accommodate my 34" monitor, a couple of MacBook Pros and my laser printer as well as leaving enough room for the big mouse mat I use. The largest depth of panel I could get was 60cm, which was way too small but I realised that if I put the frame on the outer edge, I'd gain an extra 14cm of depth! This changed my design slightly as that would require me to make an inner frame so that the outer frame would have more surface area to hold onto than if I only secured it to the panel itself (not a great idea as it was only 26mm thick).
The inner frame gave me an extra 30mm of surface area to play with. I didn't have to be too neat with cutting it as it would not be visible externally so I didn't bother making mitre joints for it. It was secured along the length of the panel with screws every 10cm to help straighten out any warping that pine is prone to (oh and plenty of PVA glue).
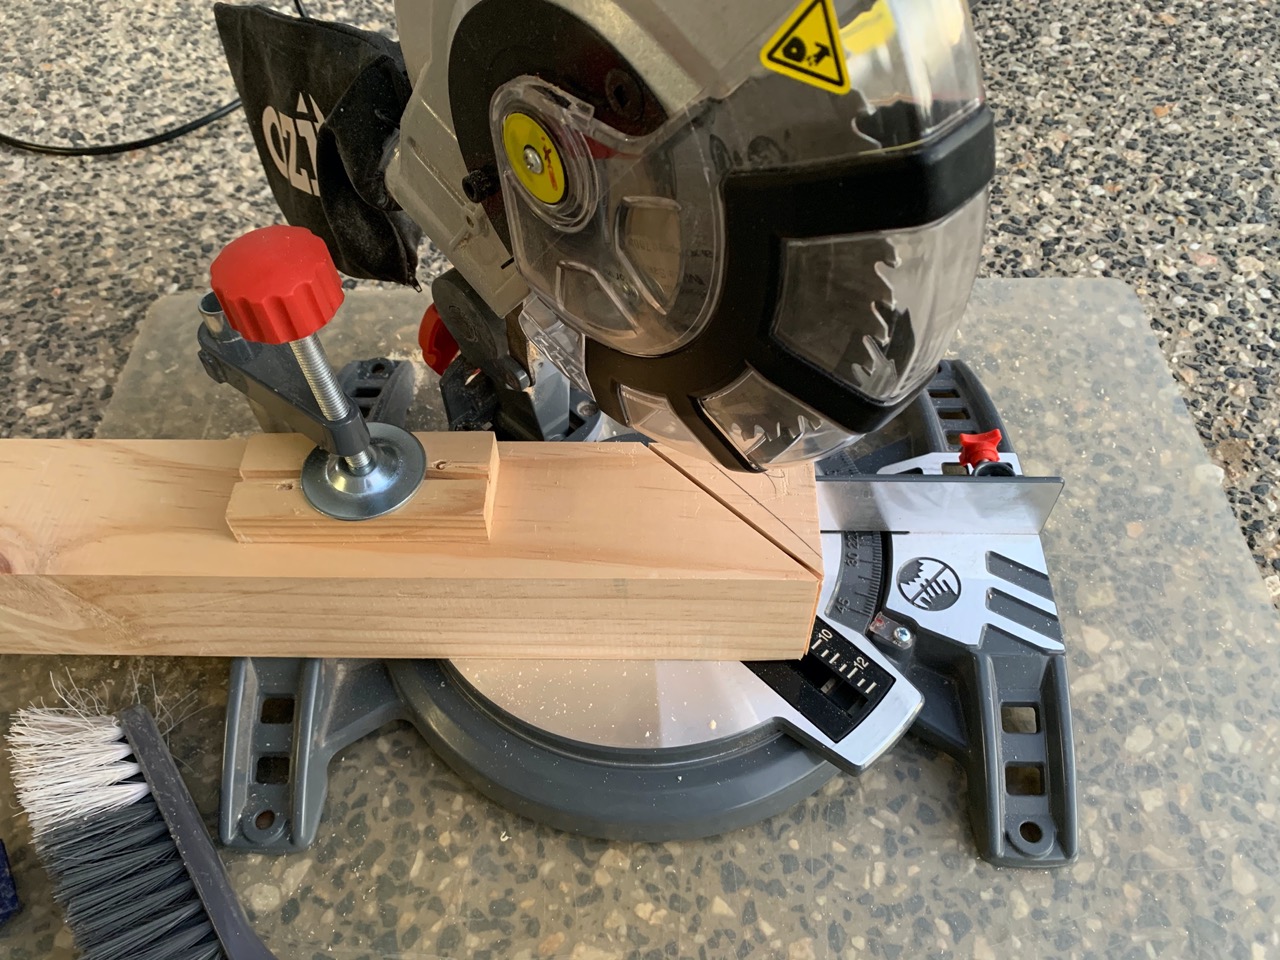
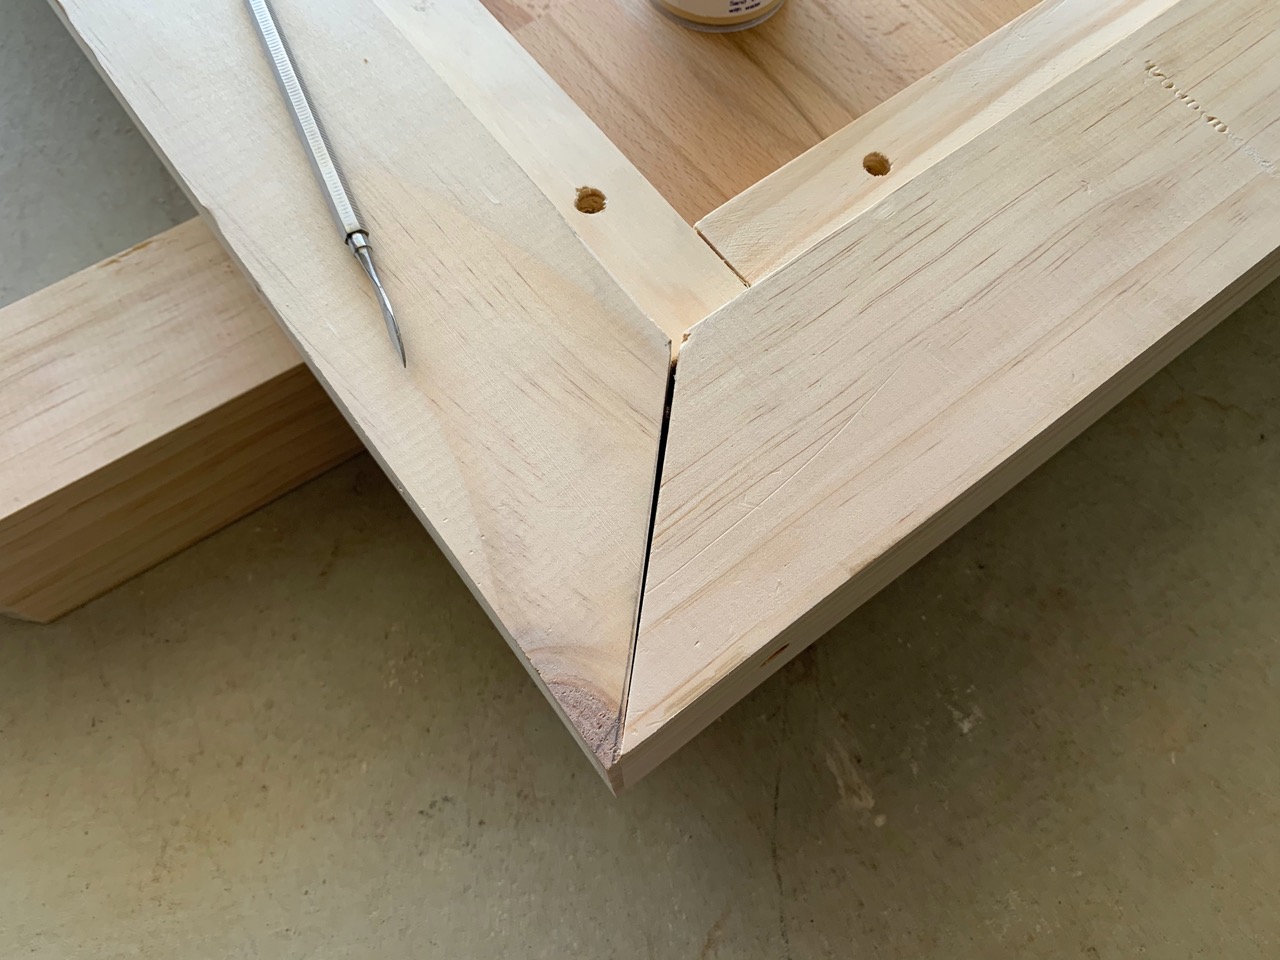
I left the inner frame to dry over night and the next day started on cutting the outer frame mitres. Unfortunately my drop saw's 45° mark was slightly off as I found out later, so these mitres were not perfect but they were close enough that wood filler would not be too noticeable in the final finish.
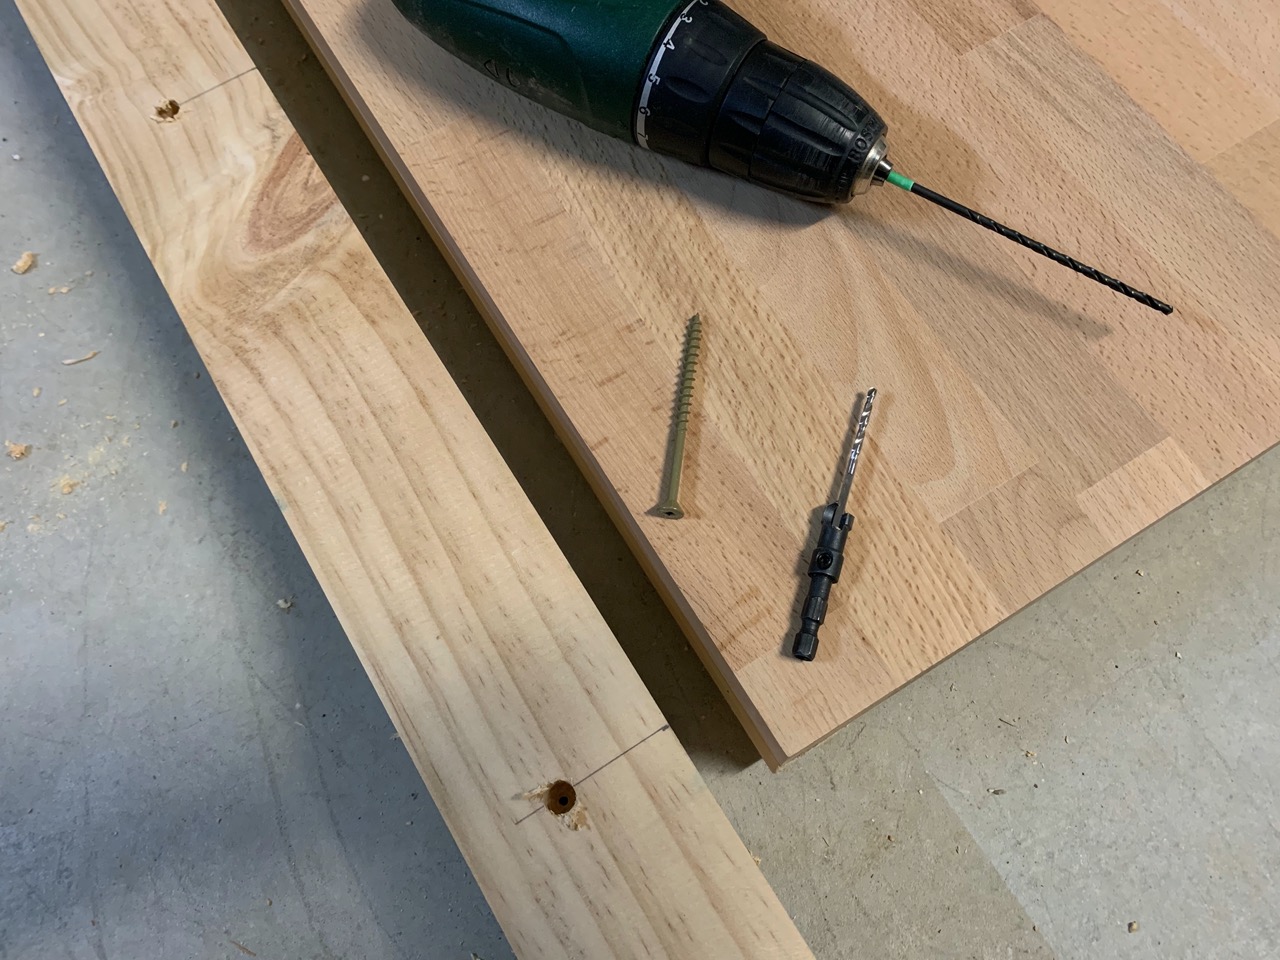
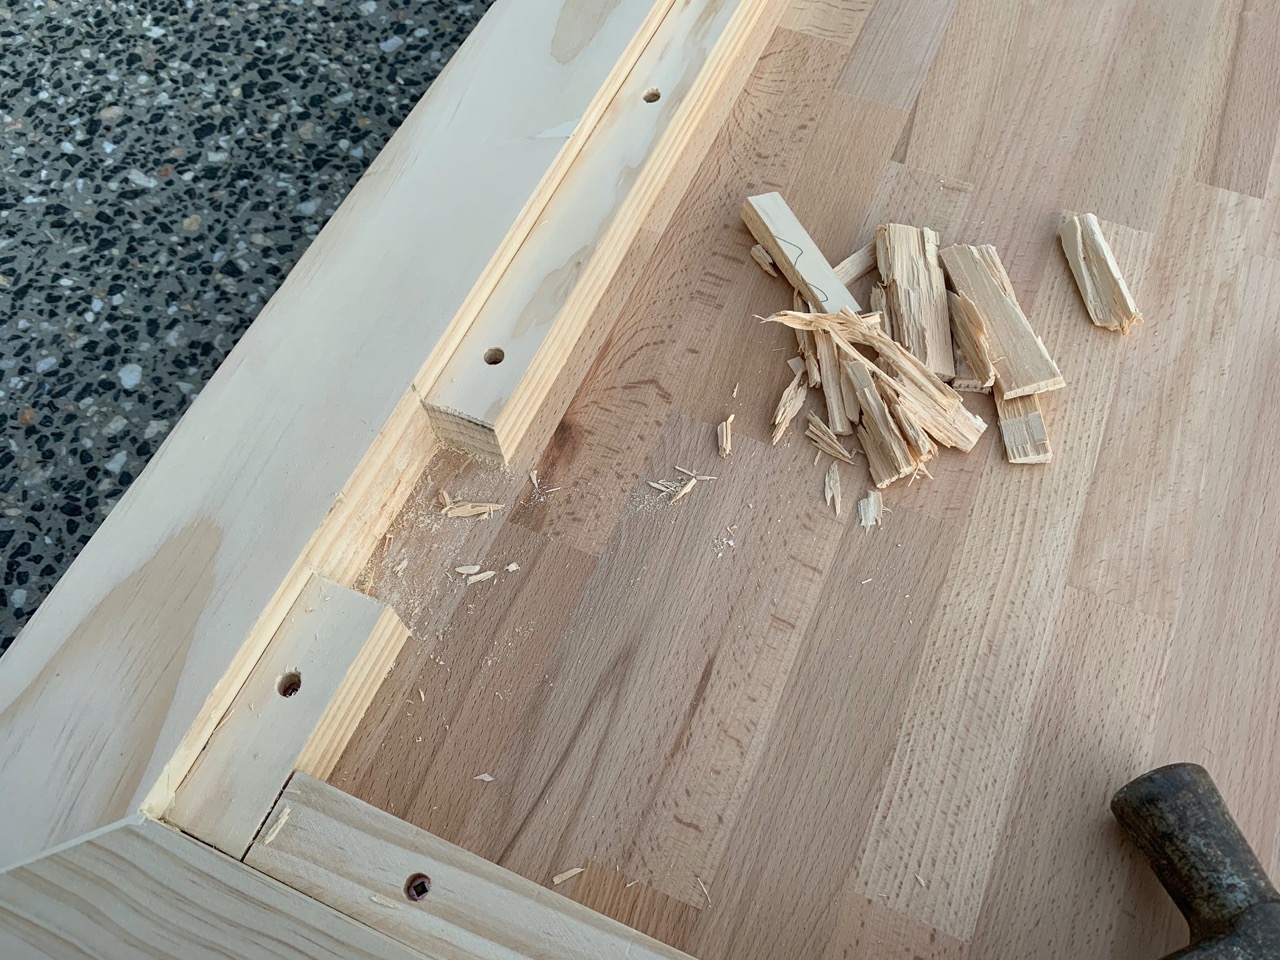
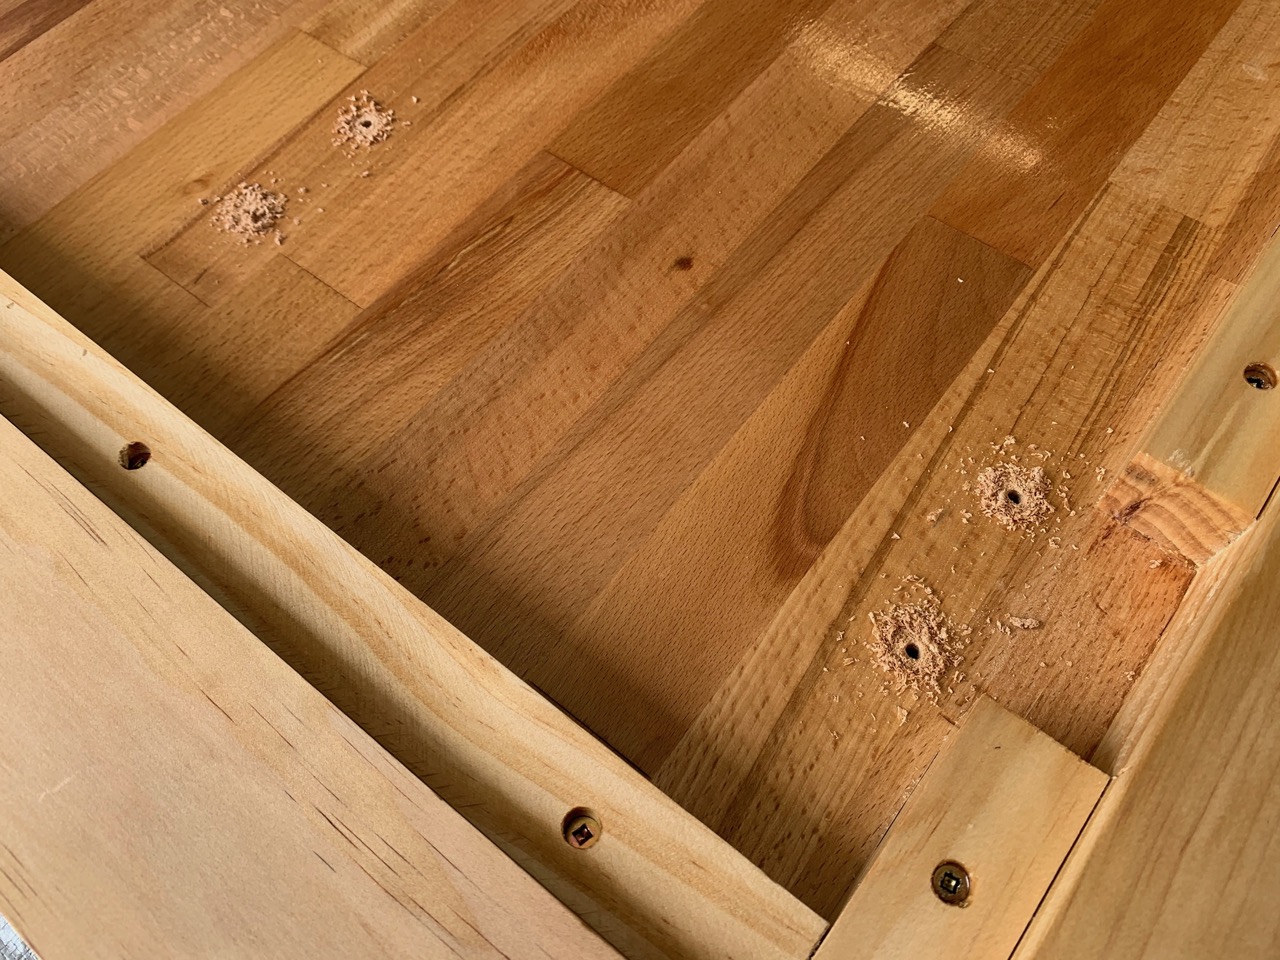
The outer frame was secured with 75mm screws that were counter-sunk quite deep into the frame, around 2.5cm. For this I used a counter-sunk bit and then an extra long drill bit to make the final hole deep enough.
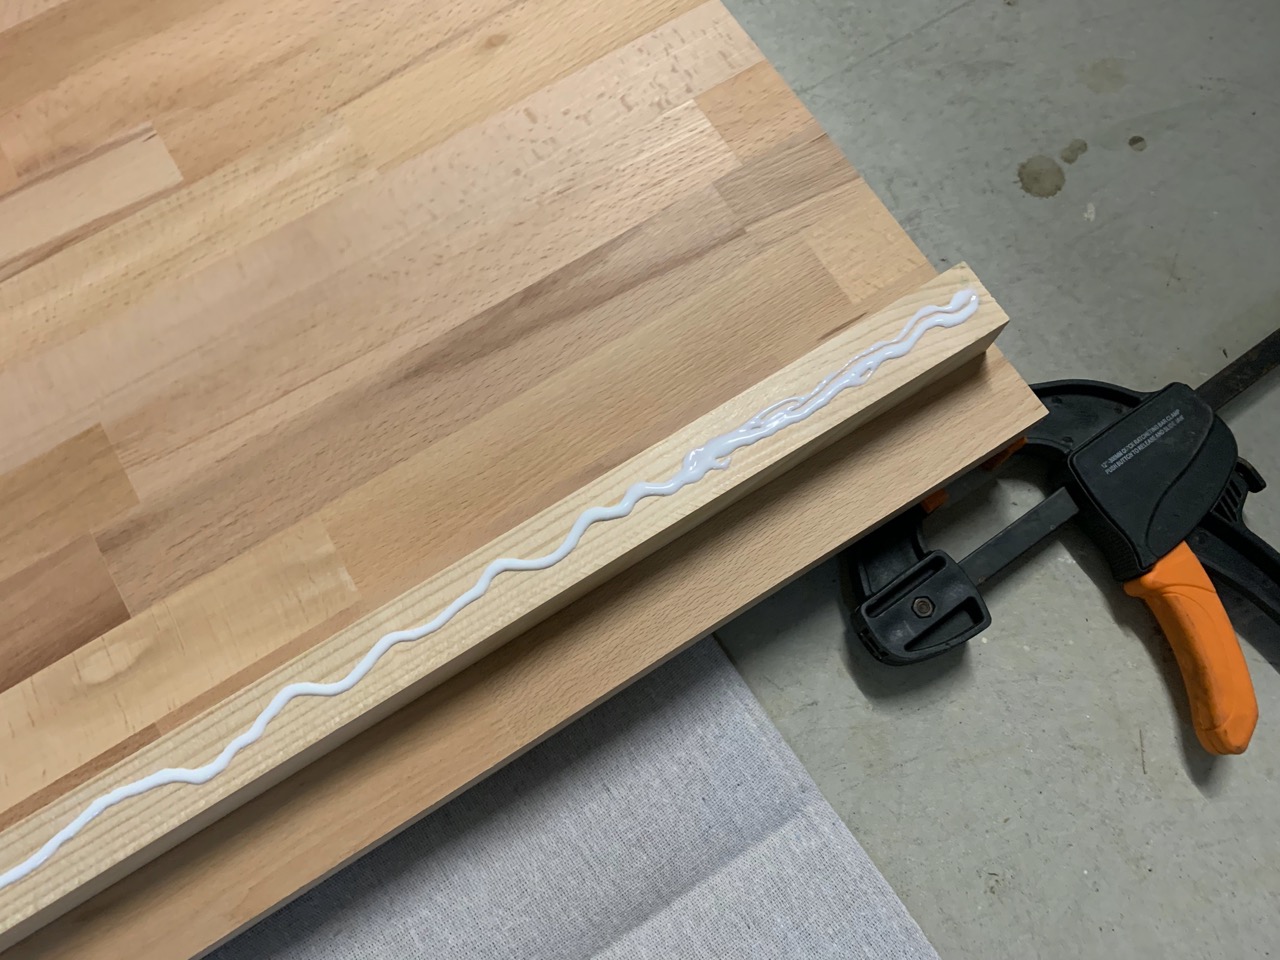
The long sides of the outer frame were secured first, one at a time, with long clamps helping to keep them in place while the glue dried. I left the first side to dry overnight and worked on the second side the following day.
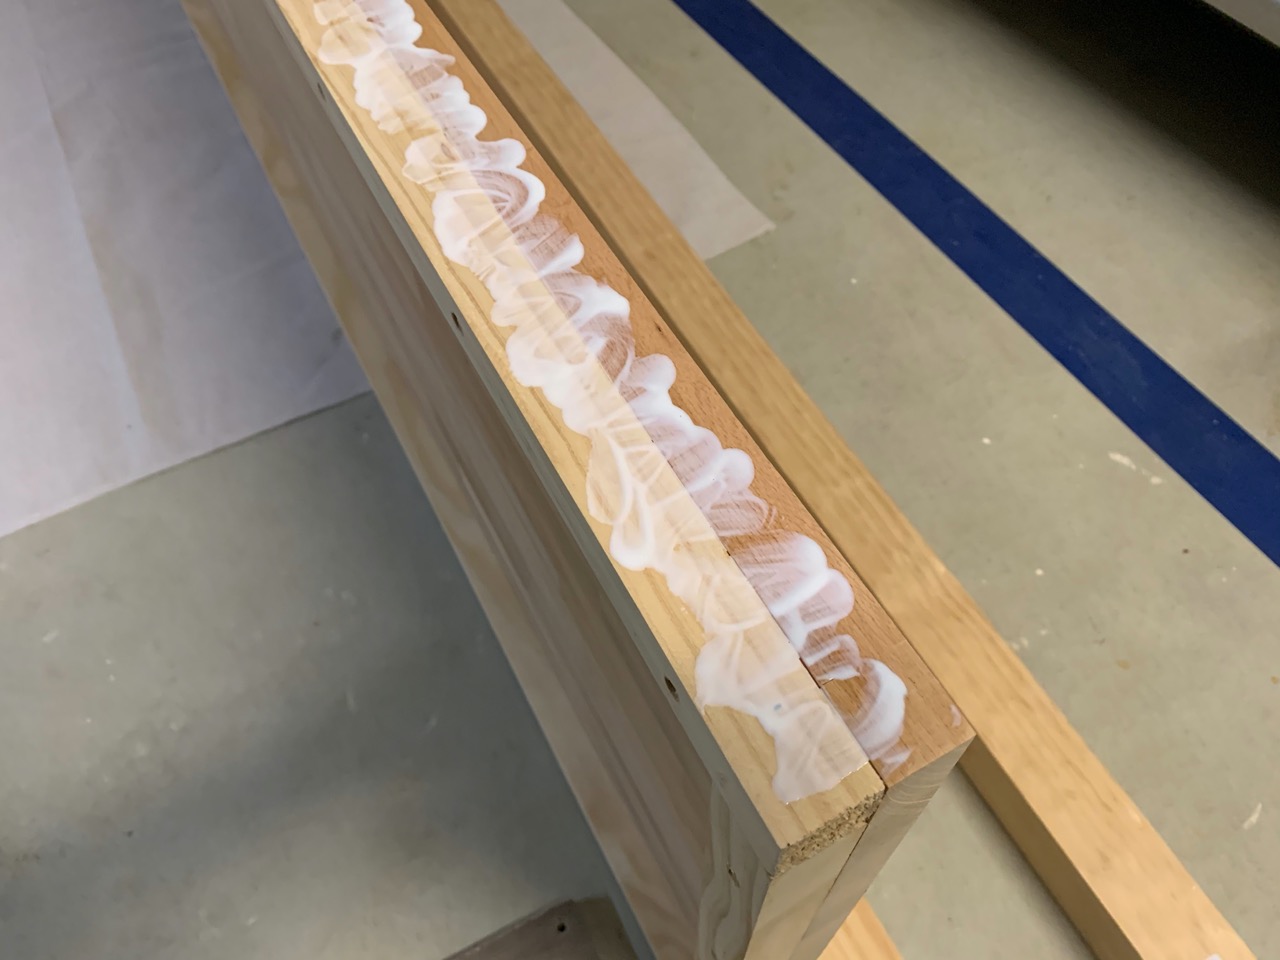

While the second (long) side was drying, I cut the smaller edges to length and glued/screwed them in the same way as the longer sides. I didn't have clamps long enough to hold these in place, but I made sure that their edges were screwed into the long sides for a good fit. This is where it became apparent that the mitres were not going to line up perfectly, but no matter - a bit of wood putty to the rescue!
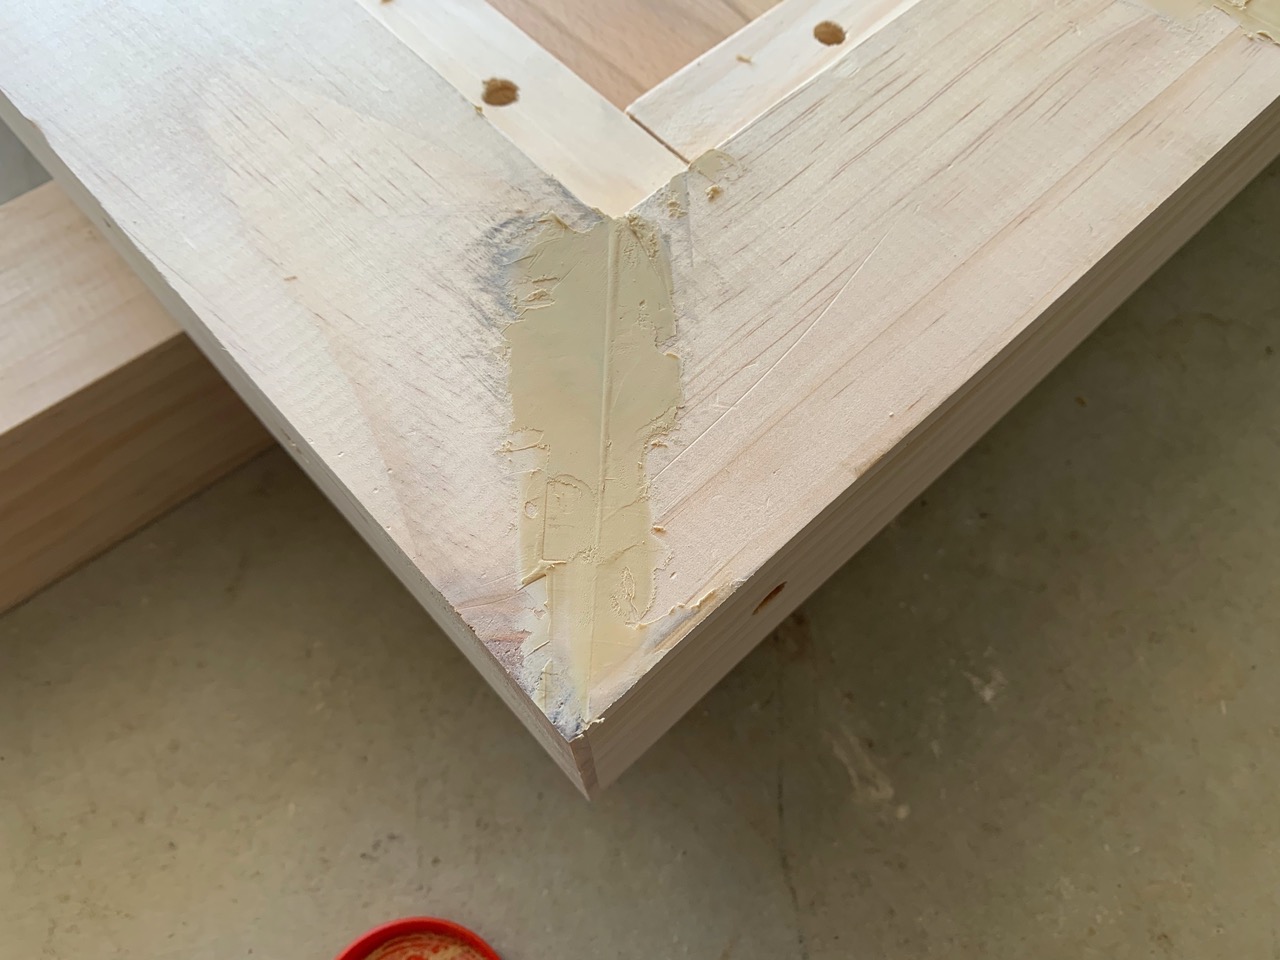
In order to secure the legs, I had to cut out a section of the inner frame. This was done after all of the bottom mitre joints and side screw holes were filled with putty, left to dry overnight and sanded down. The bottom and sides of the frame were sanded with a 120 grit sanding disc. I've had to sand down some misalignments in the mitres to have them feel like a single surface.
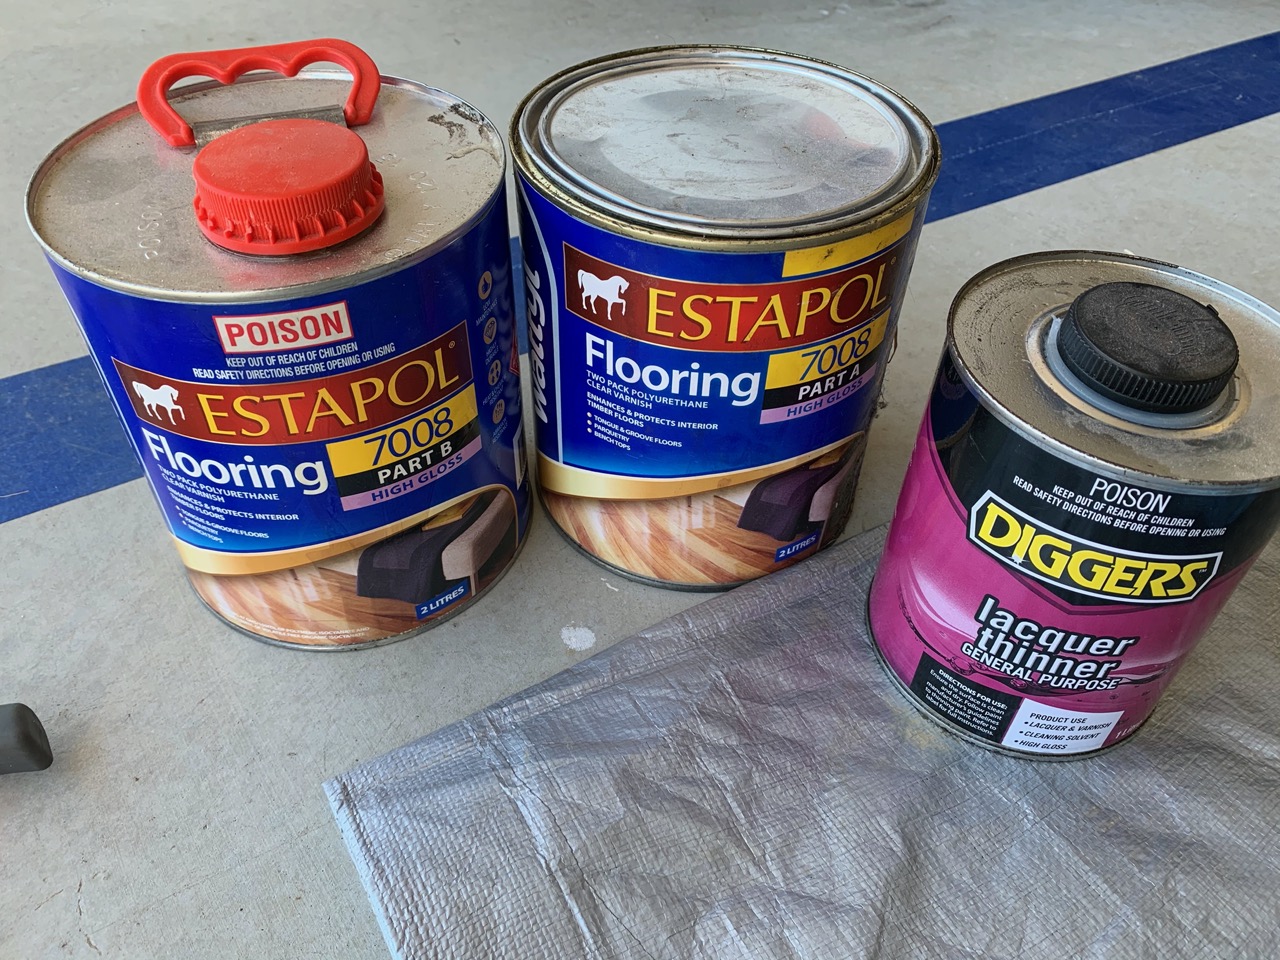
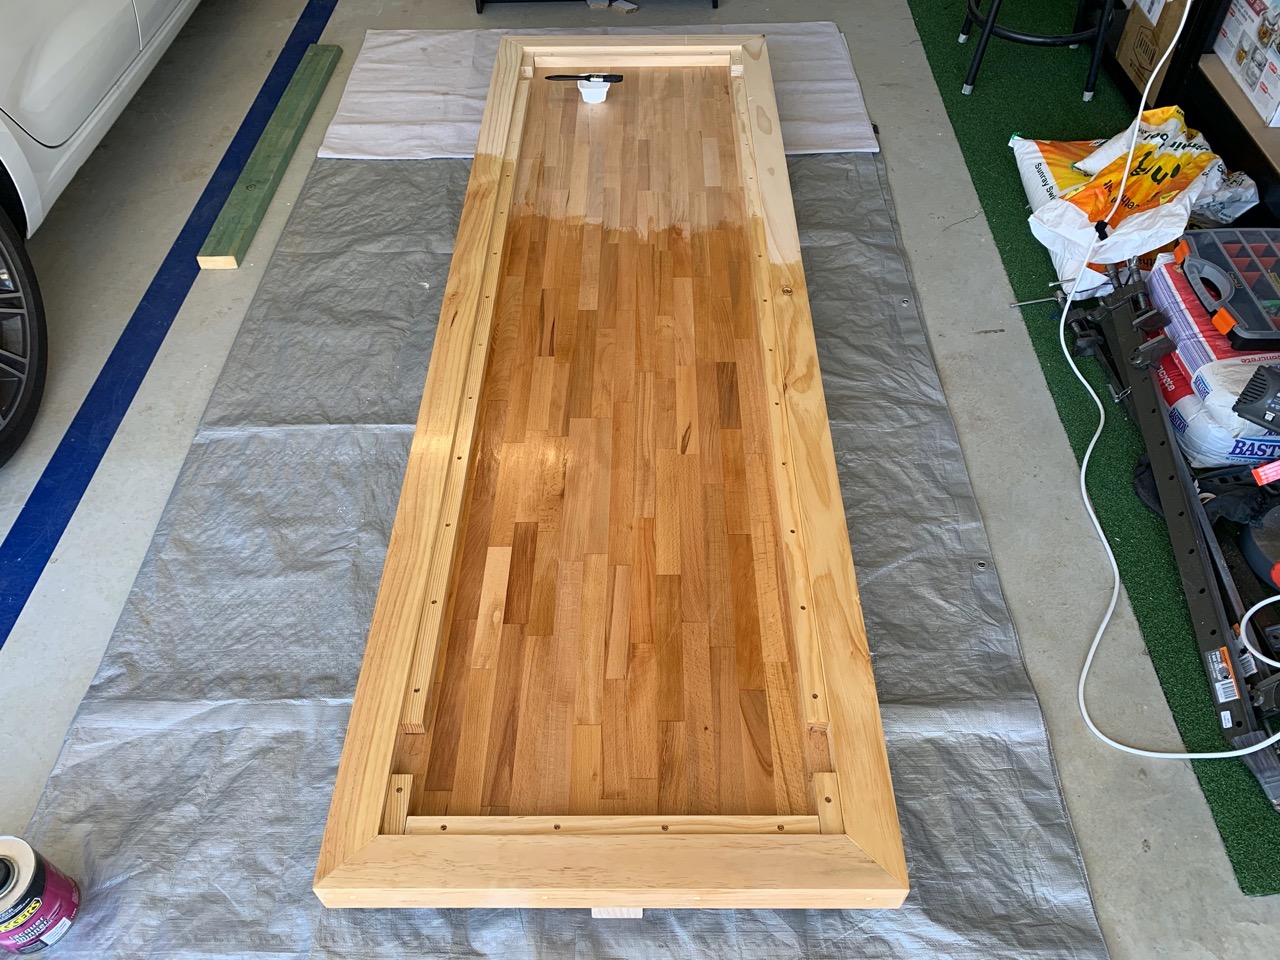
To seal the bottom side I decided that I'd only need to put down a single coat of the Estapol 7008 high gloss floor varnish. This was a 50/50 part A/B mix, which I mixed with an equal part of paint thinner to get better penetration into the wood.
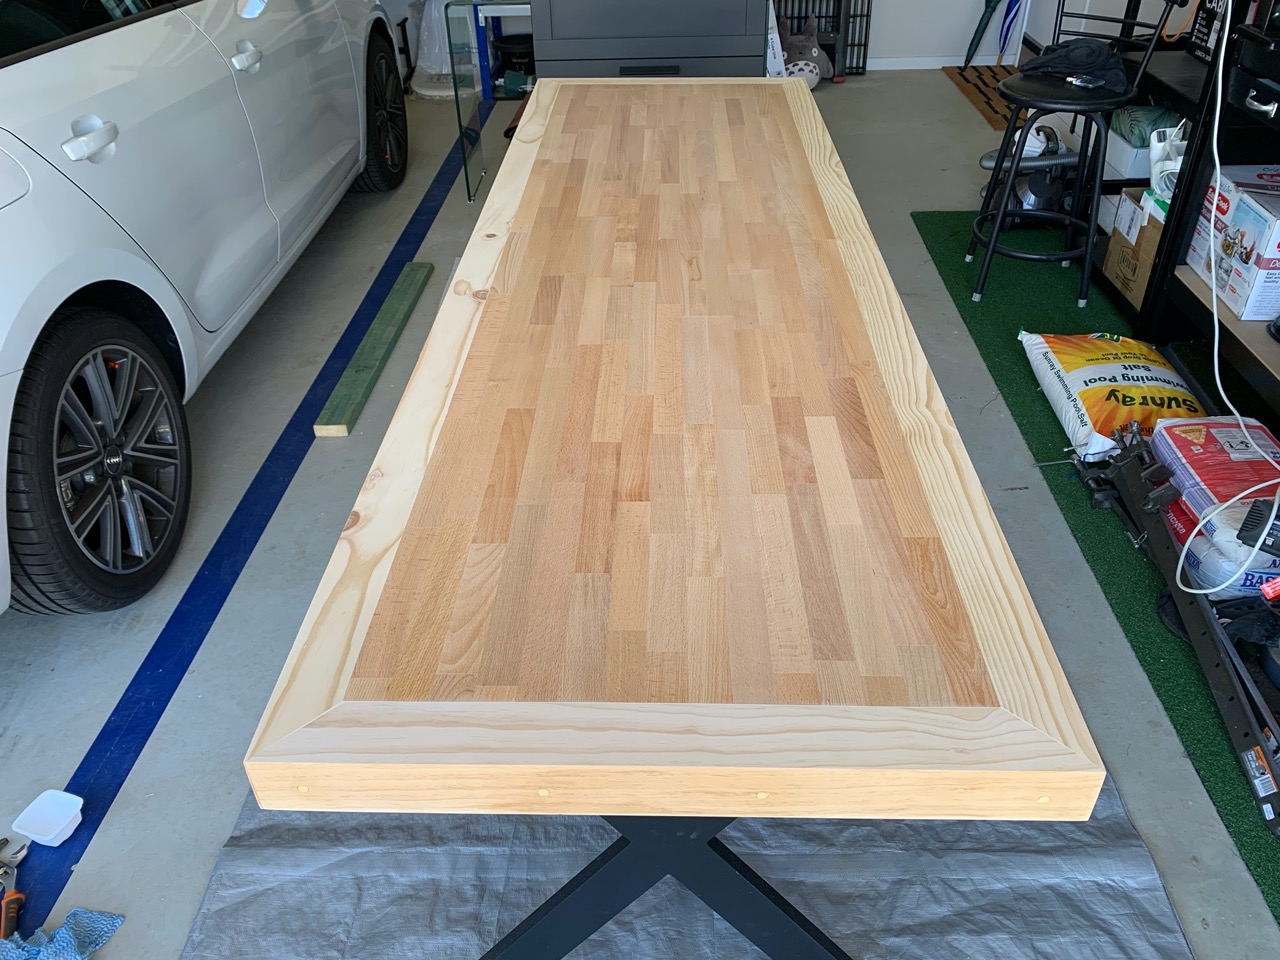
The change in colour was amazing, I always love this part of the project where a piece of wood suddenly starts looking like a piece of furniture!
Once the bottom side lacquer was dry, I drilled the holes for screws (heavy duty 12G size) so that the legs could be secured. I also decided to use some Liquid Nails that I had laying around on the top side of the metal frame just for an extra measure of adhesion.

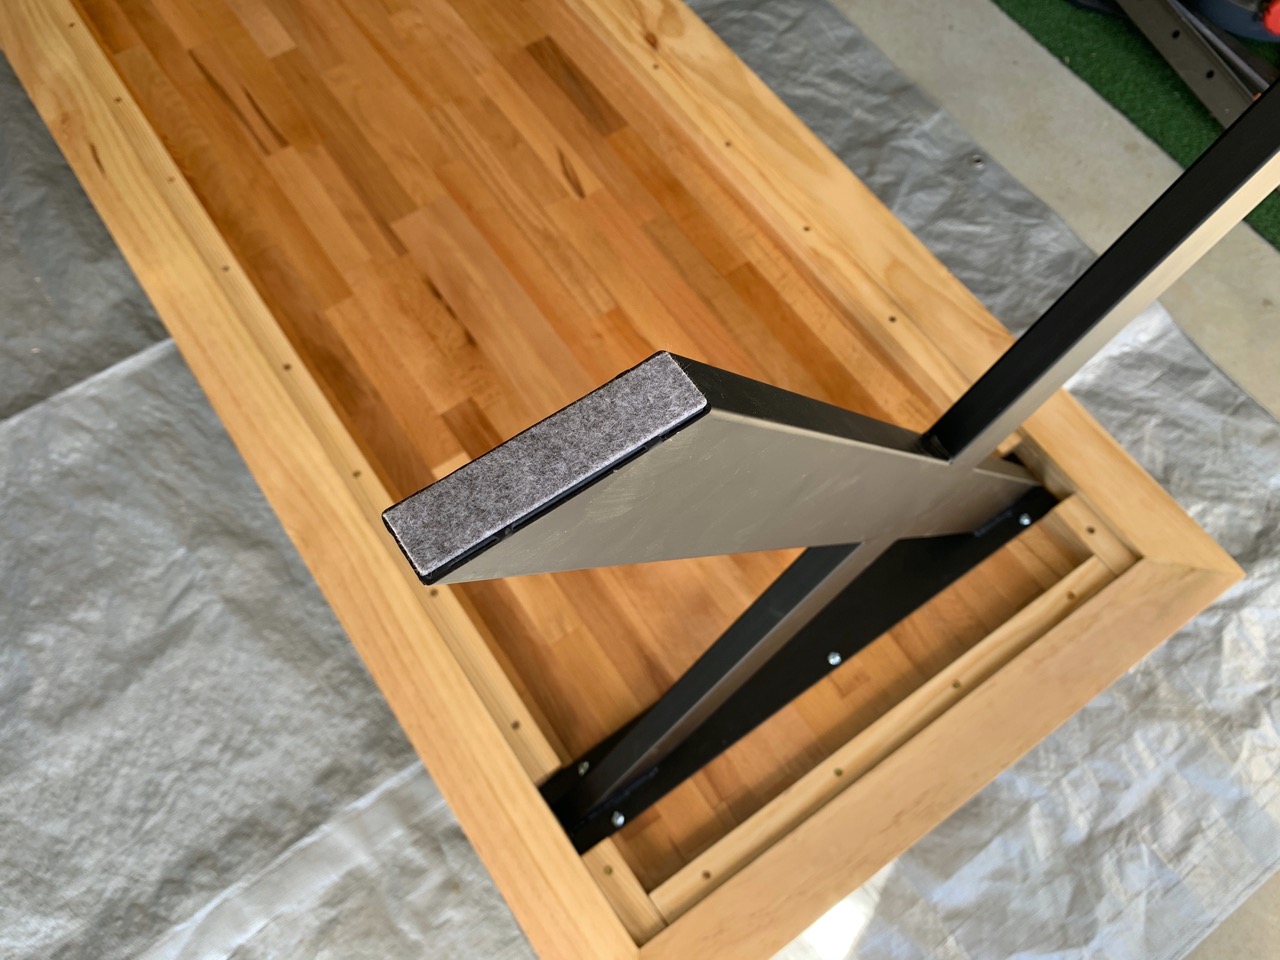
I left Liquid Nails to set for a couple of hours before turning the table over and having it finally sit on its own legs. The top side mitres and some minor imperfections in the panel were filled with wood putty. Once the putty was dry, the whole top was sanded down with an 80 grit sanding disc first (the Beech panel was much harder to sand than the pine). Then I followed up with a 120 grit disc and it was ready for varnishing!

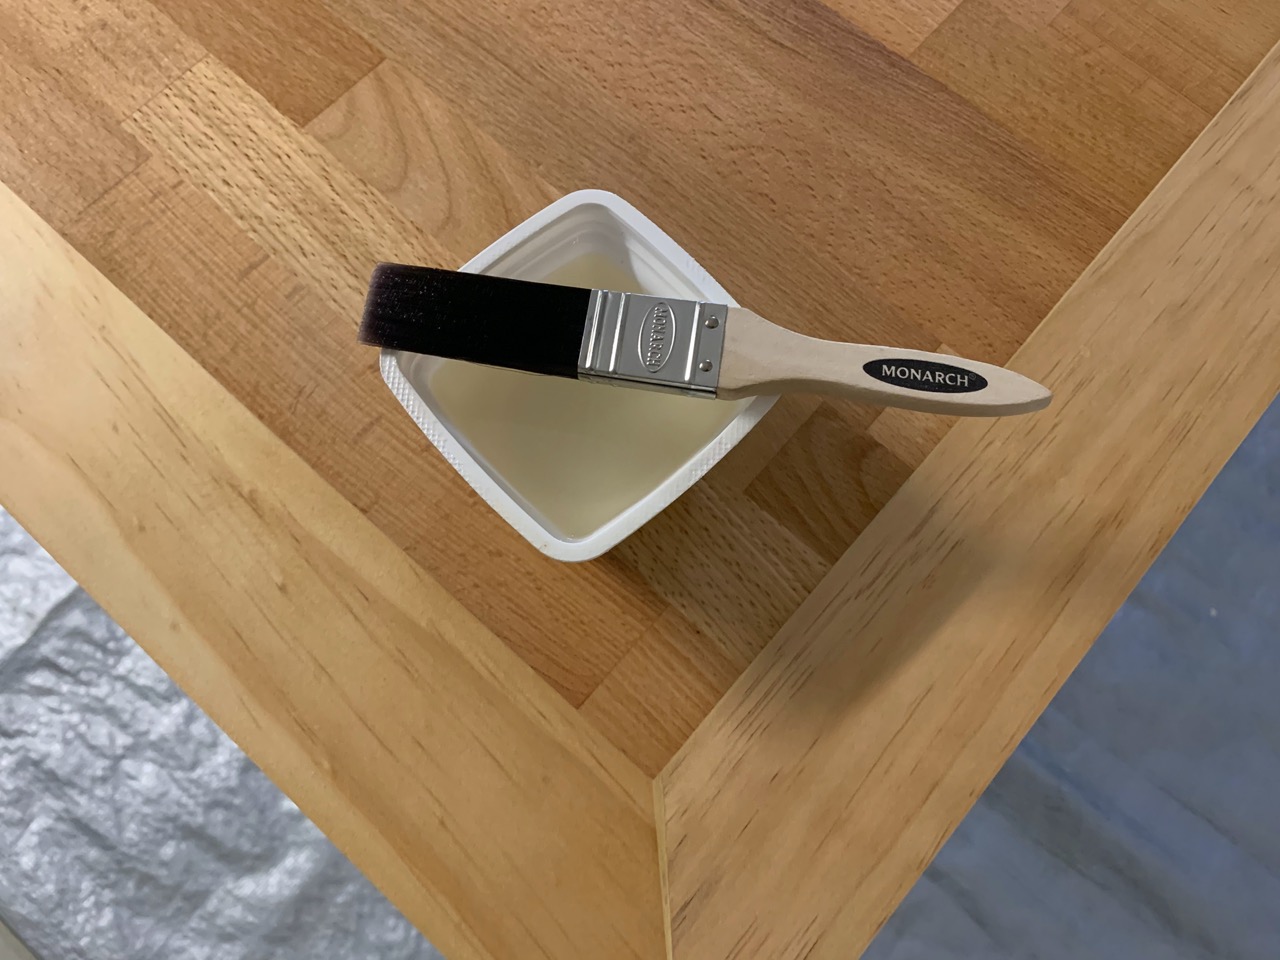
At first I thought that I'd need to apply three coats of varnish, but after the very first coat it was evident that only two coats would be sufficient. I used the same ratio mix of the lacquer and thinner for the first top coat and a brush with fairly rough bristles. Once this coat was dry, I sanded the top and sides down with 240 grit sanding disc. The second coat had double the amount of thinner and the brush had much finer bristles to aid in making a thin, brush stroke free, smooth surface.
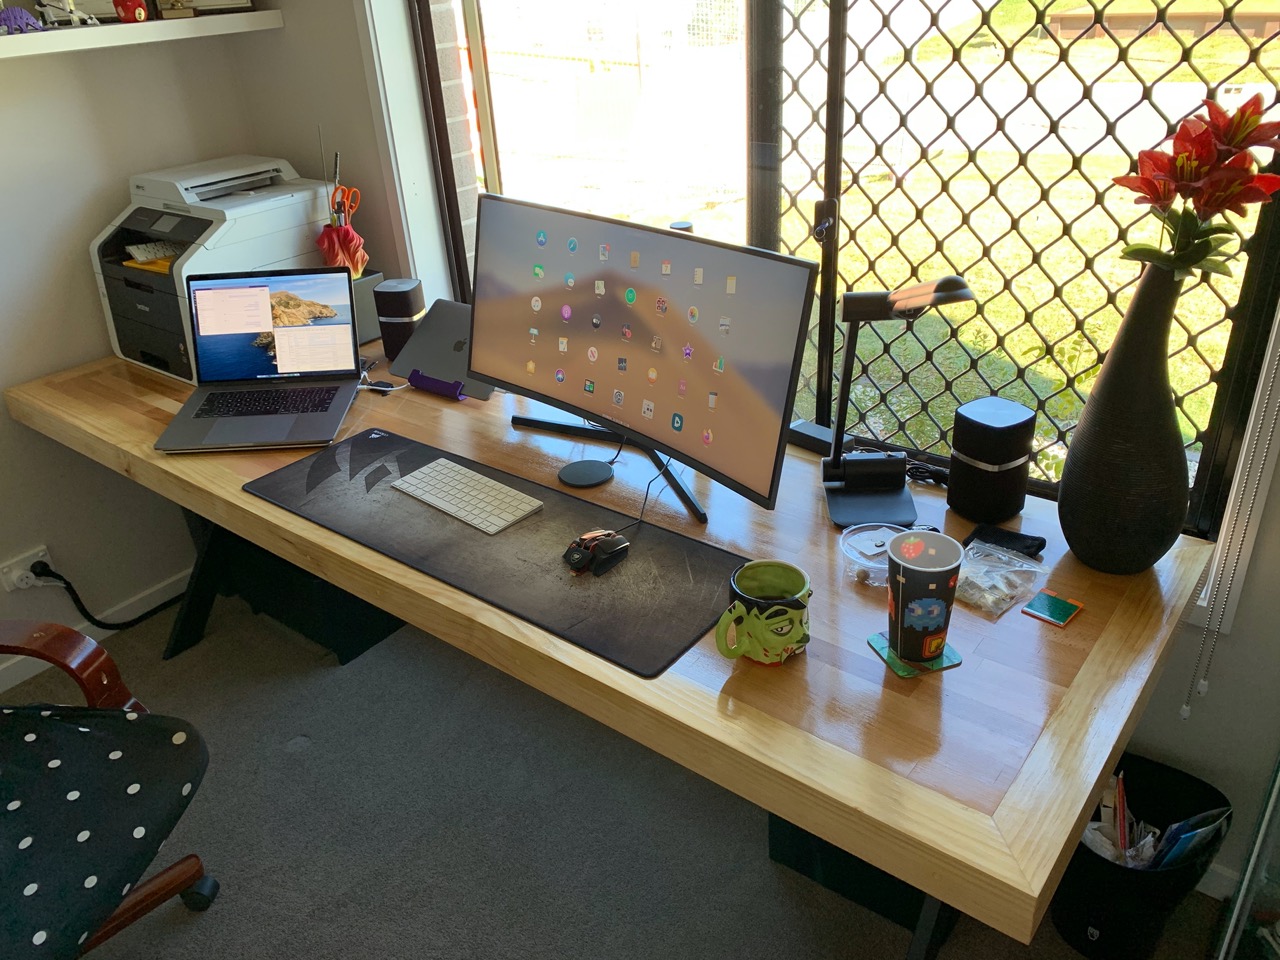
After the top coat was done, the next challenge was getting this desk into my office room! It weighed an absolute tonne! I managed to half carry, half drag it in. The pupper was a little confused and the wife assisted in getting it around corners, and after a bit of manoeuvring the desk was in! It was so much larger than the previous desk I had in there.
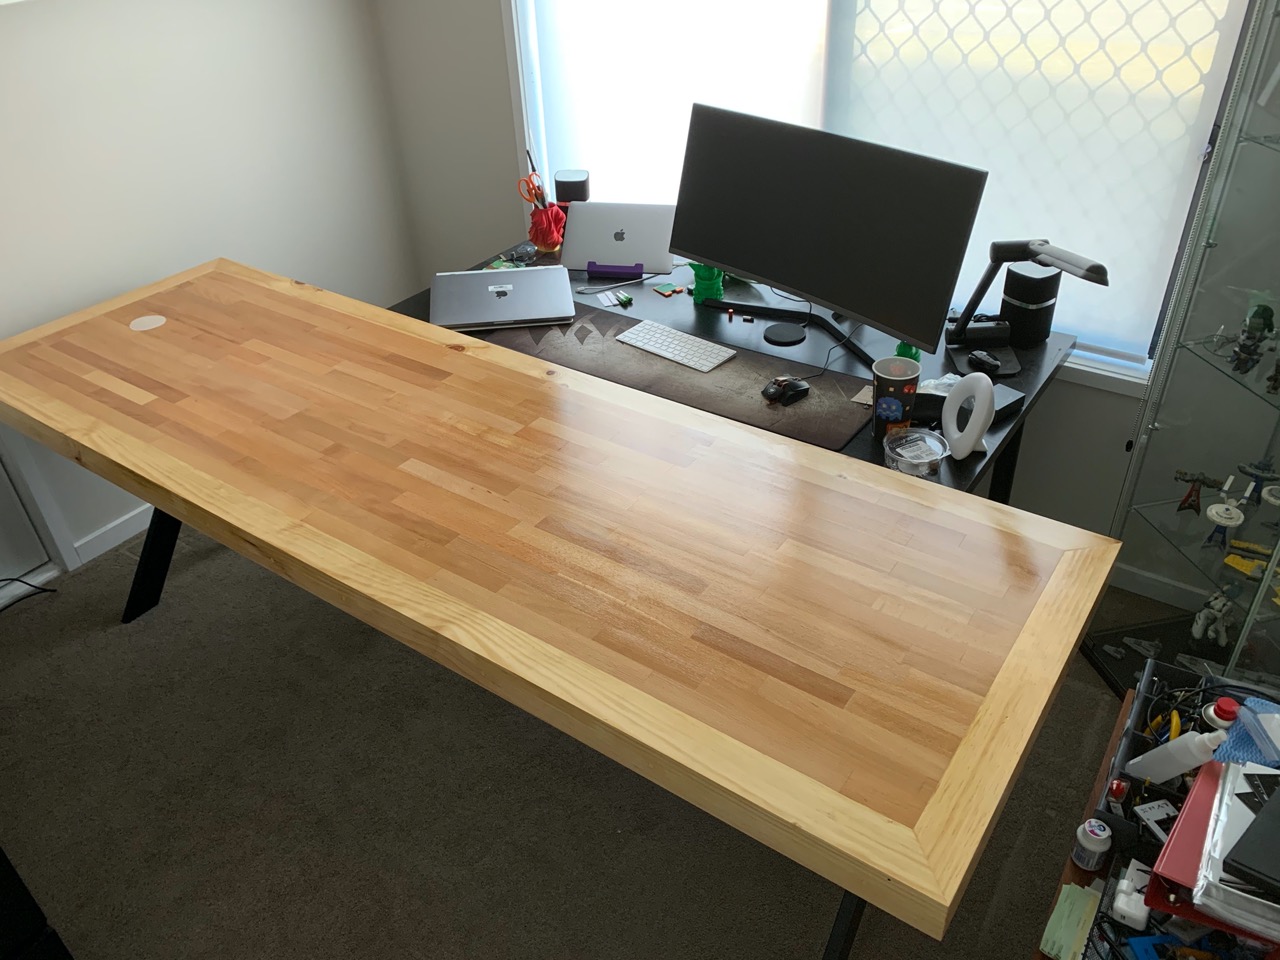
With a little bit of juggling and some contorting acts, I've transferred everything from the old desk to the new desk without unplugging it all. Then it was time to start my working day. I'm very happy with the results, this desk came out to be exactly as I wanted, it's solid and heavy and provides so much space.
I still need to get a monitor arm and some cable management baskets before it's truely complete, that's in the works over the next couple of weeks.
Update: I added cable management to the desk - Slotted ducting is excellent and cheap computer desk cable management solution.
-i
