I was first looking at getting the usual wire basket that many a computer desk has to keep all the cabling organised, but had trouble finding something that I liked the look of and that wasn't too expensive. I ended up going off on a tangent and looking at slotted cable ducting and thought that it would fit the bill exactly.
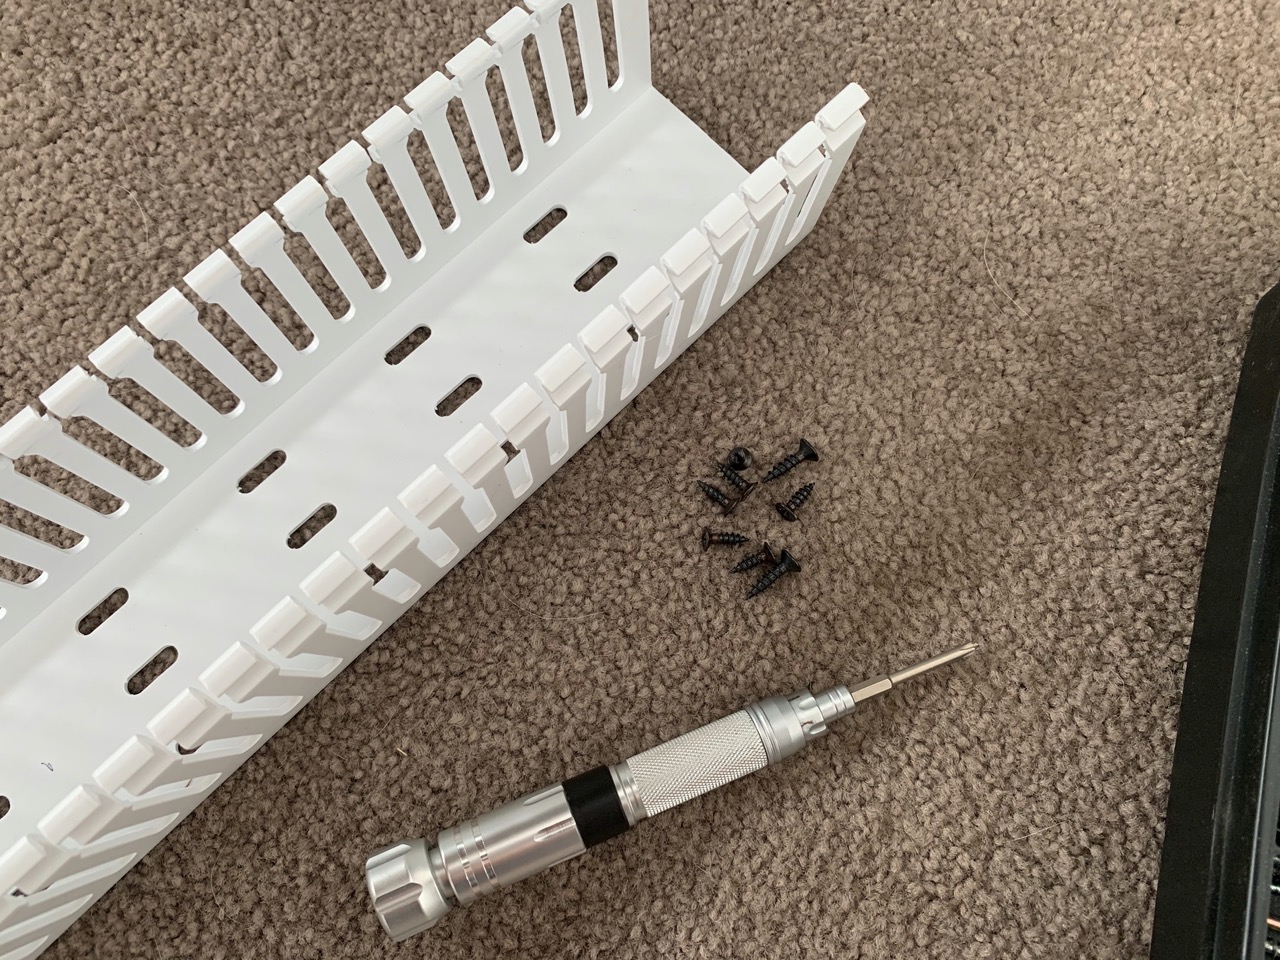
The ducting I ordered had slots cut into it so cables could be slotted into it along its length. It was 65x65 mm in profile and 2m long. I had to cut this down to fit my desk's length.
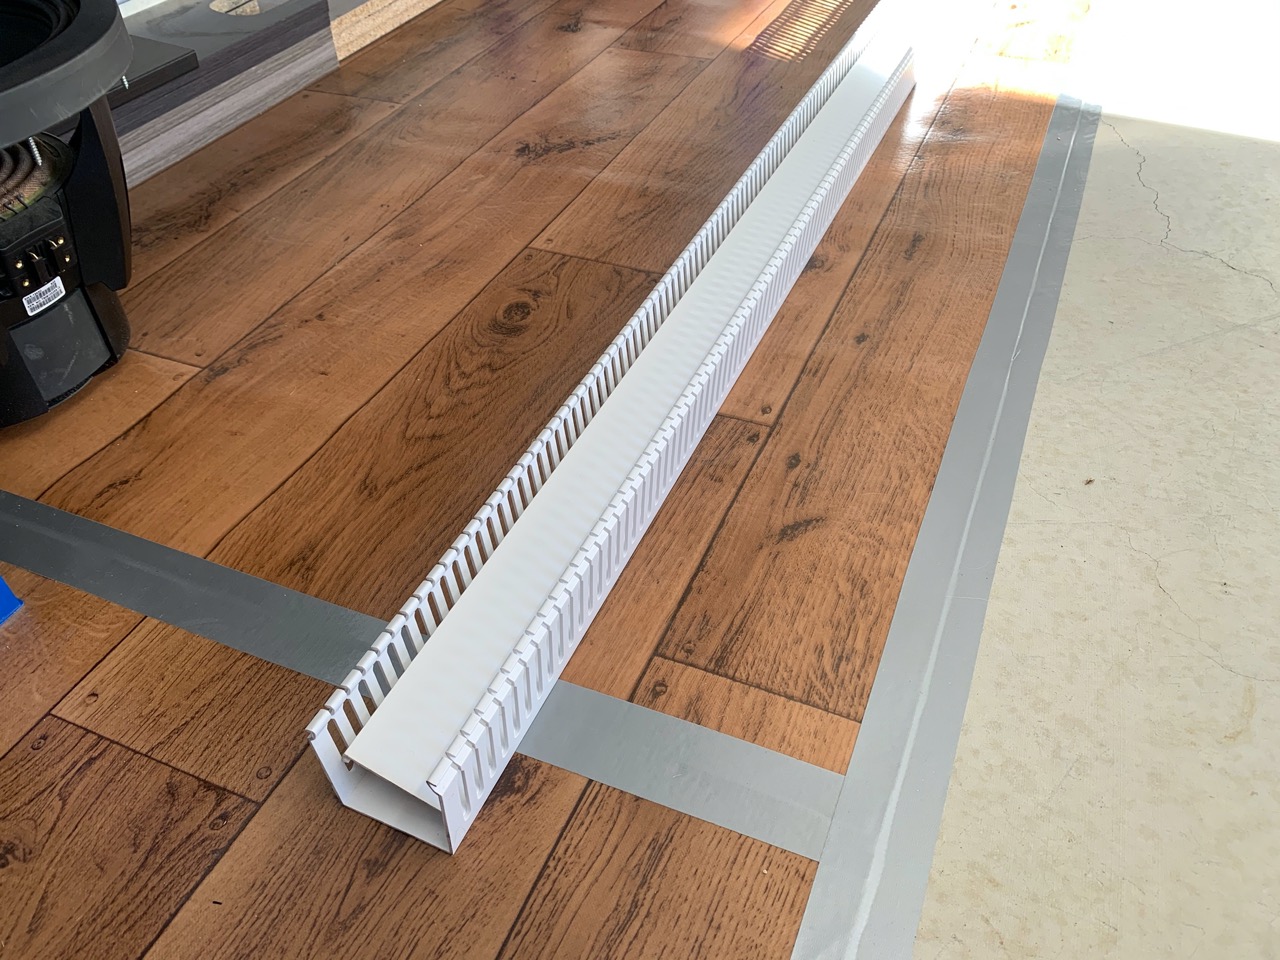
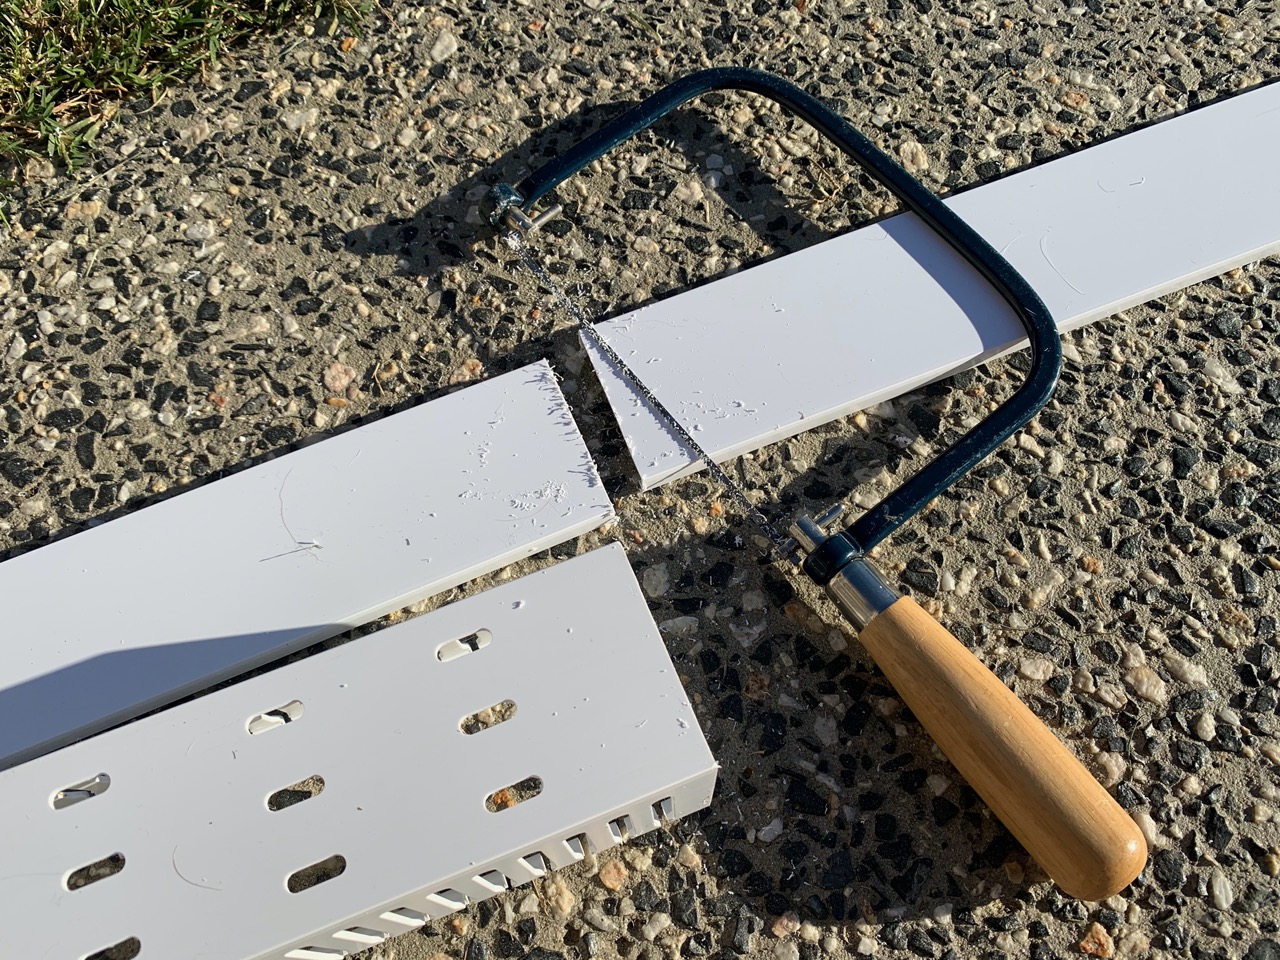
Since the ducting was made out of PVC, it was extremely easy to cut. I cut it down so that it would mount centred under my desk with 50cm on either side without any ducting.
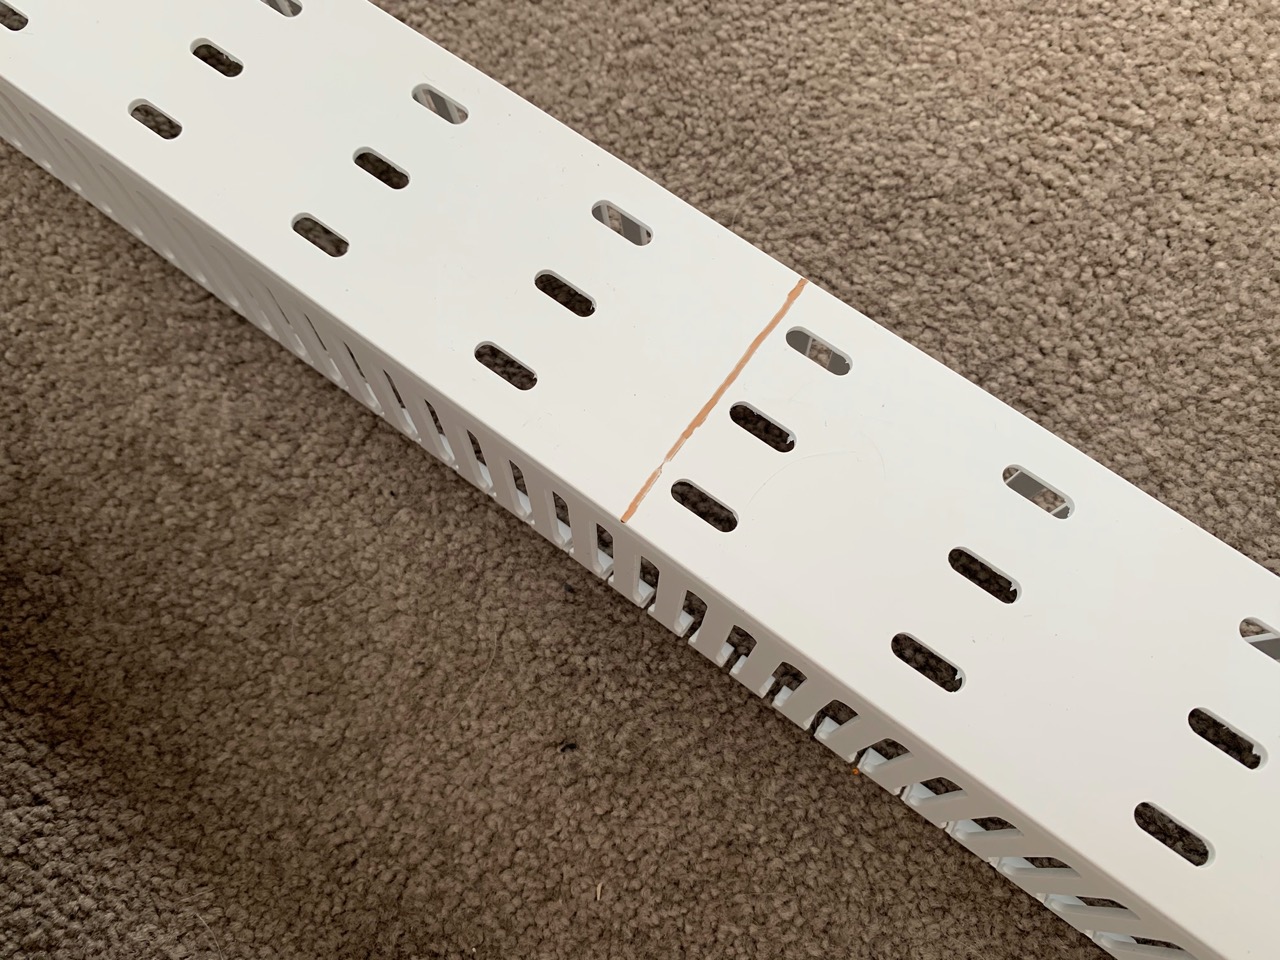
There were pre-drilled holes in the ducting so mounting it under the desk was as simple as screwing in some screws every 5th hole. I probably could have used more screws but this was secure enough for me.
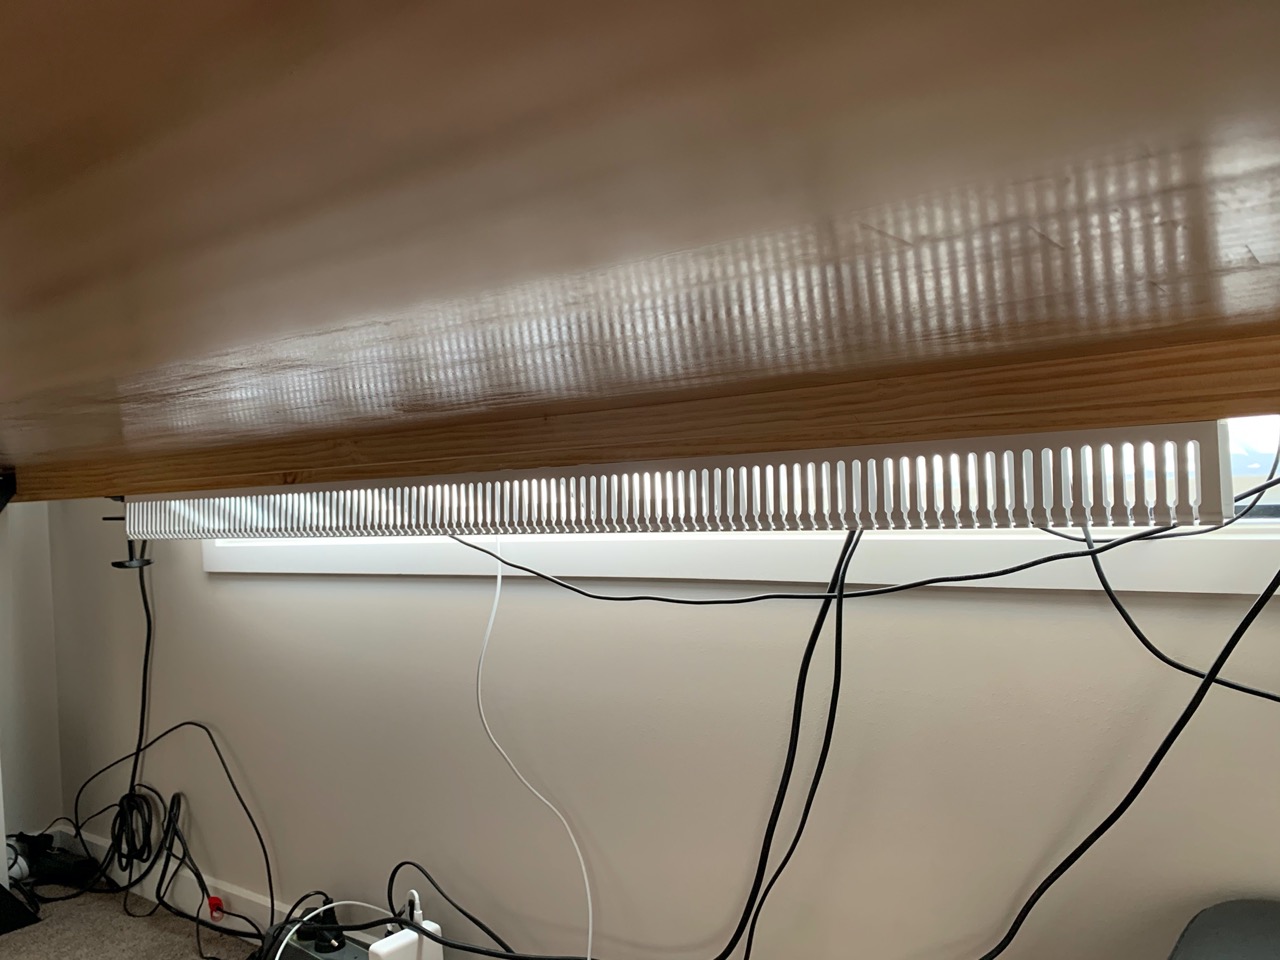
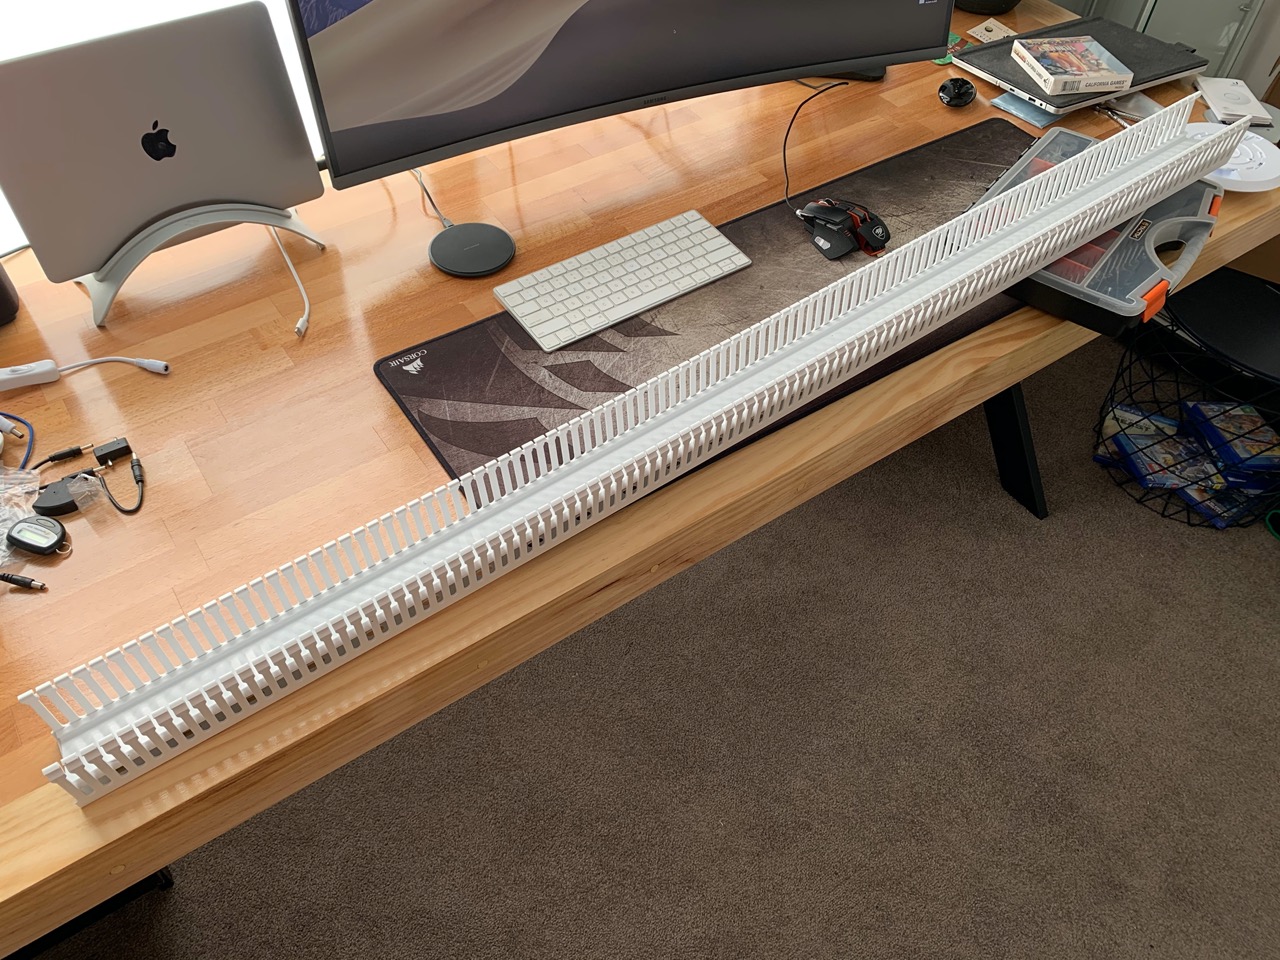
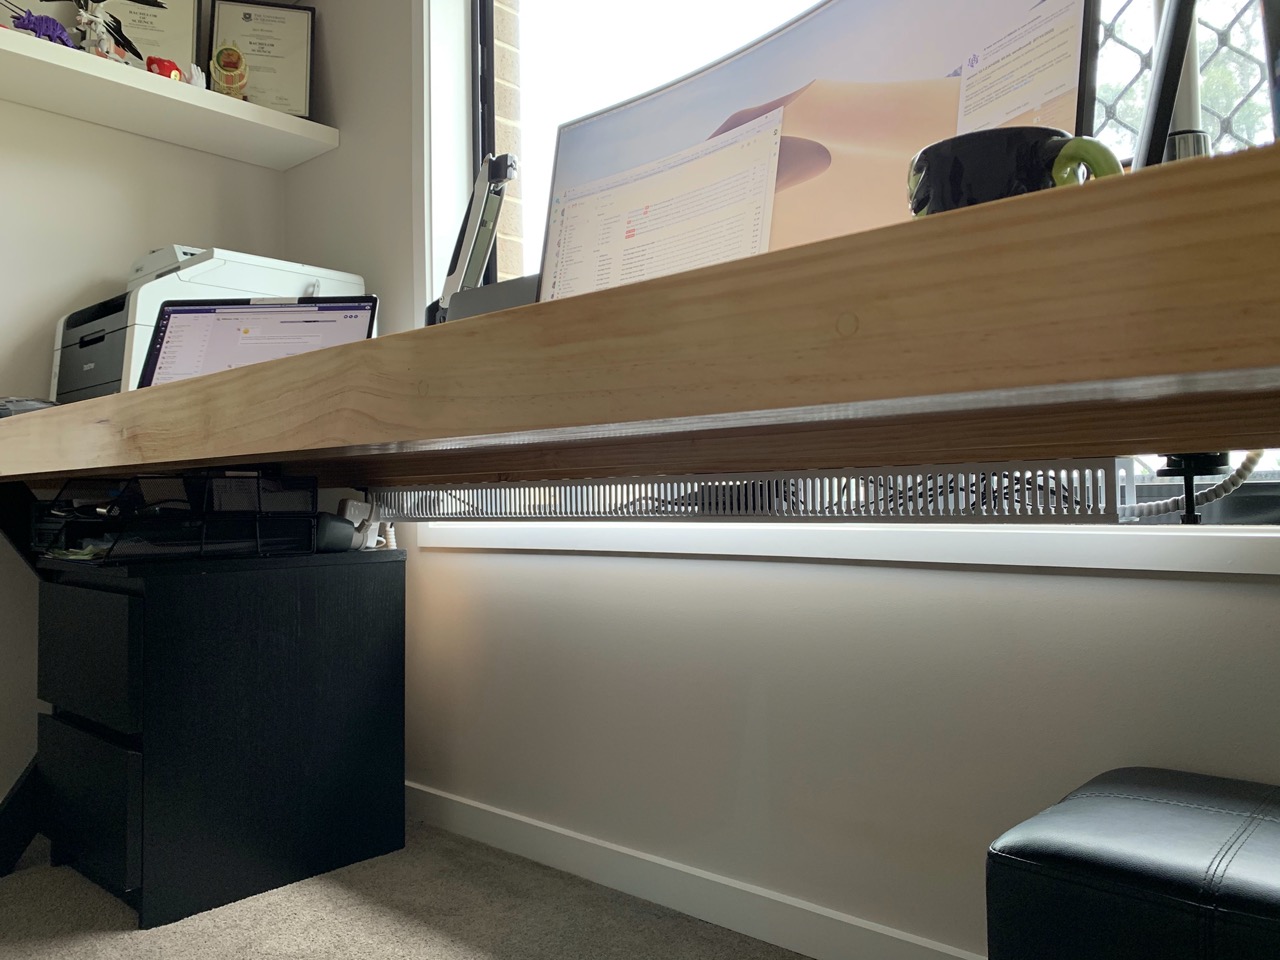
The cables as well as the power supply brick for the speakers fit into the ducting easily. I used some white cable wrap on the edges to keep the cables together.
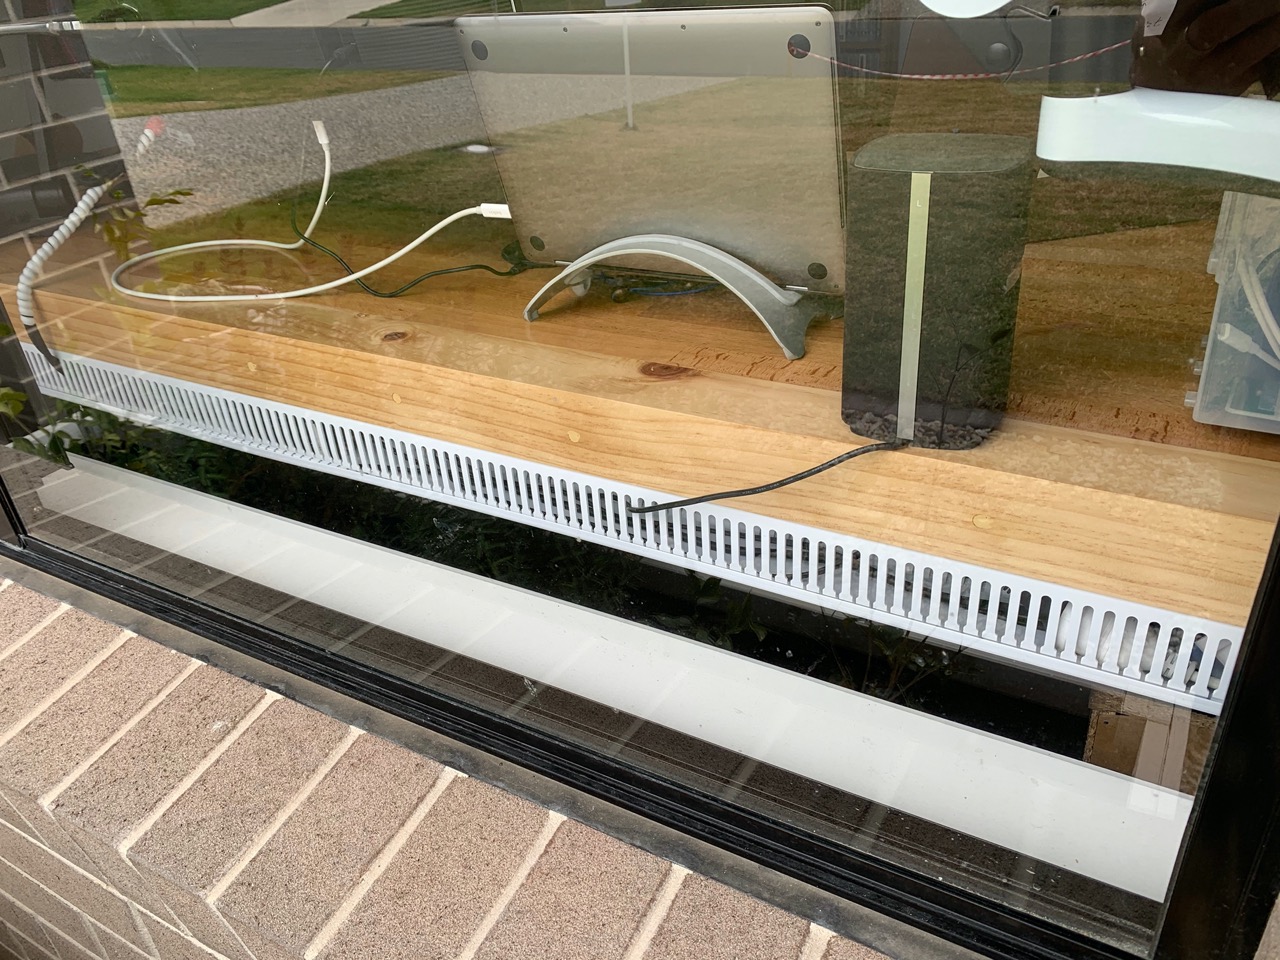
Looking from the other side of the desk (from outside the house), the ducting added a nice border to the desk and covered the gap between the desk and the windowsill (we have extra large, low-set windows).
I was extremely happy with the end result. For a fraction of the price of a metal cable basket, this ducting looks good and serves the same purpose, if not better. I now don't have any cables cluttering my space under the desk, everything is arranged neatly and out of the way. Just as it should be!
The next item that's left to do is the LED light, which I plan to mount on a monitor arm. It will use left-over pieces of wood from the desk as it's frame.
-i
