The cutter I ordered is a third generation machine. There are other reviews online about the second and first generations which tell horror stories. The issues I read about that plague the earlier models seem to be mostly worked out in this version.
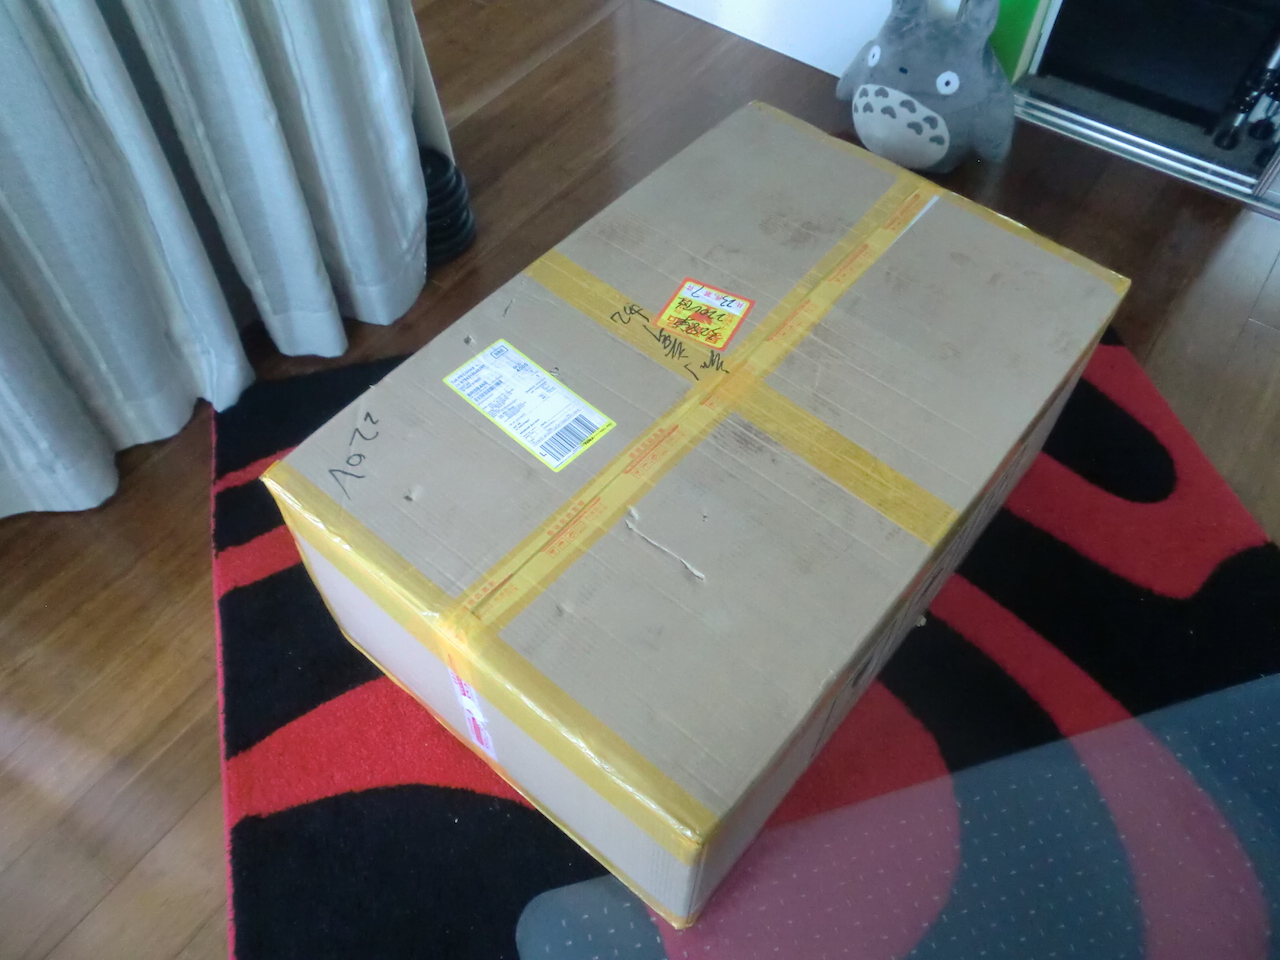
Within days of ordering, the package arrived. The delivery driver told me he had it ready the day before but ran out of time to make the drop off, oh well. The box was much bigger than I expected - this is where I started to think 'What did I get myself into?'
The box was quite sturdy with no major damage.
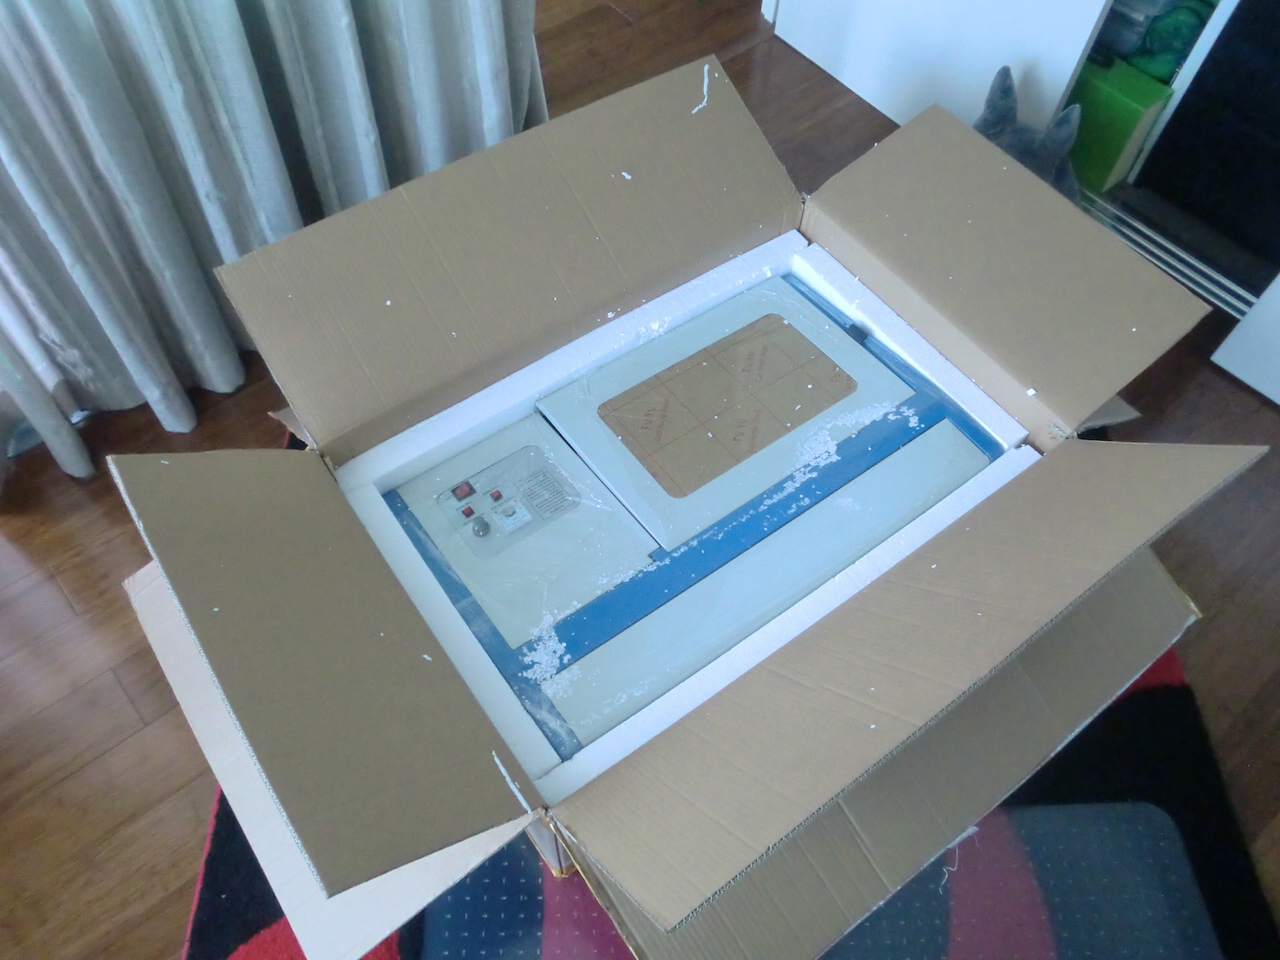
Inside the box was yet another box and lots of foam packaging. Now it was starting to look more manageable.
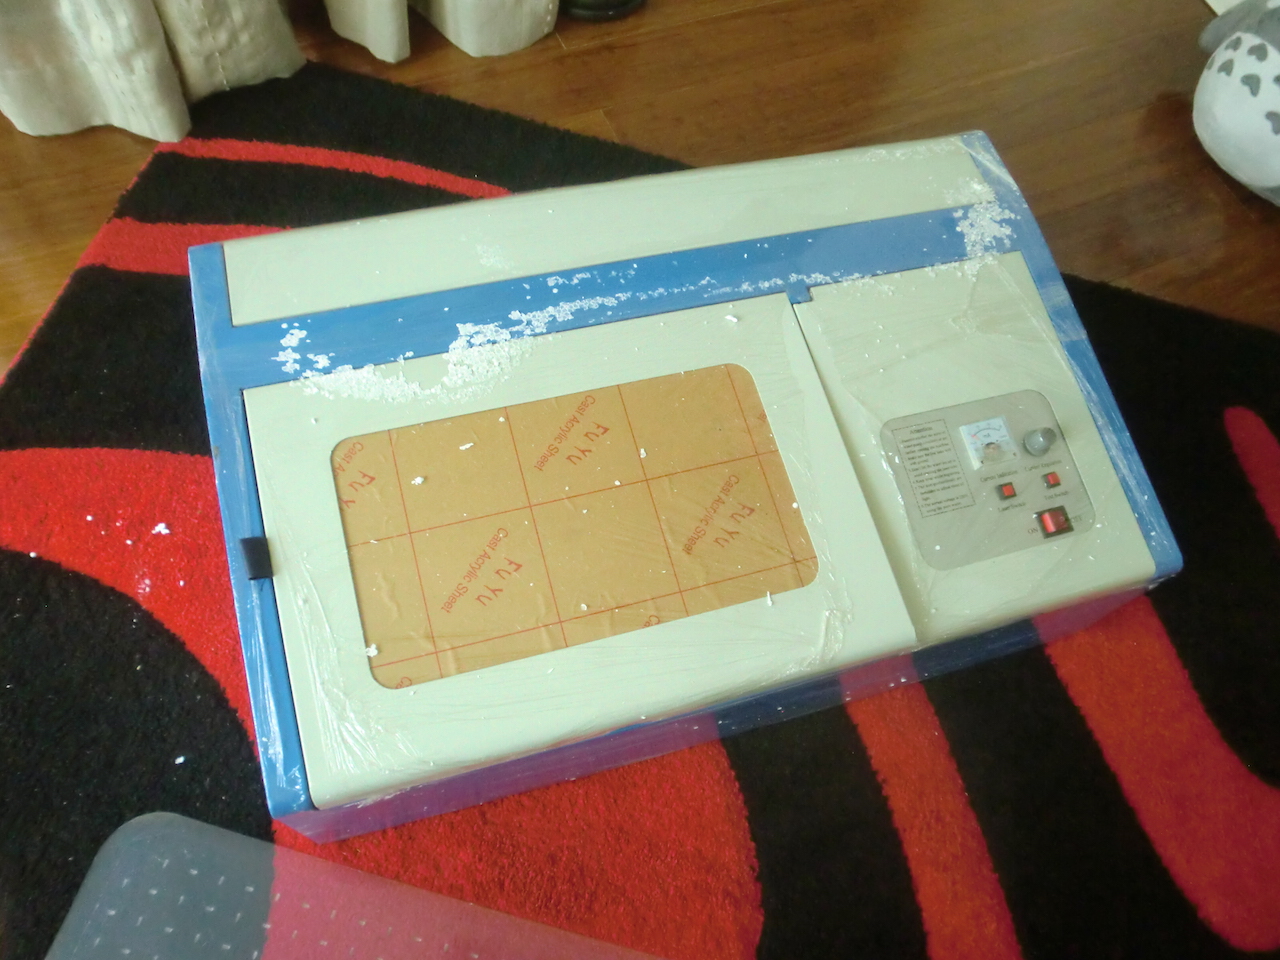
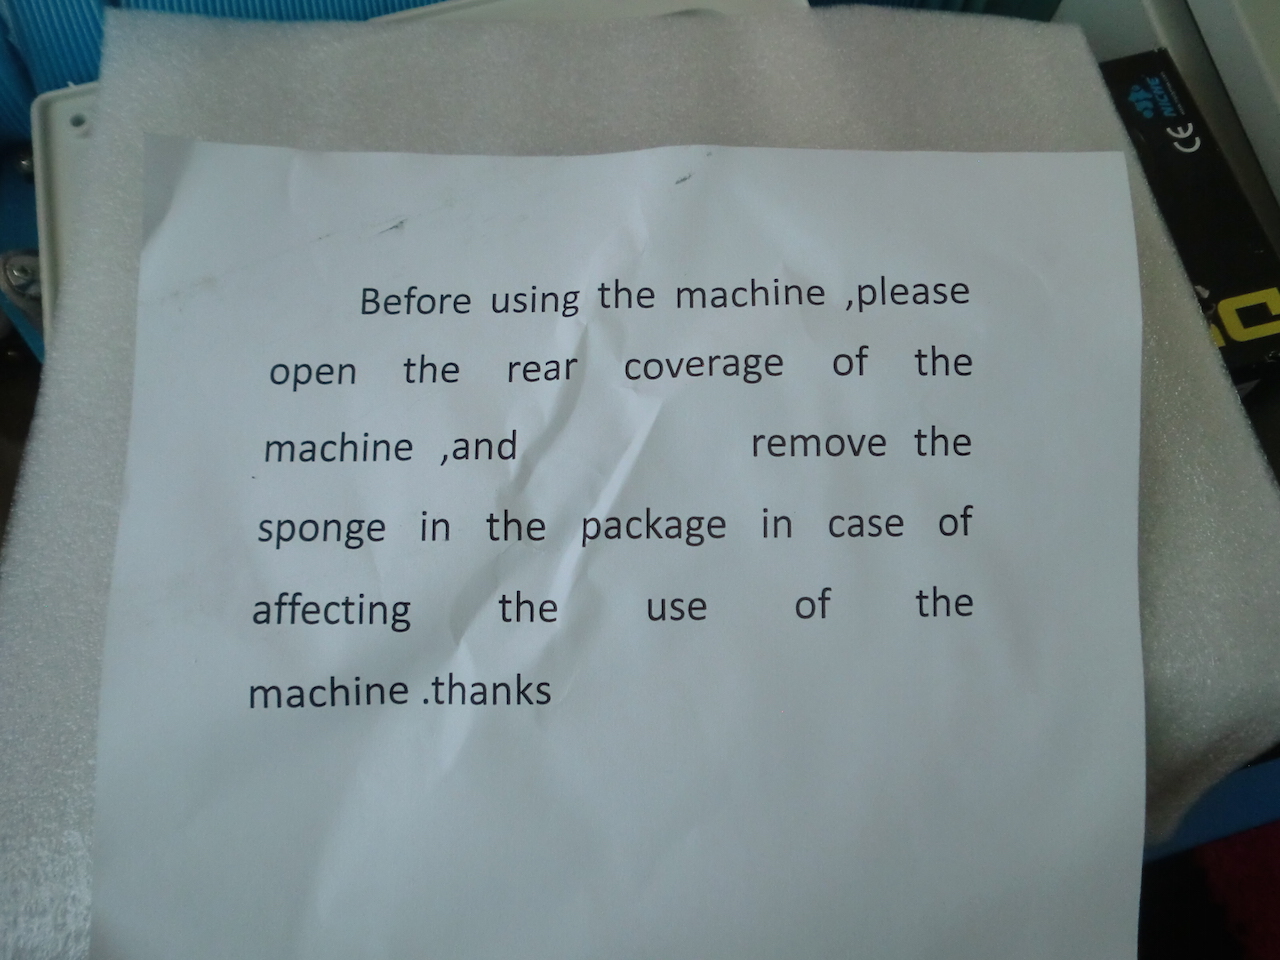
All the bits were crammed into the cutter itself, including a cryptic note that basically says you got to clean out all of the foam from the cutter before use.
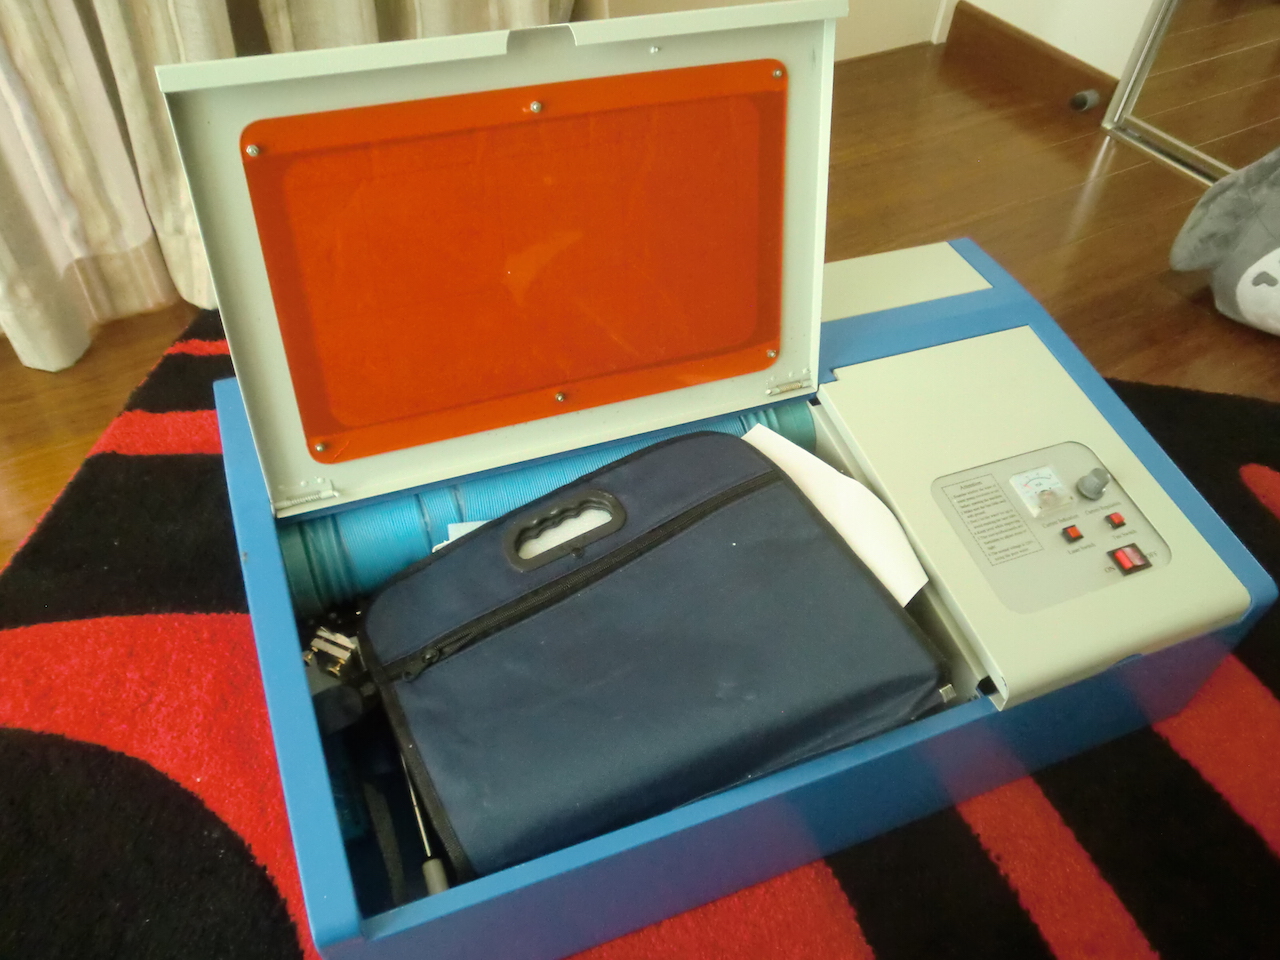
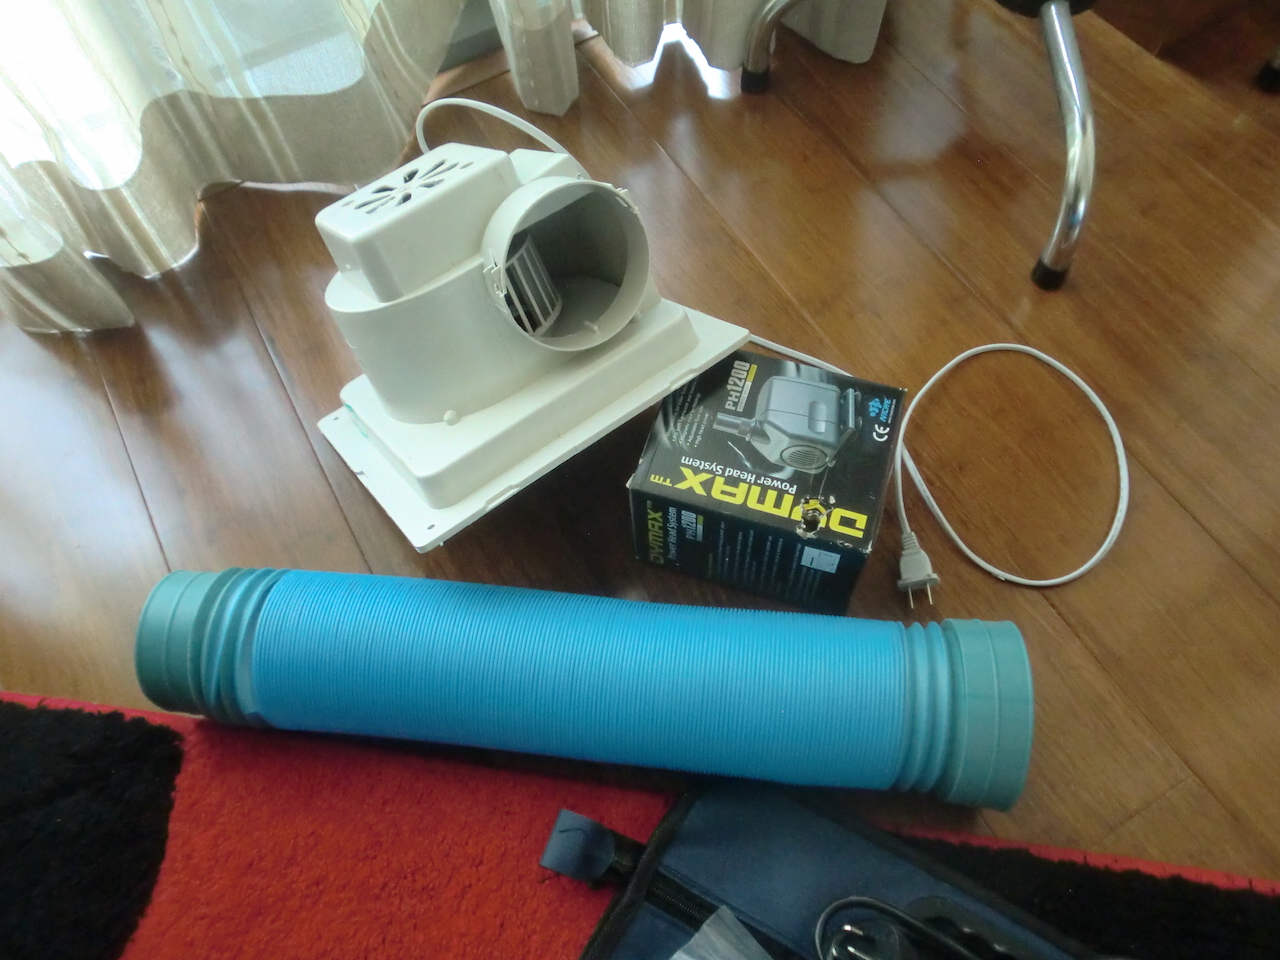
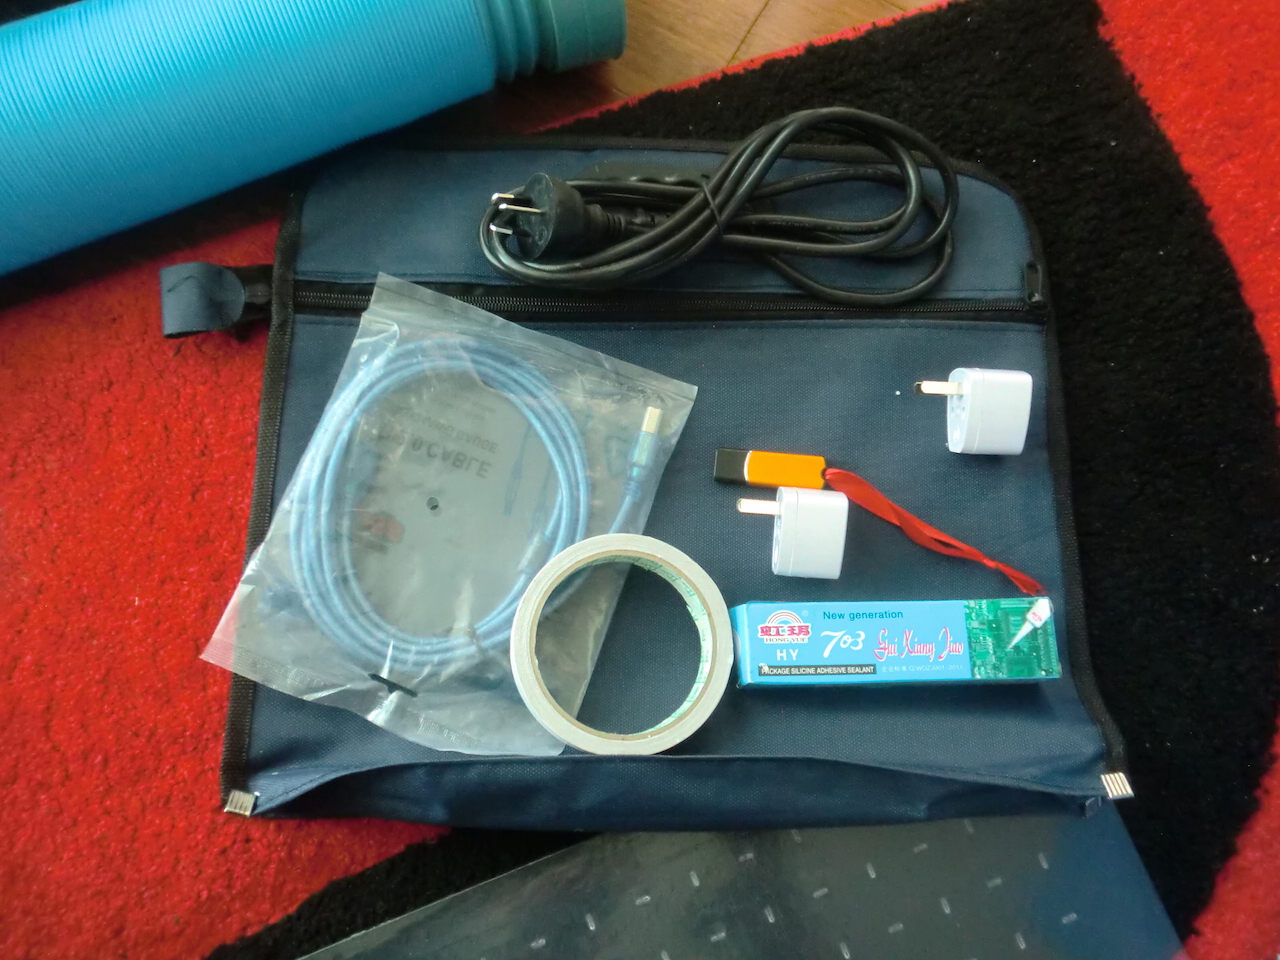
Inside was all of this stuff: exhaust fan, exhaust tubing, water pump, power cord, USB cord, 2x power socket adapters, silicone sealant, adhesive tape, USB key and a burned copy of a DVD. The eBay listing specified that it comes with English instructions which is a lie, but luckily it is not too difficult to figure out.
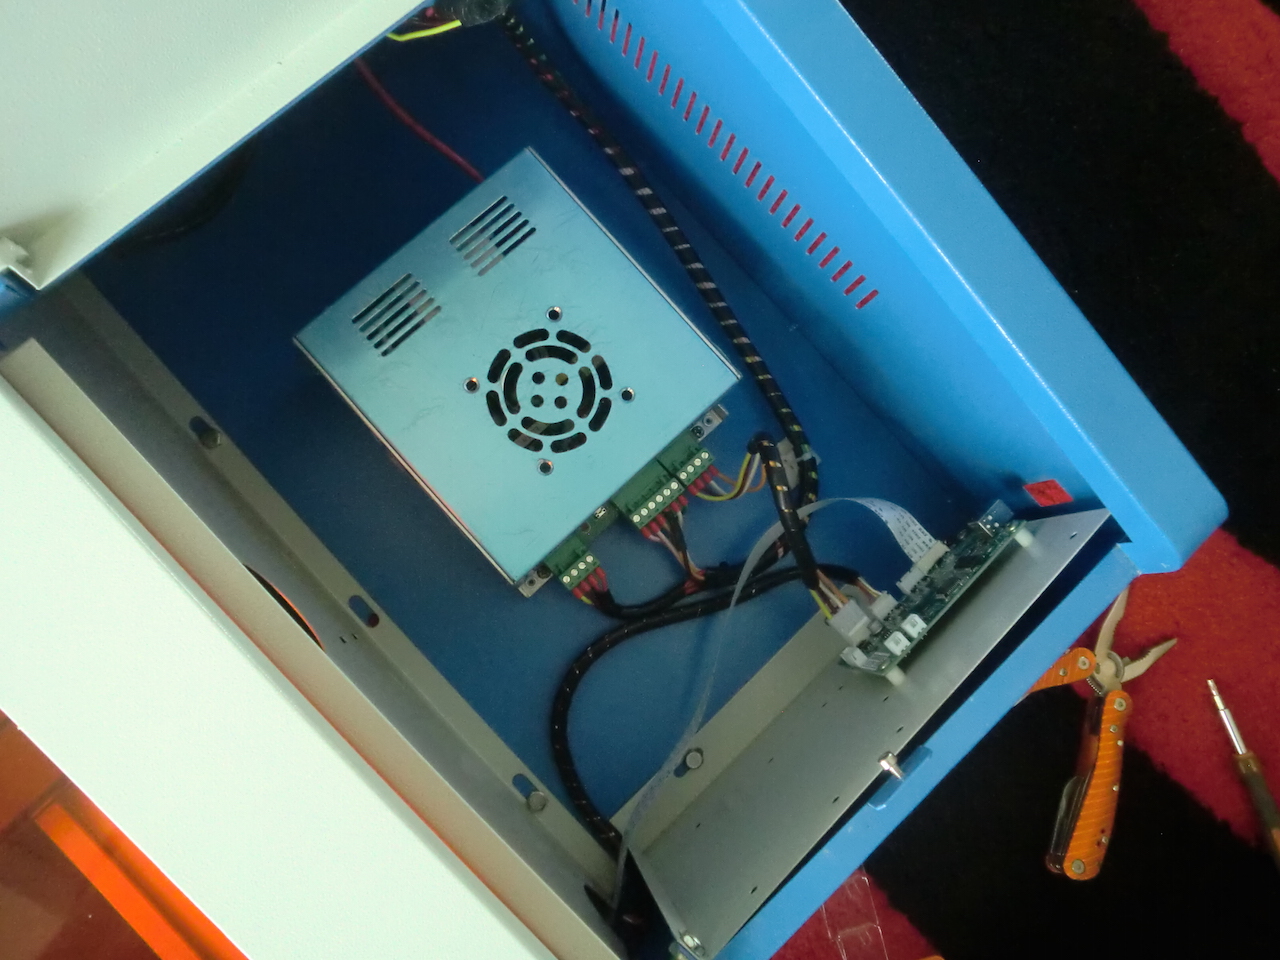
Inside it's quite a professional looking assembly.
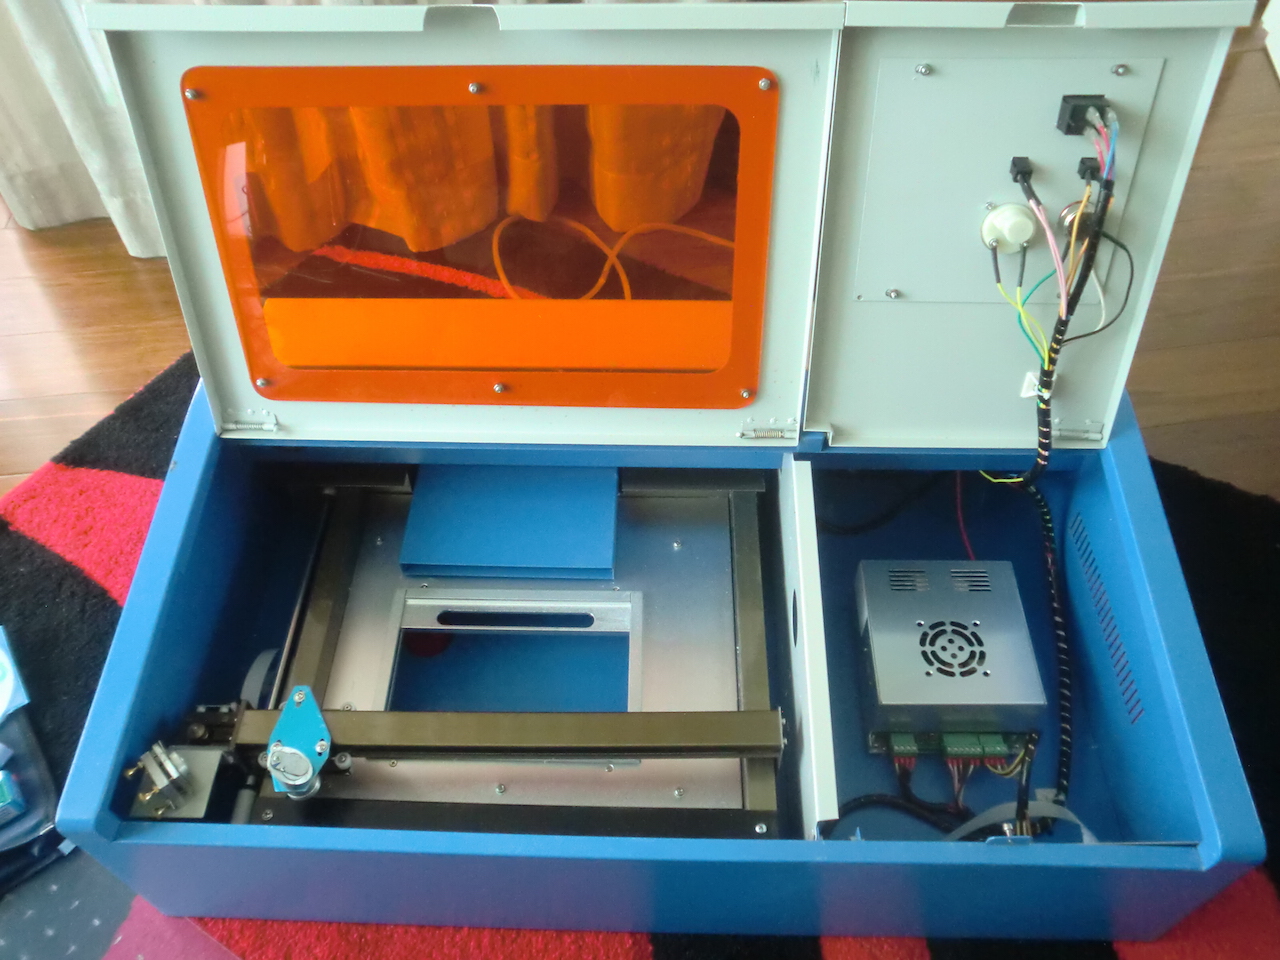
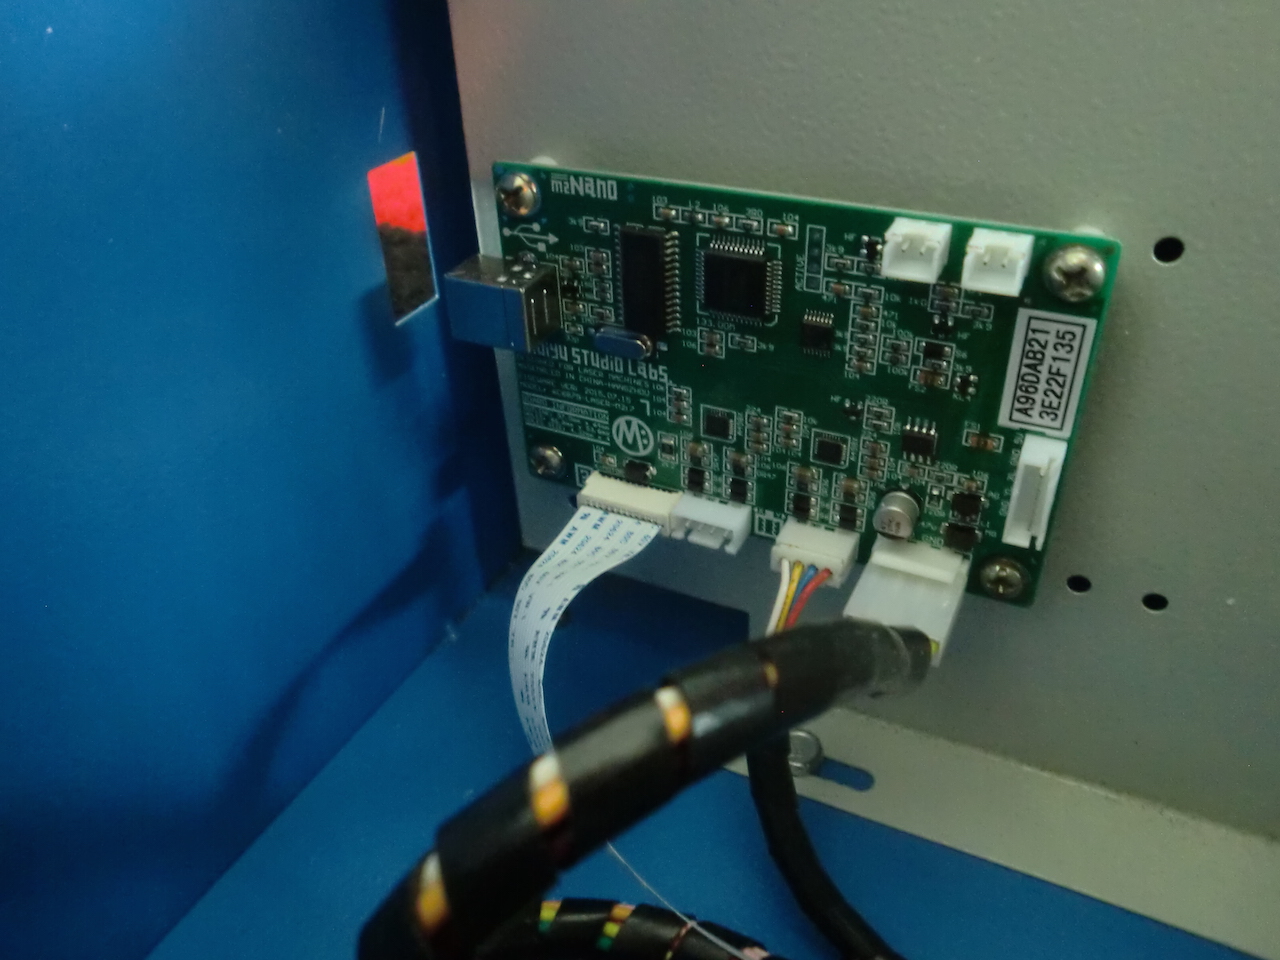
The electronics are neatly arranged, the wires are crimped and the controller board doesn't look like it's been slapped together in a garage.
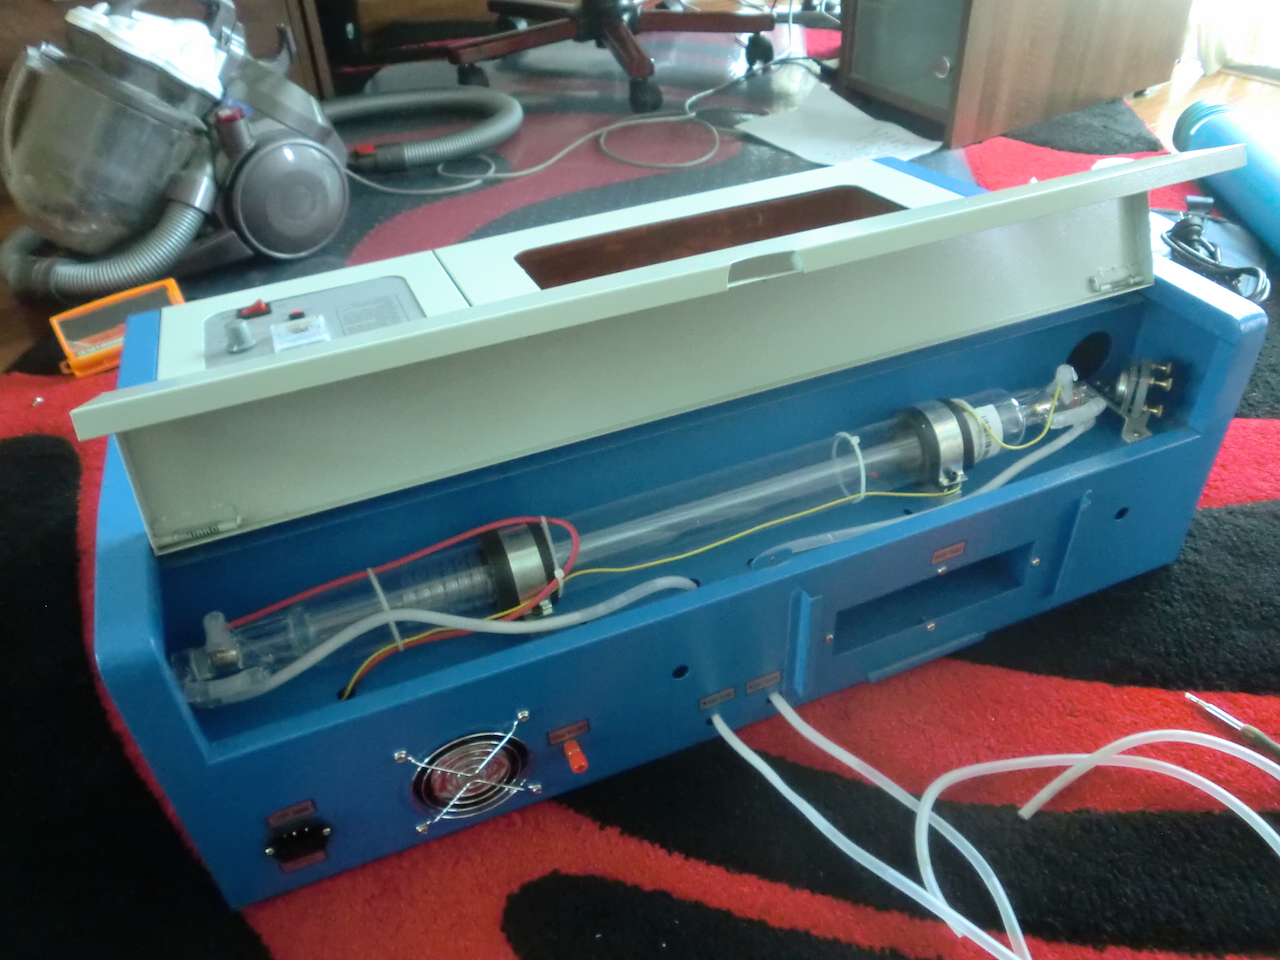
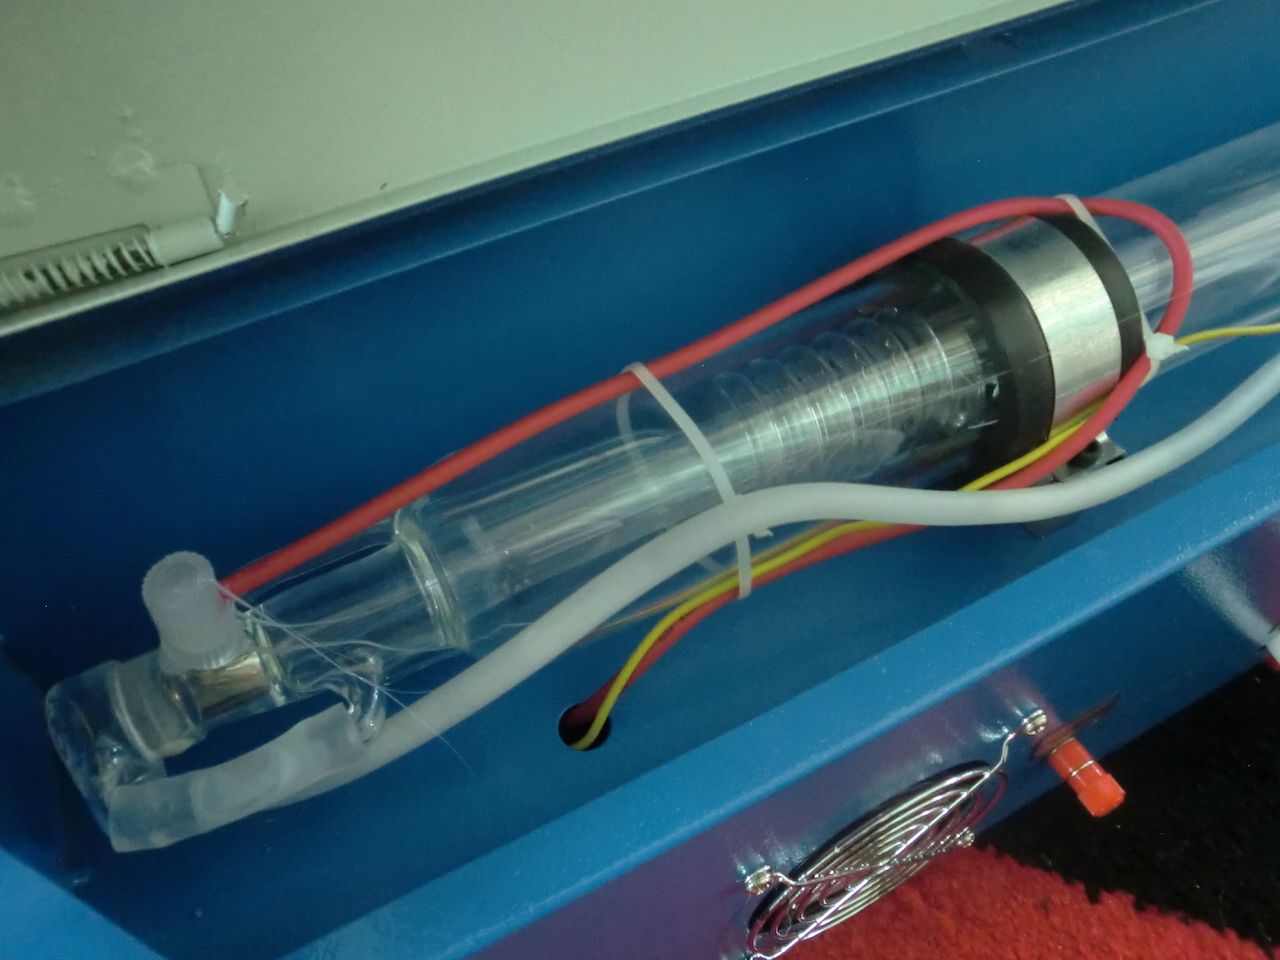
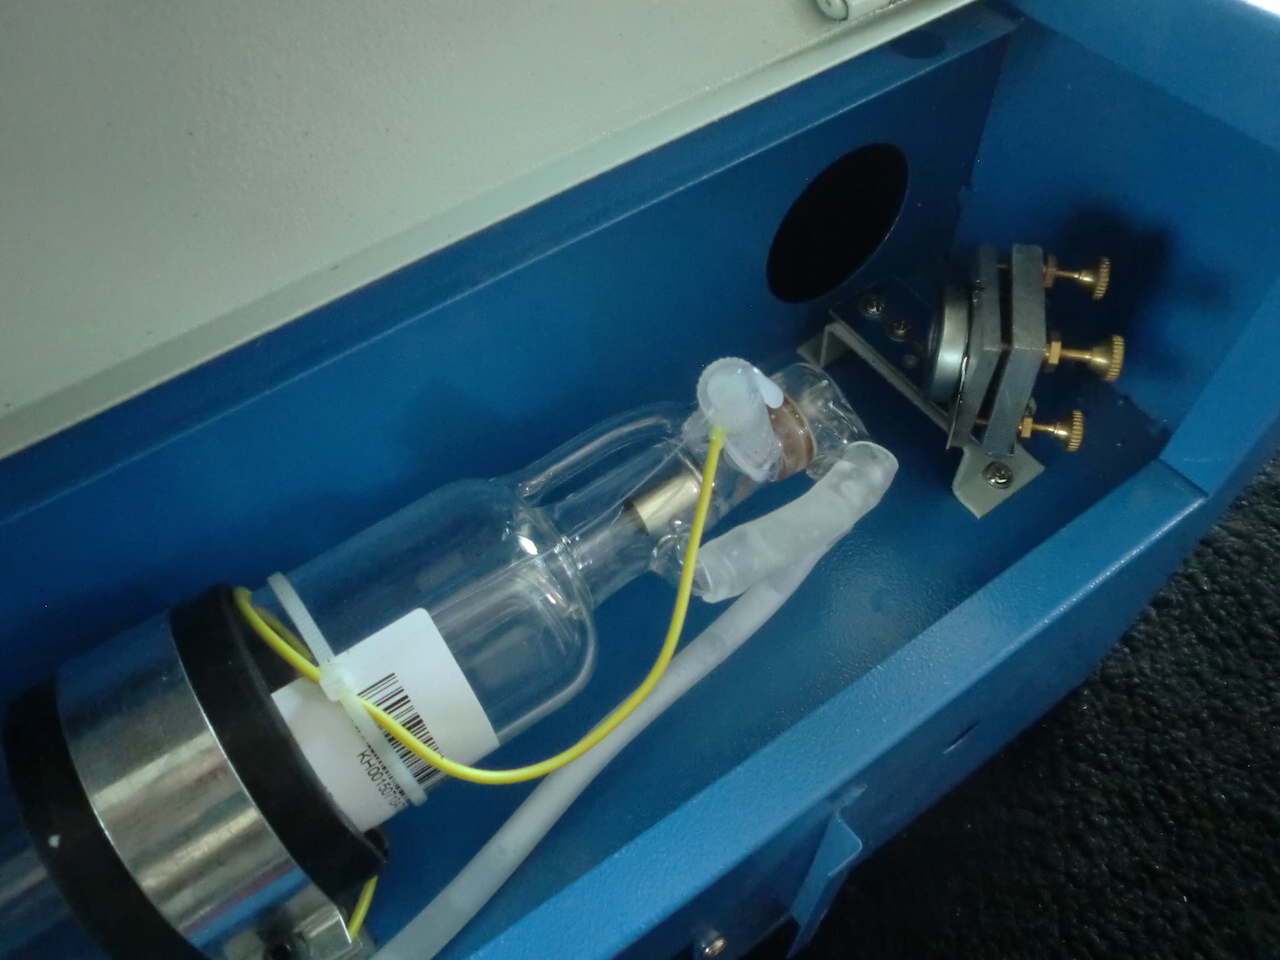
The actual tube itself is intact. This was my biggest worry. I really didn't want to deal with a smashed tube, but it arrived without a scratch. The wiring is done professionally here too and the cooling pipes attached. There was left over water in the pipes which indicates that the tube was tested before shipping. Kudos!
There is more to cover, including the exhaust and general set up of the cutter, but that's for Part 2. I'll also talk about the minor issues I had with the physical machine in Part 2 and in another post I'll cover the software aspect of it. These will come over the next several days so stay tuned.
-i
