The first part of this article may have painted a very rosy picture of this laser cutter so lets look at some of the cons to put it all into perspective.
First of all the exhaust fan - it doesn't fit very well. In fact it's way too tall for the size of the machine and due to how it slots into place there is a visible gap between the fan and the top of the laser cutter. This shouldn't affect operation of the machine too much, unless you are cutting something with lots of toxic fumes. In that case be prepared to breathe some of those fumes in.
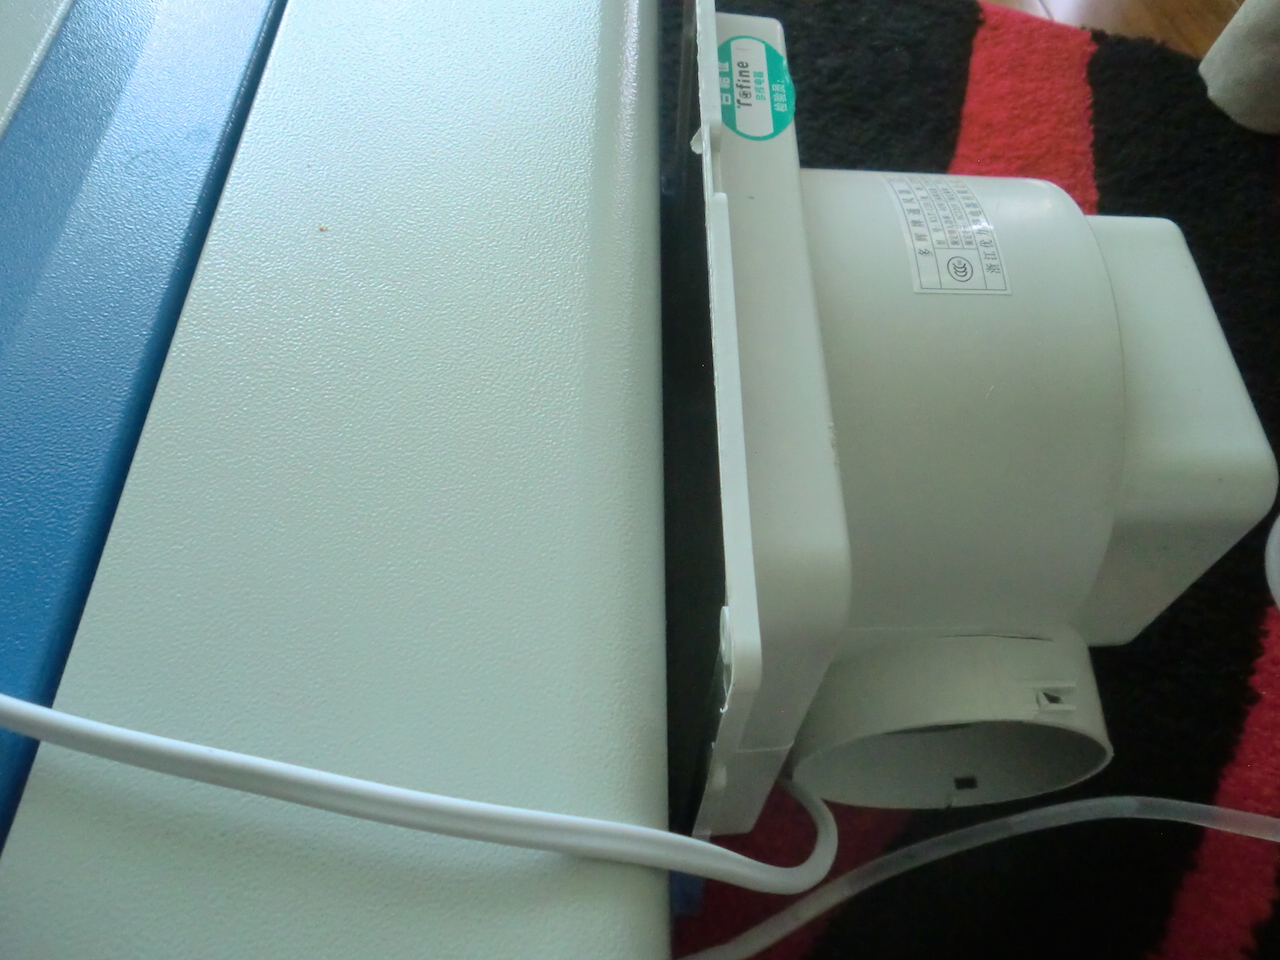
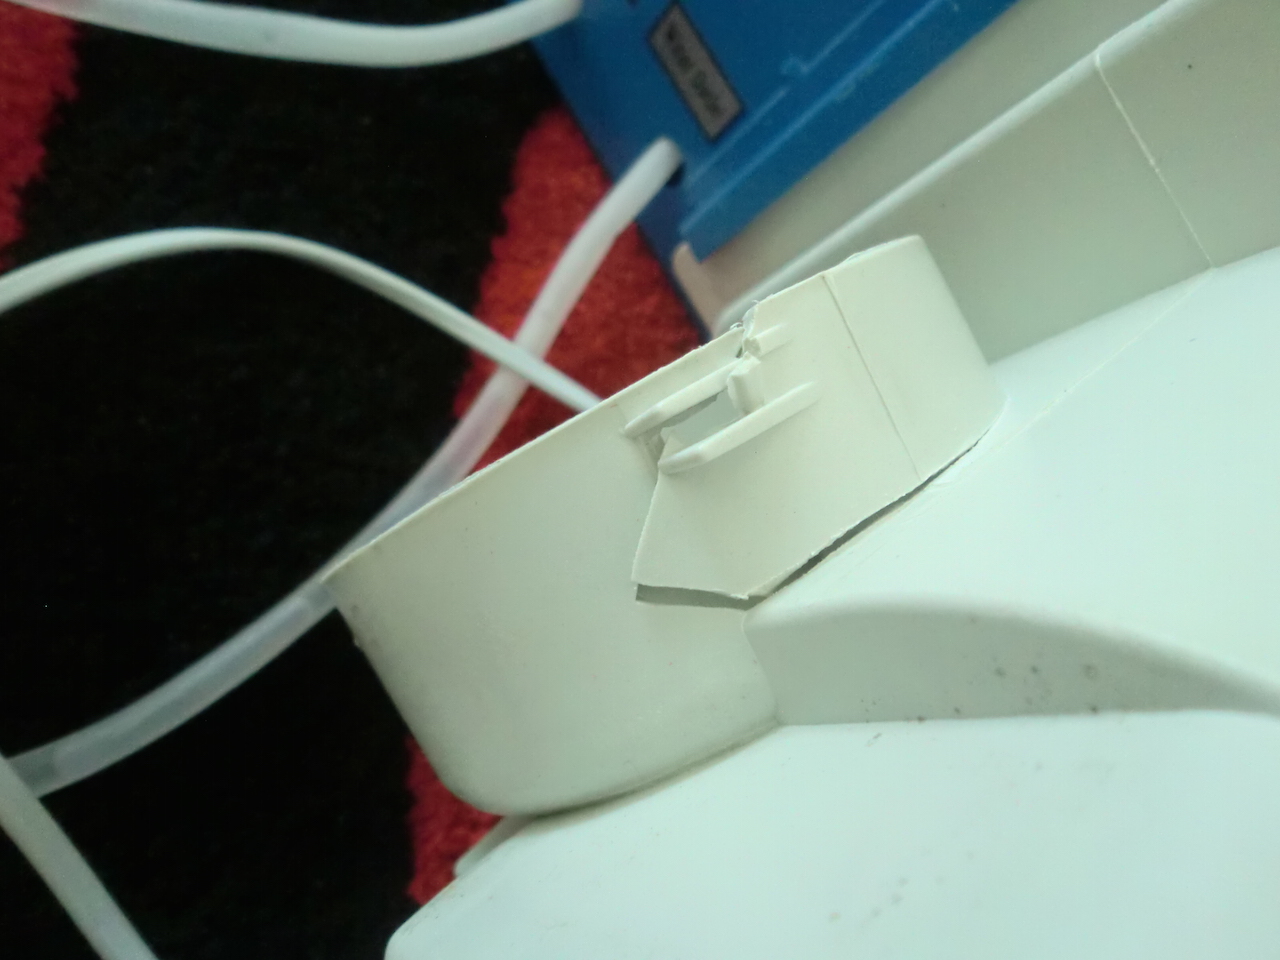
That wasn't the only problem with the exhaust fan in my case. The casing was cracked along where the exhaust pipe slips on. Since I don't really require an airtight fit this is not a huge issue and the piping still fits ok. Speaking of the piping - it's cheap but does the job, however if you are going to move it around be prepared for it to tear.
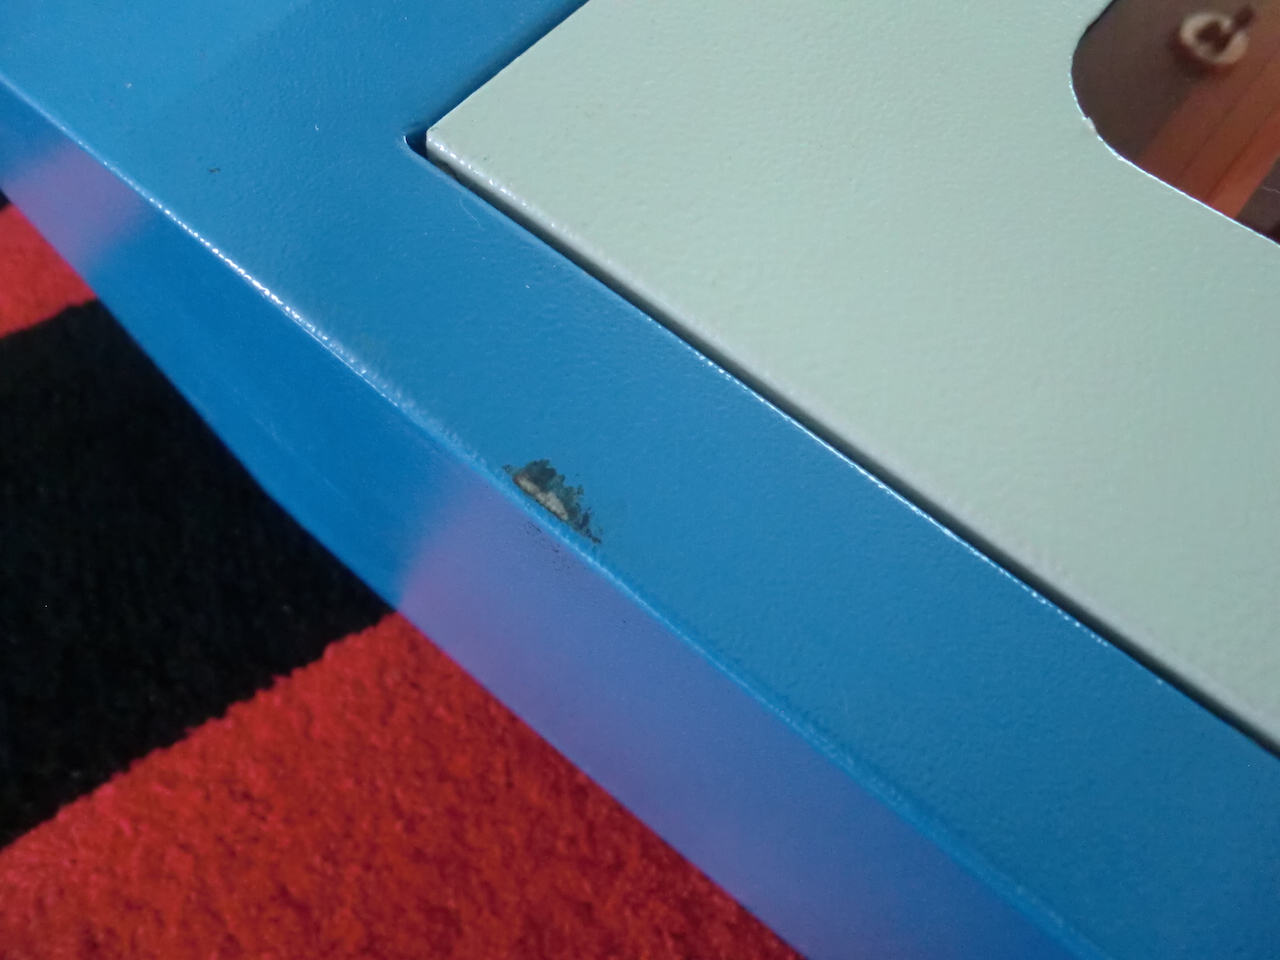
Even though the machine was packed well, mine had some scratches on it. I guess this happened prior to packing, which shows that quality control is still lacking (or they don't care). One particularly nasty scratch was on the left side next to the lid. Not a big deal and doesn't affect operation, but should be addressed to prevent rusting.
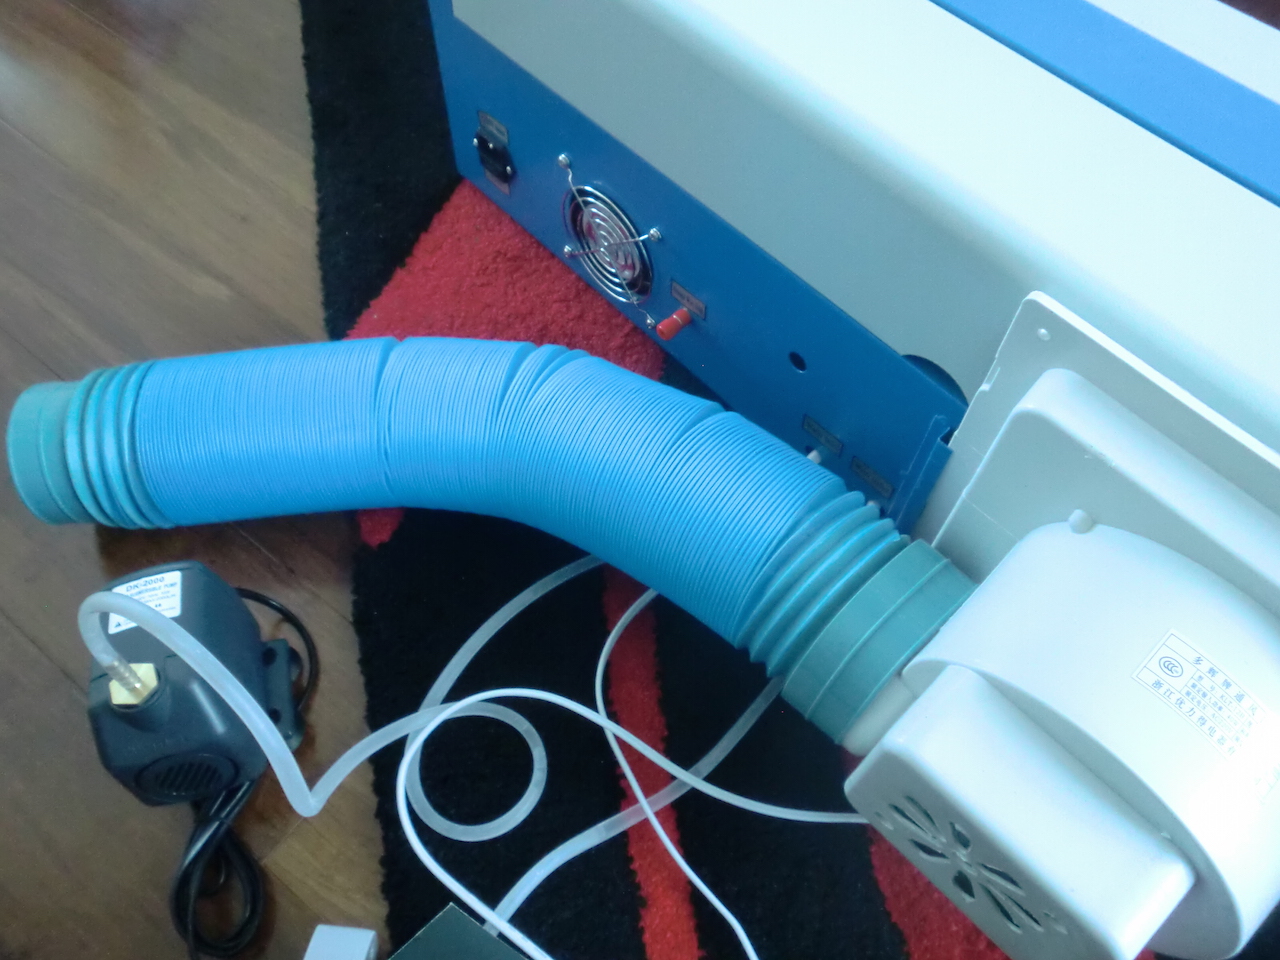
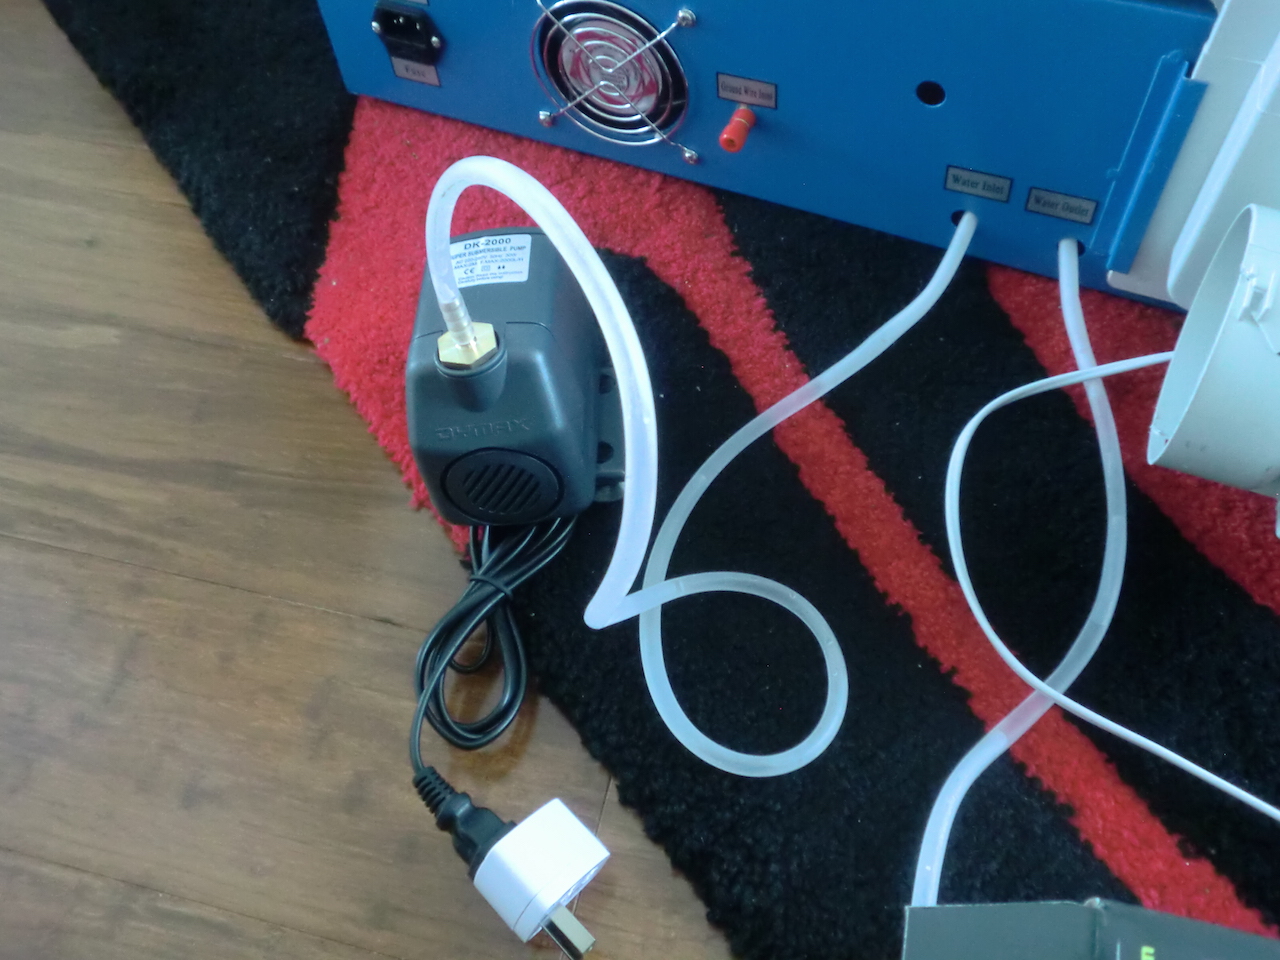
Moving on, there really aren't that many faults. The water pump is an example of where it was a big improvement over previous versions. This is still a standard aquarium pump, however it's larger than what I saw in reviews of previous versions of the cutter. Connecting it is easy, use the brass fitting on the pump, connect it to the inlet tube and let the outlet tube flow back into the container.
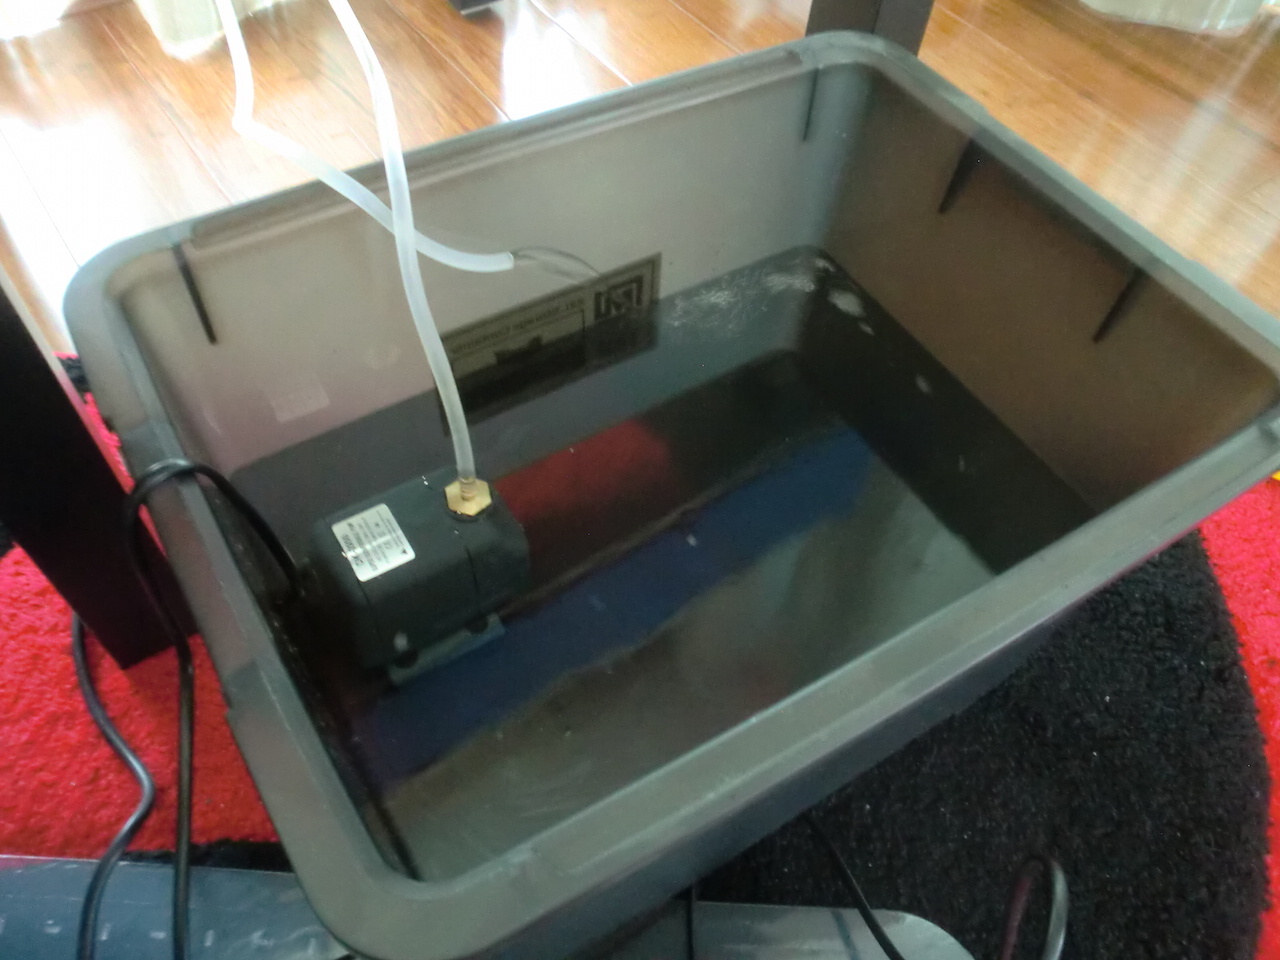
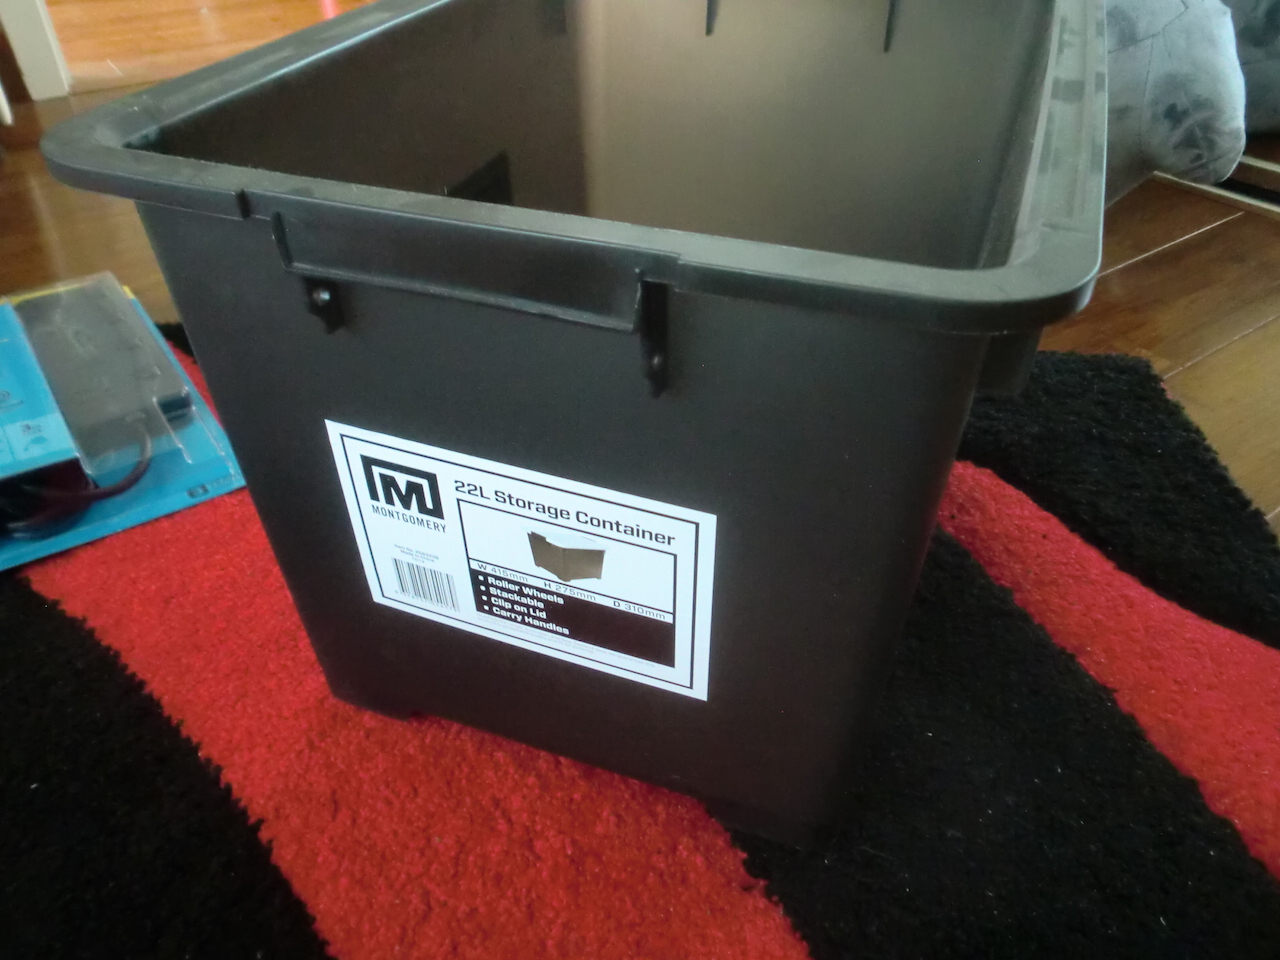
The cutter doesn't come with a water reservoir so I used a 22L plastic storage bin. This is filled with 15L of distilled water. A bigger container would be better if you're going to be doing extensive cutting. The more water, the more heat will be dissipated, the longer you can cut without destroying the tube.
I had the perfect space for this cutter in my office room, but the Ikea table I had spare was too small to hold the machine level. My solution was to get a piece of 16mm MDF cut to the dimensions of the cutter (500mm x 810mm) and have that on top of the table. This works perfectly.
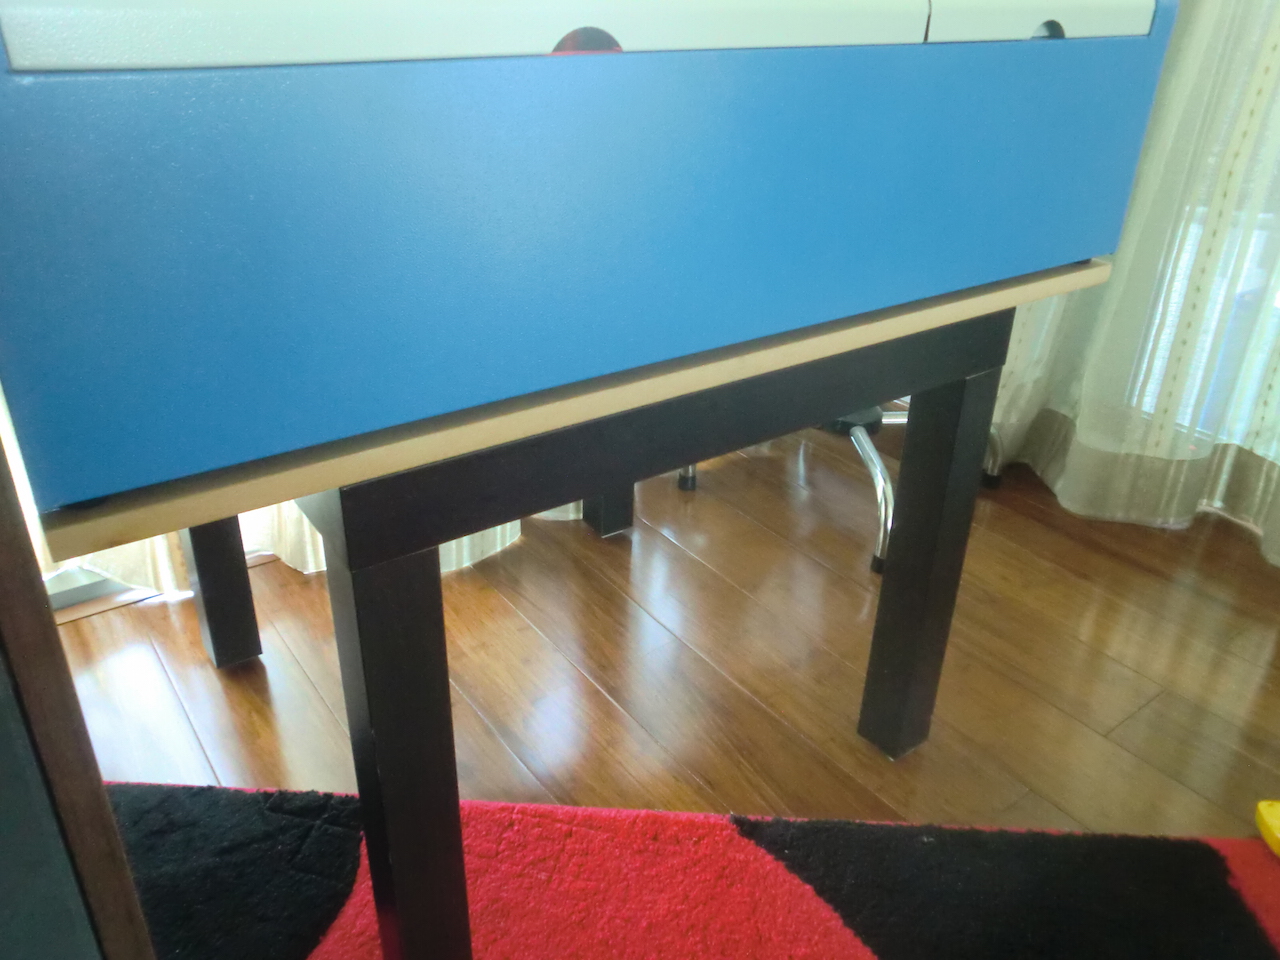
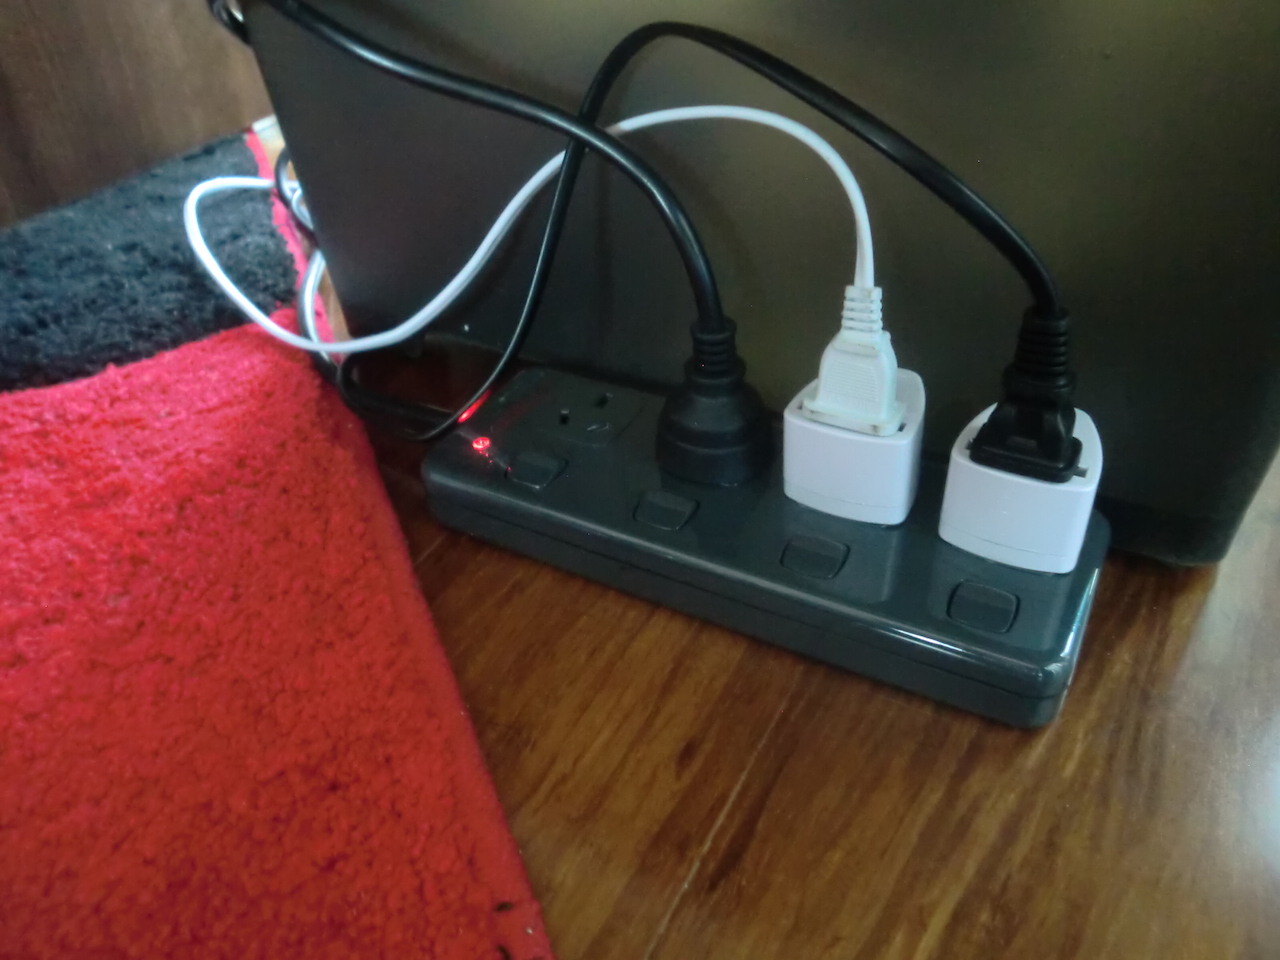
The container for water fits nicely under the table. I also used a dedicated power board since you will need at least 3 power sockets (exhaust fan, water pump, laser cutter). A board with individually controlled switches is probably a good idea, in case you don't want to have everything running all the time.
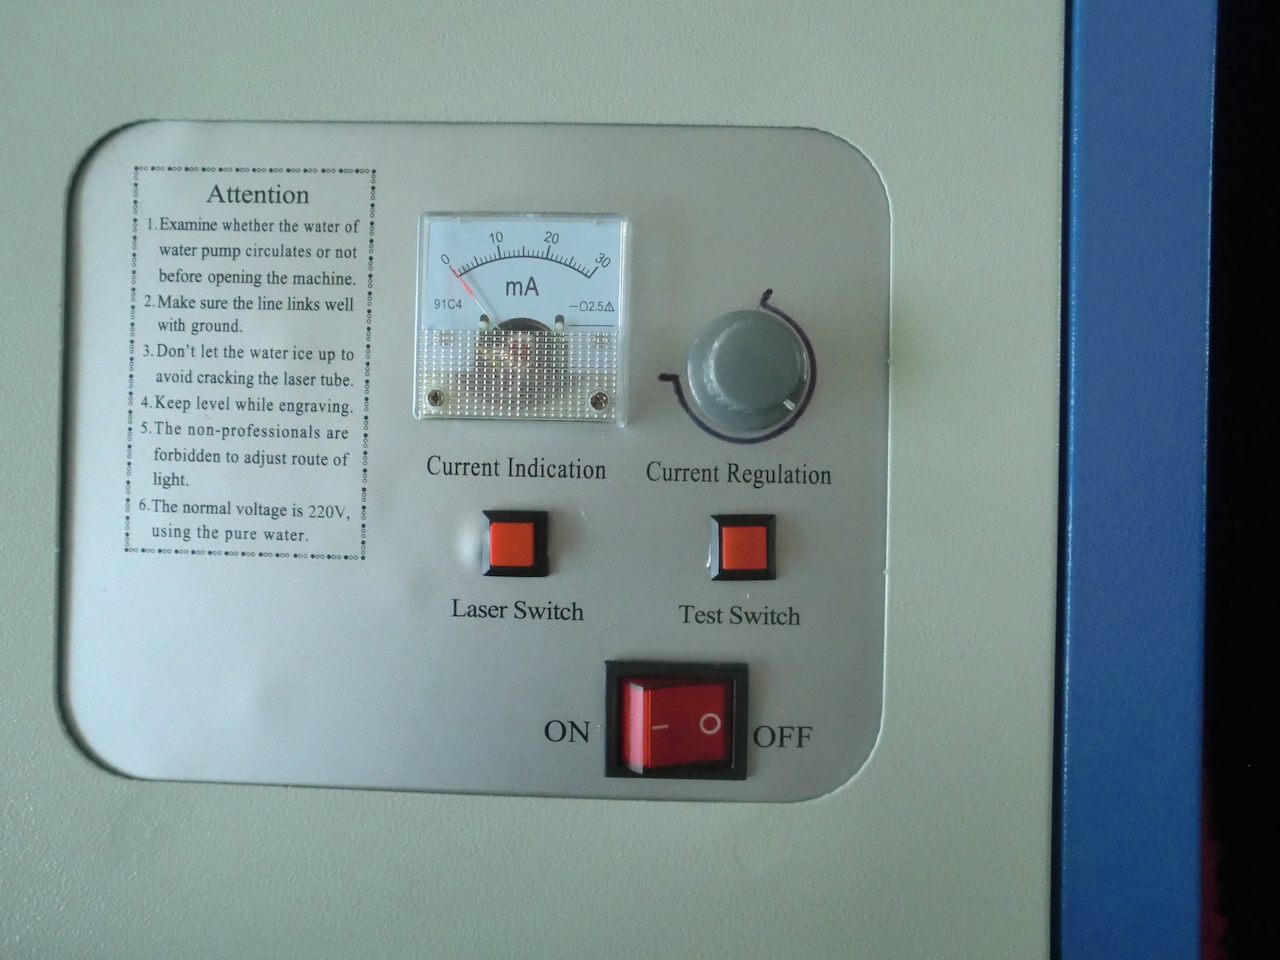
Something that is very important to do before using the cutter is to mark out the range of the current regulator knob as that's not done for you. You don't want to be running the cutter at maximum or minimum so knowing how much juice you're feeding it is a good idea.
I used a permanent marker to draw the range by turning it to the extreme left/right to find the limits.
This cutter doesn't come with any kind of honeycomb support platform for the material being cut. This isn't strictly necessary though getting the material closer to the cutting head has advantages. The design and positioning of the fume extractor inside the machine doesn't factor in that there will be any kind of support (it's at the bottom of the cutting area). If I was going to add support in, I'd be looking at moving the fume extractor higher.
That about covers the setup of the machine and brings this part of the article to a conclusion. The next part will address connectivity and software. Lasers!
-i
