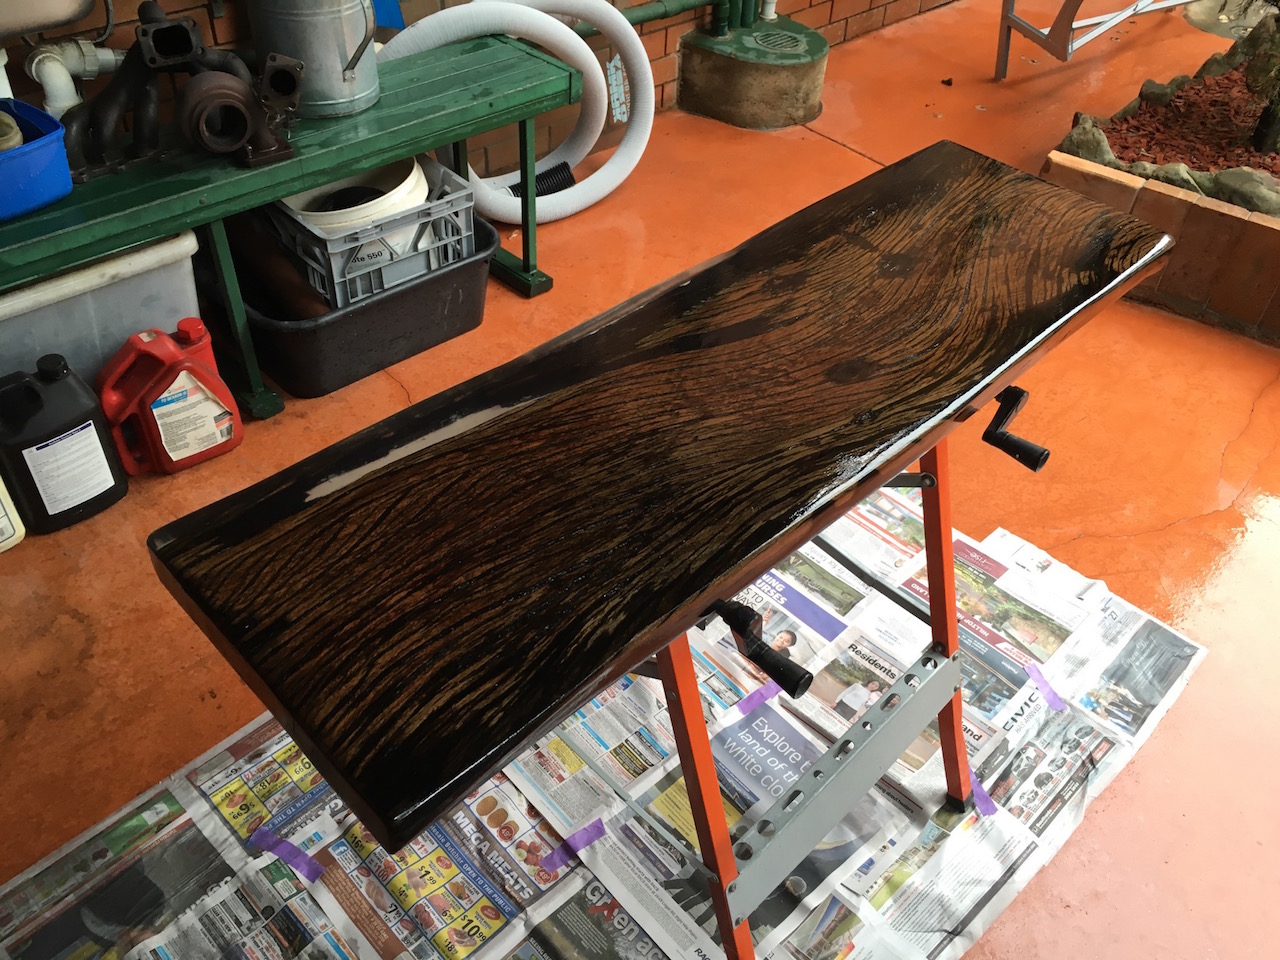
So taking off where I left off previously - sanding. It was considerably easier to sand the resin down after it was initially cut down with a power plane. The chipping caused by the plane weren't visible after a full sand, except in some of the cracks, which I thought was ok to leave like that.
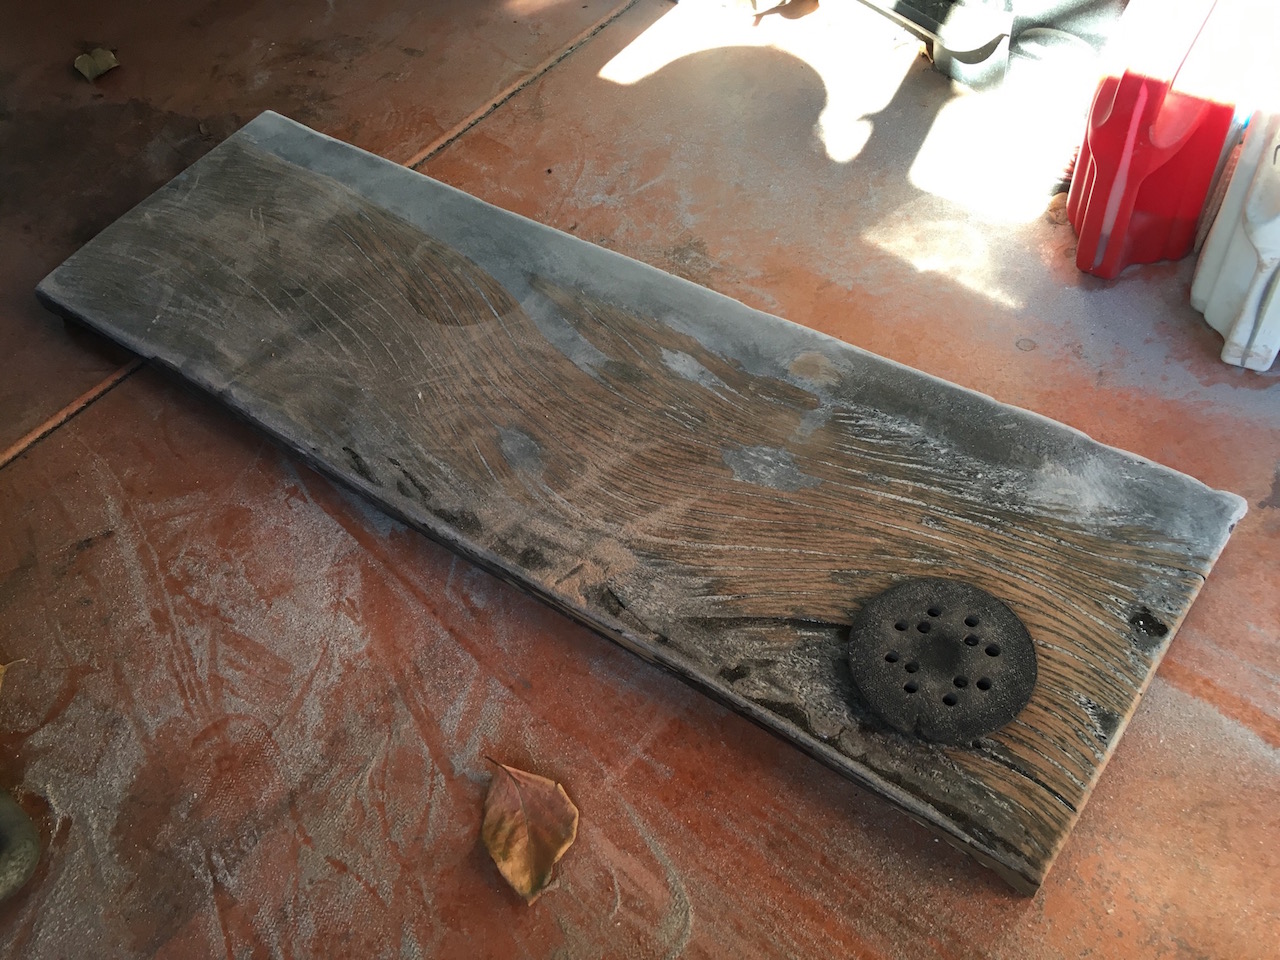
I had to sand the bottom side lightly, mostly around where the other side of the resin was. Unfortunately this didn't remove the dust that got caught in the first layer of the resin.
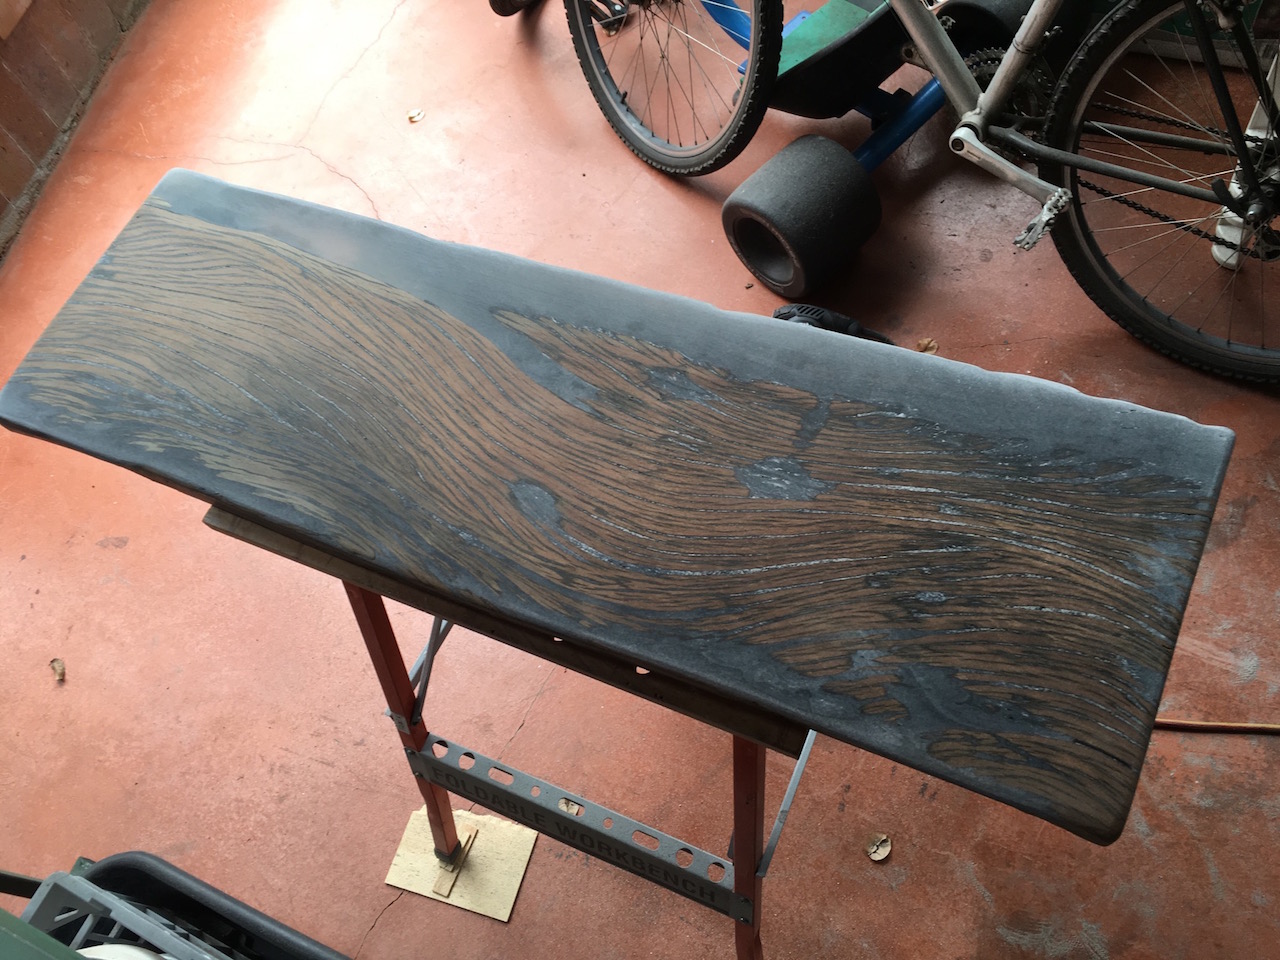
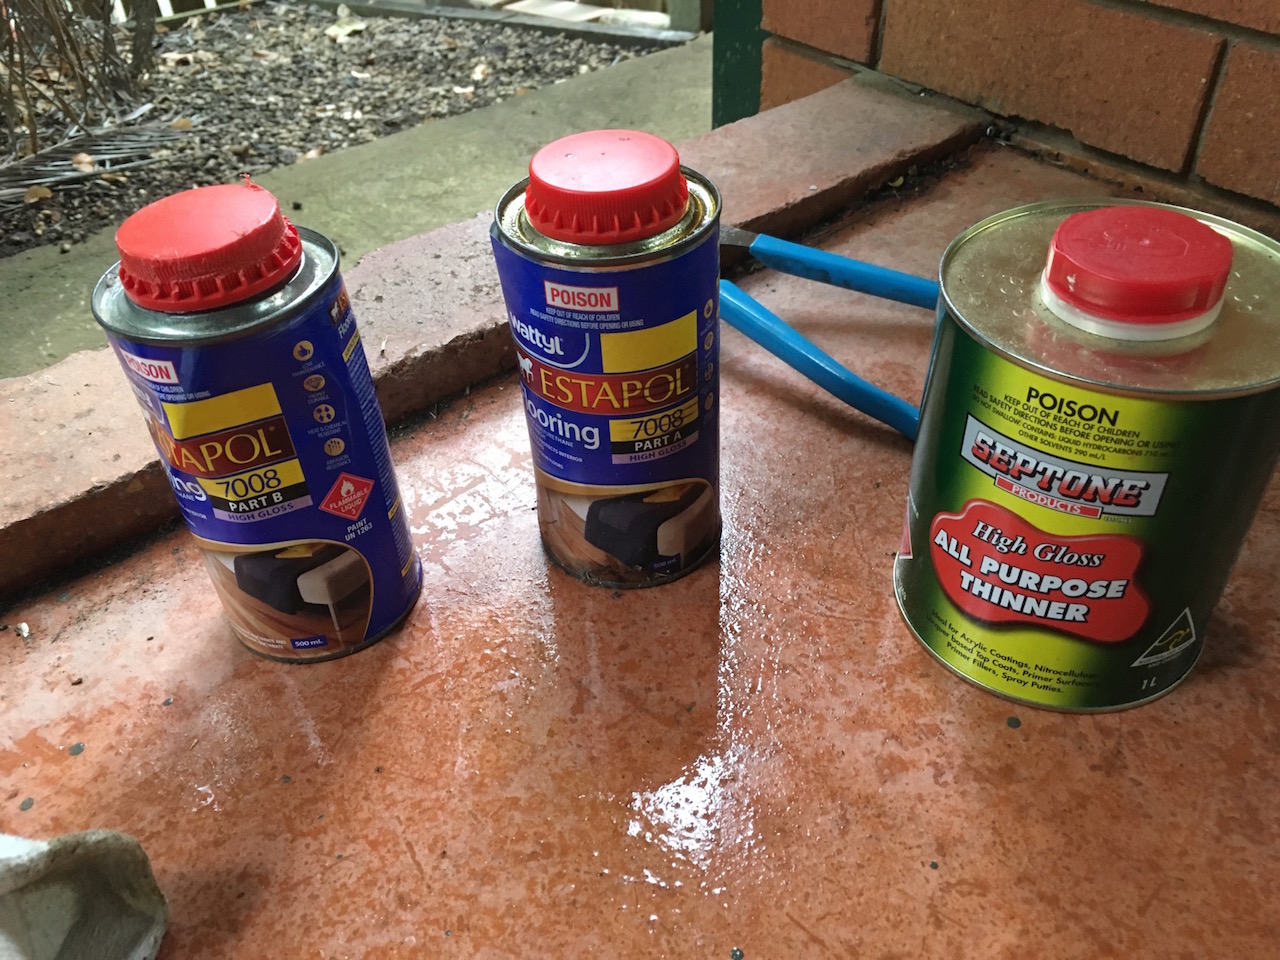
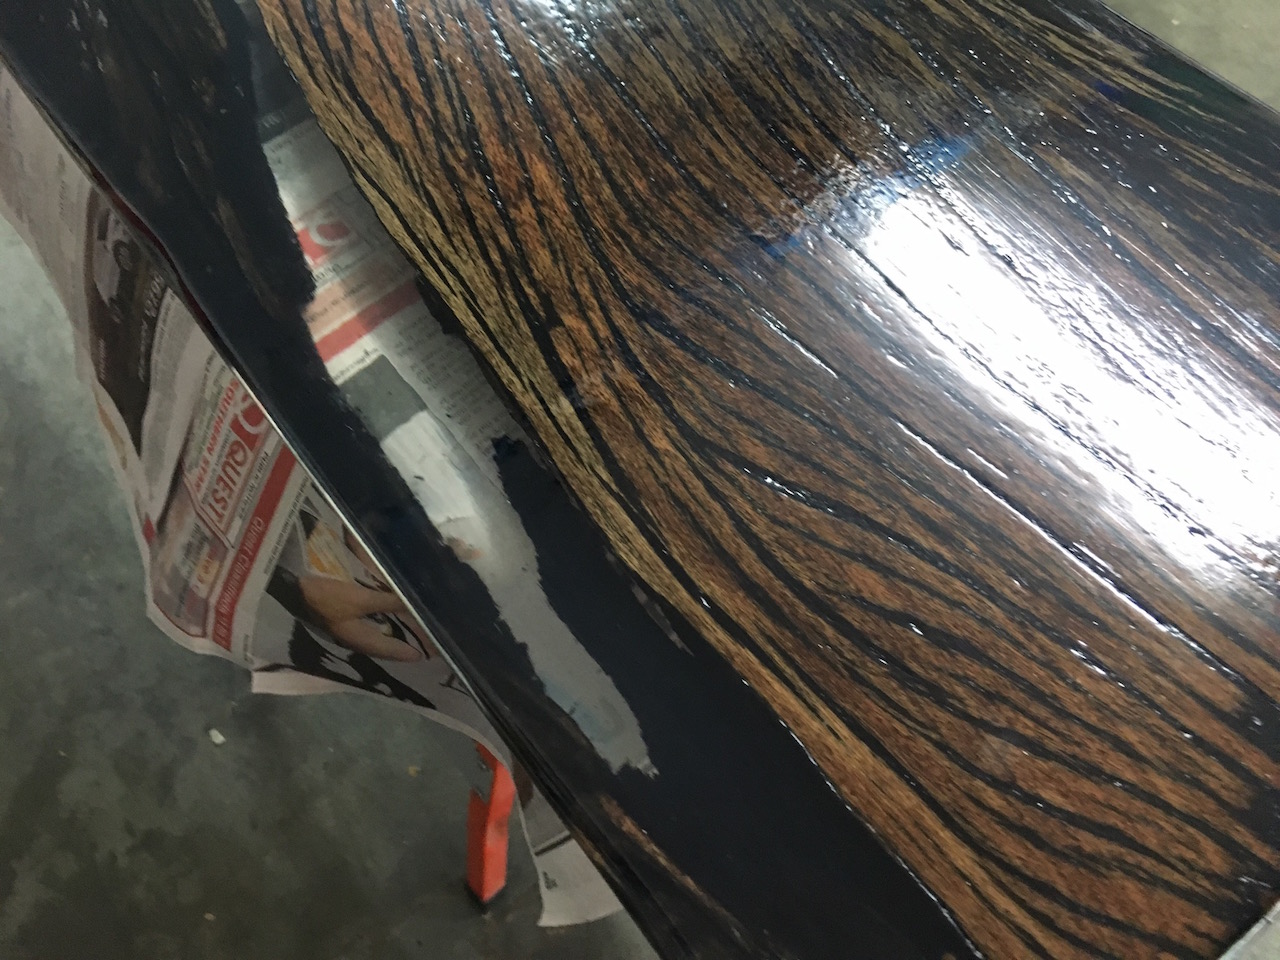
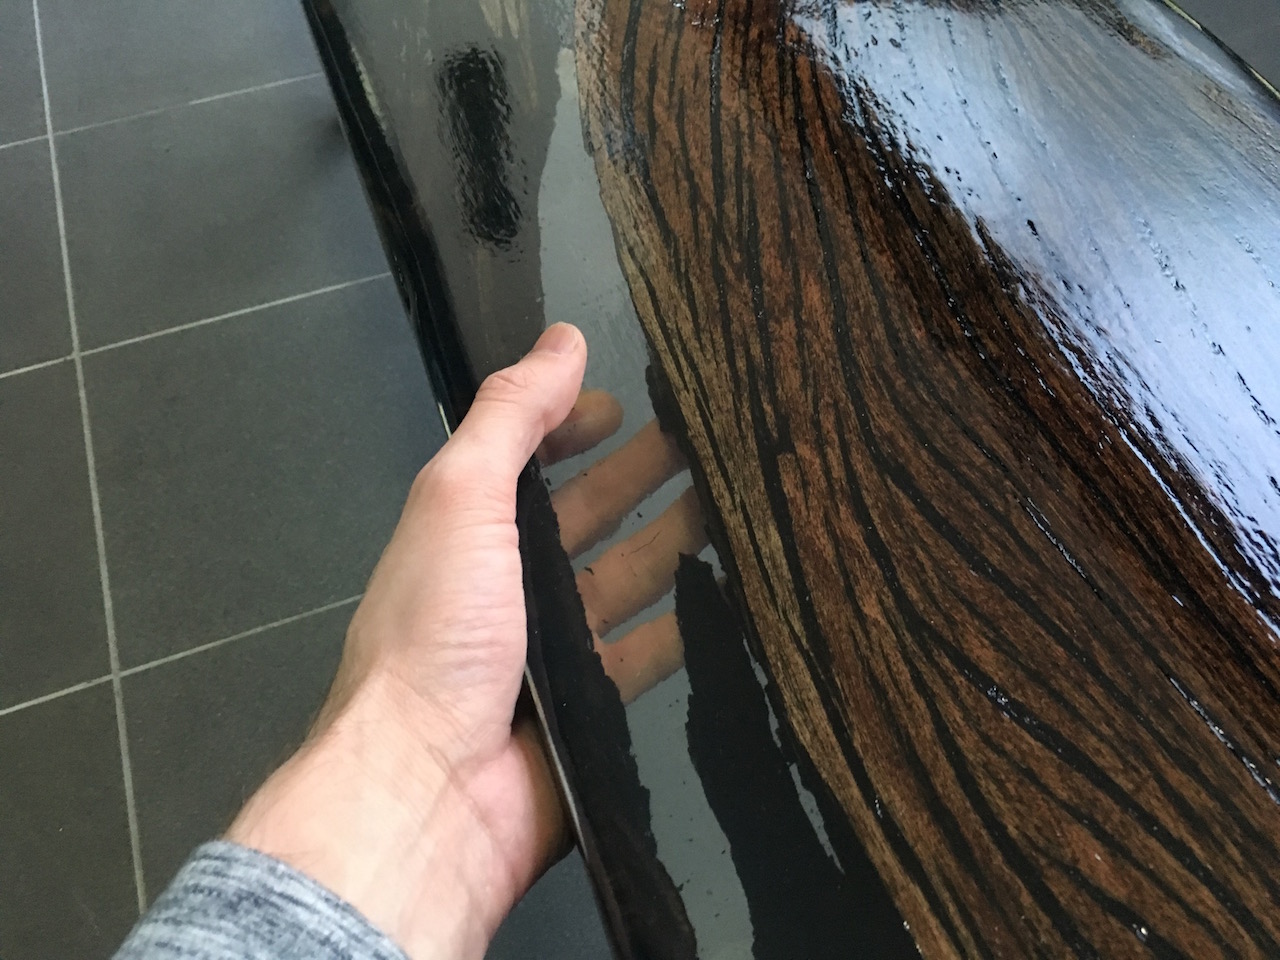
With all the sanding done it was time to apply varnish. I used Estapol Flooring 7008 two part mixture, with a 3rd part of paint thinner added in to help spread the mixture into cracks easier. It was starting to look great already.

The top of the bench was done and looking awesome!
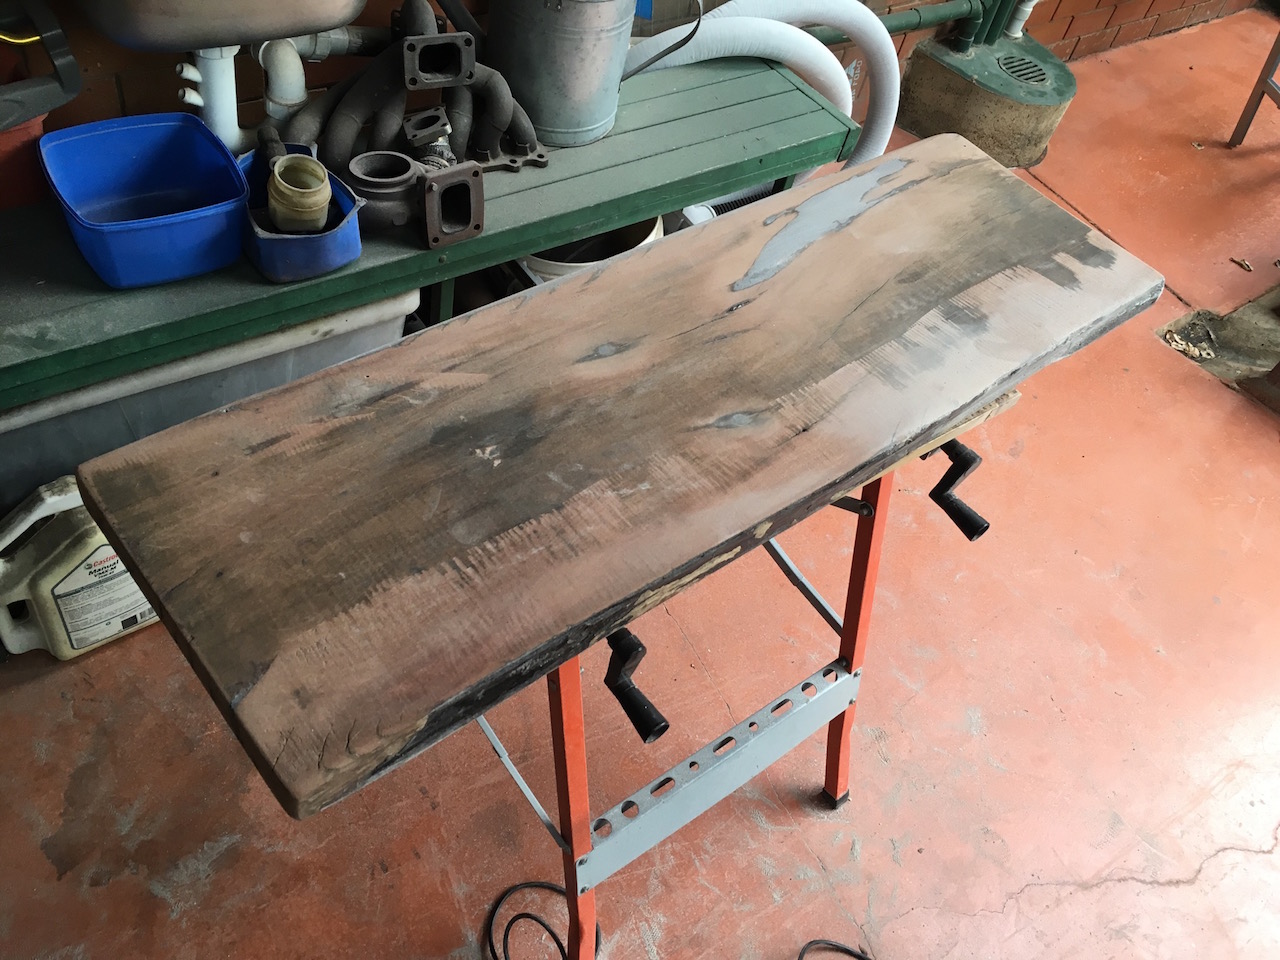
Eventually I got to doing the bottom and the resin became very clear. In total, I put about 4 coats on top and just 1 coat on the bottom of the bench. I didn't try to make the bench as smooth as the TV Unit because I wanted some grip on it - since it's for sitting and all.
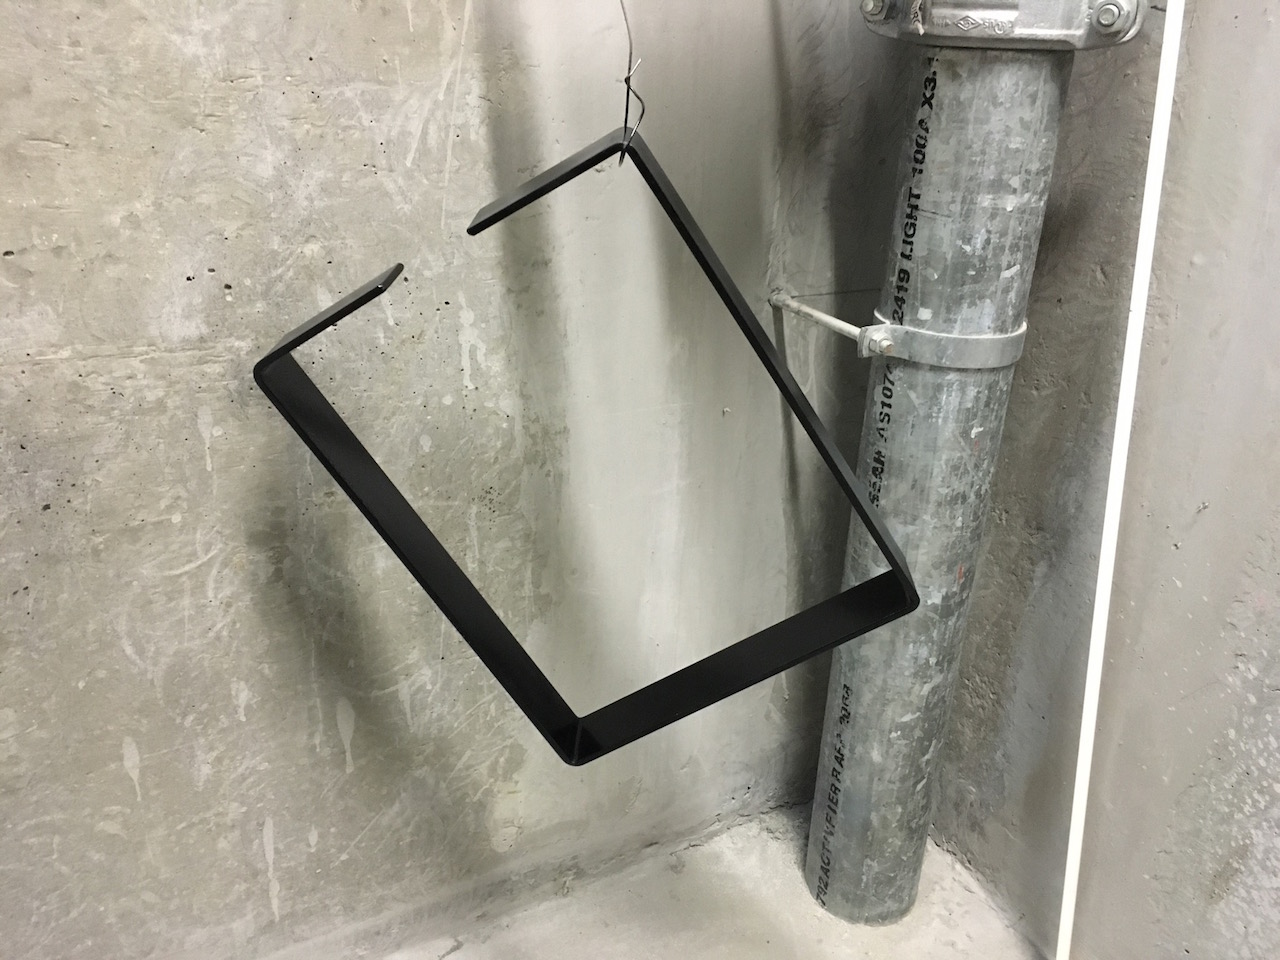
My dad made the legs for the bench, same as for the coffee table I built. These were made out of mild steel and painted black.
After the paint on the legs dried, they were attached to the bench and it was all ready to use!
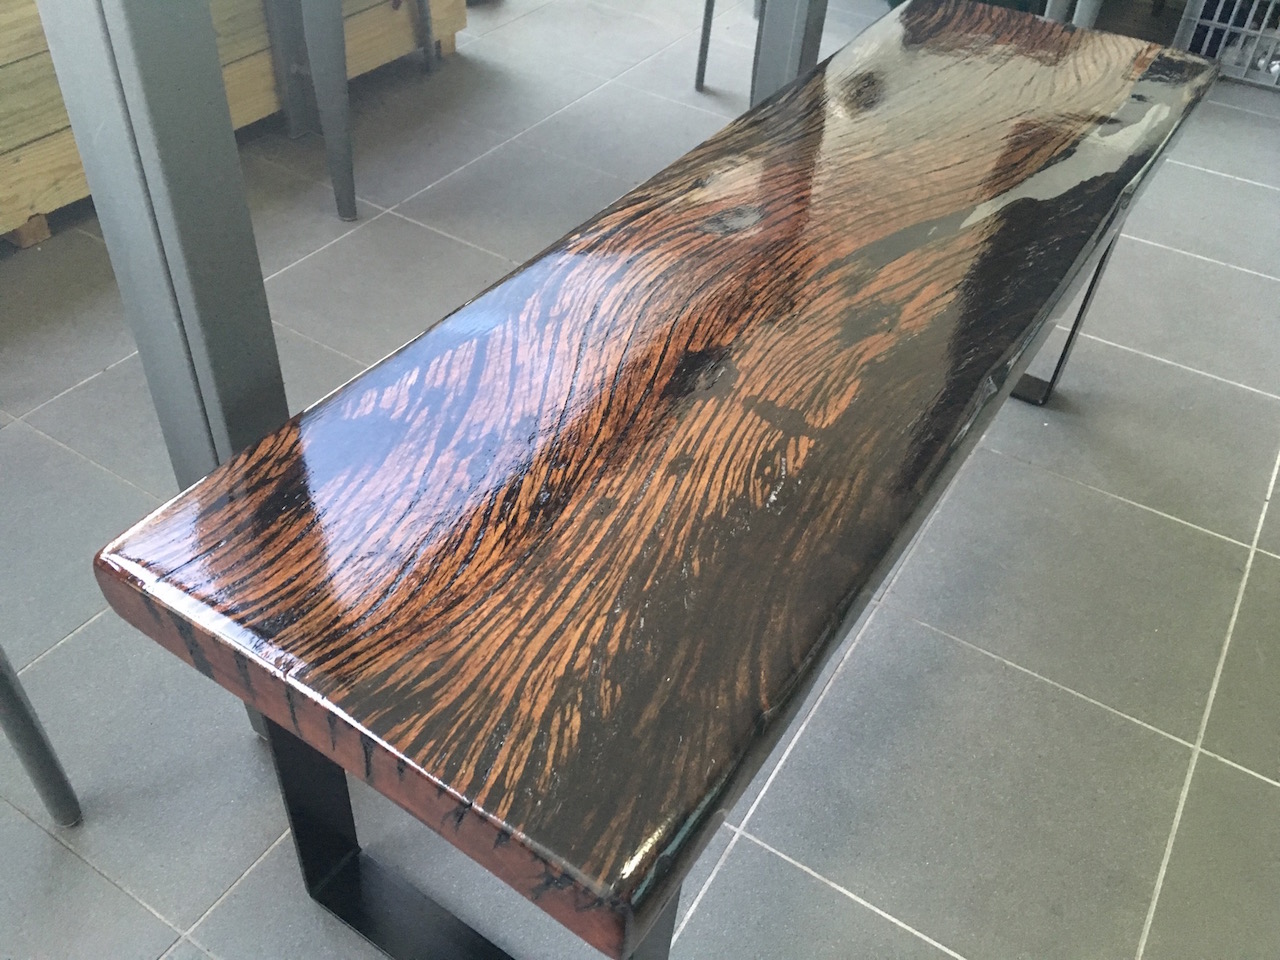
The resin part came out really well and amazingly clear.
So that sums it up. The full image gallery for this and previous part of the article can be found here:
♣ Open image gallery
-i
