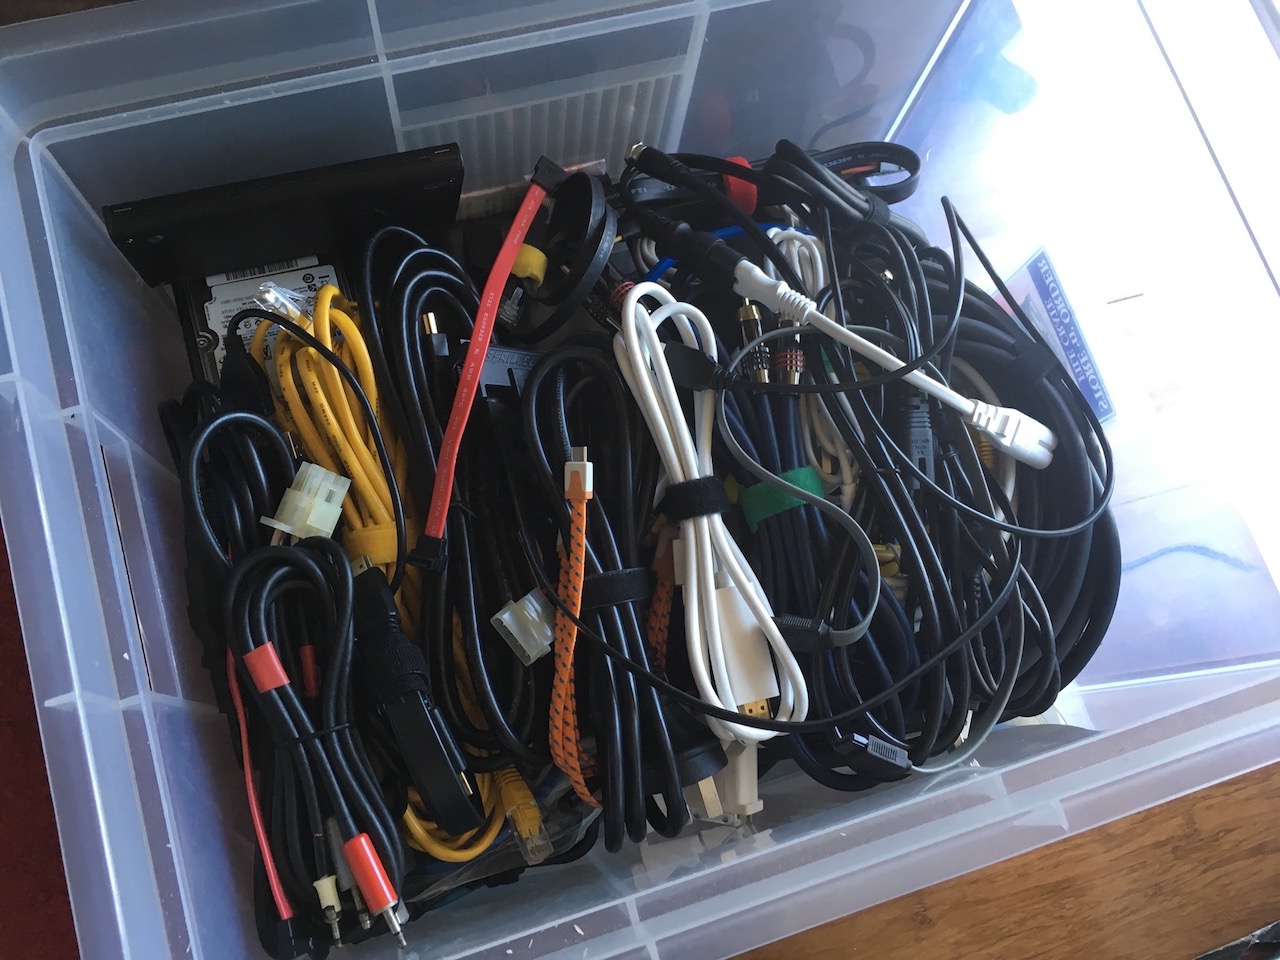
Even though I had most of the components sitting out from gutting my old server, I still needed to dig into my box of old hard drives and cables. The majority of the parts came from my Hackintosh server however. That included the motherboard, memory, power supply, CPU and cooler. My box of parts supplied a bunch of SATA cables, a 250Gb laptop hard disk and some power adapters. The power supply in my old server was modified to work with a big SATA power multiplier cable which was overkill in this case so I found some MOLEX to SATA doublers that I could use instead.
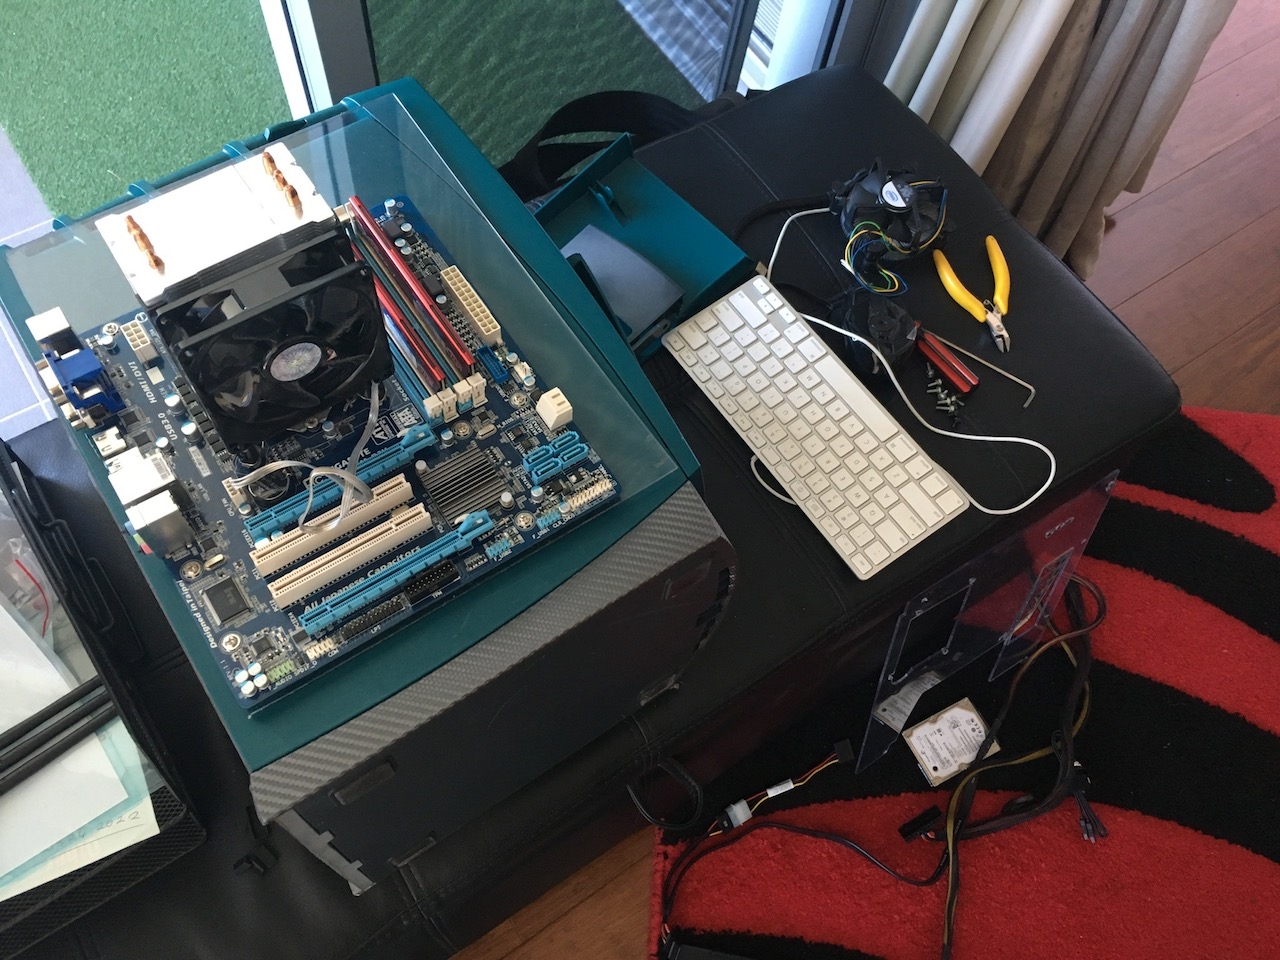
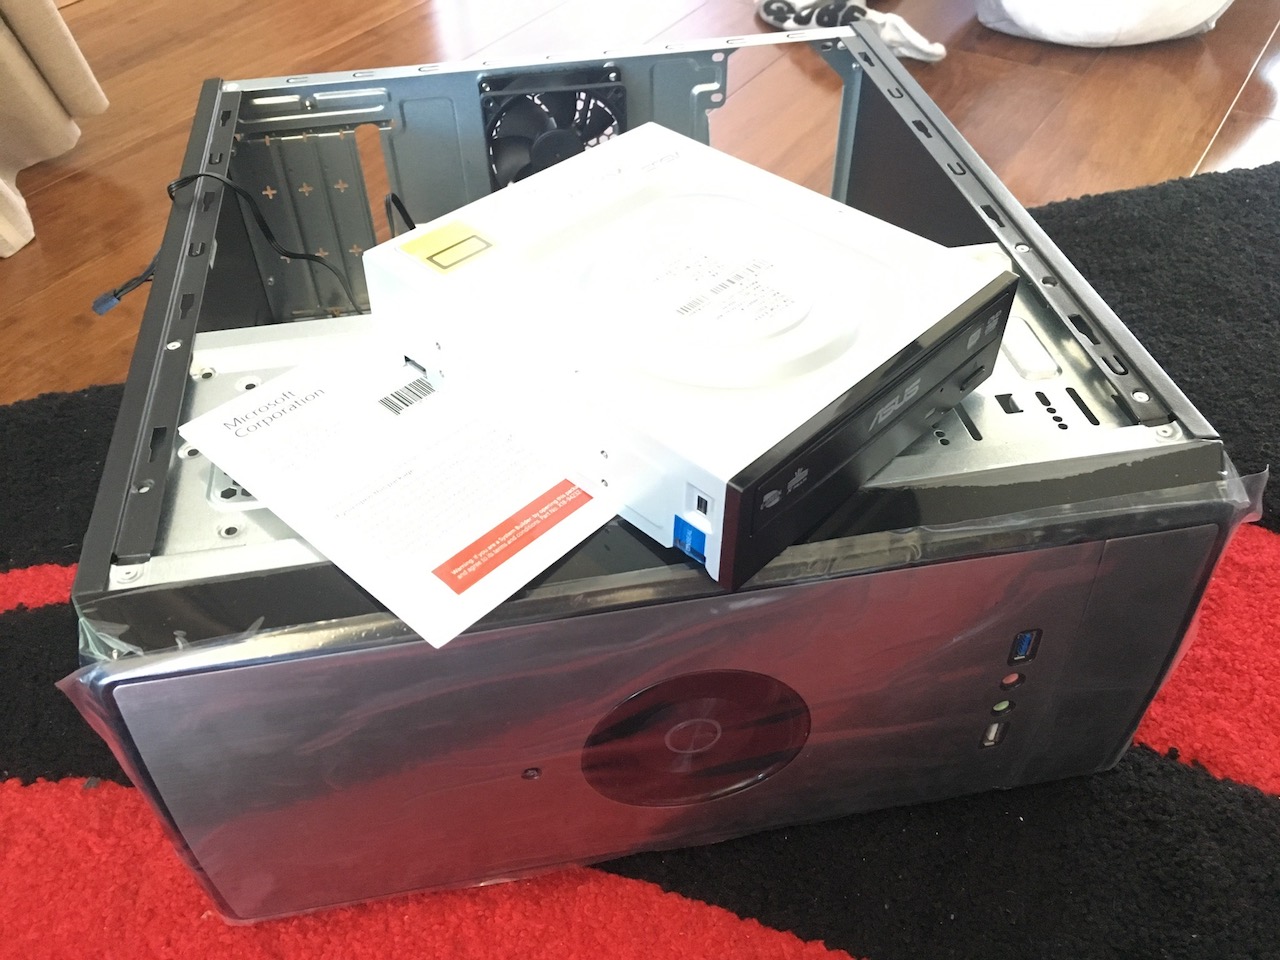
Even with all that laying around, I still needed to buy some extra components. That included a DVD burner, a copy of Windows 10 and the most importantly - the case. The case that I went for was the RAIDMAX Anura. I chose it because of its compact size and low cost primarily but it also had a nice clean look about it which was appealing to me. Overall all the new parts and software cost just under $200AUD.
Considering the parts I was repurposing and the fact that the PC would be used mostly for email and casual Internet browsing, the spec was probably a bit of an overkill, especially the 8Gb of RAM and the huge CPU cooler. Still, with all that in hand I set off building it.
Now even though the Anura case was extremely cheap ($45AUD) it had some features that I typically would associate with higher end cases, though it has been quite some time since I've had to put a computer together so maybe that is the norm now. One of these features is the support lip under the power supply. The lip holds the power supply in place without obscuring the fan.

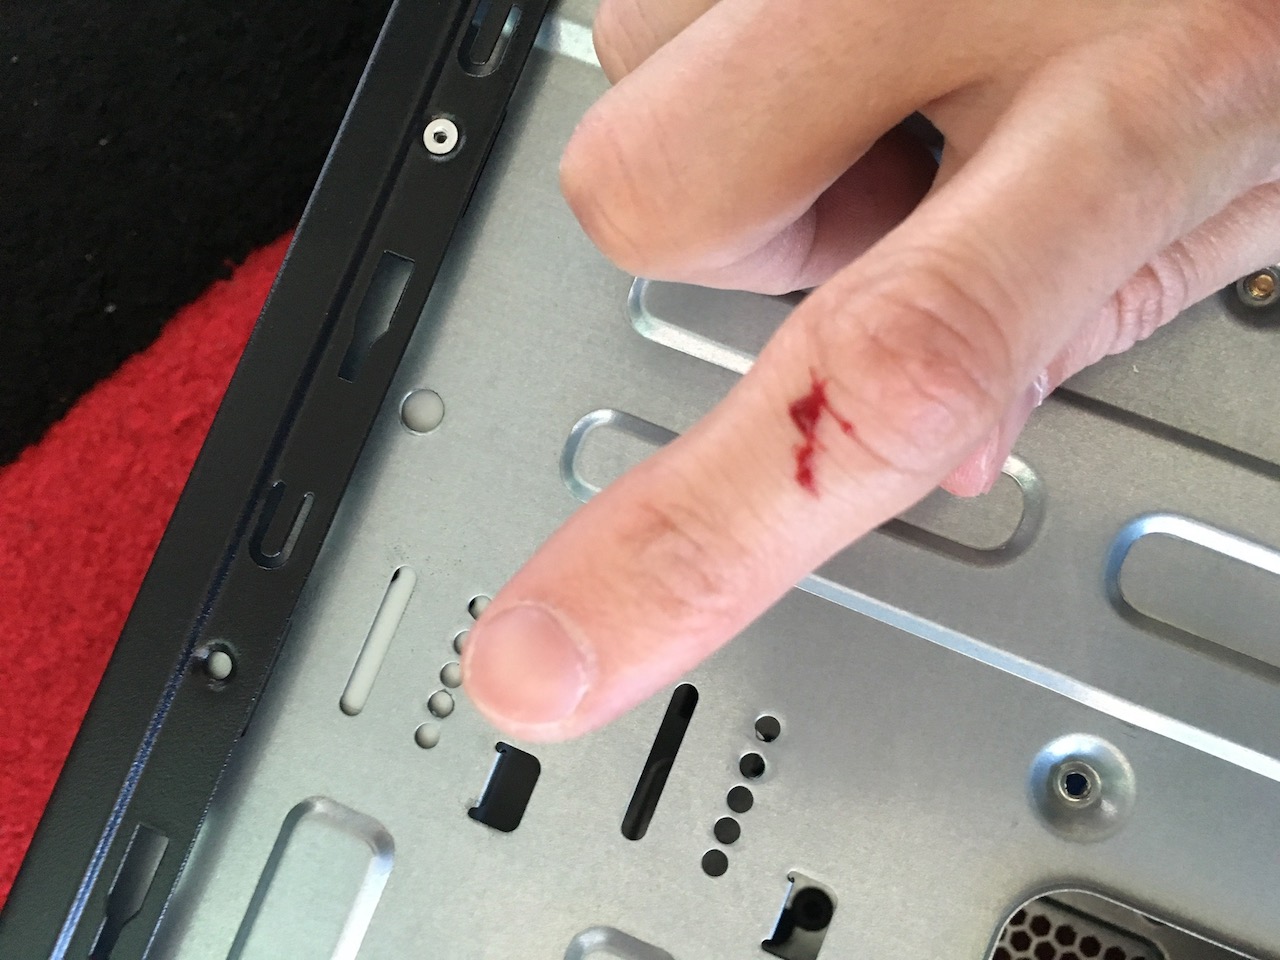
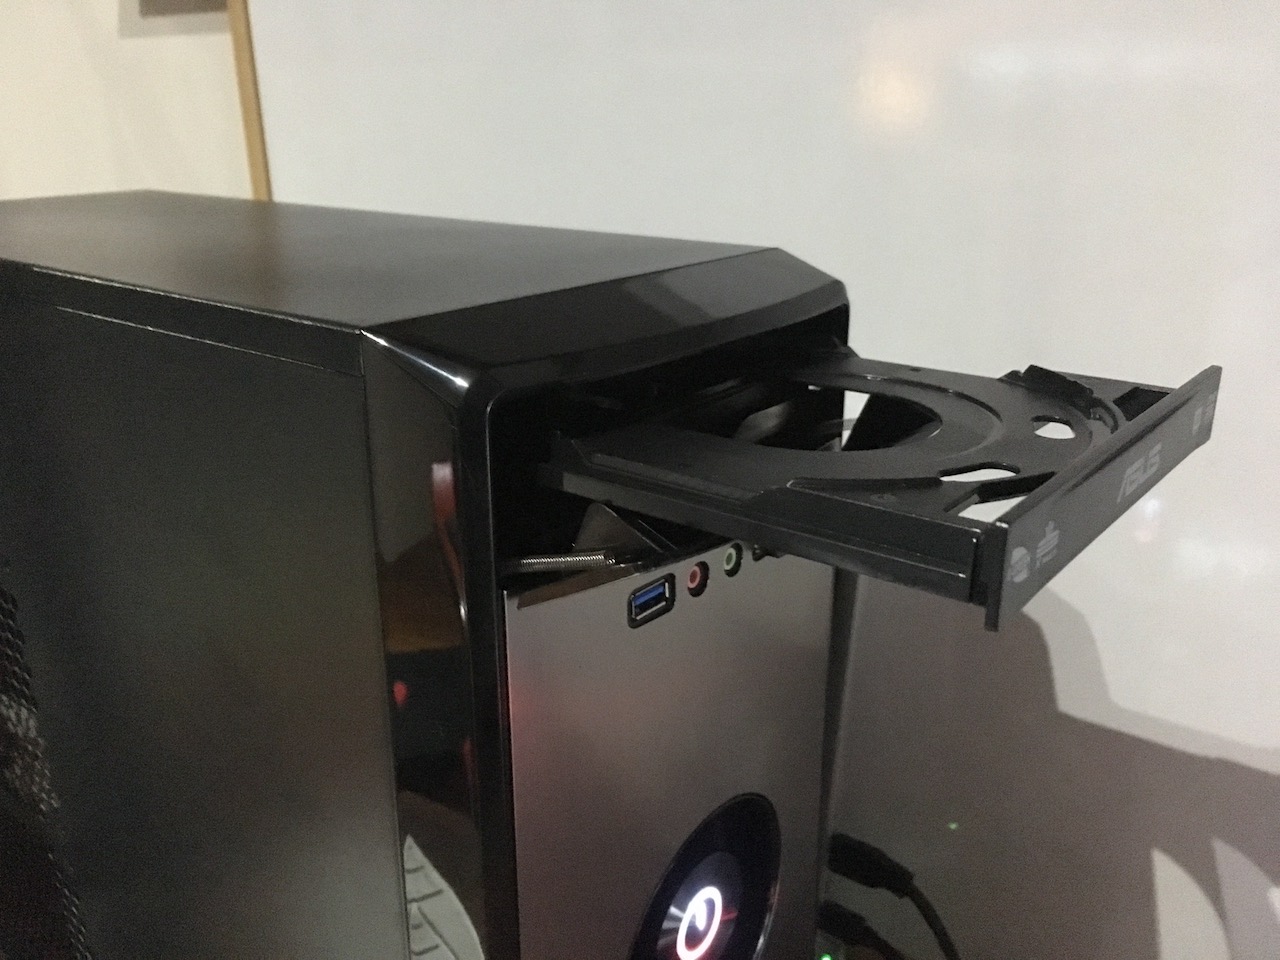
I was also pleasantly surprised when all the mounting holes for the DVD burner aligned perfectly to the case. My victory was a little short lived though, as I managed to slice my finger on the case somewhere. After stopping the bleeding I had a look around the case and saw that it is made of extremely thin sheet metal and the edges are mostly not curled so cutting yourself on the case is super easy.

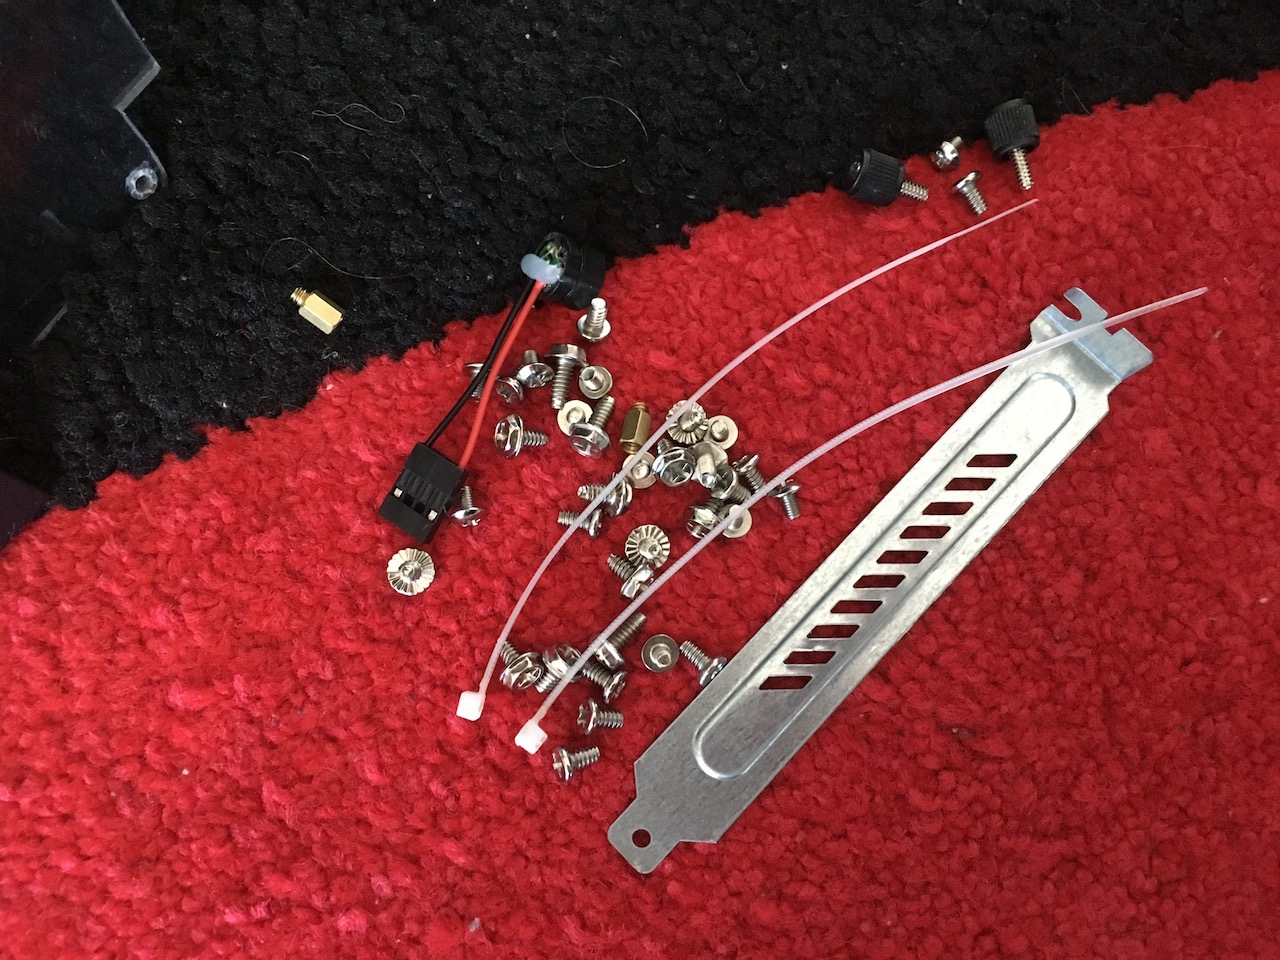
Again to my surprise the case came with some decent hardware and cable ties. One of the features I really liked was the expansion card cover which again I associate with a high end case yet here it is in the bottom of the line enclosure.
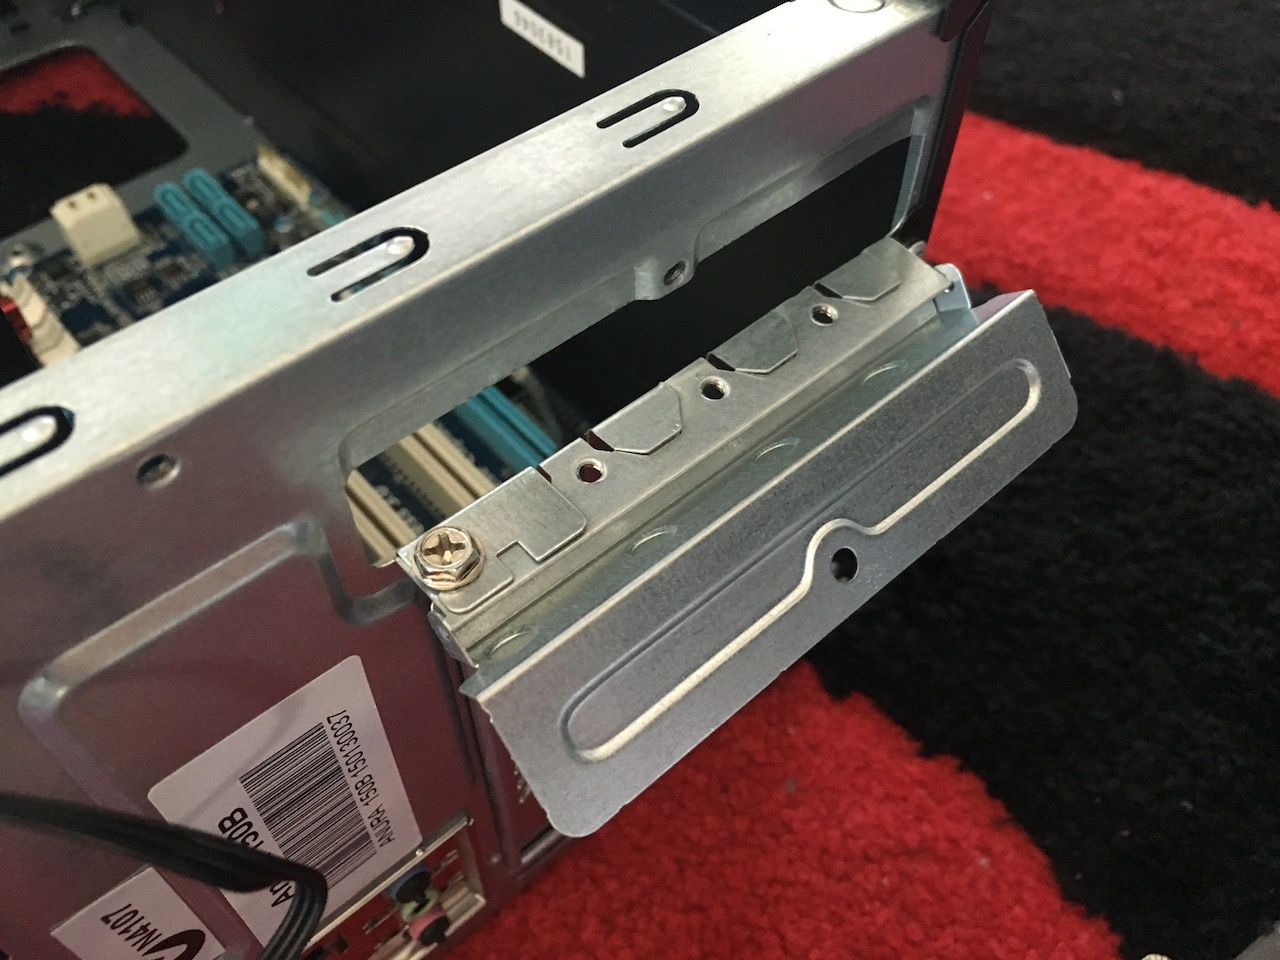
It was pretty much no effort to put the rest of the parts in. I spent a good amount of time cleaning up all the wiring, which was totally worth it. Clean wiring helps with airflow which won't be an issue here but it's still nice to have a professional looking finish. This case has side mountable hard drive bays so I attached the 2.5" laptop drive to one of those.
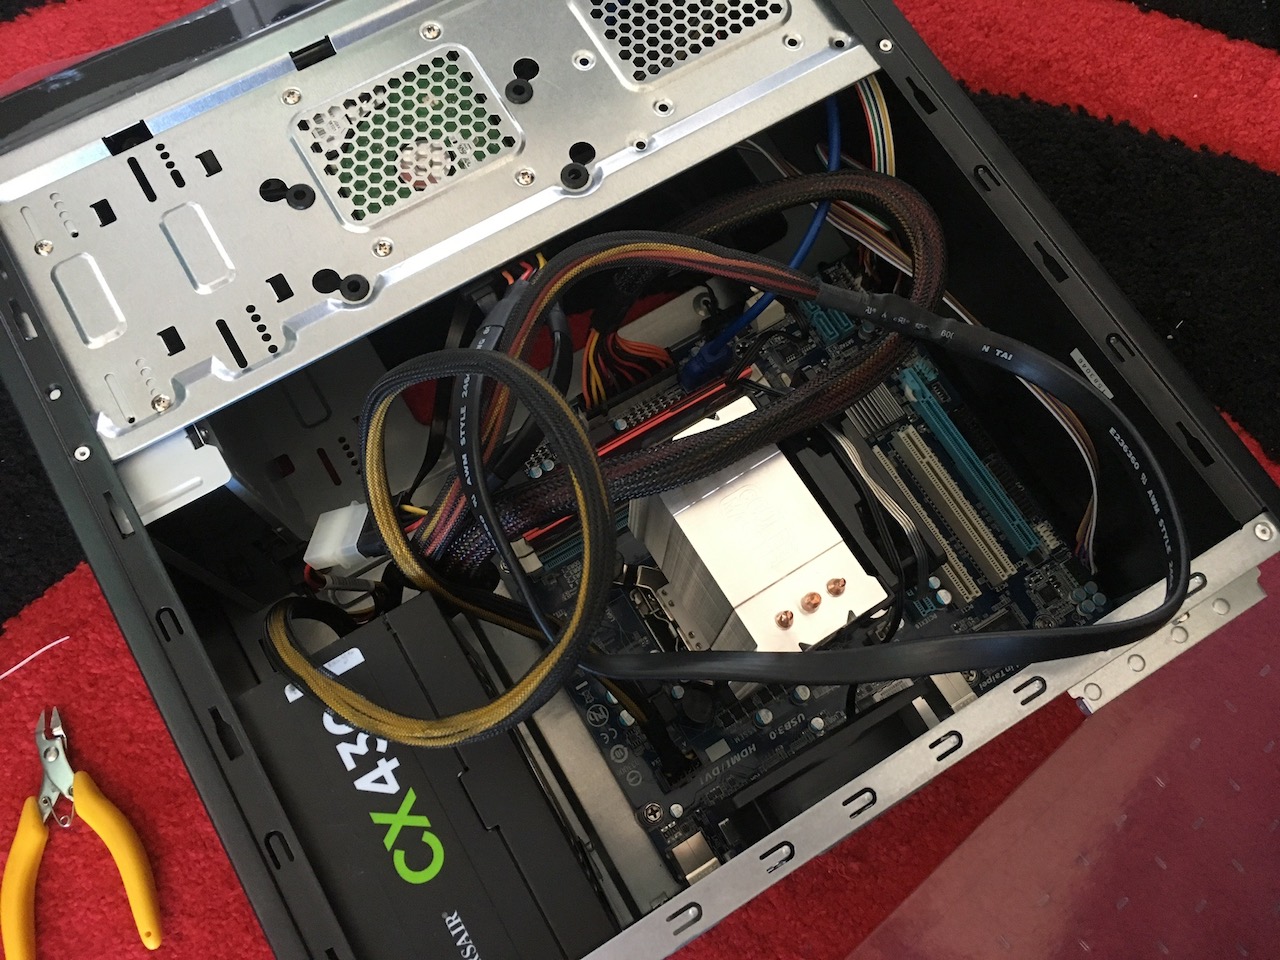
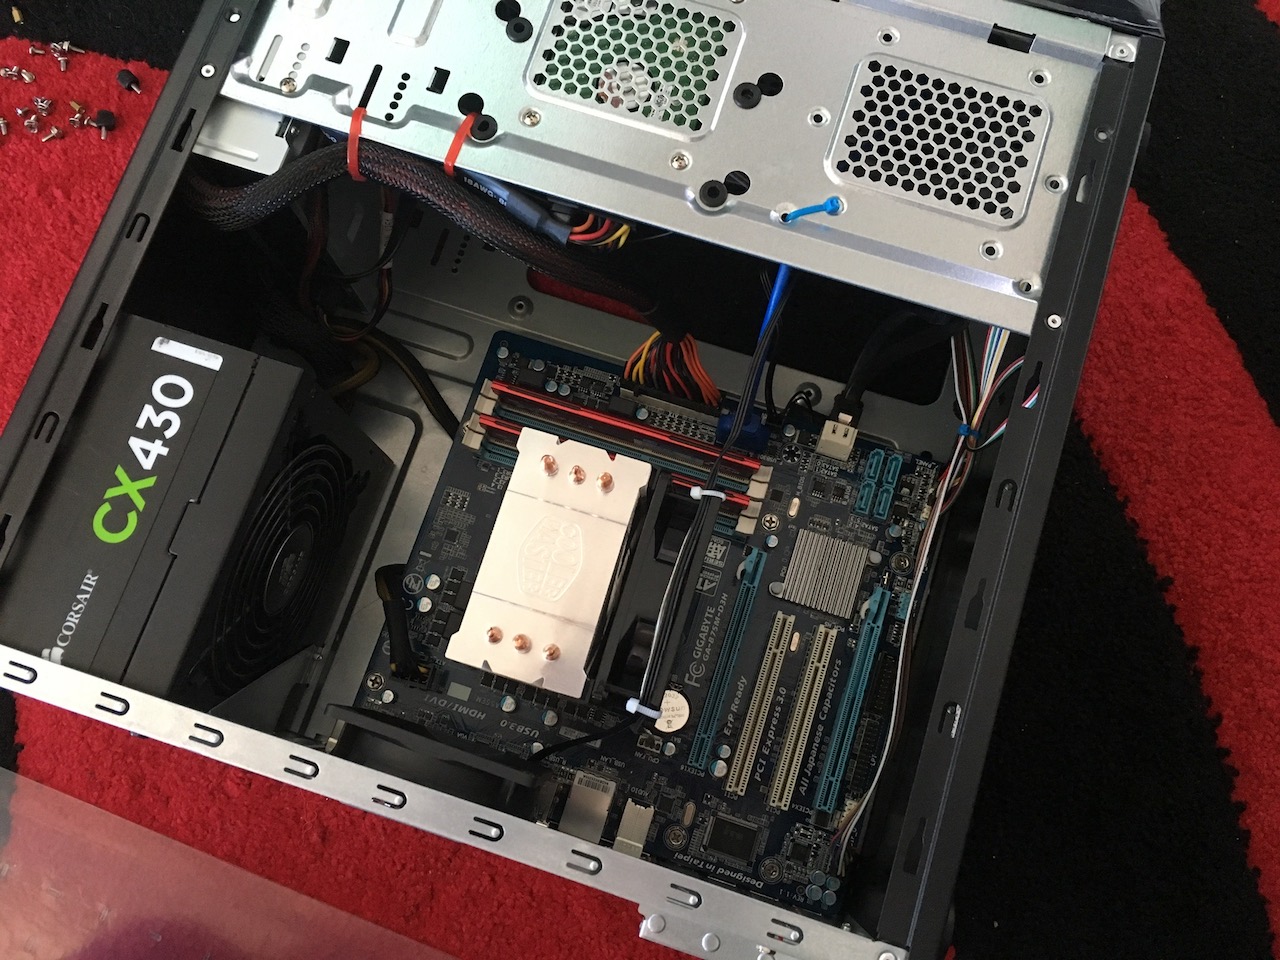
When I took my old server apart, I didn't bother removing the Cooler Master Hyper TX3 EVO CPU cooler. This is a big cooler and I wasn't sure if it would fit inside the Anura case. I did have the stock Intel cooler on standby just in case it didn't. This is what the cooler looked like inside the Anura...
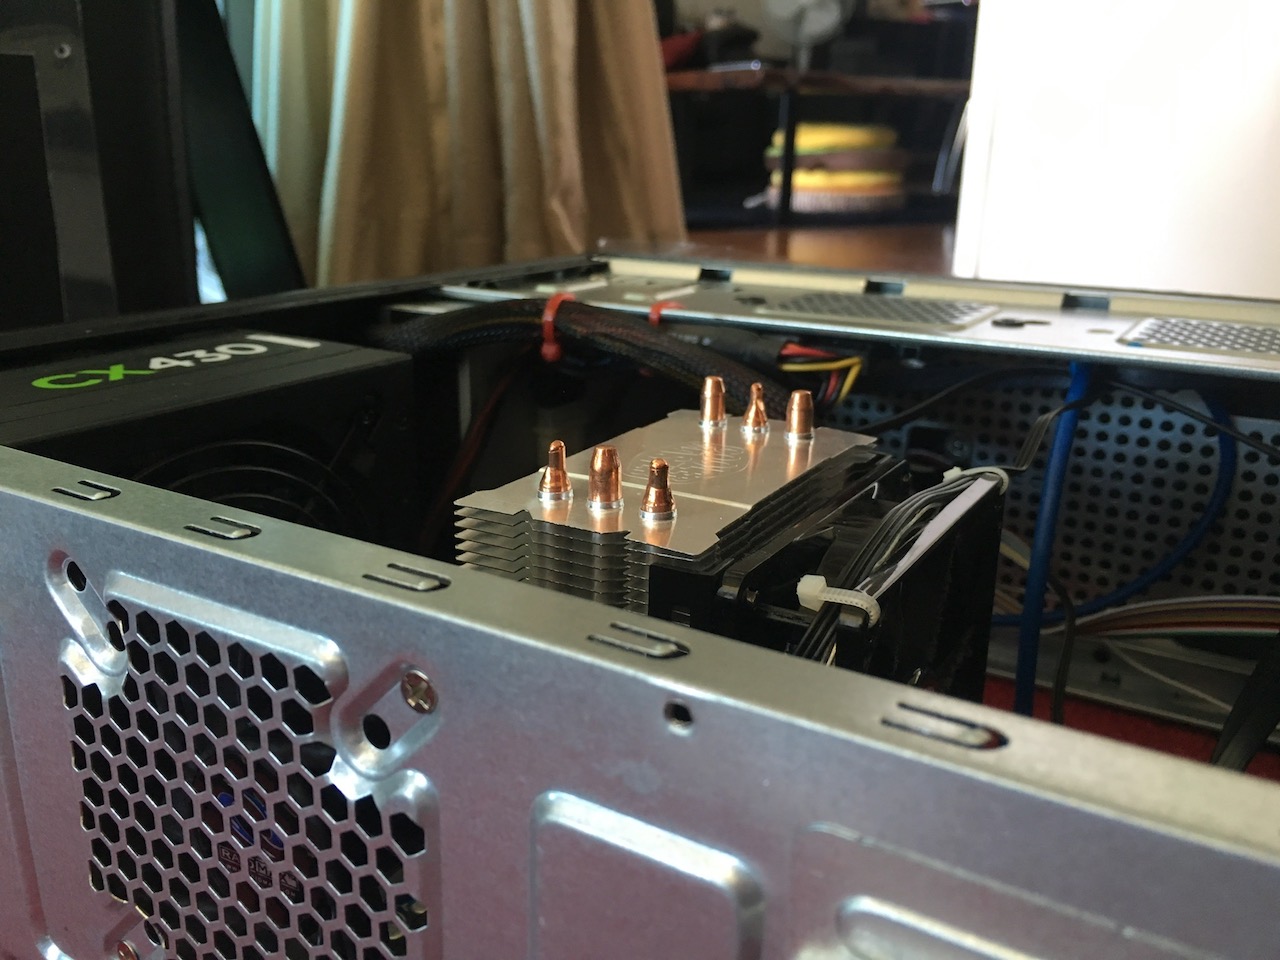
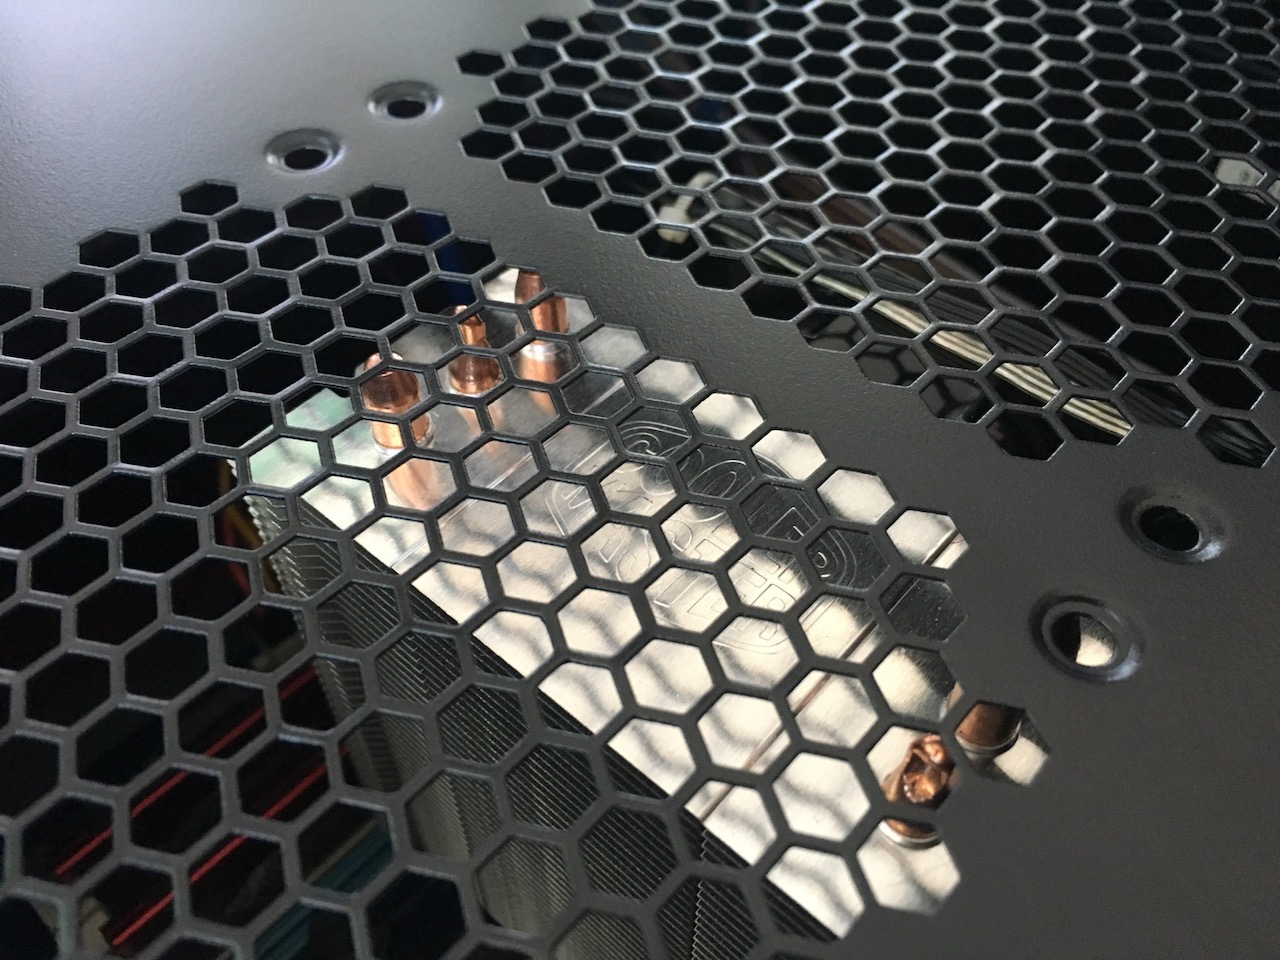
It was very close! In fact it did stick out slightly but because the Anura is made out of such thin metal it doesn't pose a huge problem. The side cover slid over the top without any trouble. I used a multimeter to see if having the enclosure in physical contact with the heatsink would produce any short circuits and it didn't so I decided it was safe to keep it that way.
That was pretty much it for the assembly. I think the case looked nice and it definitely had some cool features but it wouldn't stack up against some of the more professional gaming cases. Oh did I mention that the DVD cover is hidden, a little notch on the side ejects the DVD drive, very cool!
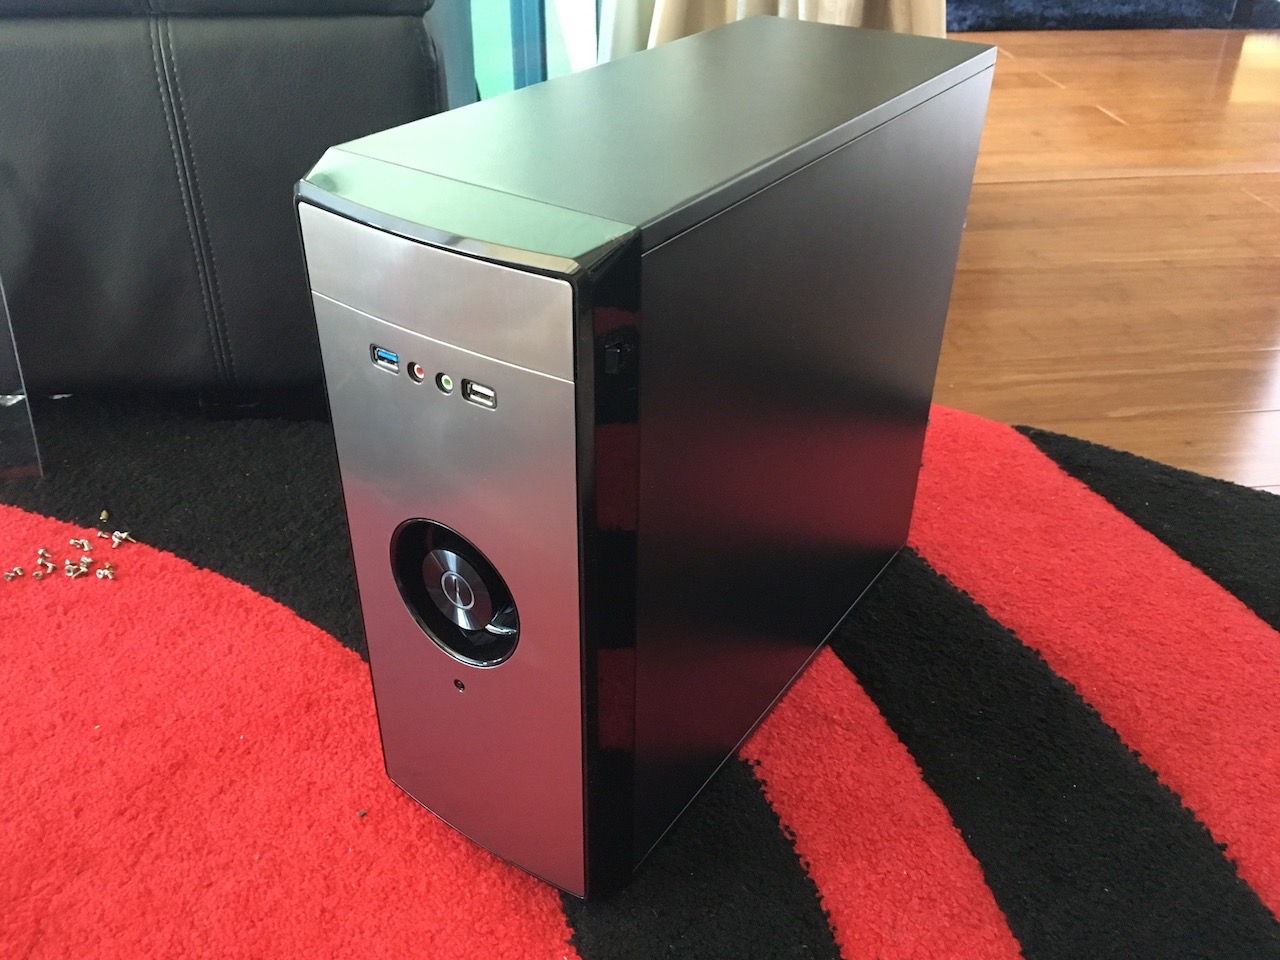
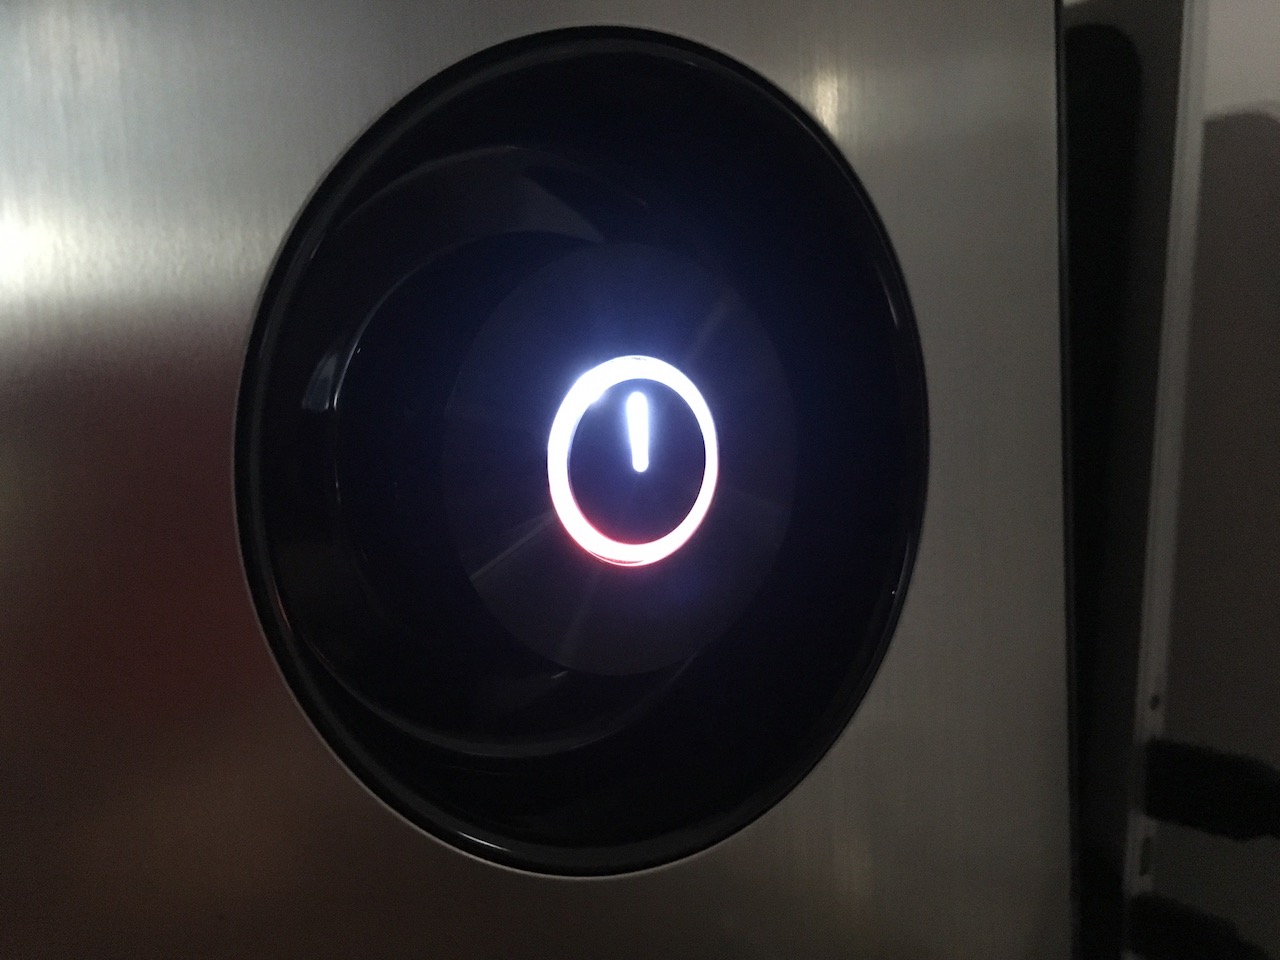
Finally before I wrap up - the one outstanding feature of the Anura is probably it's extra large power button. It looks reminiscent of HAL 9000 and feels like it should spin, but it doesn't. The button does double up as a power and HDD LED though.
So there you go, with a few extra store bought parts, lots of reused parts and one super cheap but weirdly feature rich case I had a new PC ready to roll with.
-i
