Originally I wanted to use some kind of graffiti style rat drawing on this pedal and apply it using techniques from this article. Unfortunately after several attempts I didn't succeed and went for simply painting the pedal a hot pink colour. This significantly simplified the process, but it still took several days to complete the painting.
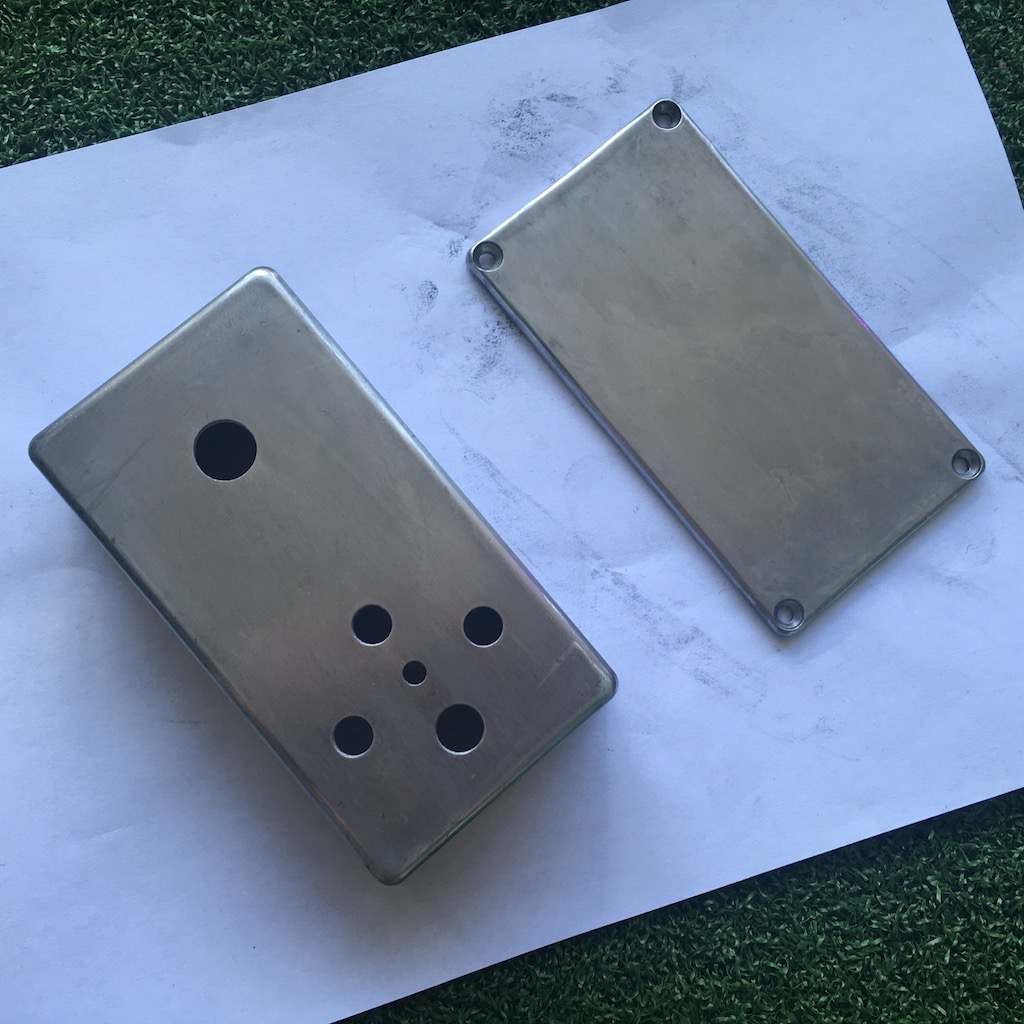
So to get started I used some 800 grit wet and dry sandpaper to clean up the pedal case. This was to remove any dirt and grime that may have been present. After that was done I sprayed a coat of automotive primer. The primer filled out some of the small imperfections in the case.
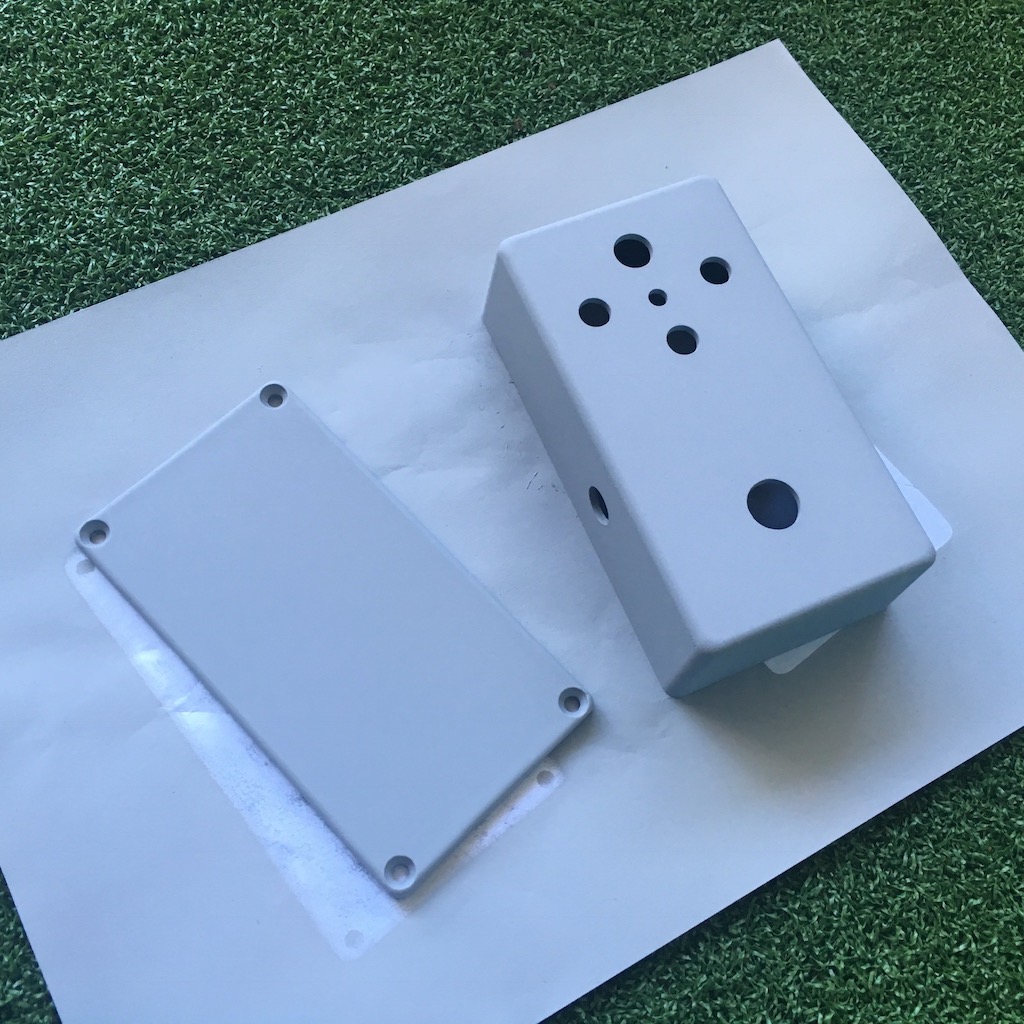
After letting the primer coat dry, I wet sanded it with the same 800 grit sandpaper and then let it dry. I didn't bother with a second primer coat.
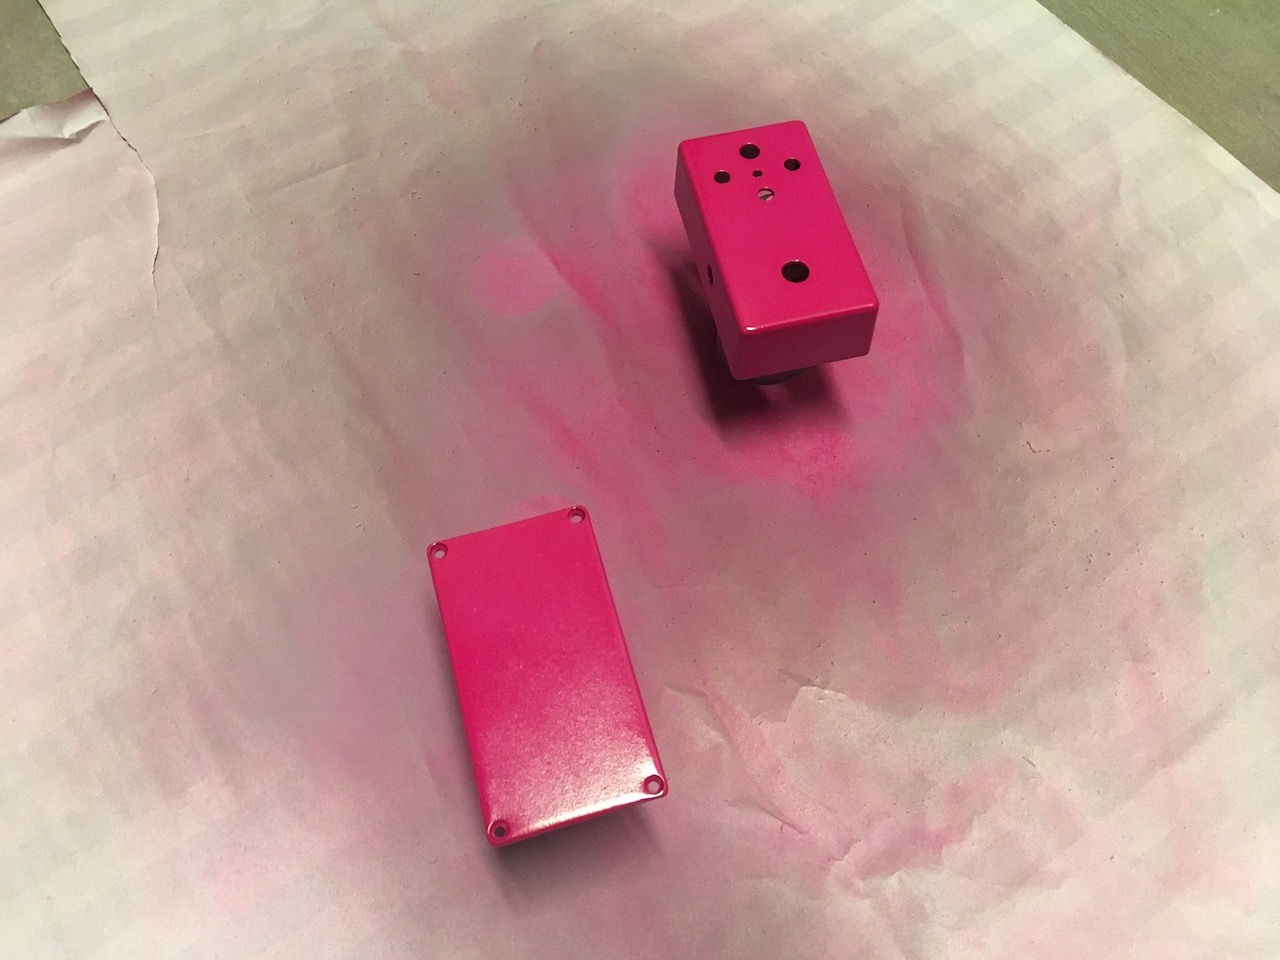
After the pedal was dry, I sprayed it with the first coat of hot pink. Then I let it dry for several hours before wet sanding it (again with 800 grit), letting it dry and then applying another coat of paint. Overall there were three coats of hot pink paint on the pedal. From my earlier attempts I noticed that if I put any more coats than this, the hot pink would turn to a hot red and that was not my desired outcome.
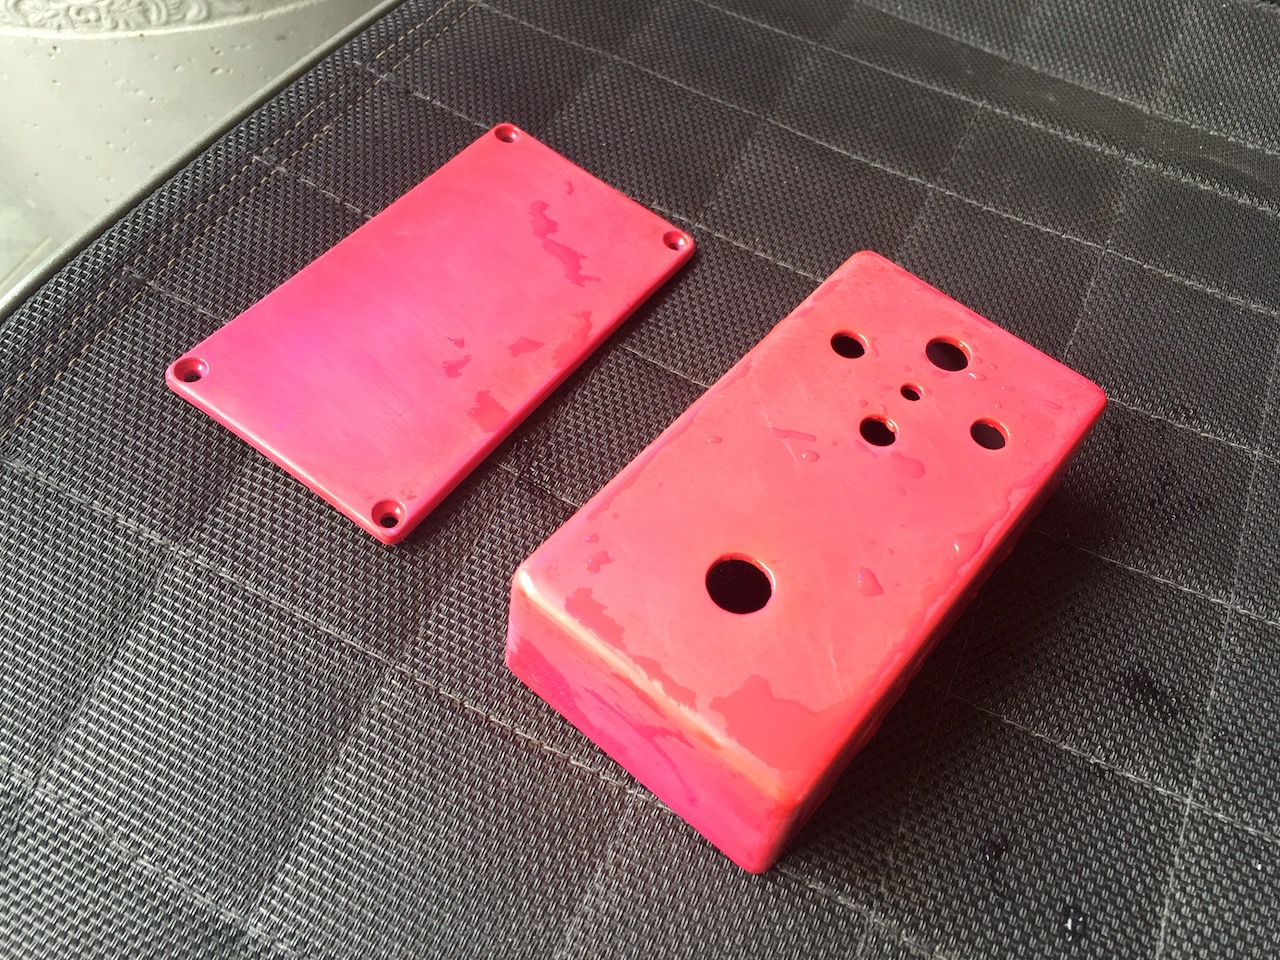
After applying the final coat of hot pink I let the paint cure for about 24 hours before doing a quick wet sand with 800 grit paper again. I didn't bother going up to 1200 grit since this was giving me decent results. I then sprayed a coat of clear gloss on top, let it dry and sprayed another light coat of clear gloss again. I think that I could have gone with more gloss coats but I was running out of time so left it at two.
Once everything was dry, I stuck on some rubber feet on the base of the pedal.
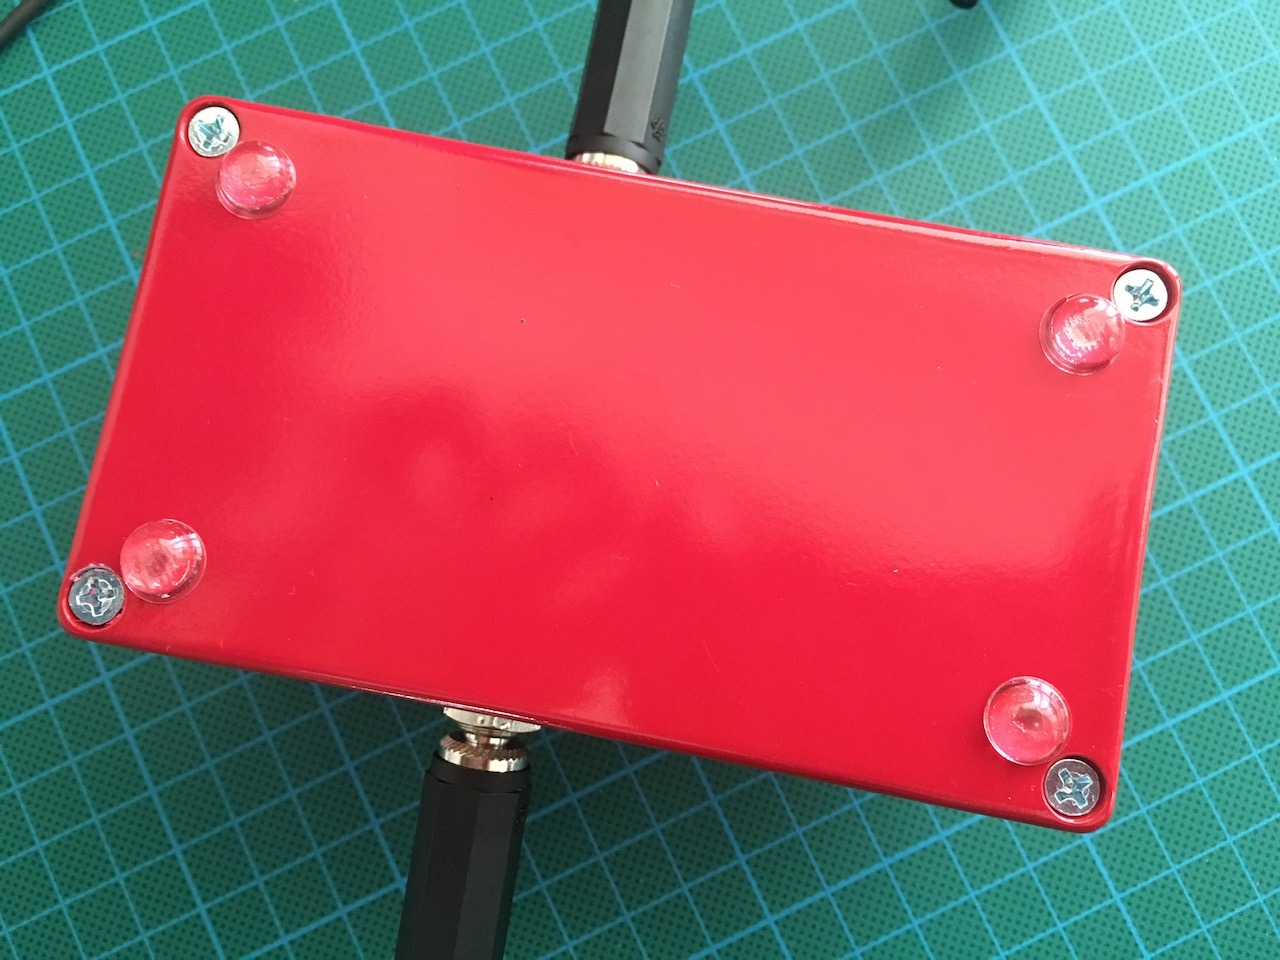
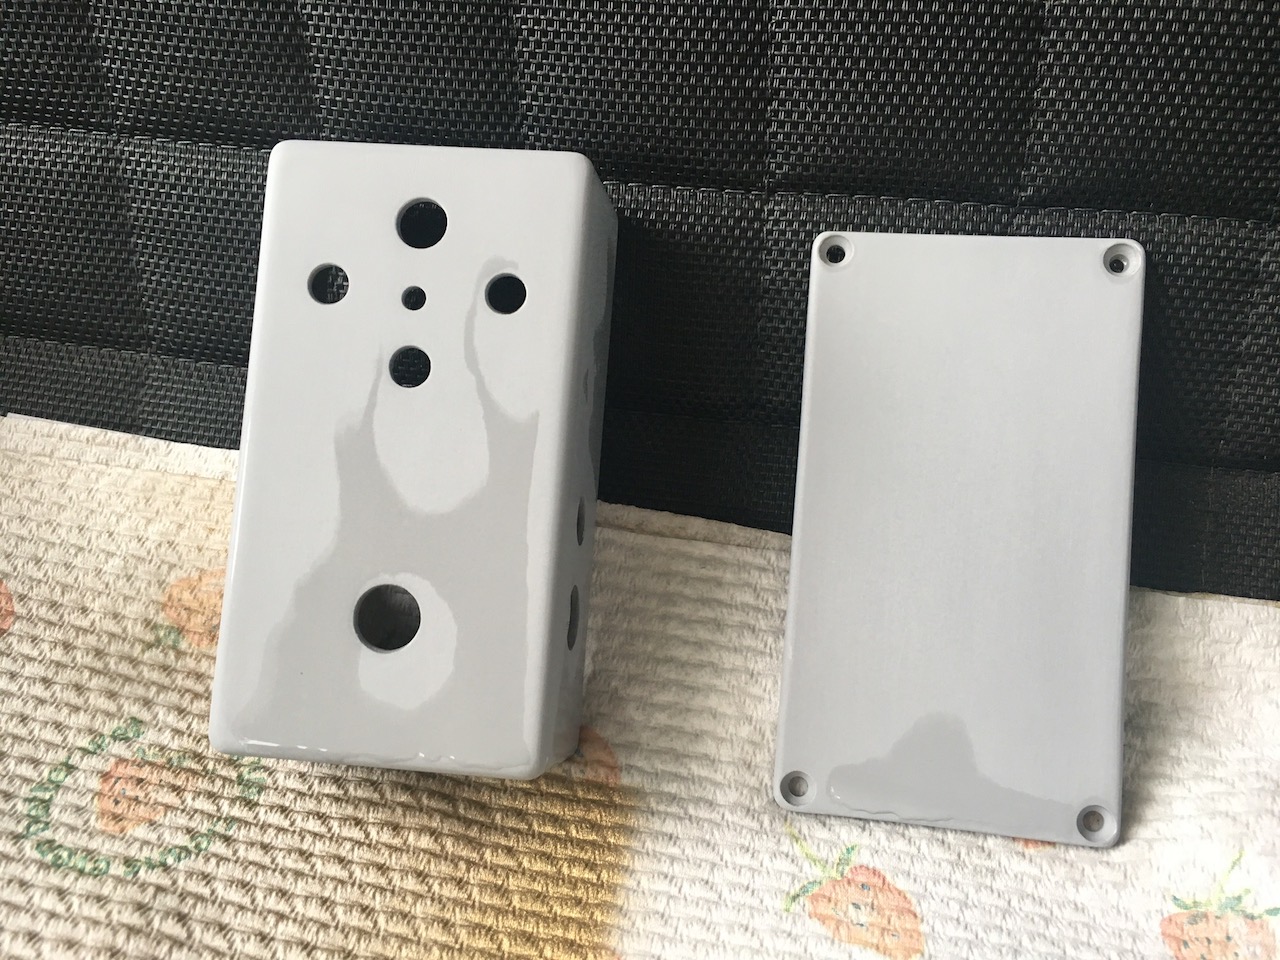
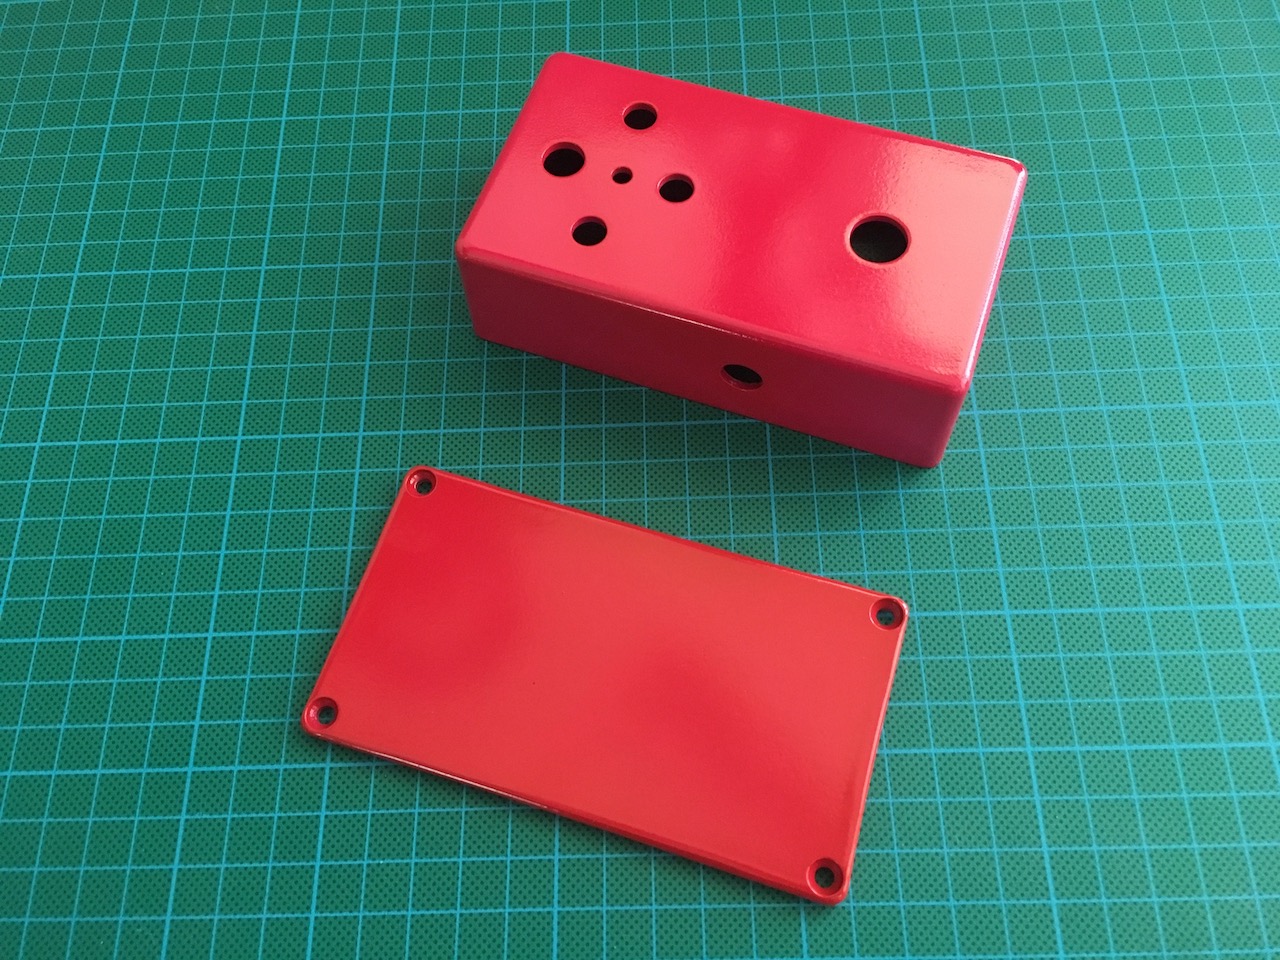
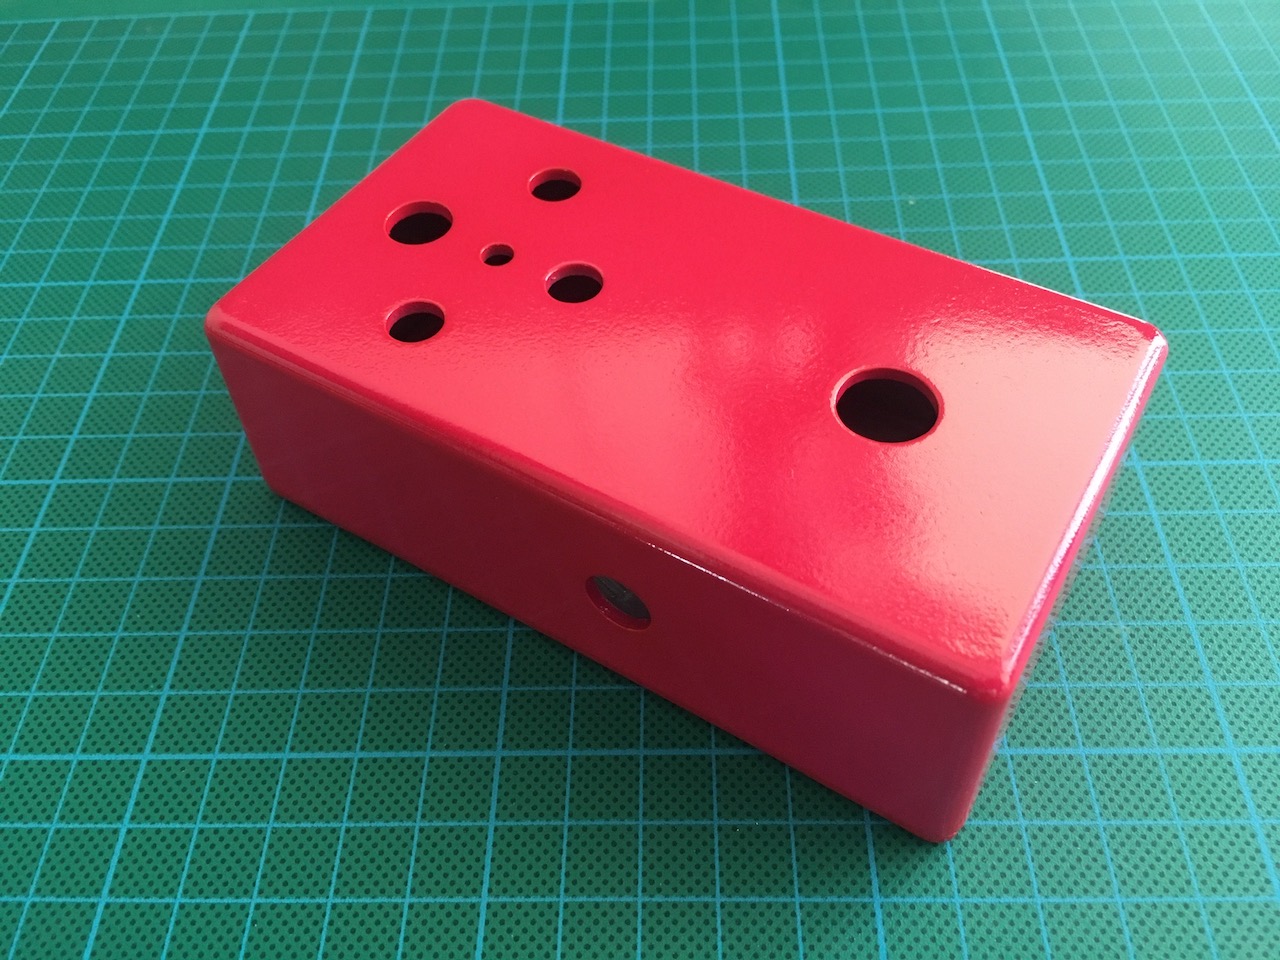
This was the end result (without all the knobs fitted). The paint came up quite nice I thought though there was a bit of a difference in colour between the lid and the pedal body. This should not be visible since the lid is on the bottom most of the time.
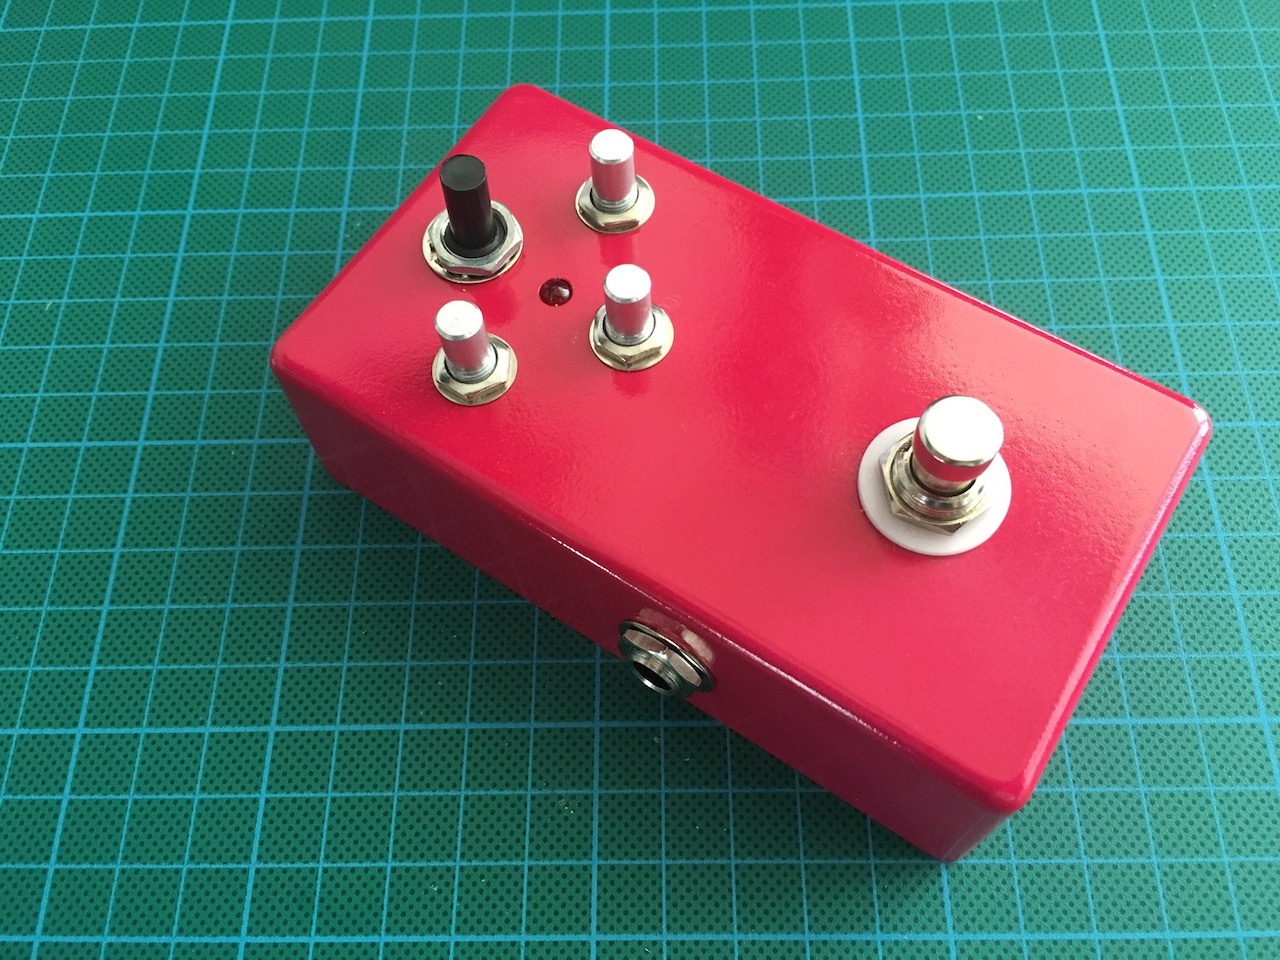
This isn't the perfect way to paint this pedal and it was my first real attempt at making a professional looking finish. I think there were many things I could have done better but given the limited time I had I think the end result was acceptable.
If you want to read about how this pedal was tested, head on over here: Testing the BYOC Mouse Guitar Pedal.
-i
