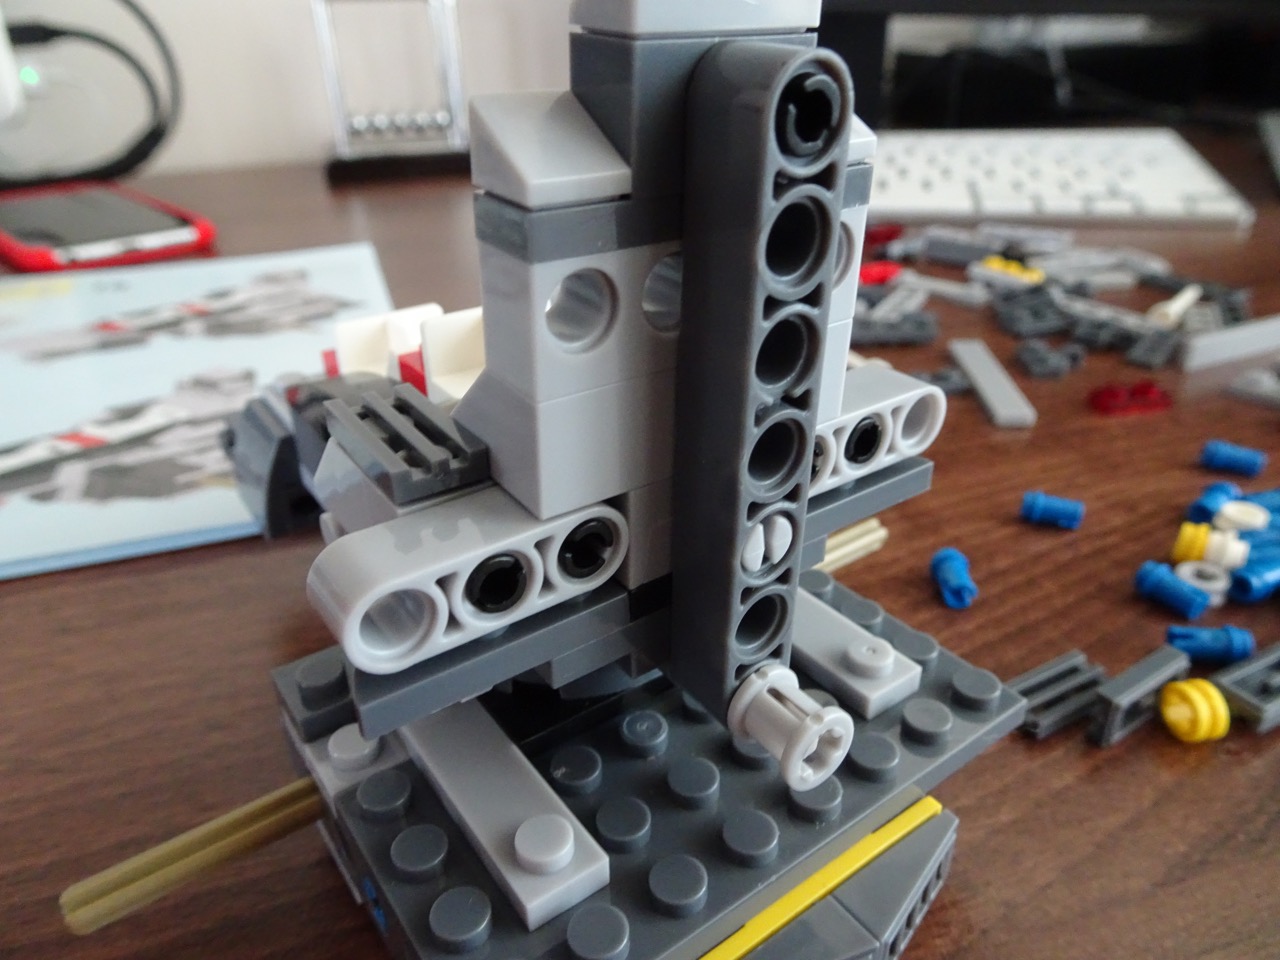
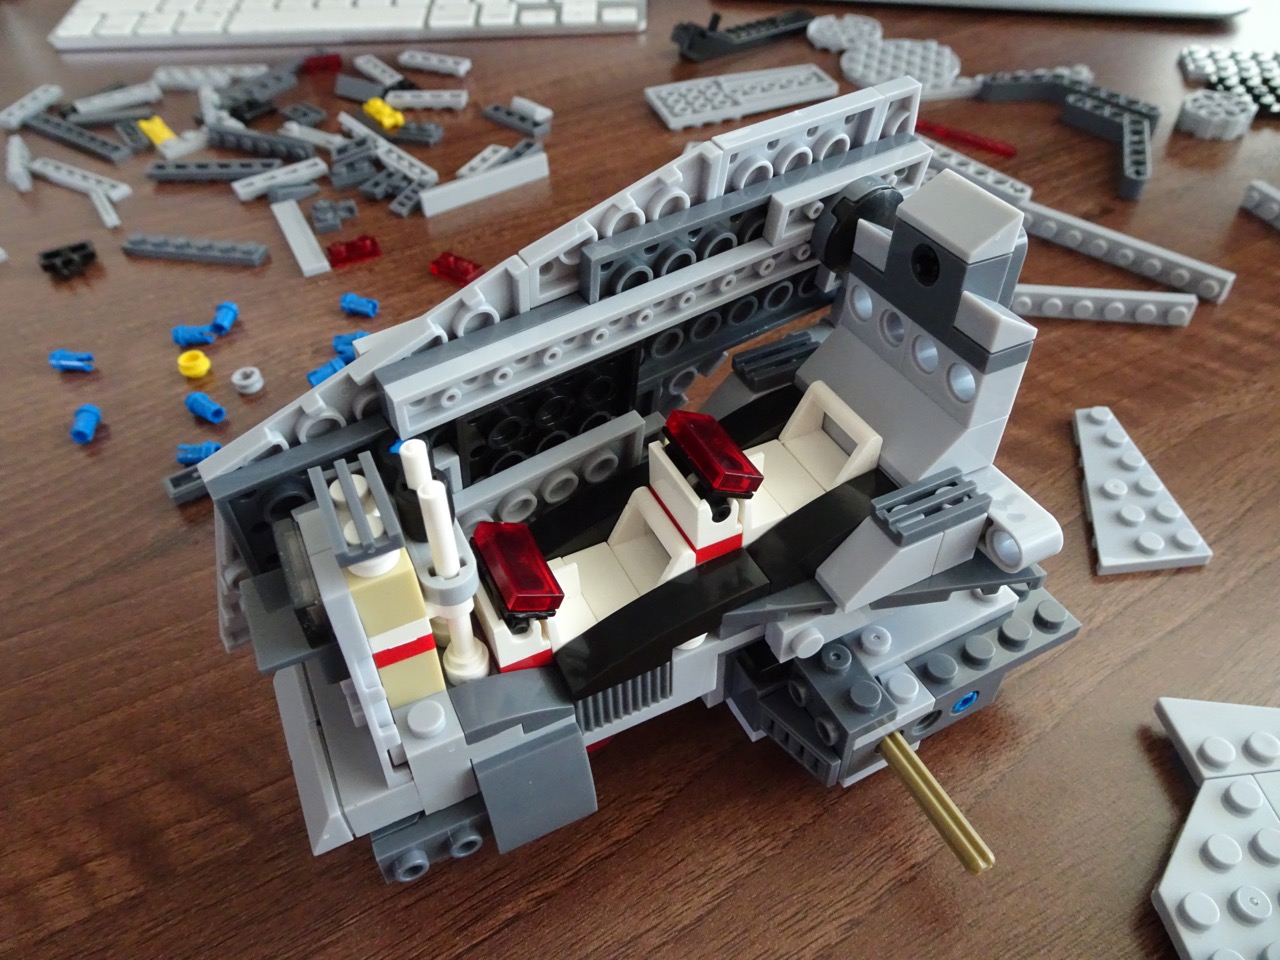
I had some trouble fitting the through-hole connector on the back of the cockpit initially. This was a piece that went through one brick and into the second behind it. I had to swap this piece out for another to make it fit. The next section of the cockpit came together easily and the rotation of the whole top section was nice and smooth around the gear brick it sat on top of.

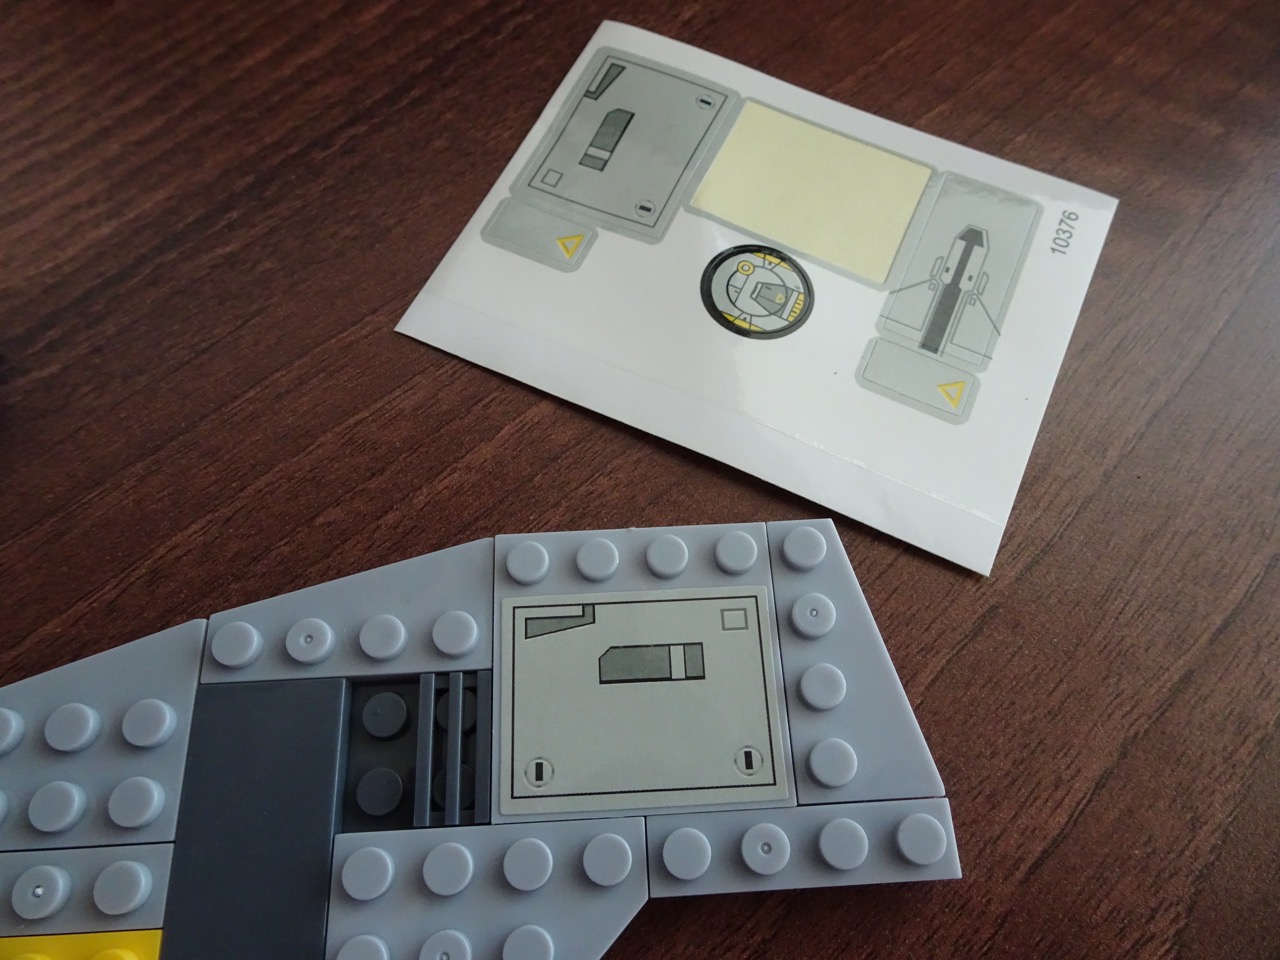
When building the sides I got to the part where stickers were supposed to be applied. I didn't see any stickers in my kit at first (remember no box!), but as I got further into the instruction manual I found them in between some of the pages. The quality of the stickers was quite good.
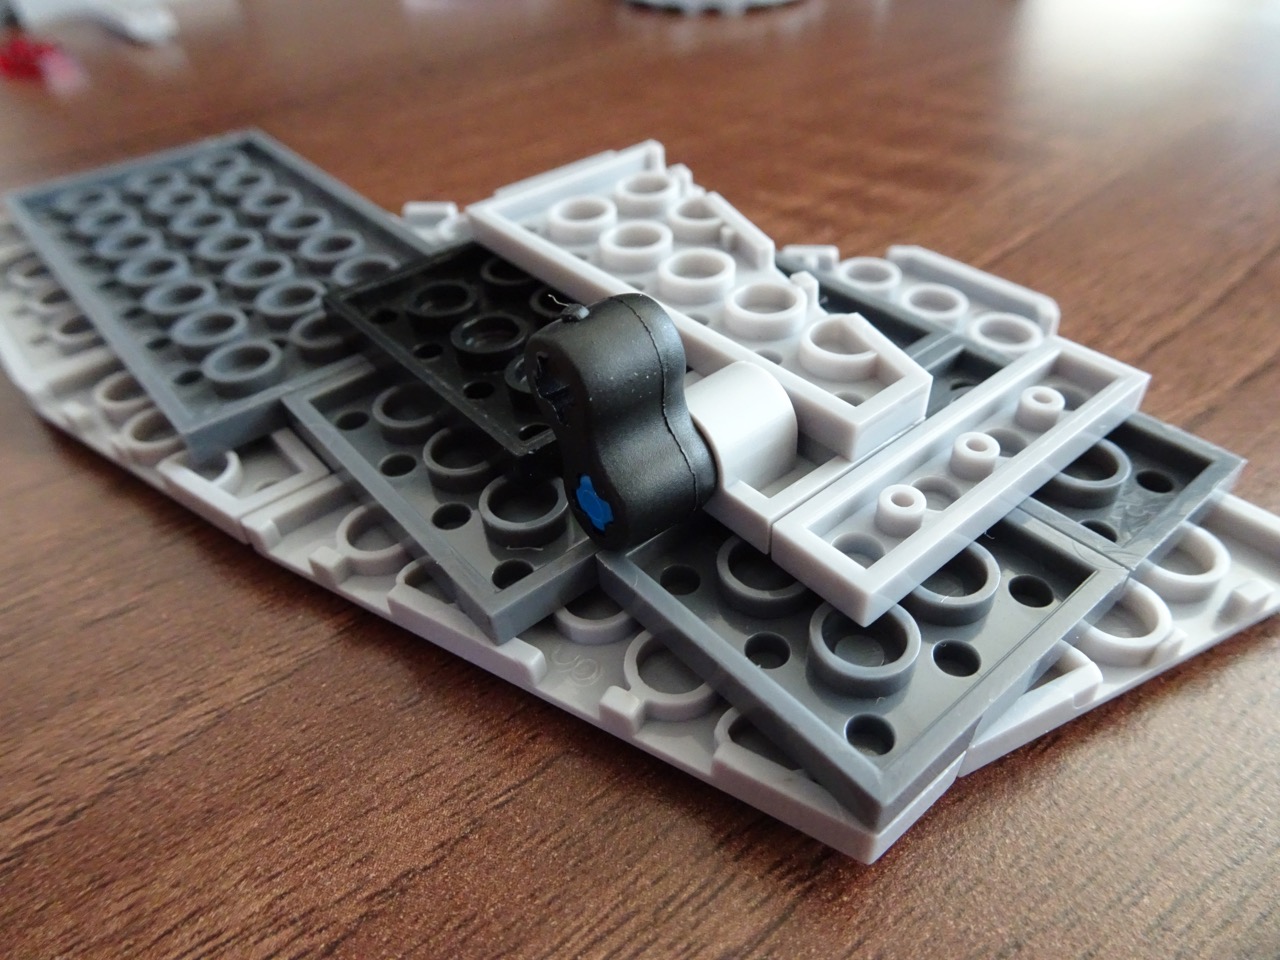
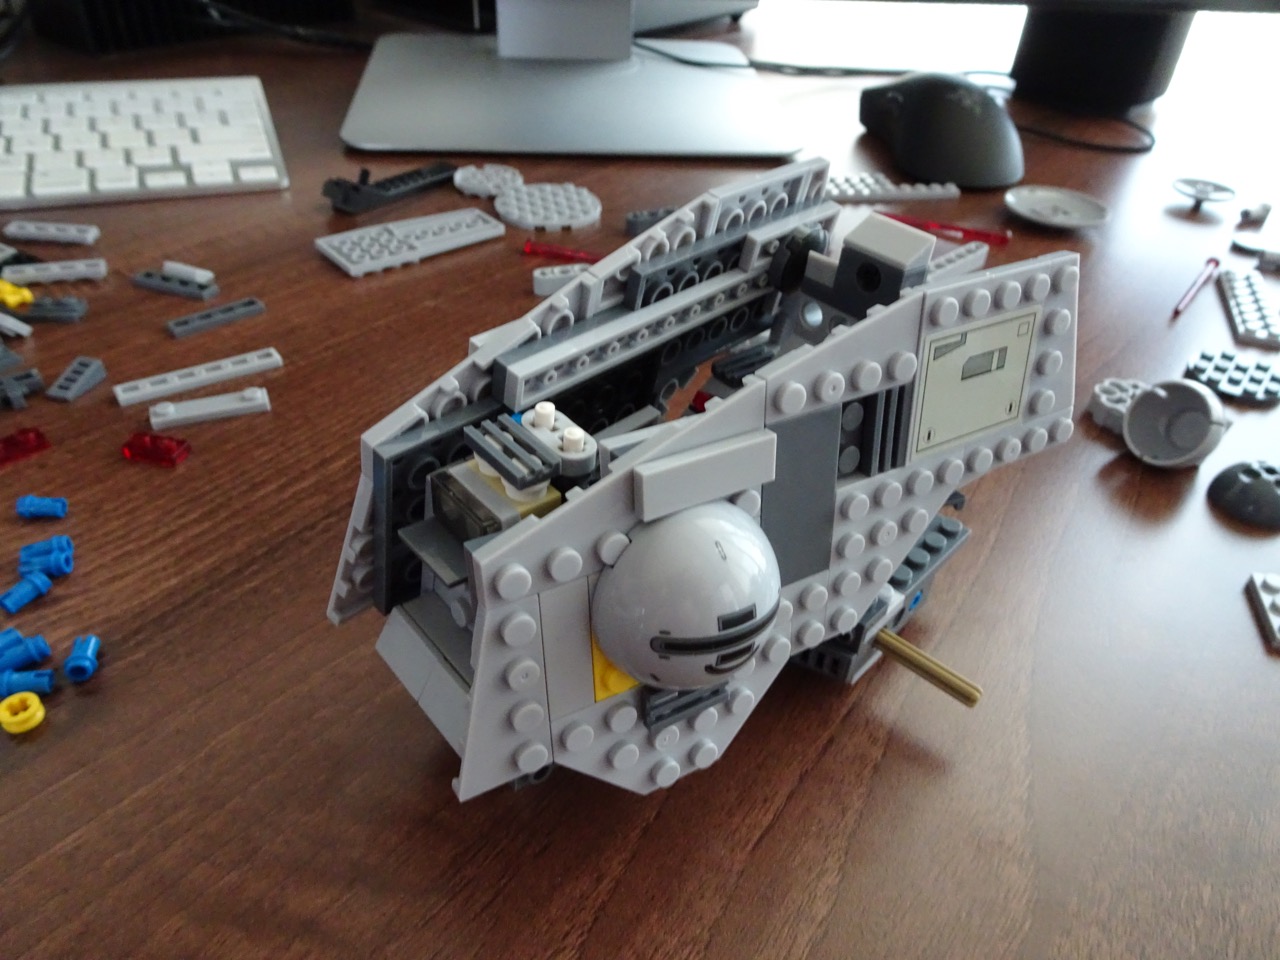
The side section attached to the main body using a single rubber brick. There were obvious mould misalignment marks on that brick but overall it was quite good, stretchy but not fragile. It's not visible so the marks were not a problem at all.
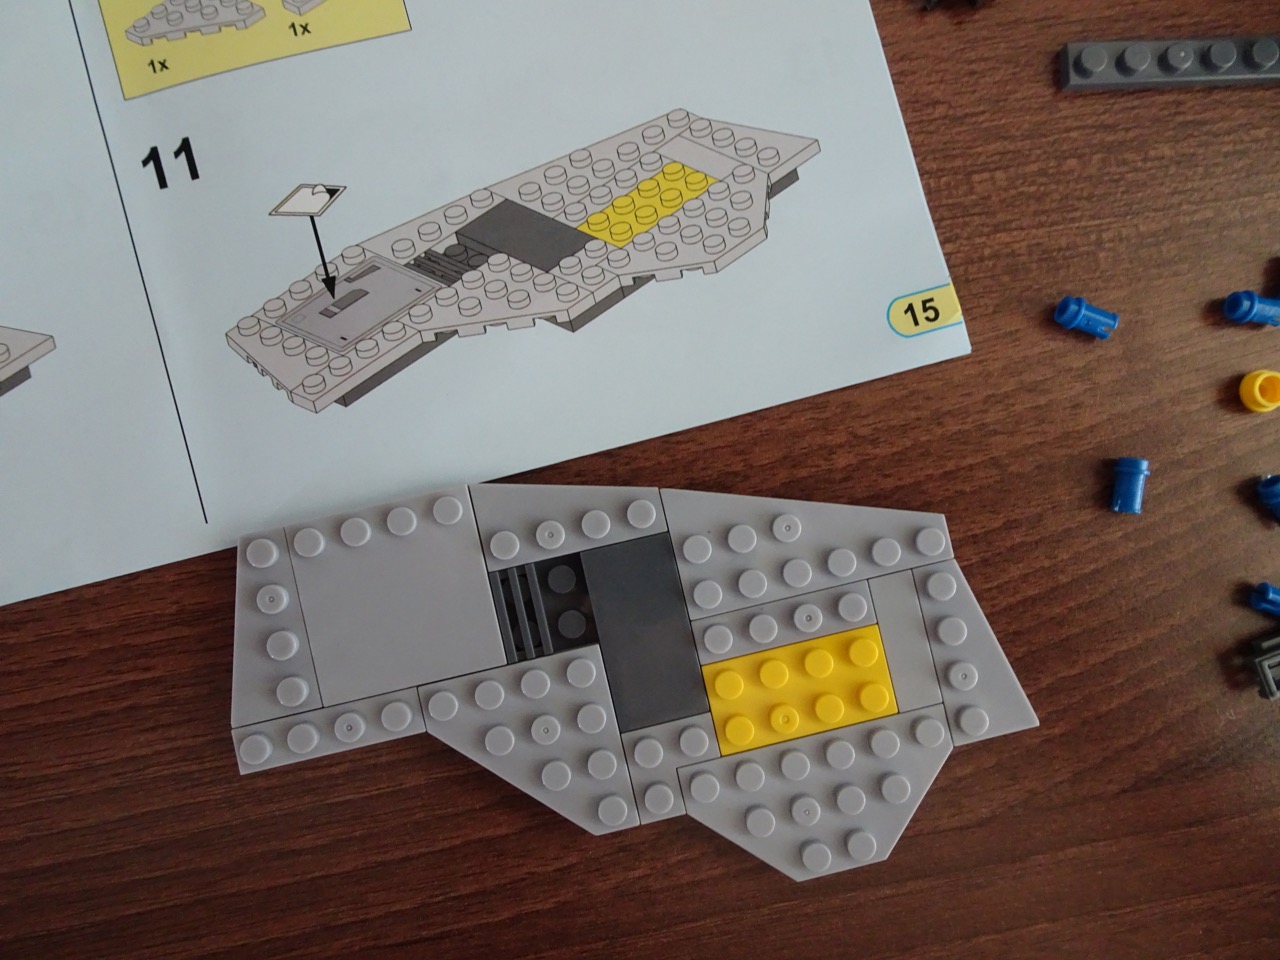
Both of the sides were built and attached.
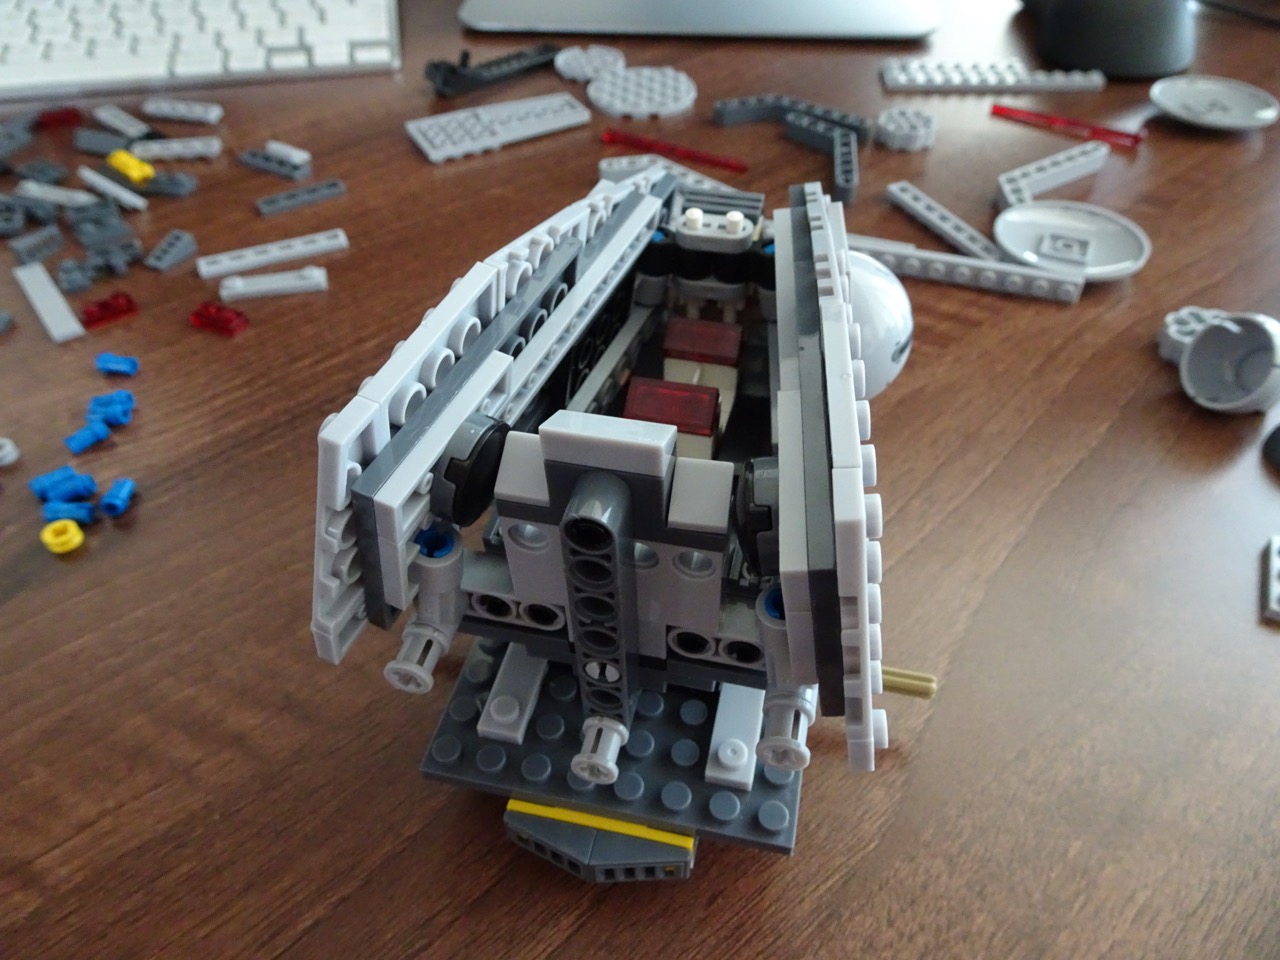
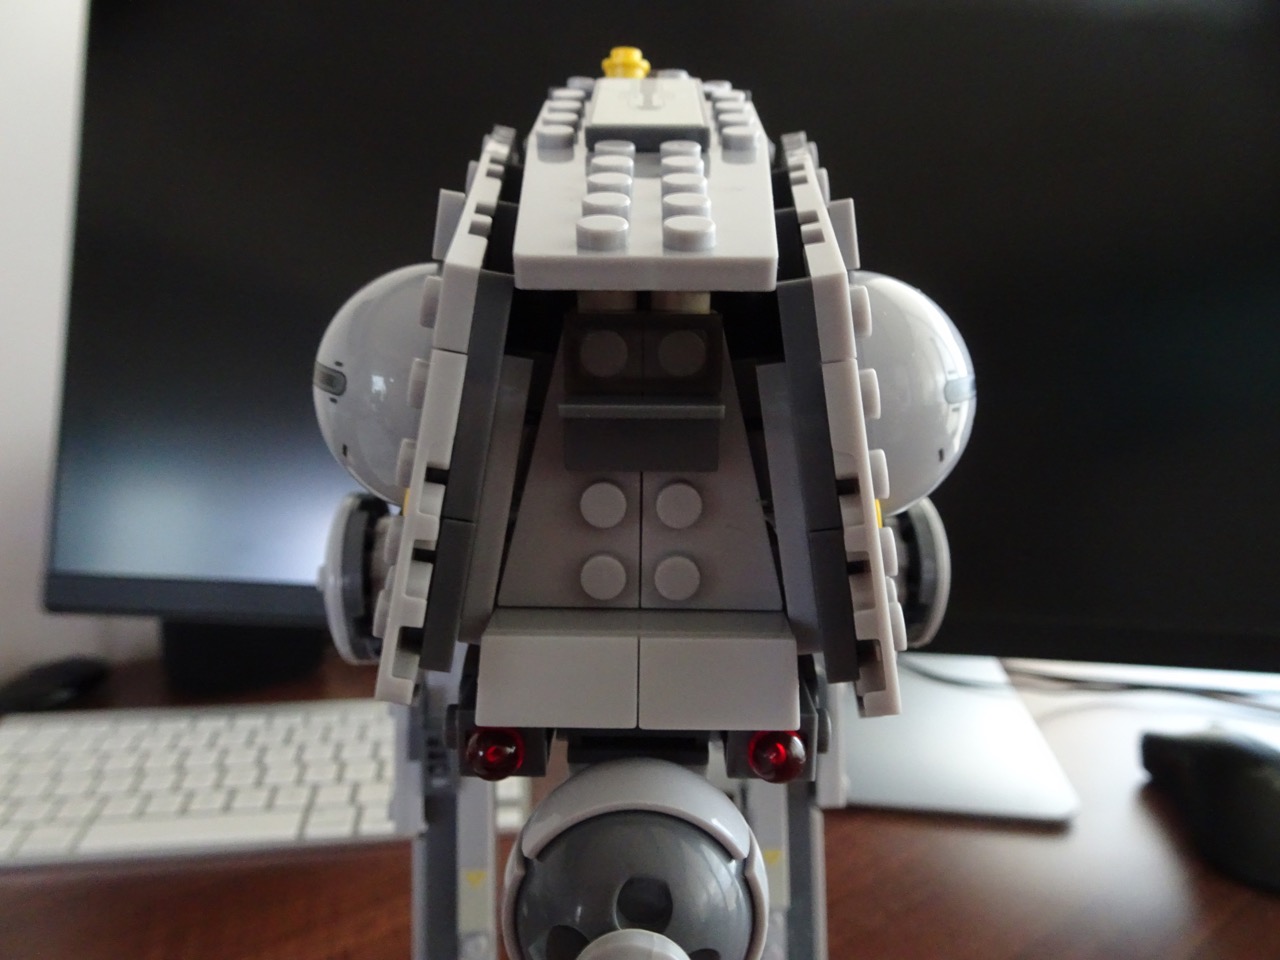
The top section went in next. This section attached at the rear of the cockpit and then flipped over. It could be opened to reveal the inside of the cockpit.

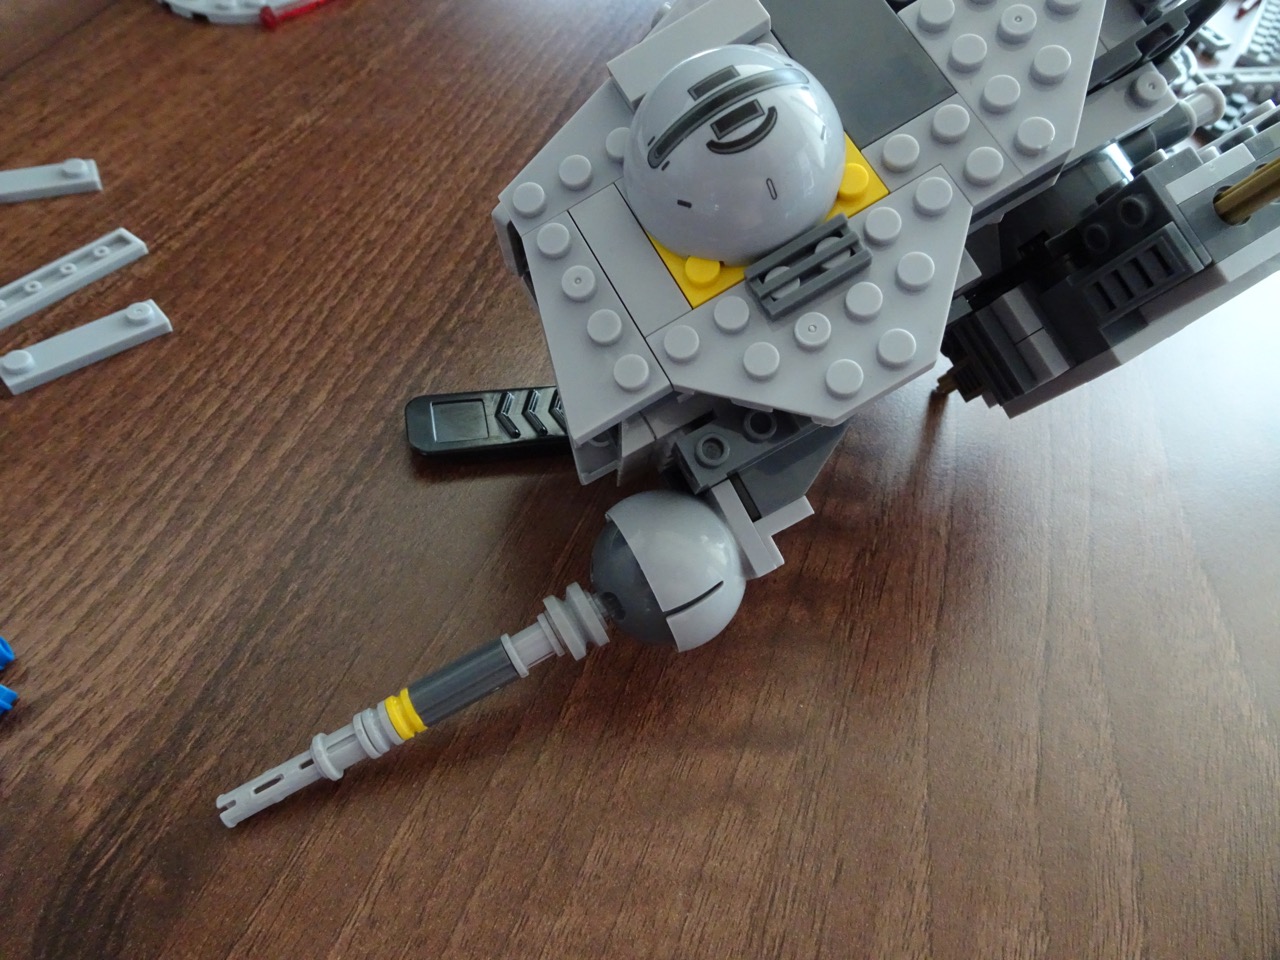
The forward gun was next to be attached. I think that this should have been left as the last section to attach as it kept on coming off all the time when attaching the legs.
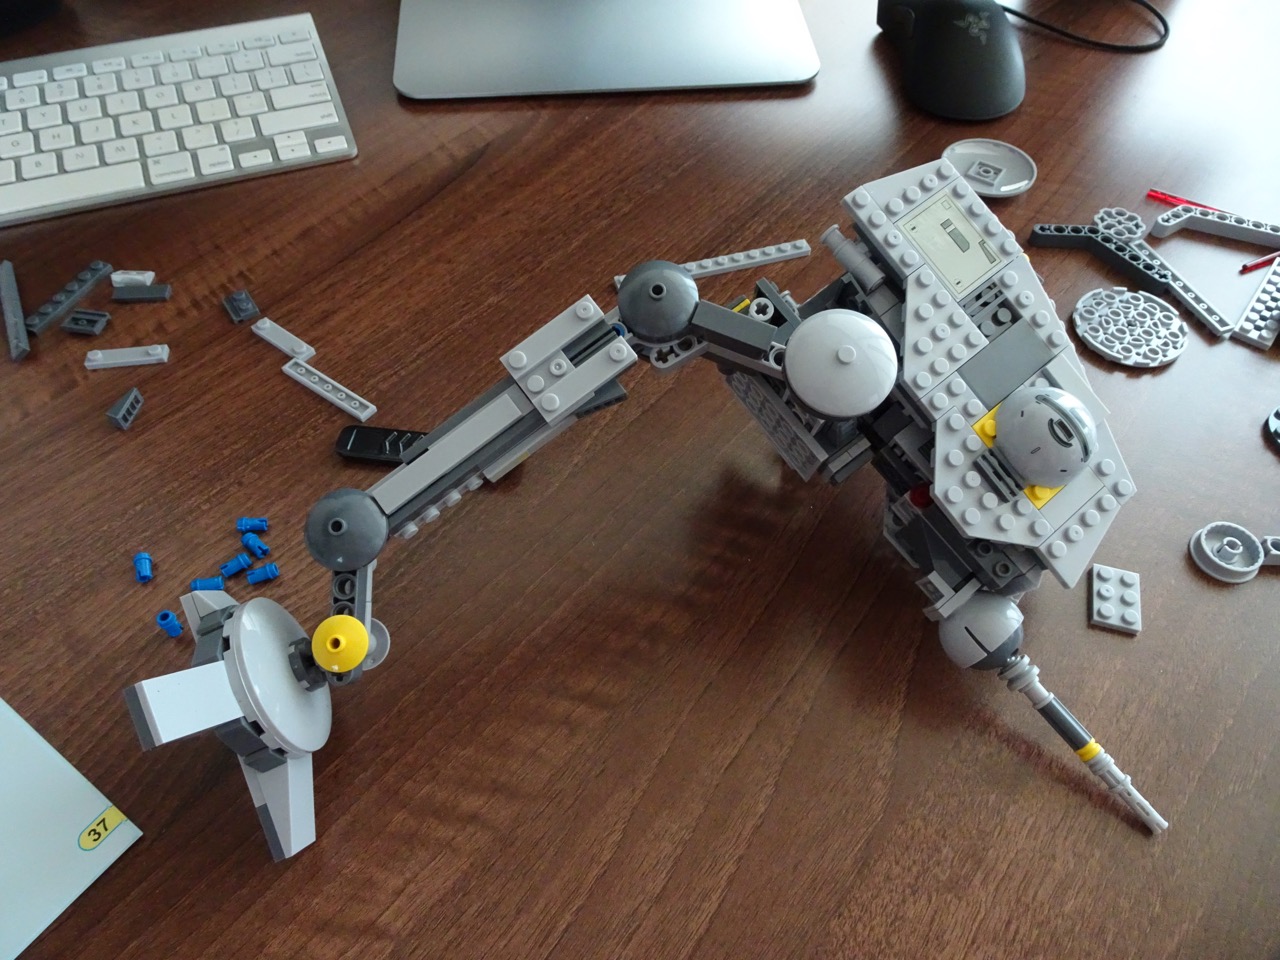
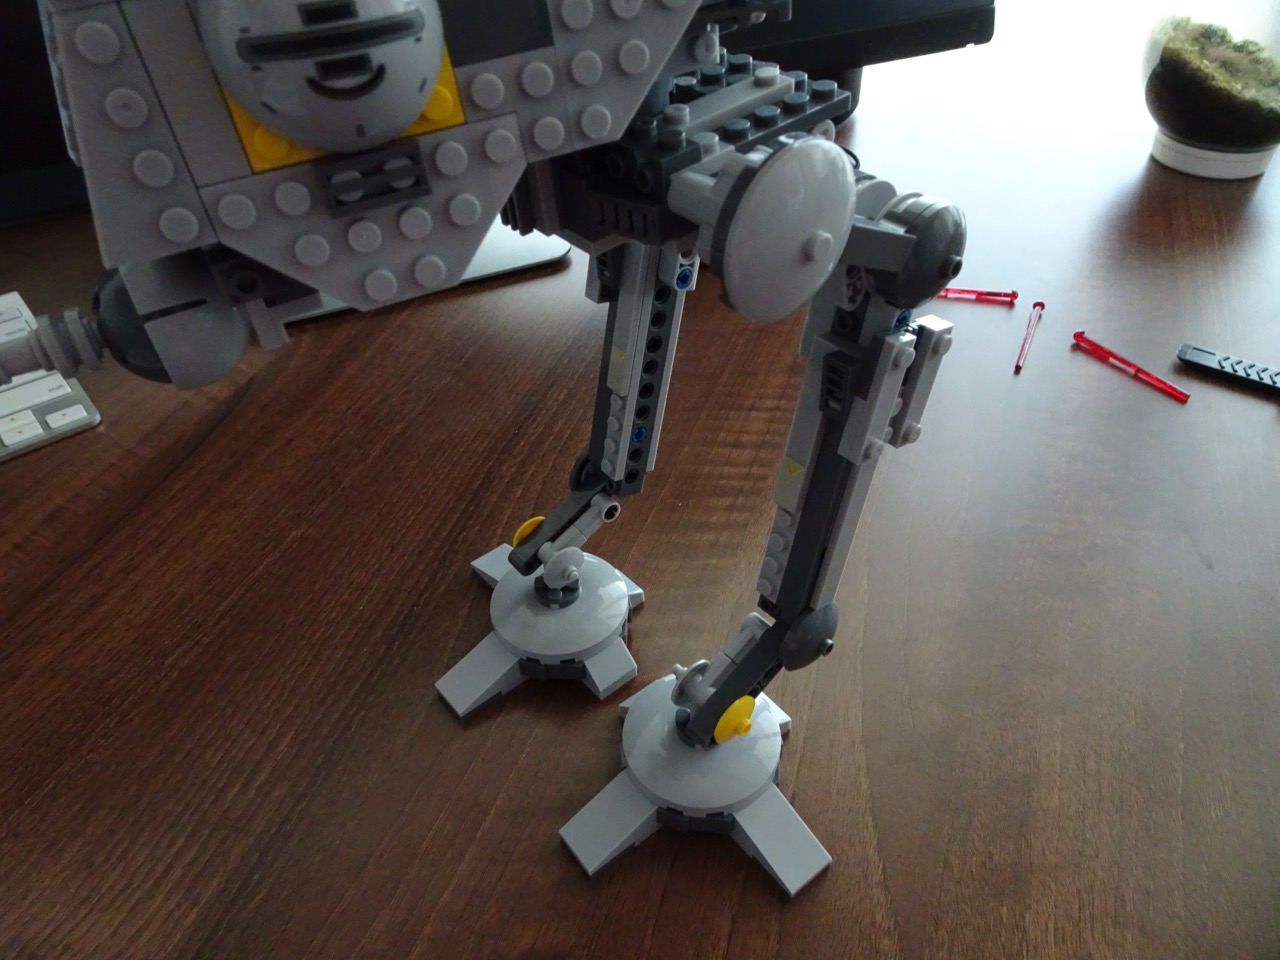
Speaking of legs - these were built in sections. First was the main leg part which contained all the joints and second was the foot part that the first leg part slotted into.

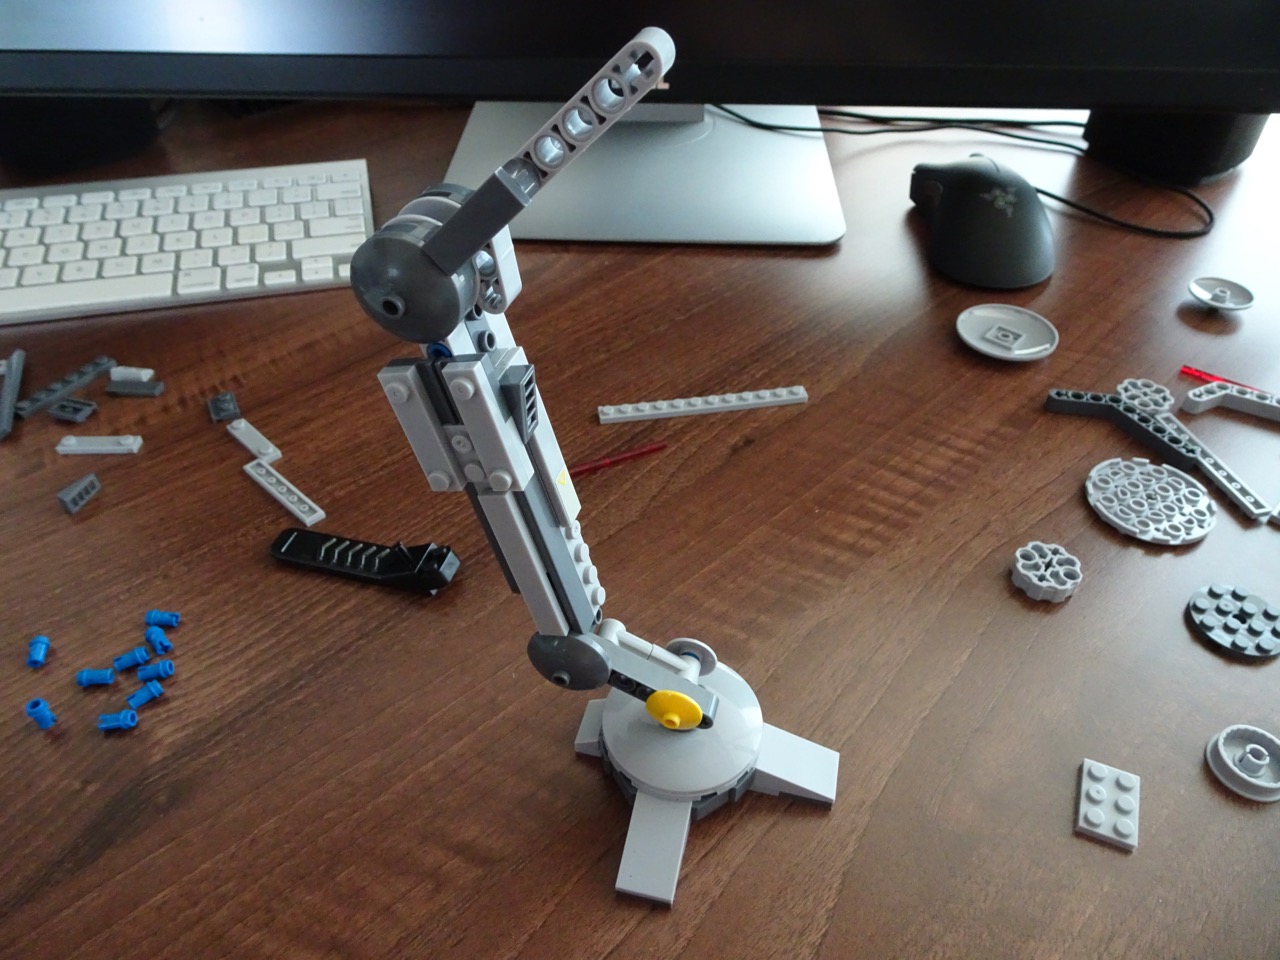
The legs attached to the body in two places, both hidden from view.
The very last bits to go in were the red rods that could be shot out of the front facing lasers. These went off in my hands a few times while loading. They went a fair distance across the room, much like the real launchers on Lego kits.
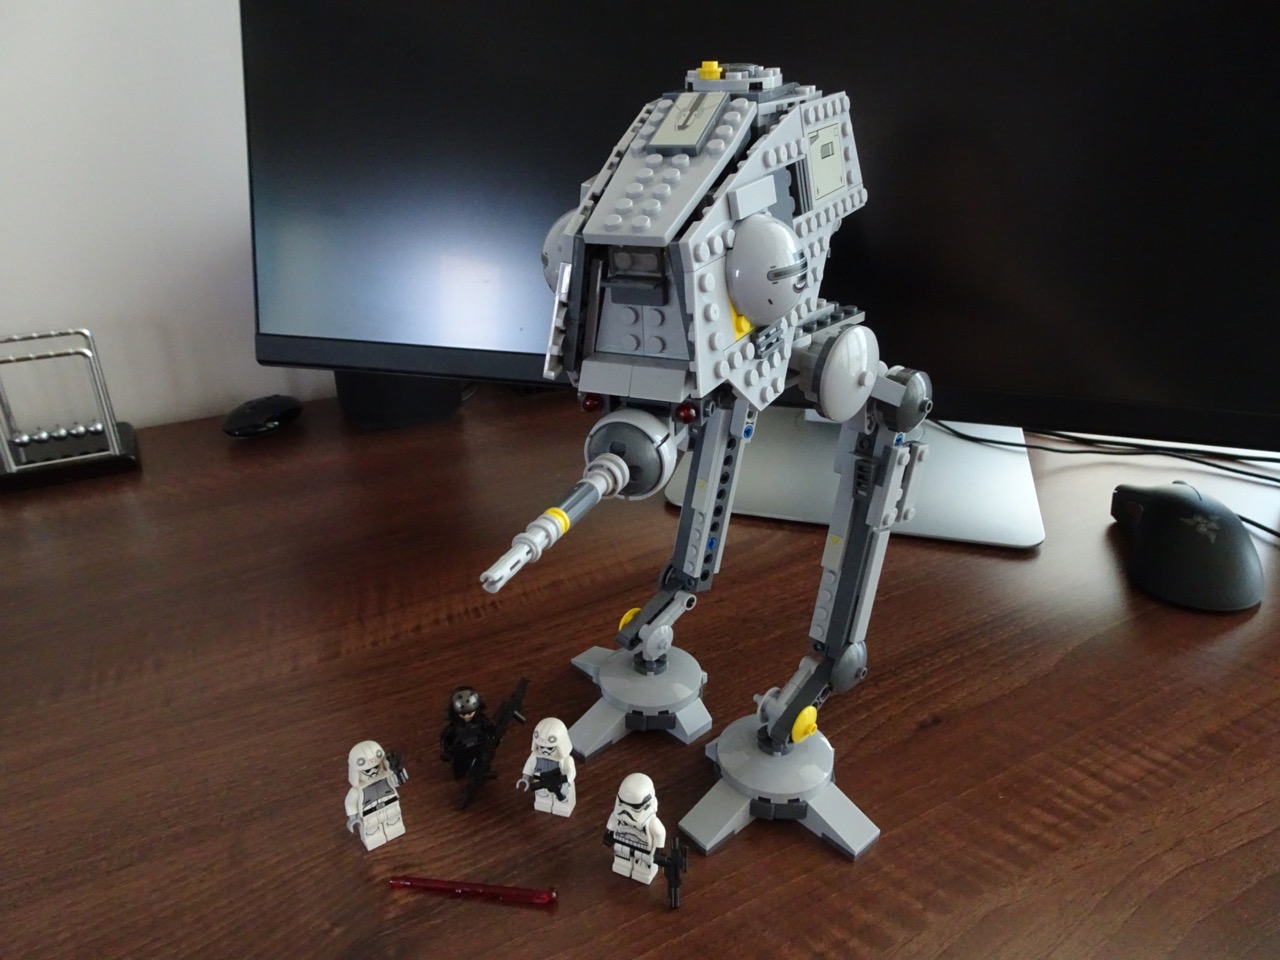
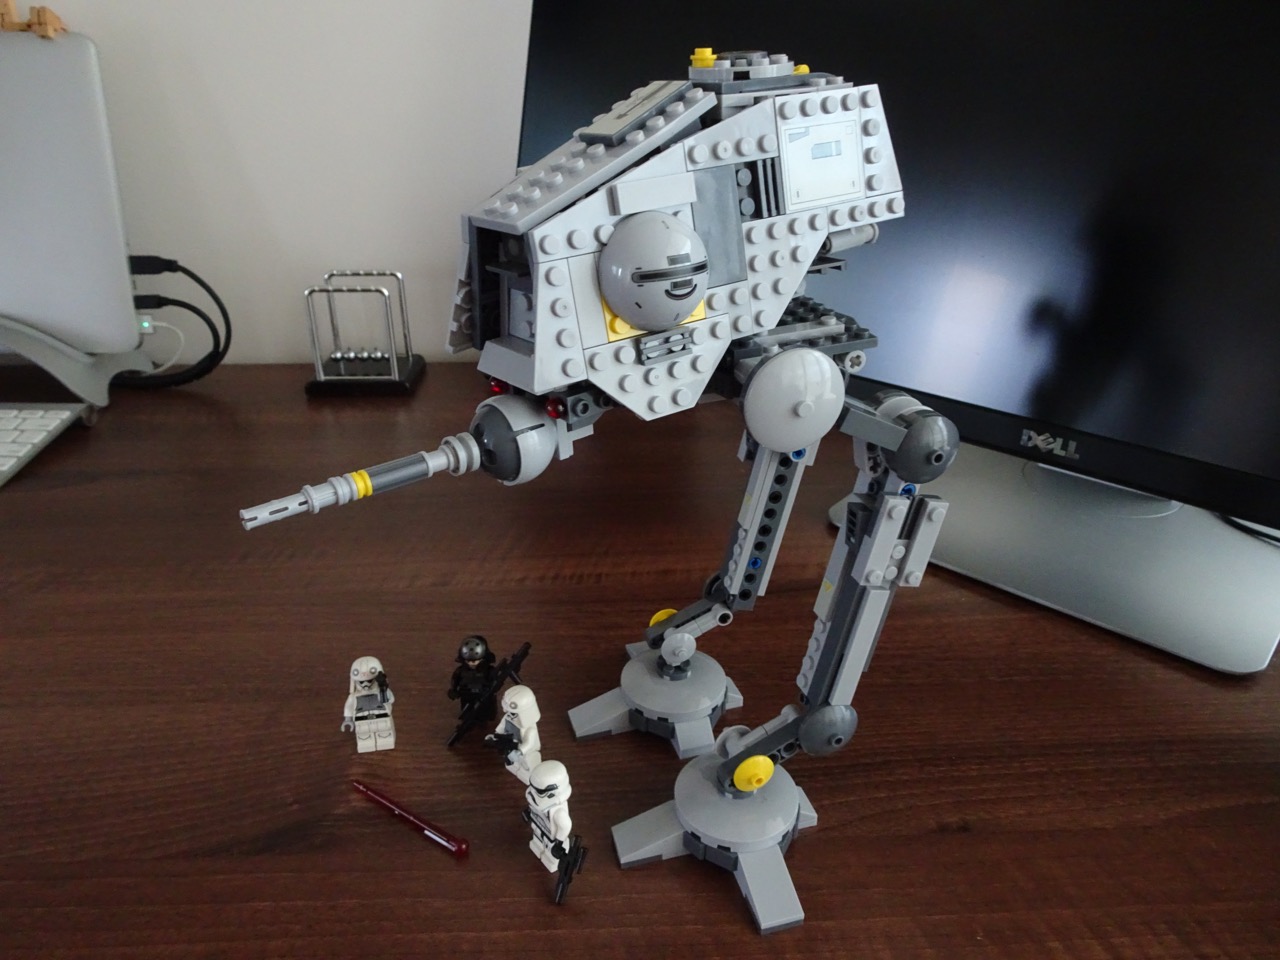
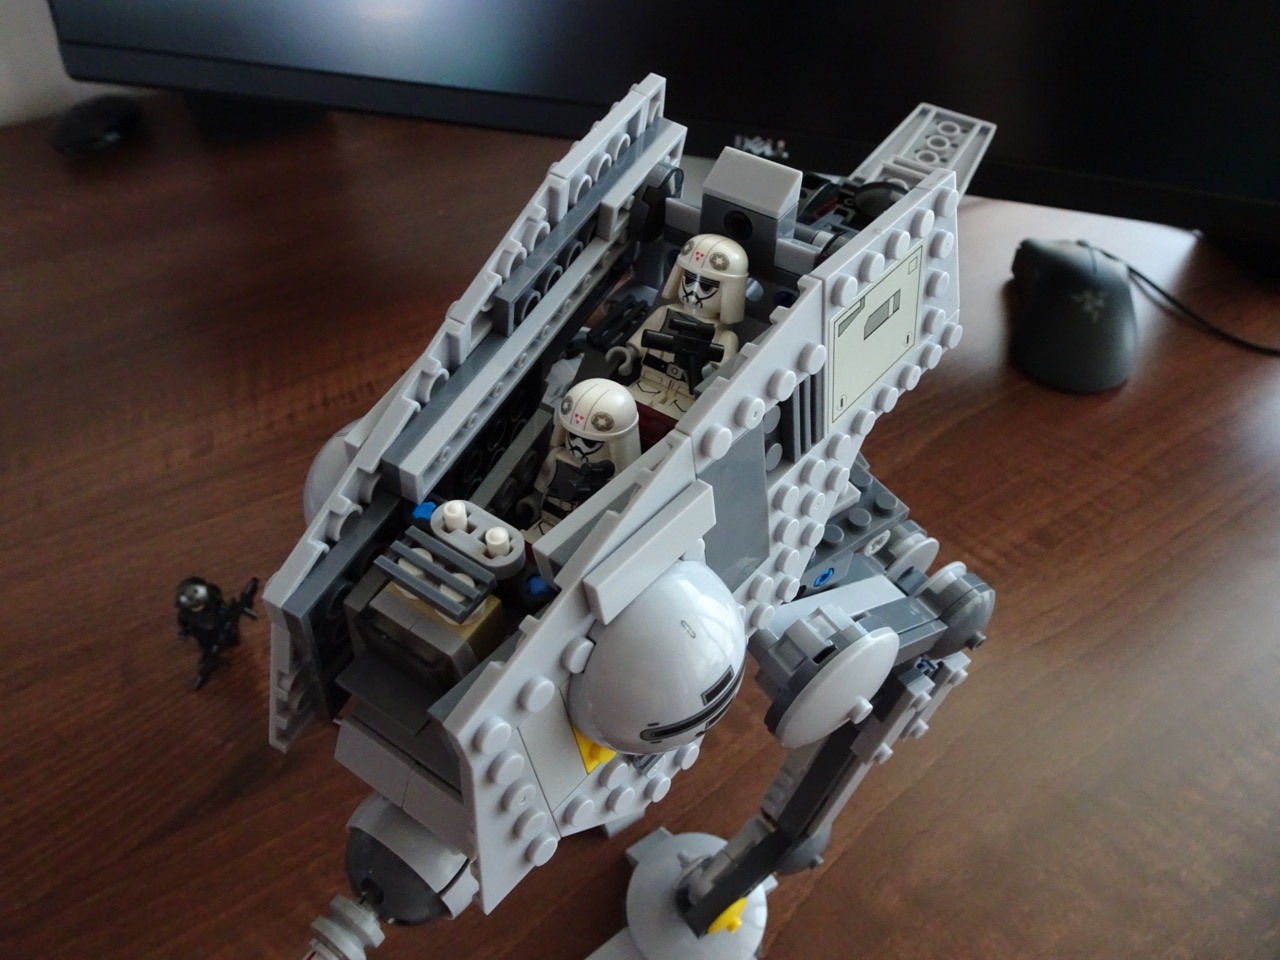
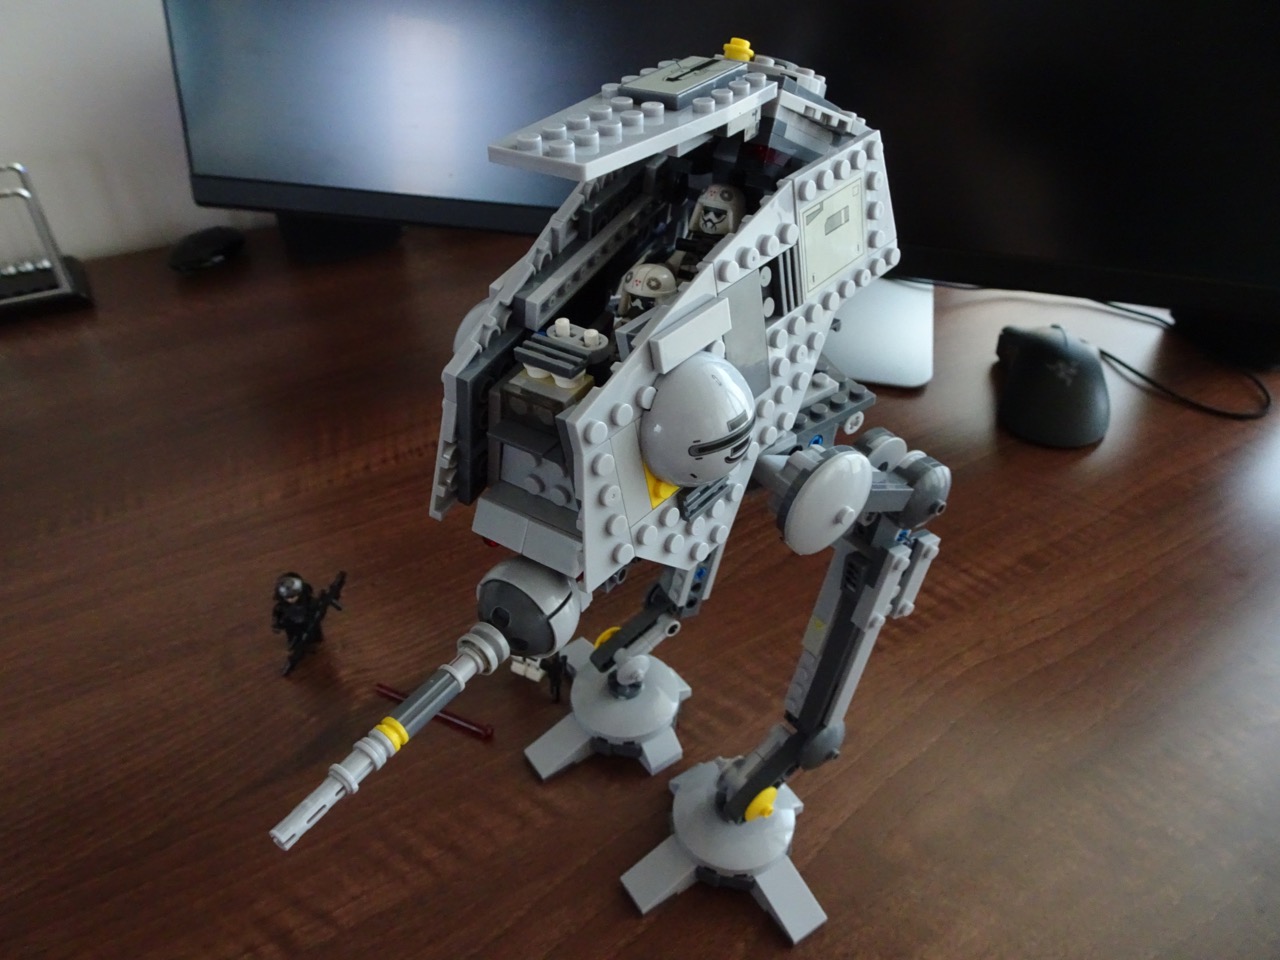
So here it is, all completed with the minifigs around it. I ended up putting some of the minifigs inside the cockpit and had no issues fitting them in. Later on I even managed to squeeze the additional laser rod inside the cockpit with one of the minifigs holding it in its hand.

There were no spare pieces at the end of the build and no pieces were missing either.
This was a fun kit to build, the quality was acceptable and it cost just a fraction of the real kit's price. If you're interested in getting this kit, you can purchase it here: 2016 Legeod Star Wars AT-DP. I'd still encourage to purchase real Lego, but as one of the readers pointed out some are just impossible to get as they are out of production and these fakes make for a good alternative.
-i
