This was the extract from the email that Velvet sent out...
We would like to open with thanking you for making the small investment in buying one of our hotshots and giving our new technology and service a chance.
Unfortunately, we are sending this email to give you some bad news. To put it simply, we made a mistake by launching too early. While we were technically ready, we weren’t ready commercially, and because of this we haven’t been able to deliver you the value we hoped to deliver you. This disappoints us, as we’re sure it disappoints you.
...
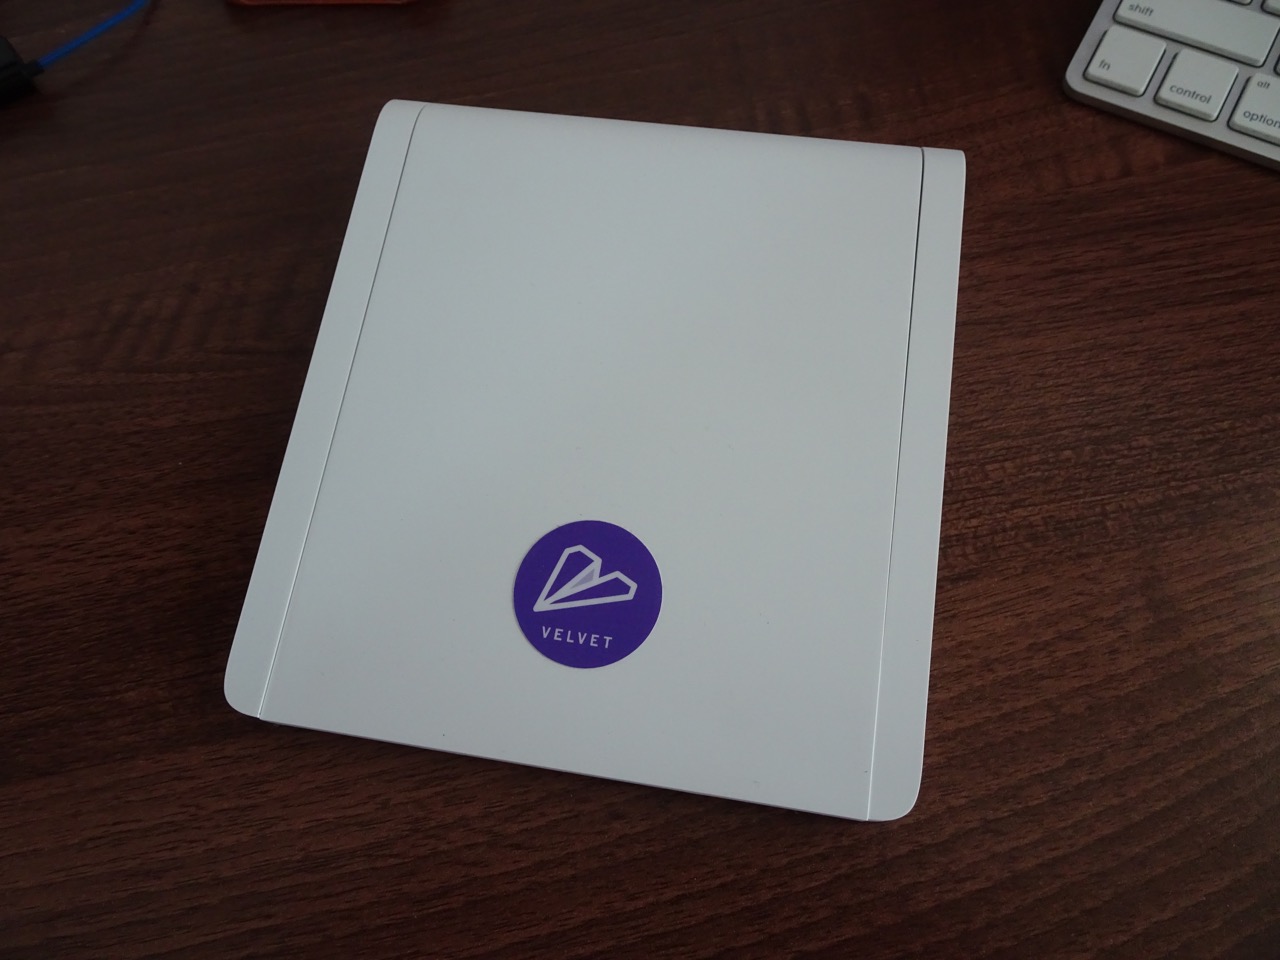
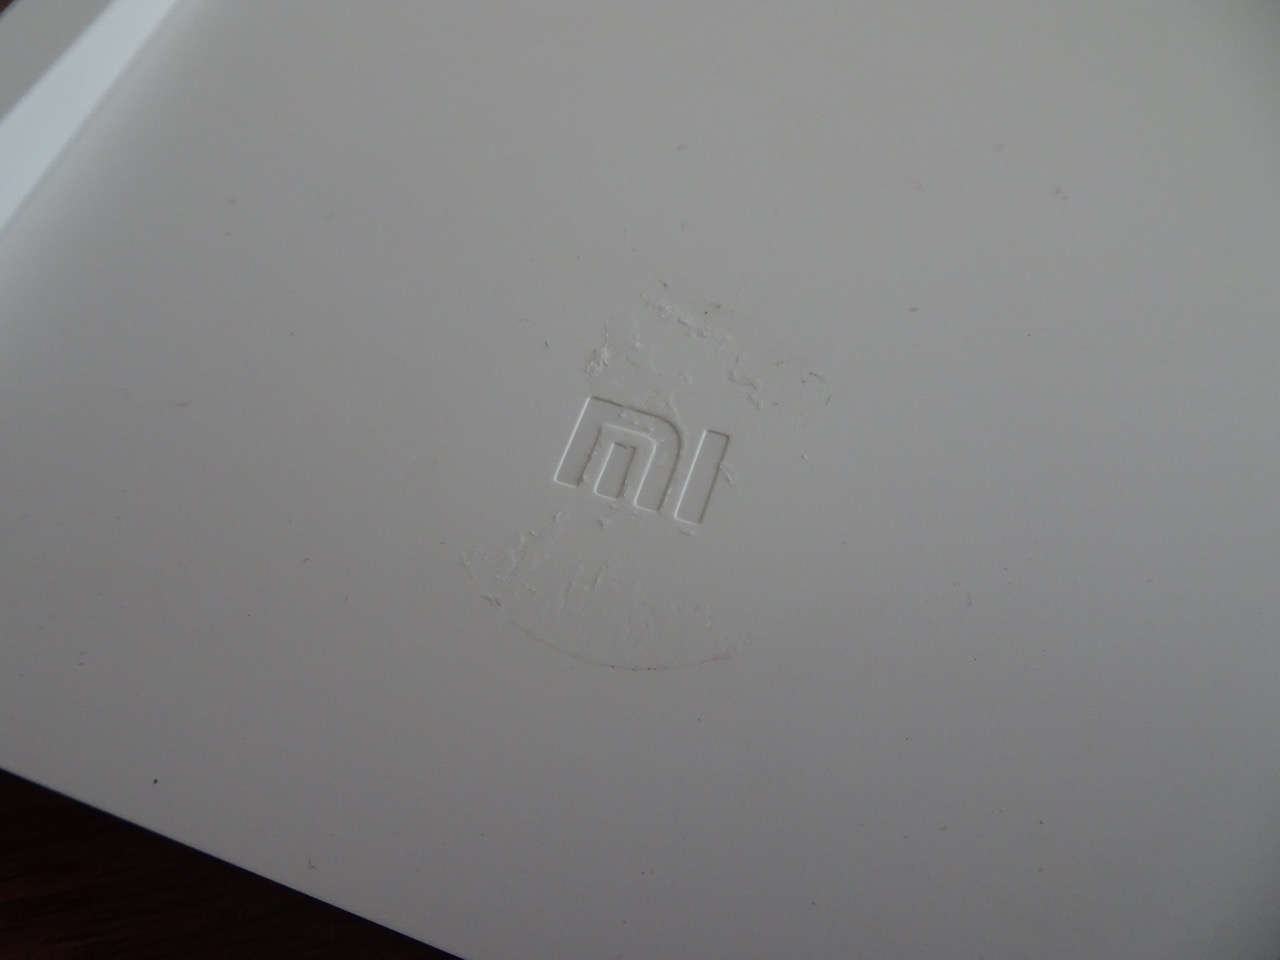
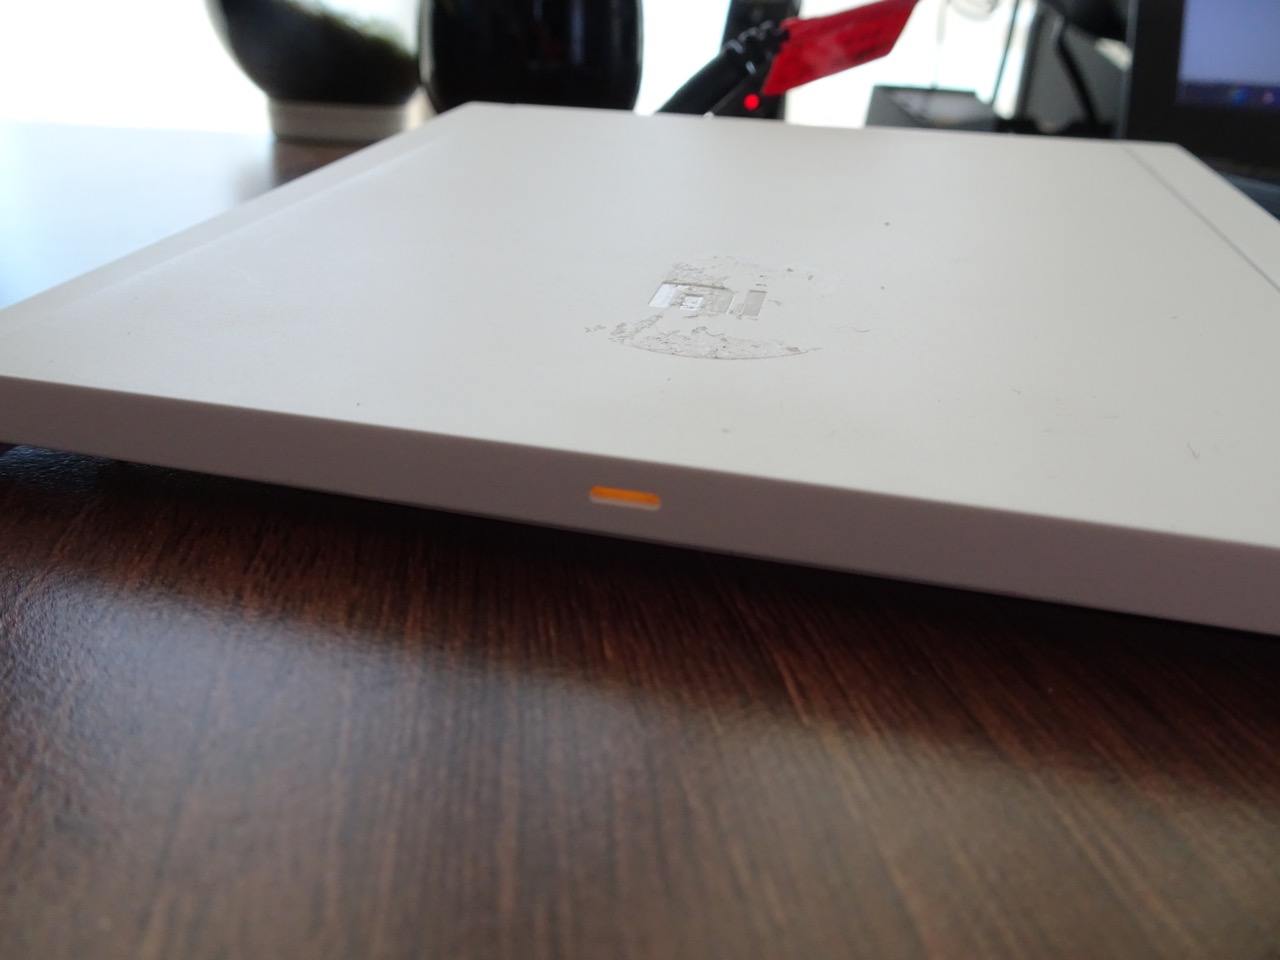
First I had to go digging around to find out the make and model of the router, turns out it was a MiWiFi mini. The Velvet sticker covered up the MiWiFi logo, but there was also some signage on the bottom that had this information (though it was small and hard to read).
I found the router's details on the OpenWRT supported device page since that's what Velvet mentioned in the first place. That page had a couple of interesting links to various forums (which had links to other forums and posts) that basically said that OpenWRT didn't work well on this device in terms of the quality of the WiFi signal.
After doing quite a large amount of reading of all those forums and other sites I came to the conclusion that LEDE project was the best option to use with this device. So I went ahead and downloaded the latest LEDE sysupgrade image and that bricked my device, but fortunately using a slightly older image from the German mirror site worked. Just shows that the latest is not always the best.
I also went over to this thread to download the 2.1.6 factory image for the router.
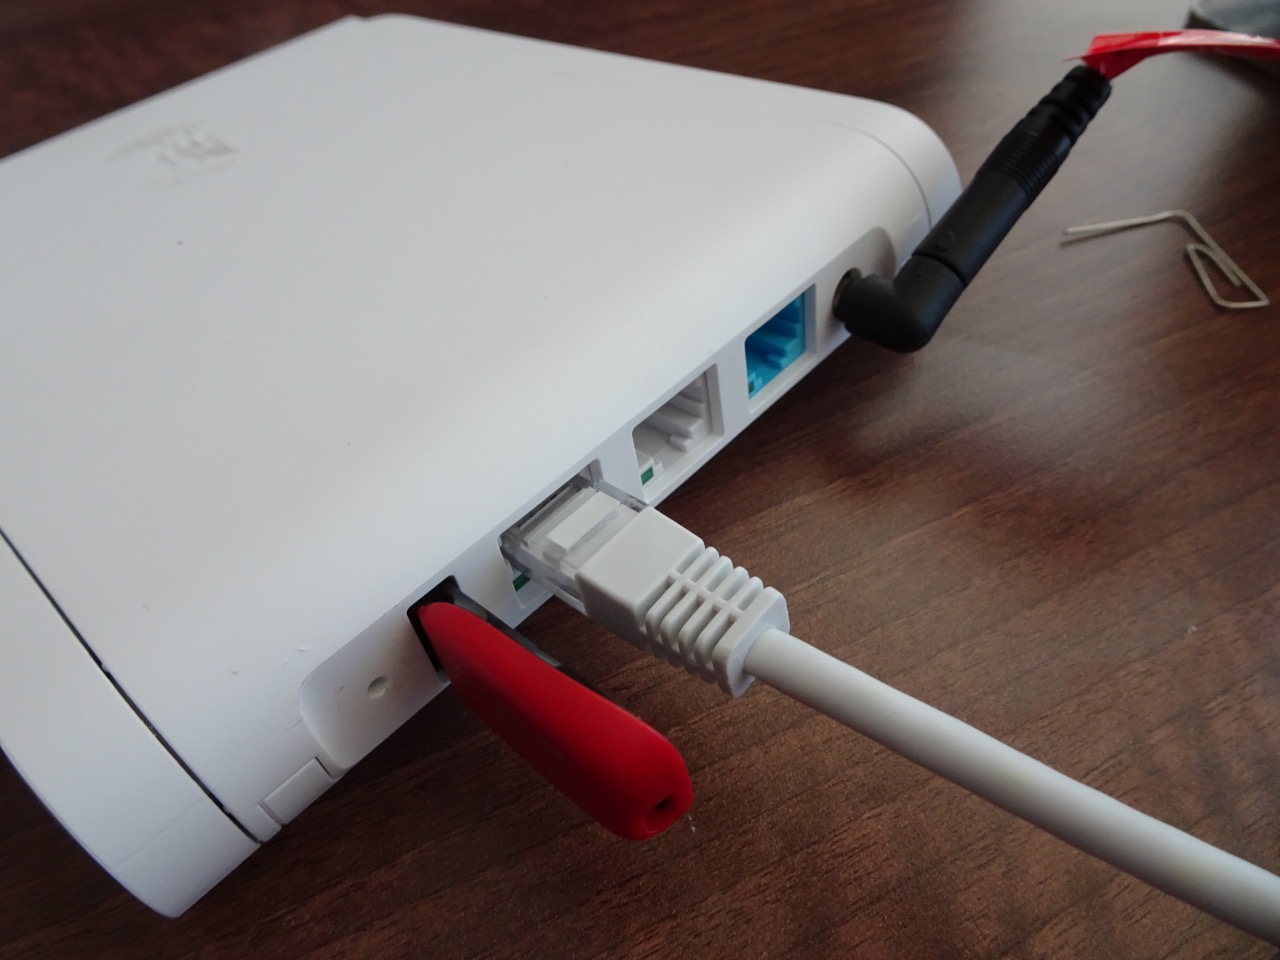
Both of the above files were copied to a USB stick (formatted using the FAT file system and MBR for the boot record type). The 2.1.6 firmware was renamed to 'miwifi.bin'. Now the fun could begin.
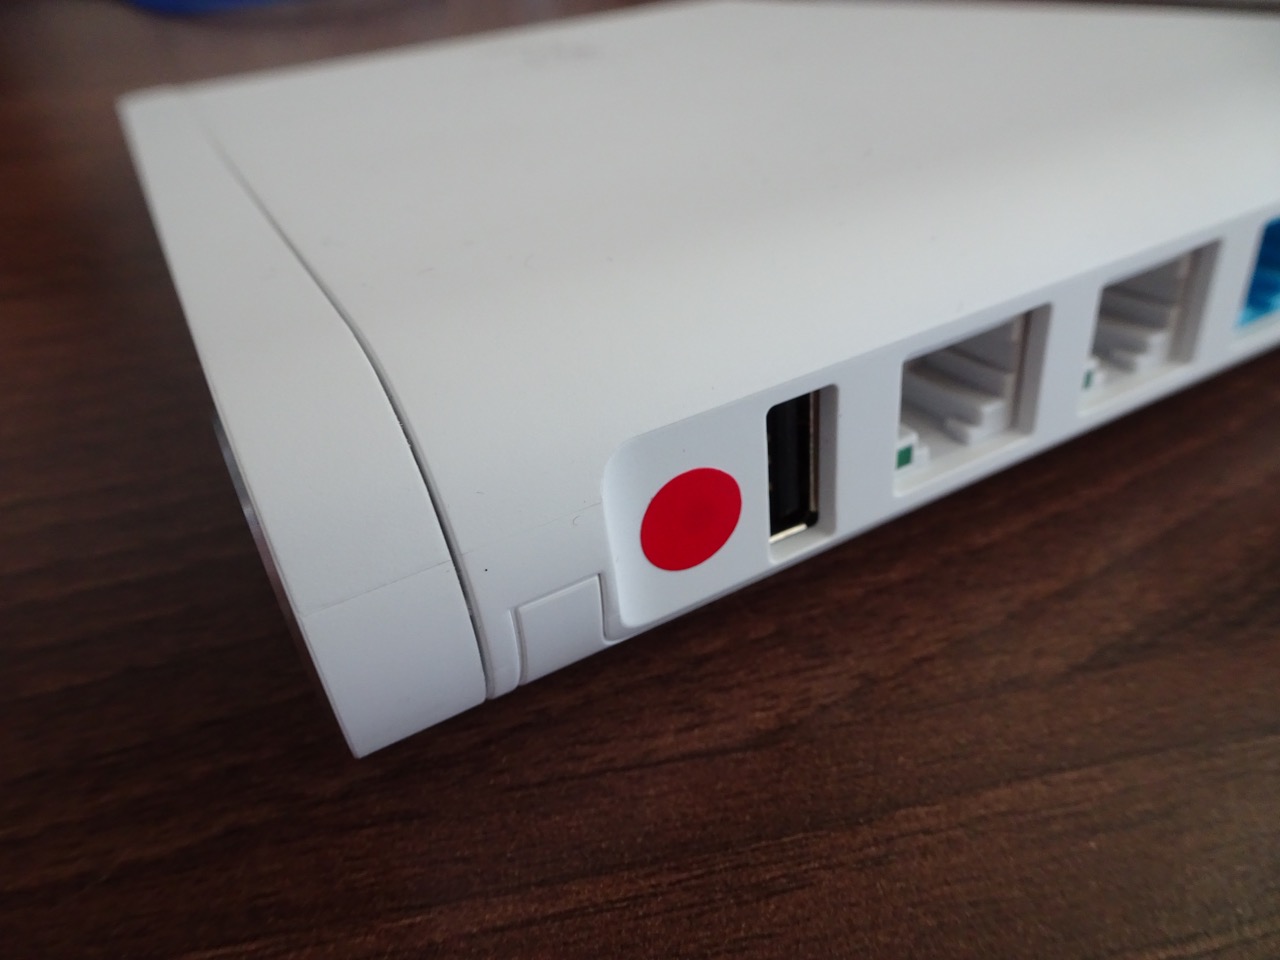
My router had its reset button covered by a red sticker, it was just a matter of peeling it off. To press the button I used a straightened out paper clip.

To start flashing process I plugged in the USB stick into the router, connected a network cable (which was connected to my laptop on the other side) and then while holding down the reset button I plugged the power in.
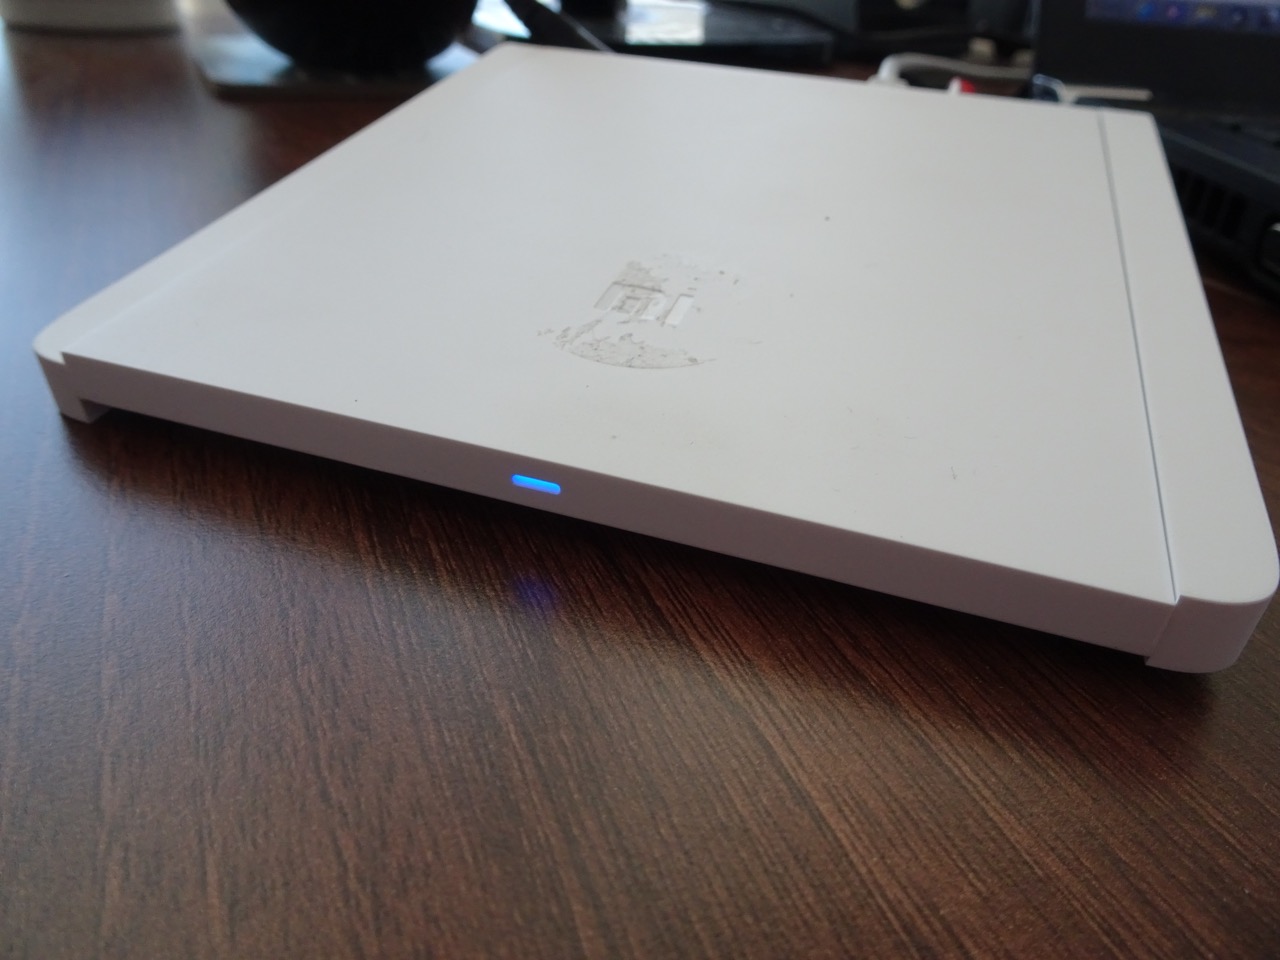
The router's light flashed orange while it was flashing the firmware to the factory image. After a while the light briefly turned blue before turning a solid yellow again. At this point the device didn't have Velvet's custom firmware any more.
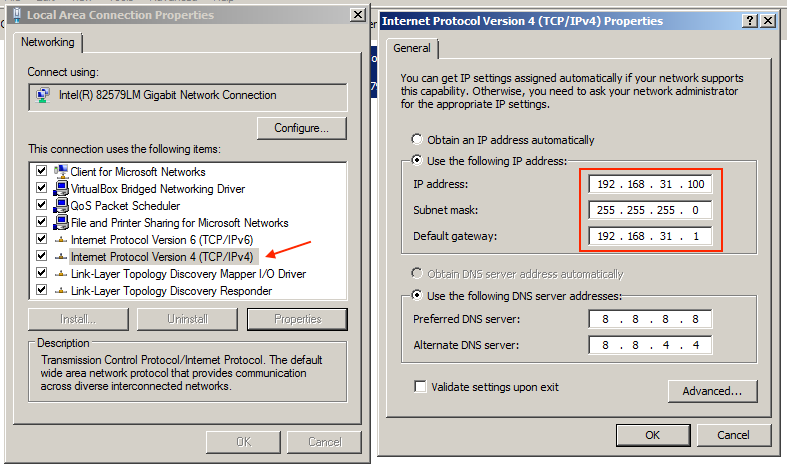
The next step was to set my network controller on the laptop to a static IP of 192.168.31.100 and the gateway to
192.168.31.1 using the 255.255.255.0 mask. The DNS settings didn't really matter but I put Google's DNS servers in anyway.
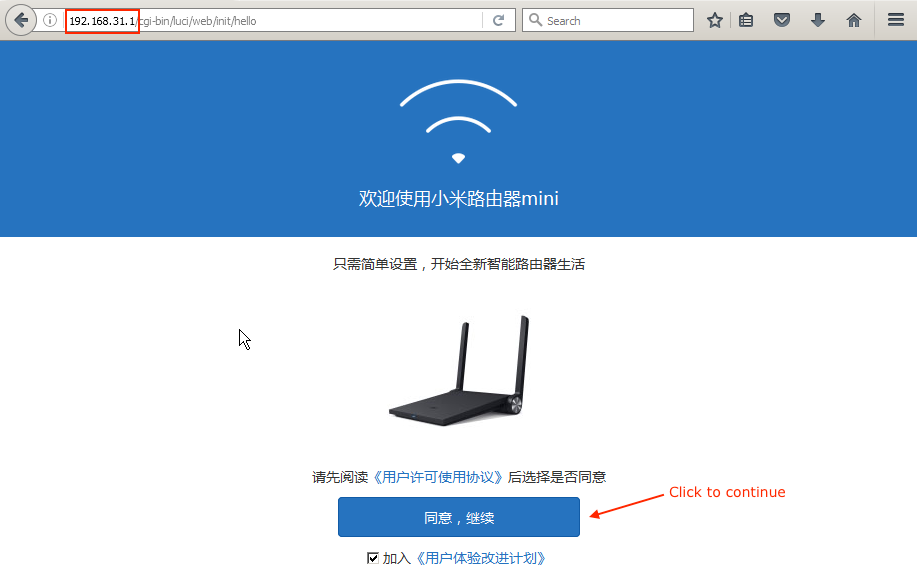
Then it was a matter of pointing my web browser to http://192.168.31.1. The page that came up was in a language I could not read, clicking the blue button took me to the next page which had further information necessary to continue.
The next page that came up had the 'stok' value in its address, in my case it was stok=2d1cedf845c4b863f60852d34cbaeccf. That value was important for the next two steps as outlined on the OpenWrt page for this router.
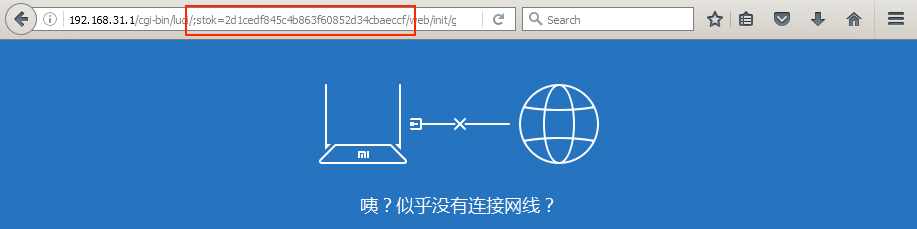
Using the value of that 'stok' parameter, I opened the following URL in the web browser: http://192.168.31.1/cgi-bin/luci/;stok=2d1cedf845c4b863f60852d34cbaeccf/api/xqnetwork/set_wifi_ap?ssid=whatever&encryption=NONE&enctype=NONE&channel=1%3B%2Fusr%2Fsbin%2Ftelnetd. Note how the value for 'stok' matched the previous address. Doing this gave an error page, but it actually started the Telnet server in the background by exploiting a bug in the factory firmware.
Response message
{"msg":"???????WiFi(Probe timeout)","code":1616}

Then I opened the following URL (again the 'stok' value was updated to match): http://192.168.31.1/cgi-bin/luci/;stok=2d1cedf845c4b863f60852d34cbaeccf/api/xqsystem/set_name_password?oldPwd=admin&newPwd=admin. What that did was to set the login password to 'admin'. The page that came up for that was just a simple response without any error.
Response page
{"code":0}

Now I was finally up to the step where I could install LEDE into the router's firmware. This was done by running 'telnet 192.168.31.1' from the command prompt (Windows key-R, then cmd.exe) and connecting as 'root' with the password 'admin'.
After logging in I ran this command to install LEDE: mtd -r write /extdisks/sda1/lede-17.01-snapshot-r3007-b850218-
ramips-mt7620-miwifi-mini-squashfs-sysupgrade.bin OS1

Telnet output
XiaoQiang login: root
Password:
BusyBox v1.19.4 (2015-03-20 10:08:59 CST) built-in shell (ash)
Enter 'help' for a list of built-in commands.
-----------------------------------------------------
Welcome to XiaoQiang!
-----------------------------------------------------
[email protected]:~# mtd -r write /extdisks/sda1/lede-17.01-snapshot-r3007-b850218-
ramips-mt7620-miwifi-mini-squashfs-sysupgrade.bin OS1
Unlocking OS1 ...
Writing from /extdisks/sda1/lede-17.01-snapshot-r3007-b850218-ramips-mt7620-miwi
fi-mini-squashfs-sysupgrade.bin to OS1 ...
Rebooting ...
At this point the router had the default LEDE configuration. The next part covers the changes I made to this configuration and talks about the router's performance as a 802.11ac access point. Read part 2 for the rest of installation details.
-i
