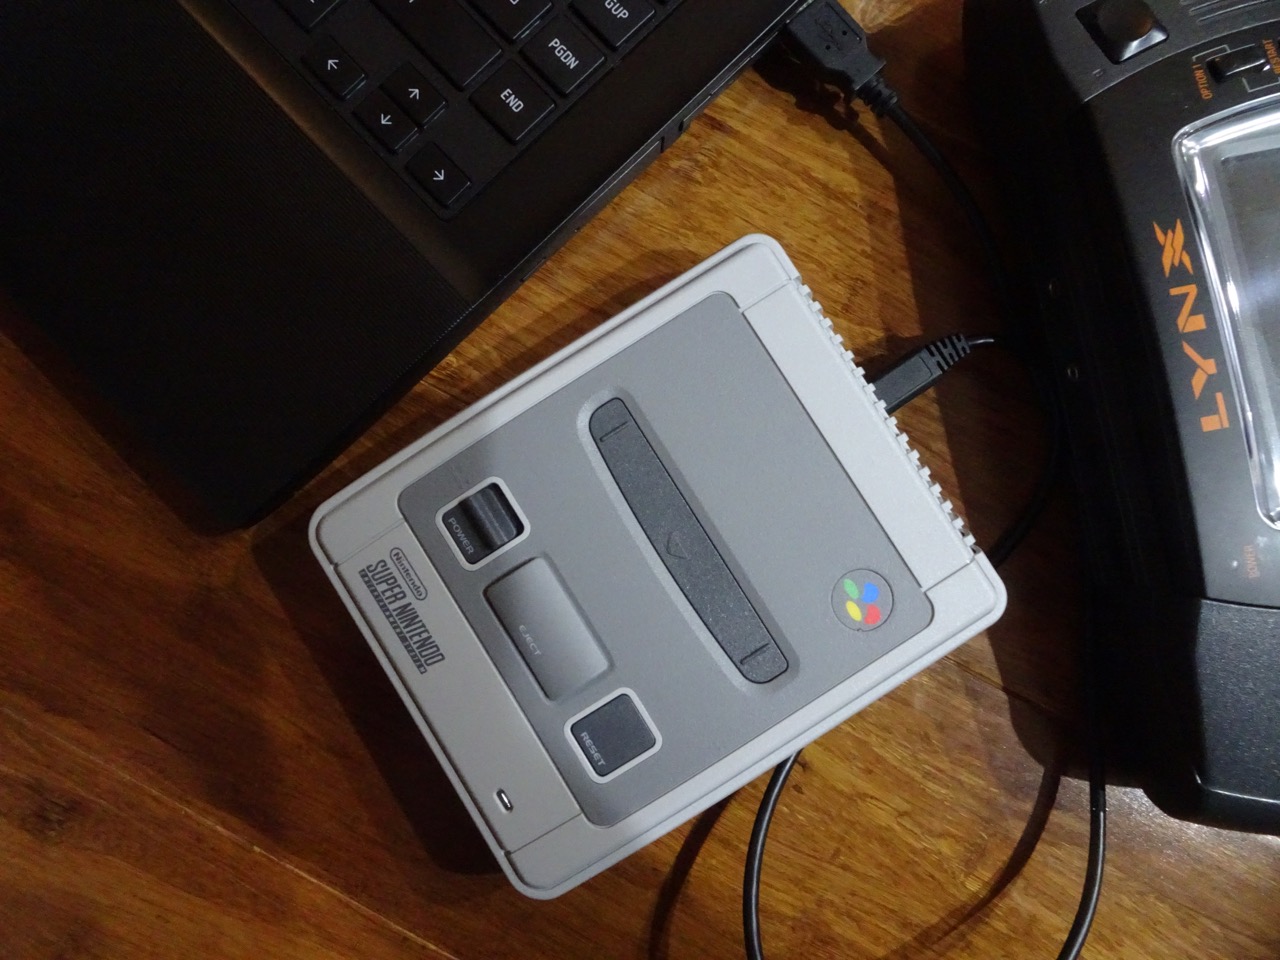
This is a step by step guide to show you how you can get your Atari Lynx games running on the SNES mini classic. I do not condone piracy so if you follow these steps please make sure you own the original Lynx game carts that you will be playing.
If you simply want to play Atari Lynx games and don't want to try and get them to work on the SNES mini, you can try out this Online Atari Lynx Emulator. There are many games to choose from and you don't have to install any software, just play in your browser!
After reading this post, don't forget to check out all the other articles I've written about the Atari Lynx console here.
The first thing to do is to get all the required software. You will need these -
- Hackchi 2.20
- RetroArch Clover 1.0
- RetroArch extra cores by pcm720
- Lynx BIOS ROM and game ROMs from the AtariAge - Lynx Emulation page
You will also need 7-zip installed.
Step 1 - Unzip Hakchi and run hakchi.exe. Select SNES Classic Mini (or Super Famicom Mini if that is the console you have)

Step 2 - Read the dialogue prompts and select Yes to continue when asked to flash a custom kernel to the console


Step 3 - Install the driver (click the Install driver button to do this)

Step 4 - Let the driver installation run until the DOS prompt tells you to press ENTER to exit

Step 5 - Follow the steps to connect your mini console for flashing as shown in Step 3. These are simple - make sure the console is not connected to your computer and its power button is in the switched off position. Connect the console to the computer using a USB cable. Hold the reset button while switching the power button to the on position. Hold the reset button until Hakchi starts to do something, then release (or alternatively just release after a few seconds).
Hakchi will automatically detect when the console is connected in programming mode and will start to build a new kernel image. Let it run, then when everything is done it will tell you, press OK


Step 6 - Sync the games on the console with Hakchi, there is a button for this in the bottom right corner. Follow instructions given on screen, they're pretty straight forward
Step 7 - Unzip the extra_cores.zip file and then find the extracted handy.hmod file. Rename this file to handy.tgz
Step 8 - Create a new directory called handy.hmod inside the Hakchi user_mods directory and extract the handy.tgz file into it using 7-zip. This will produce a handy.tar file in the handy.hmod directory
Step 9 - Unzip handy.tar using 7-zip. This will create a number of files and directories e.g. bin, etc, install, readme.txt
Step 10 - Create the following directory structure in the handy.hmod directory and copy the lynxboot.img file (extracted from LynxBoot.zip) into the final system directory - etc/libretro/system

Step 11 - Unzip the retroarch_with_cores.zip file and copy the retroarch.hmod file that was extracted into the Hakchi user_mods directory
Step 12 - If Hakchi is running, close it and open it again. Select Install extra modules from the Modules menu, then select handy and retroarch, click OK and follow the usual flashing steps as you did when first installing a custom kernel

Step 13 - Unzip your game ROM and click Add more games in the Hakchi window. Make sure to select All files (*.*) in the drop down above the Open and Cancel buttons. Find your ROM .lnx file, select it and click Open
Step 14 - Right click the newly added ROM and make any changes you need to (like the name, etc), then right click the game in the list and click Download box art for selected games, the box art will be updated...

Step 15 - Make sure the Custom - show Folders Manager every time option is selected in the Settings > Pages/folders structure menu
Step 16 - Click Synchronize selected games with the NES/SNES Mini button in the Hakchi window. Accept any prompts here, the default location for added games is the Unsorted folder, I prefer to drag my games out to the HOME Menu and remove the Unsorted folder completely, this is up to you however. Re-organise the structure of games as you like, then click OK and follow the prompts, the games will be uploaded to the SNES mini

You're done!
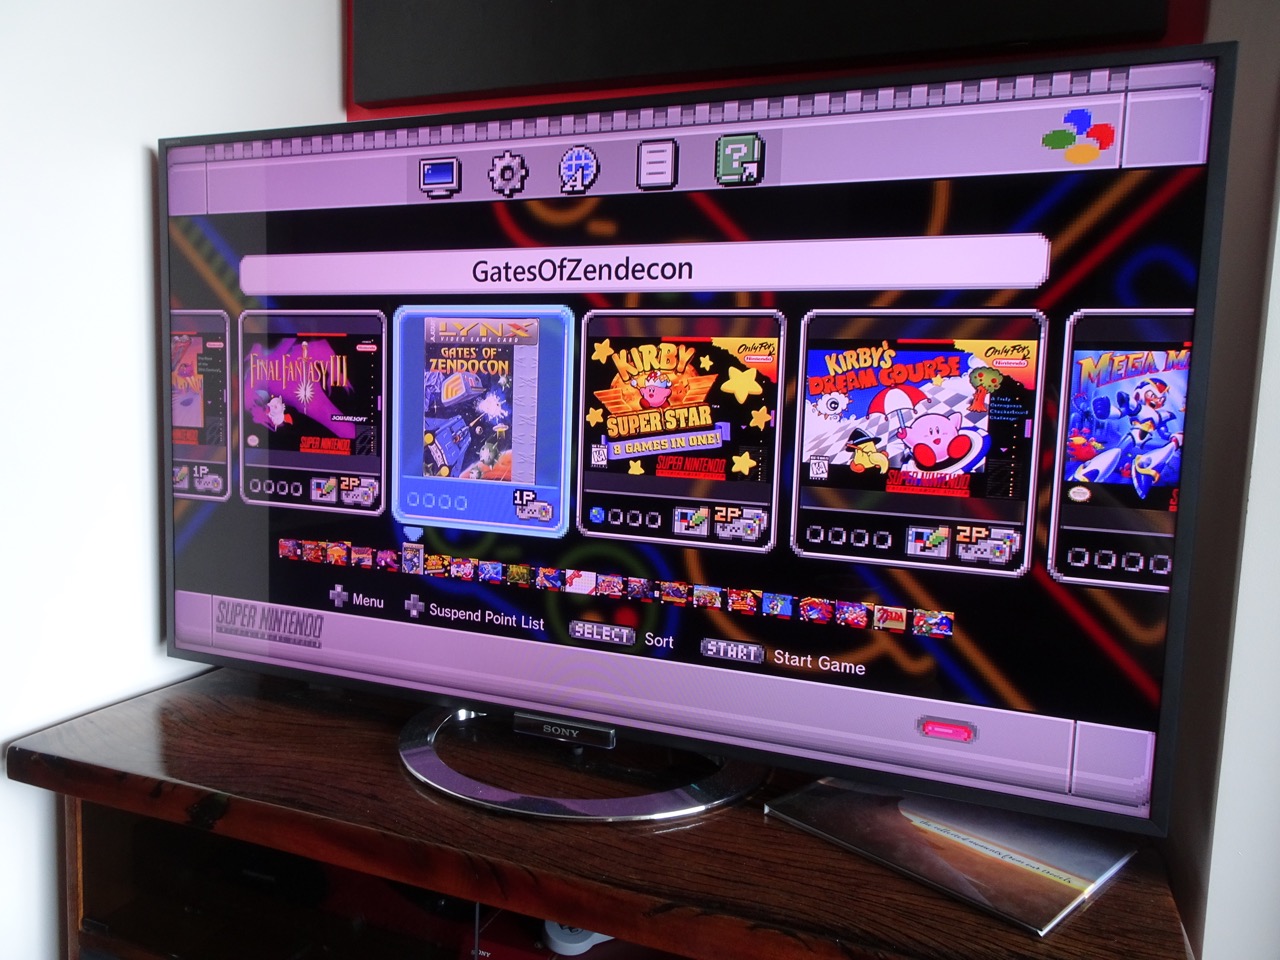
Now you can plug the SNES mini into the TV and play the uploaded Lynx ROMs! Lynx games will appear in the menu just like any built-in game...
Here's a video of the end result in action...
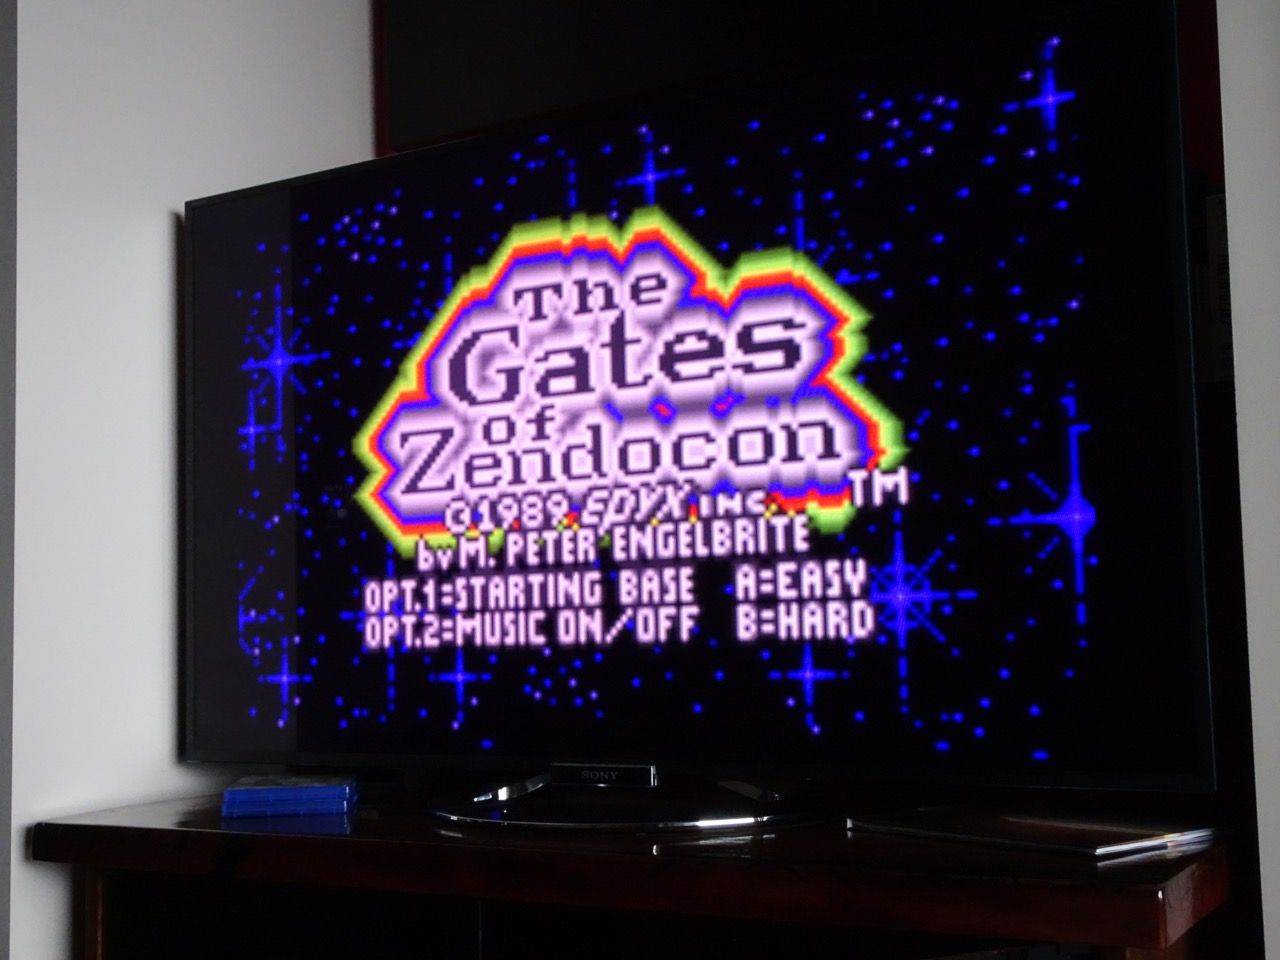
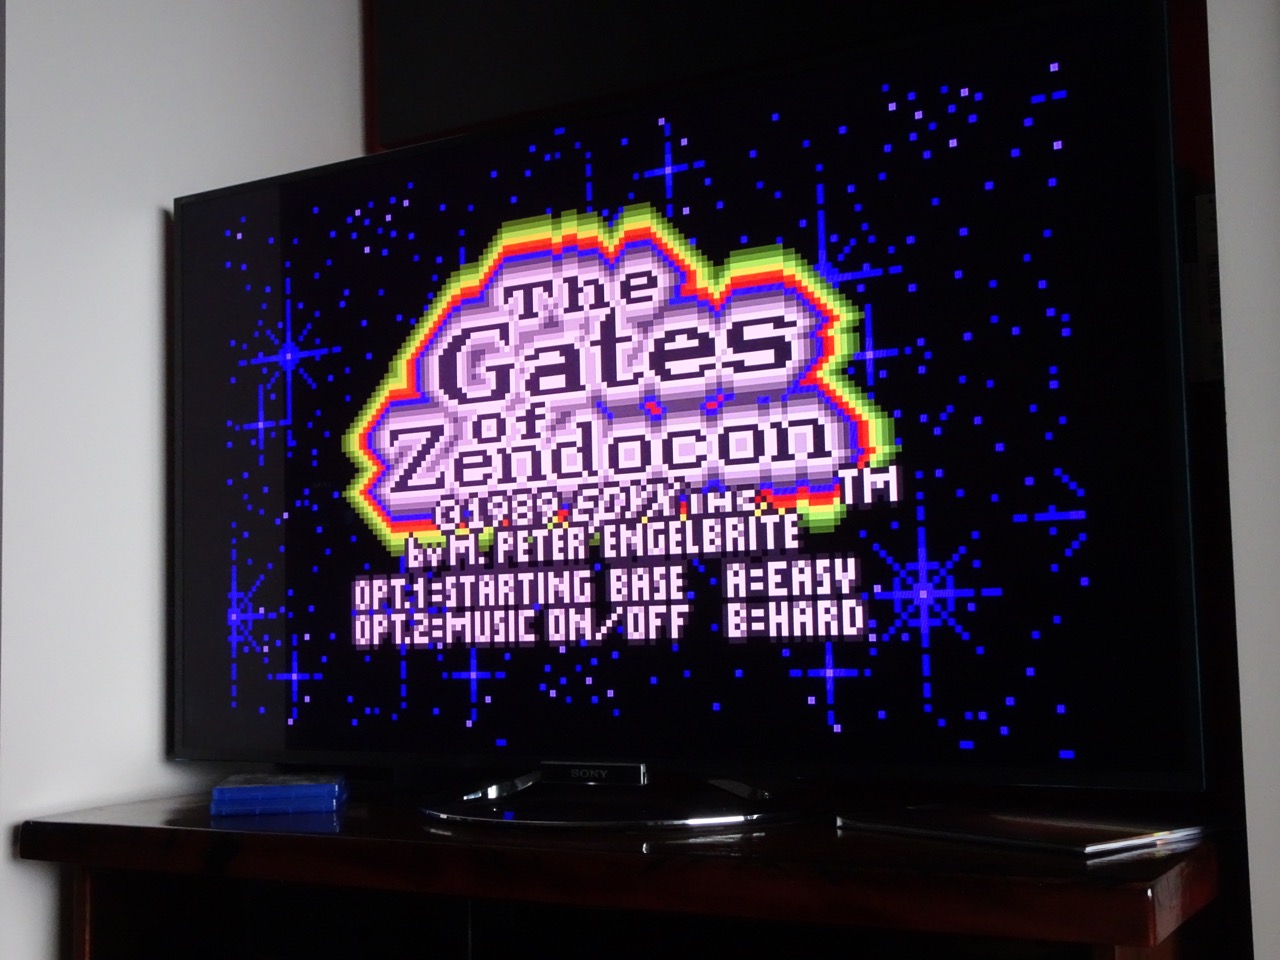
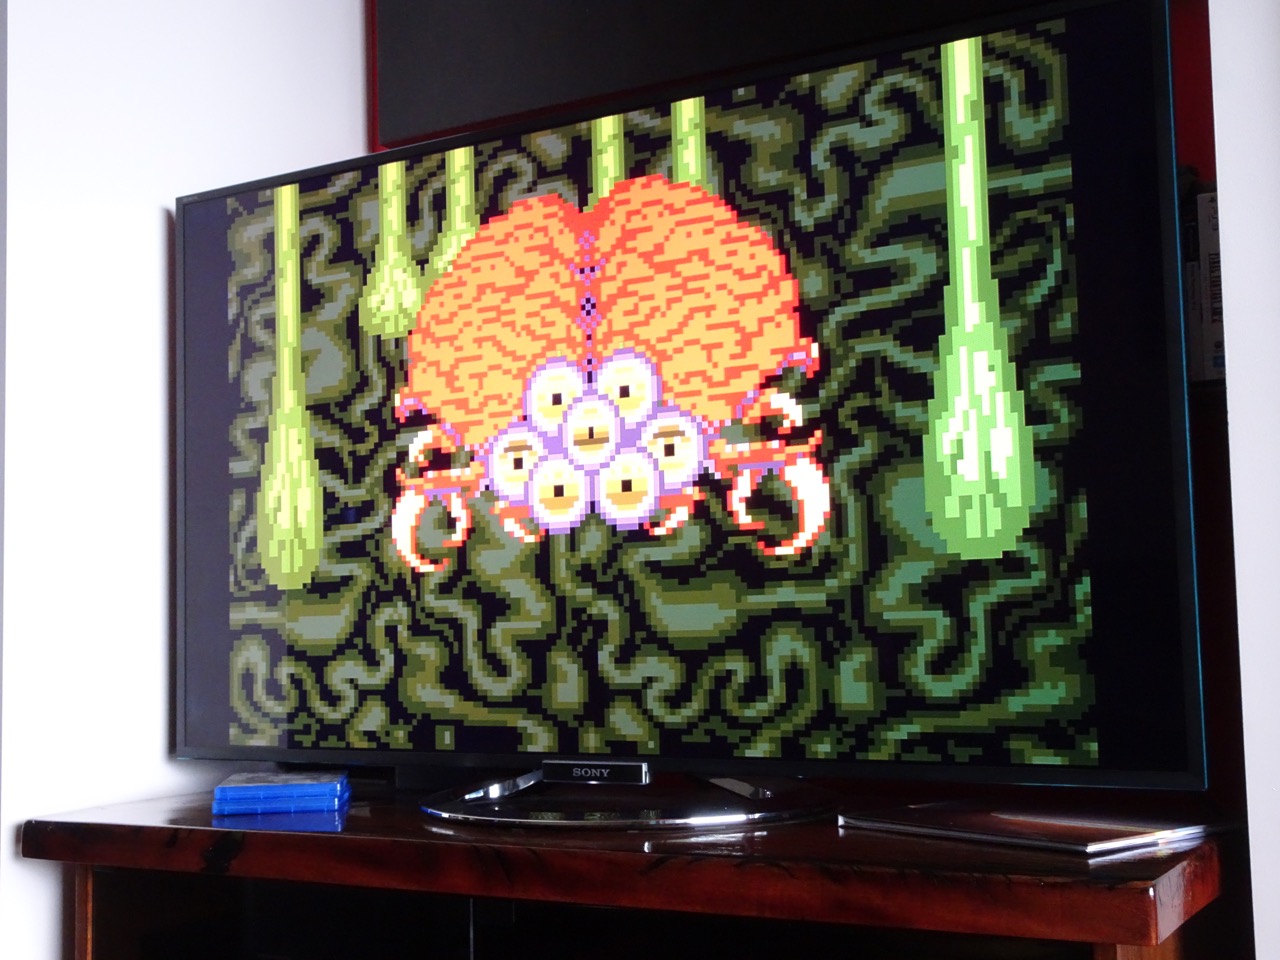
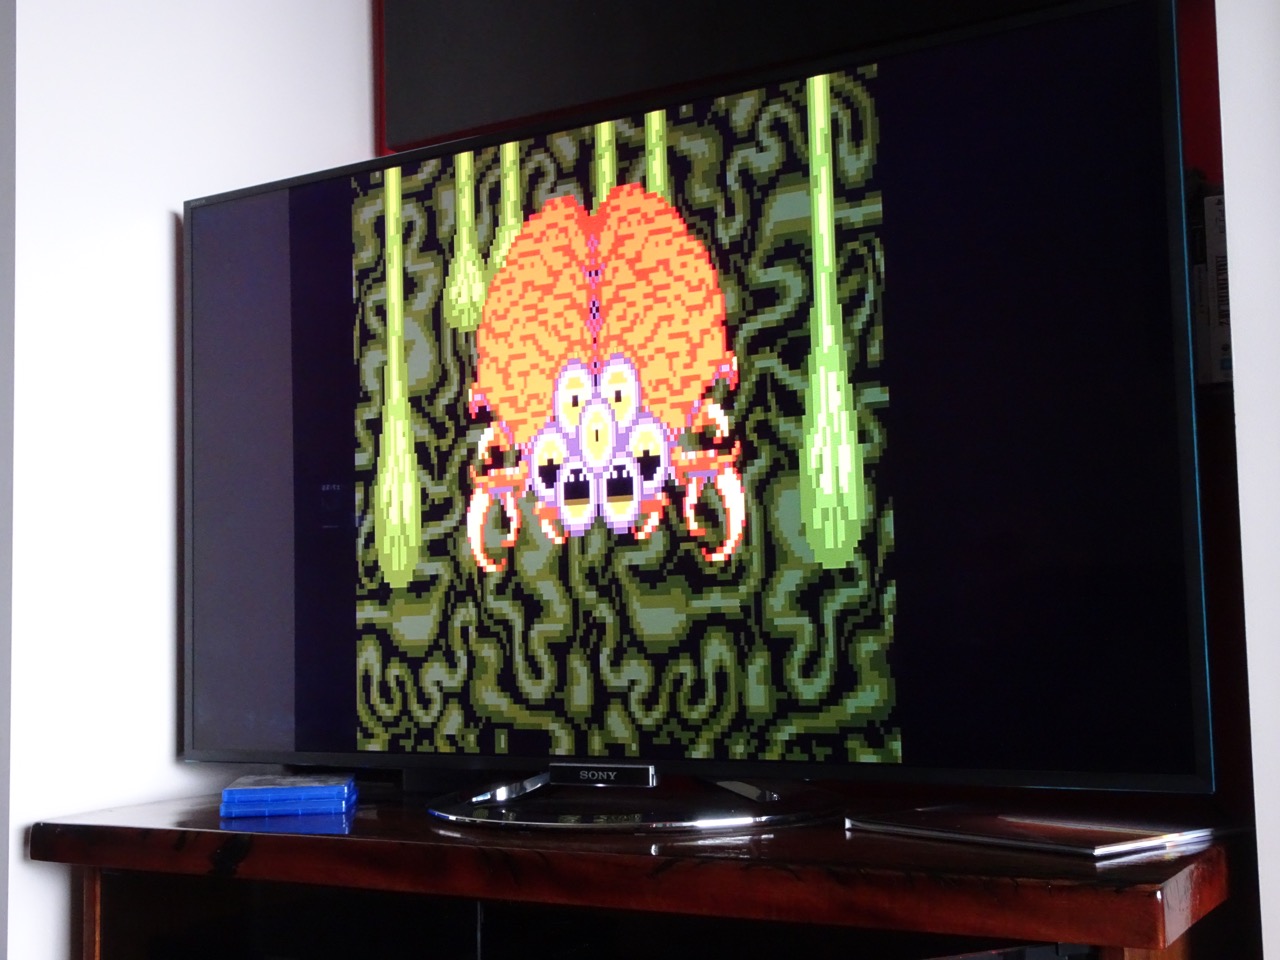
Here's a quick comparison of the SNES graphics modes with a Lynx game - left to right: CRT Filter, 4:3, Pixel Perfect. Click each one for a high res image. I prefer to play Lynx games in the 4:3 mode, as opposed to CRT Filter for SNES games as I suggested in my original review of the SNES mini.


In case you're looking for information on how the controls are configured - that is described libretro handy documentation.
-i
