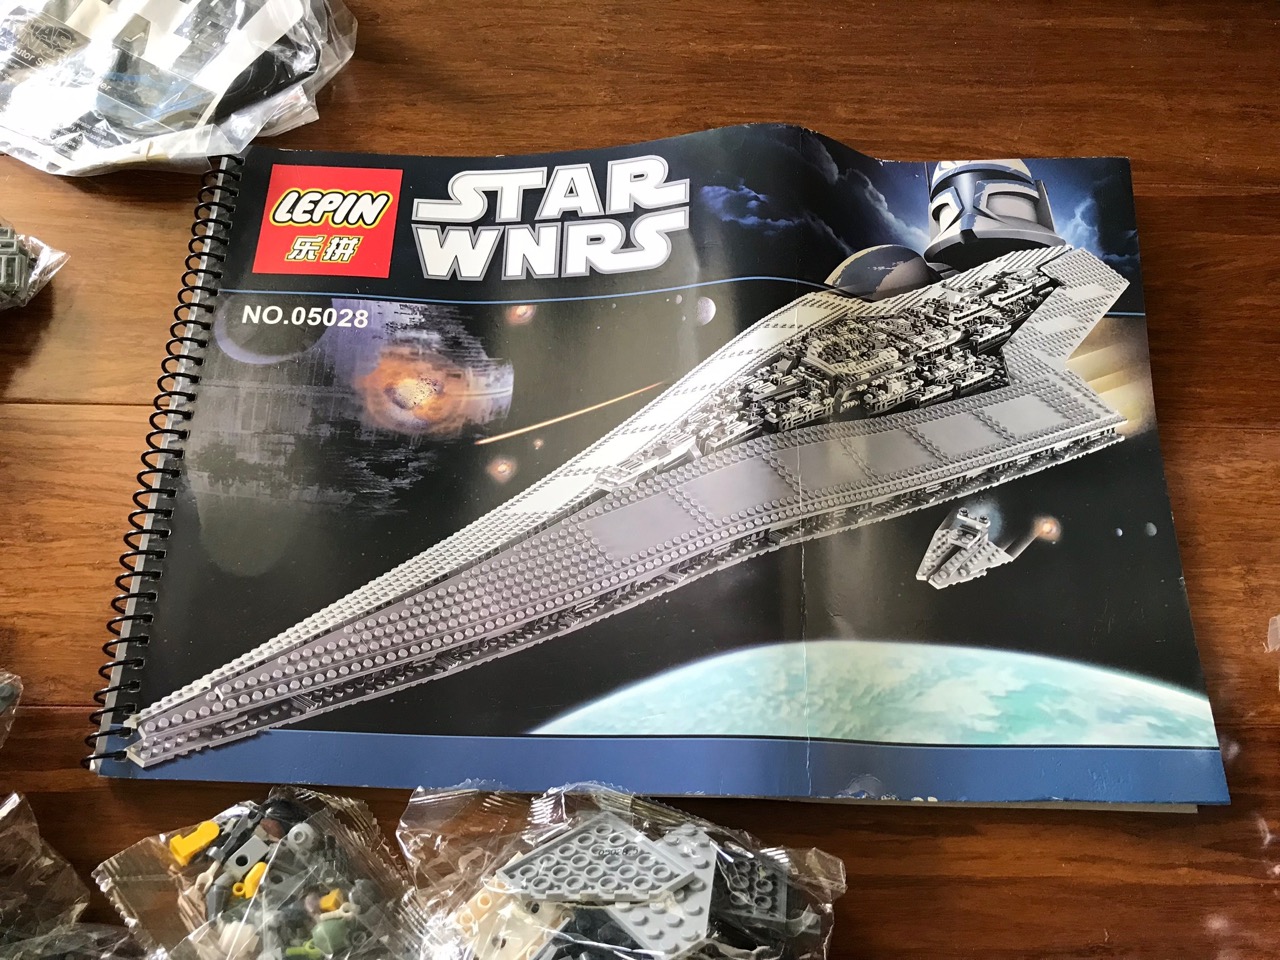
The kit was a 100% fake of course. It's not Lego. The branding is "Lepin" and it was labelled as a "STAR WNRS" kit - we all know they were going for the "Star Wars" look though! The best part of this kit was its price - it was cheap - from the AliExpress it cost $119! You can purchase it here - Executor Star Destroyer. Compared to the 'real' Lego kit's price this was an absolute steal!
I know there are lots of Lego purists out there that would have nothing to do with a kit like this, but I just wanted to have fun and couldn't afford to spend the money on the real version so here we were!
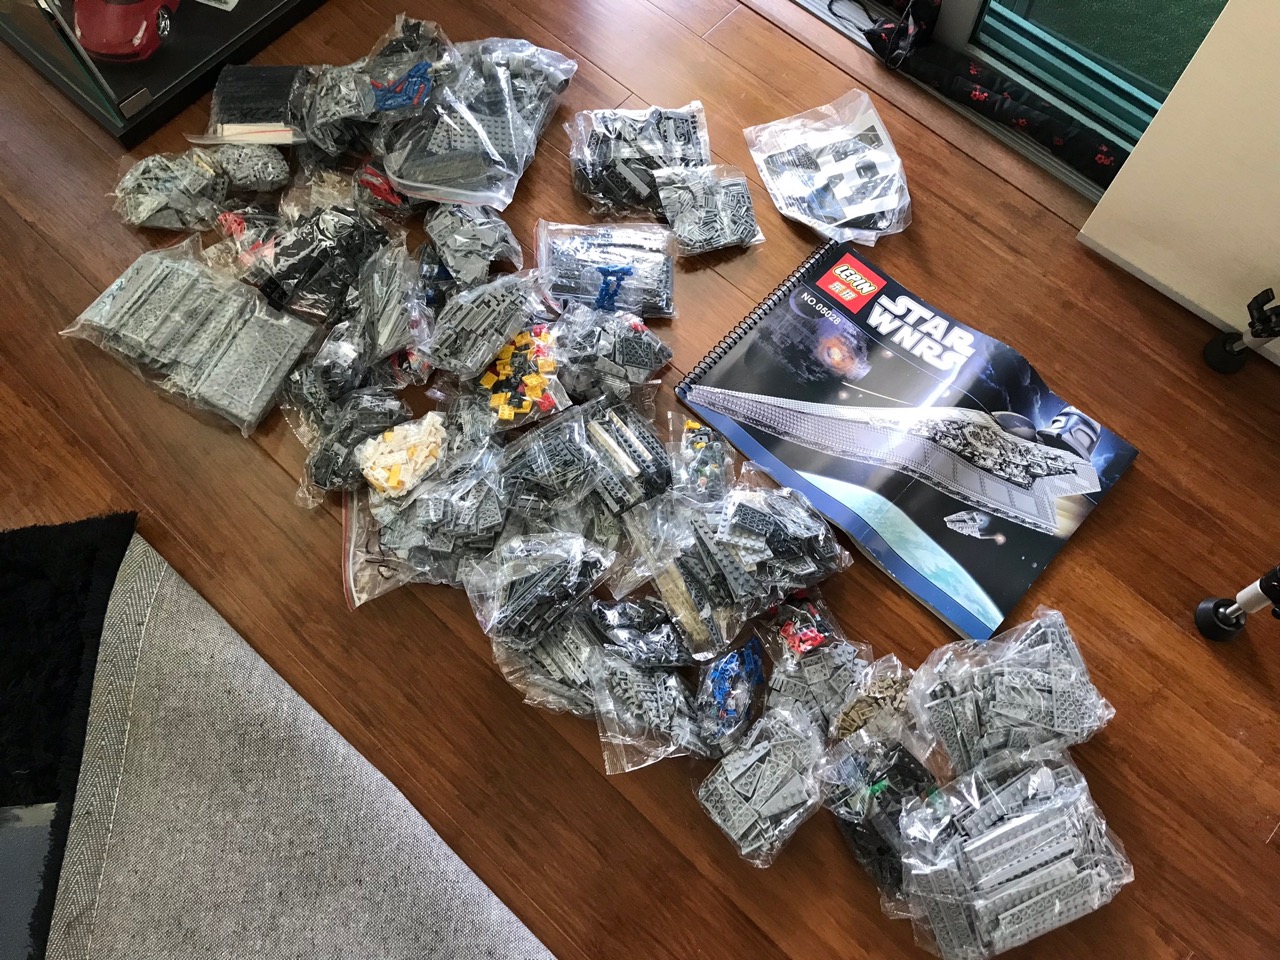
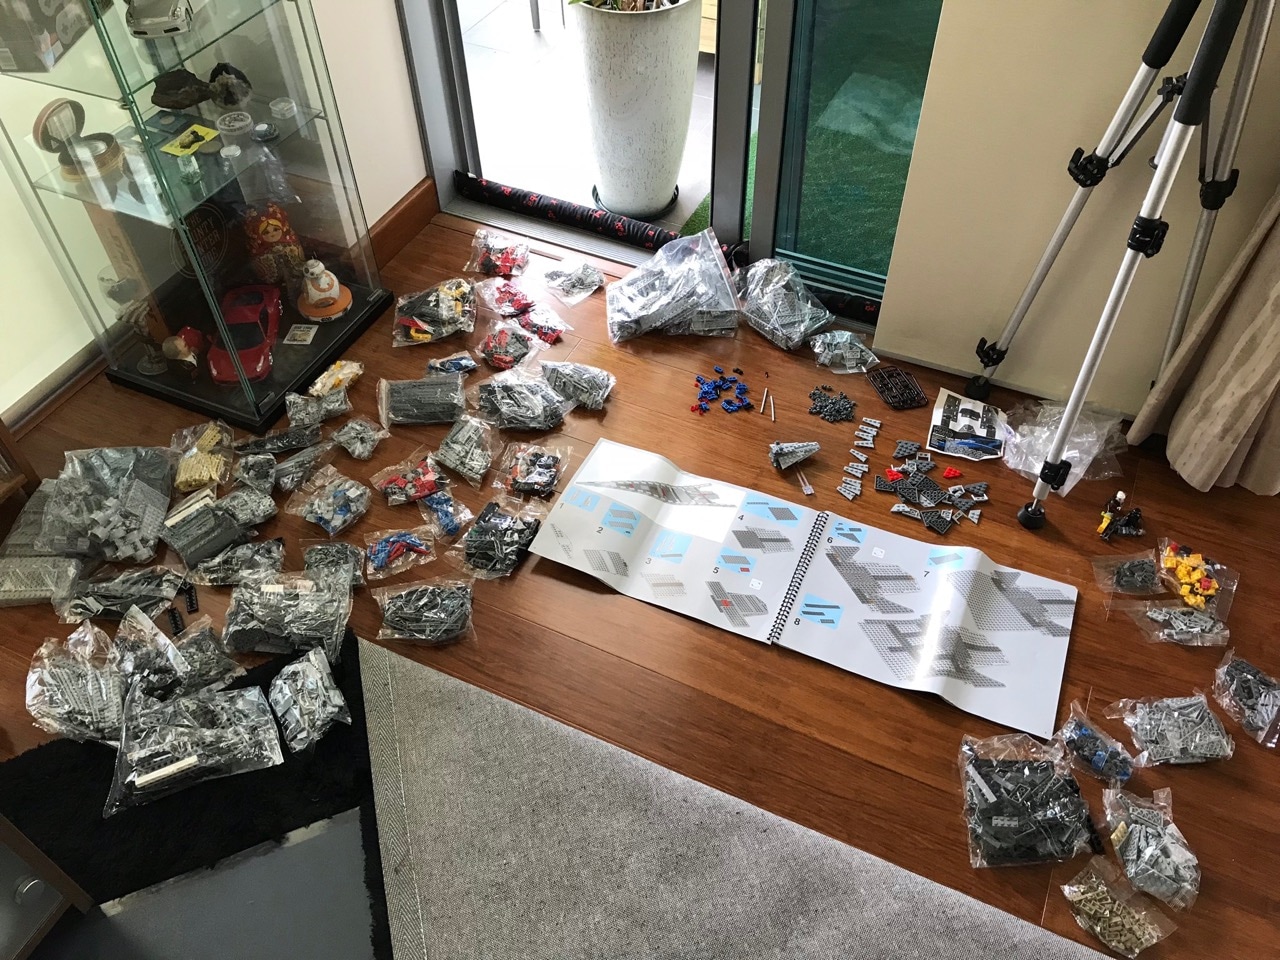
Surprisingly, this kit was very good quality so purist or not it was worth a look. Unfortunately there was no box, everything came in one giant plastic bag. All the essentials were included however.
This was the instruction manual that came with it. It had over 100 pages and looked and felt very much like the real deal (apart from the branding).
There were 56 bags in total. None of them were numbered. Yes it was a nightmare at first, but once I got to know where each piece was it was actually quite enjoyable to sift through these bags.
I've already discussed the quality of parts in these fake kits when I assembled the AT-DP kit. The parts in this kit are very much the same quality. Overall they are decent, there are some obvious defects but they fit well on the most part.
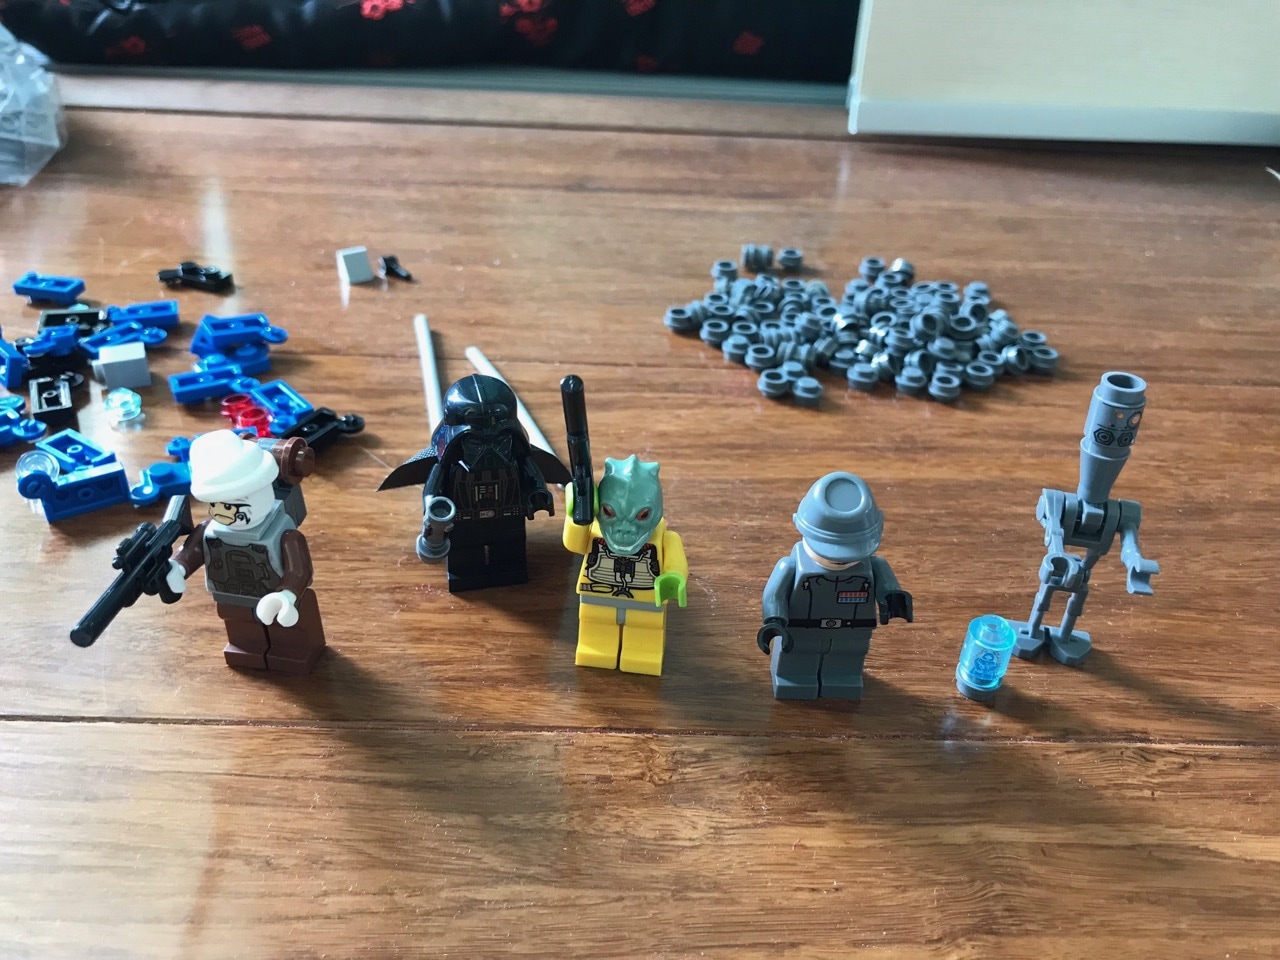
The guns and minifigs turned out pretty well. These were the first to be assembled.

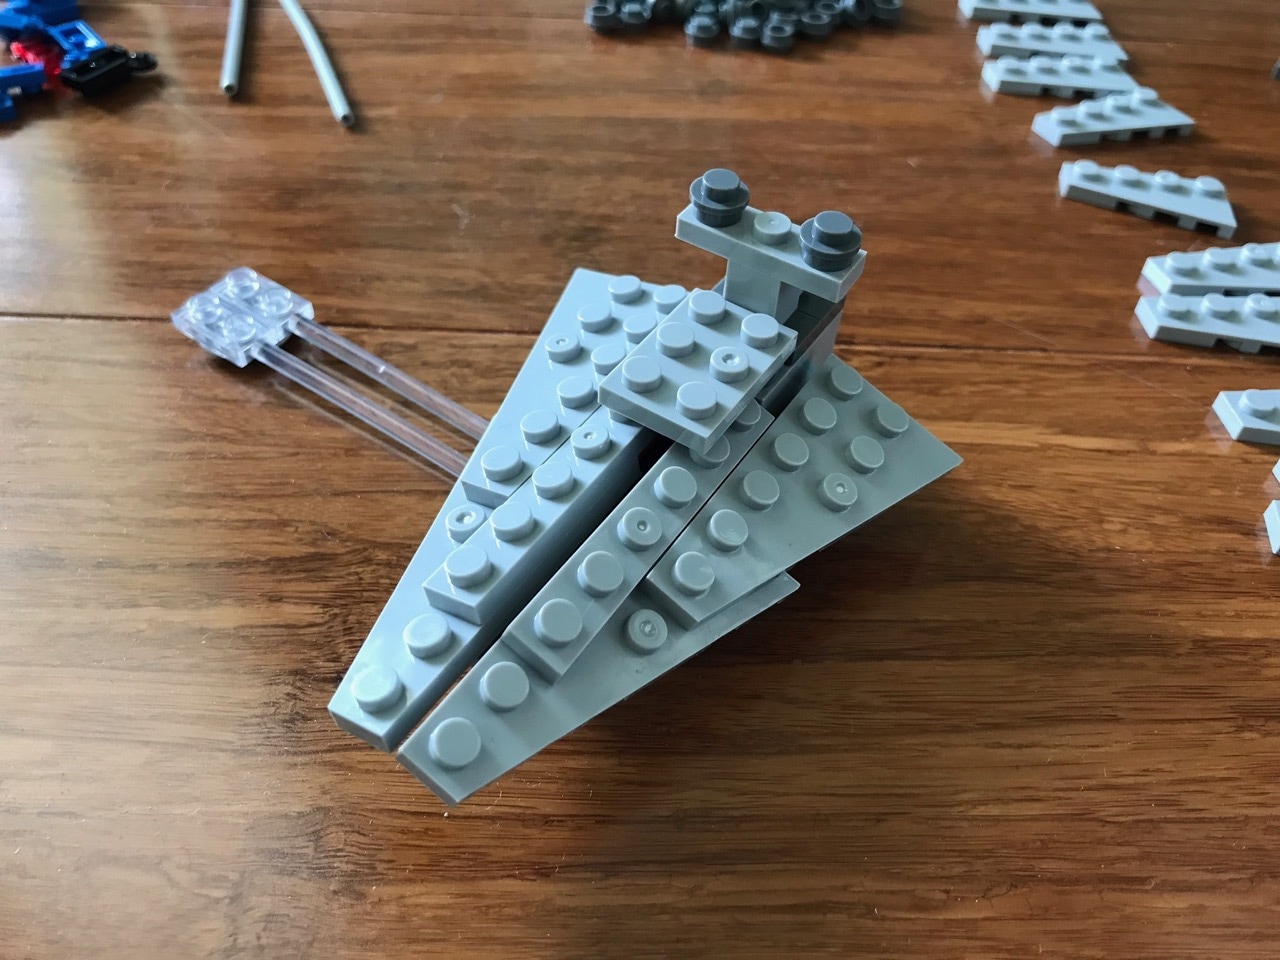
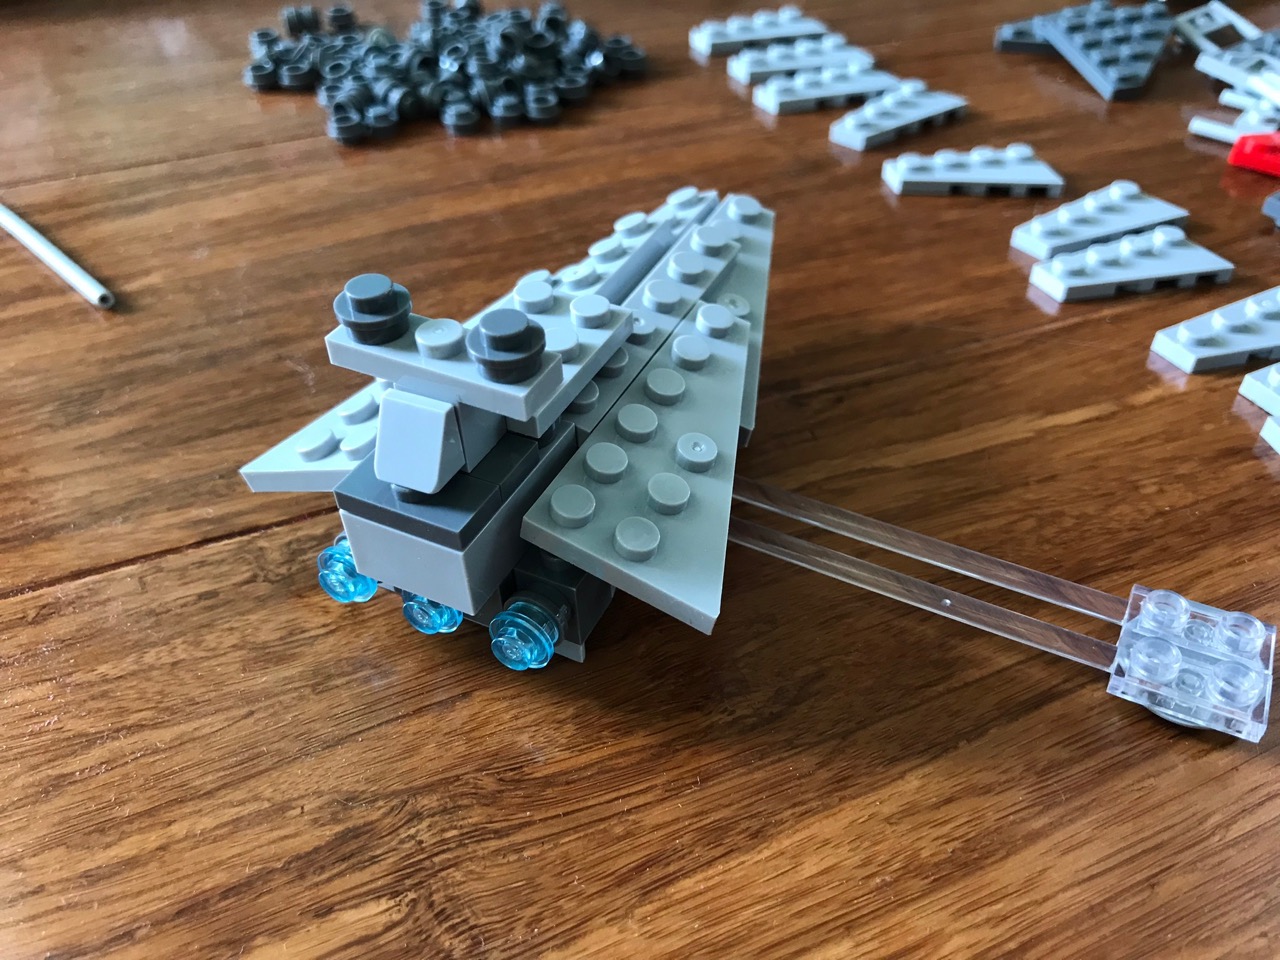
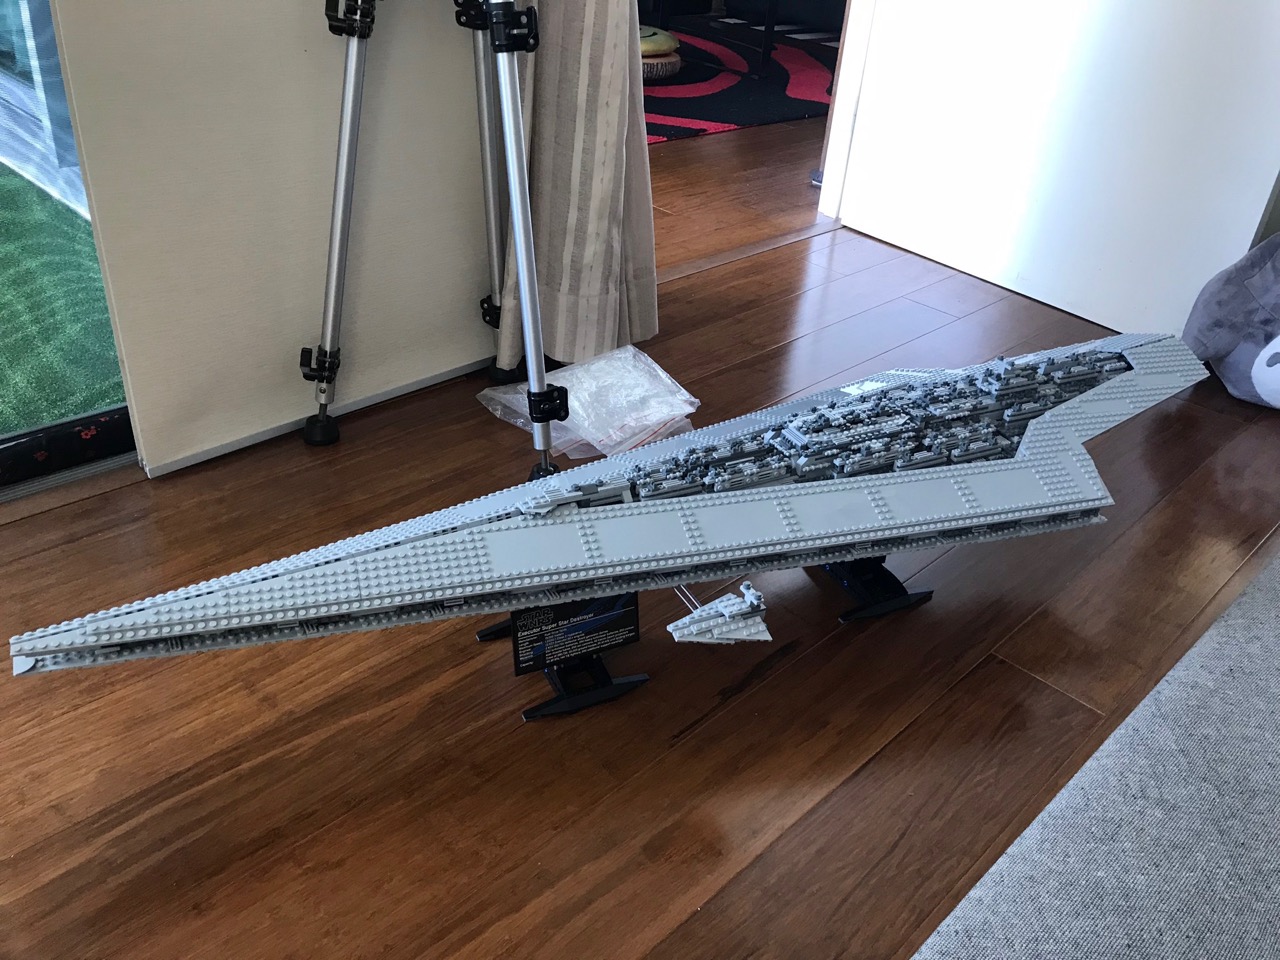
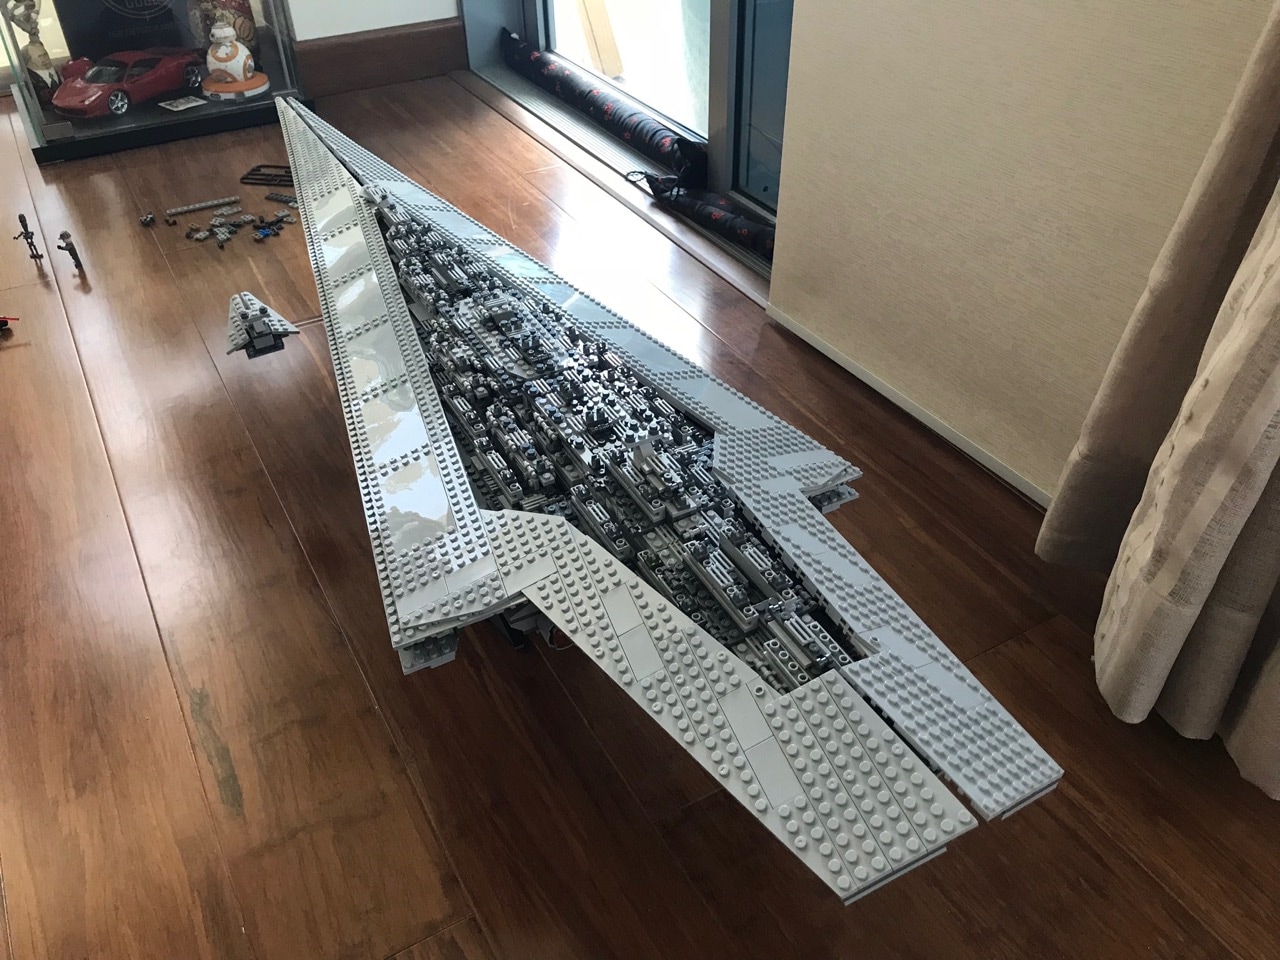
Next was the small version of a Star Destroyer that was attached to the Executor as an escort vessel. The pieces here show some obvious injection moulding deficiencies which were a little unsightly but you had to be looking close at these to notice.
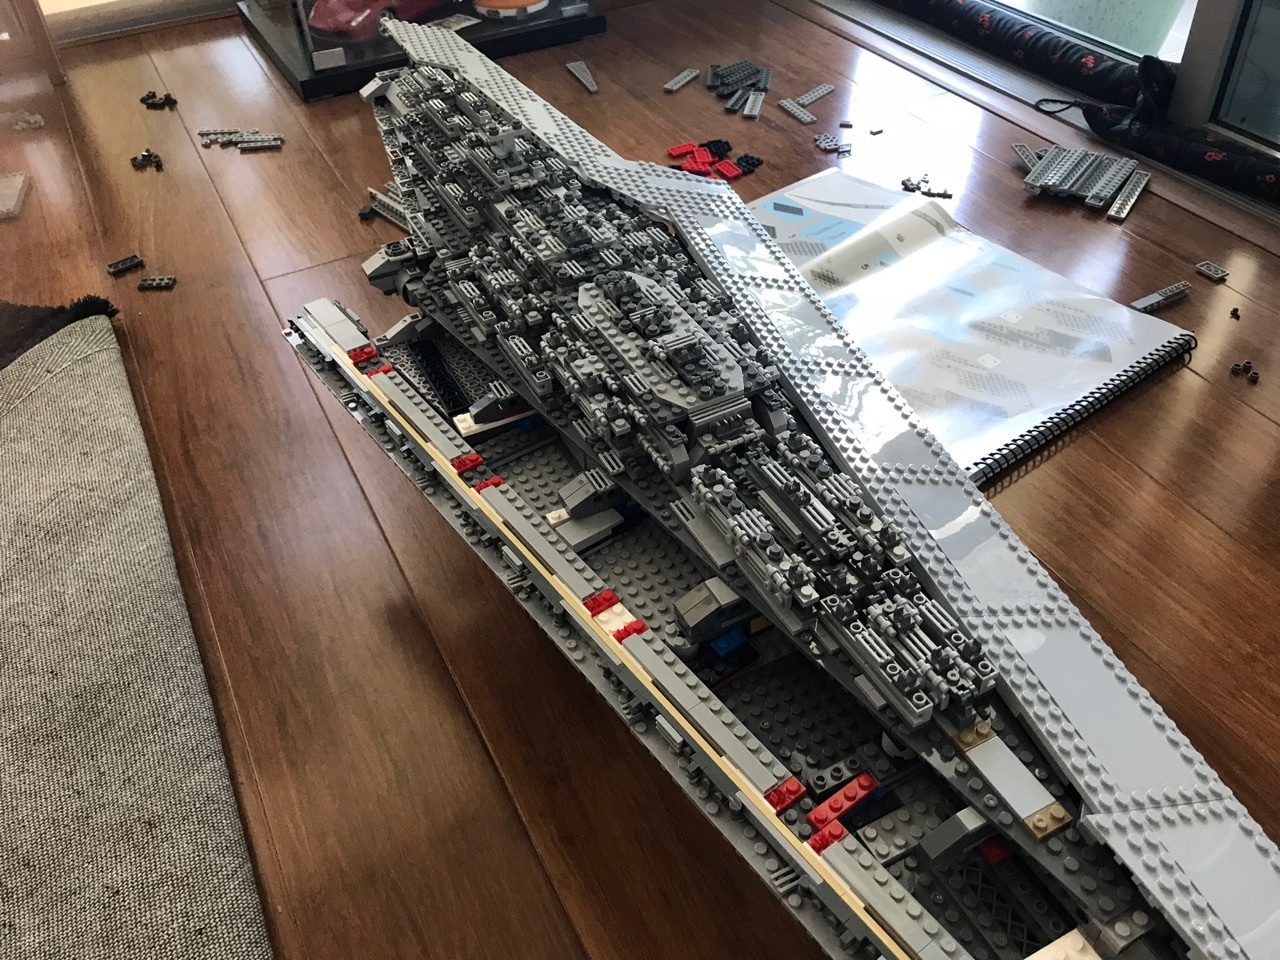
It was time to start assembling the main part of the kit finally. This went smoothly on the most part. I've mentioned the bags were not numbered so it took some time to learn where everything was. The instructions were good and there were no missing pieces and everything fit together quite well.
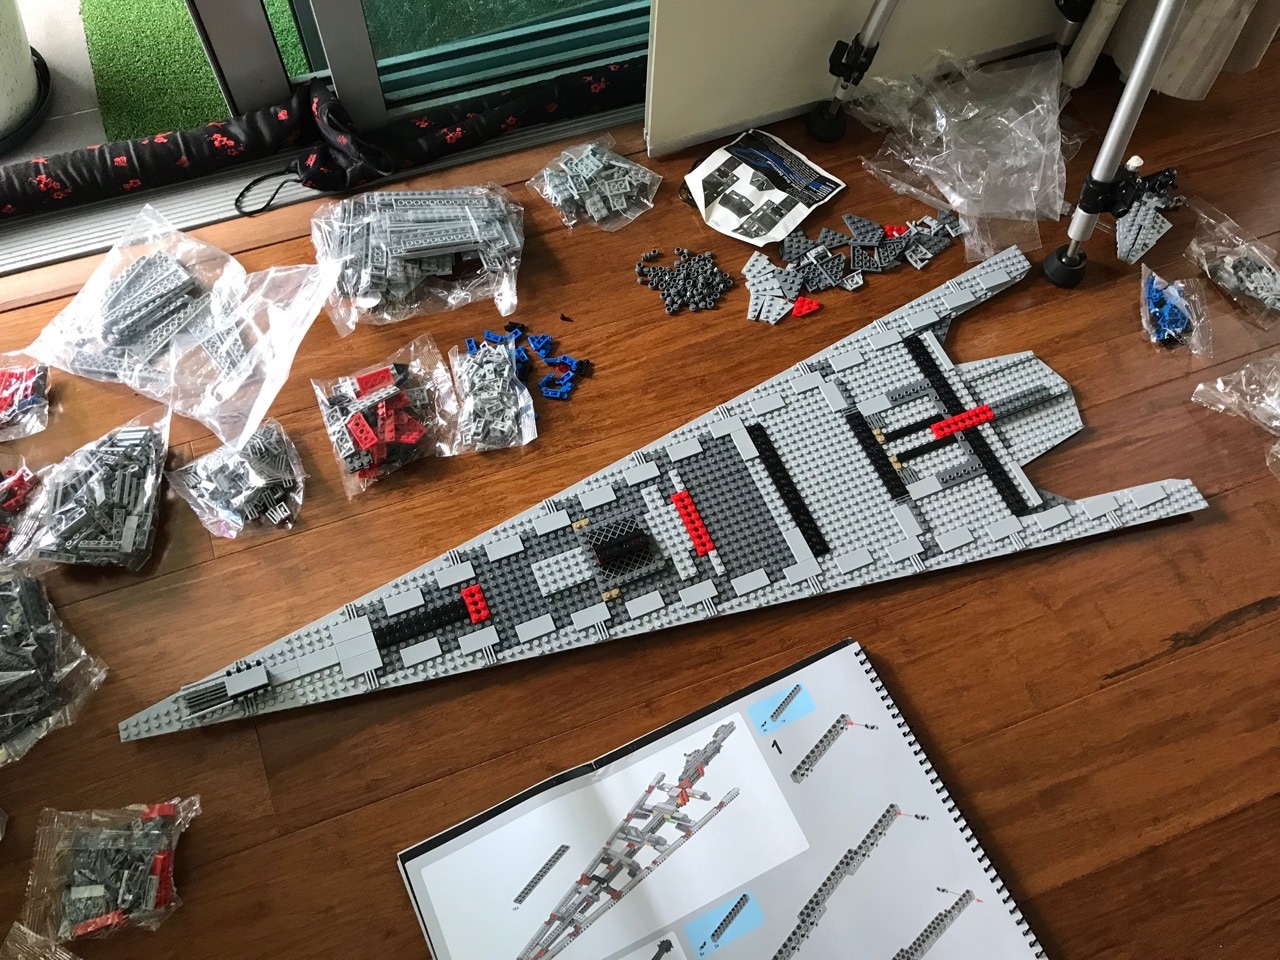
After assembling most of the base section of the ship I noticed there was a good amount of bowing. It was especially prominent towards the front section where there were fewer bricks. I thought this would resolve itself as I built the the rest of the model but it did not. The entire model came out with a slight bow towards the front, which was slightly elevated versus the rear of the ship. I'm guessing this was due to slight imperfections in each of the pieces adding up - not much I could do about that.
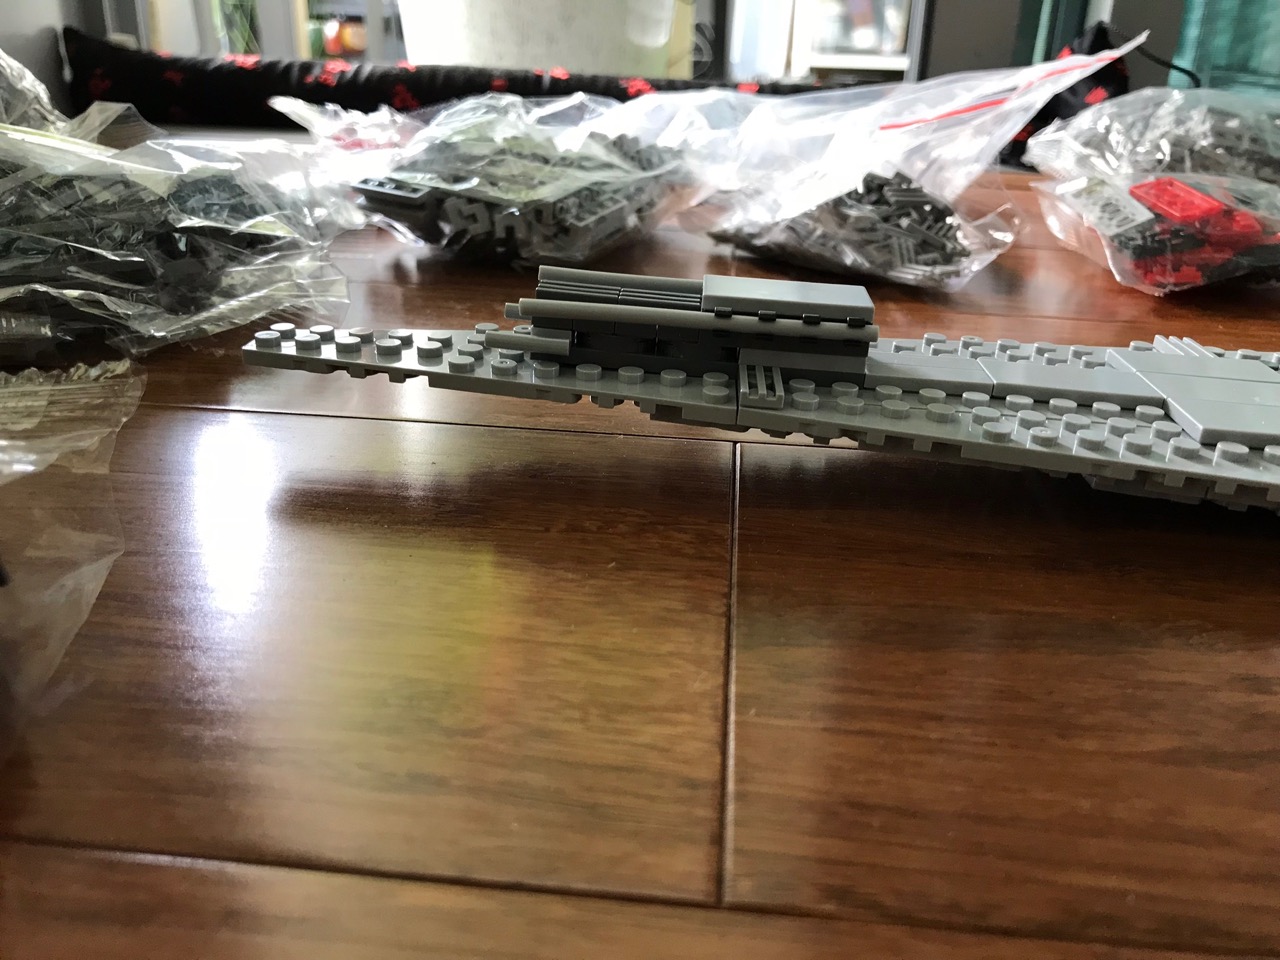
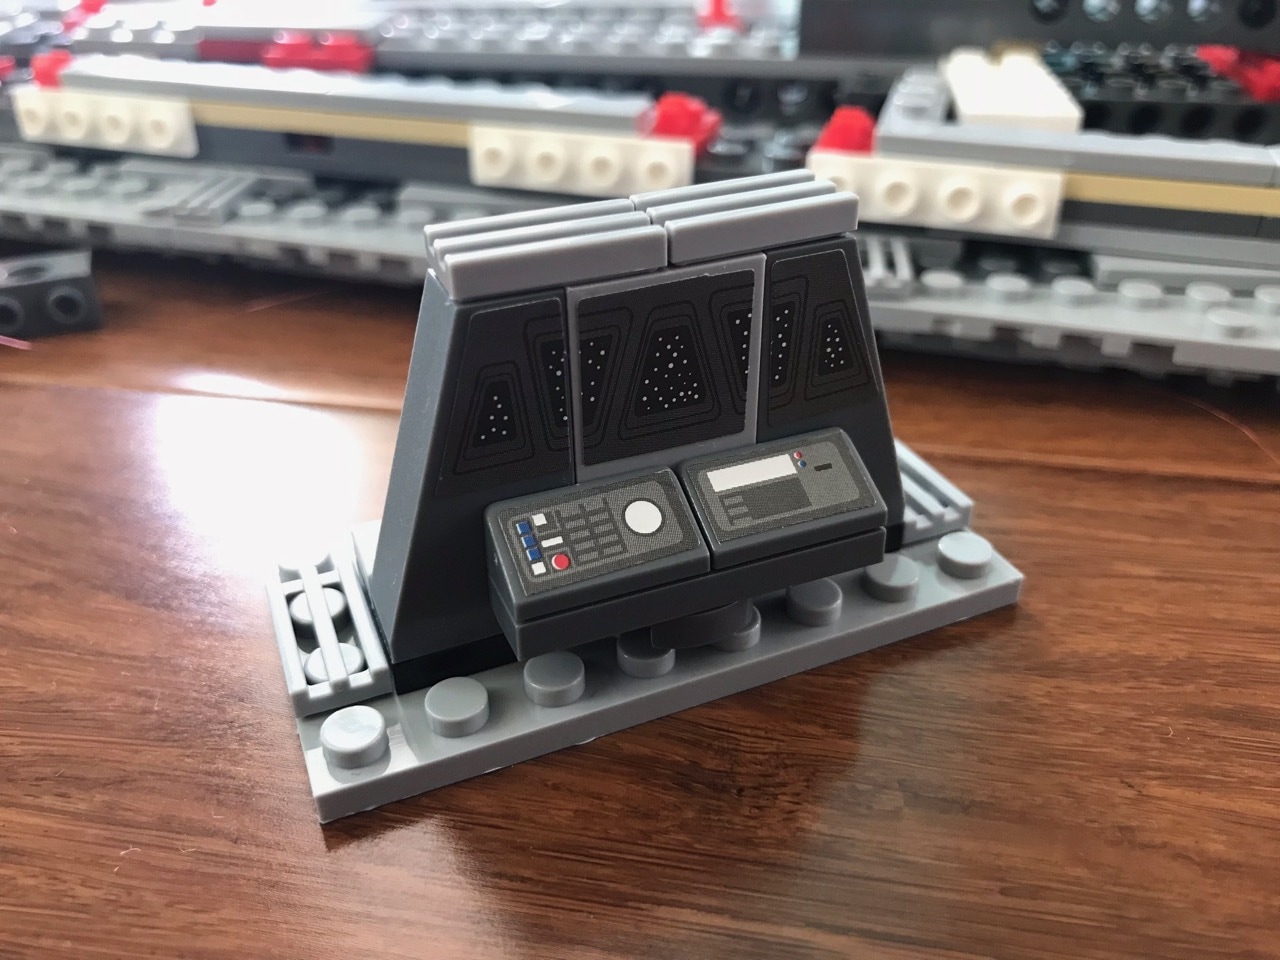
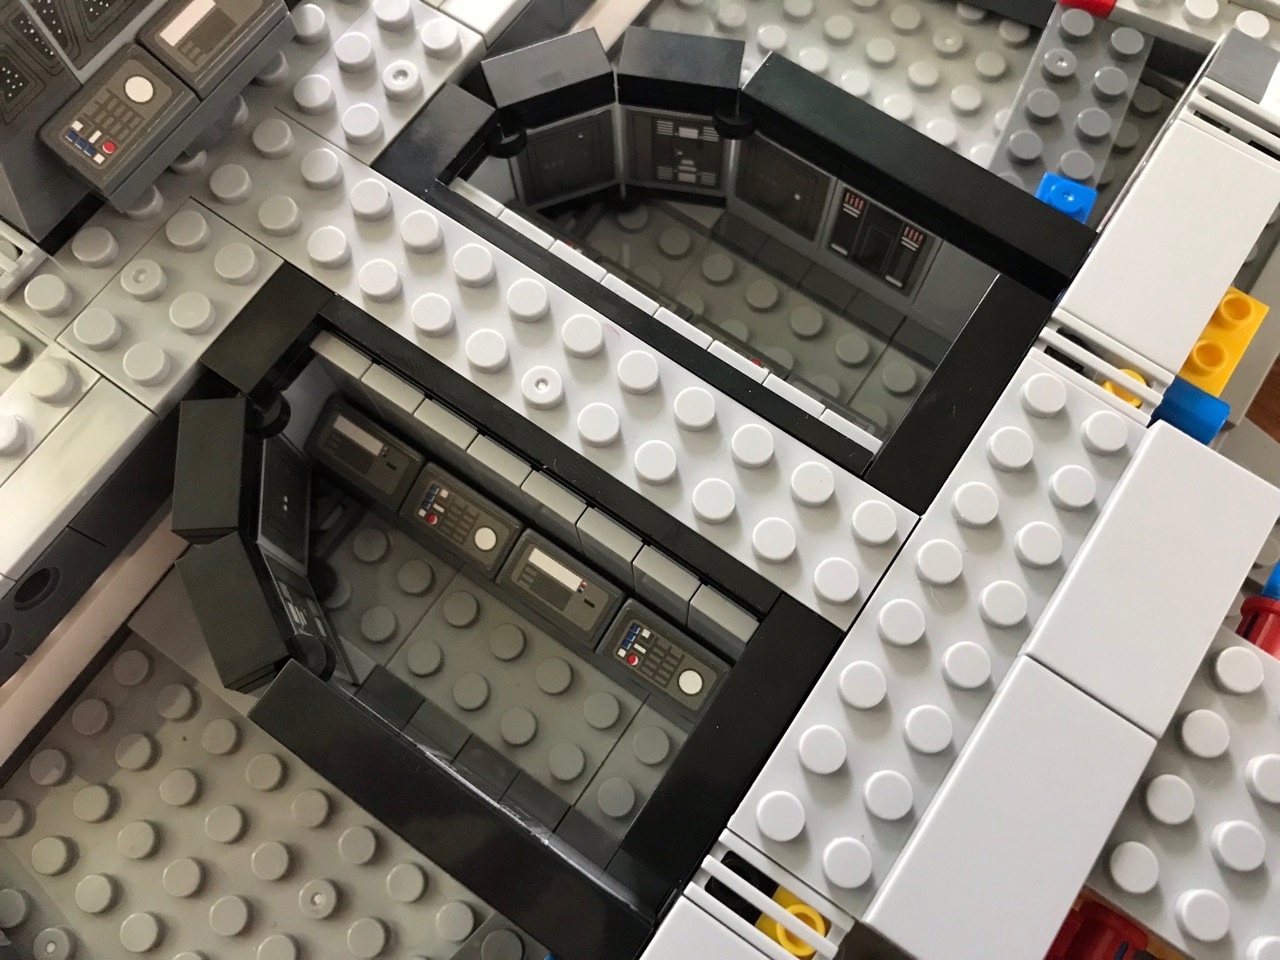
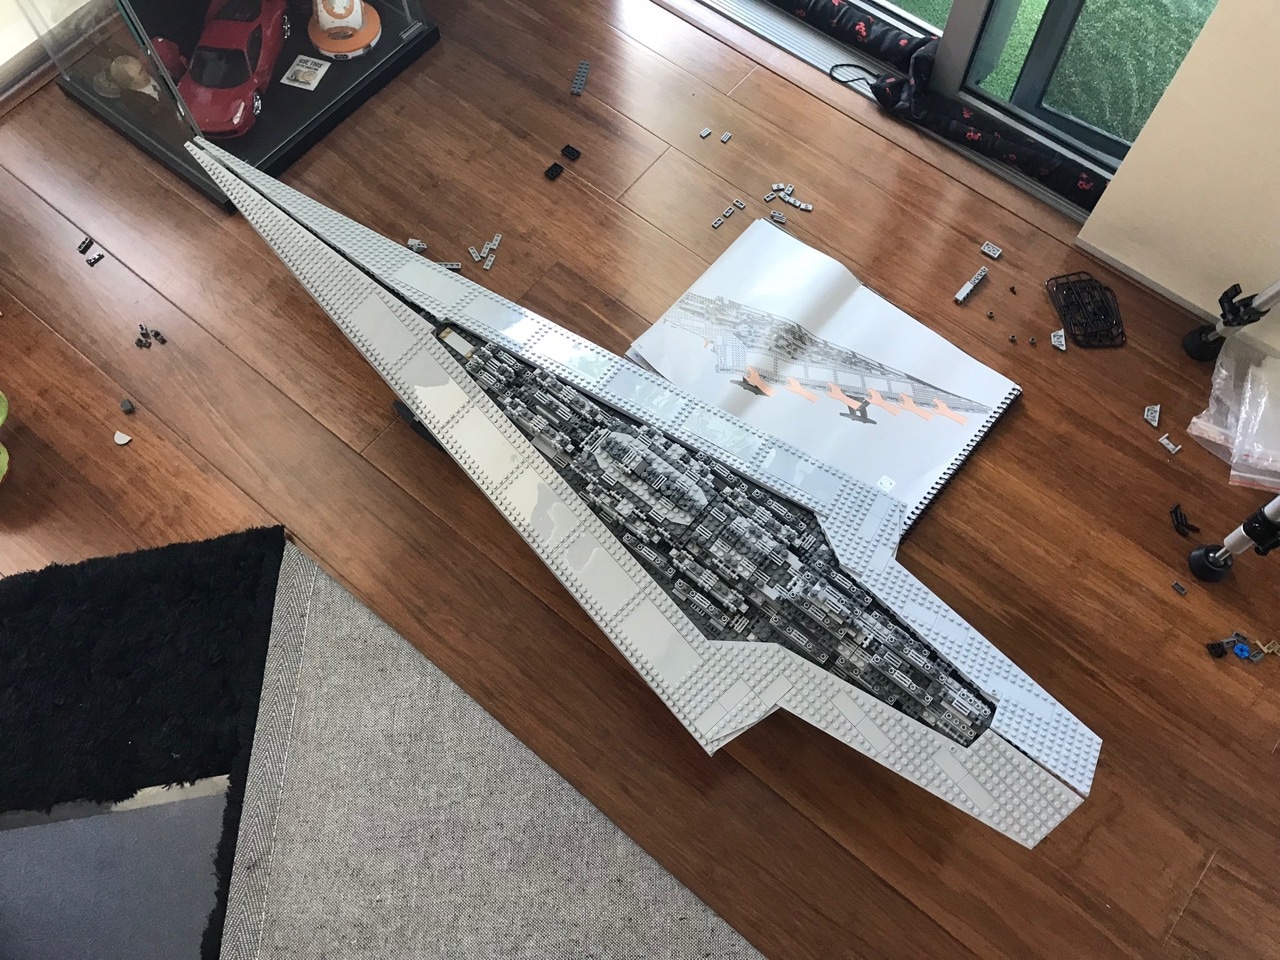
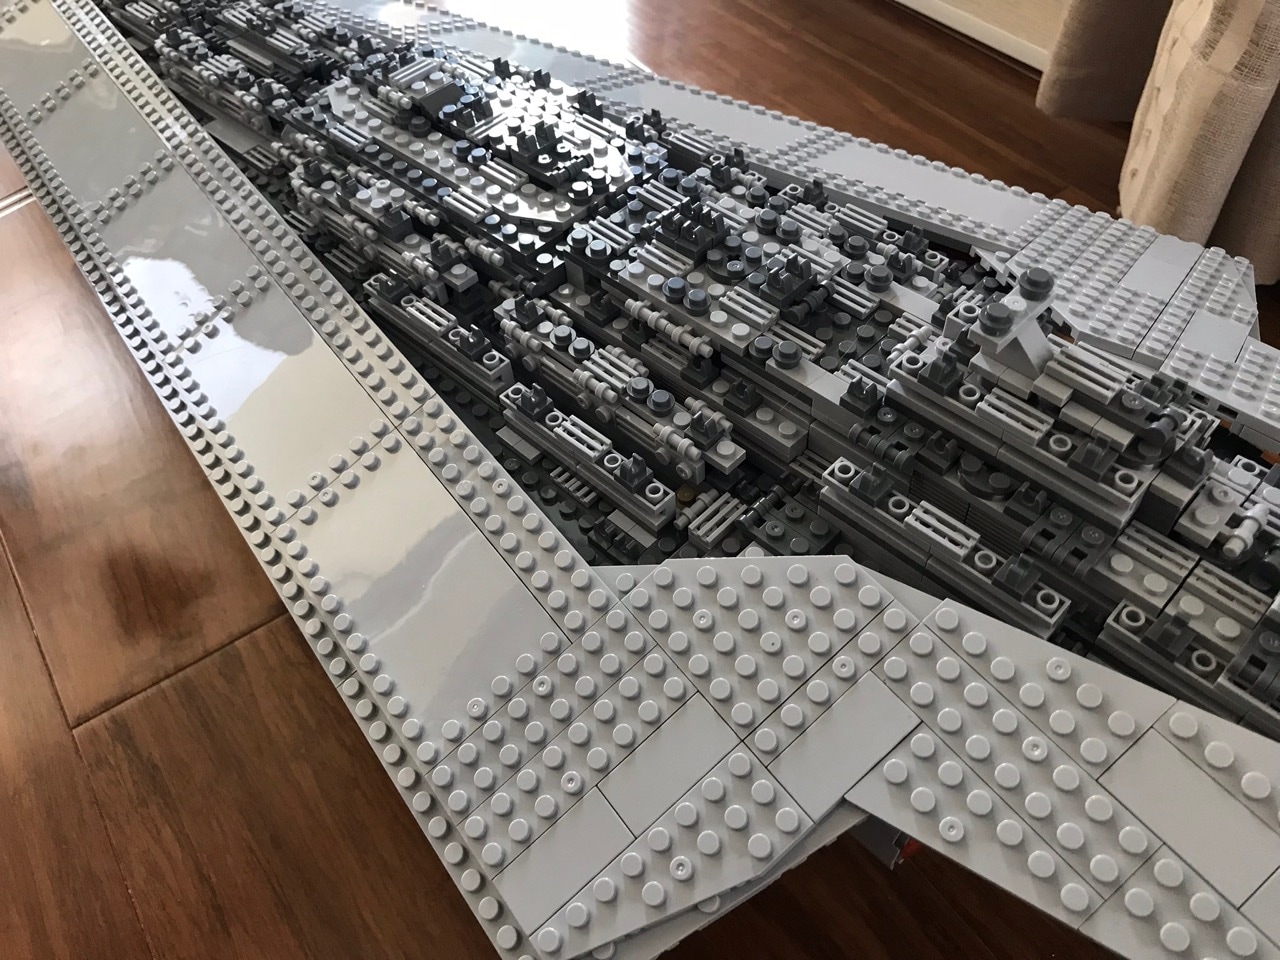
There were a few places that required stickers. These looked fine, if maybe just a little washed out on the colours. The internal detailing of the ship was nice, especially around the computer room.
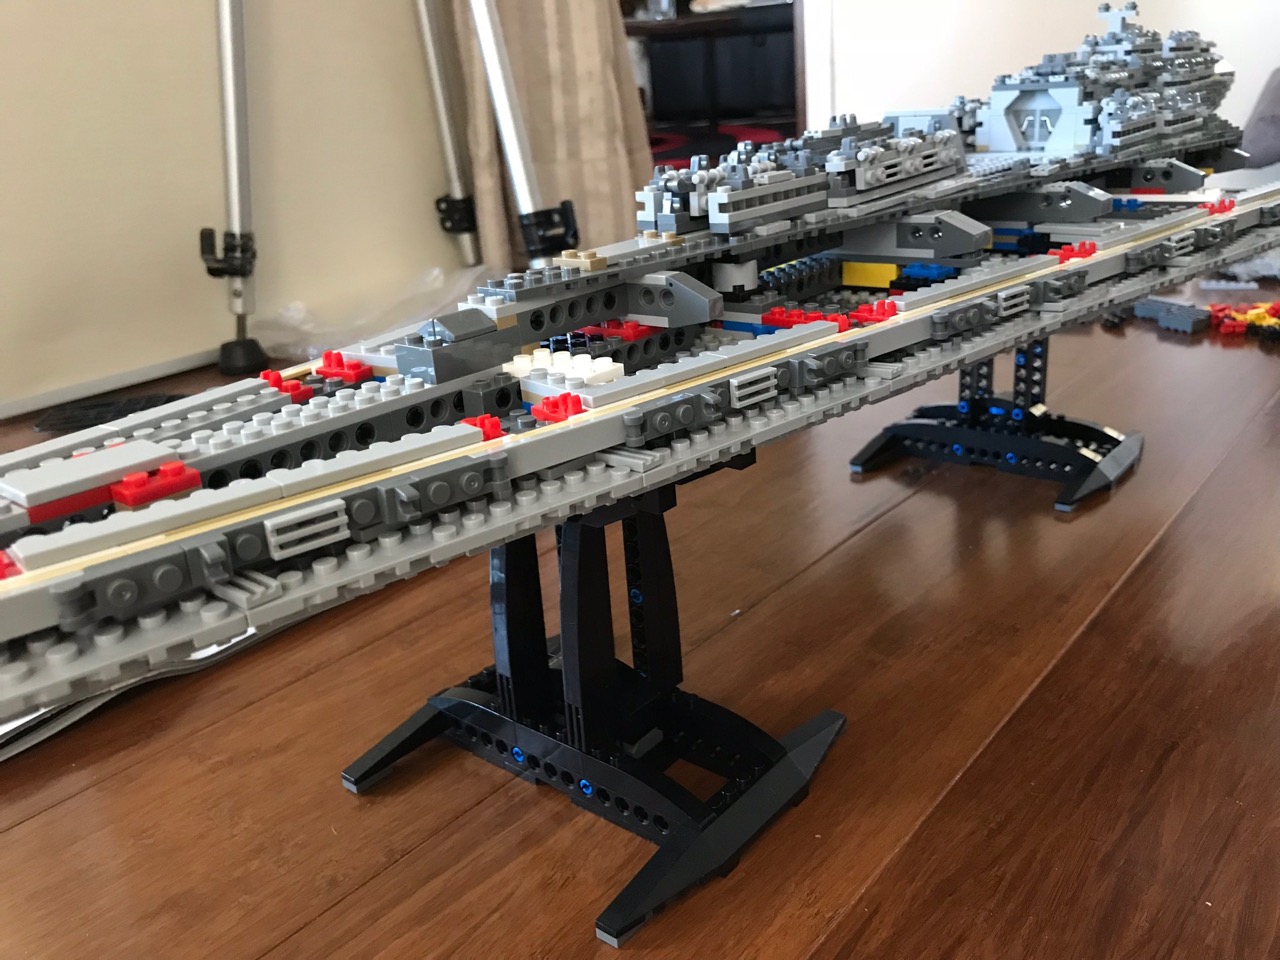
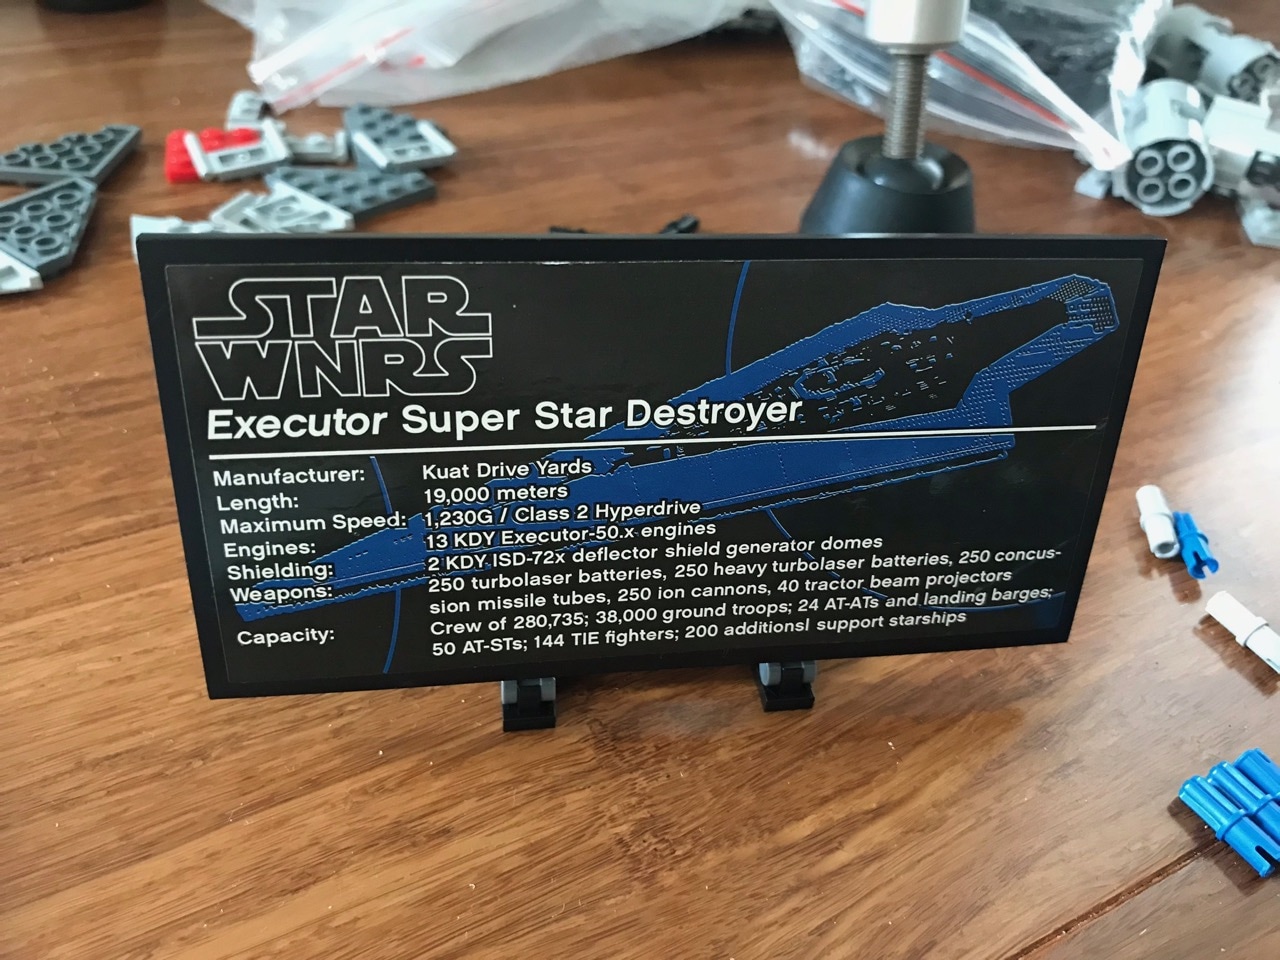
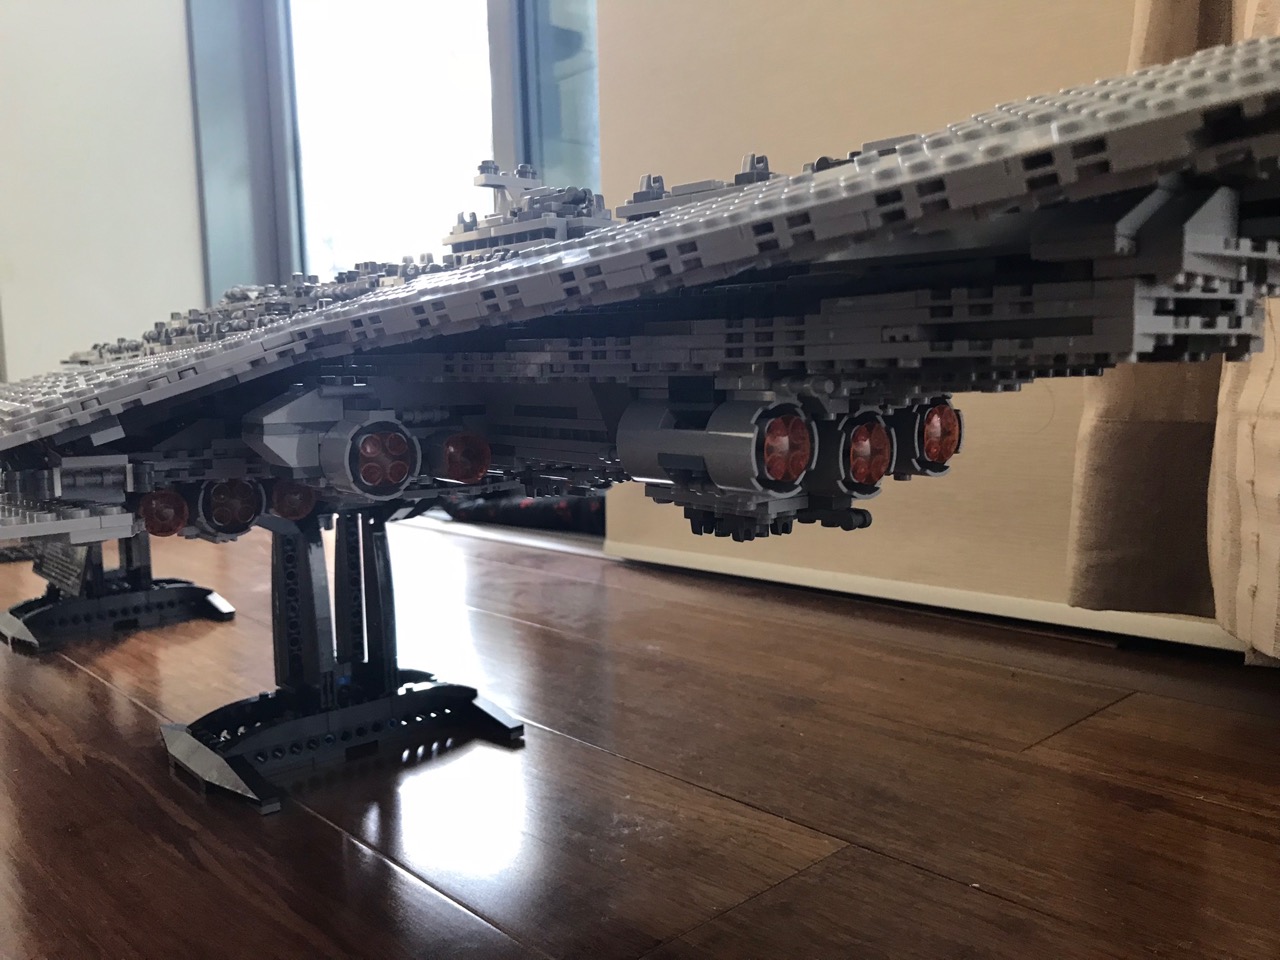
The whole ship was suspended on top of two pillars. One of the pillars also housed a nice display placard with details and stats about the ship. This was a nice touch.
The most detailed part was of course the top section. There were many single and double stud pieces to assemble into identical structures to stick on top. When that detailing was done, the long top armour sections went in and it was complete!
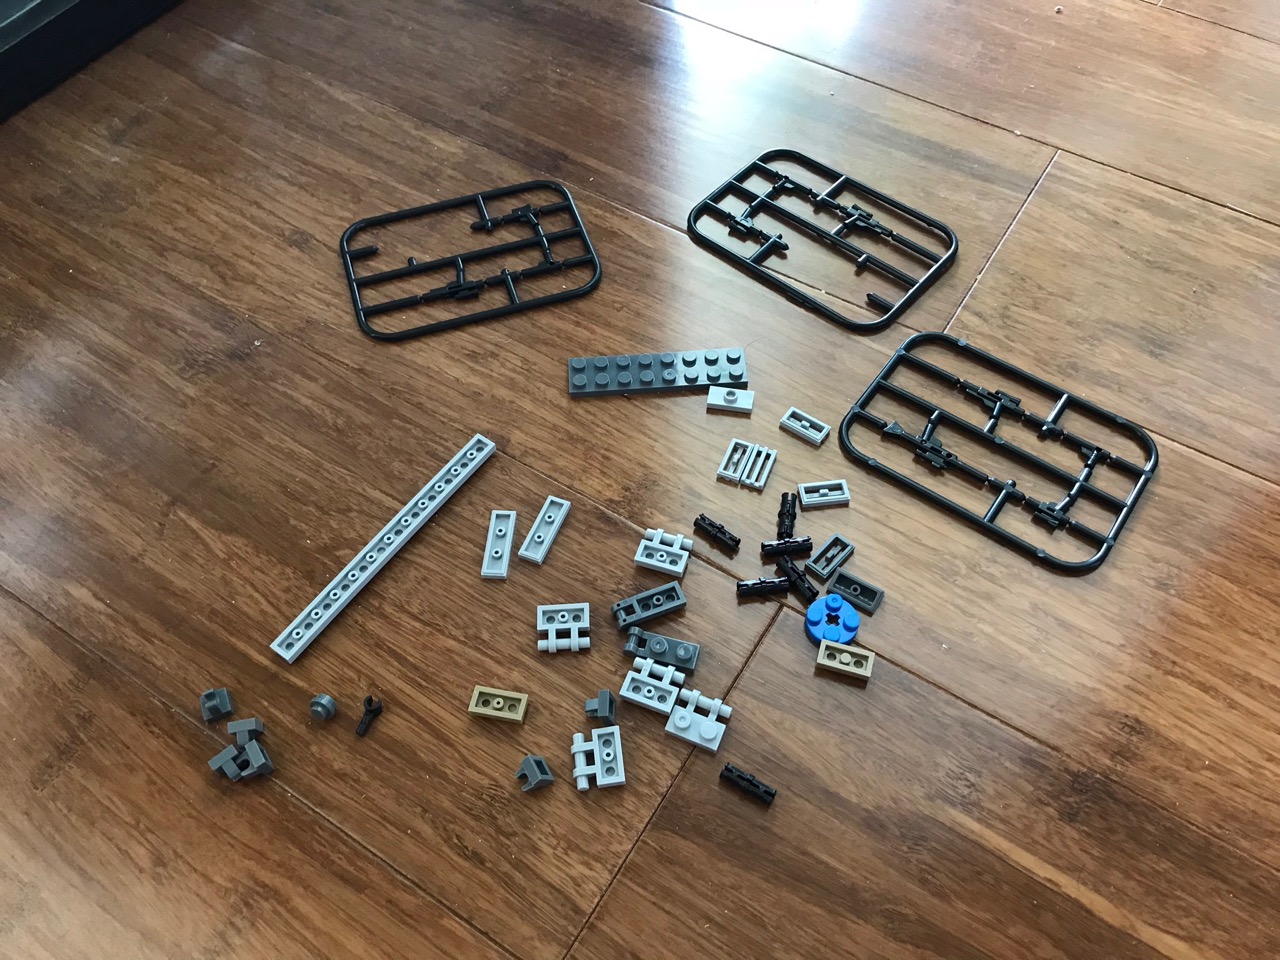
There weren't many pieces left over and not a single piece was missing. I was actually really surprised at this!
Here are some shots of the finished kit from various angles...
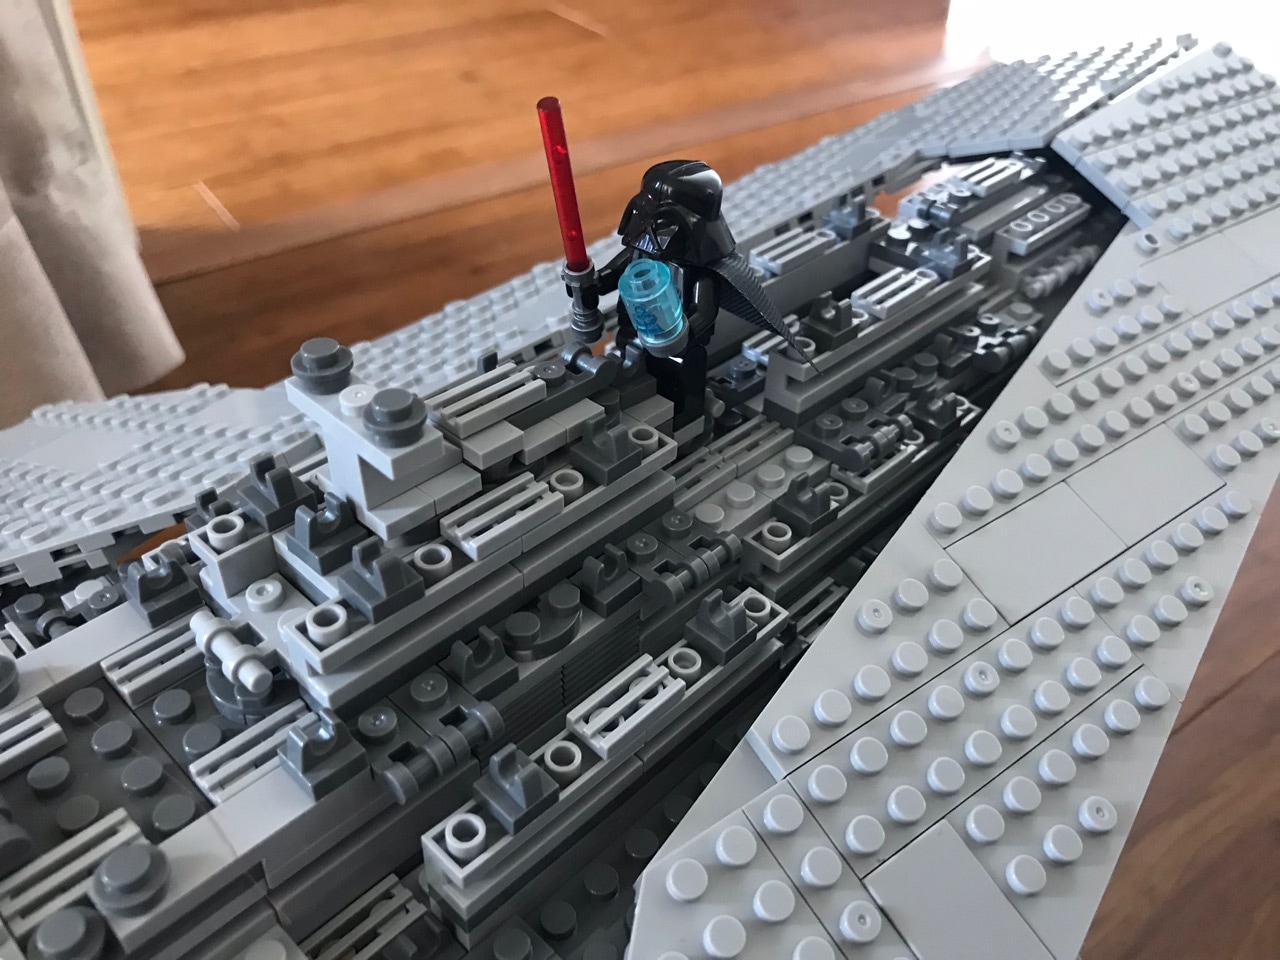
I had to top of the build by putting Darth Vader atop the ship of course!
It took me 4 days to build this in total and I spent 14 hours across those days assembling this kit. It was very much enjoyable to put together as I've never done such a big kit before. It was a challenge and it is something that I'd be willing to do in the future with my other real Lego kits (once I get more room to show them off!)
To finish off here's a time lapse video of the assembly...
If you're interested in getting this for yourself, this is where to do it: Executor Star Destroyer.
-i
