This article will only cover how to host a static site i.e. HTML files with images, CSS and JavaScript. If you have a requirement for dynamic content e.g. PHP or other server side scripts, that is not going to be covered but most of the steps here will still be applicable to you.
The article is split into three parts:
- Creating a Google Cloud project and deploying your site (what you're reading now)
- Setting up a custom domain for your site (part 2)
- Enabling SSL via Cloudflare (part 3)
So lets get started. If you don't have a Google account already, go ahead and sign up, it's free.
Next head on over to the Cloud Platform Console and click the drop down next to 'Select a project'.

Click the + button to create a new project.

Enter your project details. It doesn't really matter what you put in here, just keep track of the Project ID that is assigned. You can also click Edit to assign your own ID like I did.

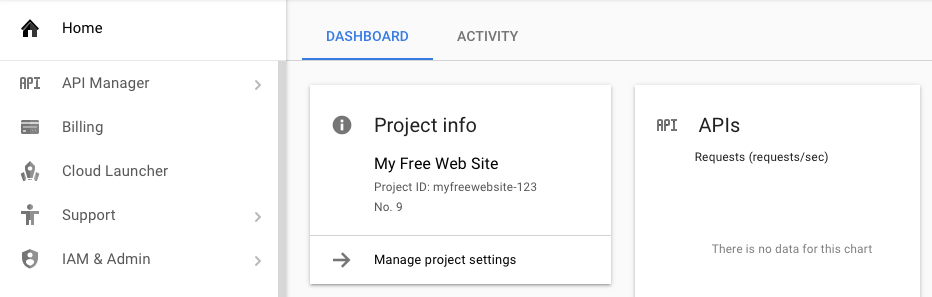
Click Create and you'll be taken to the project's dashboard page. If that doesn't happen, click the drop down next to 'Select a project' again and select your project from the 'All' tab.
The next step is to download and install the Google Cloud SDK. There are platform specific instructions and a download link on the documentation site. Since there are many platforms to cover and Google's documentation already does a good job of that I will not cover that here. Just follow the instruction on the documentation page linked above.
After installation, when you run 'gcloud init' select your project created above as the default project. This is where you'll need to know the Project ID you noted earlier.
The next step is to make your web site deployable to the Google Cloud. There is an article that Google has posted about hosting a static site which is useful but I like my approach below better.
First create a new directory for your project and take your existing web site code and put it into a sub-directory of the project directory called 'web'. This should include all of the CSS, JavaScript, images, HTML pages, etc.
Then create a text file called app.yaml in the project directory (contents for this file are listed below).
The layout should look something like this:

Here's an app.yaml file that should work for most static sites. There is a reference available in case you need to customise it.
app.yaml
runtime: python27
api_version: 1
threadsafe: true
handlers:
- url: /
static_files: web/index.html
upload: web/index.html
- url: /(.*)
static_files: web/\1
upload: web/(.*)
The only thing to do now is deploy your project/site. This is done by running the 'gcloud app deploy' command. This is done in the same manner as when you ran the 'gcloud init' command but you have to do it from the project directory (where you app.yaml file is).
Deployment will ask you where you want to deploy, pick the most appropriate data centre to continue. Your site will be packaged and uploaded to the Google Cloud. The final output should look something like this:
Deployment
╔════════════════════════════════════════════════════════════╗
╠═ Uploading xx files to Google Cloud Storage ═╣
╚════════════════════════════════════════════════════════════╝
File upload done.
Updating service [default]...done.
Deployed service [default] to [https://myfreewebsite-123.appspot.com]
At this point your site will be available via the appspot.com domain but not your own domain. The next part of this article is how to set up your own domain for your project.
Continue reading to set up you domain for you web site in part 2 of this article.
-i
