This article is split into five parts, as each part becomes available I'll link to it below.
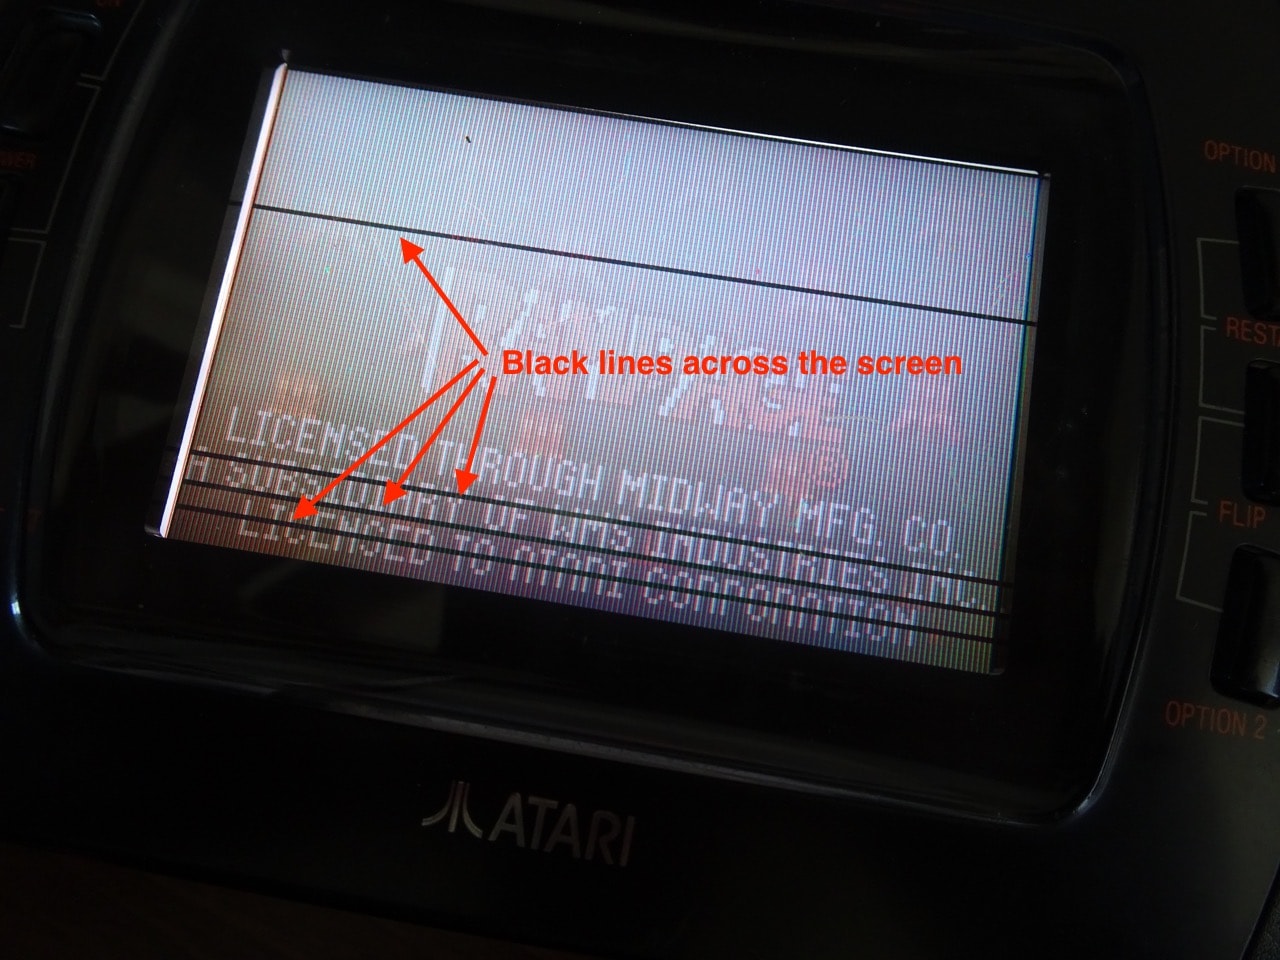
This is what the screen was looking like. There were these odd black lines across the screen. The brightness worked well, but the colours were not very vibrant.
Sound was even worse. Here's a video of the theme tune from Rampage playing (you may need to turn up your speakers to hear it)...
Crackle, hiss, crackle, crackle! Very quiet too.
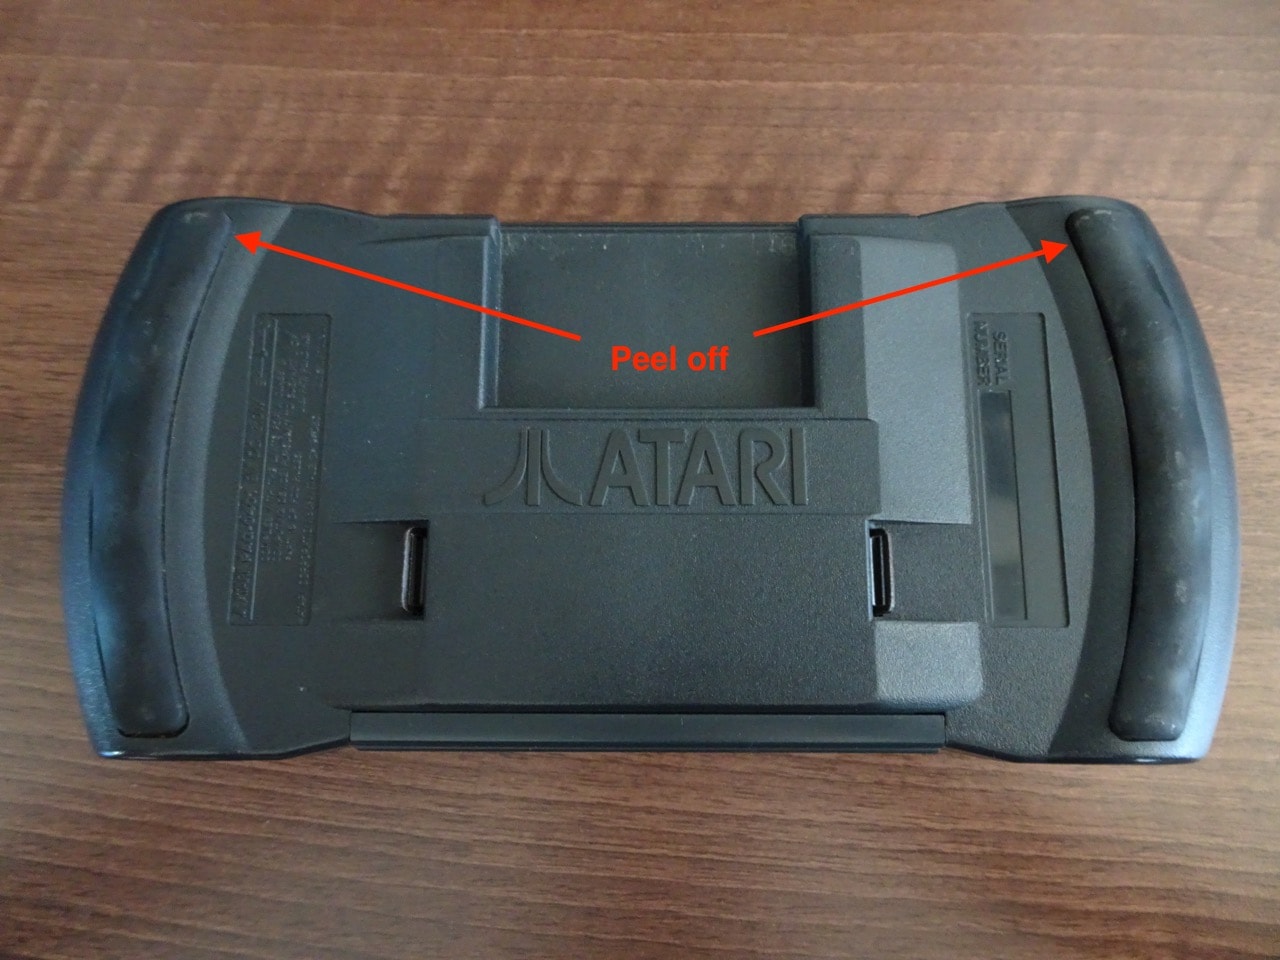
So before I could do anything, I had to take the Lynx apart. The first step was to peel off the rubber grips. These were held pretty firmly with some glue. Once they were off, I put them aside into a drawer to keep them dust free so I could stick them back on when when the whole mod was finished.
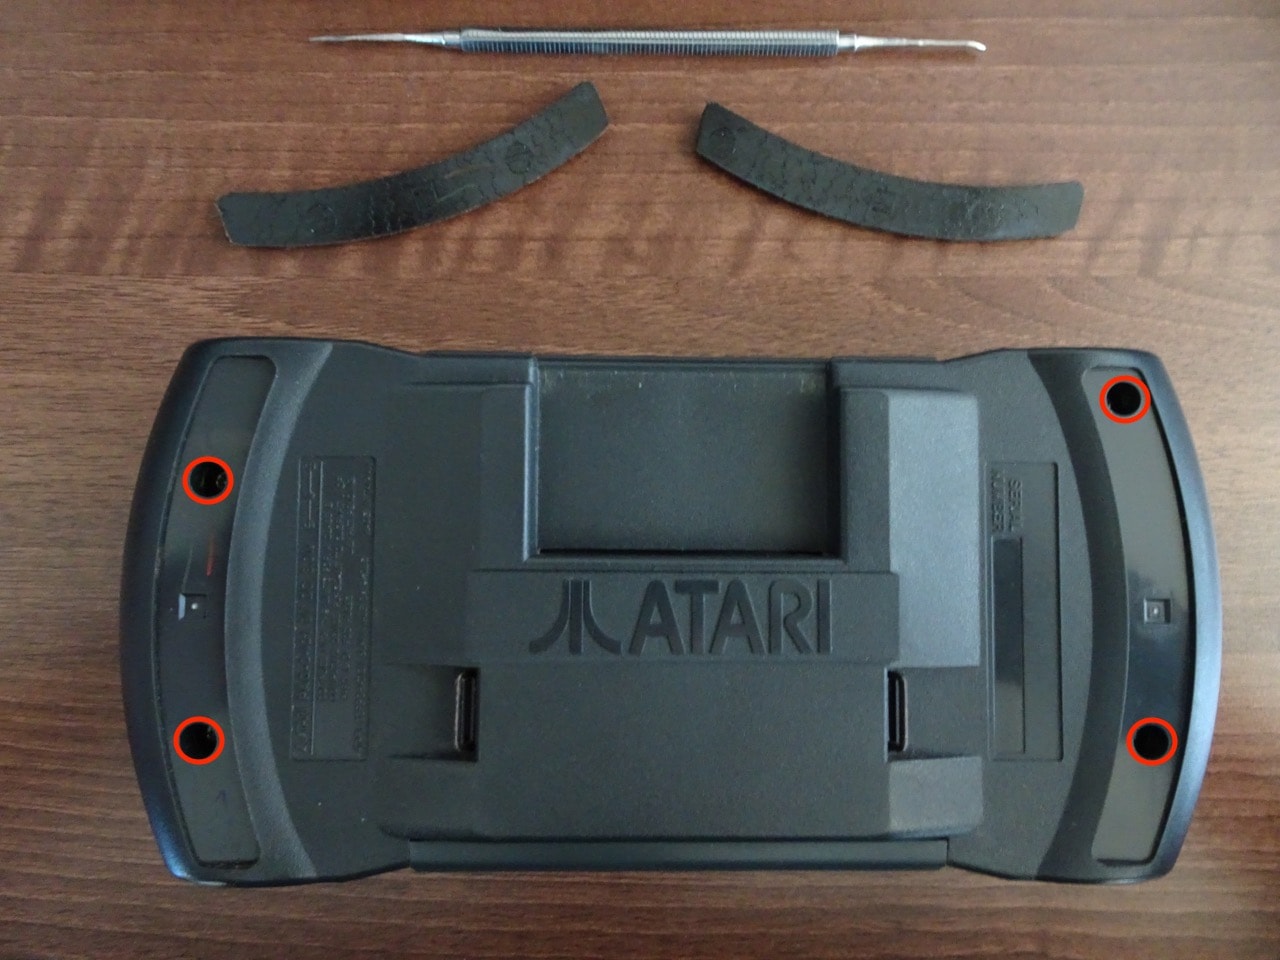
With the grips off I could then remove four screws that hold the case together.
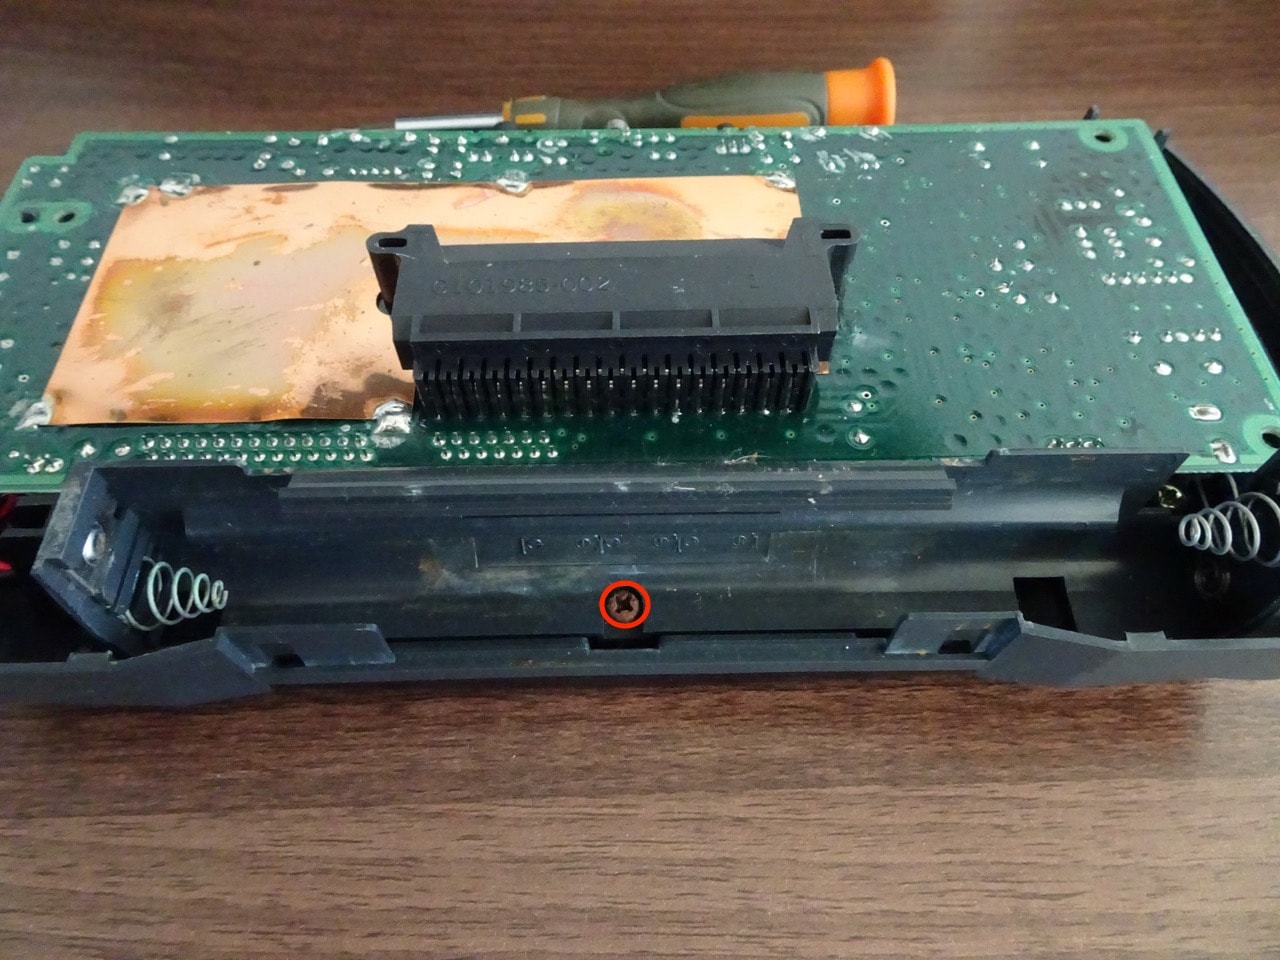
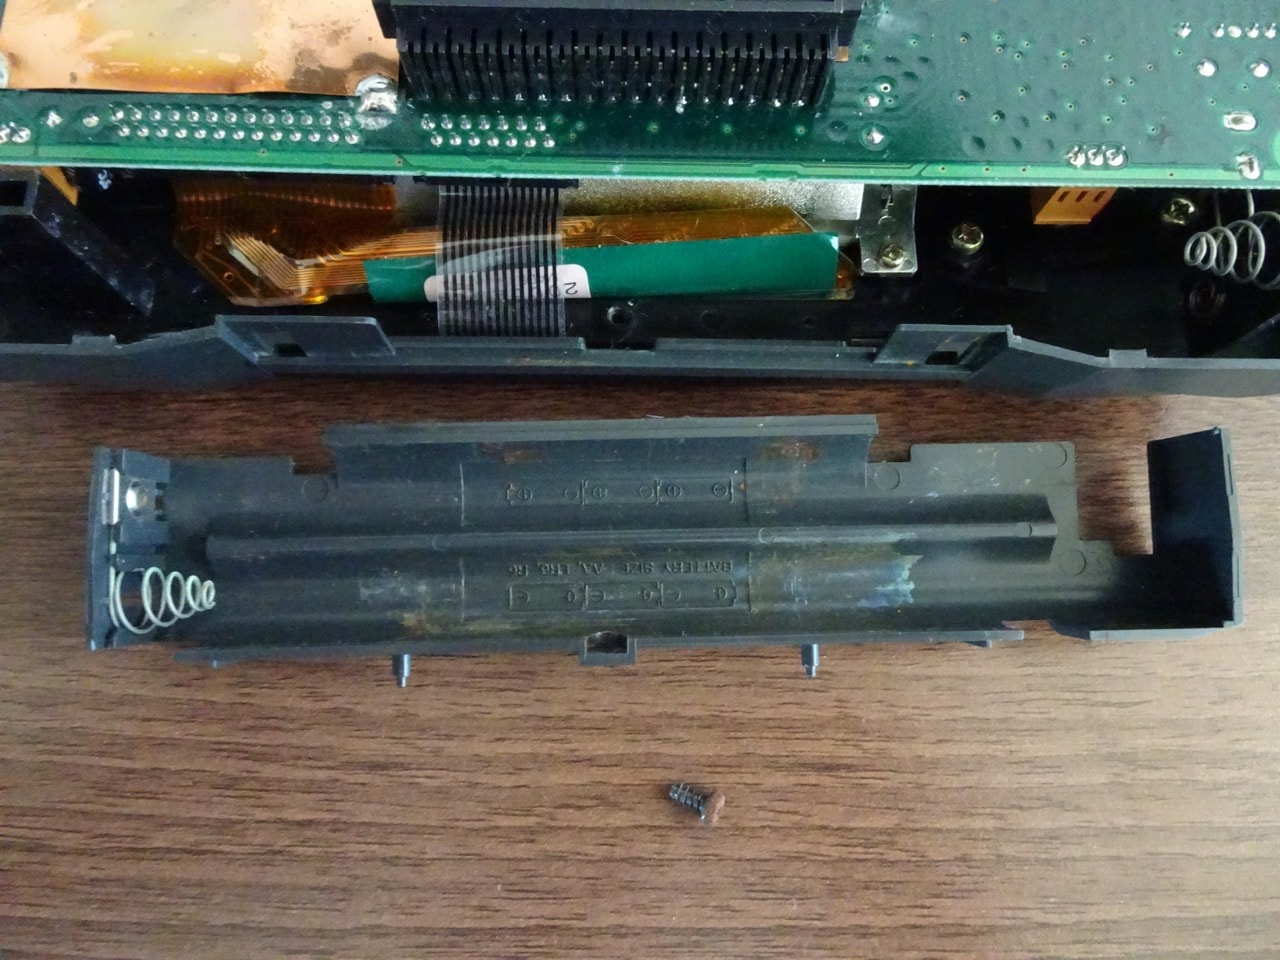
Prying the case apart I discovered that the motherboard was not secured by any other screws inside. The battery compartment was still in the way though, held on by a single screw.
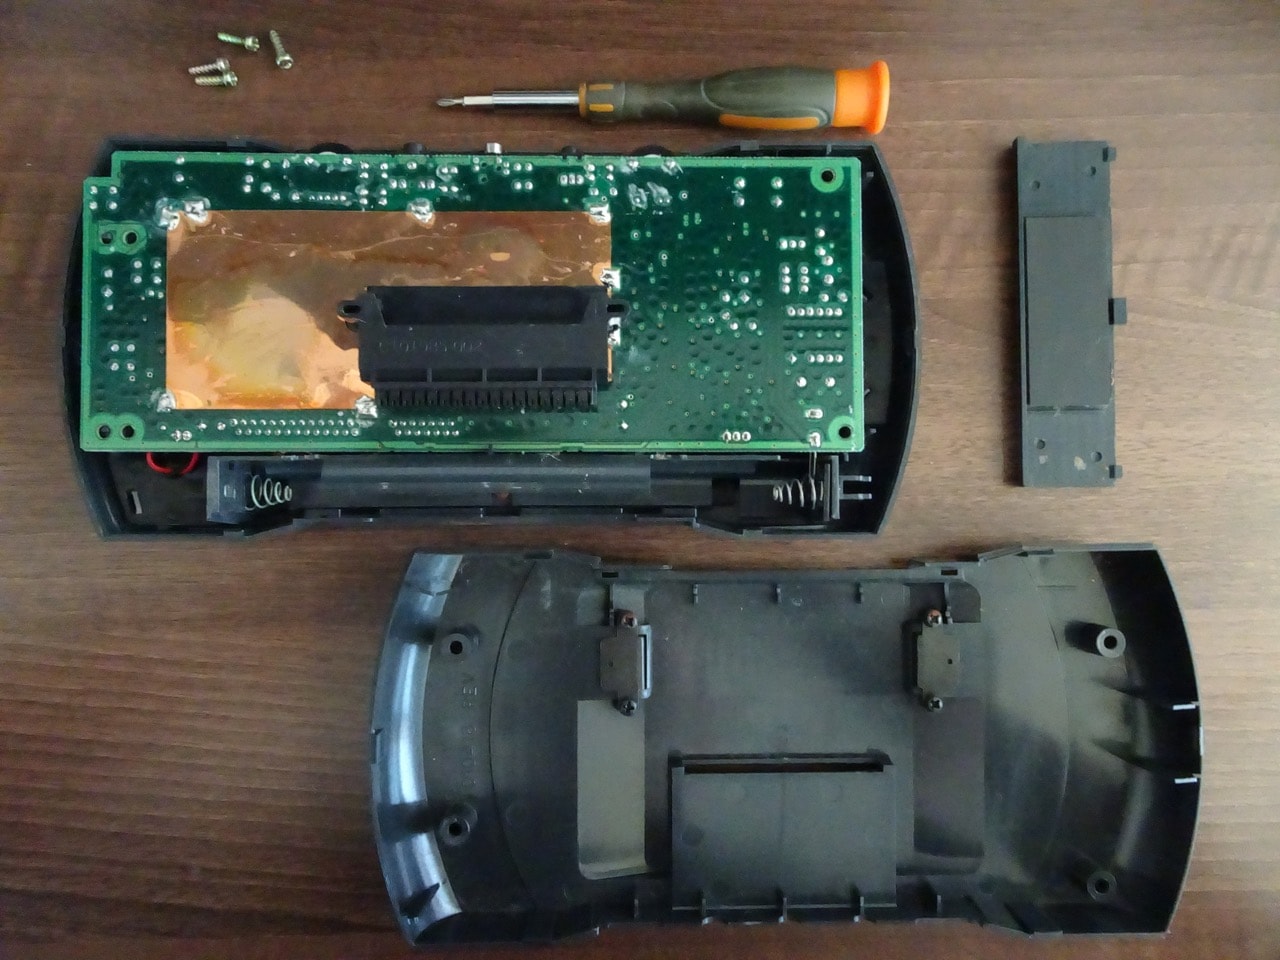
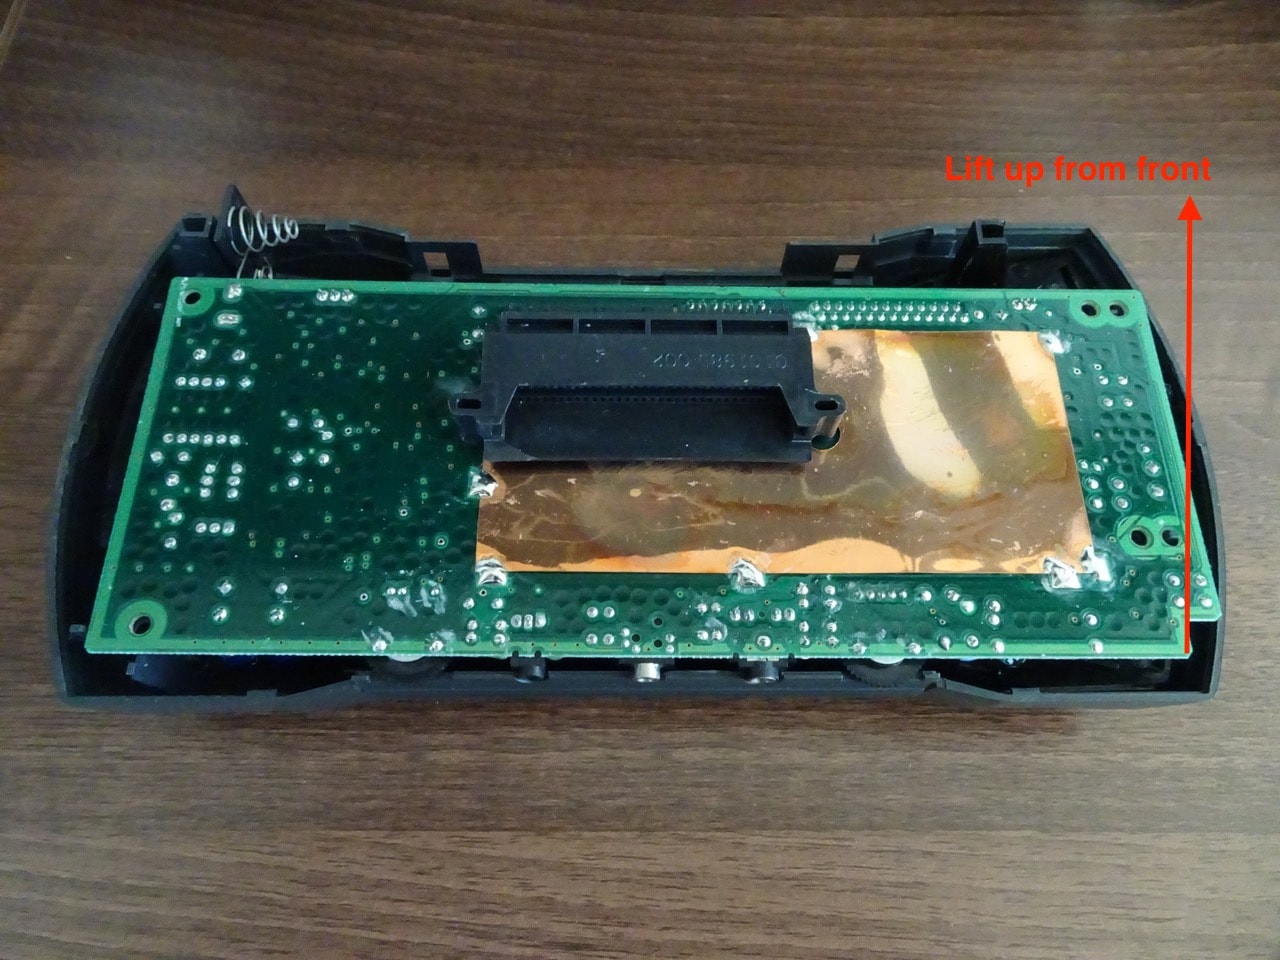
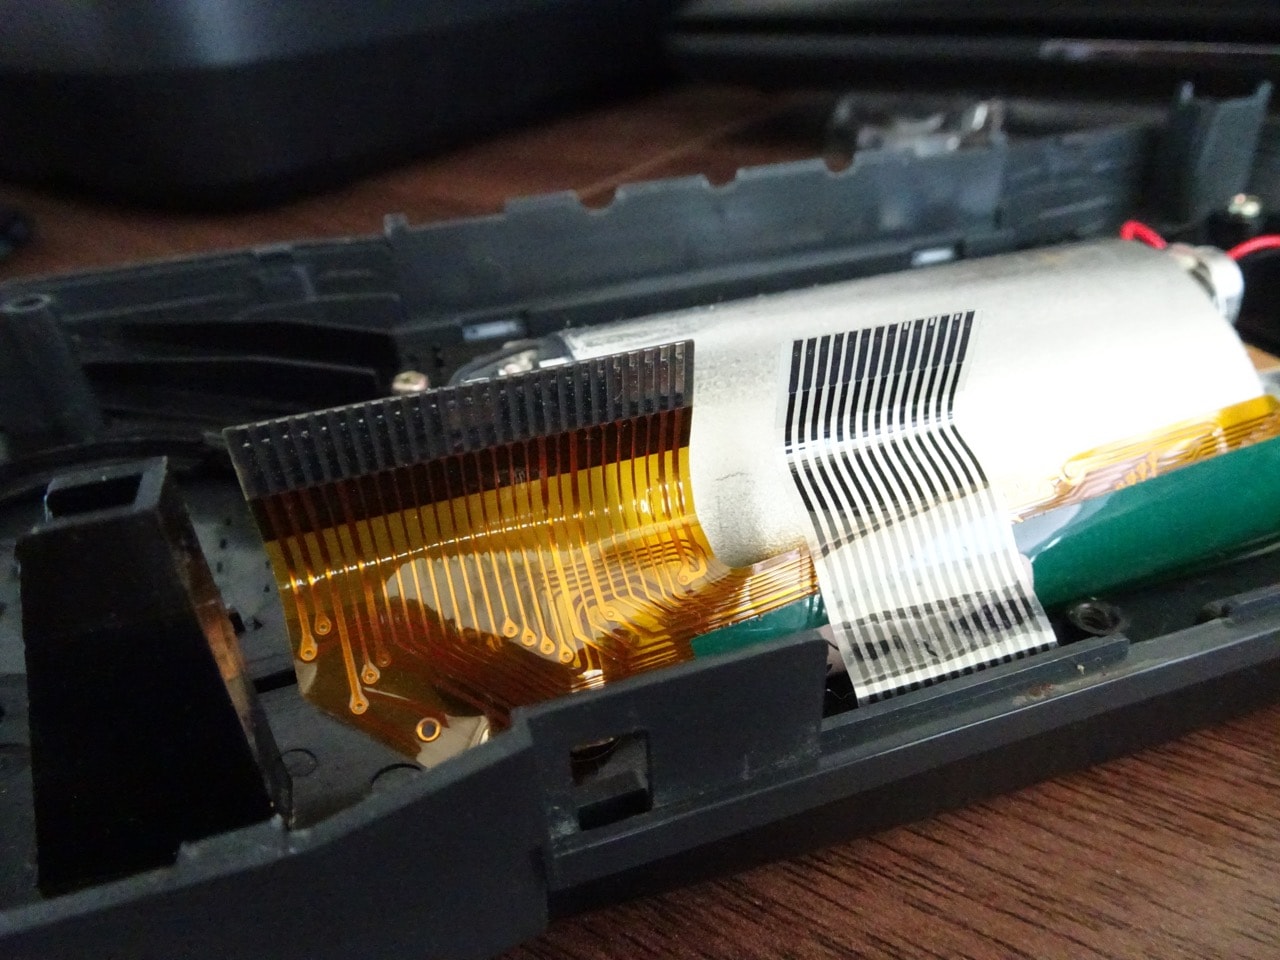
Behind the battery compartment were some ribbon cables, I decided to disconnect those a bit later. First, I spun the console 180 degrees around and lifted the motherboard up from the front side.
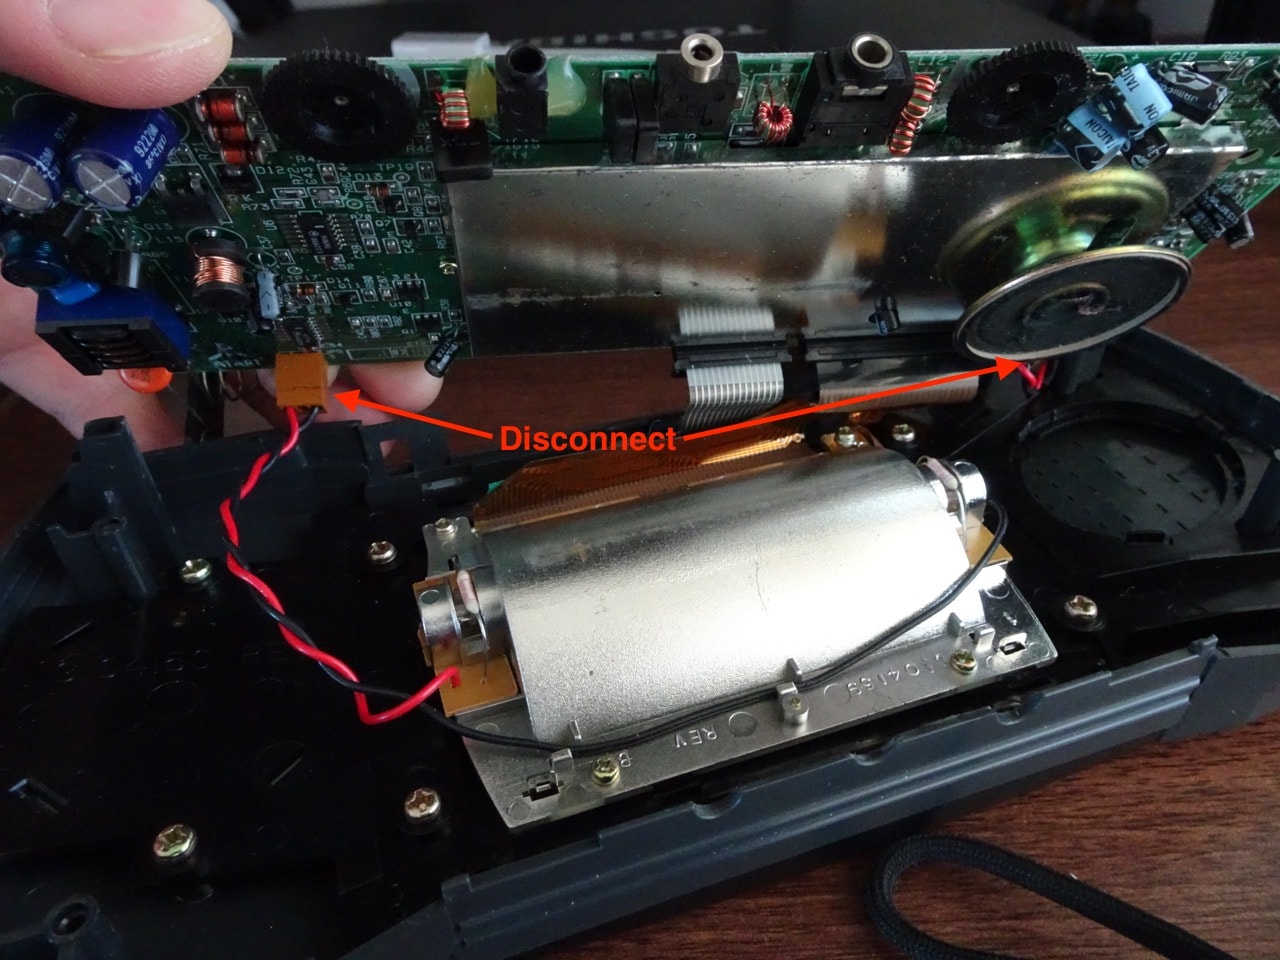
Here I could disconnect the backlight and speaker cables. These were the easy ones.
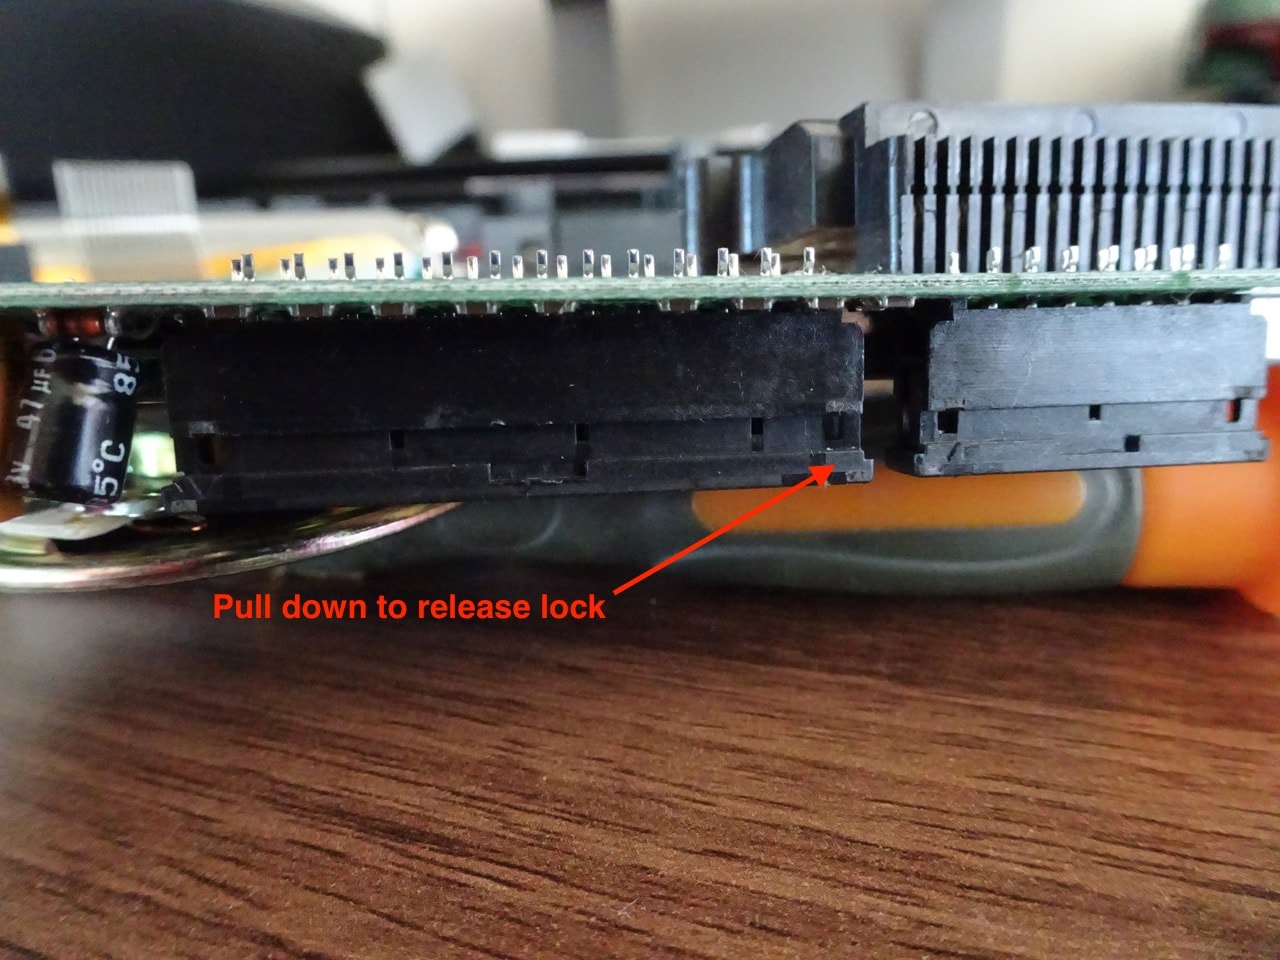
To disconnect those ribbon cables I had to release the locks on their sockets first. This was done by pulling the topmost notches away from the board. Once those were lifted as per the picture below, the ribbon cables came out easily.
The motherboard was now free!
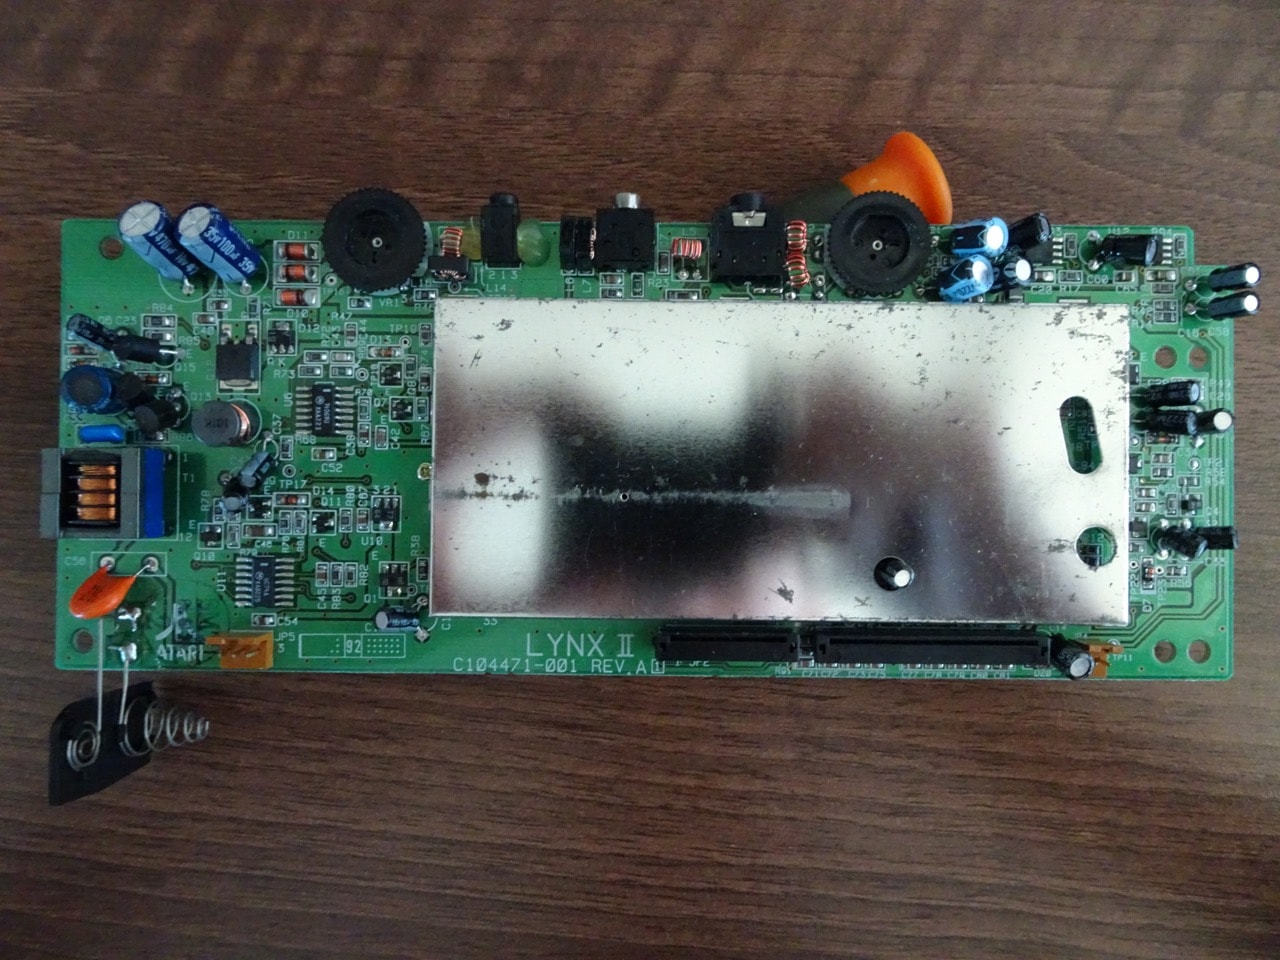
The next step was to replace all of the electrolytic capacitors on the motherboard. There were plenty of kits available on eBay, but I decided to put together my own from a Lynx Capacitor Picking List. This was cheaper for me since I was buying enough capacitors to do multiple Lynx consoles. I got all my caps from RS online.
Continue reading: Atari Lynx repair - Part 2 - re-capping the motherboard.
-i
