This article is split into five parts, as each part becomes available I'll link to it below.
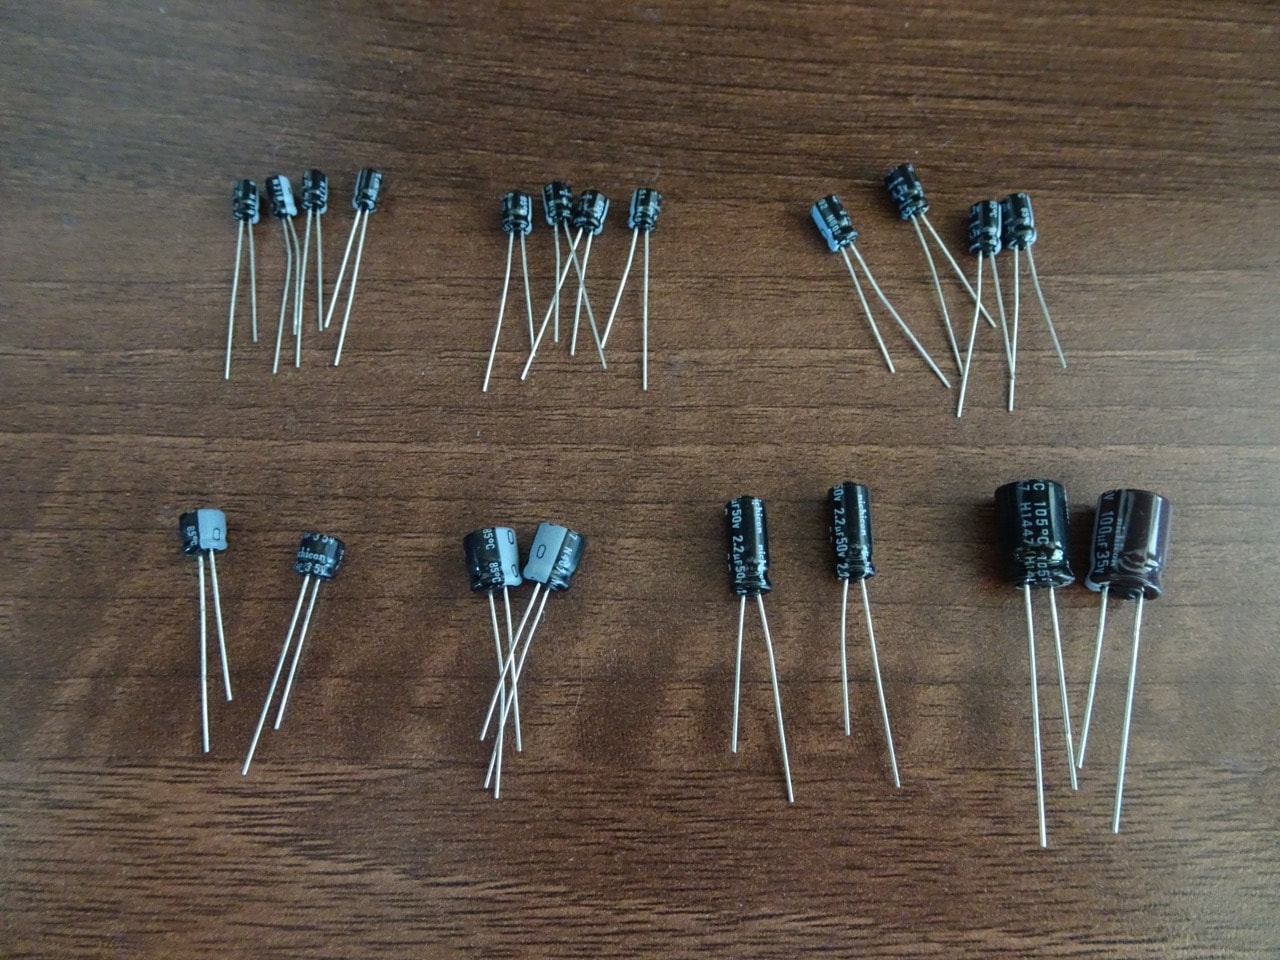
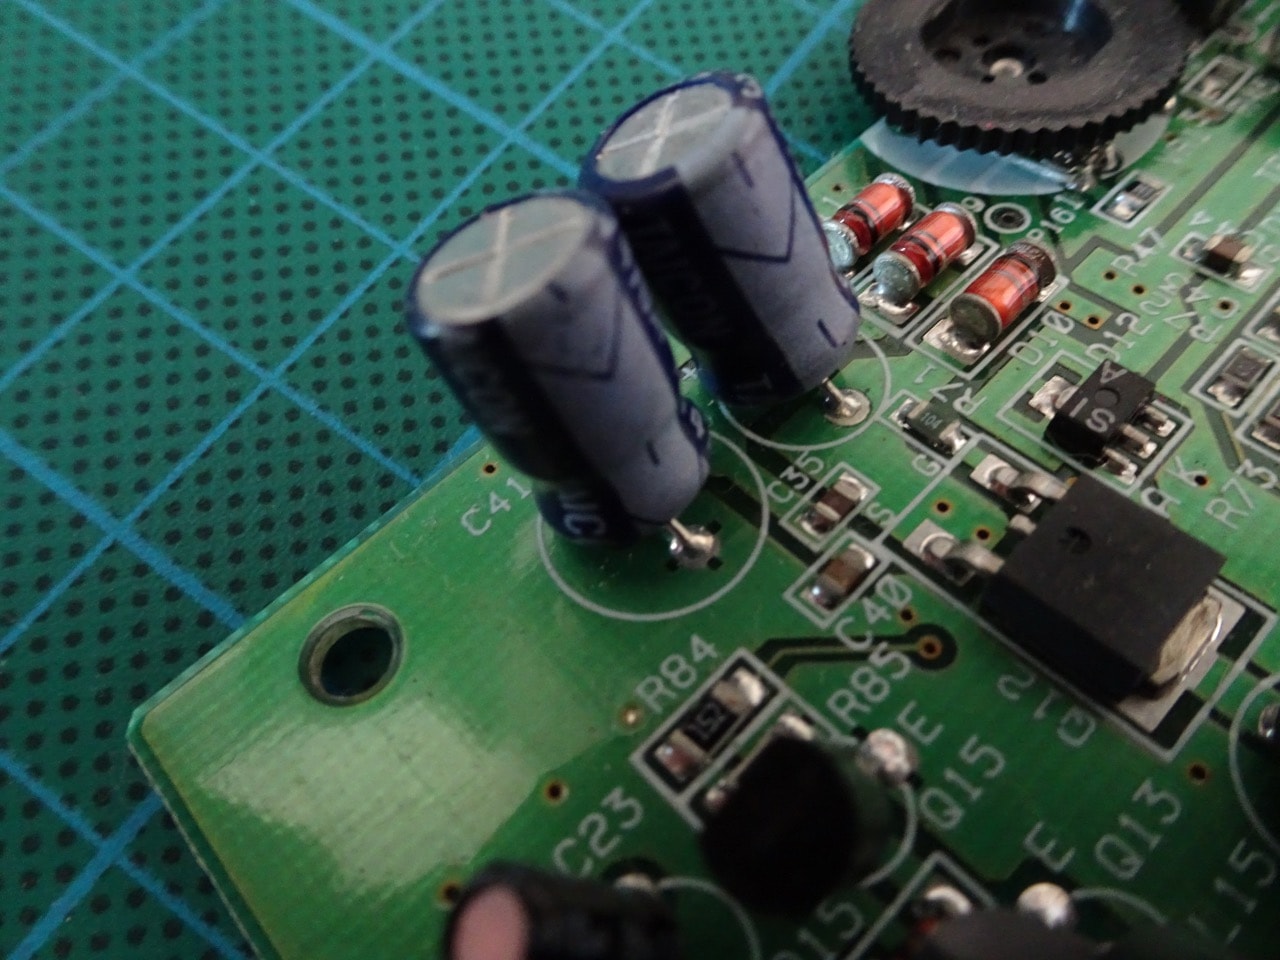
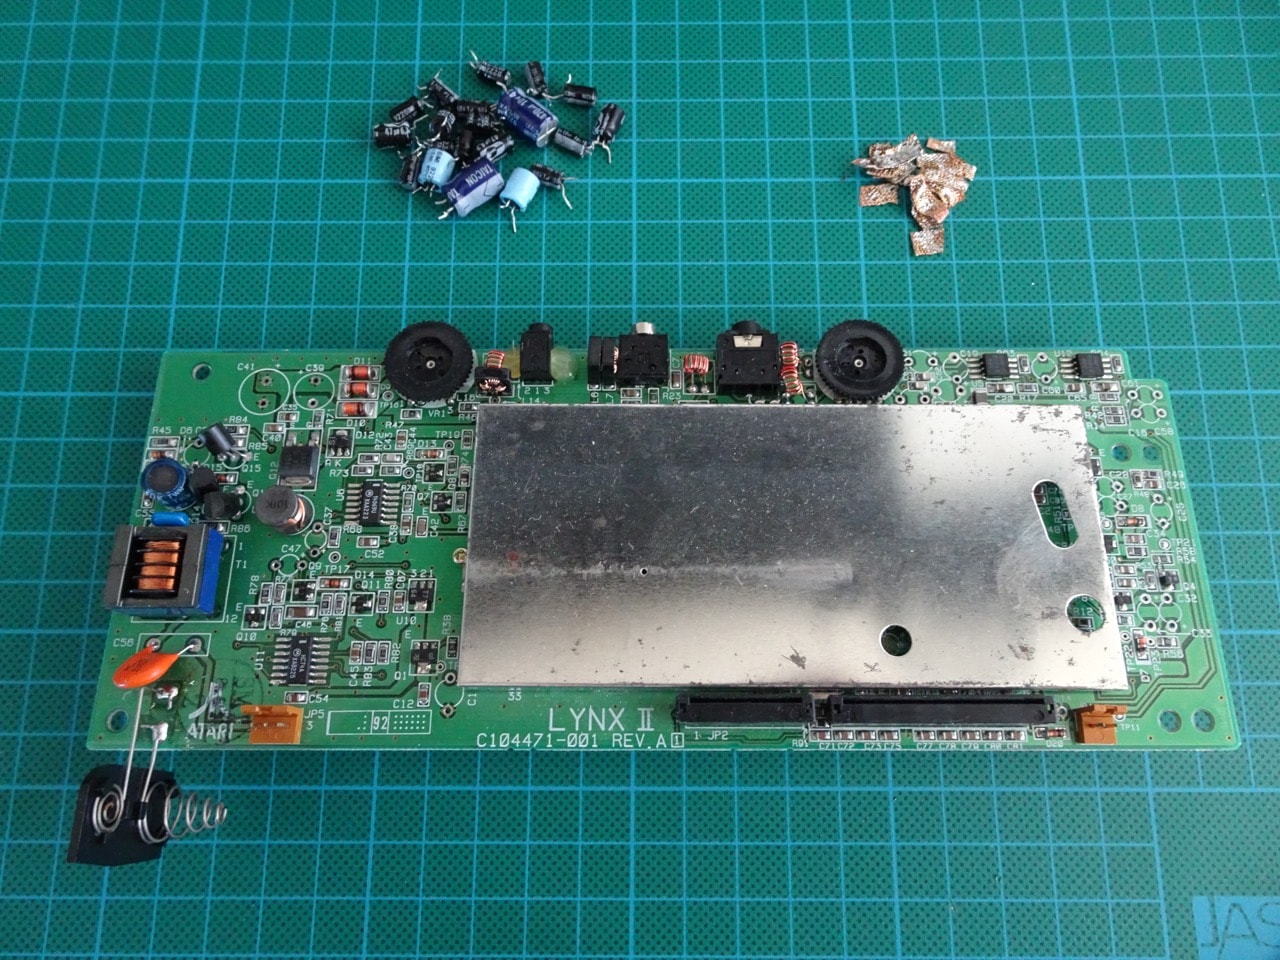
As of the last post, I had the Lynx motherboard out. I also had gathered all of the necessary capacitors from the Lynx 2 picking list. It's always a good idea to lay out and group the same type of component together so I did just that with all the capacitors, placing them into seven groups (the 100uF and 470uF got grouped together based on their physical size).
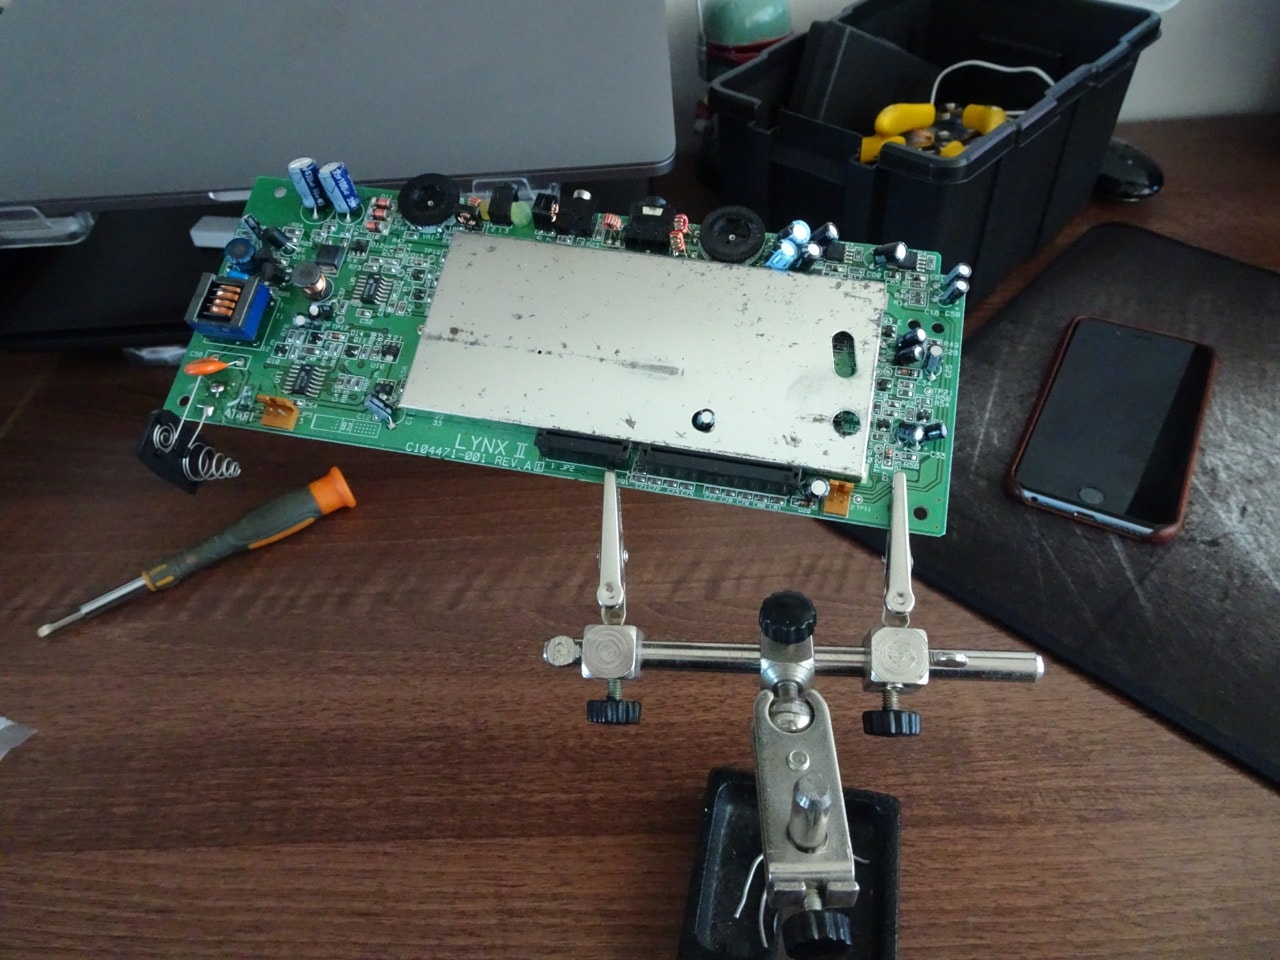
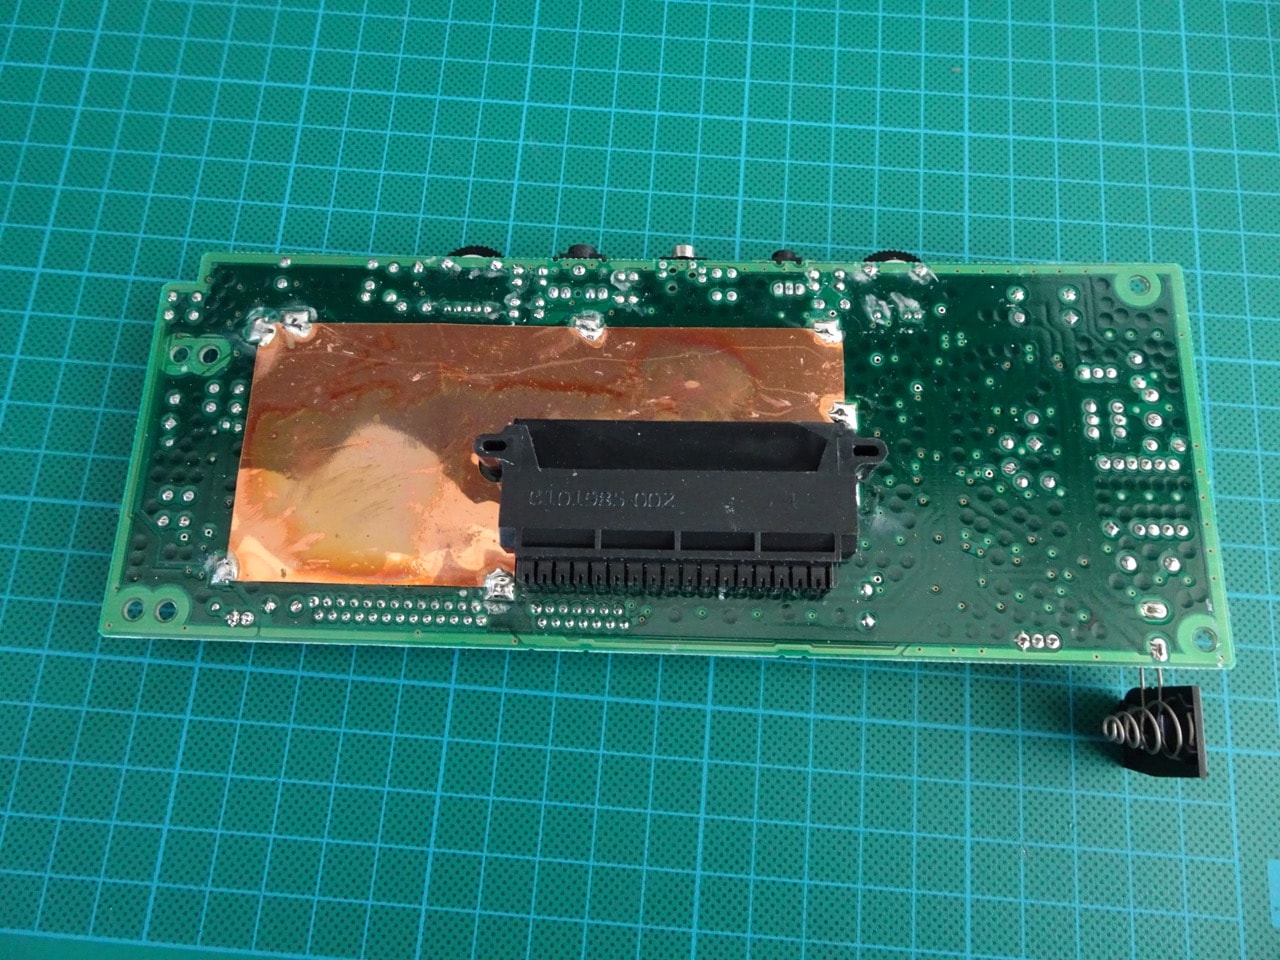
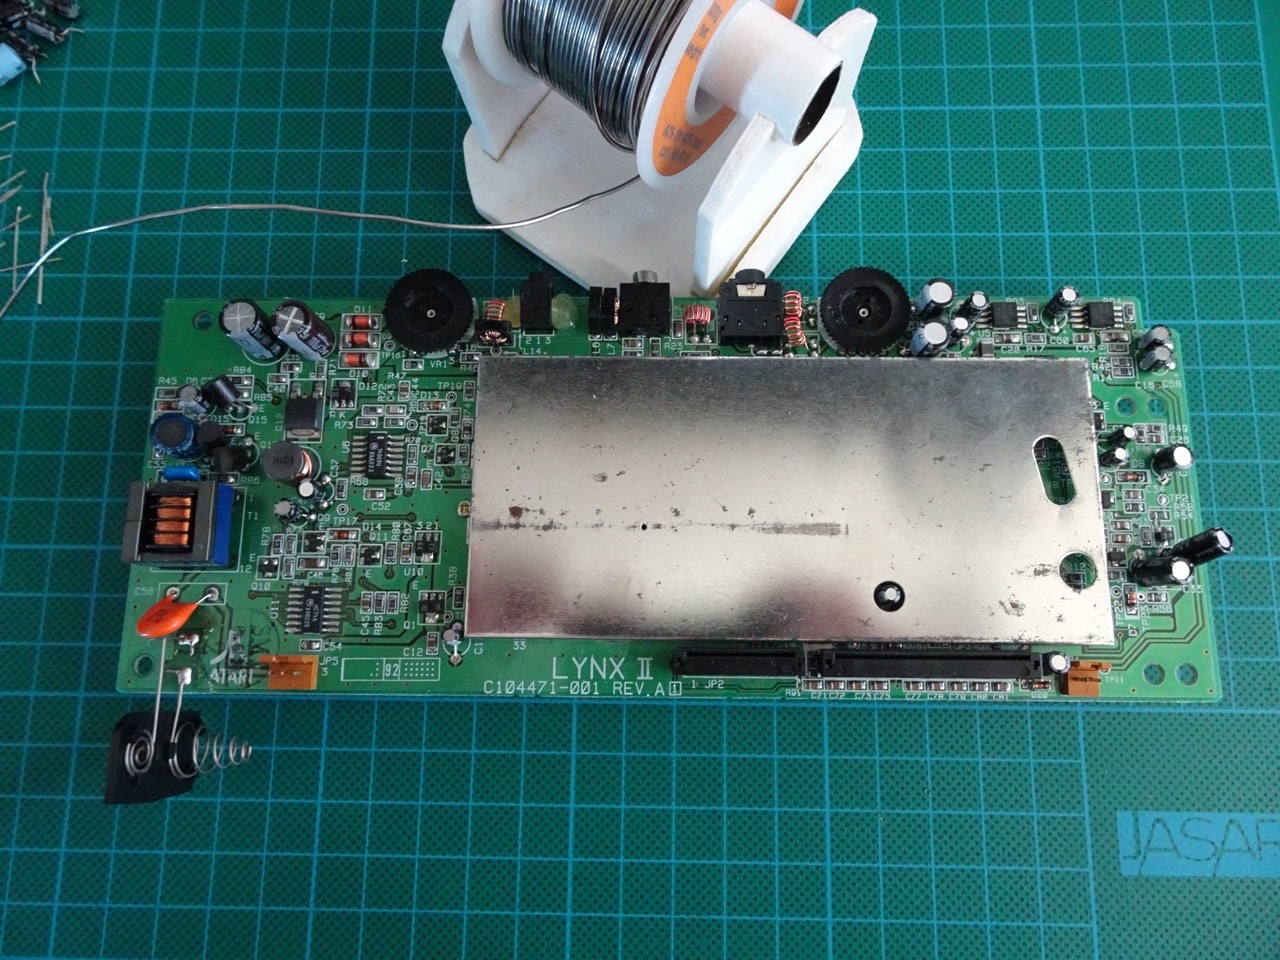
This was the back of the motherboard which was where most of the work to remove the original capacitors happened.
I've never used soldering wick prior to this so things started off slowly. To remove a capacitor I was heating the wick over a solder joint and letting the wick absorb all of the solder. The process wasn't perfect but it removed enough solder to let me pull the capacitor out from the other side. Afterwards I used more wick to collect any remaining solder so the PCB hole was nice and clean.
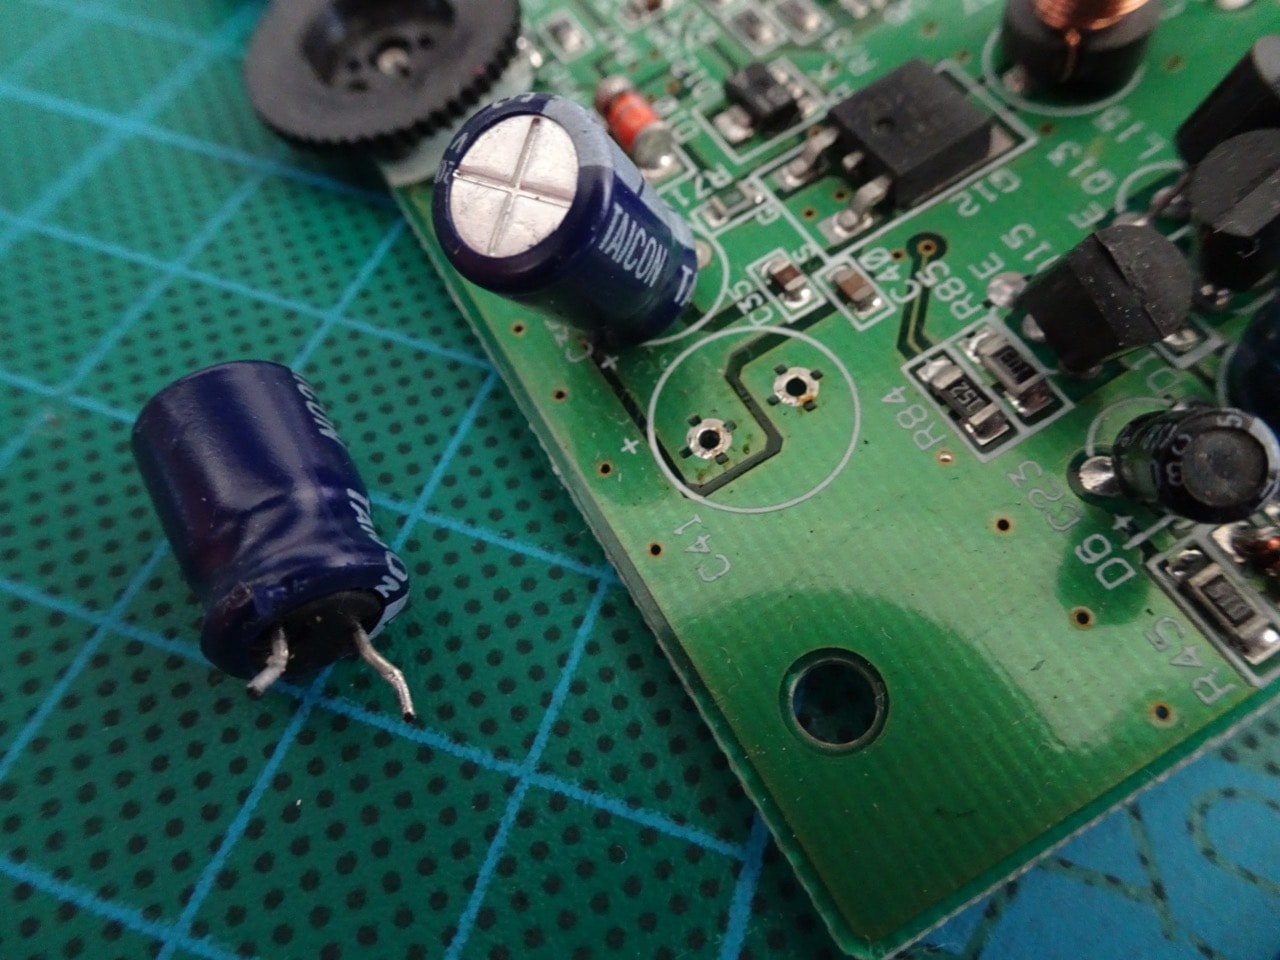
After removing a couple of capacitors I discovered that if the wick was stretched apart, it worked much more effectively. I could literally see solder soak into the wick this way. That was my method going forward. I removed all of the electrolytic capacitors except for C3.

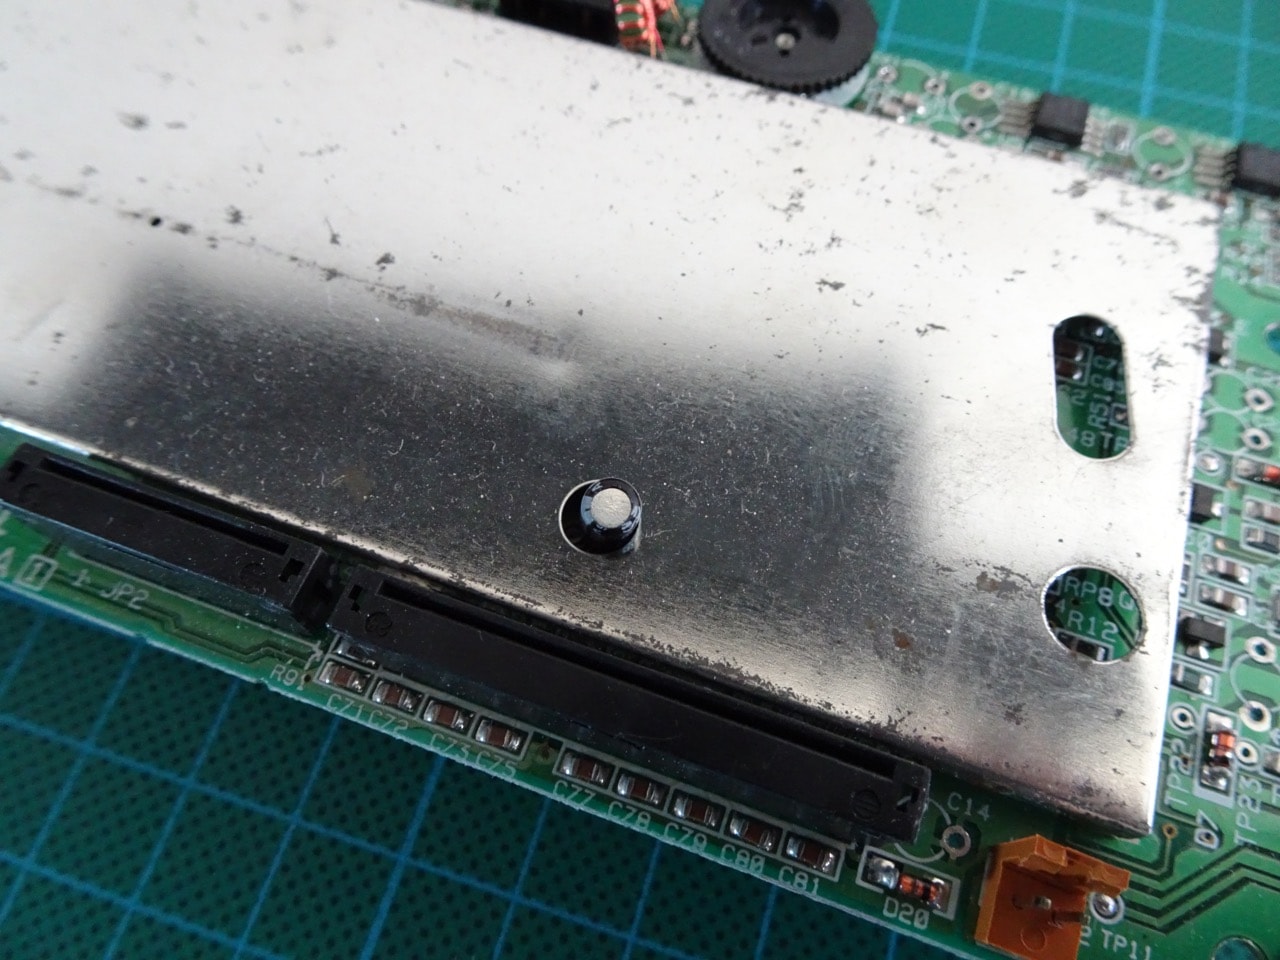
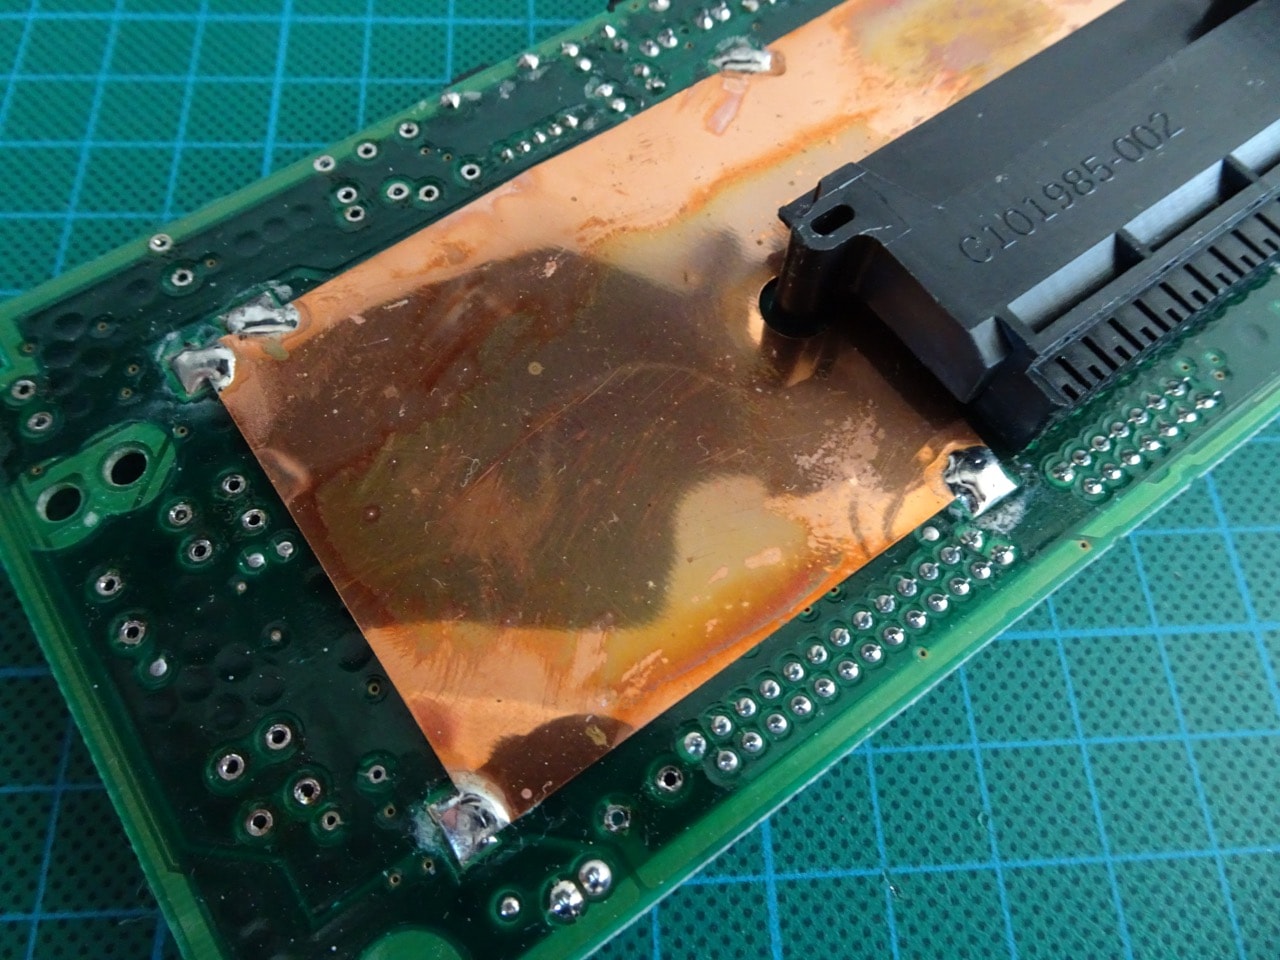
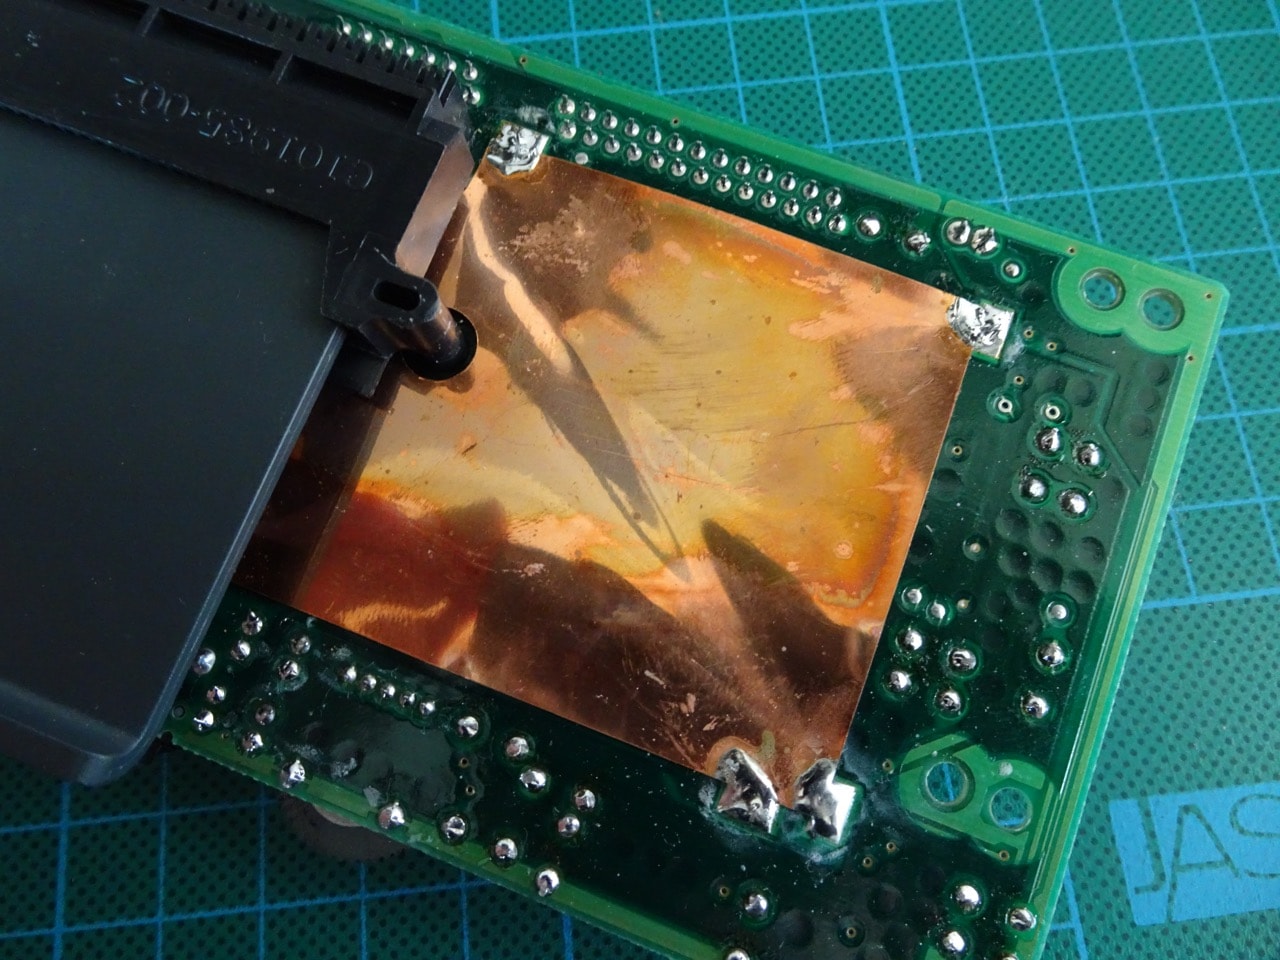
The C3 capacitor was obstructed by the (steel?) RF shield. I saw that some guides recommended removal of this part of the shield first, which I didn't like. I tried an alternative approach.
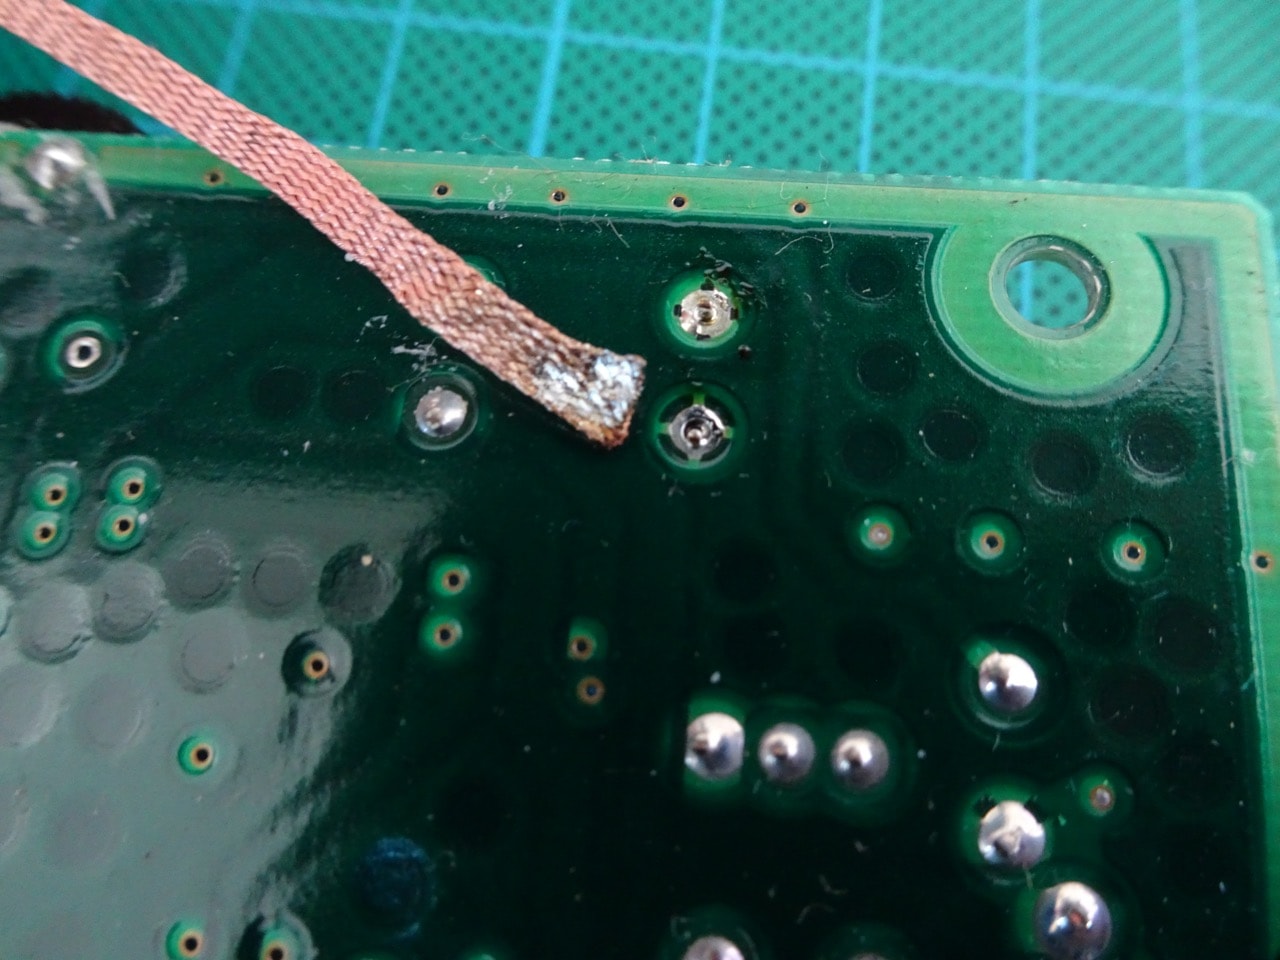
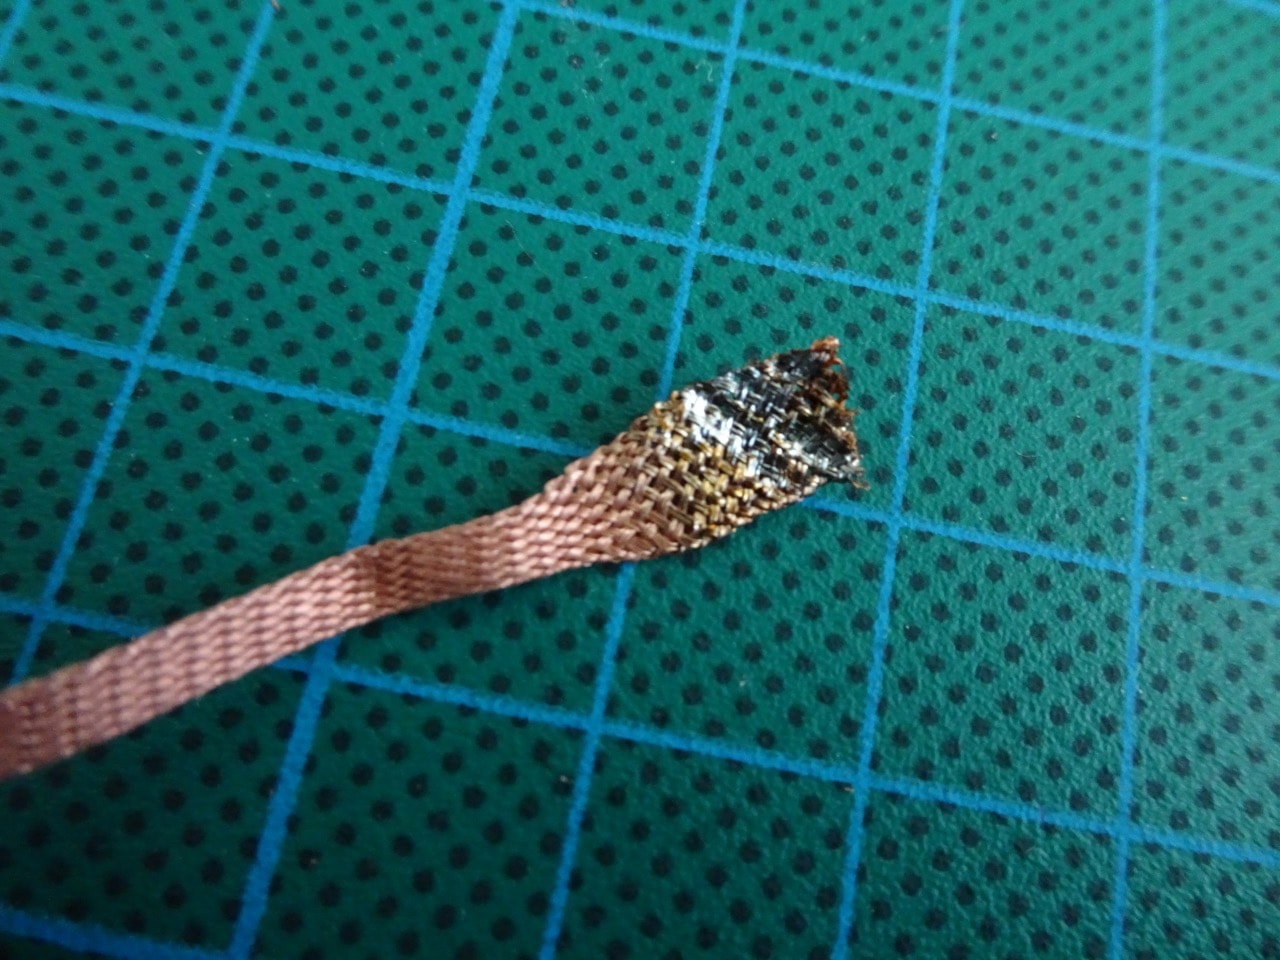
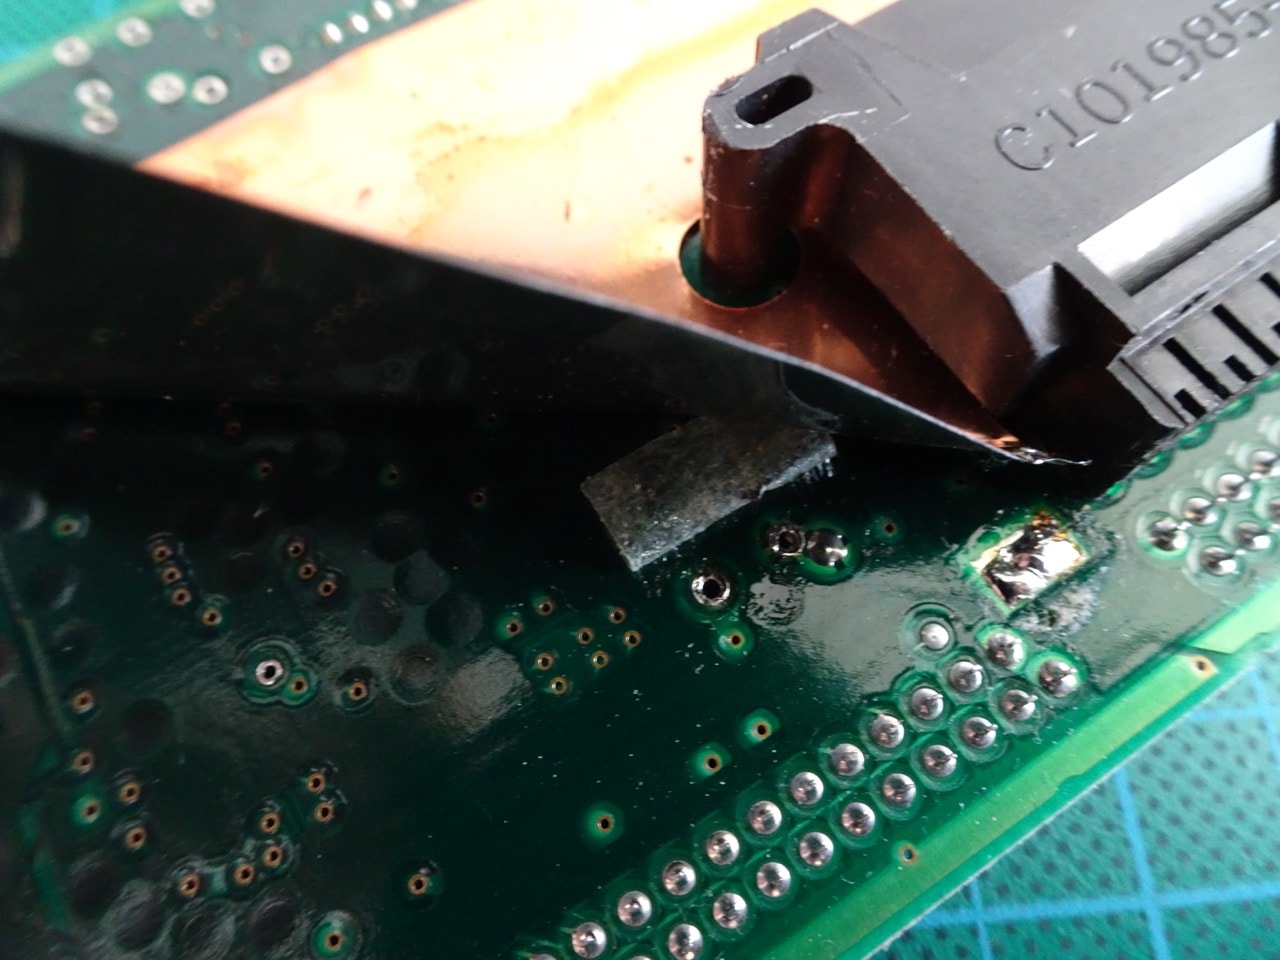
On the rear side of the motherboard the RF shield is just a thin copper sheet soldered into a few pads on the motherboard. It was much easier to desolder this sheet than to try and remove the steel shield on the opposite side. It took a huge amount of wick to absorb all of the solder, but eventually I could peel this sheet away enough to get to the C3 mount points.
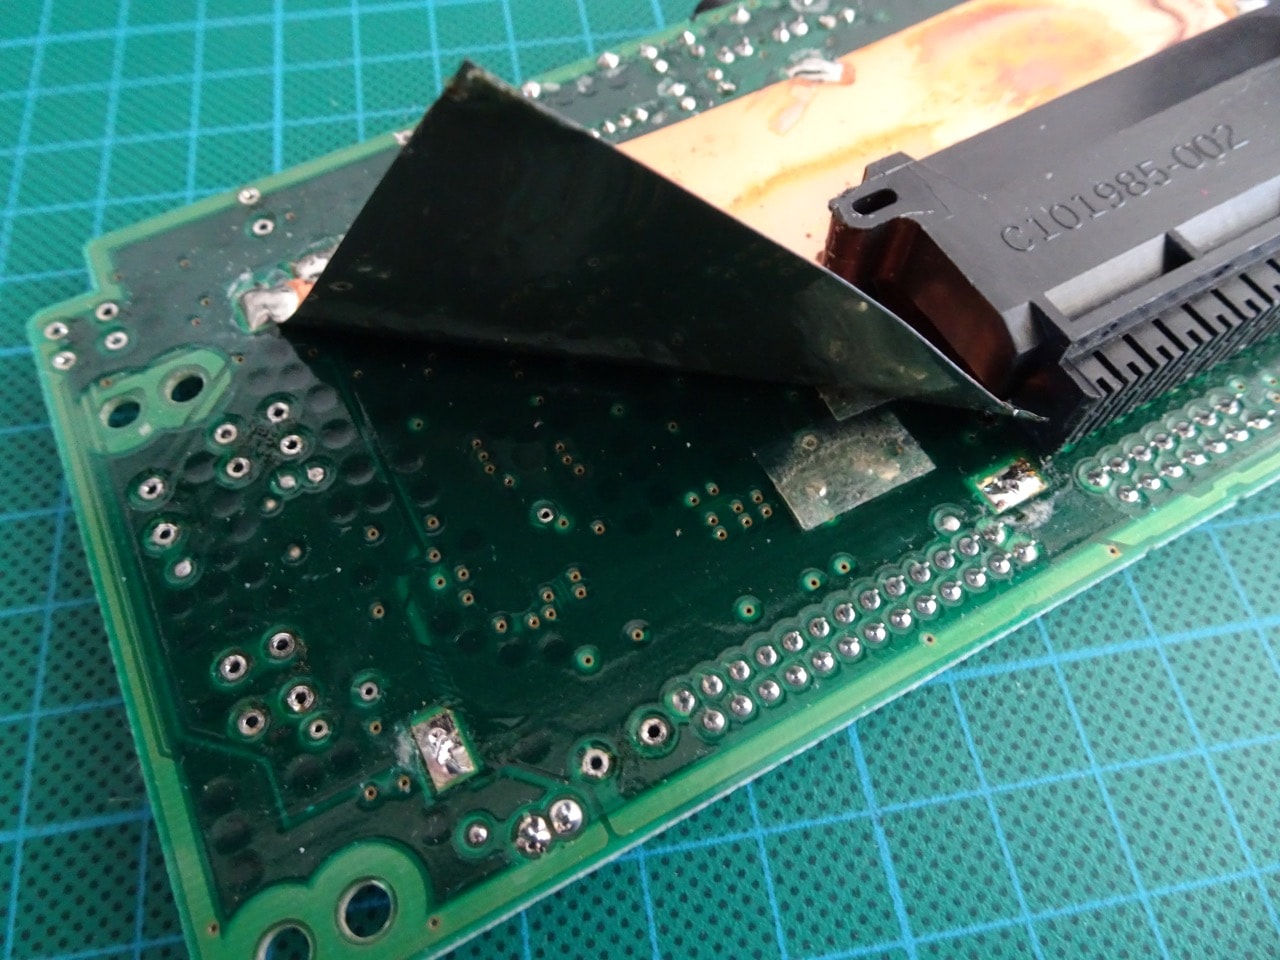
There was a bit of insulating tape over the mount points, which I just peeled back. Removal of this capacitor was simple afterwards.
It took just over an hour to remove all of the original capacitors.
Now I had all of the original capacitors removed and could get started soldering in their replacements. I used the Lynx 2 capacitor map and the Lynx 2 capacitor list to make sure my orientation and placement of the capacitors was correct. You don't really need the map as the motherboard has the +ve side clearly marked for each capacitor.
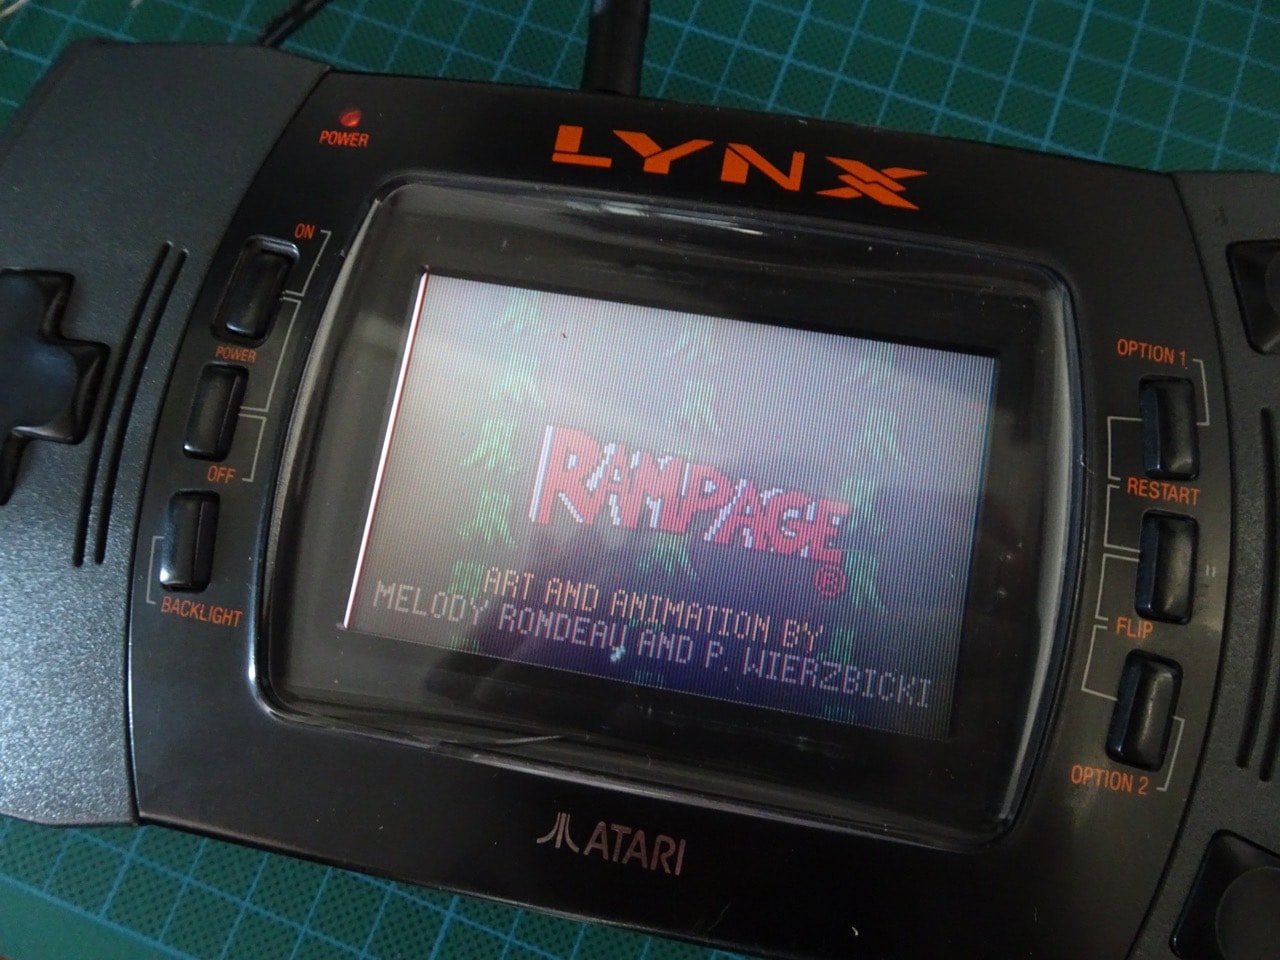
After soldering all of the replacement capacitors I put in Rampage and powered up the console. It worked! Good sign! The black lines were gone and there was sound! However...the sound was very very quiet, even at maximum volume. Boo. There was further work to do which I decided to leave until later.
To finish of the re-capping of the motherboard I covered the C3 contacts with the original insulating tape as they were before and re-soldered the copper sheet into place again. It wasn't perfectly flat but it was close enough.
Continue reading: Atari Lynx repair - Part 3 - broken speaker replacement.
-i
