This article is split into five parts, as each part becomes available I'll link to it below.
With the speaker all working at the end of the last post it was time to move onto doing something about that cracked screen cover. I've previously ordered a few of these from techbabe, who doesn't usually post to Australia but made an exception for me, thanks!
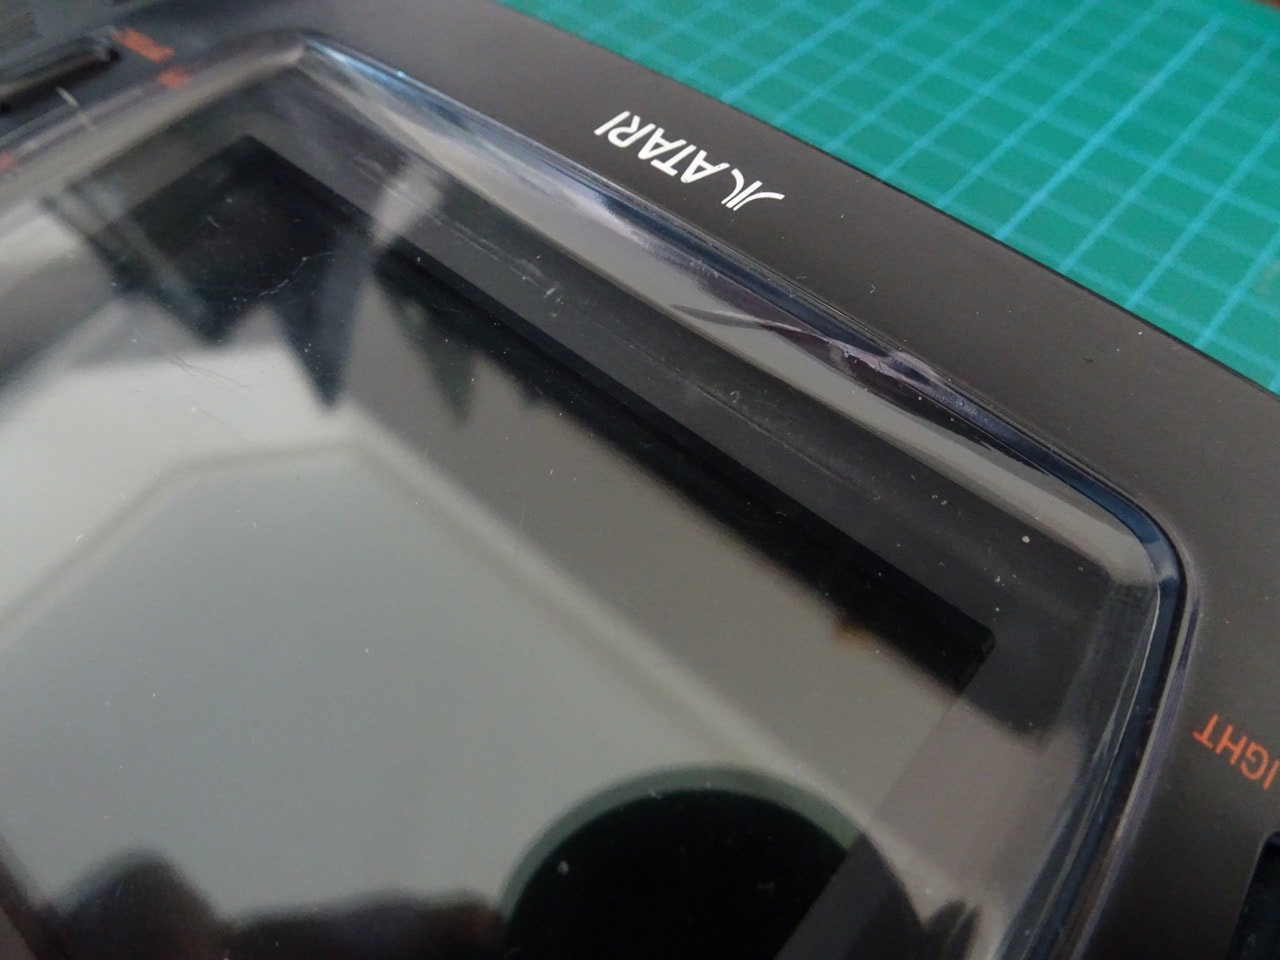
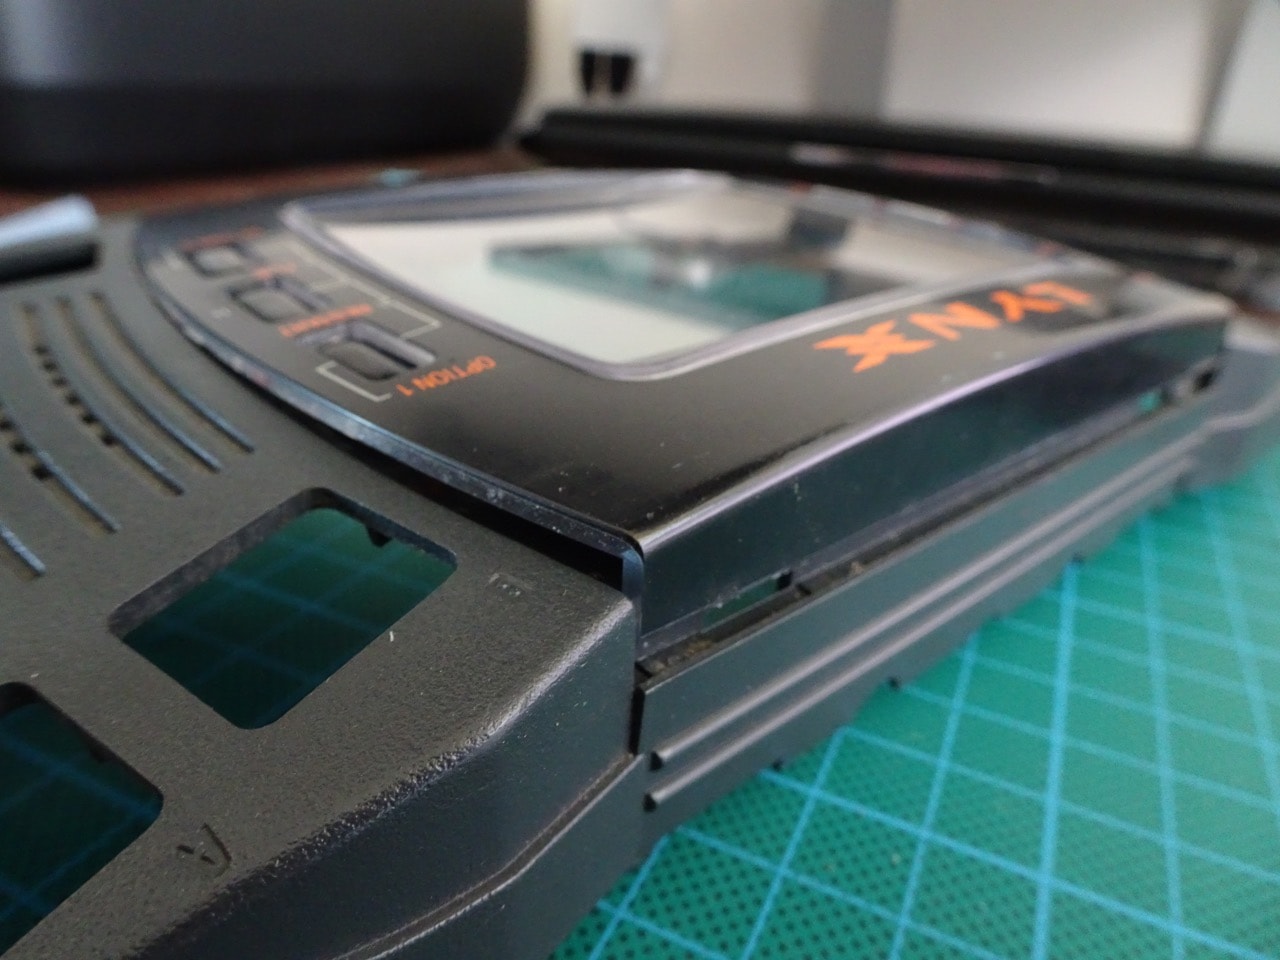
Anyway this was what my screen cover looked like, big ugly crack right at the bottom...
This was the new replacement cover, shiny!

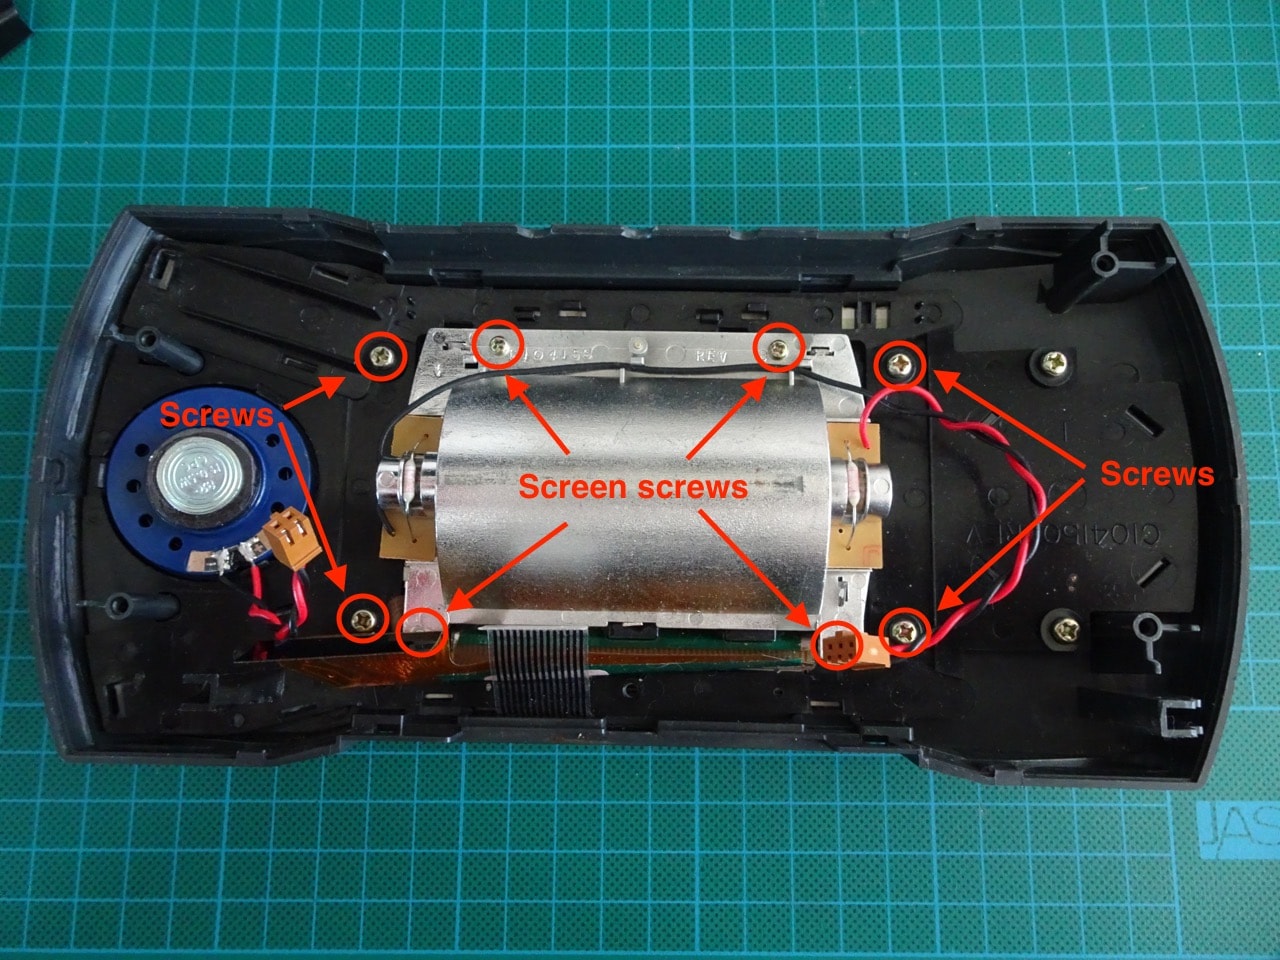
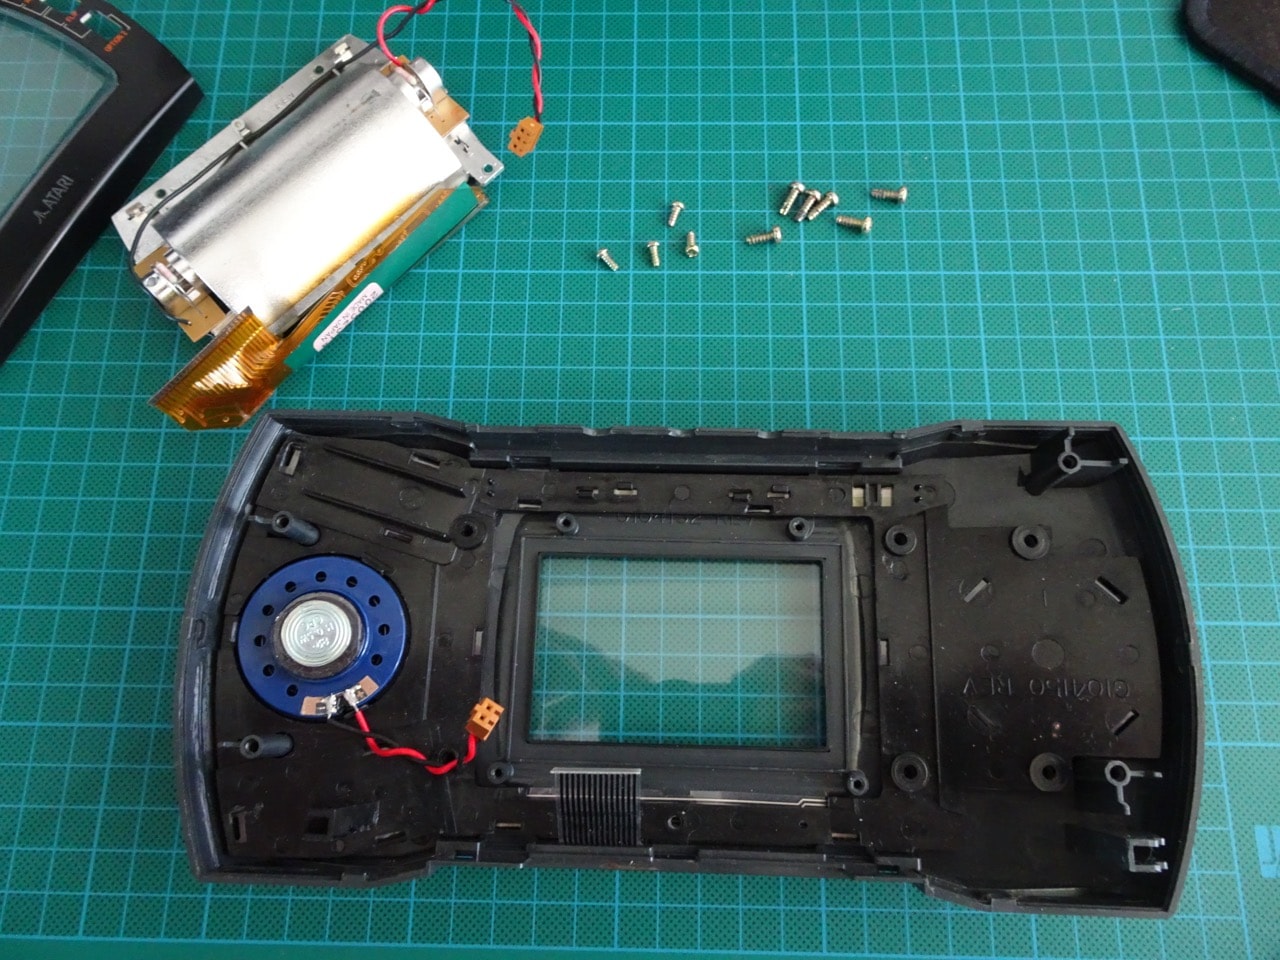
Since I had the Lynx already partially disassembled, it was just a matter of removing the screen and the speaker/button bracket so that the screen cover could be popped out. There were 4 screws around the screen itself with an additional 4 screws around the speaker/button bracket.
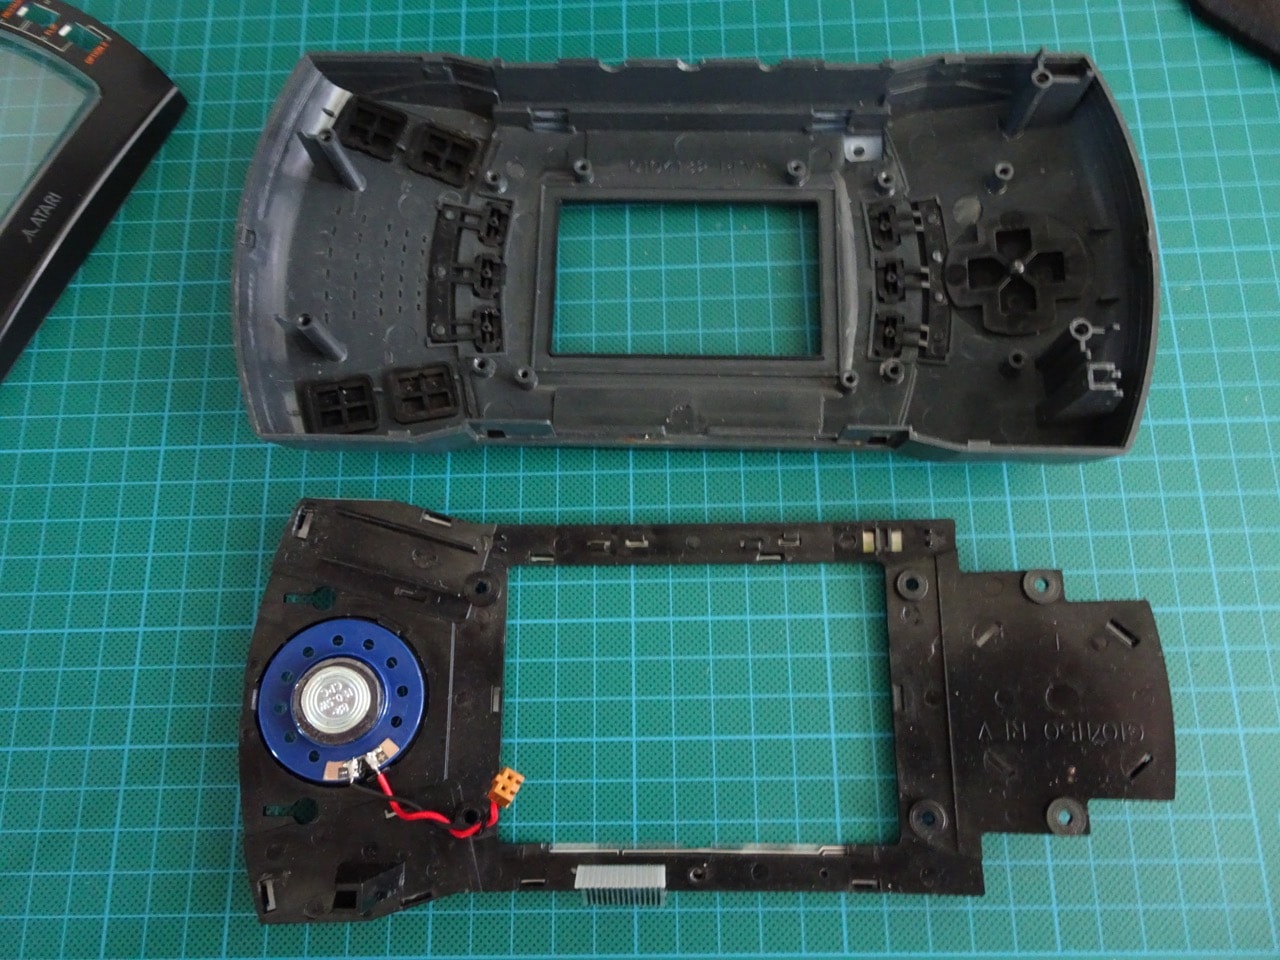
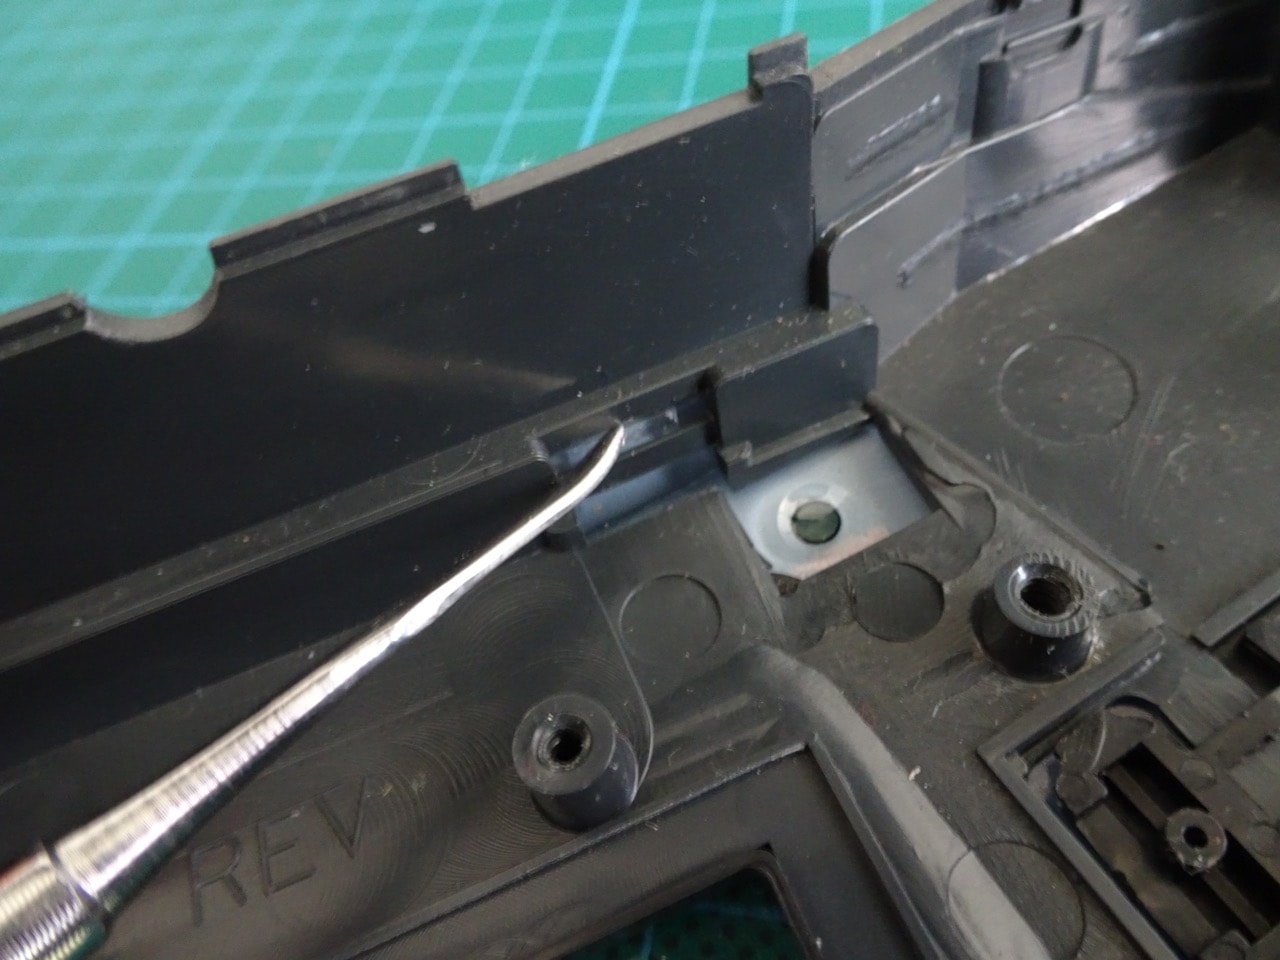
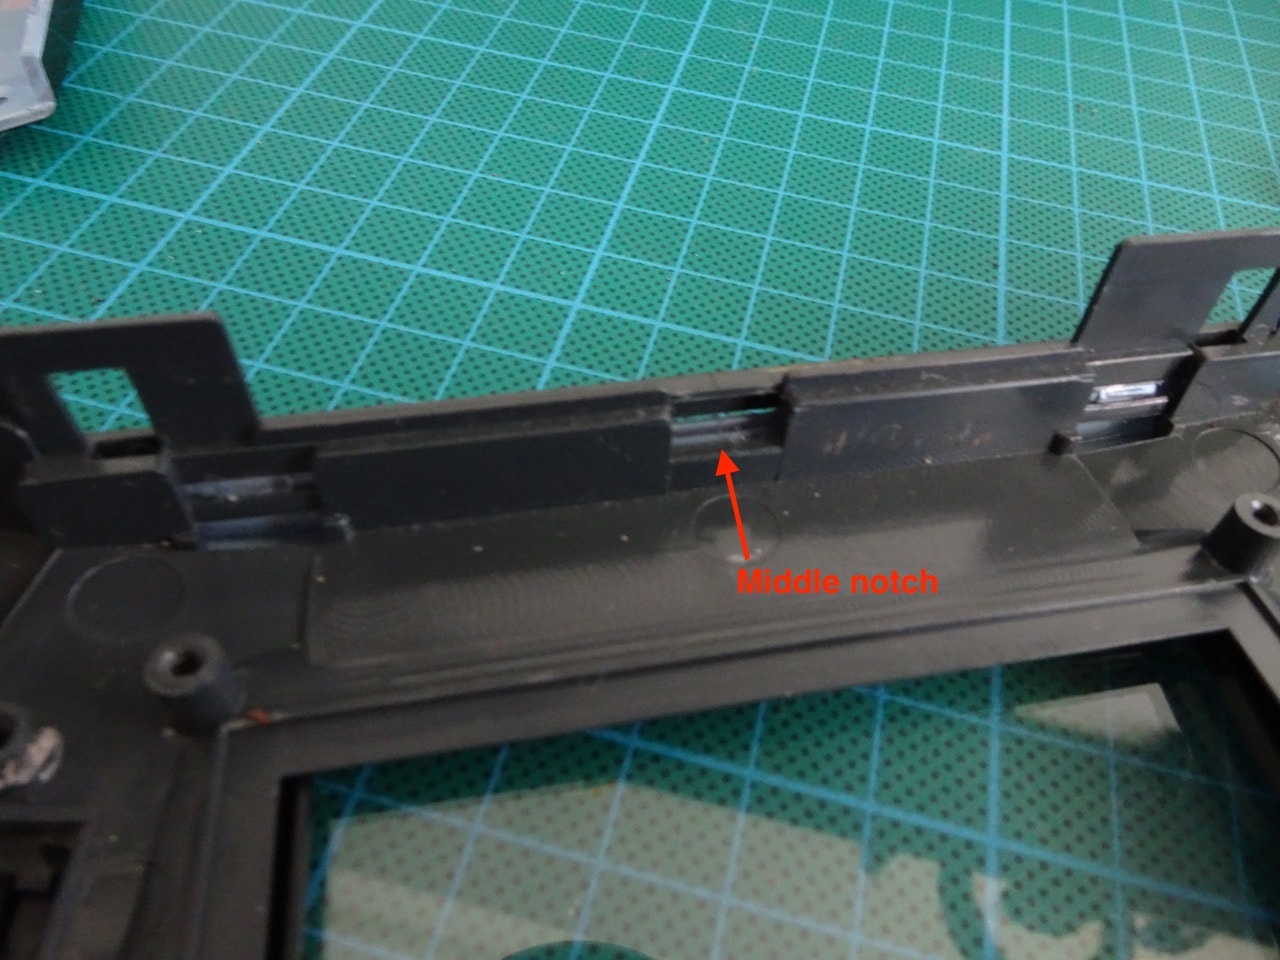
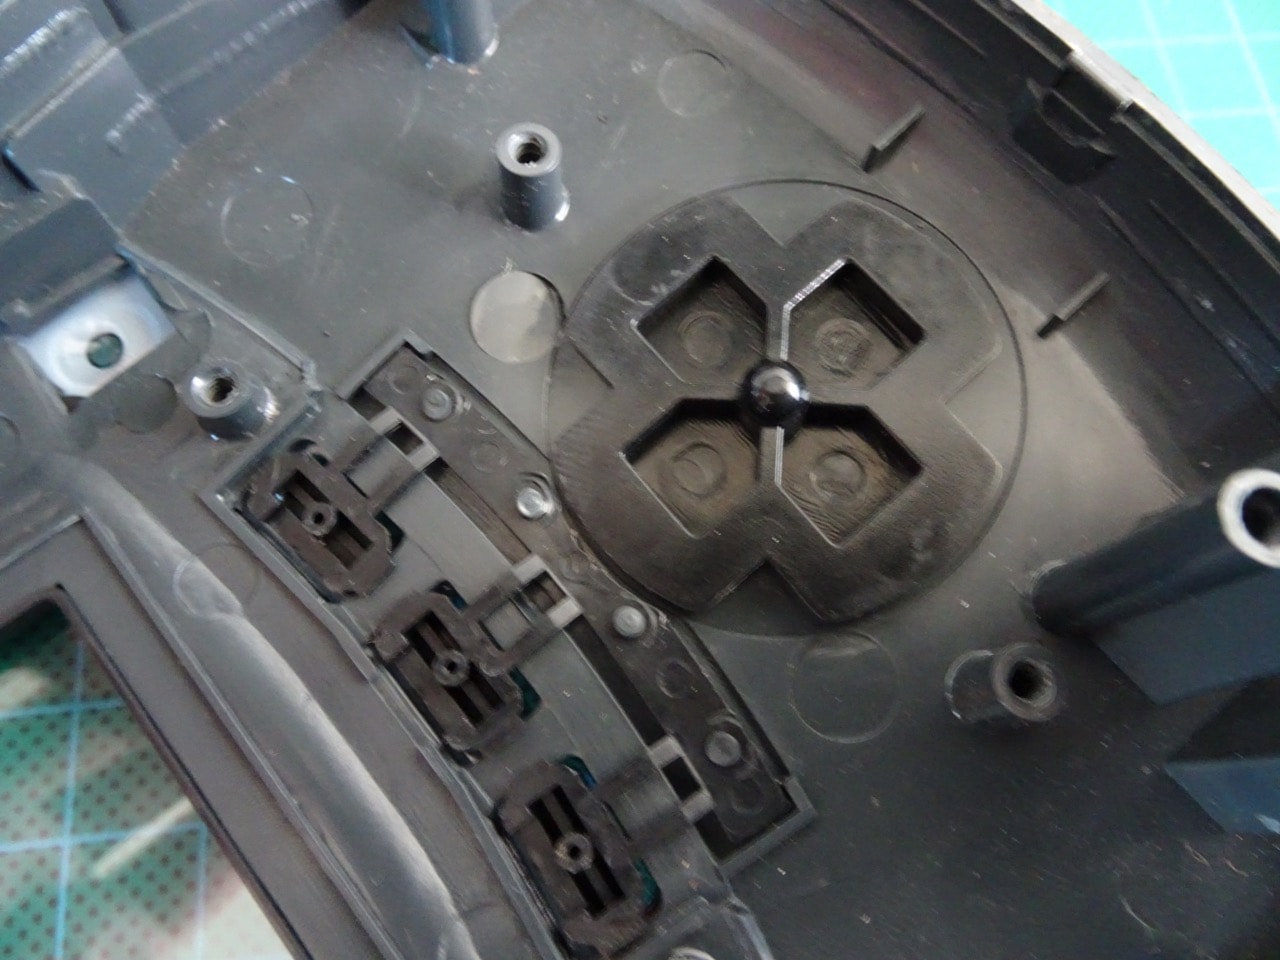
Removing the cover was a little tricky. At first it didn't feel like it would move. On one side it had two notches and the opposite side had 3. I used a clay modelling tool to push on the plastic tabs to pop them out. These were very tight but did come loose with pressure. I was careful not to snap off the black plastic around these tabs, though it did bend a little. That was not a big deal since the cover is also held on by two more tabs on the front.
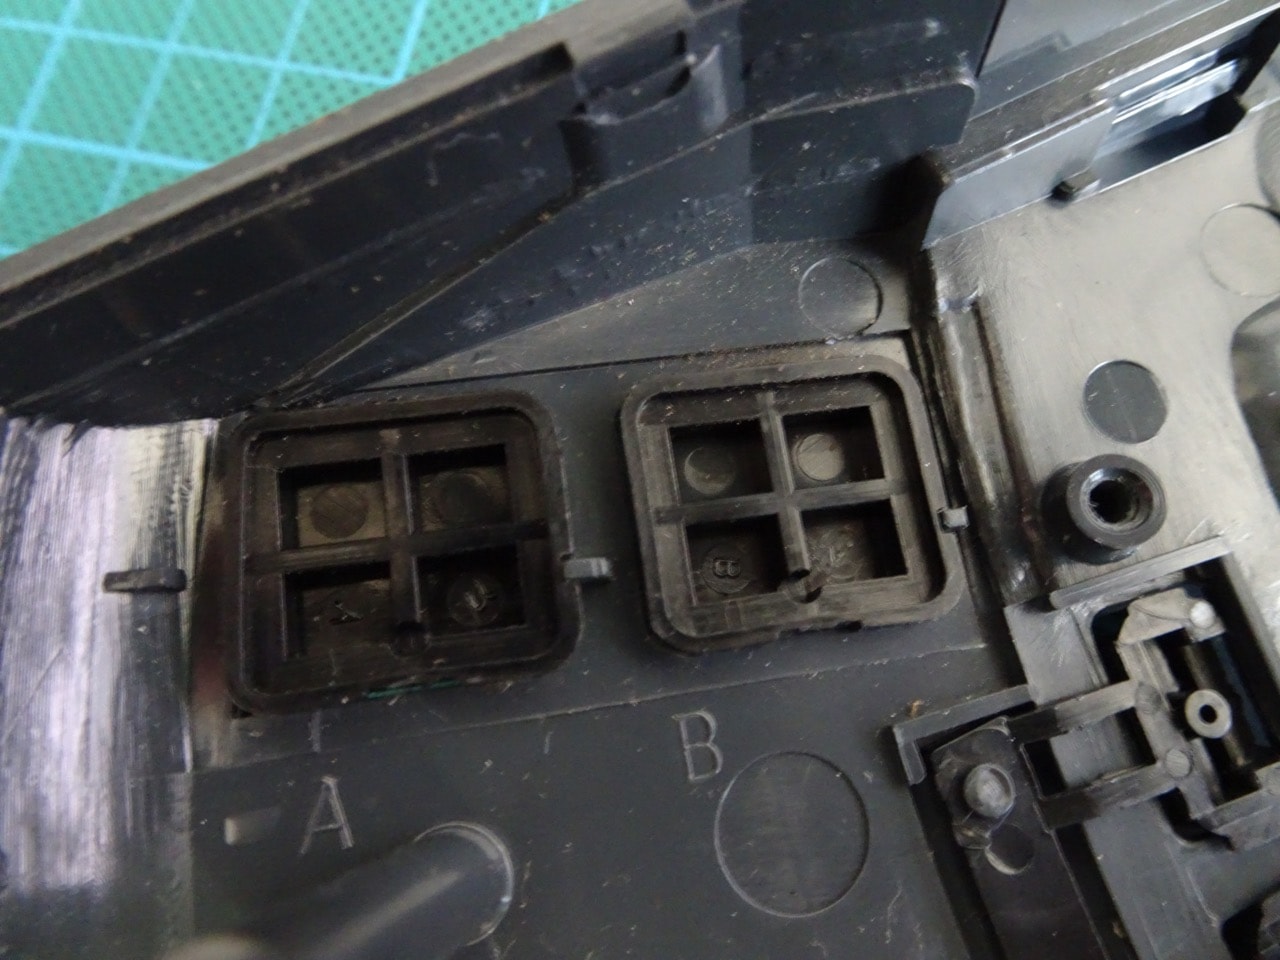
The tabs on the front side were smaller, one on each side of the cover. I didn't even notice them at first. When installed, they were right next to the rows of buttons on the front of the Lynx. These didn't give me much trouble during removal of the original cover.
On the inside of the screen cover was a black shroud. This was held in place by two plastic pin type protrusions in the Lynx case. There were two matching holes on the shroud to hold it in place.


Putting the replacement cover in was very easy. I just had to line up the sides correctly, the main bit was to align the side with the 3 tabs to the part of the Lynx case that had 3 notches in it. I also had to push those tabs on the front in as I was lowering the cover. At first I didn't do that so one of those got stuck and it took quite a bit of coercion to make it pop into place. In the end it looked great though! No glue required, it was all held in by pressure.

After putting the cover on, I put the buttons back in. These had cutouts on their sides so it was next to impossible to put them in the wrong place. However, the A and B buttons seemed to have a slightly different shape so I had to rearrange them after initial positioning.
With the buttons in, I put the speaker/button bracket back into place and secured it with its four screws.
I didn't re-attach the original screen since I was replacing it with McWill's LED kit.
Continue reading: Atari Lynx repair - Part 5 - McWill LED screen mod installation.
-i
